
What You’ll Need
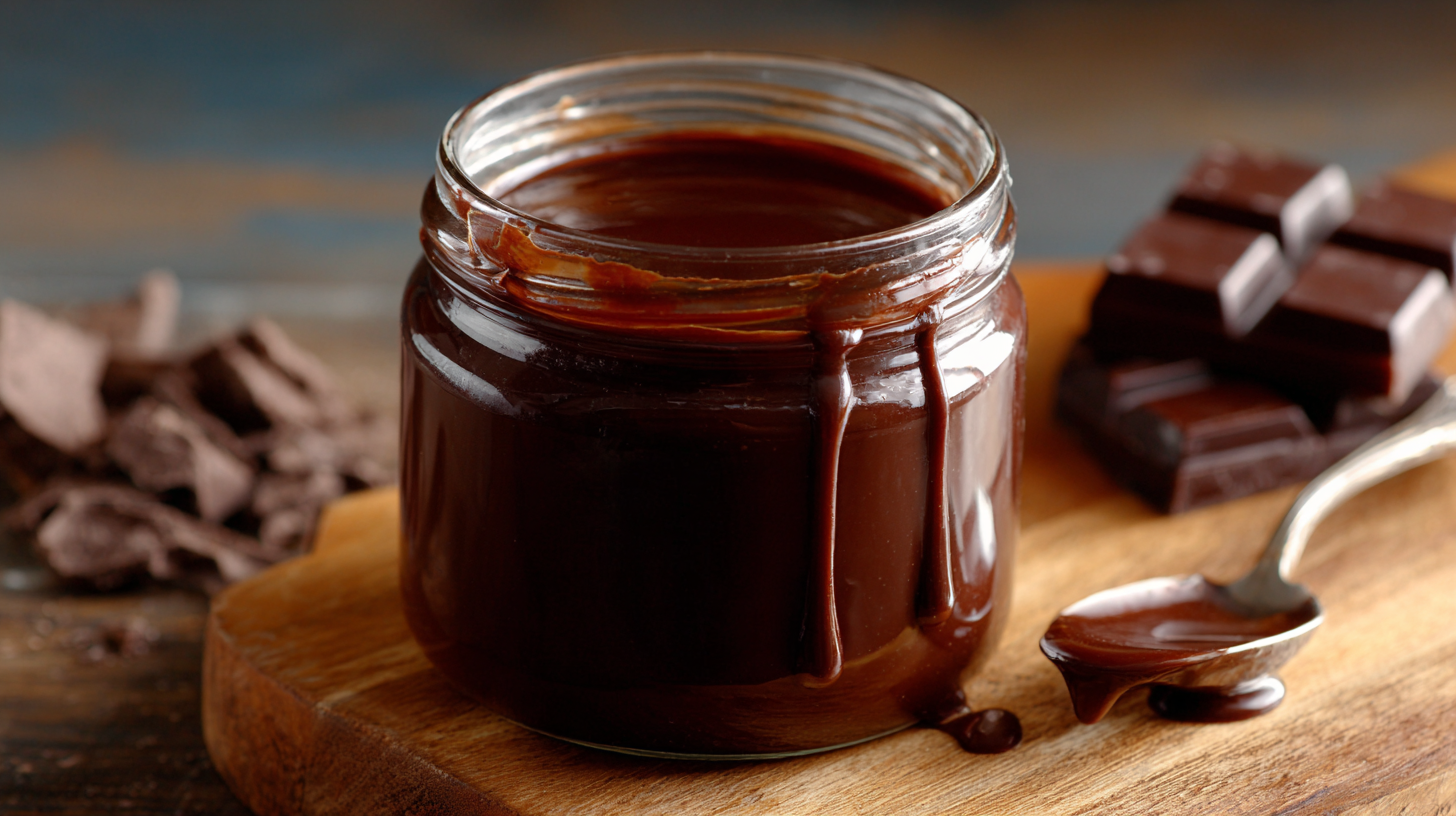
Creating this luxurious chocolate sauce requires minimal equipment and just a handful of pantry staples. You’ll be amazed at how simple ingredients transform into an elegant dessert topping.
Recommended Products

Premium 18/10 Stainless Steel: DEAYOU butter warmer pan is made of high-end food-grade 18/10 (304) stainless steel. The perfectly flat induction heavy bottom allows the small saucepan to work on induction, gas or electric stoves. Has classic looks and professional performance, can heat quickly and spreads heat evenly

Versatile Capacity - A 3 qt saucepan is ideal for heating and simmering liquids, such as soups, sauces and gravies; while still can be used for sautéing and stir-frying small to medium-sized portions of ingredients, like vegetables, meat, or poultry.

Chef's Choice Stainless: Mirror finish. Classic looks, professional performance.
Equipment
You’ll need a medium-sized heavy-bottomed saucepan to ensure even heat distribution and prevent scorching. A wire whisk becomes essential for achieving that perfectly smooth consistency without lumps. Keep a wooden spoon nearby for gentle stirring during the final stages. A fine-mesh strainer works wonders if you want an ultra-silky finish. Digital kitchen scales provide the most accurate measurements for consistent results every time.
Ingredients
- 1 cup heavy cream (35% fat content)
- 8 oz dark chocolate (70% cocoa), finely chopped
- 3 tablespoons granulated sugar
- 2 tablespoons unsalted butter, cubed
- 1/4 teaspoon pure vanilla extract
- Pinch of sea salt
The heavy cream forms the base of your sauce and creates that rich mouthfeel. Dark chocolate with 70% cocoa content delivers the perfect balance of sweetness and depth. Granulated sugar enhances the chocolate’s natural sweetness without overpowering. Butter adds glossy shine and silky texture to the finished sauce. Pure vanilla extract brightens the chocolate flavors while sea salt amplifies every taste sensation.
Instructions
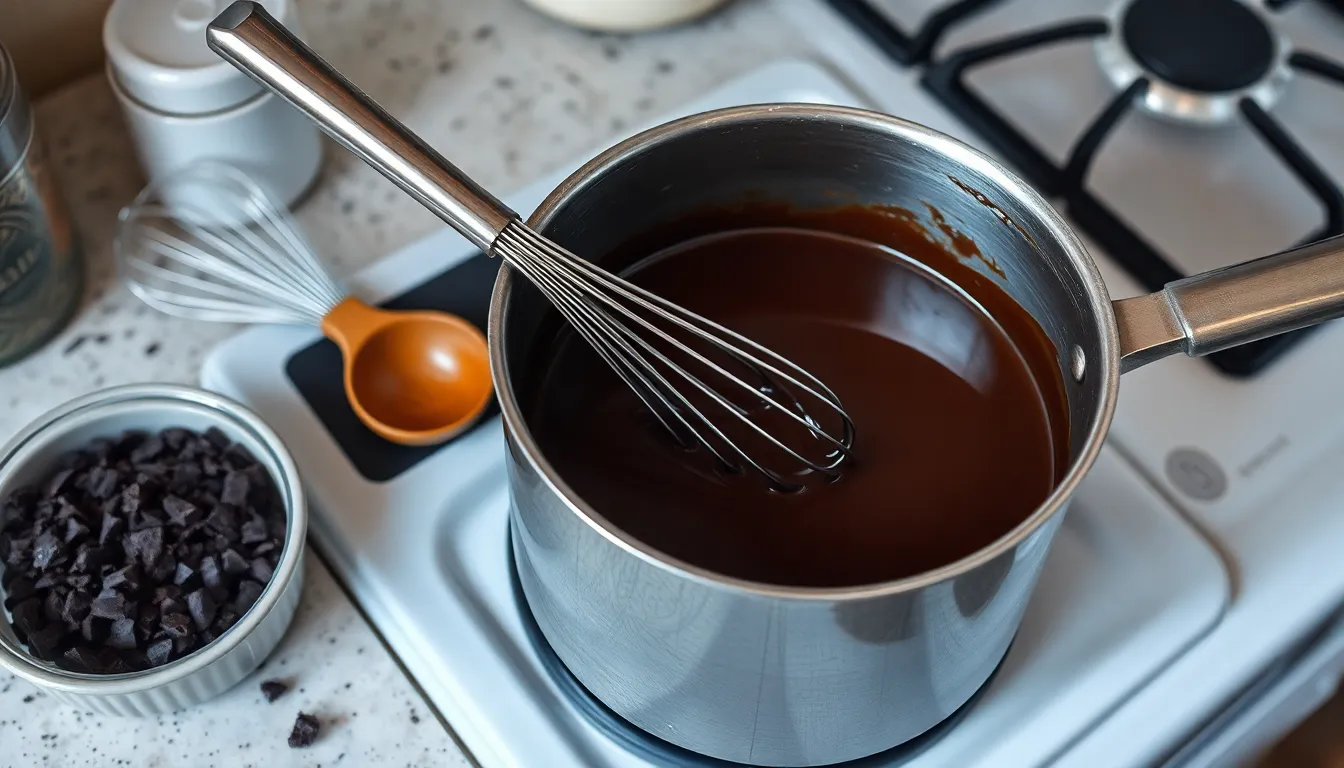
Transform your simple ingredients into a decadent chocolate sauce with these straightforward steps. The process takes just minutes but delivers professional results every time.
Recommended Products

HIGH-QUALITY MATERIAL: Made of high-quality durable stainless steel and highly polished processing methods, no worries of rust. You can use the whisk set for a long time.

7.25 in/18.42 cm sized right for smaller tasks

Quality material: our kitchen whisks set is made of quality stainless steel, durable and well polished, featuring good balance and control due to the ergonomic design, easy and comfortable to use
Prep
Pour the heavy cream into your medium-sized heavy-bottomed saucepan and place it over medium heat. Heat the cream until small bubbles begin forming around the edges and you see gentle steam rising from the surface. Watch carefully to prevent the cream from boiling or scorching.
Place your finely chopped dark chocolate in a large mixing bowl while the cream heats. Keep the chocolate pieces uniform in size to ensure even melting. Set your wire whisk and wooden spoon within easy reach for the next steps.
Cook
Remove the heated cream from the burner once it reaches the steaming point. Pour the hot cream directly over the chopped chocolate in your mixing bowl. Let the mixture sit undisturbed for 2 minutes to allow the chocolate to soften completely.
Whisk the chocolate and cream mixture gently from the center outward until the chocolate melts completely and the mixture becomes smooth. Add the granulated sugar and continue whisking until it dissolves entirely. Return the mixture to your saucepan over low heat.
Stir the sauce continuously with your wooden spoon for 2-3 minutes until it thickens slightly and coats the back of the spoon. The sauce should flow smoothly without any lumps or separation.
Finishing Touches
Remove the saucepan from heat and immediately stir in the unsalted butter until it melts completely into the sauce. Add the vanilla extract and pinch of sea salt while stirring to incorporate all flavors evenly.
Strain the finished sauce through your fine-mesh strainer into a clean bowl to remove any remaining chocolate pieces or skin that may have formed. Press the sauce gently through the strainer with the back of a spoon if needed. Your chocolate sauce is now ready to serve warm or can be stored in the refrigerator for up to one week.
Storage and Make-Ahead Tips
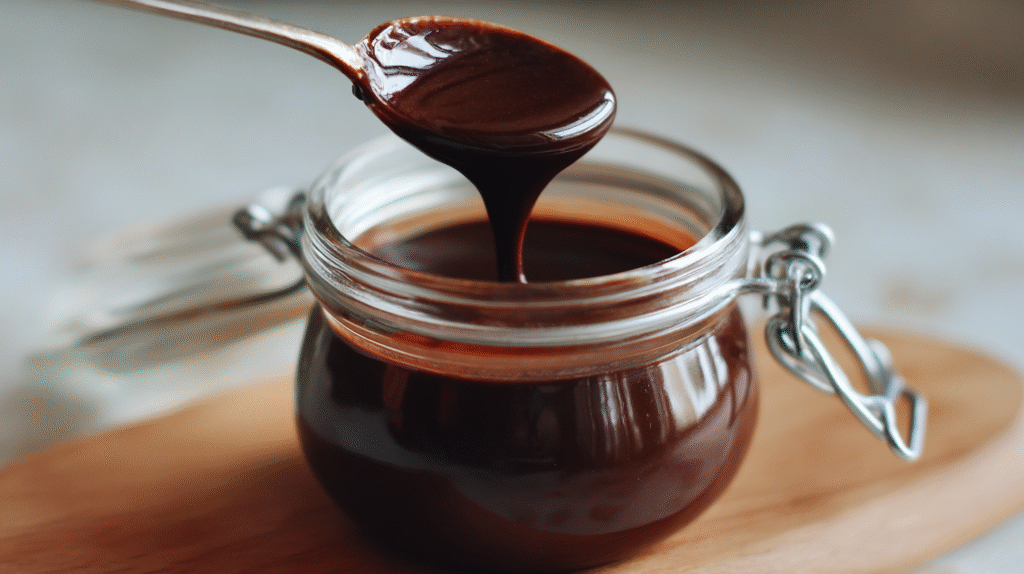
Your homemade chocolate sauce stays fresh for extended periods when stored properly. These storage methods ensure you always have luxurious chocolate sauce ready for any dessert emergency.
Recommended Products

Three Graduated Sizes: This colander set includes three strainers in multiple sizes, a 3.15 inch mini strainer fine mesh, a 5.5 inch small strainer and a 7.87 inch large strainer with a deep bowl

3-Piece Set for Every Kitchen Task: This Cuisinart kitchen strainer set includes three sizes— 3⅛″, 5½″, and 7⅞″. Perfect as a small strainer, large strainer, or everyday colander set for all your cooking needs, from rinsing to draining.

A MUST-HAVE KITCHEN ACCESSORY: Keep the pulp and herbs out of your cocktails with this stainless steel strainer. You can also use it to filter coffee grounds, strain tea leaves or juice, sift flour, or for dusting baked goods. The rim is polished with a classic mirror finish to make this wire mesh strainer a perfect way to add that professional, edgy look to your home bar.
Refrigerator Storage
Store your finished chocolate sauce in an airtight container in the refrigerator for up to one week. The sauce will thicken considerably as it cools but maintains its smooth texture when reheated. Glass jars or plastic containers with tight-fitting lids work best for preventing the sauce from absorbing refrigerator odors.
Transfer the warm sauce directly into your chosen container while it’s still fluid for easier pouring. Allow the sauce to cool completely at room temperature before sealing and refrigerating. You’ll notice the sauce develops a slight skin on top after several days, but this easily whisks back into the mixture during reheating.
Freezing Instructions
Freeze your chocolate sauce for up to three months without compromising quality or flavor. Pour the cooled sauce into freezer-safe containers, leaving about half an inch of headspace to accommodate expansion. Ice cube trays offer convenient portion control, allowing you to thaw exactly what you need for individual servings.
Label containers with the preparation date to track freshness. The sauce may separate slightly after freezing, but this resolves completely during the reheating process. Thaw frozen sauce overnight in the refrigerator before reheating for best results.
Reheating Methods
Gentle reheating preserves the sauce’s silky texture and prevents scorching. Use a double boiler or place your container in a bowl of warm water, stirring occasionally until the sauce reaches your desired consistency. Microwave reheating works in 15-second intervals at 50% power, whisking between each interval.
Add one to two tablespoons of heavy cream if the reheated sauce appears too thick. The sauce should flow smoothly off your spoon when properly warmed. Avoid high heat during reheating as this can cause the chocolate to seize or become grainy.
Serving Suggestions
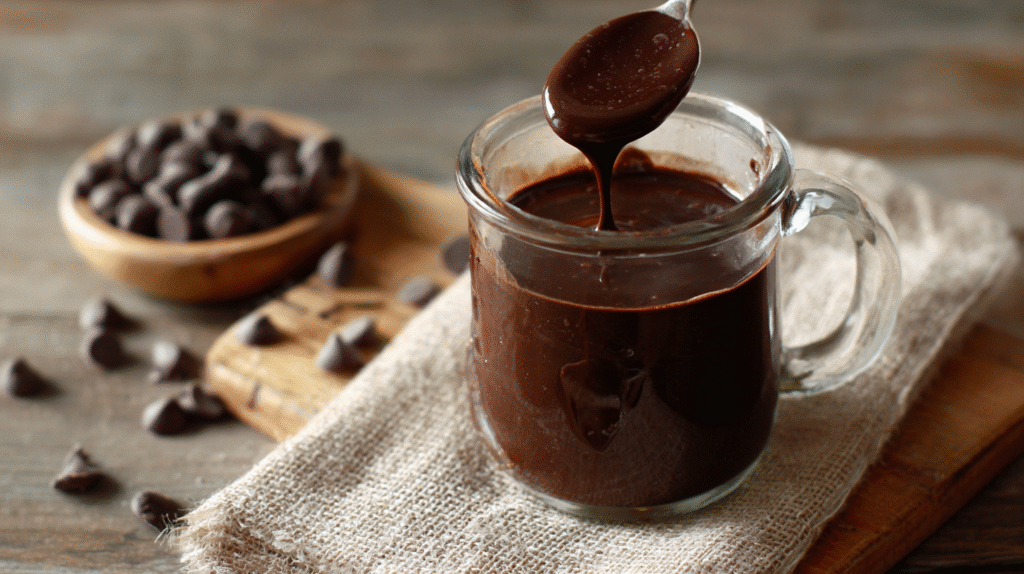
Transform your freshly made chocolate sauce into the star of countless dessert experiences. This versatile creation opens endless possibilities for elevating both simple treats and elaborate presentations.
Recommended Products

𝗘𝗳𝗳𝗼𝗿𝘁𝗹𝗲𝘀𝘀 𝗪𝗲𝗶𝗴𝗵𝗶𝗻𝗴: Supports 5 units (oz/lb:oz/fl'oz/g/mL), tare function, and includes 2 AAA batteries for hassle-free operation

【PRECISE WEIGHT】 The digital food scale built-in four high-precision load sensors, quickly and accurately response 1g or 0.1oz increments when adding ingredients, its measuring range: 0.1oz to 22 lbs and 3g to 10kg(Min. weigh at 0.1oz or 3g).

Contemporary Slim Design: Made of Stainless Steel Material; It is easy to use and clean; Provides accurate weight data with a user-friendly control panel and system; With high precision sensors to ensure correct performance and readouts
Dessert Pairings
Vanilla ice cream becomes an instant gourmet experience when you drizzle warm chocolate sauce over generous scoops. Fresh strawberries gain luxurious appeal when dipped into the silky sauce or served alongside it for an elegant contrast. Pound cake transforms into a restaurant-quality dessert with a generous pour of your homemade creation.
Cheesecake slices reach new heights when you add a decorative drizzle across each serving. Warm brownies pair beautifully with the sauce as both a topping and a dipping accompaniment. Angel food cake becomes an indulgent treat when you serve it with chocolate sauce and fresh berries.
Profiteroles achieve bakery-level sophistication when filled with vanilla ice cream and topped with your warm sauce. Fresh fruit platters gain dessert status when you provide chocolate sauce as a dipping option alongside strawberries, bananas, and pear slices.
Creative Uses
Coffee drinks receive barista-quality upgrades when you swirl chocolate sauce into lattes, mochas, or hot chocolate. Pancakes and waffles transform from breakfast staples to dessert-worthy indulgences with generous chocolate sauce drizzles. French toast gains decadent appeal when you replace traditional syrup with warm chocolate sauce.
Milkshakes achieve ice cream parlor quality when you blend chocolate sauce directly into vanilla ice cream and milk. Fondue parties become memorable experiences when you warm the sauce in a fondue pot for dipping marshmallows, cookies, and fresh fruit. Yogurt parfaits gain dessert appeal when you layer chocolate sauce between Greek yogurt and granola.
Baked goods like muffins, scones, and croissants receive gourmet treatment when served with small ramekins of warm chocolate sauce for dipping. Gift presentations become special when you pour cooled sauce into decorative jars and pair them with homemade cookies or brownies.
Recipe Variations
Transform your basic chocolate sauce recipe into something extraordinary with these delicious variations. Each adaptation maintains the same foolproof technique while creating completely different flavor experiences.
Recommended Products

0.5 Quart: convenient small size for whisking eggs and salad dressings
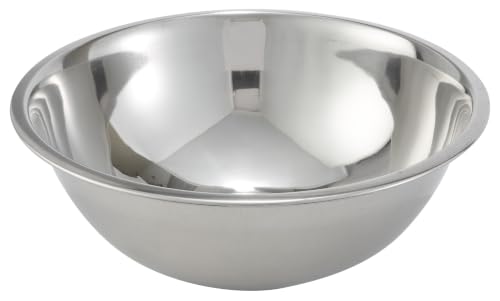
Stainless steel durable construction for years of work

3 GRATER ATTACHMENTS: This bowl set comes with 3 different grater attachments (slicing/grating/shredding) just shred or slice right into the bowl without making a mess and eliminating the need for a cutting board to clean. 4qt had a removable lid inside the main lid, for adding contents or pairing it with your blender without removing the entire lid to prevent splash. All necessary tools for cutting are very handy, easy to keep things clean around you
Dark Chocolate Version
You can intensify the chocolate experience by using 85% dark chocolate instead of the standard 70% cocoa variety. This creates a more sophisticated sauce with deeper bitter notes that pair exceptionally well with sweet desserts. Reduce the granulated sugar to 2 tablespoons since the higher cocoa percentage provides more natural bitterness. Add an extra tablespoon of heavy cream to maintain the smooth consistency when working with the more concentrated chocolate. The resulting sauce delivers a rich adult flavor profile perfect for drizzling over vanilla panna cotta or fresh raspberries.
White Chocolate Sauce
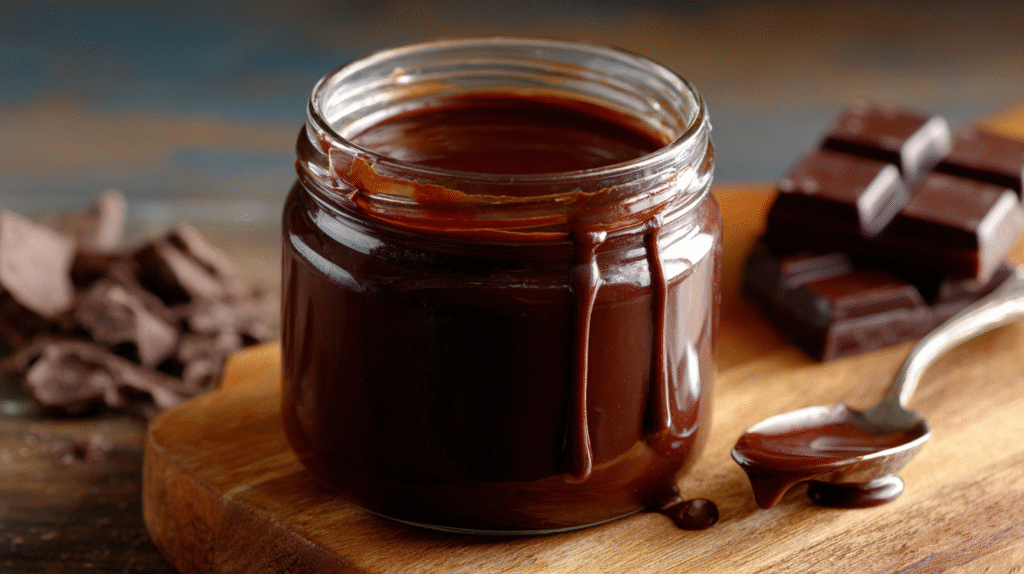
White chocolate creates an elegant pale sauce that offers a completely different flavor profile from traditional chocolate sauce. Use 8 oz of high-quality white chocolate chips or chopped white chocolate bars for the best results. Reduce the heavy cream to 3/4 cup since white chocolate contains more cocoa butter and creates a naturally thicker consistency. Eliminate the granulated sugar entirely as white chocolate already contains sufficient sweetness. The vanilla extract becomes more prominent in this variation so consider using vanilla bean paste for enhanced flavor depth. This luxurious sauce complements berry desserts and pound cake beautifully.
Flavor Add-Ins
Customize your chocolate sauce with these flavor enhancements that transform the basic recipe into gourmet variations. Add 1 tablespoon of espresso or strong coffee during the heating process for a mocha sauce that elevates any coffee-flavored dessert. Incorporate 2 tablespoons of your favorite liqueur such as Grand Marnier Bailey’s or Kahlua after removing the sauce from heat. Fresh orange zest brightens the sauce when added with the vanilla extract creating a sophisticated citrus chocolate combination. Spice enthusiasts can whisk in 1/4 teaspoon of cinnamon or a pinch of cayenne pepper for warmth. Mint extract transforms the sauce into a refreshing accompaniment for chocolate brownies when used sparingly at just 1/8 teaspoon.
Troubleshooting Tips
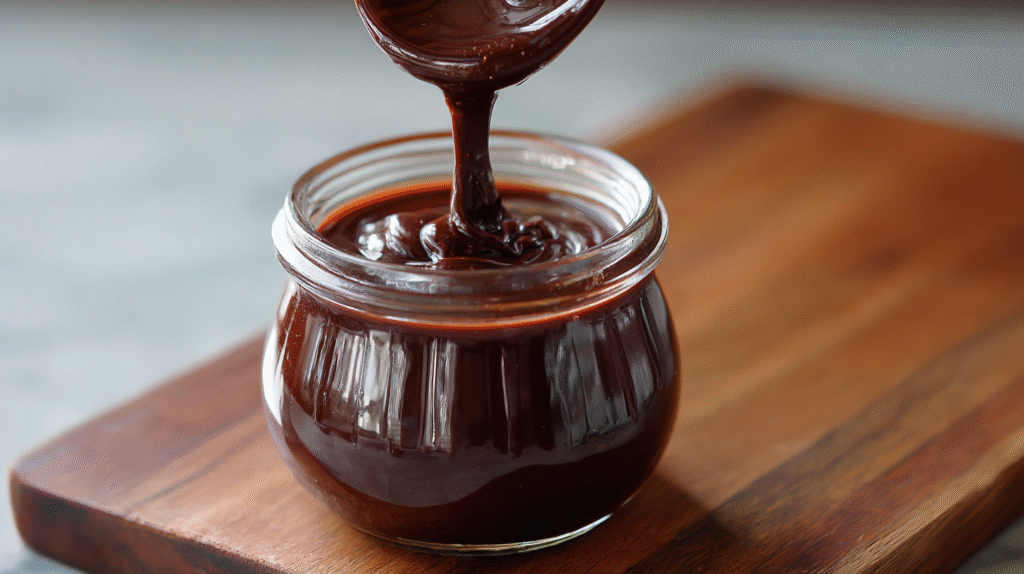
Even experienced home cooks encounter challenges when making chocolate sauce from scratch. Your sauce might develop unexpected textures or flavors that require quick fixes to achieve that perfect silky consistency.
Grainy or Lumpy Texture Issues
Your chocolate sauce develops grains when the chocolate seizes from temperature shock or moisture contamination. Pour hot cream slowly over chopped chocolate rather than dumping it all at once. Whisk continuously in small circular motions to create an emulsion. Add one tablespoon of warm cream at a time if grains persist until the mixture smooths out.
Sauce Too Thick Problems
Thick chocolate sauce results from overcooking or cooling too rapidly. Thin your sauce by whisking in warm heavy cream one teaspoon at a time while the sauce remains warm. Heat the mixture gently over low heat while stirring constantly. Never add cold liquid to hot chocolate sauce as this creates lumps.
Sauce Too Thin Answers
Runny chocolate sauce needs more chocolate content or longer cooking time. Return your sauce to low heat and simmer for 2-3 additional minutes while stirring continuously. Whisk in finely chopped chocolate one ounce at a time until you reach desired consistency. Cool the sauce completely as it naturally thickens when chilled.
Bitter or Overly Sweet Flavor Corrections
Balance bitter chocolate sauce by adding one tablespoon of granulated sugar or corn syrup gradually. Taste after each addition to avoid over-sweetening. Counter overly sweet sauce with a pinch of sea salt or one teaspoon of unsweetened cocoa powder. Add vanilla extract sparingly as too much creates artificial flavors.
Separation and Breaking Fixes
Separated chocolate sauce splits when fat and liquid components divide due to temperature fluctuations. Remove the sauce from heat immediately and whisk vigorously off the burner. Add one tablespoon of room temperature cream while whisking continuously. Use an immersion blender for 10-15 seconds if whisking fails to reunite the mixture.
Oil Slick on Surface Prevention
Oil films form when butter adds to sauce that’s too hot or when low-quality chocolate contains excess cocoa butter. Cool your completed sauce to lukewarm temperature before incorporating butter. Choose high-quality chocolate with balanced cocoa butter content. Whisk the finished sauce thoroughly and strain through fine mesh if oil persists.
Recommended Products

HEALTHY & HEAVY DUTY: The 3 qt saucepan’s body is made of healthy pure stainless steel and the lid is made of sturdy glass, Without any toxic coating or other chemical substances leaching into the food, Feel solid when holding the saucepan, Healthy and sturdy for a long-lasting service life

Practical Capacity - 1.5 qt saucepan makes it convenient for quick tasks and is especially handy when cooking for one or two people, such as warming milk, melting butter, or heating up soup.

LEATRIN Whole Clad Tri-Ply Non Stick Sauce Pan with Lid's Metal Construction Combines Food Grade Stainless Steel with an Aluminium Core and Outer 18/10 Stainless Steel, Creating a Permanent Bond That Enables Heat to Pass Through the Entire 1.5QT Pots - Along the Bottom and Up the Sidewall, Ensuring Fast and Even Heat Distribution for Maximum Cooking Performance. Triply Stainless Steel can Help Save Fuel by Up to 20%, Value for Money
Conclusion
You’ve now mastered the art of creating restaurant-quality chocolate sauce right in your own kitchen. This versatile recipe will become your go-to secret weapon for transforming ordinary desserts into extraordinary treats that’ll have everyone asking for your recipe.
Whether you’re drizzling it over ice cream for a weeknight indulgence or preparing an elegant dessert for special guests this homemade chocolate sauce delivers consistent results every time. The beauty lies in its simplicity – just five ingredients and basic techniques produce a sauce that rivals any high-end restaurant.
Your dessert game will never be the same once you’ve experienced the rich depth and silky texture that only comes from making chocolate sauce from scratch. Keep a batch in your refrigerator and you’ll always be ready to elevate any sweet moment into something truly memorable.
About The Author
