
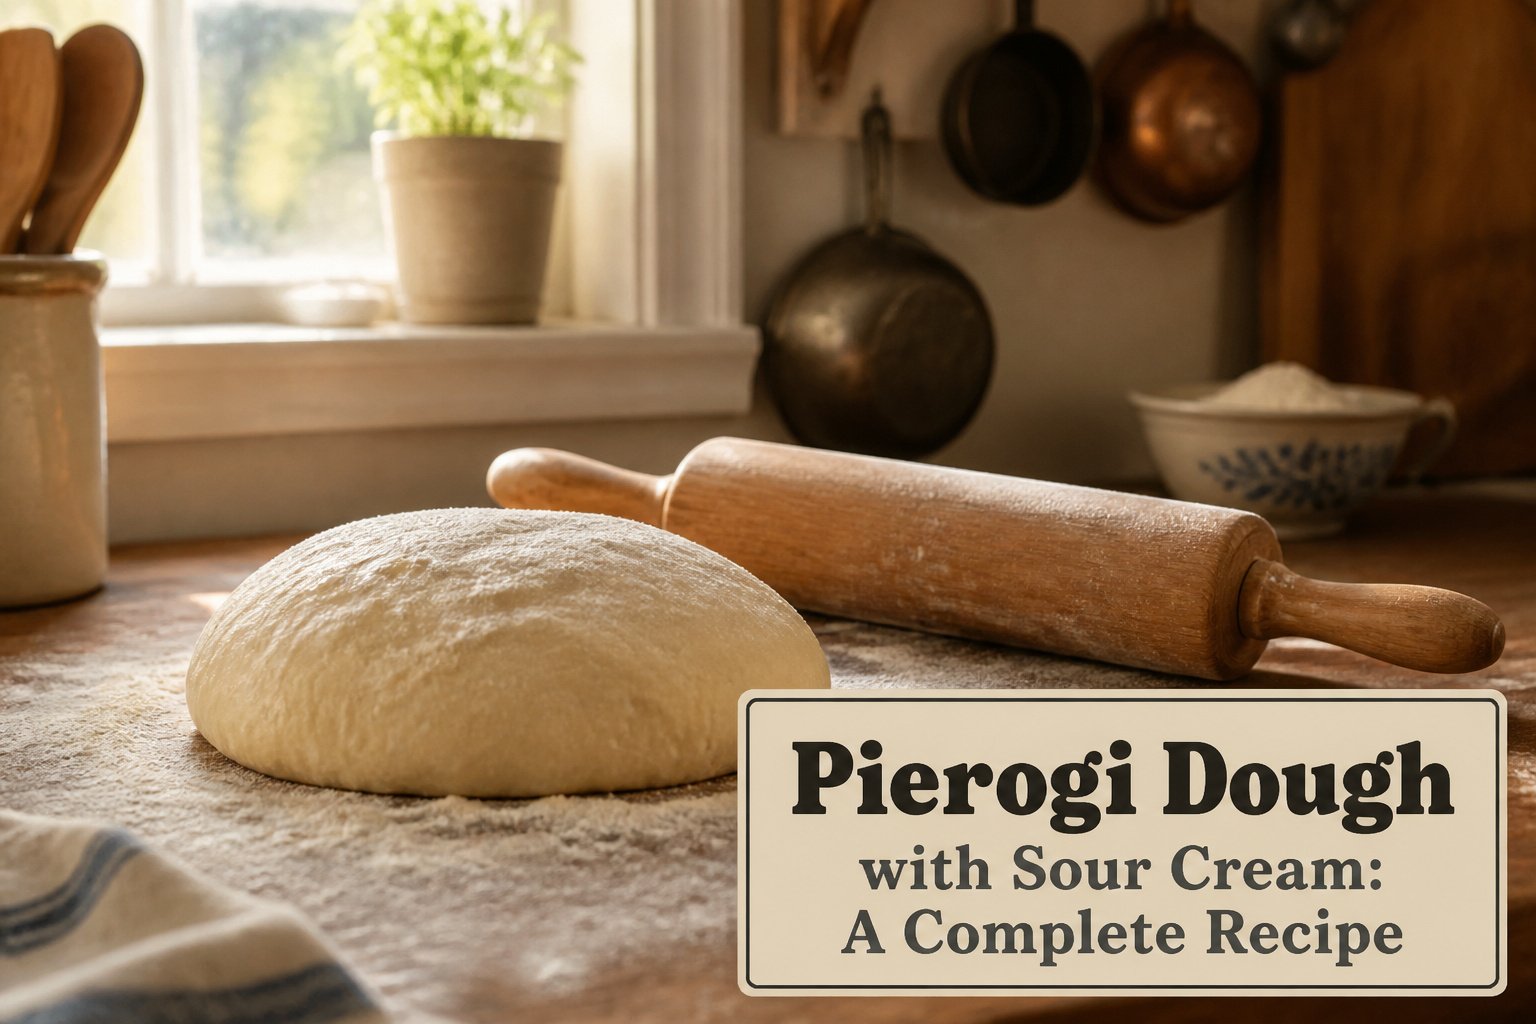
Pierogi made with sour cream dough are noticeably more tender than the traditional kind, with a subtle tang that holds up to rich fillings. The whole process takes about an hour before you’re boiling them.
The fat makes the dough softer, which means it tears more easily through a pasta press.
You’ll want a rolling pin instead, and you’ll need to rest the dough a full 20 to 30 minutes so the gluten relaxes enough to roll thin without fighting back.
Pierogi Dough Ingredients

The dough comes together from six ingredients, all of them sitting on standard grocery shelves. 2 to 4 cups of all-purpose flour forms the base, with the range accounting for how much your particular batch absorbs.
One large egg binds things together, and 1/2 cup of sour cream replaces some of the liquid and fat you’d see in traditional recipes, which is what makes this dough more tender and easier to roll thin.
Add another 1/2 cup of water, plus 1/2 teaspoon to 1 teaspoon of salt depending on whether your filling is already seasoned.
Some cooks work in 1/4 cup of softened butter, cut into small pieces, for extra pliability. I consider it optional but worth the extra few minutes of kneading.
The sour cream does the heavy lifting for tenderness either way.
- 2–4 cups all-purpose flour, plus extra for kneading and rolling
- 1 large egg
- 1/2 cup sour cream
- 1/2 cup water
- 1/2 tsp to 1 tsp salt
- 1/4 cup butter, softened and cut into small pieces (optional)
Recommended Products
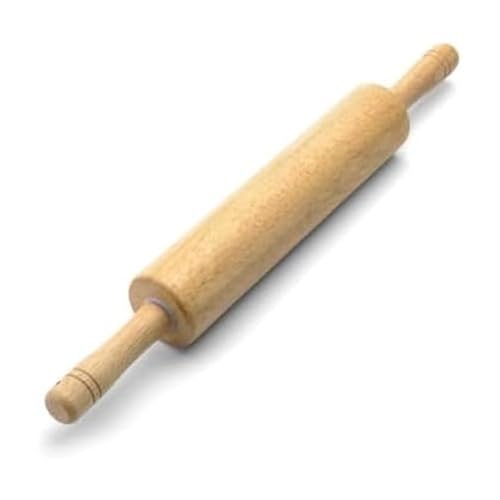
PREMIUM HARDWOOD CONSTRUCTION: Built from moisture-resistant hardwood that delivers a smooth, non-dragging rolling surface for consistent results every time; the 10-inch barrel and balanced weight distribution make rolling all types of dough effortless
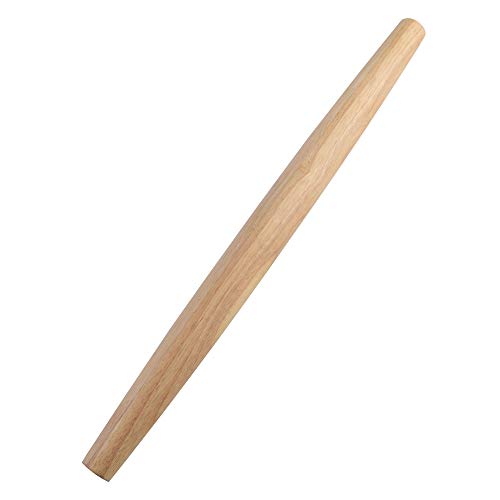
Solid Wood Construction: This rolling pin is made from solid rubber wood for required durability and long-lasting use. This rolling pin is suitable to sustain every day, heavy-duty use in the home, as well as restaurants.

4 Thickness Adjustments: The rolling pin has 4 removable rings: 1/16, 1/8, 1/4, and 3/8 inches (2mm, 3mm, 6mm, 10mm), helping precisely control dough thickness for easy baking of pancakes, bread, pies, noodles, cookies, etc
Mix and Knead the Dough

- Combine 3 cups flour and 1 teaspoon salt in a large bowl.
- Whisk in 1/2 cup sour cream, 1 large egg, and about 1/2 cup water until the mixture looks shaggy and uneven, with no dry pockets of flour left at the bottom.
- Turn the dough out onto a floured surface and knead for 8–10 minutes. The dough should become smooth and slightly tacky, clinging to itself more than to your hands.
- Add flour 1 tablespoon at a time only if the dough sticks stubbornly to the surface. The finished dough should feel softer than pasta dough but not cling to dry fingers when you press it.
Recommended Products

High Grade Material: Made of stainless steel and soft grip handle, no rust, easy to clean and dishwasher safe. High quality material making them strong so they keep their shape, long lasting and stable, cut through hard or sticky dough with ease.

Material: Made of high-grade stainless steel, not easy to deform and easy to clean.

【♥ Sturdy Material】- These cookie cutters are made from Heavy Duty 304 stainless steel, no rust, dishwasher safe, and fully stainless steel rolled top edges to protect your fingers. Also, The cutter are fully welded seams without sharp dangerous seams.
Rest, Roll, and Cut

- Rest the dough at room temperature for 20-30 minutes after covering it with a cloth or bowl. This relaxes the gluten and makes rolling far easier than tackling it immediately.
- Flour your work surface sparingly. The dough should still feel a little tacky; too much flour turns pierogi tough rather than tender.
- Cut off a portion and roll to just under 1/8-inch thickness. Flip and flour as needed, but keep that flour light.
- Cut 3-inch circles with a biscuit cutter or the rim of a drinking glass. Pack the circles close together to minimize scraps.
- Re-roll the scraps once. They toughen with repeated working, so one re-roll is the limit.
- Keep finished circles under a damp towel while you work. They dry out fast sitting uncovered, and dry edges crack when you try to seal them.
Recommended Products
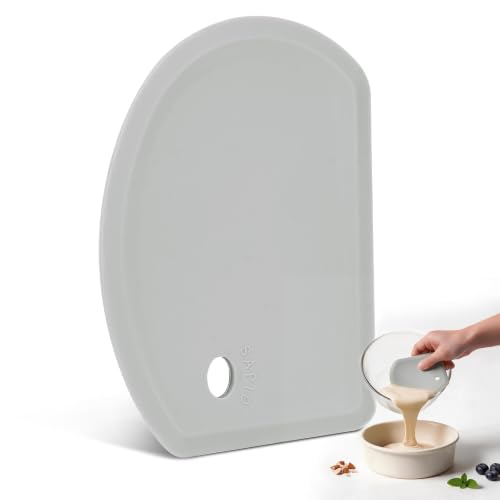
Practical Design : Sapid silicone bowl scraper is composed of stainless steel sheet and premium silicone. The outside of this dough scraper is food-grade silicone, which is equipped with great flexibility and heat resistance. You can easy to handle with the kitchen messes and stacks of dirty bowls.

👩🍳👩🍳👩🍳PERFECT WORK WITH VARIOUS KNEADING BOWLS --- Instead of traditional rigid PP plastic, These flexible dough scrapers are made of durable PE plastic which have better bendability. Because of this special material, these dough Scraper can perfectly match with various kneading bowls when mixing dough or prepare cake flour, And scraper little dough pieces from bowl corner perfectly when transfer wet dough from bowl. Size: 12x9.5cm/4.7x3.7''

* All-in-One Artisan Bread Kit – Includes everything you need to bake like a pro: Danish dough whisk, bread lame with 5 extra blades, silicone brush, dough scraper set (plastic & silicone), and stainless steel bench scraper with measurement guide.
Fill, Seal, and Shape

- Place 1 tablespoon of filling dead center on each dough circle. Too much and the edges won’t meet; too little and you’re eating mostly dough.
- Fold the circle into a half-moon, pressing out air as you go. Trapped air expands in boiling water and pops the seal open.
- Pinch the edges firmly between your fingers, then crimp with fork tines. One source swears by a second pinch-and-twist pass; I find the fork does the job if you press hard enough.
- Lay sealed pierogi on a floured baking sheet, not touching. They stick to each other faster than you’d think, and a torn dumpling is a lost dumpling.
Recommended Products

High quality materials: Our sourdough starter jar cover cloth is made of cotton texture and exquisite sewing technology, which can provide appropriate moisture absorption and ideal humidity level for successful sampling. In addition, unbleached fabric bread fermentation caps are not easily worn or deformed even after long-term use and repeated cleaning. Reusable sourdough jars covers can improve baking efficiency and is a true baking helper

One Small, one Medium and one Large cover included. Great on smooth rim stainless steel, glass, plastic and ceramic containers. Feature a highly leak-free lining to keep moisture in and clean up quickly.

Reusable bowl cover set: 5 sizes, 5 unique patterns, beautiful and practical.
Boil and Optional Fry

- Bring a large pot of water to a rolling boil and add 1 tablespoon of salt. Gently lower in the pierogi in batches, stirring carefully with a spoon so they don’t stick together.
- Boil 2–3 minutes until they float, then let them cook 1 minute more. Fresh pierogi are delicate at this stage, so don’t crowd the pot.
- Remove with a slotted spoon. I drain them on a lightly buttered plate so they don’t cling to each other while I finish the batch.
- For a crisper texture, melt a few tablespoons of butter in a skillet over medium to medium-low heat. Sauté the boiled pierogi until golden, 2–3 minutes per side.
- The two-step method gives you the traditional soft interior with an optional crispy exterior. Serve hot; a dollop of sour cream and fresh chives on top is the move here.
Recommended Products
Premium Safe Silicone:We attach great importance to the health of our customers.So we offer the premium food grade silicone to pretect your safe.

Premium Silicone Bakig Mat: Our kitchen baking mat is crafted with 100% food grade silicone. With 0.7mm thickness reinforced design (2x thicker than standard 0.3mm mats) can withstand daily kneading sourdough, rolling pizza dough, and shaping sticky fondant without warping or degradation

Premium Safe Silicone:We attach great importance to the health of our customers.So we offer the premium food grade silicone to pretect your safe.
Potato and Cheese Filling

The classic potato and cheese filling starts with 2 pounds of russet potatoes, boiled until a fork pierces them easily, then riced or mashed smooth while still warm.
Most recipes pair this with about 8 ounces of cheese, though the type splits cleanly into two camps.
Farmer’s cheese is the traditional choice if you can find it, sharp cheddar is the practical one most home cooks already have, and a few recipes cut cheddar with cream cheese or even Velveeta for extra melt.
Onion matters almost as much as the cheese. Sauté half a large sweet onion in butter until soft and just beginning to color, then fold it into the warm potatoes with salt and white pepper.
The onion should disappear into the mash, not announce itself in chunks.
This is the filling every other variation gets measured against. Sauerkraut, mushroom, fruit, or meat all start from here in the conversation, and most households settle on this one as the default before they branch out.
The proportions are forgiving, the ingredients are grocery-store staples, and the only real mistake is making the mixture too loose, which will fight you when you seal the pierogi later.
Let it cool to room temperature before you start filling; warm filling softens the dough and turns sealing into a struggle.
Recommended Products

Stainless steel rolling pin with thickness rings: This 17-inch rolling pin is made from high quality stainless steel for superior durability and longevity. It resists rust far better than ordinary aluminium rolling pins, embossed rolling pin or tortilla roller. The sturdy and robust construction ensures it will last a long time even with frequent use. Compared to traditional dough roller such as a rolling pin and mat or silicone rolling pin, this rolling pin for dough will add durability to your baking needs.

GREAT FOR BAKING: Ideal for rolling out bread, biscuit, and cookie dough as well as pie crust, pastry, and more

PREMIUM BEECH WOOD CRAFTSMANSHIP – Expertly made from solid, moisture-resistant beech wood, this wooden rolling pin is durable and smooth. The classic design with handles ensures comfort and control while rolling dough for bread, pizza, cookies, pies, pastries, and pasta. A must-have among rolling pins for baking.
Other Fillings

Savory fillings still dominate most American pierogi recipes, though sweet versions turn up for holidays and summer meals. King Arthur Baking Company notes the range plainly: potato and cheese, sauerkraut, cabbage, spiced meats, even fruits and berries.
The dough this recipe makes works for any of them.
Here are the main options worth trying:
- Sauerkraut with caramelized onion — the classic pairing Natasha’s Kitchen and Salt and Baker both mention; drain the sauerkraut well or the dough turns soggy during boiling
- Ground meat or bacon — seasoned meat appears on every source’s list; cook and cool it fully before filling so the fat doesn’t soften the seal
- Mashed potato alone or with cheese — goat, cheddar, or feta all work, though the potato-and-cheese combination remains the version most Americans recognize
- Fruit or sweet cheese — blueberry, cherry, or plum for summer; sweet cheese for Christmas Eve, which Salt and Baker singles out as traditional
Pierogi, boiled dumplings, are very flexible and can be stuffed with a number of savory or sweet fillings… There are as many versions of pierogi as there are cooks who love them.
What this means: the sour cream dough you just mixed handles sweet and savory equally well, so one batch can split directions if your table wants both.
- Mushroom — alone or with spinach and cheese for a denser, vegetarian filling that holds its shape
- Braised cabbage — drain it thoroughly; King Arthur Baking Company lists this separately from sauerkraut and it carries a milder, sweeter flavor
Recommended Products
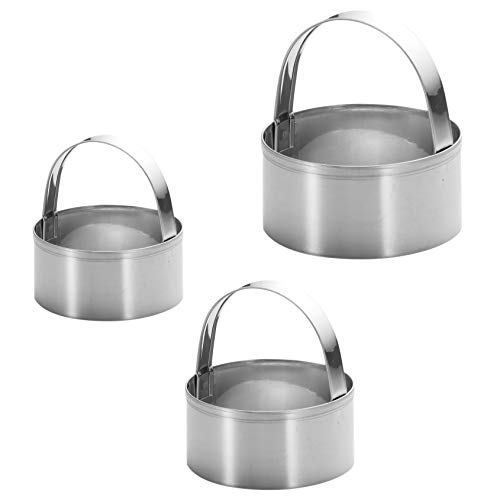
▶Biscuit Cookie Cutter Set - 3 Pieces different size stainless steel circle cutters with handle,range from 2.2 to 3.2 inch,1.5 inch deep

High-Grade Stainless Steel: Rust-proof, easy to clean, and dishwasher safe. Crafted for durability and aesthetics, the biscuit cutters maintain their shape and offer long-lasting quality, blending functionality with style for a seamless culinary experience.

High-Grade Stainless Steel: Rust-proof, easy to clean, and dishwasher safe. Crafted for durability and aesthetics, the biscuit cutters maintain their shape and offer long-lasting quality, blending functionality with style for a seamless culinary experience.
Freeze Before Boiling

A floured baking sheet keeps uncooked pierogi from sticking while they freeze solid. Two hours usually does it, though some batches need closer to three or four before the dough firms up enough to handle.
Once they’re hard, transfer them to a freezer bag and squeeze out as much air as you can. They’ll keep for up to three months.
Cook straight from frozen, adding a minute or two to the boil. The pierogi hold their shape far better than cooked-then-frozen ones, which tend to split or turn mealy on reheating.
The cold also firms the dough, so they don’t cling together in the water the way fresh ones sometimes do.
Recommended Products

Dual Edge for Cutting and Scraping: Straight edge helps divide bread, pastry, and fondant, while the curved edge works for cake batter, chocolate, frosting, and sticky mixes

Dimensions: 6" x 3" blade

【What You Will Get】You will get 4 pcs dough scraper which you can use many times. Never worry again about not having the right bench scraper when making pastries and other foods. Each dough cutter can use for many times.
Sour Cream’s Role in the Dough

Sour cream brings three things to pierogi dough that water-based recipes simply don’t: fat for tenderness, acid that slightly weakens gluten strands, and a subtle tang that lingers in the finished bite.
Traditional doughs lean on egg for richness and boiling water to soften the flour, which works but demands confidence. The hot water method burned my knuckles more than once in early attempts, and the window for workable dough feels narrow.
The fat content in sour cream, typically around 18%, makes the dough more forgiving from the first mix. It kneads smoother, rolls without fighting back, and forgives the occasional extra minute of handling.
Polish home cooks have pushed this method hard in recent years, especially online where beginners trade notes. One forum quote stuck with me: "Thanks to this recipe, I conquered my pierogi-making phobia."
That pliability matters when you’re sealing two dozen pockets and your fingers are still learning the pinch.
Not every family recipe uses it. My grandmother’s card called for water, one egg, and a quarter cup of sour cream, but plenty of cooks skip the dairy entirely and produce excellent results.
Sour cream dough is more delicate: it tears more easily through a pasta press, so you’ll want a rolling pin instead. For weeknight cooks working without specialty equipment, that’s rarely a problem.
Recommended Products

HEAVYWEIGHT PASTRY CLOTH & ROLLING PIN COVER: Large, Heavy duty, cloth with 15" 100% cotton rolling pin cover to create a non-stick surface that makes rolling cookie and pastry dough a breeze
【Perfect Universal Fit】Our reusable bread proofing covers feature elastic edges that securely fit bowls and jars ranging from 8 to 11 inches in diameter. The cotton construction ensures compatibility with various fermentation containers. The snug fit prevents slipping during proofing while accommodating different kitchen needs without requiring multiple covers.

Beautiful Embroidery: Adorned with charming embroidery dandelions, these reusable bowl covers add a touch of elegance and style to your kitchen, making them a delightful addition to any home.
Frequently Asked Questions
Recommended Products
1. Extra Large 27" x 19" Surface:This silicone baking mat offers a generous working area that easily covers most kitchen counters or tabletops. With large size of this baking mat, you can roll out pie crusts, knead bread dough, shape fondant, make pizza bases, or cut cookies all on one surface—no need for multiple mat or cleaning flour off the counter. This dough pastry mat is ideal for home bakers, professionals, and holiday baking prep.

Premium Silicone Bakig Mat: Our silicone pastry mat made of 100% Food-Grade Silicone, no harm to the body, safe use for temperatures of -45 degrees F (-43 C) to 450 degrees F (230 C), no unpleasant chemical odors, providing you more time to enjoy your creations.

Extra Large Silicone Pastry Mat - 50% More Room: Measuring 36 x 24 inches, this extra large silicone baking mat for rolling out dough offers 50% larger working space than regular 28 x 20 inches (51×71cm) pads. The oversized workspace is perfect for rolling, dough – from bread and pizza to pie crusts and cookies – allowing you reducing countertop mess by 90%.
Can I use Greek yogurt instead of sour cream in pierogi dough?
You can, but it will change the flavor. Sour cream brings a specific tang and fat content, around 18%, that makes the dough tender and forgiving.
Greek yogurt has a sharper, different taste and often less fat, so the dough may not roll or seal quite the same way.
How do I freeze pierogi?
Arrange uncooked pierogi on a floured baking sheet so they don’t touch, then freeze until solid, about two to four hours. Transfer to a freezer bag with the air pressed out and store up to three months.
Boil straight from frozen, adding a minute or two to the cooking time.
What is the best way to seal pierogi?
Fold the circle into a half-moon, press out all air as you go, then pinch the edges firmly between your fingers. Crimp with fork tines pressed hard enough to leave clear marks.
Trapped air expands in boiling water and pops the seal open, so that pressing step matters.
What does adding sour cream to pierogi dough do?
It adds fat for tenderness, acid that slightly weakens gluten strands, and a subtle tang in the finished bite. The dough kneads smoother, rolls easier, and forgives more handling than water-based recipes, which is why beginners often prefer it.
What is the authentic recipe for pierogi dough?
There is no single authentic recipe; families vary. Some use only water, egg, and flour with no dairy at all.
Others add sour cream or even boiling water to soften the flour. The sour cream version has become common in recent years, especially among Polish home cooks sharing recipes online, but traditional cooks may skip it entirely.
Is there a secret to perfect pierogi dough?
Rest the dough for 20 to 30 minutes after kneading; this relaxes the gluten and makes rolling far easier. Keep the dough slightly tacky, using flour sparingly on your work surface, since too much flour turns pierogi tough rather than tender.
What is the best flour for pierogi dough?
All-purpose flour is the standard choice and what this recipe calls for.
The amount varies from 2 to 4 cups depending on how much your particular batch absorbs, so start with 3 cups and add more only if the dough sticks stubbornly to the surface during kneading.
About The Author
