Ingredients
You’ll need just a handful of simple ingredients to create these charming Halloween treats. Each component plays a crucial role in bringing your edible witches’ brooms to life.
For the Broom Handles
- 12 pretzel sticks (standard thin pretzel rods work best)
- Optional: 12 chocolate-covered pretzel rods for extra sweetness
For the Broom Bristles
- 6 pieces string cheese (mozzarella sticks)
- 1 cup mini pretzel sticks or pretzel matchsticks
- Alternative: 1 cup thin breadsticks broken into 2-inch pieces
For Assembly
- 12 small rubber bands or kitchen twine pieces (cut into 4-inch lengths)
- 1/2 cup melted chocolate chips (semi-sweet or milk chocolate)
- 1 tablespoon coconut oil or shortening (for smooth melting)
- Parchment paper for workspace protection
Equipment Needed
You’ll need basic kitchen tools to create these spooky Halloween treats successfully. A microwave-safe bowl serves as your primary melting station for the chocolate chips and coconut oil mixture. Small mixing spoons help you stir the melted chocolate to achieve the perfect consistency for dipping.
Your workspace requires parchment paper or wax paper to prevent the witches’ brooms from sticking during the setting process. A large baking sheet provides ample space to arrange your finished treats while they cool and harden.
Sharp kitchen scissors become essential for cutting string cheese into thin strips that create realistic broom bristles. You’ll also need these scissors to trim any uneven pretzel pieces to your desired length.
A small offset spatula or butter knife assists with spreading melted chocolate evenly when dipping the pretzel handles. These tools ensure clean application without making a mess of your workspace.
Keep small bowls nearby to organize your ingredients as you work. One bowl holds the pretzel sticks while another contains the rubber bands or kitchen twine pieces for easy access during assembly.
A cooling rack allows proper air circulation around your completed witches’ brooms. This equipment helps the chocolate set faster and prevents condensation from forming underneath the treats.
Your refrigerator space should accommodate the baking sheet for final chilling. Cold temperatures help the chocolate coating firm up quickly and give your Halloween treats their finished appearance.
Instructions
These witches brooms come together quickly with a few simple assembly steps. You’ll have spooky treats ready in just 15 minutes with these straightforward techniques.
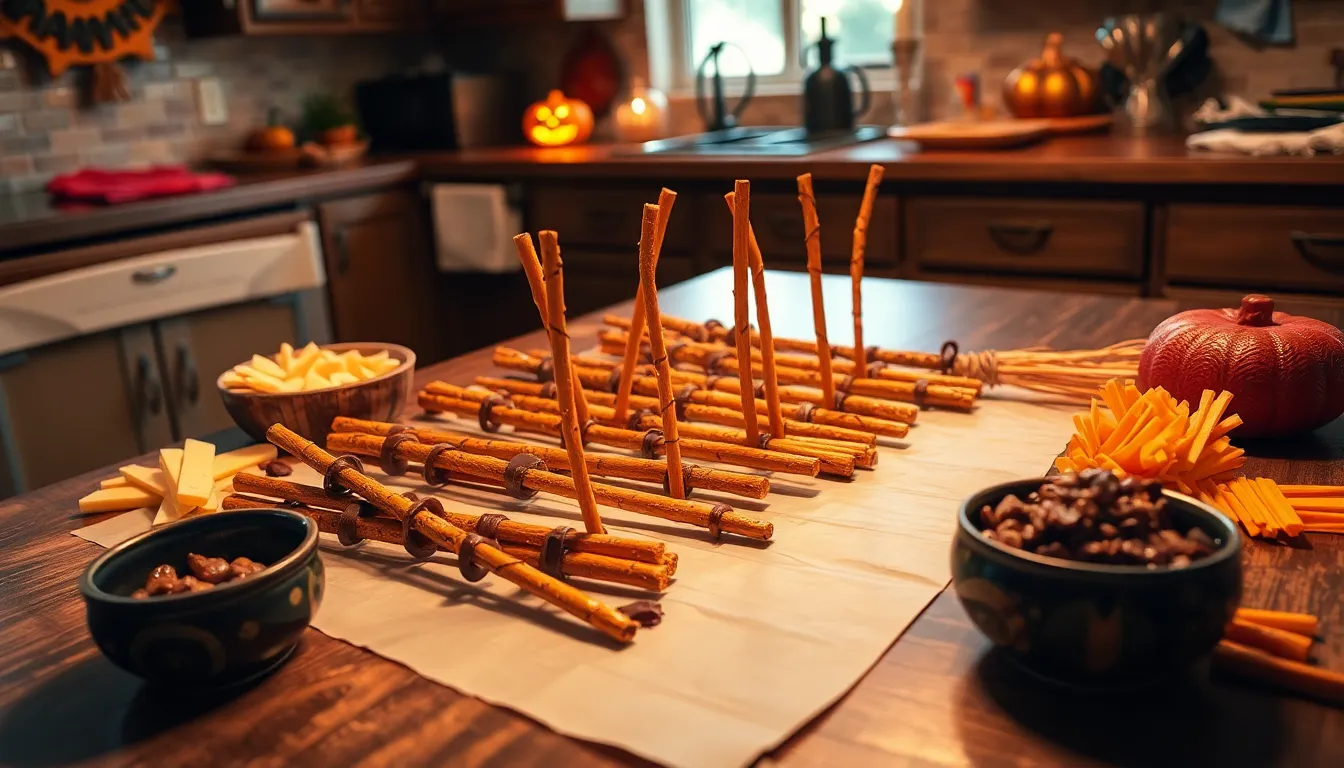
Prep the Pretzel Handles
Inspect each pretzel stick for cracks or broken pieces before starting. Set aside any damaged pretzels and select only the straightest pieces for your broom handles. Line up 12 perfect pretzel sticks on your parchment-lined baking sheet with at least 2 inches of space between each one.
Break any oversized pretzel sticks to create uniform 4-inch handles if needed. Wipe down each pretzel stick with a clean kitchen towel to remove excess salt crystals that might interfere with chocolate adhesion.
Prepare the Cheese Bristles
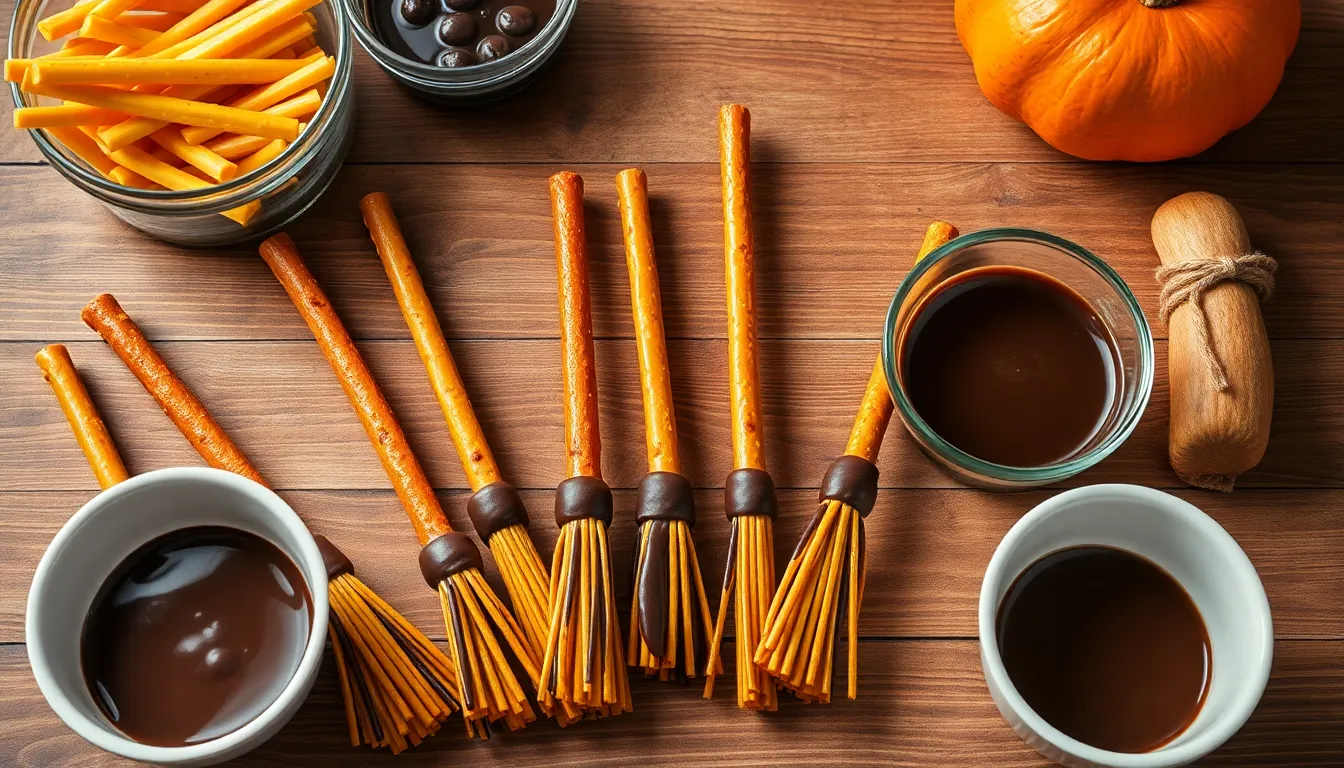
Cut each string cheese stick into 2-inch segments using sharp kitchen scissors. Create thin bristle strands by carefully pulling each cheese segment apart lengthwise into 6-8 thin strips. Work gently to avoid tearing the cheese completely apart.
Arrange the cheese bristles in small bundles of 8-10 strips each on a separate plate. Keep the cheese at room temperature for easier handling during assembly. Create 12 even bundles to match your pretzel handles.
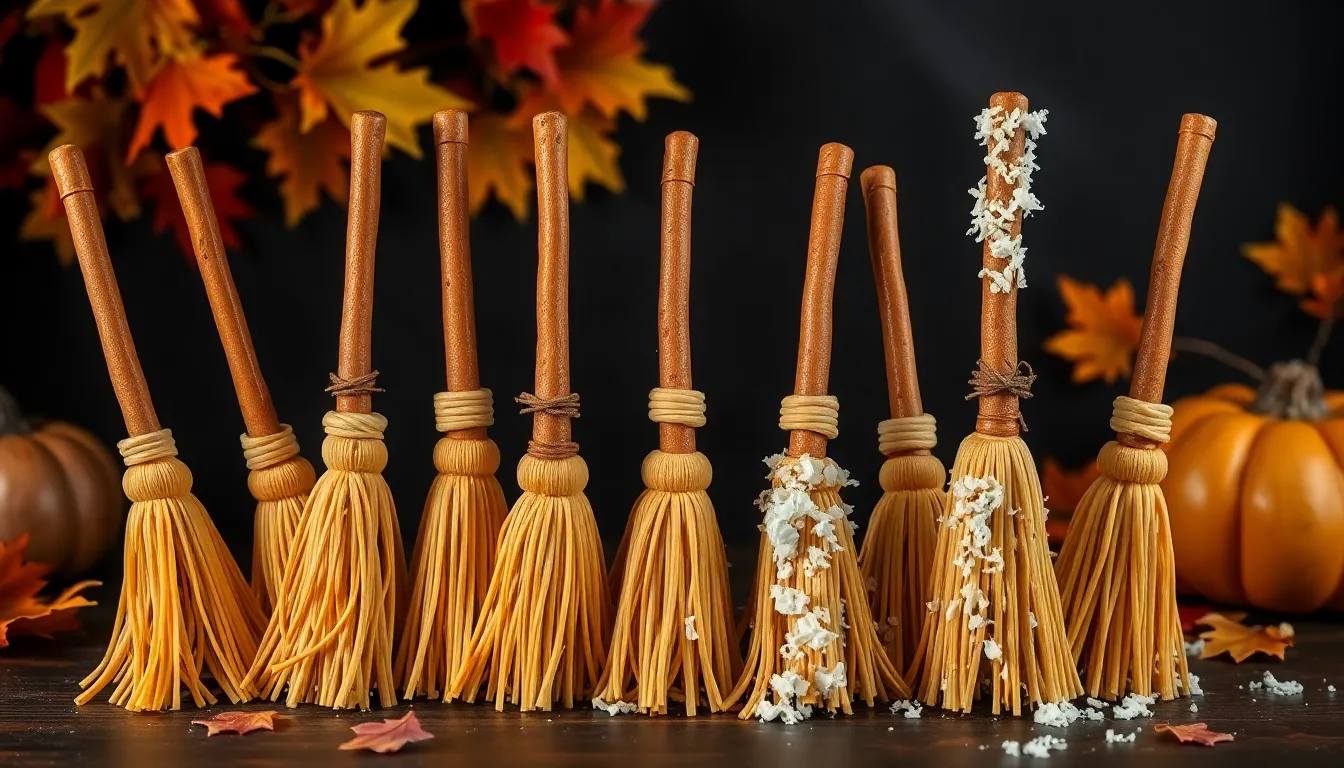
Assemble the Witches Brooms
Take one pretzel handle and position it against a cheese bristle bundle about 1/2 inch from the top. Wrap a small rubber band tightly around the cheese and pretzel to secure the connection. Ensure the rubber band sits snugly without cutting through the cheese.
Repeat this process for all 12 brooms before moving to the chocolate coating step. Trim any uneven cheese bristles with kitchen scissors to create neat uniform lengths.
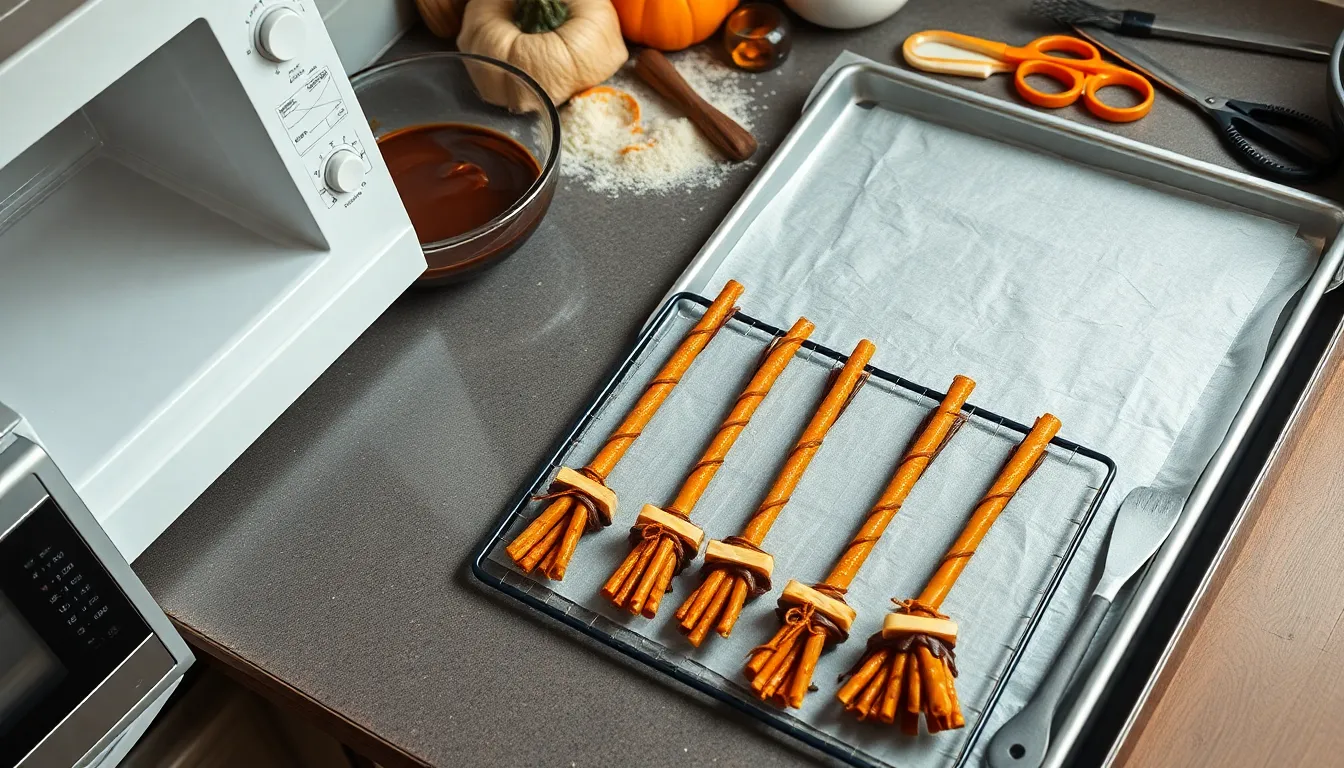
Melt the chocolate chips and coconut oil in your microwave-safe bowl using 30-second intervals. Stir between each heating cycle until the mixture reaches a smooth dipping consistency. Dip each assembled broom handle into the melted chocolate covering the rubber band connection completely.
Place each dipped broom back on the parchment-lined baking sheet with bristles facing downward. Refrigerate the completed brooms for 10 minutes until the chocolate sets firmly.
Directions for Serving
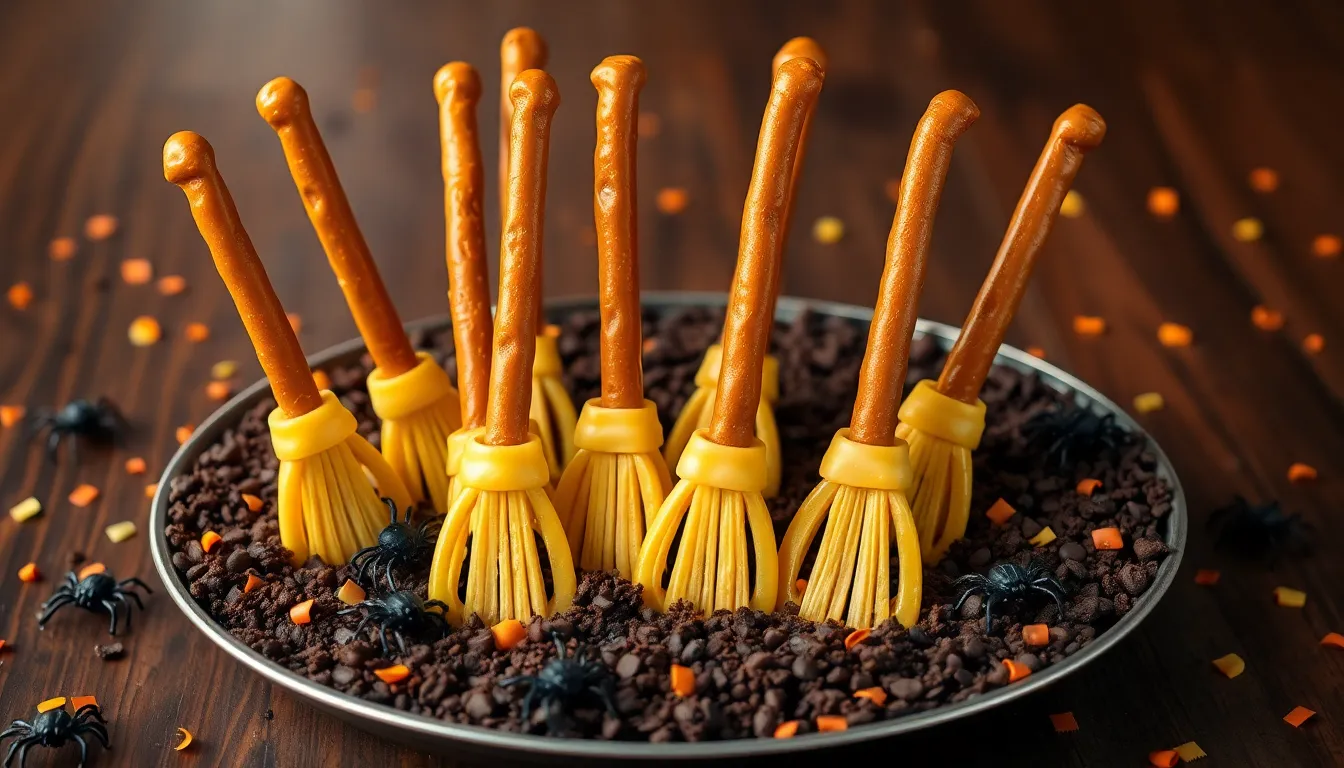
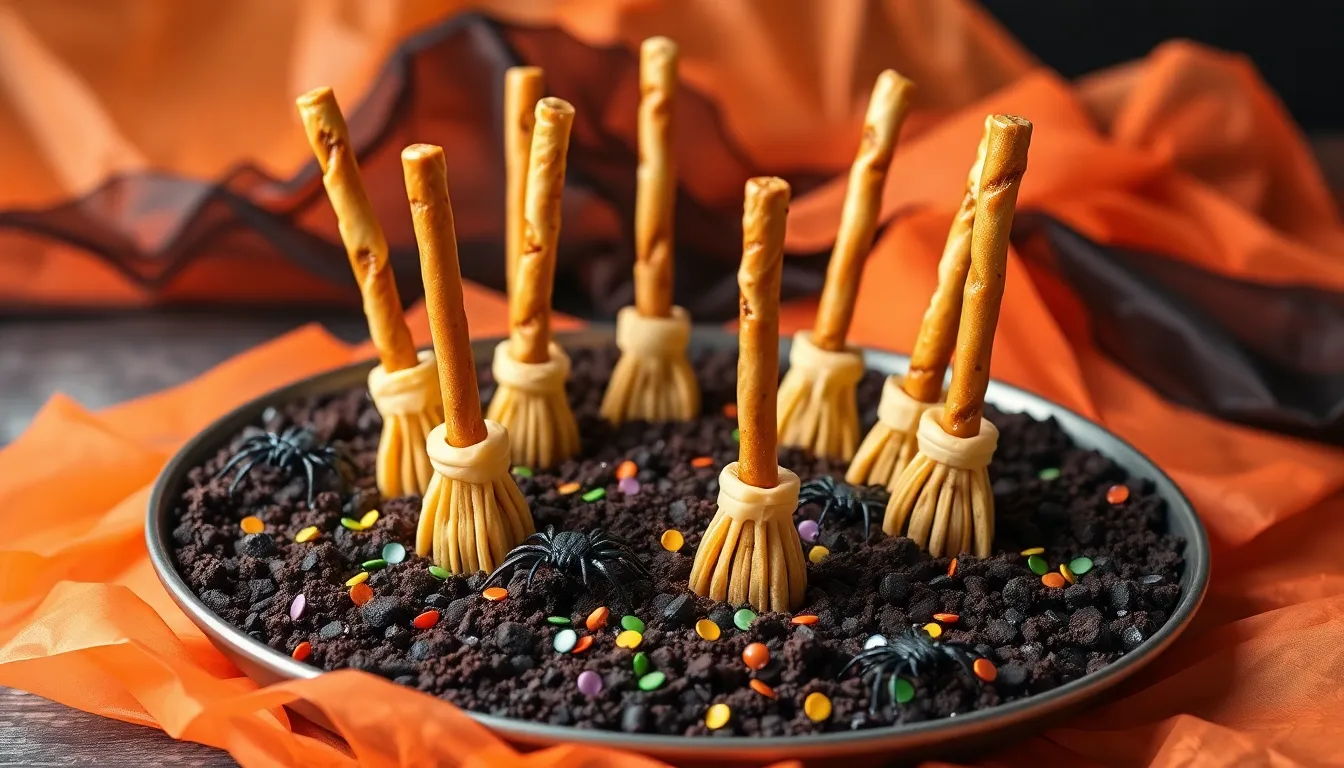
Arrange your finished witches’ brooms on a Halloween-themed platter or serving tray lined with orange and black tissue paper. Position them upright by gently pressing the pretzel handles into a bed of chocolate cookie crumbs to create the illusion of dirt around magical broomsticks.
Create an enchanting display by grouping 3-4 brooms together at varying heights. Place taller brooms toward the back and shorter ones in front for visual depth. Scatter miniature plastic spiders or Halloween confetti around the base of your serving area to enhance the spooky atmosphere.
Serve these treats at room temperature for the best texture and flavor combination. The chocolate coating maintains its snap while the cheese bristles stay tender and easy to bite. Store any leftover brooms in the refrigerator but allow them to come to room temperature for 10-15 minutes before serving again.
Consider pairing your witches’ brooms with other Halloween finger foods like pumpkin-shaped crackers or orange punch. The salty-sweet flavor profile complements both savory dips and sweet treats perfectly. Present them alongside traditional Halloween candy for guests who prefer healthier snack options.
Label your serving area with a creative sign reading “Magical Broomsticks” or “Witch’s Workshop Snacks” to help guests identify these unique treats. Provide small napkins nearby since the chocolate coating may leave fingerprints on hands during enjoyment.
Make-Ahead Tips
You can prepare witches’ brooms up to three days before your Halloween event with proper storage techniques. The assembled brooms maintain their best texture and appearance when stored in an airtight container in the refrigerator.
Component Preparation Timeline
| Preparation Step | Advance Time | Storage Method |
|---|---|---|
| Pretzel selection and inspection | 1 week | Room temperature in sealed container |
| String cheese cutting | 2 days | Refrigerated in covered bowl |
| Chocolate melting and dipping | 3 days | Refrigerated after setting |
| Final assembly | 3 days | Airtight container, refrigerated |
Prepare your pretzel handles by selecting the straightest pieces and storing them in a sealed container at room temperature. This prevents them from becoming stale while ensuring you have the best pieces ready for assembly.
Cut your string cheese into bristles up to two days ahead. Store the prepared cheese strips in a covered bowl in the refrigerator to maintain freshness and prevent them from drying out.
Melt and dip your chocolate coating the day before your event for optimal results. The chocolate sets completely within two hours and maintains its glossy finish when stored properly.
Storage Best Practices
Place completed witches’ brooms in a single layer on parchment paper before transferring to storage containers. Layer additional brooms with parchment paper between each level to prevent sticking.
Remove the brooms from refrigeration 15 minutes before serving to bring them to ideal room temperature. This allows the cheese to soften slightly and the chocolate to lose its chill without compromising the overall structure.
Keep backup ingredients on hand when making brooms in advance. Extra pretzel sticks and string cheese ensure you can quickly remake any brooms that may break during storage or transport.
Storage Instructions
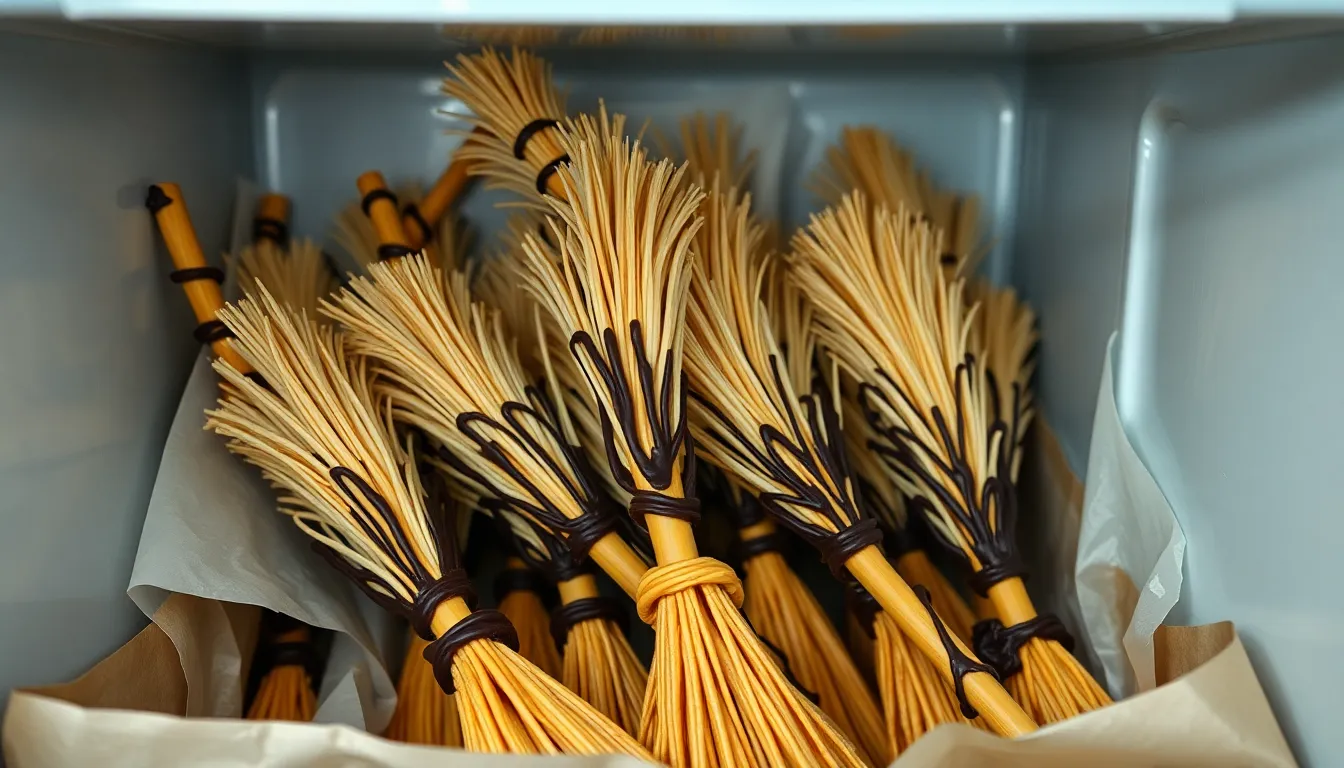
Store your completed witches’ brooms in an airtight container in the refrigerator to maintain their freshness and prevent the chocolate from softening. Layer parchment paper between brooms to prevent them from sticking together and breaking the delicate cheese bristles.
Your Halloween treats will stay fresh for up to 5 days when properly refrigerated. Place the container on a flat shelf where the brooms won’t be jostled or crushed by other items.
Keep the brooms away from strong-smelling foods since the cheese can absorb odors from nearby items. Seal the container tightly after each use to prevent moisture from affecting the pretzel texture.
Remove the witches’ brooms from refrigeration 15 minutes before serving to allow them to reach the ideal temperature. This brief warming period ensures the chocolate coating has the perfect texture and the cheese bristles are pliable rather than stiff.
Avoid storing these treats at room temperature for extended periods since the chocolate may soften and the cheese can spoil. If your kitchen is particularly warm during Halloween season, consider keeping them refrigerated until the moment you serve them.
For transport to parties or school events, pack the brooms in a shallow container with secure lid. Add extra parchment paper padding to prevent movement during travel and maintain their spooky appearance.
Freeze leftover brooms for up to one month if you need longer storage. Wrap each broom individually in plastic wrap before placing them in a freezer-safe container to prevent freezer burn and preserve their Halloween charm.
Variations and Substitutions
Transform your witches’ brooms into unique Halloween treats by experimenting with different ingredients and creative alternatives. These simple swaps allow you to customize the recipe based on dietary preferences or available pantry items.
Different Cheese Options
String cheese provides the classic look for broom bristles but several alternatives work equally well. Mozzarella sticks offer similar texture and can be pulled apart into thin strands just like string cheese. Cheddar cheese sticks create golden bristles that add vibrant color to your Halloween display.
You can substitute with cream cheese mixed with shredded cheddar for a softer texture that’s easier to shape. Vegan cheese alternatives made from nuts or soy work perfectly for dairy-free versions. Goat cheese rolled into thin logs and chilled creates elegant white bristles with a sophisticated flavor profile.
Alternative Handle Ideas
Standard pretzel sticks serve as the traditional broom handle but creative substitutions add variety to your treats. Breadsticks provide a sturdier base and come in different flavors like garlic or herb-crusted varieties. Thin vanilla wafer cookies create sweet handles that complement the chocolate coating.
Chocolate-covered pretzel rods offer extra sweetness and eliminate the need for melting additional chocolate. Cinnamon sticks provide an aromatic twist and natural autumn appeal. Mini churros work exceptionally well as handles and add a delightfully crispy texture.
Creative Bristle Alternatives
Beyond cheese options many ingredients can create convincing broom bristles with different textures and flavors. Shredded coconut mixed with yellow food coloring mimics straw bristles perfectly. Thin pasta like angel hair or vermicelli broken into 2-inch pieces provides an unexpected crunch.
Julienned apples or pears create fresh fruit bristles that add natural sweetness. Thin strips of yellow bell pepper offer a healthy vegetable option with satisfying crunch. Shredded wheat cereal separated into individual strands provides a realistic straw appearance. Toasted coconut flakes bundled together create golden bristles with tropical flavor notes.
Serving Suggestions
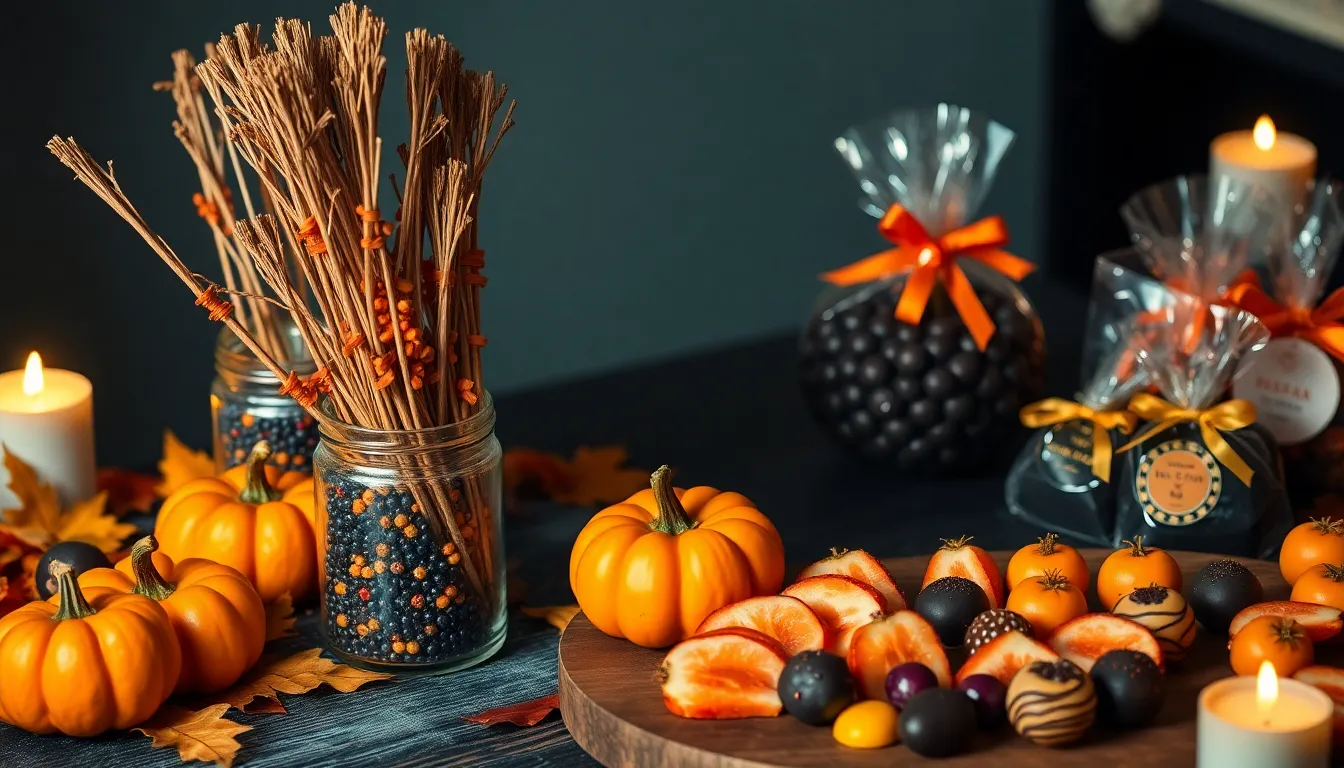
Present your witches’ brooms on a Halloween-themed serving tray decorated with autumn leaves and miniature pumpkins. Create an enchanting display by arranging the brooms in small glass jars filled with orange and black sprinkles to simulate magical dust. Position some brooms upright while laying others at angles to create visual interest across your serving area.
Transform your party table by placing the brooms alongside other Halloween finger foods like spider deviled eggs and pumpkin-shaped crackers. You can create a spooky “witch’s pantry” theme by labeling each treat with handwritten tags that look aged and mysterious. Dim lighting with battery-operated candles enhances the atmospheric effect while keeping your treats safely illuminated.
Serve these brooms as part of a Halloween charcuterie board featuring orange and purple fruits like persimmons and grapes. Add complementary textures by including chocolate-covered strawberries shaped like ghosts and orange-colored popcorn. The sweet and salty combination of your brooms pairs perfectly with apple cider or hot chocolate for younger guests.
Consider creating individual serving portions by placing 2-3 brooms in small Halloween-themed bags tied with ribbon. This presentation works exceptionally well for classroom parties or trick-or-treat handouts. You can also stand the brooms in shot glasses filled with chocolate cookie crumbs to create miniature “dirt” displays that guests can take with them.
For adult Halloween parties, pair these whimsical treats with themed cocktails served in cauldron-shaped glasses. The playful nature of the brooms adds a lighthearted element that balances more sophisticated party foods. Create conversation starters by sharing the simple recipe with guests who admire your creative presentation.
Conclusion
These charming witches’ brooms offer the perfect blend of simplicity and Halloween magic for your seasonal celebrations. You’ll love how quickly they come together with just a few pantry staples while delivering maximum visual impact at parties or gatherings.
The versatility of this recipe means you can easily adapt it to suit different dietary needs or creative preferences. Whether you’re making them for trick-or-treaters or adult Halloween parties the playful presentation never fails to spark conversation and smiles.
Your guests will be impressed by these whimsical treats that look professionally crafted but require minimal effort. With proper storage techniques you can prepare them days ahead making your Halloween hosting stress-free and enjoyable.