
Ingredients
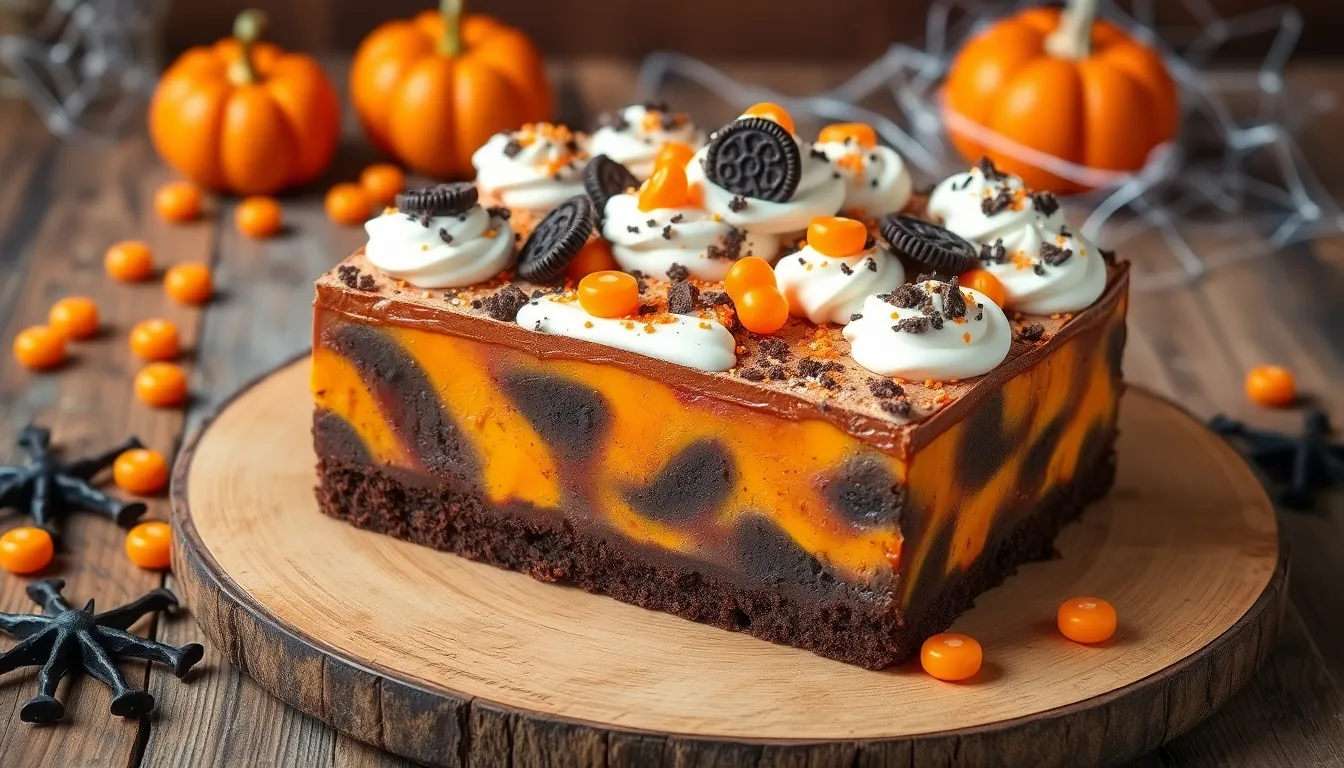
This Halloween poke cake requires simple pantry staples and colorful pudding to create its signature spooky appearance. Gather these ingredients to transform an ordinary chocolate cake into a festive Halloween centerpiece.
Recommended Products

Includes 100 count Halloween theme decorative toothpicks. Economical, disposable and eco-friendly

100-PIECE SET: Includes 100 Halloween tooth picks featuring 5 festive designs: pumpkin, spider, ghost, skull, and bat.
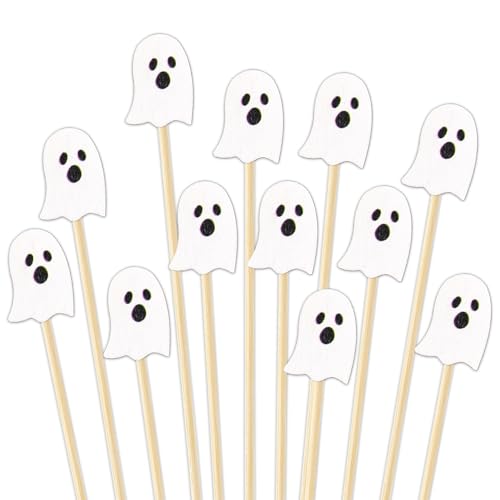
SUFFICIENT QUANTITY: 100Pcs Halloween cocktail picks, the overall length of the bamboo sticks is about 5.1 inch, they will offer sufficient quantity and always keep your hands at a safe distance from the food.
For the Cake
- 1 box (15.25 oz) chocolate cake mix
- 3 large eggs
- 1/3 cup vegetable oil
- 1 1/4 cups water
- 1 teaspoon vanilla extract
For the Filling
- 2 boxes (3.4 oz each) instant vanilla pudding mix
- 4 cups cold milk
- Orange food coloring
- Black food coloring
- 2 separate mixing bowls for color division
For the Topping
- 1 container (8 oz) frozen whipped topping, thawed
- 1/4 cup chocolate cookie crumbs
- 2 tablespoons orange sprinkles
- 12 Halloween-themed gummy candies or decorative picks
- 1 tablespoon mini chocolate chips
Equipment Needed
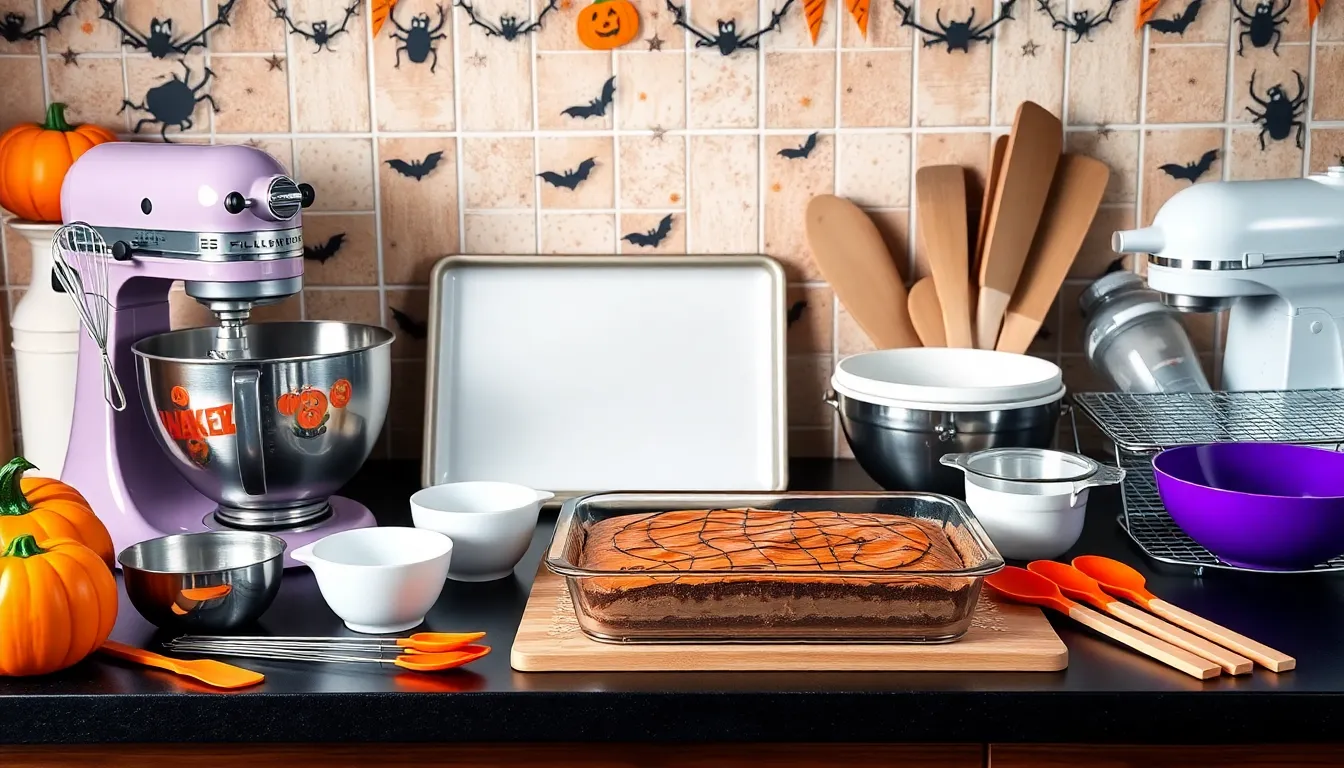
Your Halloween poke cake success depends on having the right tools ready before you begin mixing and baking. A 9×13 inch baking dish serves as your foundation for this spooky dessert creation. You need this exact size to ensure proper cake thickness and adequate space for the pudding filling to settle into the poked holes.
Electric mixers make your preparation process significantly easier. A stand mixer or hand mixer helps you achieve the perfect cake batter consistency and ensures your pudding mixture reaches the ideal thickness for poking. The mixing process becomes effortless when you have proper equipment handling the heavy lifting.
Sharp skewers or wooden dowels create the essential holes that transform your ordinary cake into a poke cake masterpiece. You want tools that penetrate cleanly through the entire cake depth without creating jagged tears. Metal skewers work exceptionally well because they slide through the cake smoothly and create uniform holes.
Measuring tools ensure your ingredient ratios remain accurate throughout the baking process. You need liquid measuring cups for milk and oil plus dry measuring cups for the cake mix and pudding powder. Measuring spoons handle your vanilla extract and food coloring portions with precision.
Mixing bowls in various sizes accommodate different preparation stages. Large bowls work perfectly for cake batter while medium bowls handle your pudding mixture. You want separate bowls for each colored pudding to prevent accidental mixing before you create the marbled effect.
A wire cooling rack allows proper air circulation around your finished cake. This tool prevents soggy bottoms and ensures even cooling before you add the pudding layers. Your cake needs complete cooling to prevent the pudding from melting or becoming too thin.
Rubber spatulas help you fold ingredients gently and scrape bowl sides thoroughly. These flexible tools ensure you incorporate all ingredients without overmixing your batter. You need multiple spatulas to keep different colored puddings separate during preparation.
Recommended Products

9 x 13 inch rectangular cake pan; made from aluminized steel; a mix of steel for strength and durability and aluminum for superior heat conductivity; oven safe to 450°F

Naturals bakeware is made of pure aluminum which will never rust for a lifetime of durability. Foods bake and brown evenly due to aluminum’s superior heat conductivity.

FARBERWARE STRONG: This baking pan's heavy-duty construction resists warping and heats evenly to brown beautifully and help reduce hot spots
Instructions
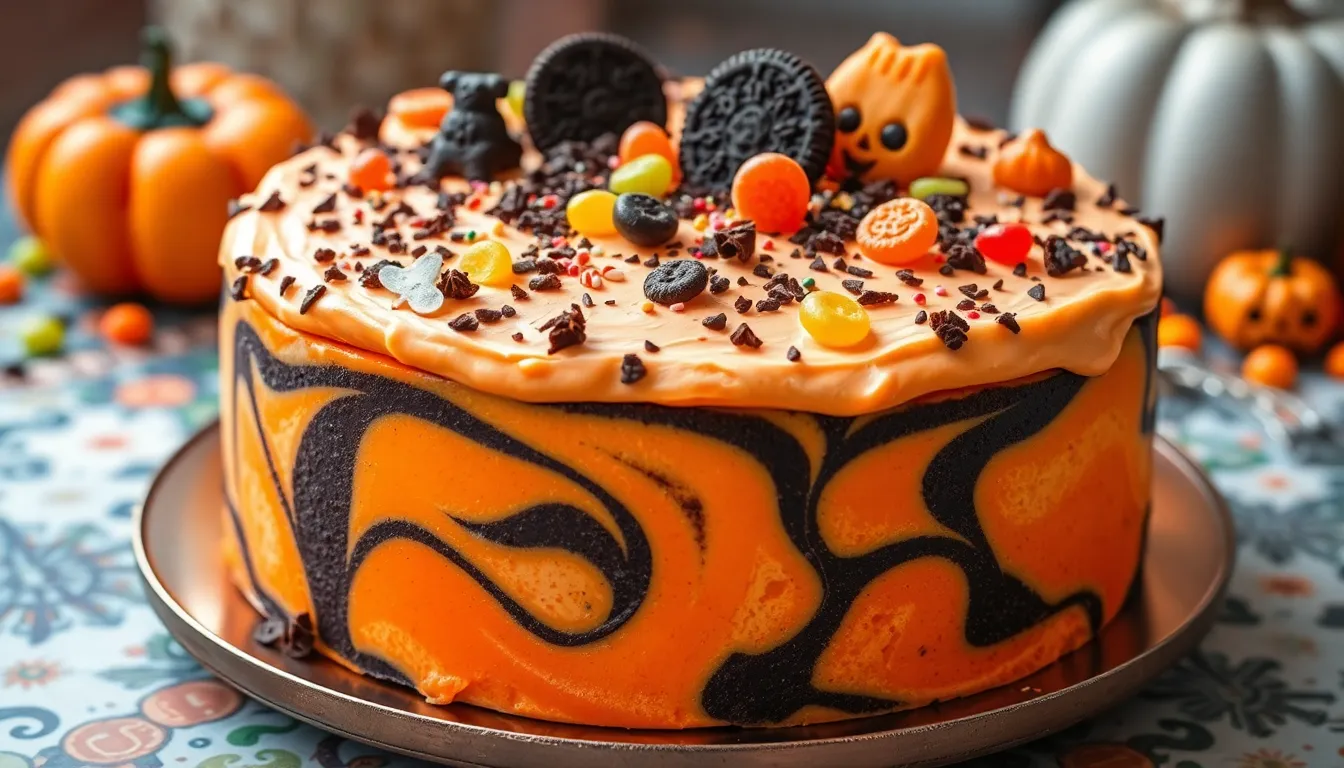
Follow these step-by-step instructions to create your spooky Halloween poke cake masterpiece. Each stage builds upon the previous one to achieve that perfect marbled effect and festive presentation.
Recommended Products

One 3.4 oz box of Jell-O Vanilla Artificially Flavored Instant Pudding & Pie Filling Mix

One 5.1 oz box of Jell-O Vanilla Artificially Flavored Instant Pudding & Pie Filling Mix

SIMPLY JELL-O: One 3.4 oz box of Jell-O Simply Vanilla Flavored with Other Natural Flavor Instant Pudding and Pie Filling Mix
Prep the Cake
Preheat your oven to 350°F and grease your 9×13 inch baking dish with cooking spray or butter. Combine the chocolate cake mix, eggs, vegetable oil, water, and vanilla extract in a large mixing bowl. Beat the mixture with an electric mixer on medium speed for 2 minutes until smooth and well combined. Pour the batter into your prepared baking dish and spread it evenly with a rubber spatula. Bake for 28-32 minutes or until a toothpick inserted in the center comes out with just a few moist crumbs. Remove from oven and place on a wire cooling rack for 15 minutes before proceeding to the next step.
Make the Poke Holes
Use the handle of a wooden spoon or a sharp skewer to poke holes evenly across the entire surface of the warm cake. Space the holes about 1 inch apart and push them down about three-quarters of the way through the cake. Create approximately 48-50 holes for optimal pudding distribution. The holes should be large enough to allow the pudding to flow down but not so big that they compromise the cake’s structure.
Prepare the Filling
Whisk together the instant vanilla pudding mix and cold milk in a medium mixing bowl for 2 minutes until thickened. Divide the pudding mixture evenly between two separate bowls. Add orange food coloring to one bowl and mix until you achieve a vibrant orange color. Add black food coloring to the second bowl and stir until you reach a deep black shade. Work quickly as the pudding will continue to thicken as it sits.
Add the Filling
Pour the orange pudding over half of the cake surface using a spoon to guide it into the holes. Immediately pour the black pudding over the remaining half of the cake. Use a knife or skewer to gently swirl the two colors together in some areas to create a marbled Halloween effect. Allow the pudding to settle into the holes for 5 minutes before moving to the next step.
Make the Topping
Crush the chocolate sandwich cookies in a food processor or by placing them in a sealed plastic bag and rolling over them with a rolling pin until you have fine crumbs. Mix the whipped topping with a few drops of orange food coloring in a large bowl until you achieve a light orange tint. Fold in half of the cookie crumbs gently with a rubber spatula to maintain the topping’s fluffy texture.
Assemble and Chill
Spread the orange-tinted whipped topping evenly over the entire cake surface using an offset spatula or rubber spatula. Sprinkle the remaining cookie crumbs over the top followed by orange sprinkles and mini chocolate chips. Arrange Halloween-themed gummy candies strategically across the surface for maximum visual impact. Cover the cake with plastic wrap and refrigerate for at least 4 hours or overnight to allow the flavors to meld and the cake to set properly before serving.
Directions for Serving
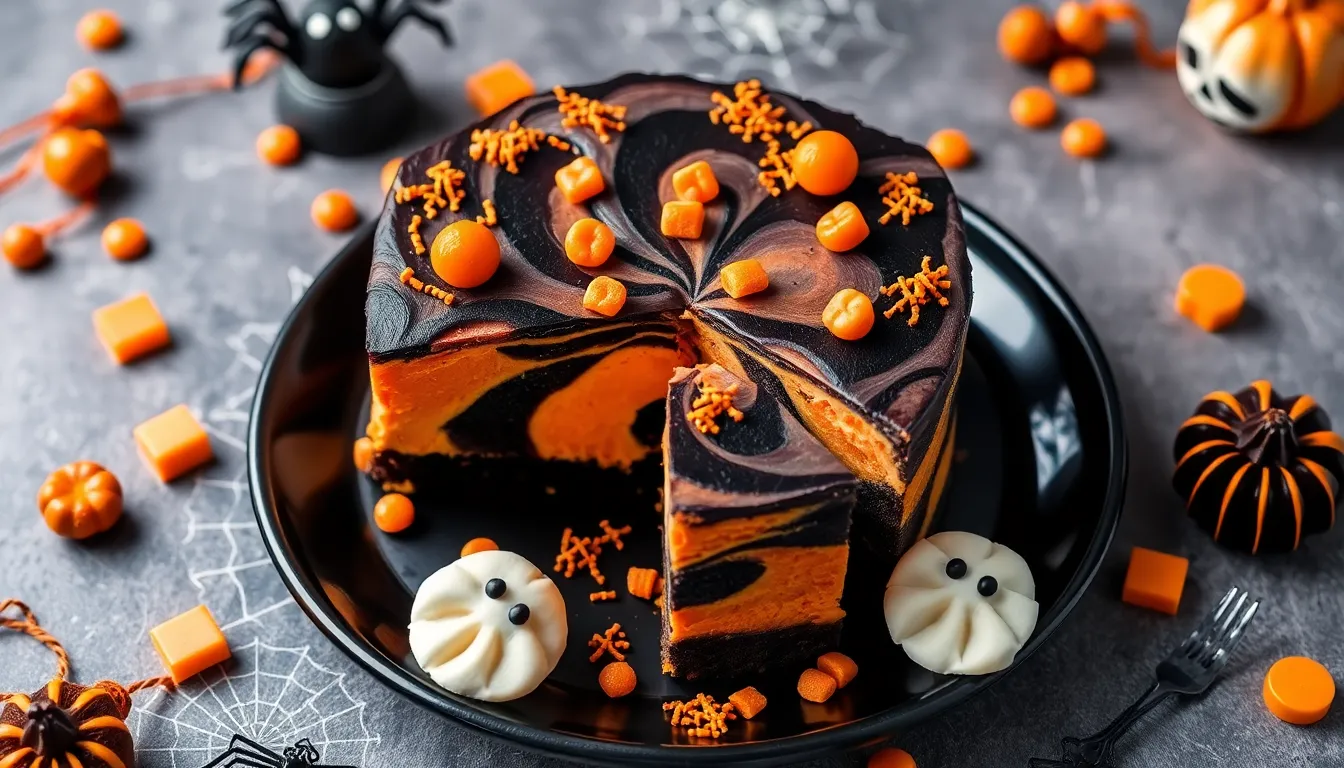
Remove your Halloween poke cake from the refrigerator 10-15 minutes before serving to allow it to reach optimal serving temperature. This brief warming period ensures the cake maintains its moist texture while keeping the pudding filling perfectly set.
Cut your cake into neat squares using a sharp knife dipped in warm water between cuts. Clean the blade after each slice to maintain clean edges and prevent the colorful pudding layers from smudging together. The standard 9×13 inch cake yields 12-15 generous servings depending on your desired portion size.
| Serving Size | Number of Pieces | Dimensions |
|---|---|---|
| Small | 15 pieces | 3×2.6 inches |
| Medium | 12 pieces | 3.25×3.25 inches |
| Large | 9 pieces | 4.33×3.25 inches |
Place each slice on individual dessert plates using a wide spatula to support the cake layers. The marbled orange and black pudding creates an eye-catching presentation that showcases the Halloween theme beautifully on white or black plates.
Garnish each serving with additional Halloween decorations if desired. Scatter extra gummy candies around the plate or dust with cocoa powder for a spooky graveyard effect. Orange sprinkles along the plate edges add festive flair without overwhelming the cake’s existing decorations.
Serve your poke cake chilled for the best texture and flavor experience. The cool temperature enhances the pudding’s creamy consistency while allowing the chocolate cake’s rich flavor to shine through. Store any remaining portions covered in the refrigerator for up to 3 days.
Pair your Halloween poke cake with themed beverages like orange punch or black coffee to complete the spooky presentation. The cake’s sweet chocolate and vanilla flavors complement both fruity and caffeinated drinks perfectly.
Recommended Products

Eye-Catching Color Premium blends add vivid, rich, fade-resistant, true-to-shade colors that are made specially for your baking and cake decorating. Our assortment of soft gel food coloring includes a rainbow of hues from neon, pastel, primary, and more. Mix our gels for a seemingly limitless color palette!

SHOWCASE YOUR CREATIVITY: Our liqua-gel food coloring kit easily adds vibrant color to your creations without altering the taste, texture or consistency of the final product

Eye-Catching Color Premium blends add vivid, rich, fade-resistant, true-to-shade colors that are made specially for your baking and cake decorating. Our assortment of soft gel food coloring includes a rainbow of hues from neon, pastel, primary, and more. Mix our gels for a seemingly limitless color palette!
Make-Ahead Tips
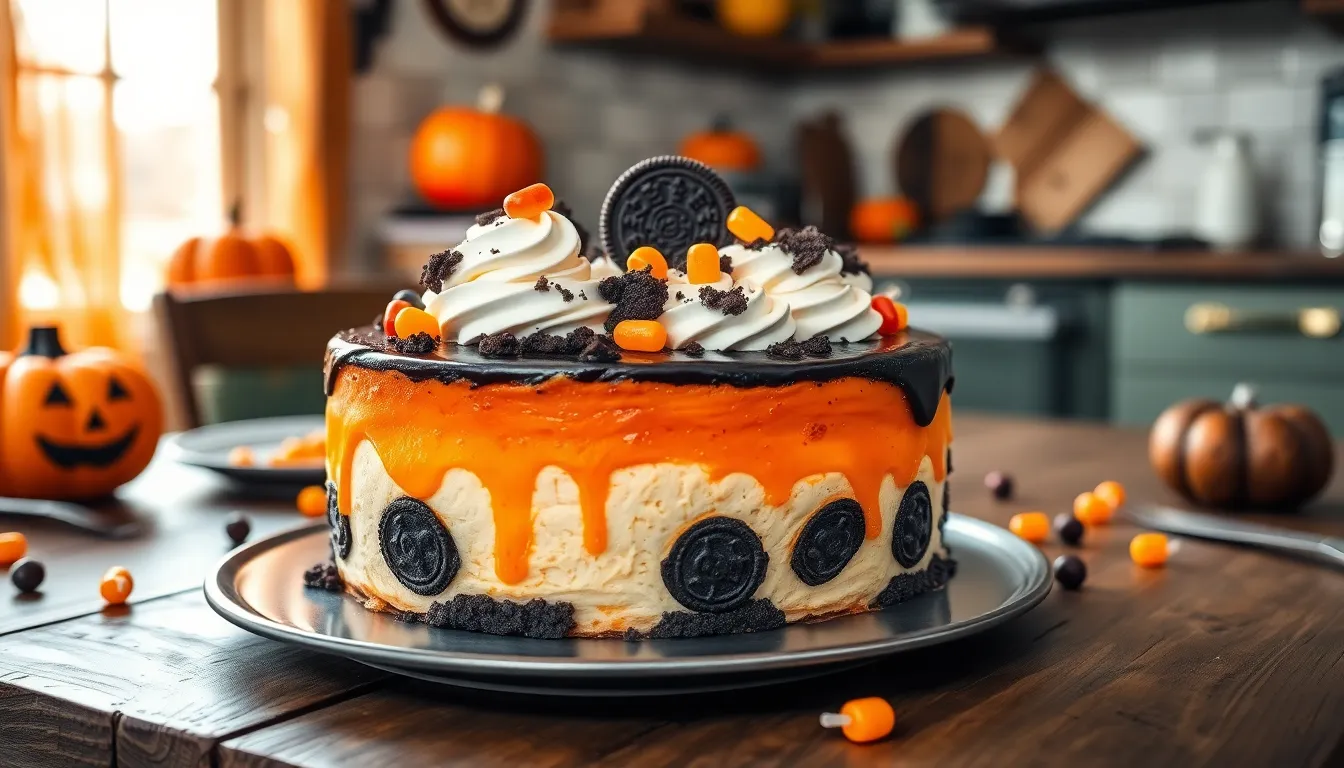
You can prepare this Halloween poke cake completely up to two days before your party. After assembling the cake with its colorful pudding filling and whipped topping, cover it tightly with plastic wrap and refrigerate. The flavors actually improve with time as the pudding settles deeper into the cake holes.
Prepare the cake base up to three days in advance if you prefer breaking down the process. Bake and poke the chocolate cake, then wrap it securely in plastic wrap and store at room temperature. You can add the pudding filling and complete the assembly the day before serving.
Make the pudding mixture several hours ahead to save time on party day. Prepare both orange and black pudding separately, cover each bowl with plastic wrap, and refrigerate until ready to use. The pudding will maintain its vibrant colors and smooth consistency.
Store your decorative elements separately to maintain their texture and appearance. Keep chocolate cookie crumbs in an airtight container at room temperature. Place Halloween gummy candies and mini chocolate chips in sealed bags to prevent them from becoming stale or sticky.
Freeze individual cake squares for longer storage if needed. Cut the completed cake into serving portions, wrap each piece in plastic wrap, and freeze for up to one month. Thaw frozen pieces in the refrigerator for four to six hours before serving.
Set up your serving station the night before your Halloween event. Arrange serving plates, napkins, and any additional decorative elements you plan to use. This preparation allows you to focus on your guests rather than last minute cake presentation details.
Recommended Products

Bag comes with (50) individually wrapped gummy body parts

Halloween Gummy Missing Body Parts: These Halloween Gummy Missing Fingers, Eyes, Brain, and Bones Candy are perfect for Halloween Parties, Pirate Parties, and all Spooky entertainment. They add Fun, Decoration, and Atmosphere to your Halloween party that will leave good memories for all your guests

Halloween Non Candy Trick or Treat: Awesome Led flashing rings as Halloween party favors for family or friends gathering. Perfect choice for trick or treat and Halloween gift bag fillers, Halloween costumes, play night games. LED rings are fit both kids and adults. Give guests rings and let them shine in the dark
Storage Instructions
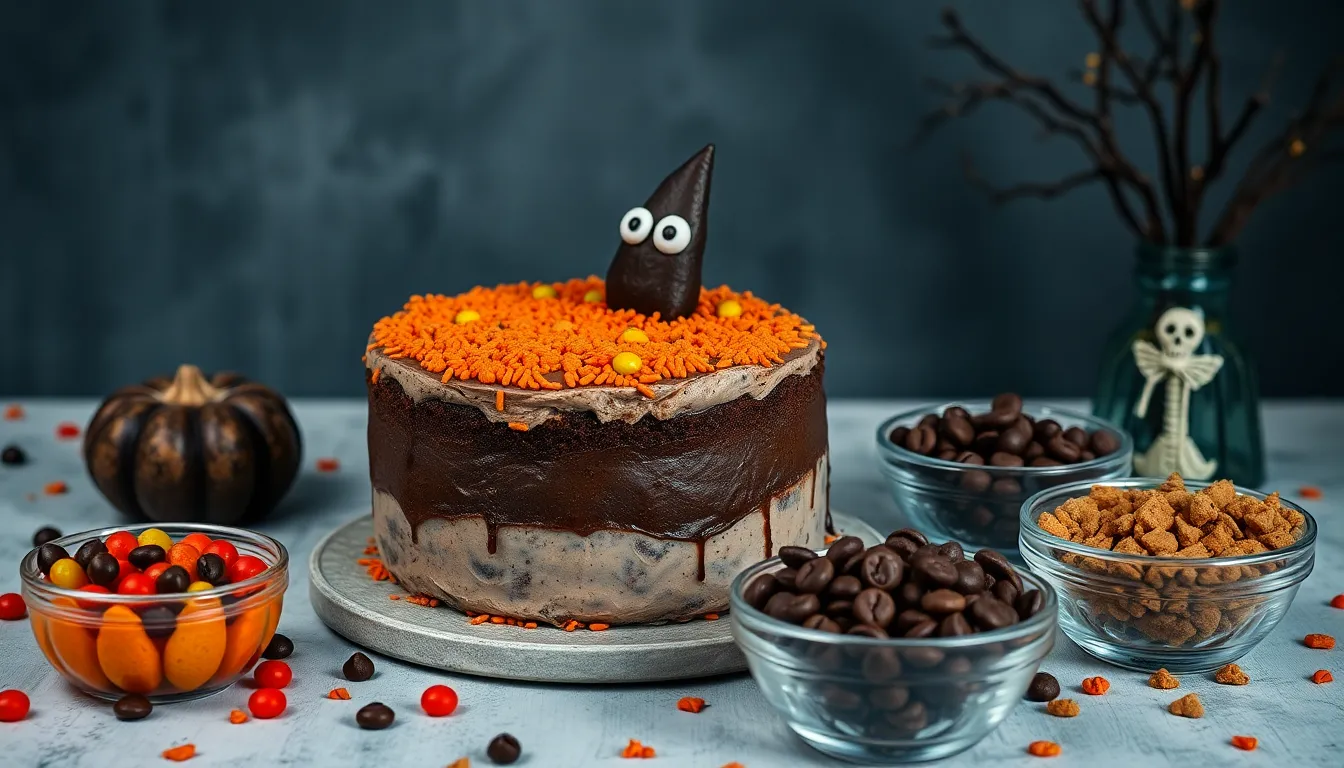
Your Halloween poke cake maintains its best quality when stored properly in the refrigerator. Cover the entire 9×13 inch dish tightly with plastic wrap or aluminum foil to prevent the cake from absorbing other flavors and to keep the pudding filling from forming a skin. The sealed cake stays fresh for up to three days when refrigerated at 40°F or below.
Individual cake squares store beautifully when wrapped separately in plastic wrap or placed in airtight containers. This method prevents the pieces from sticking together and makes serving easier for parties or quick snacks. Each wrapped portion maintains its moisture and flavor for the same three-day period.
You can freeze leftover cake squares for extended storage up to three months. Wrap each piece individually in plastic wrap then place them in freezer-safe bags or containers. Label with the date to track freshness. Thaw frozen pieces in the refrigerator overnight before serving to restore the proper texture.
Store any leftover decorative toppings separately from the cake itself. Keep gummy candies in airtight containers at room temperature and chocolate chips in cool dry places to prevent melting or texture changes. Orange sprinkles and cookie crumbs should be sealed in containers away from moisture to maintain their crunch.
Remove the cake from refrigeration 10-15 minutes before serving to achieve optimal texture. This brief warming period softens the cake layers slightly while keeping the pudding filling properly set. Never leave the cake at room temperature for more than two hours to maintain food safety standards.
Recommended Products

RISE FROM THE DEAD: Transform your treats with halloween cupcake murder! Add these 72 zombie hands cupcake toppers to add a spooky flair. Perfect for any halloween decor, these large 5" picks are versatile for jello shots, appetizers, and of course, cupcakes. They're a fun addition to party monster events, enhancing your zombie cake decorations and making your desserts scream Halloween!

Plenty for Party Needs: Includes 100 ghost cocktail picks in pink and white, perfect for Halloween and fall gatherings, offering enough quantity for large events or multiple uses.

Sufficient Quantity: the package includes 50 pieces of Halloween cupcake toppers with 5 different designs including pumpkins, ghosts, spiders, bats and skeletons, each design for 10 pieces, enough for your party needs
Variations and Customizations
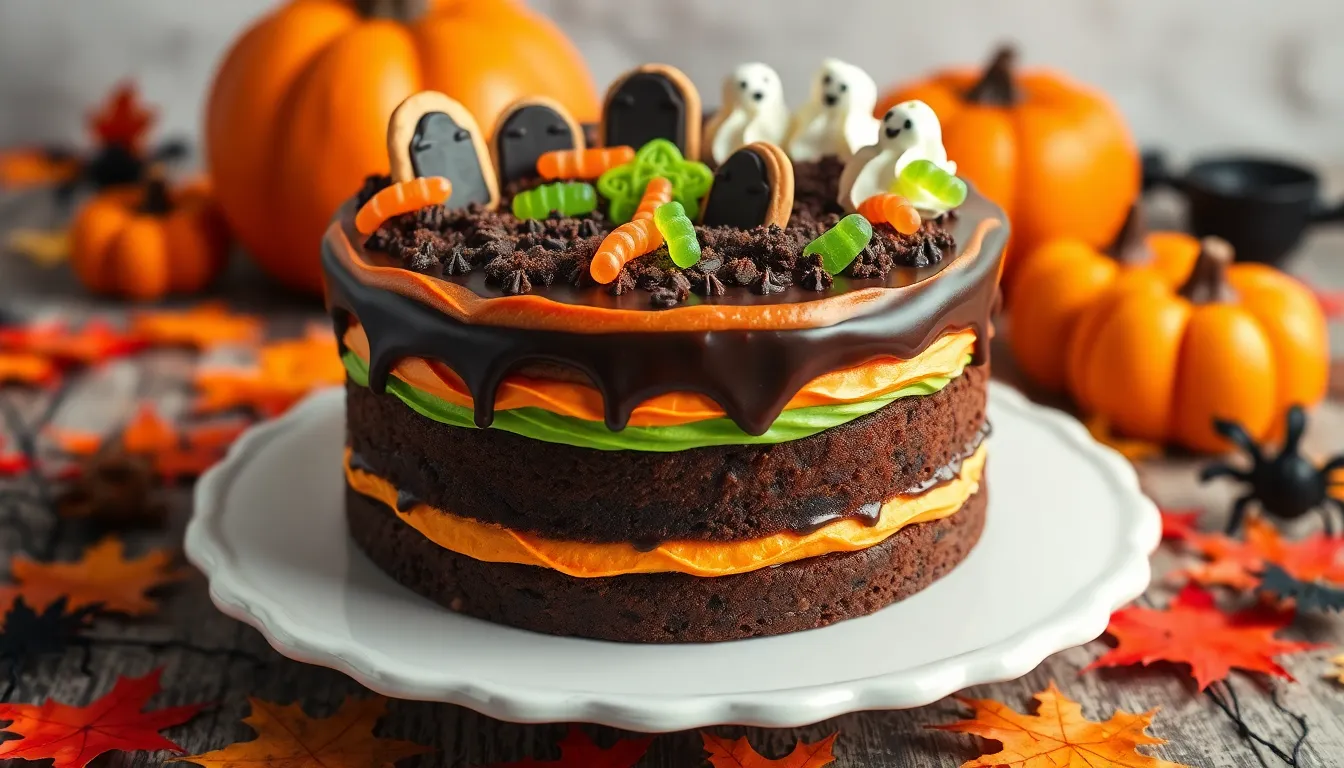
Transform your Halloween poke cake into a completely different creation with these creative alternatives. Customize every element to match your exact Halloween vision and dietary preferences.
Recommended Products

Bake with confidence with Wilton Aluminum Pans. Designed in the USA and made from natural anodized aluminum, this 9x13 Inch rectangular sheet cake pan delivers durability and rust-resistance, ensuring a consistent result every time.
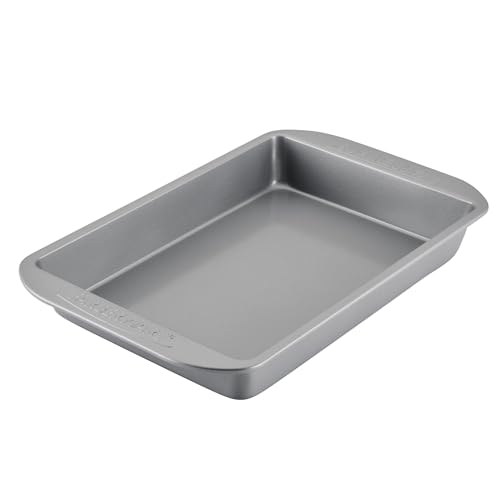
NO WARP DURABILITY: This nonstick 9x13 cake pan features heavy-duty construction that resists warping and heats evenly to brown beautifully and help reduce hot spots

9" x 13" – Versatile size for everyday baking needs
Different Flavor Combinations
Chocolate Pumpkin Spice: Replace vanilla pudding with pumpkin spice instant pudding mix and add orange food coloring for an autumn-inspired twist. Mix in 1/2 teaspoon cinnamon and 1/4 teaspoon nutmeg to enhance the seasonal flavors.
Orange Creamsicle: Use orange cake mix instead of chocolate and prepare vanilla pudding with orange extract. Add orange zest to the whipped topping for a citrusy finish that mimics the classic creamsicle flavor profile.
Red Velvet Halloween: Substitute red velvet cake mix for chocolate and use cream cheese instant pudding instead of vanilla. Create burgundy and black swirls with food coloring to maintain the spooky aesthetic.
Funfetti Ghost: Start with white cake mix and vanilla pudding, then add black food coloring for dramatic contrast. Incorporate mini white chocolate chips throughout the pudding layer for added texture.
Caramel Apple: Use spice cake mix with butterscotch pudding and green food coloring. Top with caramel drizzle and chopped dried apples for a fall harvest theme.
Mint Chocolate Chip: Keep chocolate cake but use pistachio instant pudding with green food coloring. Add mini chocolate chips to the pudding layer and crushed mint cookies on top.
Spooky Decoration Ideas
Cemetery Scene: Create tombstone shapes using rectangular sandwich cookies pressed vertically into the cake surface. Arrange them in rows and add “RIP” messages using white chocolate chips or small candies.
Spider Web Design: Drizzle melted white chocolate in concentric circles over the dark topping, then drag a toothpick from center to edge to create web patterns. Place plastic spiders at strategic points for added effect.
Graveyard Dirt: Crush chocolate sandwich cookies and mix with cocoa powder for realistic “dirt” texture. Scatter gummy worms throughout the surface and add small skeleton hands emerging from the “ground.”
Pumpkin Patch Theme: Use orange sprinkles as the base and arrange mini pumpkin candies across the surface. Create “vines” using green icing piped in curving lines between the pumpkins.
Ghostly Apparitions: Pipe whipped cream into ghost shapes using a star tip, then add mini chocolate chips for eyes and mouths. Dust with edible pearl powder for an ethereal shimmer.
Bloody Handprints: Use red gel food coloring mixed with corn syrup to create realistic “blood” handprints across the white topping. Add red sprinkles around the prints for splatter effects.
Witches’ Brew Bubbles: Top with green-tinted whipped cream and add various sizes of green candies to simulate bubbling potion. Sprinkle edible glitter for magical sparkle.
Haunted Forest: Stand pretzel sticks upright as “dead trees” and surround them with chocolate cookie crumbs. Add orange and black candies as “autumn leaves” scattered on the ground.
Conclusion
This Halloween poke cake delivers the perfect combination of delicious flavor and spooky presentation that’ll make your party unforgettable. You’ve got everything you need to create a show-stopping dessert that’s surprisingly simple to make yet impressive enough to wow your guests.
The beauty of this recipe lies in its flexibility – you can customize colors decorations and flavors to match your exact Halloween vision. Whether you’re hosting a kids’ party or an adult gathering this cake adapts to any spooky celebration.
With proper storage techniques and make-ahead options you can prepare this festive treat without last-minute stress. Your Halloween party just got a whole lot sweeter with this eye-catching centerpiece that tastes as amazing as it looks.
About The Author
