Ingredients
I keep this recipe simple with just four essential ingredients that create the perfect Halloween treat. Each component plays a crucial role in achieving that irresistible sweet and salty combination.
For the White Chocolate Base
- 12 ounces white chocolate chips or chopped white chocolate
- 1 tablespoon coconut oil or vegetable shortening (optional for smoother melting)
For the Toppings
- 2 cups mini pretzel twists
- 1 cup candy corn
- 1/4 cup Halloween sprinkles (optional for extra color)
Equipment Needed
Creating this Halloween candy corn pretzel bark requires minimal equipment that most home bakers already have in their kitchen. I always make sure to gather all my tools before starting to ensure smooth preparation.
Large baking sheet serves as my primary workspace. I line it with parchment paper or a silicone baking mat to prevent sticking and make removal easy. The sheet should be large enough to spread the bark mixture evenly in a single layer.
Double boiler or microwave-safe bowl handles the chocolate melting process. I prefer using a double boiler for more controlled melting but the microwave works perfectly for quick preparation. When using a microwave I choose a medium-sized glass or ceramic bowl that allows easy stirring.
Rubber spatula or wooden spoon helps me stir the melting chocolate smoothly. The spatula works best for scraping down bowl sides and ensuring even melting without burning the chocolate.
Measuring cups ensure accurate ingredient proportions. I use separate cups for dry ingredients like pretzels and candy corn to avoid cross-contamination of flavors.
Offset spatula or back of a spoon spreads the melted chocolate mixture evenly across the prepared baking sheet. This tool creates the perfect thickness for breaking into pieces once set.
Sharp knife cuts the finished bark into serving pieces. I wait until the bark completely hardens before cutting to achieve clean breaks without cracking.
Instructions
Creating this festive Halloween treat requires just four simple steps that take about 20 minutes from start to finish. I’ll walk you through each stage to ensure your candy corn pretzel bark turns out perfectly every time.
Prep the Baking Sheet
I always start by lining a large baking sheet with parchment paper or a silicone baking mat. This prevents the bark from sticking and makes removal much easier once it sets. Make sure the parchment paper extends slightly over the edges of the pan for easy lifting later.
Melt the White Chocolate
I prefer using a double boiler method for the smoothest results. Fill a saucepan with about an inch of water and bring it to a gentle simmer. Place a heatproof bowl on top and add the white chocolate chips. Stir frequently with a rubber spatula until the chocolate melts completely and becomes smooth. If you’re using coconut oil or vegetable shortening add it now and stir until fully incorporated.
For the microwave method place the white chocolate in a microwave-safe bowl. Heat in 30-second intervals at 50% power stirring between each interval until completely melted. This prevents the chocolate from burning and ensures a silky texture.
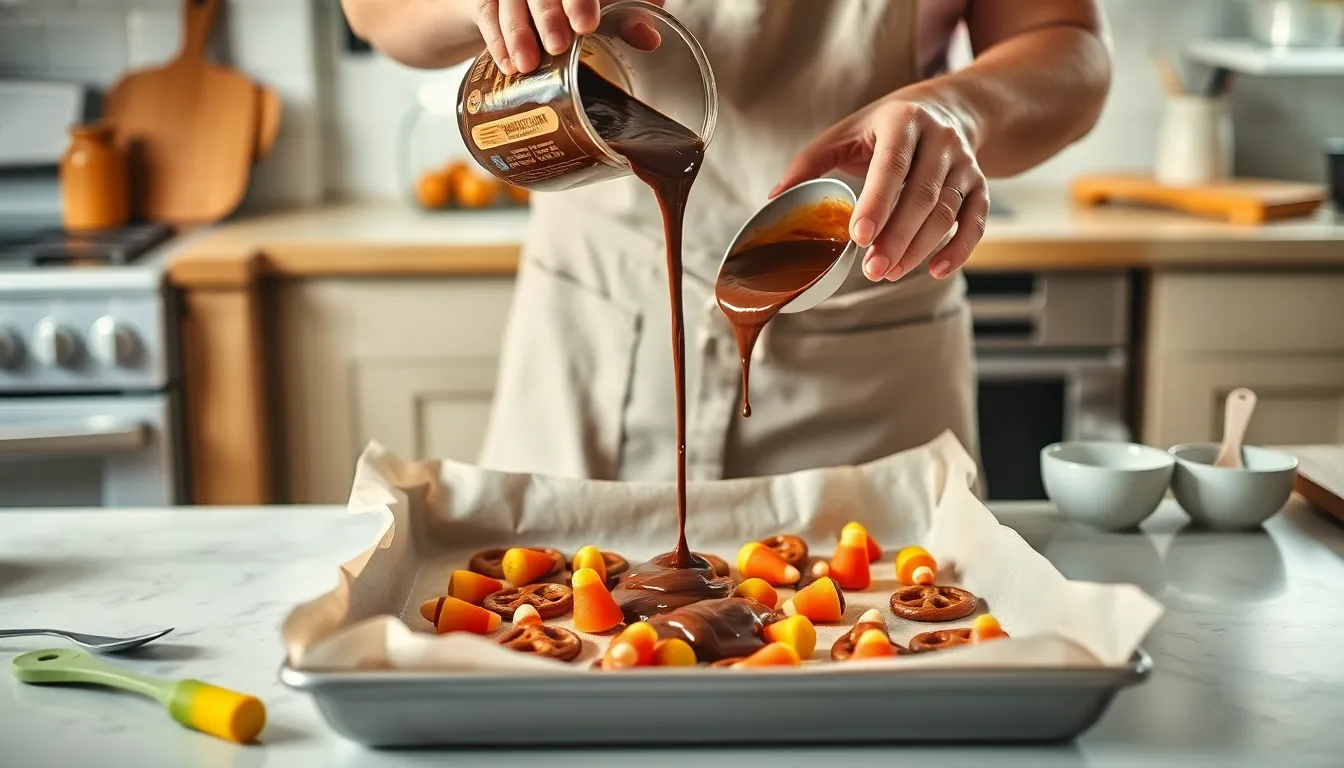
Add the Toppings
Working quickly I pour the melted white chocolate onto the prepared baking sheet. Using an offset spatula or the back of a spoon I spread it into an even layer about 1/4 inch thick. The chocolate should cover most of the baking sheet surface.
Immediately sprinkle the mini pretzel twists evenly over the chocolate surface. I gently press them down to ensure they stick well. Next I scatter the candy corn pieces throughout making sure to distribute them evenly for the best visual appeal. If using Halloween sprinkles I add them now while the chocolate is still warm and tacky.
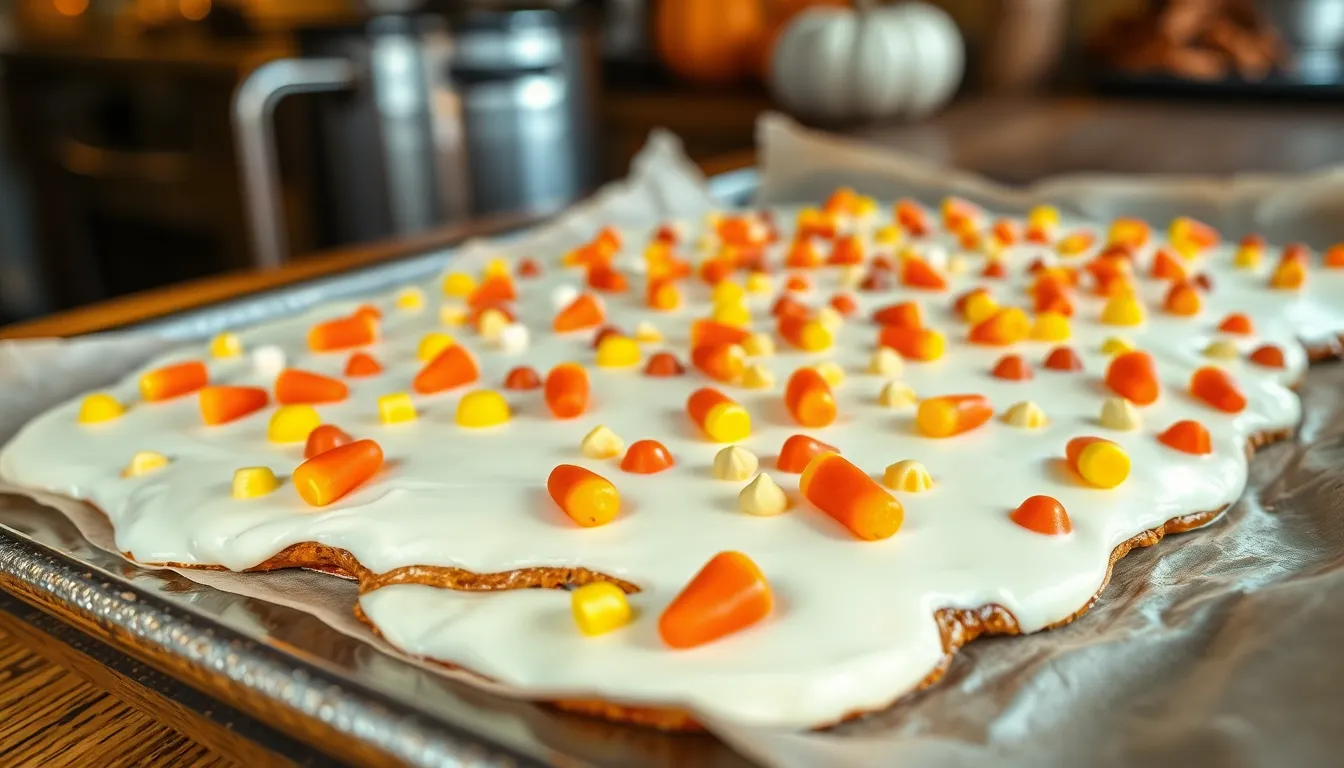
Let It Set
I place the baking sheet in the refrigerator for at least 30 minutes or until the chocolate is completely firm. Room temperature setting takes about 2 hours but refrigeration speeds up the process significantly. The bark is ready when you can touch the surface without leaving fingerprints.
Once set I lift the bark using the parchment paper edges and transfer it to a cutting board. Using a sharp knife I cut it into irregular pieces or break it by hand for a more rustic appearance. Store the finished bark in an airtight container at room temperature for up to one week.
Directions for Serving
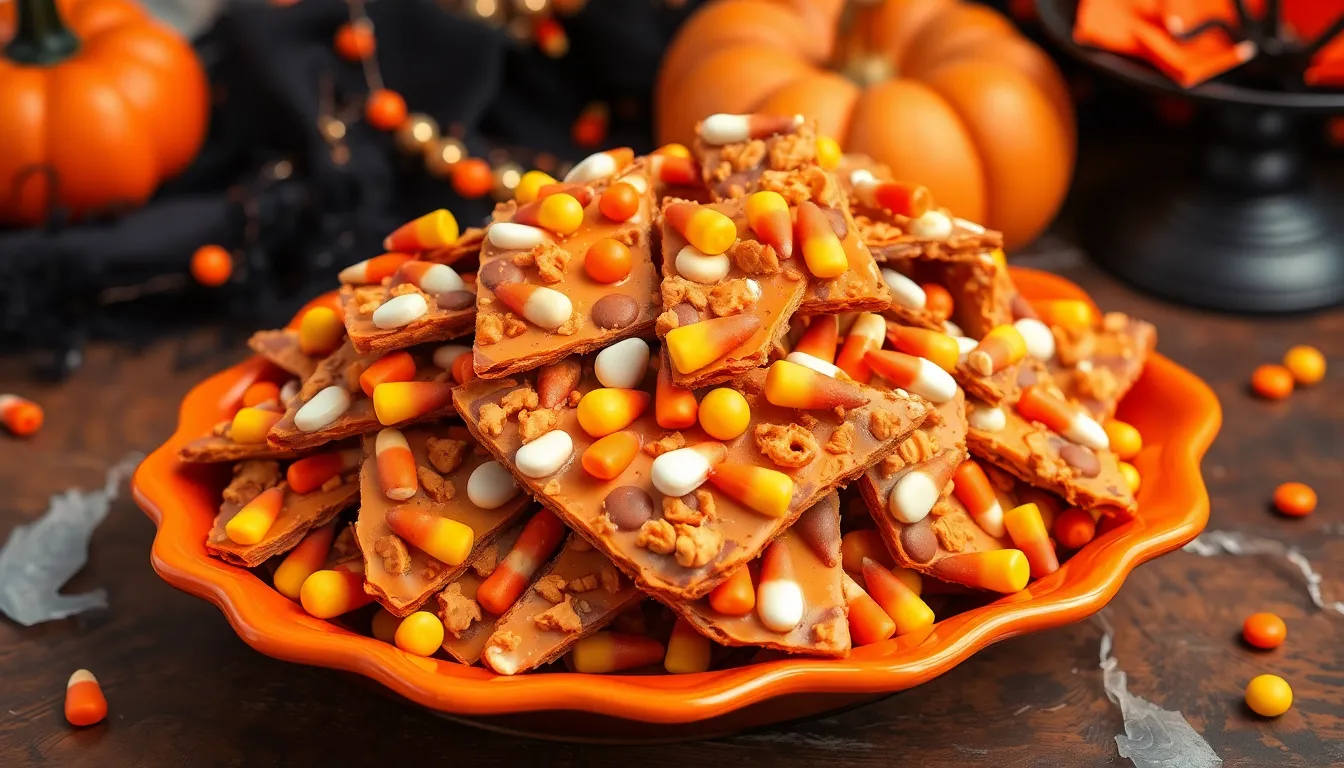
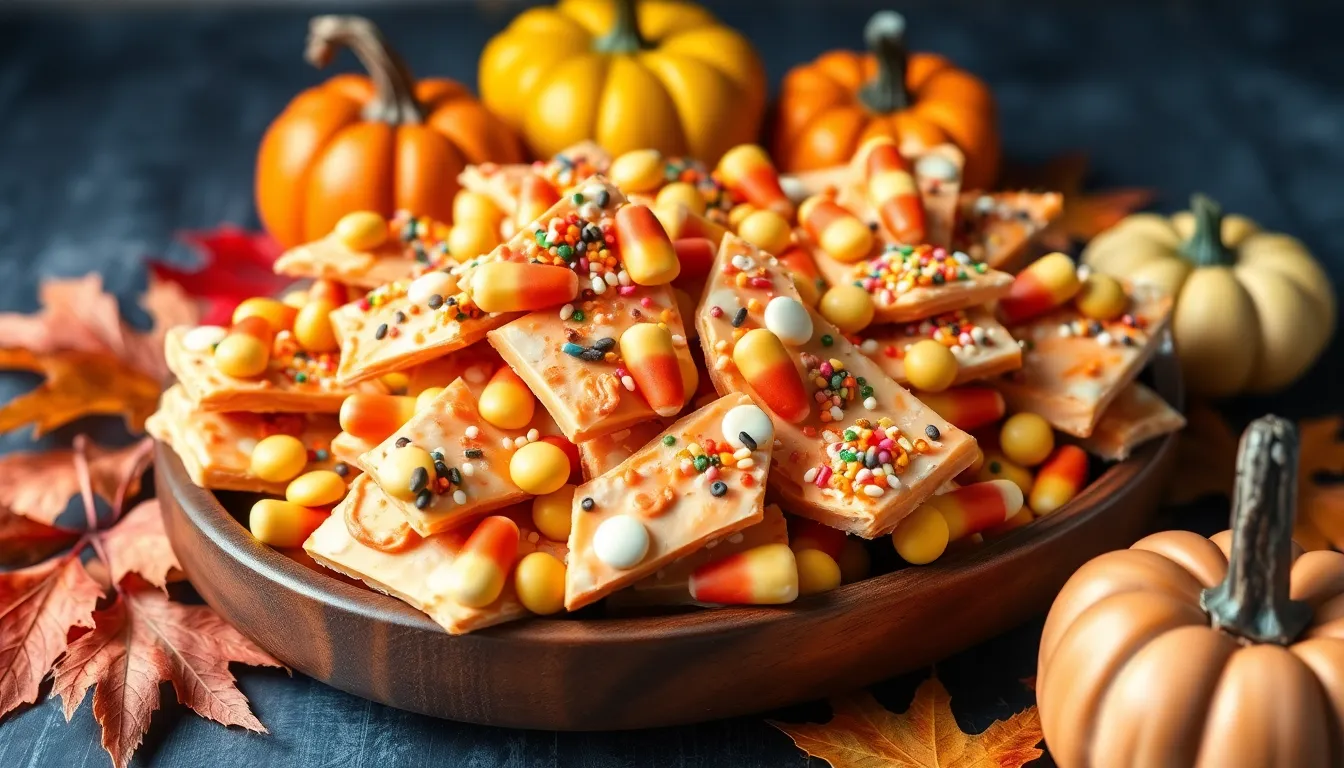
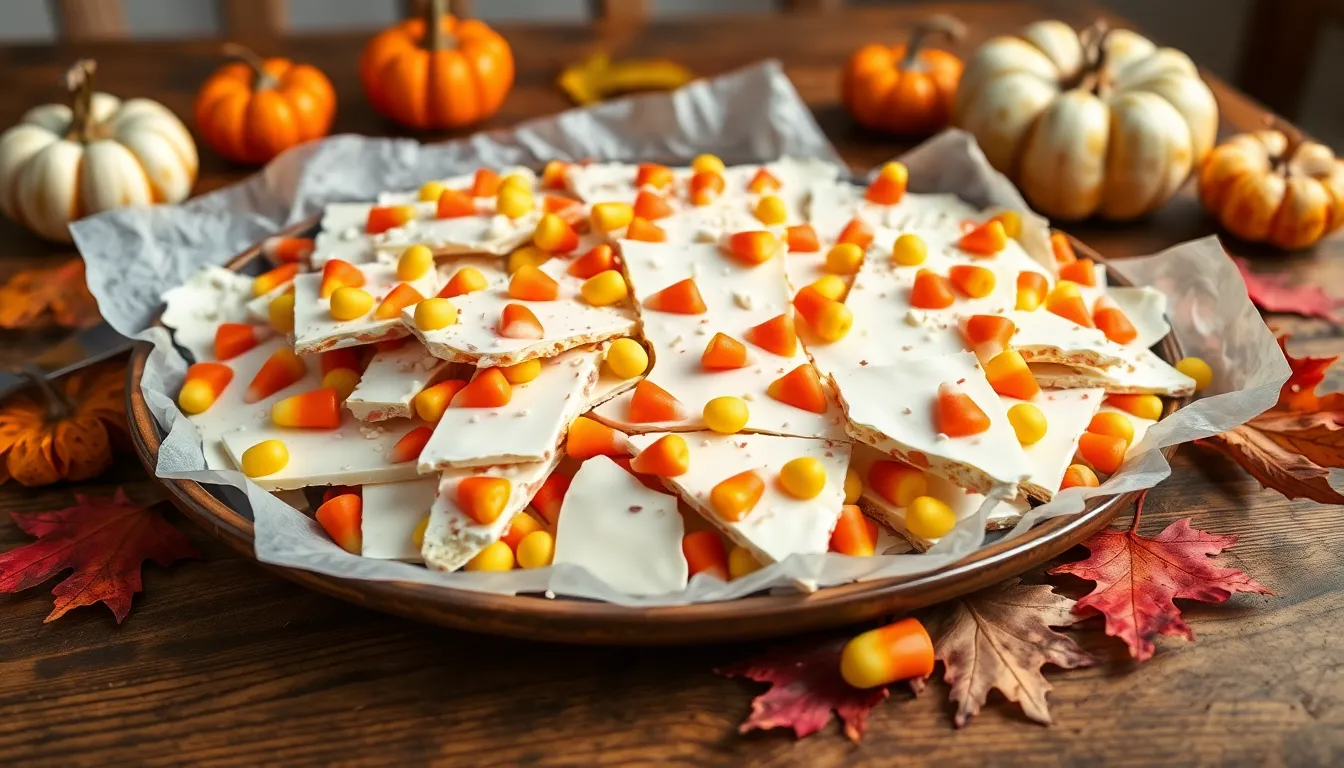
I recommend cutting the candy corn pretzel bark into irregular pieces rather than perfect squares for a more rustic appearance. Break the bark into bite-sized portions that showcase the colorful candy corn and pretzel pieces embedded throughout each serving.
Arrange the bark pieces on a festive Halloween platter or in a decorative bowl to create an appealing display. I like to use orange and black serving dishes to complement the seasonal colors of the candy corn. Layer the pieces slightly overlapping to show off the texture and variety in each portion.
Serve the bark at room temperature for the best flavor and texture experience. The chocolate maintains its snap while the pretzels deliver their satisfying crunch when not too cold from refrigeration. I always let the bark sit out for about 10 minutes after removing it from storage.
Consider pairing the bark with other Halloween treats or serving it alongside warm beverages. Hot apple cider or pumpkin spice lattes create a perfect flavor complement to the sweet and salty combination. For parties I often arrange the bark pieces near other finger foods and seasonal snacks.
Store any remaining bark in an airtight container at room temperature between servings. This prevents the chocolate from developing condensation that can affect its appearance and texture. I find that covering the container with a kitchen towel helps maintain the ideal serving condition.
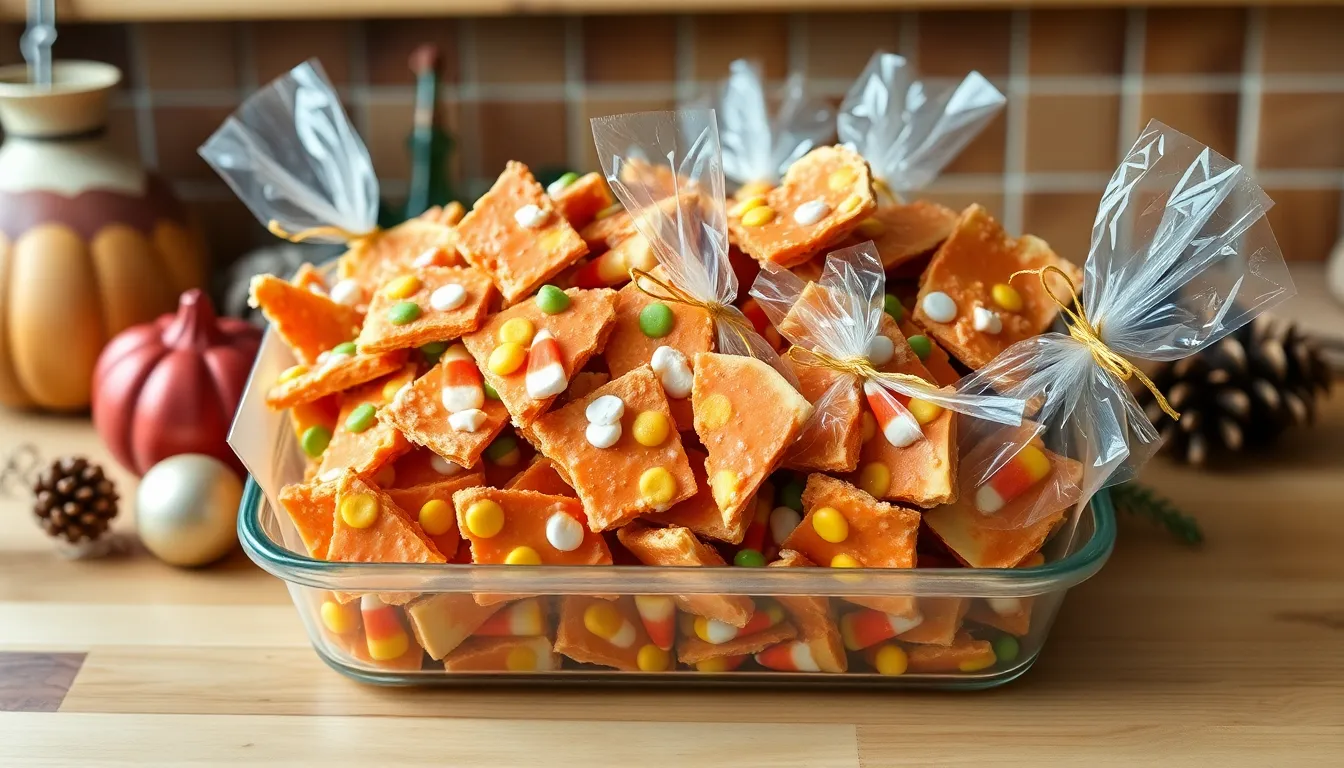
Present individual portions in small paper bags or cellophane treat bags for party favors or gifts. Tie each bag with orange or black ribbon to create charming takeaway treats that guests will appreciate. This serving method also helps control portion sizes while maintaining the festive presentation.
Storage Instructions
I store my candy corn pretzel bark at room temperature in an airtight container to maintain its perfect texture. The bark stays fresh for up to one week when properly sealed away from moisture and air.
My preferred method involves placing parchment paper between layers if I’m stacking pieces in the container. This prevents the bark from sticking together and makes serving much easier.
I avoid refrigerating the finished bark since cold temperatures can cause the white chocolate to develop condensation when brought back to room temperature. Room temperature storage keeps the chocolate firm while preserving the pretzels’ satisfying crunch.
For longer storage periods, I wrap individual pieces in plastic wrap and freeze them for up to three months. The bark thaws quickly at room temperature and tastes just as delicious as when freshly made.
I recommend keeping the bark away from direct sunlight and heat sources to prevent the white chocolate from melting or discoloring. A cool pantry or kitchen cabinet works perfectly for storage.
When packaging individual portions as gifts, I use small cellophane bags tied with festive ribbon. These portions stay fresh for the same one-week period when stored properly at room temperature.
| Storage Method | Duration | Temperature | Notes |
|---|---|---|---|
| Airtight container | 1 week | Room temperature | Best for maintaining texture |
| Freezer storage | 3 months | Frozen | Wrap pieces individually |
| Gift bags | 1 week | Room temperature | Perfect for party favors |
Make-Ahead Tips
I always prepare my Halloween candy corn pretzel bark up to three days before serving to save time during busy party preparations. The white chocolate base holds its quality perfectly when stored properly at room temperature in an airtight container.
My favorite strategy involves making the bark on Wednesday evening for weekend Halloween parties. I line my baking sheet with parchment paper and follow the complete recipe through the setting process. Once the bark has fully hardened I cut it into irregular pieces and store them in my largest airtight container.
Layering presents the biggest challenge when preparing bark ahead of time. I place sheets of parchment paper between each layer of bark pieces to prevent them from sticking together. This method keeps individual pieces crisp and maintains their attractive appearance.
Freezing offers another excellent make-ahead option for longer storage periods. I wrap individual bark pieces in plastic wrap before placing them in freezer-safe containers. The frozen bark stays fresh for up to three months and thaws quickly at room temperature within 15 minutes.
Temperature control becomes crucial for advance preparation success. I keep my finished bark away from warm kitchen areas and direct sunlight to prevent the white chocolate from softening or developing a white bloom. Room temperature storage in a cool pantry or cabinet works best for maintaining optimal texture.
Gift packaging can also be completed days in advance. I fill small cellophane bags with bark pieces and tie them with festive ribbon before storing the finished packages in my pantry. This approach eliminates last-minute rushing while ensuring each gift looks professionally presented.
My preparation timeline includes checking candy corn freshness before making the bark. Fresh candy corn provides better color vibrancy and prevents the final product from tasting stale. I purchase candy corn within two weeks of my planned baking day for optimal results.
Variations and Substitutions
I love experimenting with different combinations to create unique versions of this classic Halloween treat. These simple swaps allow you to customize the bark to match your taste preferences or dietary needs.
Different Chocolate Options
White chocolate serves as my go-to base, but I frequently switch things up with other chocolate varieties. Dark chocolate creates a sophisticated flavor profile that balances beautifully with the sweet candy corn. Milk chocolate offers a creamy middle ground that appeals to most palates.
Semi-sweet chocolate chips work wonderfully if you prefer less sweetness overall. I sometimes use orange-colored candy melts to enhance the Halloween theme while maintaining that smooth texture. Chocolate bark coating melts more smoothly than regular chocolate chips and requires no additional oil.
For those avoiding dairy, I recommend coconut-based white chocolate or vegan chocolate chips. These alternatives melt similarly to traditional chocolate and maintain the same delicious results. Sugar-free chocolate options work well for diabetic-friendly versions, though I suggest adding an extra tablespoon of coconut oil for better consistency.
Alternative Toppings
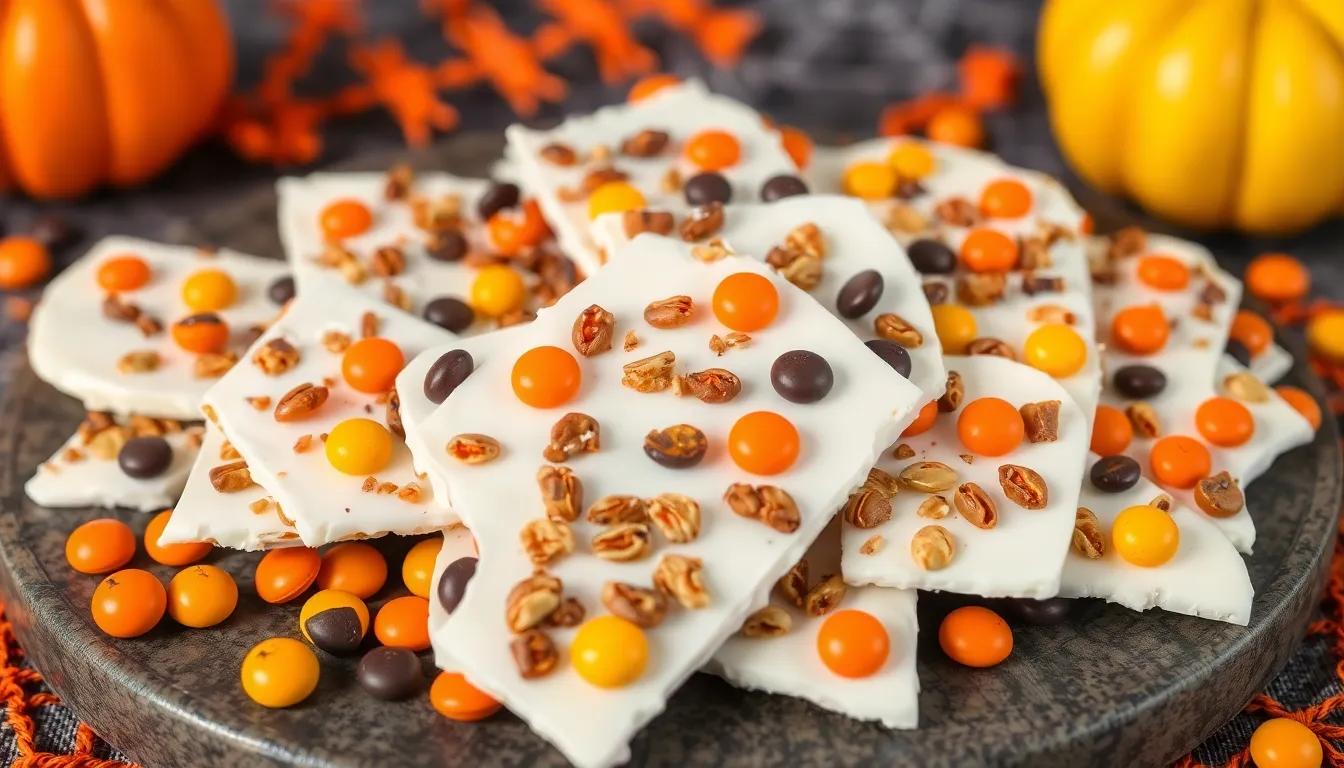
Beyond the classic pretzel and candy corn combination, I enjoy incorporating various Halloween-themed additions. Orange and black M&Ms create vibrant color pops while adding extra crunch. Mini chocolate chips scattered throughout provide additional chocolate flavor without overwhelming the base.
Crushed Oreo cookies bring a cookies-and-cream element that kids absolutely love. I often substitute the mini pretzels with pretzel sticks broken into smaller pieces or even pretzel crisps for different textures. Pumpkin-shaped marshmallows add a soft contrast to the crunchy elements.
Toasted pumpkin seeds offer a seasonal twist while providing healthy fats and protein. Crushed graham crackers remind me of s’mores and pair surprisingly well with the white chocolate base. Orange-colored coconut flakes create a festive look while adding tropical flavor notes.
For nut lovers, I incorporate chopped pecans or almonds that complement the sweet and salty profile perfectly. Mini caramel bits melt slightly into the chocolate, creating pockets of gooey sweetness throughout each piece.
Conclusion
This candy corn pretzel bark has become my go-to Halloween treat for good reason. It’s incredibly easy to make yet delivers that perfect balance of sweet and salty that keeps everyone coming back for more.
I love how versatile this recipe is – you can customize it with different chocolates or toppings to match your preferences. Whether you’re making it for a party or as gifts the make-ahead friendly nature means you’ll never be stressed about timing.
The best part? You’ll have a delicious homemade treat that looks impressive but requires minimal effort. Your guests will think you spent hours in the kitchen when you really only needed 20 minutes of active prep time.
Give this recipe a try this Halloween season – I’m confident it’ll become a regular addition to your holiday baking lineup.