
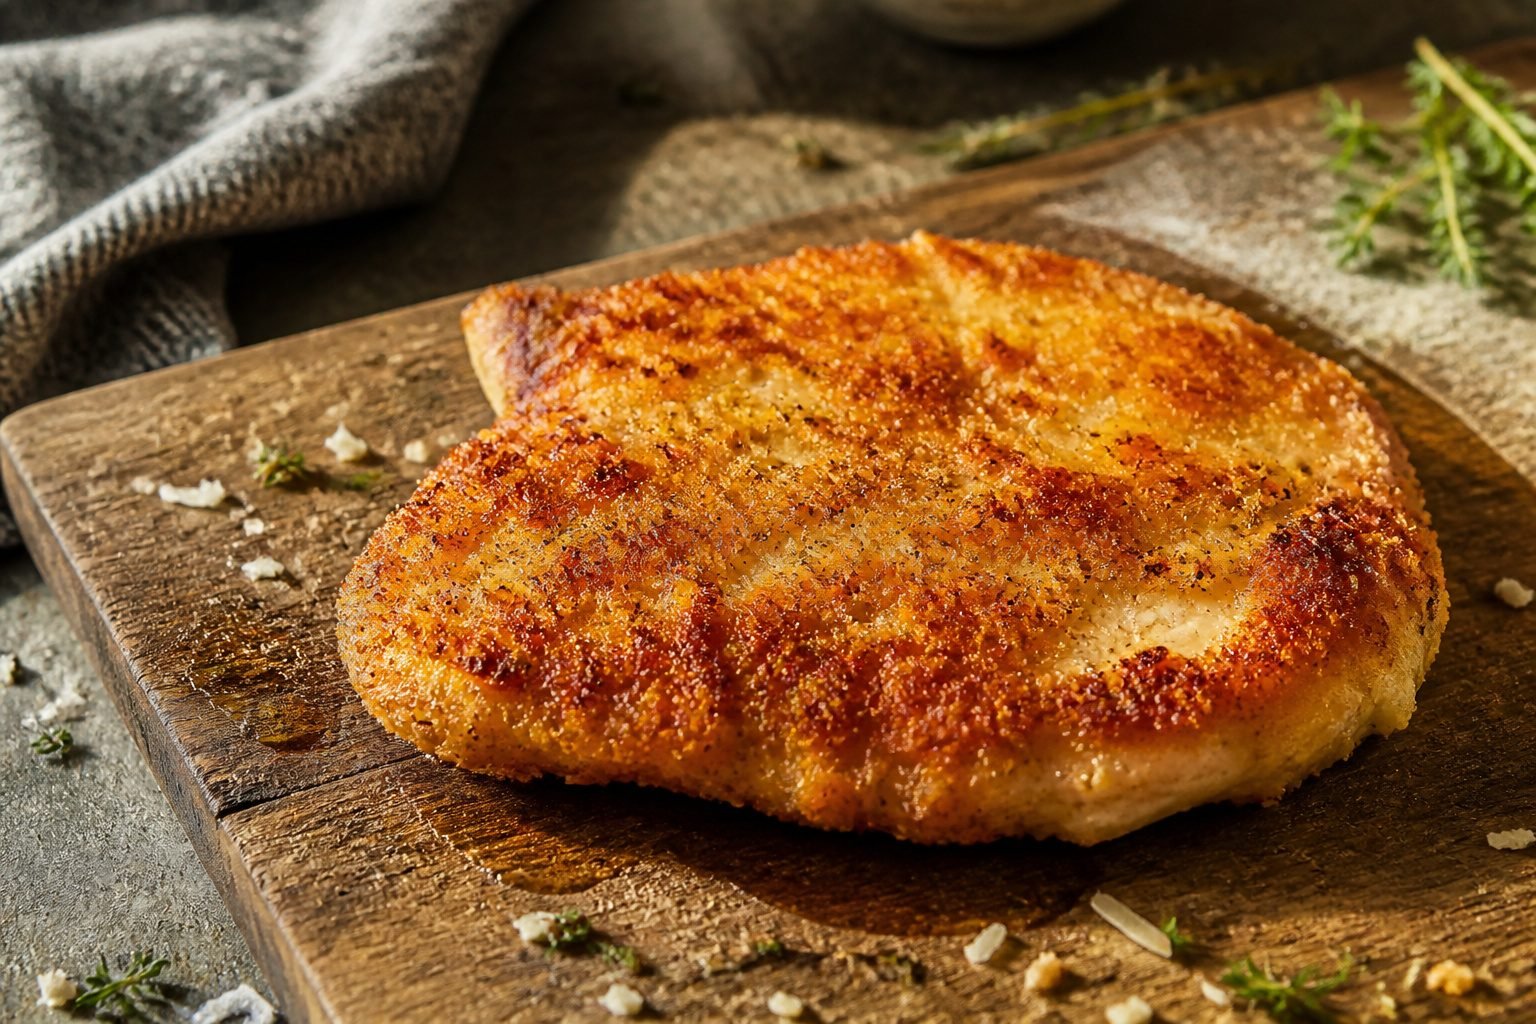
Keto parmesan crusted chicken is boneless chicken pounded thin and coated in parmesan and almond flour instead of breadcrumbs. The trick most recipes skip is the two-minute rule: once the cutlet hits the pan, do not move it.
Parmesan needs that undisturbed contact to fuse into a crisp shell, and nudging too early sends the whole coating sliding into the oil.
The cutlets must be uniform, about a quarter inch thick, so the inside finishes before the crust burns. A food thermometer in the thickest part should read 165°F before pulling from the pan.
What Keto Parmesan Crusted Chicken Is

Keto parmesan crusted chicken is boneless chicken, usually breast, that gets pounded thin and coated in a mix of parmesan cheese and almond flour instead of breadcrumbs.
The almond flour keeps it low-carb and gluten-free while the parmesan melts into a crispy, golden shell when it hits hot oil.
The cutlets need to be thin, about a quarter inch or less, so the inside cooks through before the crust burns.
Pounding them between plastic wrap or parchment with a rolling pin does the job fast. Some recipes skip the almond flour entirely and use only grated pecorino or parmesan with Italian seasoning, which works if you need it nut-free.
Heat matters more than most people expect. The oil should be shimmering and almost smoking before the chicken goes in.
Lay the cutlet down and do not move it for at least two minutes. The cheese needs time to fuse and crisp; nudge it too early and the whole coating slides off onto the pan.
Recommended Products

Meets standards for animal welfare, feed, and more, so you can know about what you're buying (and eating)

Topped with tomato marinara sauce

100% all natural cheese
1. Chicken Prep

Thick chicken breasts cook unevenly, and uneven chicken means a burnt crust over raw center. Pound them to 1/4 inch and the whole cutlet finishes in one pan pass.
Two schools handle the thinning. One slices the breast through its equator like a book, butterflying all the way to make two thin cutlets.
The other lays the breast between parchment or plastic and beats it flat with the side of a mallet, a cast-iron skillet, or a heavy rolling pin.
Slicing skips the mess and the noise. Pounding gives more control over final thickness, and thickness is what matters here.
Either way, uniformity is the point. A 1/4-inch cutlet and a 3/8-inch neighbor in the same pan force you to choose: rescue the thin one or wait on the thick.
Dry the meat with paper towels before you start, season both sides with salt and pepper, and the coating in the next step actually sticks instead of sliding off into the oil.
Recommended Products

One 16-ounce resealable bag of Almond Flour
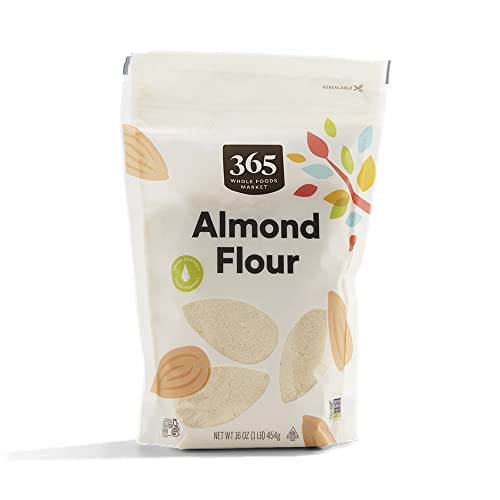
16 ounce bag of finely ground almond flour

Contains 1 - 3lb bag of Blue Diamond Almond Flour
2. Seasoning the Chicken

Salt, pepper, and Italian seasoning go on before anything else touches the chicken.
The coating needs something to stick to besides bare protein, and a thin layer of dried herbs and salt draws moisture to the surface just enough to help the egg grab hold later.
Most recipes keep the seasoning simple, though the amounts vary. One sticks to 1 teaspoon Italian seasoning for a pound of chicken, pairing it with a half-teaspoon of garlic powder and a pinch of salt and pepper.
Another doubles the Italian seasoning to 2 teaspoons for the same weight, which tells me the range is pretty forgiving.
I land closer to the single teaspoon; dried herbs intensify in a hot pan, and this is a crusted chicken, not an herb-crusted one.
The timing matters more than the exact teaspoon count.
Seasoning goes on naked chicken, not mixed into the coating. That direct contact means the salt starts working on the meat while you set up your dredging station.
Pepper and Italian seasoning layered underneath also won’t scorch the way they might if they sat on the outer surface of the cheese crust.
Recommended Products

Convenient seasoning mix for easy weeknight meals One pan meals = minimal clean-up Comes together quickly Classic Italian flavors Family-favorite meal
3. The Coating Mix

Shredded parmesan works better than grated here; the longer strands grip the chicken and brown into a lacier crust. 1 cup shredded parmesan and 1/2 cup almond flour form the dry mix, with 1/2 teaspoon garlic powder and 1/2 teaspoon paprika for depth.
Some cooks add Italian seasoning or Cajun spice instead, but I keep it simple: the cheese is doing most of the work.
For the wet bowl, 2 eggs whisked smooth is standard. Mayonnaise is the swap I reach for when the fridge is low, 1/4 cup thinned with a splash of water.
It sounds odd until you remember mayo is just egg and oil already emulsified, so the coating adheres without any eggy drip.
Both methods work; eggs give a thinner, more even layer, while mayo clings thicker and resists drying in the pan.
Mix the parmesan and almond flour in a shallow dish rather than a deep bowl. You want every piece pressed into the cheese, not tumbling around it.
Recommended Products

Double-sided design for 2 tools in 1: Textured side breaks down tough muscle fibers for tender steaks, chops, and cutlets; smooth flat side pounds chicken breasts to even thickness for faster, more uniform cooking without tearing meat
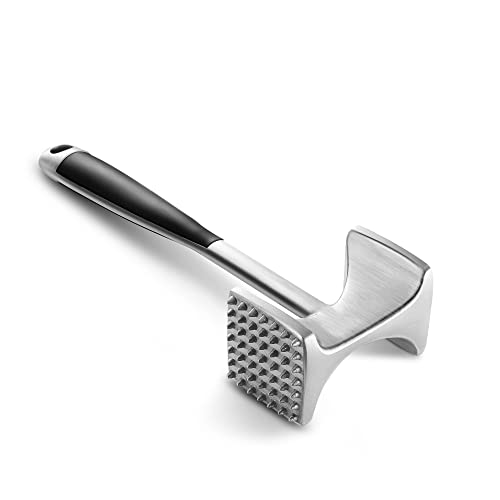
Ergonomic Design: We are always looking for a meat tenderizer with a comfortable handle that fits perfectly in your hand. This meat hammer from Kitexpert fits that bill which allows the mallet and gravity to do all the work in less time. Enjoy your cooking time!

【More Than A Meat Mallet Tenderizer】Perfect to infuse the meat with flavor, spices, and dry rub marinades. Crush ice for cocktails, loosening frozen vegetables, crack crab, and crush garlic, Great for baking: shell nuts, and crush hard candy-like toffee or peppermint.
4. Coating the Chicken

Egg wash first, then the parmesan mix. The egg is what makes the coating stick, and without it you’re just dusting chicken and watching the crust slide off in the pan.
I dredge each piece and let the extra egg drip back into the bowl; too much liquid and the coating turns gummy.
Pressing the chicken firmly into the parmesan mixture matters more than you’d think. A light sprinkle leaves bald spots that fry up pale and rubbery, so I push down and pat the crumbs onto any gaps.
Sources vary on whether one dip or two is worth the mess. A double dip, egg then coating then egg again, buys you a thicker shell that holds up to flipping.
What you spend is a few extra minutes and one more fork to wash. For weeknight speed, one thorough press does the job; if I’m making these ahead to freeze, the extra layer makes sense.
Set the coated pieces on a plate without stacking. Touching while raw knocks off the crust you’ve just built, and starting over defeats the point.
Recommended Products

【Fast & Accurate】Our meat thermometer digital delivers accurate readings within ±1°F in just 1–2 seconds, with a wide temperature range of -58°F to 572°F (-50°C to 300°C). No more waiting over the heat - know your food's exact temperature instantly.

Fast & Accurate: Get precise readings in just 1 second with ±0.9°F accuracy. NSF Certified for trusted food safety, this digital food thermometer features a 4.3 inches food-grade stainless steel meat probe, perfect for grilling, frying, baking, making candy and more

Instant Read Food Thermometer | Our instant read thermometer features a temperature probe and advanced, highly accurate technology with 1-2 seconds response time; Instructions, meat temperature chart, comes pre-calibrated for your convenience, and recalibrating feature if needed.
5. Heating the Pan

Two tablespoons of olive oil go into a large skillet set over medium to medium-high heat.
The oil needs to be fully hot before any chicken touches the pan; otherwise the coating slides right off instead of ever forming that crisp shell. This is the step where rushing costs you the crust.
Let the pan sit until the oil shimmers, about two minutes, then lay the cutlets in without crowding. Do not move the chicken once it is in.
The parmesan mixture needs those full two minutes of undisturbed contact to bond to the meat and turn golden. Lift a corner gently to check, then flip once the underside is crisp.
Recommended Products

SEASONED CHICKEN FRY MIX: Classic Fried Chicken Keto Coating, 5 oz delivers a clearly defined Louisiana-style pantry solution. A seasoned chicken coating helps create the...
6. Cooking Time and Temperature

Three to four minutes on the first side gives the parmesan crust time to set before you disturb it.
The edges will look cooked and the underside will turn golden brown; that is your signal to flip. The second side needs another 3–4 minutes.
A single flip is the move here. Moving the chicken around or flipping twice risks the crust falling away from the wet surface underneath.
A food thermometer takes the guesswork out of the finish. The thickest part of the cutlet must hit 165°F.
Thickness shifts the total time more than most recipes admit. A half-inch cutlet can be done in 6 minutes total; something closer to an inch may need 12 minutes.
The 3–4 minute per-side window is a workable start, not a promise. If the crust looks right but the temperature reads low, give it another minute and check again.
Recommended Products

USDA Certified Organic Almond Flour

Superfine Blanched Almond Flour - Smooth, finely ground almond flour perfect for baking your favorite treats like cookies, cakes, and breads. Say goodbye to gluten without losing flavor or texture.

SUPERFINE TEXTURE FOR SMOOTH BAKING: Made from blanched almonds, this superfine almond flour blends easily into pancake mix, bread, muffins and cake recipes without clumps
7. Oven Finish for Thick Pieces

Thick chicken breasts are where the stovetop-only method falls apart.
The crust hits golden brown long before the center is safe to eat, and by the time the interior reaches 165°F, the parmesan exterior has turned bitter and dark. The oven finish solves this cleanly.
Transfer the browned cutlets to a baking dish or oven-safe plate and bake at 350°F for 5 to 10 minutes. The lower, even heat cooks the chicken through without pushing the crust past its limit.
An instant-read thermometer in the thickest part should read 165°F before you pull them out. Thin cutlets, pounded to uniform thickness, skip this step entirely; four to five minutes per side in the pan handles them start to finish.
But regular breasts halved lengthwise like a bagel, or anything over roughly three-quarters of an inch, benefit from the oven buffer.
The rest after baking matters too; two or three minutes on a plate lets the juices settle instead of running across the cutting board.
Frying, Baking, or Air Frying

The parmesan crust holds up differently depending on which tool you pull out. Skillet frying gives the fastest, most even crust because the fat surrounds the cutlet, but it also means standing at the stove in batches.
Baking at 350°F for 30 to 40 minutes lets you cook everything at once; set the chicken on a cooling rack over a baking sheet so air circulates underneath, and hit it with the broiler for 2 to 3 minutes at the end to crisp the coating.
Air frying lands in the middle for speed: spray the basket, set it to 350°F, and run it until the chicken is cooked through and crispy, which runs about 12 minutes.
| Method | Temperature | Time | Best For |
|---|---|---|---|
| Skillet frying | n/a | Batch cooking | Fastest crisp, hands-on |
| Baking | 350°F | 30–40 min | Full sheet at once, broiler finish |
| Air frying | 350°F | ~12 min | Weeknight speed, least cleanup |
For reheating, the air fryer and oven both hold at 350°F; the microwave works but turns the coating soft.
Recommended Products

MULTIFUNCTIONAL DOUBLE SIDED MALLET style - Use the textured sides surface for optimum use on a variety of meats Chicken. Or Use the smooth flatten side for pounding and flattening For cutlets. Using this tool to create perfect, tender, juicy steaks that are easier to chew and digest.

HEAD DESIGN: The large round head yielded evenly flattened cutlets. If we weren’t careful while using the mallet type, the corners of their square heads dug into the food, gouging it or tearing small holes. The heads on this pounder had no such corners and thus inflicted no damage, keeping the cutlets intact and smooth.
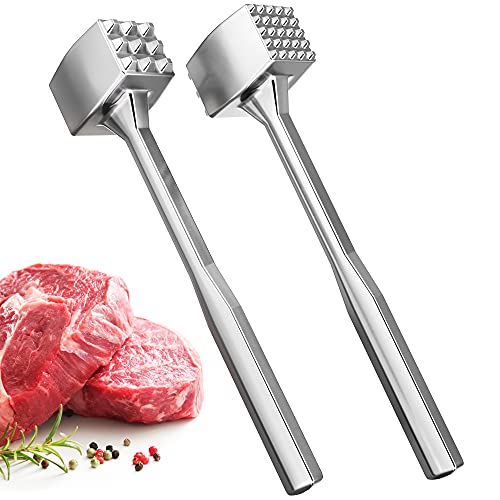
Ergonomic Design:This textured sturdy meat hammer is designed for easy use and the soft handle fits comfortably in your hand gives you excellent grip.Tool has two different surfaces for tenderizing meat. Material - aluminum; Handle length - 7.48"; Total length - 8.66"; Weight - 5.46 oz. You will recieve one tenderizer (with two different surfaces)
Almond Flour and Substitutes

Almond flour forms the base of most keto coatings because it browns well and carries a neutral flavor that lets the parmesan shine.
Coconut flour is far more absorbent, which makes it a poor fit for breading; it pulls moisture from the egg wash and can turn gummy before the chicken ever hits the pan.
Pork rinds grind into a zero-net-carb coating that crisps aggressively, though the texture can read closer to commercial fried chicken than the lighter crust most home cooks want here.
Nutritional yeast brings a savory, almost cheesy depth; a recipe from the Keto Connect team uses 1/2 cup nutritional yeast blended with parmesan, heavy cream, and egg to create a coating that nets just one carb per tender.
| Coating | Net Carbs per Tender | Best For |
|---|---|---|
| Almond flour | 2 | All-purpose keto breading |
| Coconut flour | 2 | Not recommended for breading |
| Pork rinds | 0 | Maximum crunch, lowest carb |
| Nutritional yeast | 1 | Savory, cheesy flavor boost |
My preference runs toward nutritional yeast when I want the parmesan to taste like itself rather than like fried chicken, and toward pork rinds when I am counting carbs most strictly.
Almond flour sits in the middle as the reliable default.
Recommended Products

【8X Faster + 4X More Precise】: Upgraded with an industrial-leading professional thermocouple sensor, Themomonster meat thermometer digital with NIST certified ±0.5℉ precision provides you the accurate temperature of your food in just 0.5 Seconds.
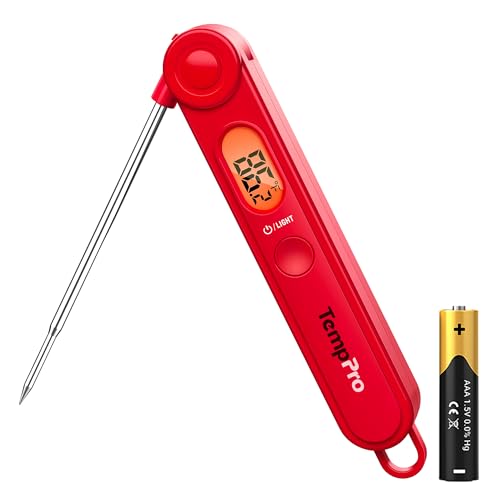
【Easy to Use】Easily release the meat probe at the push of a button, and control the backlight or power with another button. With TempPro, cooking becomes a seamless, stress-free experience

FAST & ACCURATE INSTANT READ: Get temperature readings in just 2-3 seconds with ±1°F accuracy. Whether you're grilling steaks, roasting turkey, smoking brisket, or baking bread, this digital meat thermometer helps you monitor food temperature quickly and confidently
Grated or Shredded Parmesan

The moisture content is what separates these two forms, and that moisture decides whether your crust clings or slides off in the pan.
Grated parmesan, the fine, almost powdery stuff, contains less water by weight and melts into a tighter, more adhesive layer.
Shredded parmesan carries more residual moisture between those thin strips, so it tends to soften and spread rather than fuse directly to the meat.
For keto parmesan crusted chicken, grated parmesan grips the chicken better during frying because it can be pressed into a denser coating that bonds before the fat renders out.
Shredded parmesan works better in a secondary layer or finishing step, where you want visible texture and slower melt.
The recipes that call for both use the grated form in the base mix, often with almond flour, and reserve shredded parmesan for the outer crust where it can brown and crisp without needing to hold fast to the meat itself.
If you only keep one form on hand, grated is the more reliable choice for the frying stage. It adheres faster and is less likely to detach when you flip the cutlet.
What to Serve With It

The crisp parmesan crust carries most of the meal, so the sides should stay light and quick. A few pairings work better than others.
- A simple green salad keeps dinner under 20 minutes and cuts the richness. I dress it sharp, with lemon or vinegar, never creamy.
- Zucchini noodles, tossed in garlic and butter, pick up the same skillet flavor without adding carbs. Sources call them zoodles, but the grocery store sells them both ways now.
- Cauliflower rice is the heavier option when someone at the table needs more. Plain steamed works; the cheesy cauliflower broccoli rice version takes only a few extra minutes and eats like a real starch.
- Steamed broccoli or asparagus keeps the plate simple on weeknights when cleanup matters most.
- For something more substantial, roasted cauliflower mash or scalloped turnips both hold up to the bold crust without competing.
A dipping sauce changes the meal entirely.
Creamy sriracha aioli, low-carb honey mustard, or a basic ranch turn the chicken into fingers my kids will actually finish. I keep one jar ready in the door of the fridge.
Nutrition per Serving

A single serving of keto parmesan crusted chicken lands around 364 to 714 calories, depending on whether you are working with a modest chicken breast or a heftier cutlet pounded thin and fried in plenty of oil.
The fat content swings just as wide, from roughly 17.5g on the lean end up to 63g when the recipe leans into butter and oil for that shattering crust.
Protein stays reliably high across every version, typically 33g to 62g per serving. That leaves little room on the plate for anything else, which is the point for anyone tracking macros on keto.
The number that matters most is net carbs. Most tested versions fall between 1.8g and 4g net carbs per serving, with several hitting 2g or under.
The parmesan itself contributes almost nothing, and almond flour or pork rind coatings keep the count down where white flour would blow it up past 20g.
Fiber registers near zero in most recipes, so total carbs and net carbs end up nearly identical.
Sodium can climb past 1,500mg if you are generous with the cheese and seasoned salt, something to watch if your evening routine already includes a salty side.
Storing and Reheating

Leftover keto parmesan crusted chicken keeps in the refrigerator for up to 4 or 5 days, depending on who you ask; I split the difference and use day 4 as my hard stop.
The crust softens in the cold, but that crunch comes back with the right heat.
The air fryer at 350 degrees for 4–5 minutes is the best way to revive it.
A skillet with a little olive oil works too, and the oven at 375 degrees for 8–10 minutes is your fallback. I skip the microwave when I can; 30-second bursts will warm it through, but the crust turns rubbery.
For freezing, you have two paths. Bread the cutlets raw, freeze them solid on a parchment-lined sheet, then bag them.
They go straight from freezer to hot pan, adding about a minute per side. Or cook them first, but pull them slightly underdone so reheating later does not dry them out.
Layer cooked pieces with parchment between them; they hold for up to three months. Thaw overnight in the fridge, then air fry.
Frequently Asked Questions
How do you make chicken parmesan in an air fryer?
Coat the chicken in egg wash and the parmesan mixture, spray the air fryer basket with cooking spray, and cook at 350°F until the chicken is cooked through and crispy. That usually takes about 12 minutes.
What can I serve with parmesan crusted chicken?
A sharp green salad, zucchini noodles in garlic butter, cauliflower rice, steamed broccoli or asparagus, or a more substantial side like roasted cauliflower mash or scalloped turnips all work well.
For kids, slice the chicken into fingers and serve with creamy sriracha aioli, low-carb honey mustard, or ranch.
Can you freeze parmesan crusted chicken?
Freeze the coated cutlets raw on a parchment-lined sheet until solid, then bag them; they go straight from freezer to hot pan with about an extra minute per side.
Or cook them first, but pull them slightly underdone so reheating later does not dry them out. Layer cooked pieces with parchment between them and thaw overnight in the fridge before air frying.
How can I make keto chicken parm crispy?
Pound the chicken to 1/4 inch so it cooks through before the crust burns, and get the oil shimmering and almost smoking before the cutlet goes in.
Lay it down and do not move it for at least two minutes; the cheese needs that undisturbed contact to fuse and crisp. Grated parmesan grips better than shredded during frying.
What can I use instead of breadcrumbs for parmesan crusted chicken?
Almond flour is the standard keto substitute; it browns well and stays neutral so the parmesan shines. Pork rinds grind into a zero-net-carb coating that crisps aggressively.
Nutritional yeast blended with parmesan brings a savory, almost cheesy depth at about one net carb per tender. Coconut flour absorbs too much moisture and turns gummy, so skip it for breading.
What are common keto chicken parmesan mistakes?
Moving the chicken too early in the pan is the big one; the coating slides right off if it has not had those full two minutes to bond.
Crowding the pan drops the oil temperature and steams the crust instead of frying it. Thick, unpounded breasts cook unevenly and force you to choose between a burnt crust and raw center.
Season the naked meat, not the coating, so the salt works on the chicken itself and the herbs do not scorch on the outer surface.
About The Author
