Ingredients
You need just four simple ingredients to create this rich and velvety caramel sauce. Each component plays a crucial role in achieving the perfect balance of sweetness and depth that makes homemade caramel superior to store-bought versions.
- 1 cup granulated sugar – Forms the caramelized base that gives the sauce its signature flavor and amber color
- 6 tablespoons unsalted butter – Cut into small cubes for easier incorporation and smoother texture
- 1/2 cup heavy cream – Room temperature preferred to prevent seizing when added to hot caramel
- 1 teaspoon vanilla extract – Pure vanilla enhances the caramel’s complexity without overpowering
- 1/2 teaspoon sea salt – Optional but recommended for balancing sweetness and adding depth
Your sugar should be fresh and free-flowing without any lumps. The butter must be unsalted to control the final salt content of your sauce. Heavy cream works best due to its fat content which creates the silky consistency you want. Room temperature cream prevents the dramatic temperature shock that can cause your caramel to seize and become grainy.
Quality ingredients make a noticeable difference in your final product. Pure vanilla extract delivers superior flavor compared to imitation versions. Fine sea salt dissolves more easily than table salt and adds a subtle mineral note that enhances the caramel’s richness.
Recommended Products

Creamy caramel sauce for luxurious beverage and dessert creations

Rich Classic Caramel Flavor: Authentic caramel flavor and color created with Real Caramelized Cane Sugar, American Sea Salt, Natural Flavors, and Wisconsin Dairy

Puremade Caramel Sauce: Simply crafted with the finest cream, butter and sugar; Taste the rich, buttery caramel flavor achieved only by the authentic burnt brown sugar taste found in artisan caramel
Equipment Needed
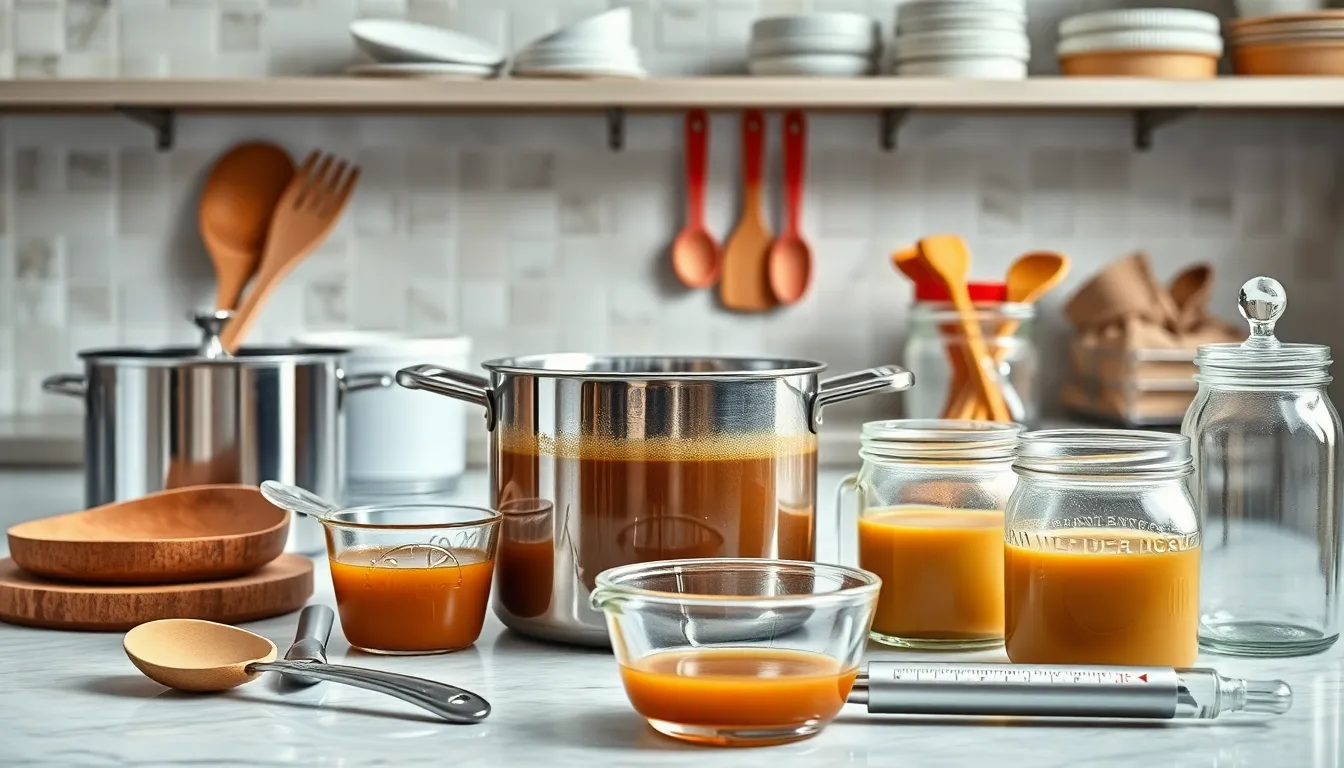
Creating perfect caramel sauce requires exact equipment that ensures safe handling and optimal results. Your success depends on having the right tools that can withstand high temperatures and provide precise control during the caramelization process.
Heavy-bottomed saucepan serves as your primary cooking vessel. The thick bottom distributes heat evenly and prevents hot spots that could burn your sugar before it properly caramelizes. Choose a light-colored pan so you can monitor the sugar’s color transformation accurately.
Wooden spoon or heat-resistant silicone spatula becomes essential once you add butter and cream to your caramel. These materials won’t conduct heat like metal utensils and allow you to stir safely without scratching your pan’s surface.
Whisk helps incorporate the cream smoothly into your caramel base. The wire design breaks up any potential lumps and creates that silky texture you want in your finished sauce.
Measuring cups and spoons ensure accuracy in your ingredient ratios. Precise measurements make the difference between perfectly balanced caramel and sauce that’s too sweet or lacks depth.
Candy thermometer provides temperature control for consistent results. While experienced cooks can judge doneness by color you’ll achieve better accuracy with this tool especially when starting out.
Glass measuring cup with spout makes adding room temperature cream safer and more controlled. The spout allows you to pour slowly which prevents dangerous splattering when the cream hits the hot caramel.
Fine-mesh strainer removes any crystallized sugar bits that might form during cooking. This step ensures your final sauce has that smooth restaurant-quality texture.
Storage jars or containers keep your finished caramel sauce fresh. Choose glass containers that can handle both hot sauce initially and cold storage later.
Recommended Products

Premium 18/10 Stainless Steel: DEAYOU butter warmer pan is made of high-end food-grade 18/10 (304) stainless steel. The perfectly flat induction heavy bottom allows the small saucepan to work on induction, gas or electric stoves. Has classic looks and professional performance, can heat quickly and spreads heat evenly

SAFE & STURDY: 2 qt saucepan’s body is made of food grade pure stainless steel and the lid is made of sturdy glass, Without any toxic coating or other chemical substances leaching into the food, Feel solid when holding the saucepan, Healthy and sturdy for a long-lasting service life

PROFESSIONAL GRADE: This mini sauce pan is perfectly balanced and weighted with a comfortable, sturdy, ergonomically shaped handle. Whenever you use our Küchenprofi Stainless Steel Saucepan with Clad Bottom, you become a chef in your own kitchen. Stainless steel cookware doesn't get any better than this. This saucepan is so well designed that you will be inspired to try new recipes often and without fuss!.
Instructions
Master the art of caramel making with these detailed steps that transform simple sugar into liquid gold. Each stage requires your full attention to achieve that perfect amber color and silky texture.
Recommended Products

ACCURATE FAST READINGS (No More Burned Candy) --- Our candy deep fry thermometer provides instant and accurate temperature readings within seconds. Its advanced technology ensures precise measurements, allowing you to monitor the temperature of your food with confidence.

Pot Clip Design for Safer Operation: This candy thermometer digital with clip can be fixed to the pot so you can free your hands to focus on the cooking, and protect your hands from the hot

【9" Long Probe with Pot Clip】The frying thermometer for oil comes with a 9-inch probe and a secure pot clip, allowing it to be safely attached to cooking pots of different sizes, effectively protecting you from hot oil splatters
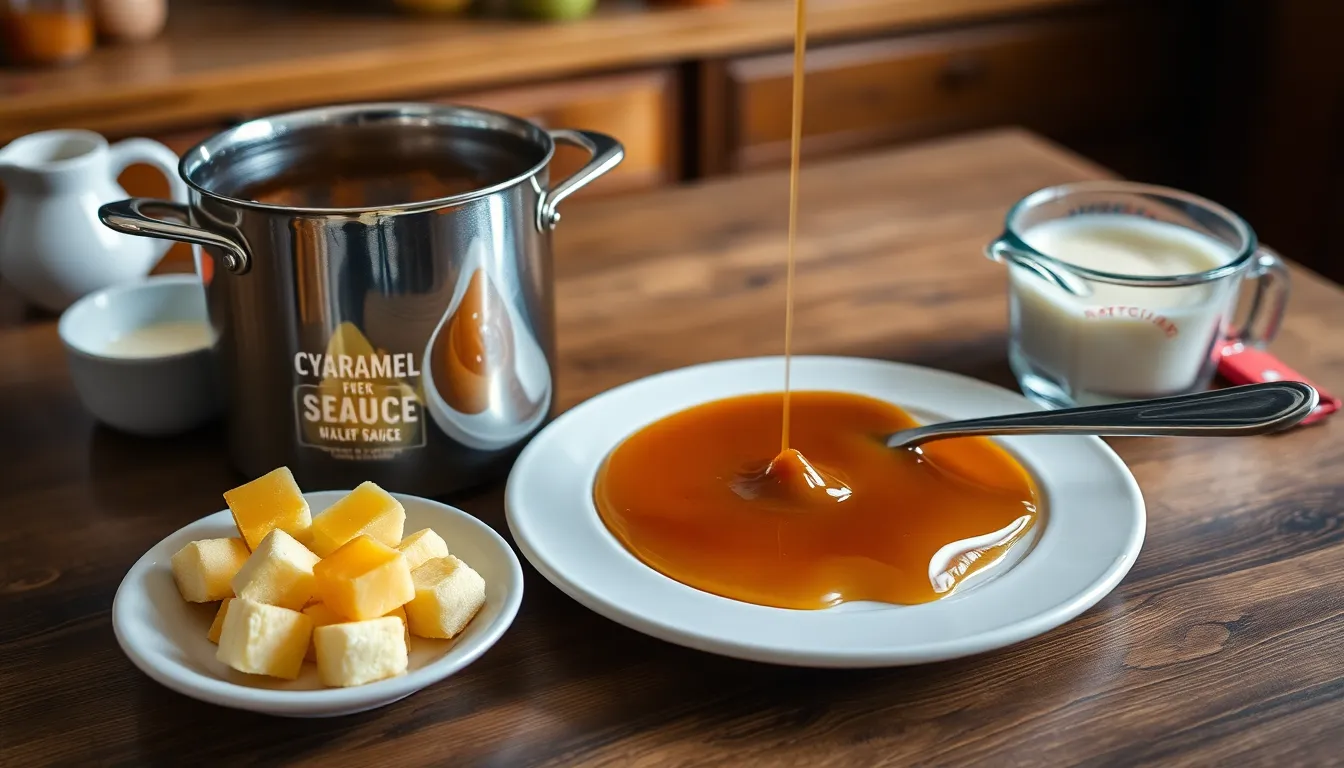
Prep the Ingredients
Measure all ingredients before you begin cooking since caramel moves quickly once it starts. Bring your heavy cream to room temperature by leaving it on the counter for 30 minutes before starting. Cut your unsalted butter into small cubes and set them aside on a plate near your stovetop. Have your vanilla extract and sea salt measured and ready within arm’s reach. This preparation prevents scrambling when the caramel reaches the critical stage.
Make the Dry Caramel
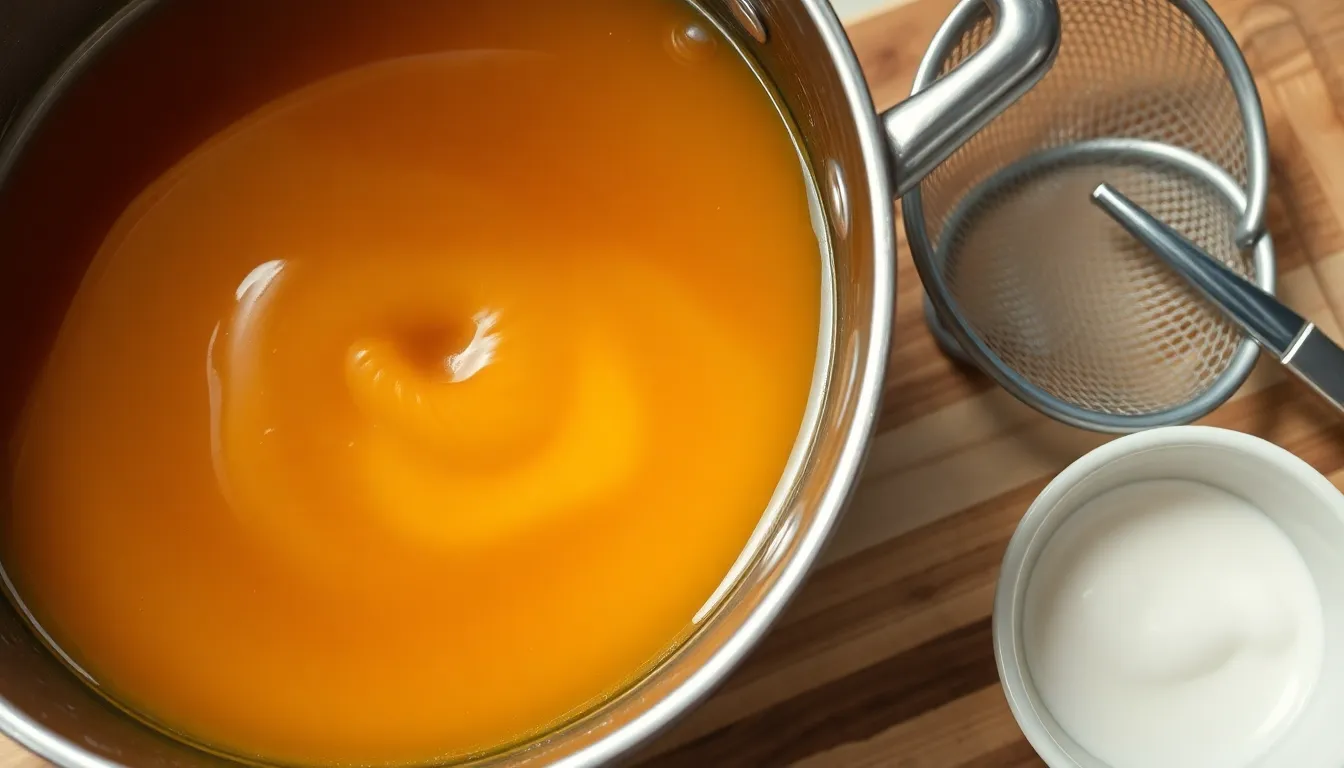
Pour granulated sugar into your heavy-bottomed saucepan in an even layer. Place the pan over medium heat without stirring initially. Watch as the sugar begins to melt around the edges after 3-4 minutes. Once melting starts use your wooden spoon to gently push the melted sugar toward the center. Continue this process until all sugar dissolves and transforms into a smooth liquid. Keep cooking while gently swirling the pan until the caramel reaches a deep amber color similar to an old penny. This entire process takes 8-12 minutes depending on your heat level.
Add Butter and Cream
Remove the pan from heat immediately when you achieve the perfect amber shade. Add butter cubes all at once and whisk vigorously as the mixture bubbles dramatically. The caramel will foam up significantly so use caution during this step. Once the butter incorporates completely pour in your room temperature cream slowly while whisking continuously. The mixture will bubble violently again but keep whisking until it becomes smooth and glossy. Return the pan to low heat for 1-2 minutes if needed to eliminate any lumps.
Finish and Cool
Stir in vanilla extract and sea salt while the caramel is still warm. Taste and adjust the salt level according to your preference. Pour the finished caramel through a fine-mesh strainer into your storage container to remove any crystallized bits. Allow the sauce to cool at room temperature for 15 minutes before covering. The caramel will thicken as it cools and can be stored in the refrigerator for up to two weeks.
Storage Instructions
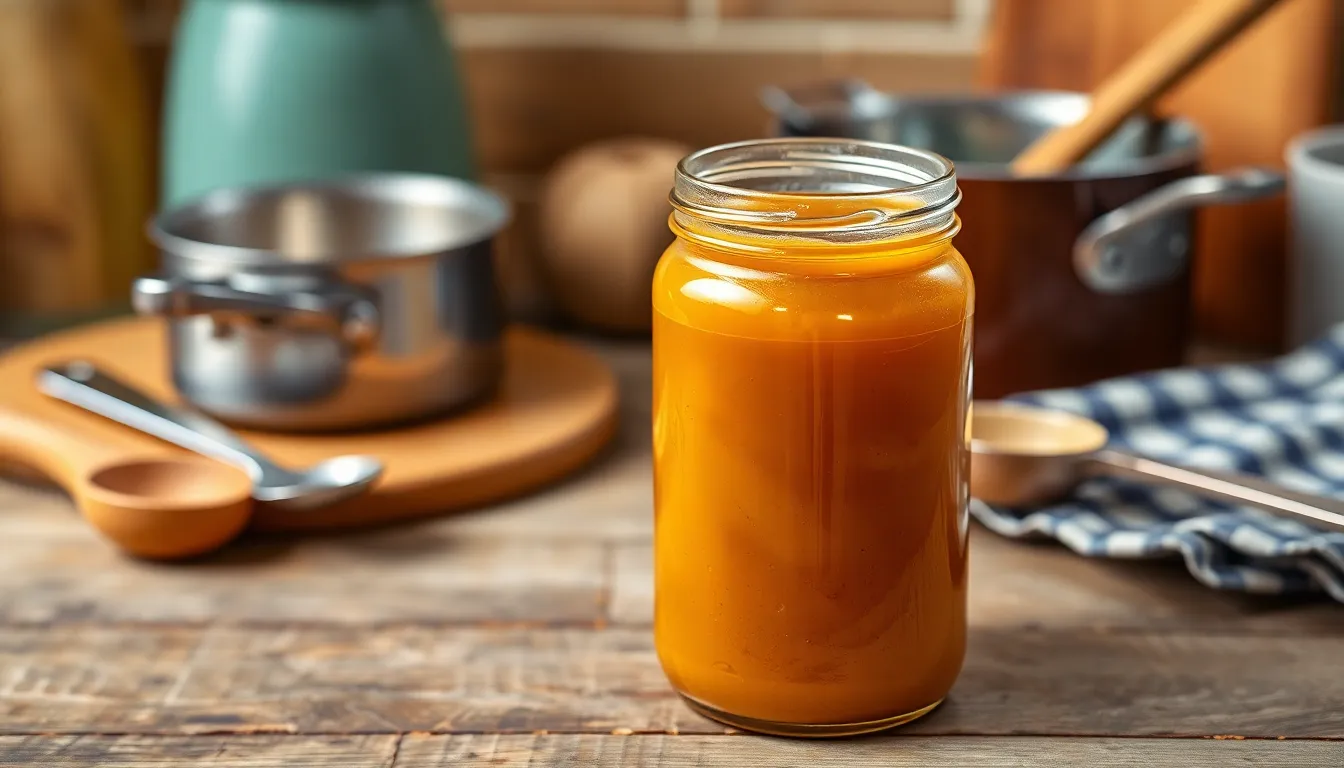
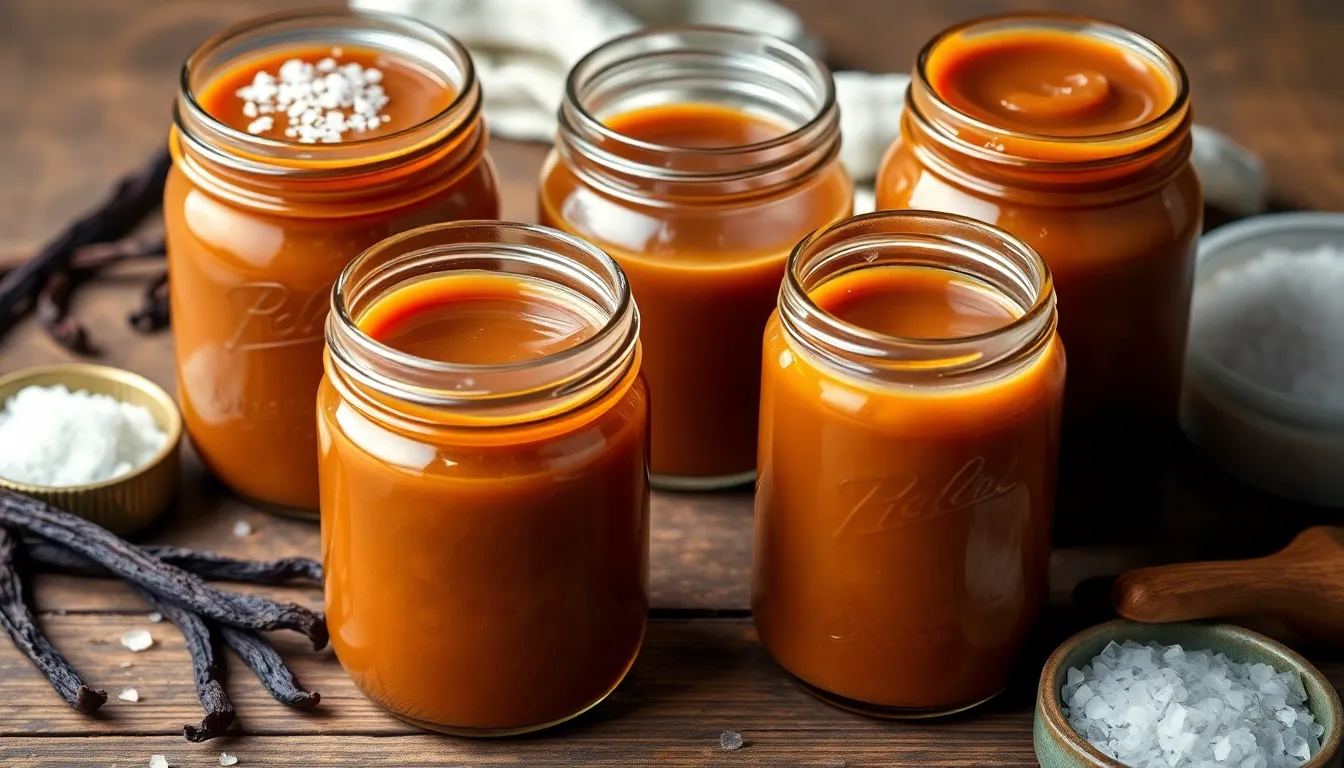
Store your freshly made caramel sauce in an airtight glass jar or container in the refrigerator for up to two weeks. Allow the sauce to cool completely before transferring it to storage containers to prevent condensation from forming inside.
Refrigerator Storage
Place the cooled caramel sauce in clean mason jars or airtight containers with tight-fitting lids. Glass containers work best as they don’t absorb flavors and allow you to see the sauce clearly. Label your containers with the date you made the caramel to track freshness.
Your caramel sauce will thicken considerably when chilled. This is completely normal and doesn’t affect the quality or taste. When you’re ready to use it simply warm the sauce gently to restore its pourable consistency.
Reheating Methods
Warm refrigerated caramel sauce using the microwave method by heating it in 15-second intervals while stirring between each interval. Alternatively use the stovetop method by placing the sauce in a small saucepan over low heat while stirring constantly until warmed through.
Never heat caramel sauce on high heat as this can cause it to burn or separate. Gentle warming preserves the smooth texture and rich flavor you worked to achieve.
Freezer Storage
Freeze caramel sauce for up to three months in freezer-safe containers or ice cube trays for portion control. Leave about half an inch of space at the top of containers to allow for expansion during freezing.
Thaw frozen caramel sauce in the refrigerator overnight before reheating. Once thawed follow the same reheating instructions as refrigerated sauce to restore the proper consistency.
Signs of Spoilage
Check your stored caramel sauce for any signs of mold separation or off odors before using. Fresh caramel sauce should maintain its golden amber color and sweet aroma throughout the storage period. Discard any sauce that shows signs of spoilage or has been stored beyond the recommended timeframe.
Serving Suggestions
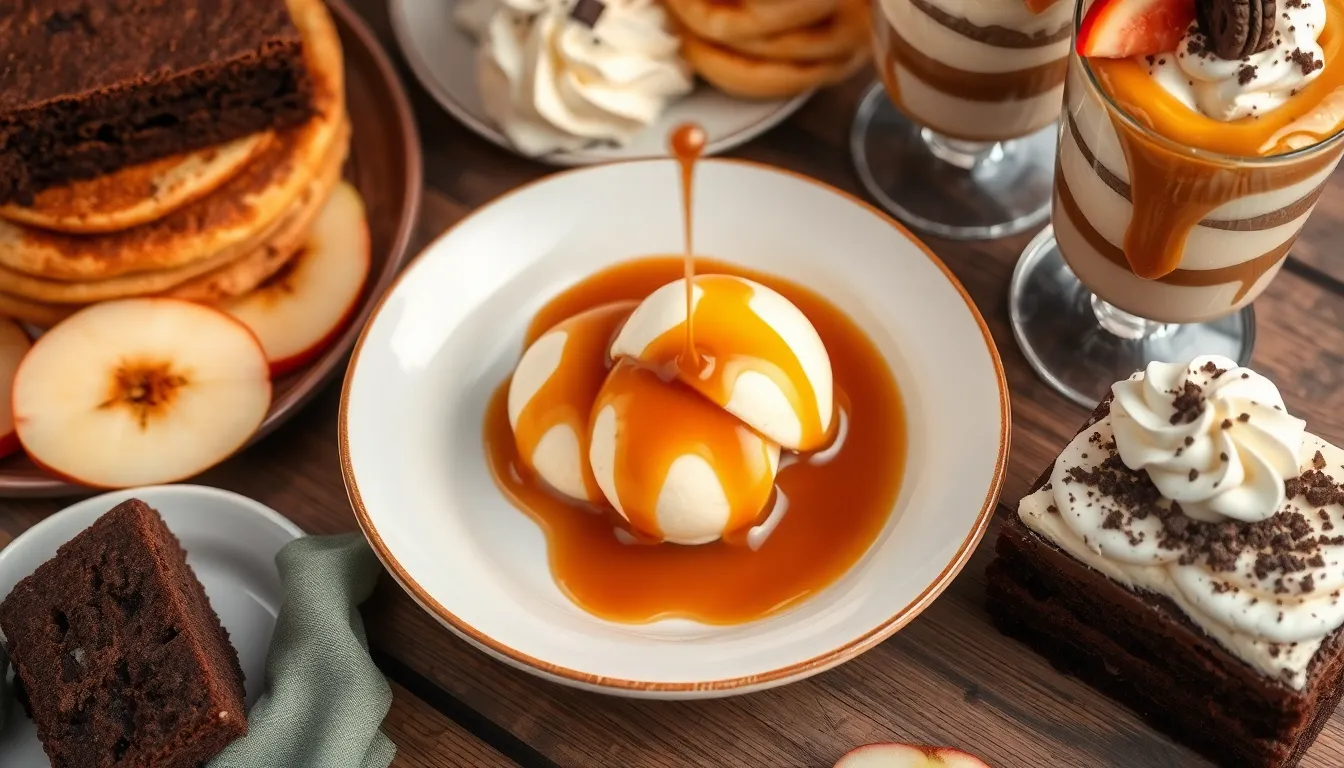
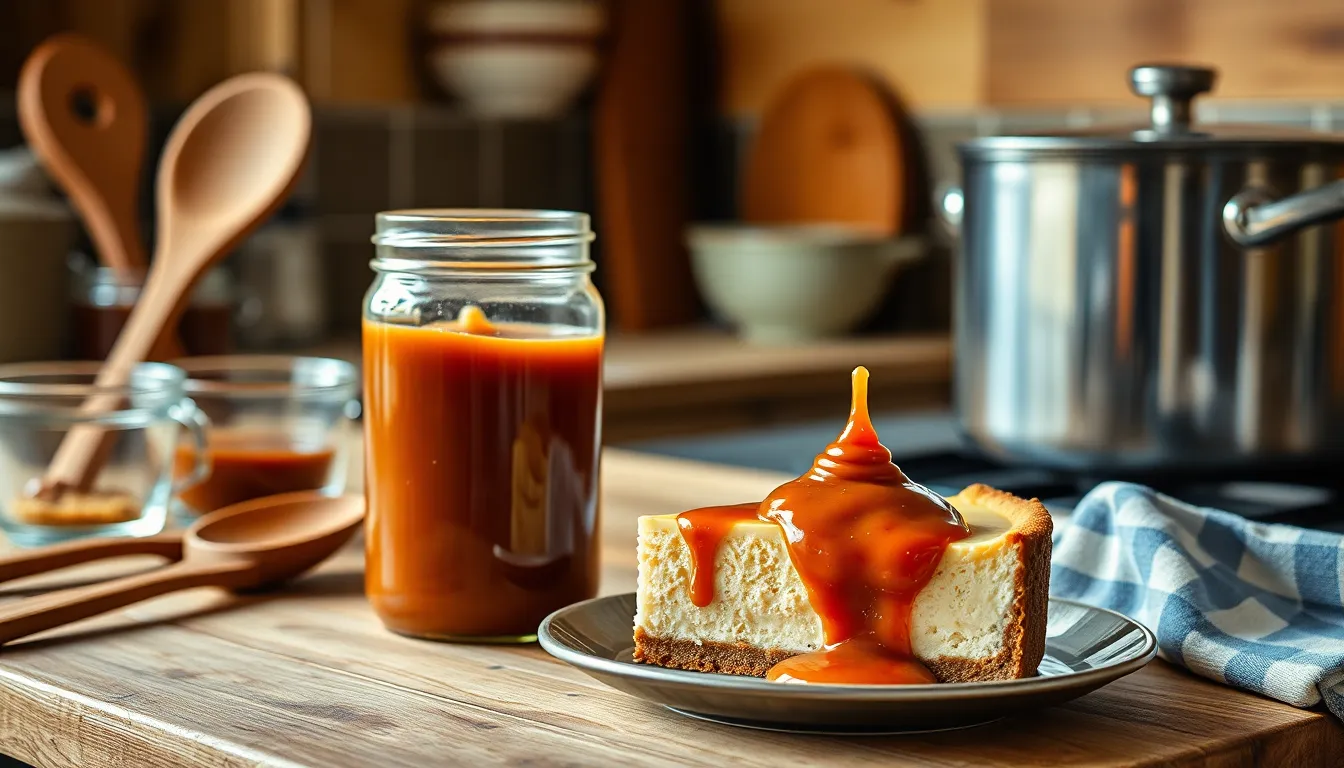
Your homemade caramel sauce transforms ordinary desserts into extraordinary treats with endless serving possibilities. Drizzle warm caramel over vanilla ice cream for a classic sundae that never disappoints. Fresh apple slices become gourmet when paired with this rich sauce as a dip.
Warm caramel elevates cheesecake to restaurant quality when poured generously over each slice. You can create professional-looking dessert plates by drizzling caramel in artistic patterns around brownies or chocolate cake. Coffee lovers appreciate a spoonful stirred into their morning brew for an indulgent caramel latte.
Transform simple breakfast items by pouring caramel over pancakes or French toast instead of syrup. Your caramel sauce makes an elegant fondue when served warm with fresh strawberries and marshmallows for dipping. Bread pudding reaches new heights when topped with a generous pour of this silky sauce.
Create impressive parfaits by layering caramel with whipped cream and crushed cookies in tall glasses. You can elevate store-bought pie by warming a slice and adding a drizzle of homemade caramel on top. Banana splits become extraordinary when you substitute your caramel sauce for traditional toppings.
Popcorn transforms into gourmet snacking when tossed with cooled caramel sauce. Your sauce creates delicious milkshakes when blended with vanilla ice cream and milk. Even simple oatmeal becomes a dessert-like treat with a swirl of warm caramel stirred in.
Toast becomes a decadent breakfast when spread with butter and drizzled with caramel sauce. You can create stunning dessert charcuterie boards by including small bowls of caramel alongside fresh fruits and cookies for dipping.
Troubleshooting Tips
Even experienced home cooks encounter challenges when making caramel sauce. These common issues have simple answers that will help you achieve perfect results every time.
Fixing Crystallized Sugar
Crystallized sugar appears as grainy white chunks in your caramel and happens when sugar molecules clump together during the melting process. You can prevent this issue by avoiding stirring the sugar too vigorously once it begins melting. Instead, gently swirl the pan to distribute heat evenly.
If crystallization occurs during cooking, add two tablespoons of water to the pan and continue heating over medium heat. The water will dissolve the crystals and allow the sugar to caramelize properly. Brush down the sides of your saucepan with a wet pastry brush to remove any sugar crystals that form on the walls.
When sugar crystals appear in finished caramel sauce, strain the mixture through your fine-mesh strainer while it’s still warm. The strainer will catch crystallized pieces and leave you with smooth sauce. Reheat the strained caramel gently if needed to restore its proper consistency.
Adjusting Consistency
Caramel sauce that’s too thick can be thinned by adding warm heavy cream one tablespoon at a time. Heat the cream slightly before adding it to prevent the caramel from seizing. Whisk thoroughly after each addition until you reach your desired consistency.
Thin caramel sauce needs additional cooking time to reach proper thickness. Return the sauce to your saucepan and simmer over low heat for 2-3 minutes while stirring constantly. The sauce will thicken as moisture evaporates during the cooking process.
Temperature affects caramel consistency significantly. Hot caramel appears thinner and will thicken as it cools to room temperature. Allow your sauce to cool for 10-15 minutes before determining if consistency adjustments are necessary. Refrigerated caramel becomes quite thick but returns to pourable consistency when warmed gently in the microwave or on the stovetop.
Recipe Variations
Transform your basic caramel sauce into exciting flavor profiles with these simple modifications. Each variation builds upon the foundation recipe while adding unique elements that create distinct taste experiences.
Salted Caramel Sauce
Elevate your caramel sauce with the perfect balance of sweet and salty flavors. Add 1 teaspoon of flaky sea salt or kosher salt to the finished caramel sauce while it’s still warm. Stir the salt gently until it dissolves completely into the mixture.
Start with less salt and taste as you go since salt preferences vary. Maldon sea salt works exceptionally well for this variation due to its clean flavor and delicate texture. The salt enhances the caramel’s natural sweetness while adding depth and complexity to each spoonful.
Store salted caramel sauce using the same refrigeration methods as the basic recipe. The salt will not affect the storage time or consistency of your finished sauce.
Vanilla Caramel Sauce
Create a more aromatic and flavorful caramel by increasing the vanilla content or using different vanilla varieties. Replace the standard 1 teaspoon of vanilla extract with 2 teaspoons for a more pronounced vanilla flavor.
Madagascar vanilla extract provides rich and creamy notes while Tahitian vanilla offers floral and fruity undertones. You can also scrape the seeds from one vanilla bean pod and add both the seeds and the scraped pod to the cream while heating.
Remove the vanilla bean pod before straining the finished caramel sauce. This variation pairs beautifully with fruit desserts and creates an elegant flavor profile for special occasions.
Bourbon Caramel Sauce
Add sophisticated warmth to your caramel sauce with premium bourbon whiskey. Stir 2 tablespoons of bourbon into the finished caramel sauce after removing it from heat and before adding the vanilla extract.
Choose a smooth bourbon rather than a harsh or overly spicy variety since the alcohol will not cook off completely. The bourbon adds complex notes of oak vanilla and caramel that complement the sauce’s natural flavors perfectly.
Allow the sauce to cool slightly before tasting since the bourbon flavor will mellow as the temperature drops. This variation works exceptionally well with chocolate desserts and bread pudding.
Conclusion
Now you’re equipped with everything you need to create restaurant-quality caramel sauce right in your own kitchen. This simple recipe transforms just four basic ingredients into liquid gold that’ll elevate any dessert or treat.
Remember that practice makes perfect when it comes to watching the sugar caramelize. Don’t worry if your first batch isn’t flawless – each attempt teaches you to recognize the visual cues that signal perfect caramel.
Your homemade sauce will taste infinitely better than anything store-bought and you’ll have complete control over the flavor and quality. Whether you’re drizzling it over ice cream or stirring it into your morning coffee your kitchen will smell absolutely divine.
Get creative with the variations and serving suggestions. Your friends and family will be impressed by this gourmet touch that costs just pennies to make.