
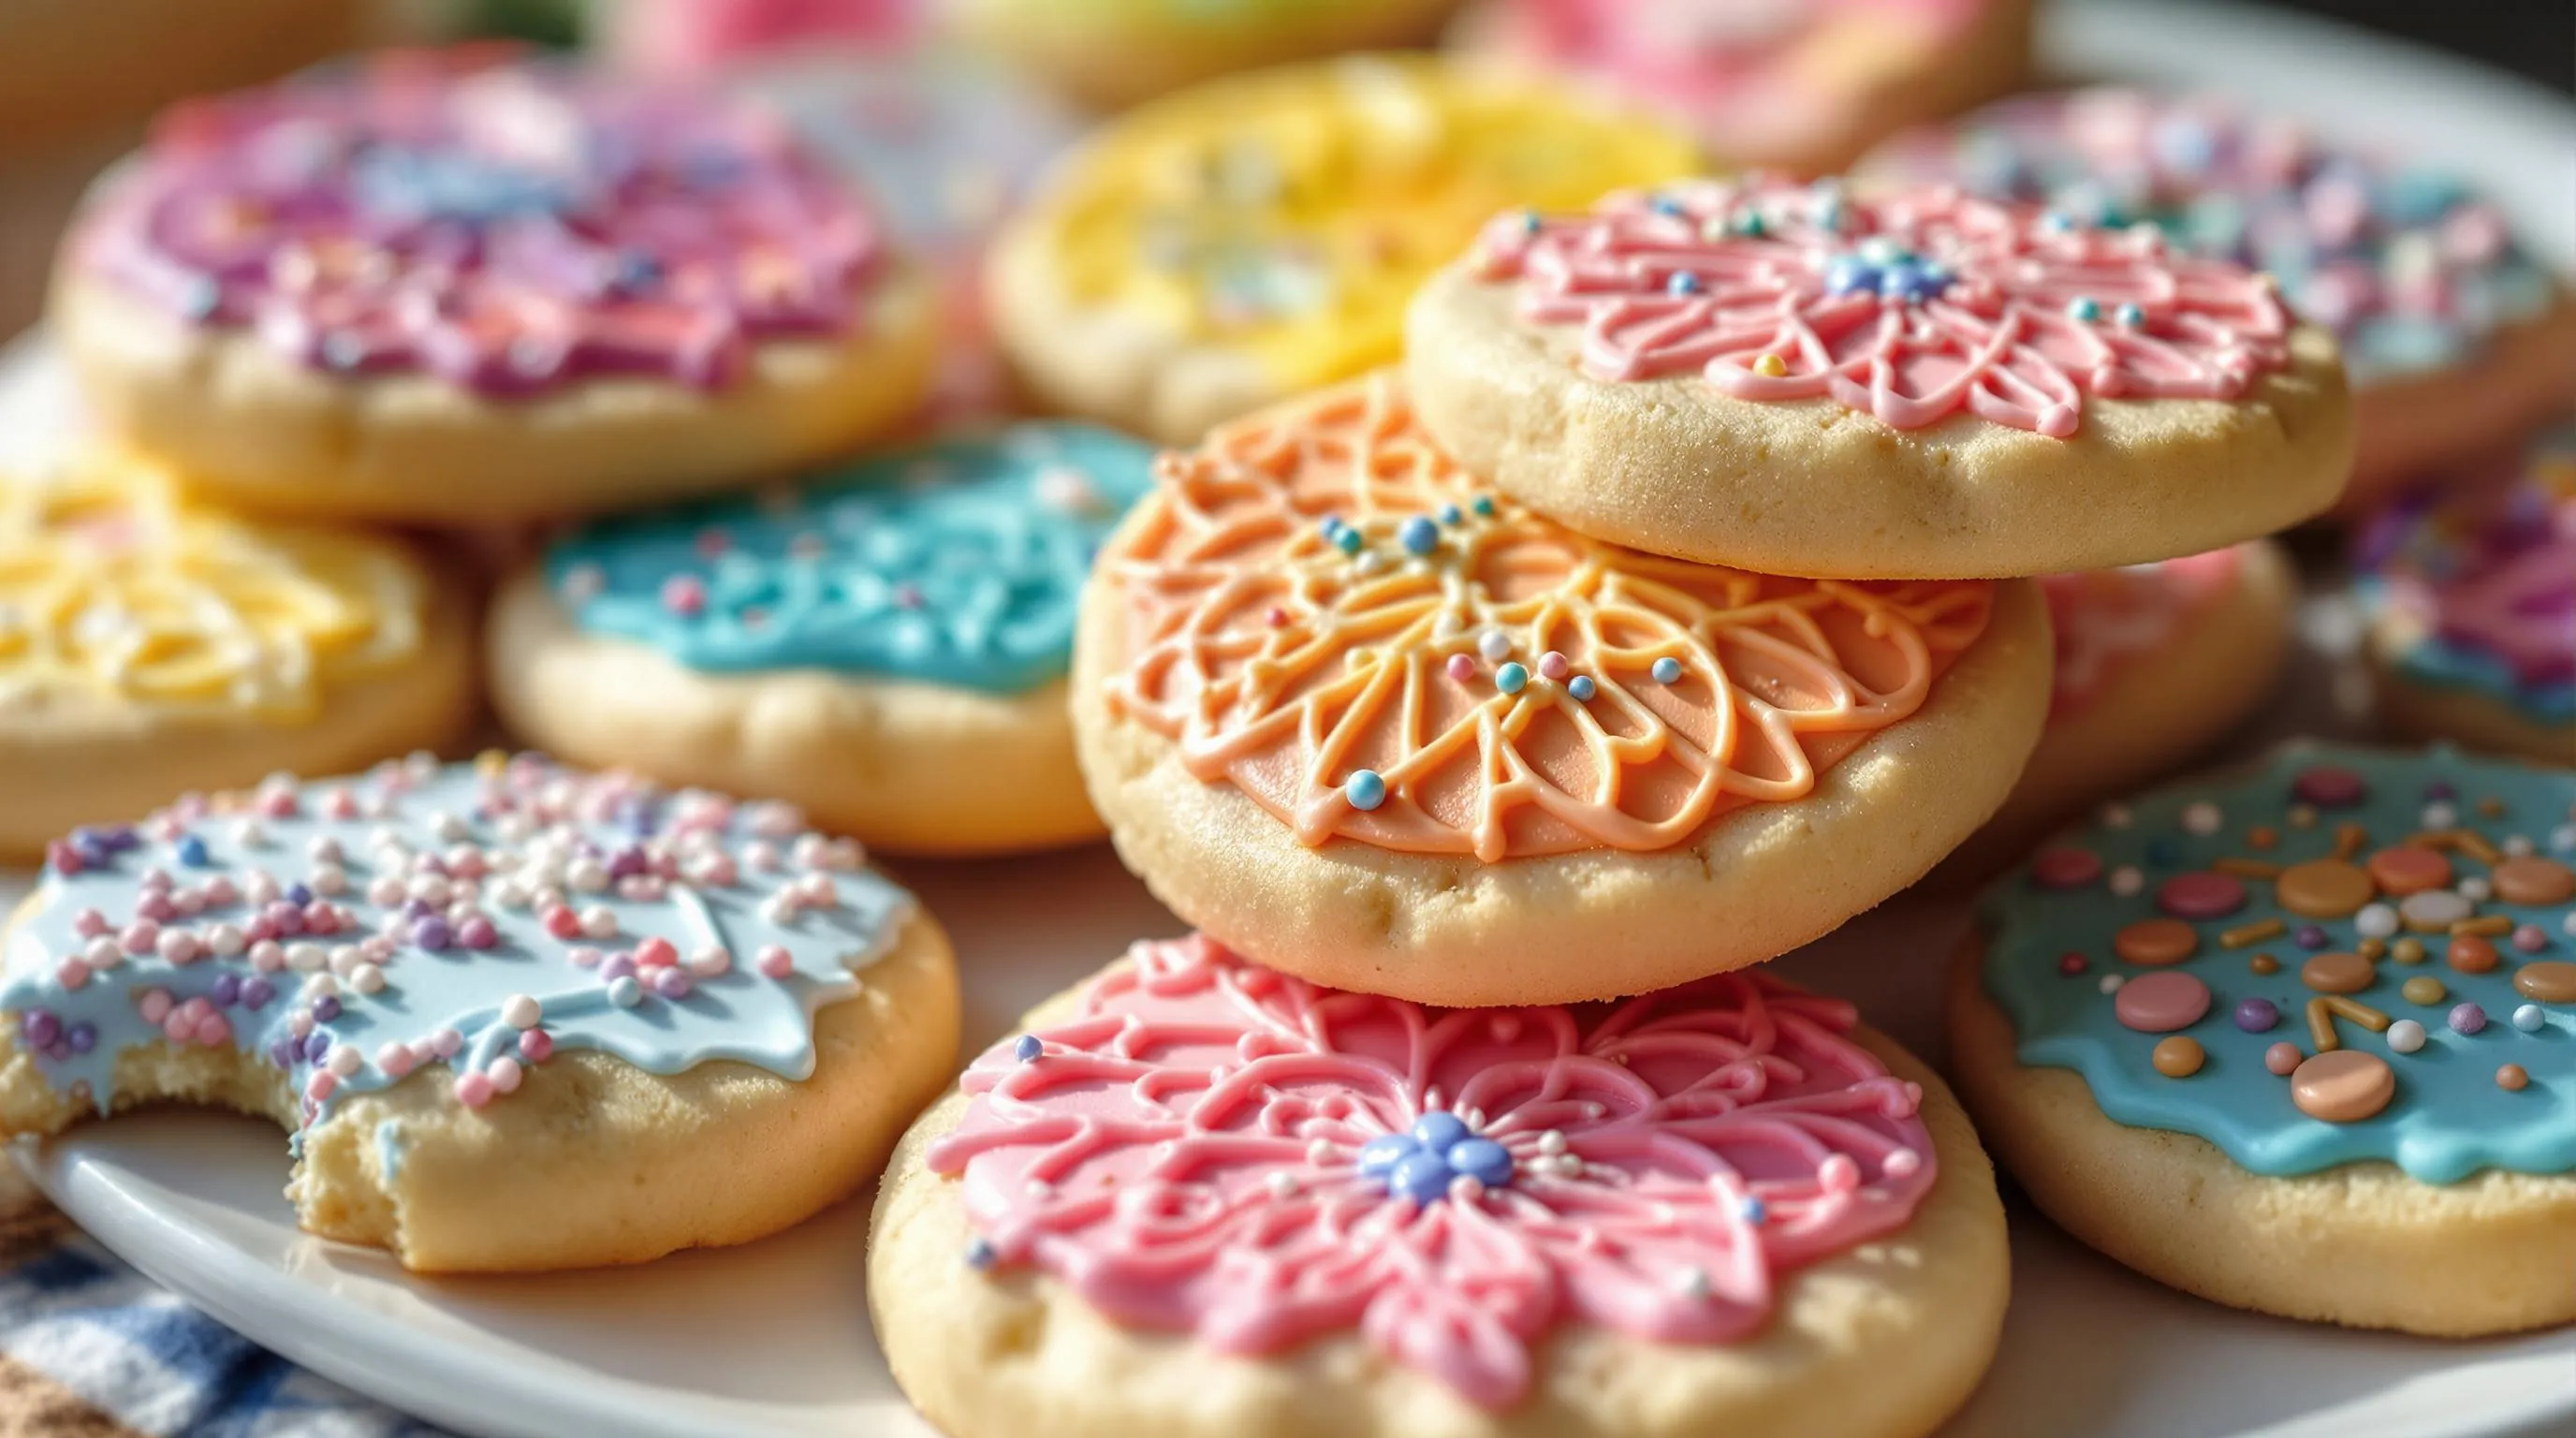
The Perfect Sugar Cookie Icing Recipe
Creating the perfect sugar cookie icing requires just a handful of ingredients and simple techniques. This recipe produces a smooth icing that sets beautifully without becoming too hard or cracking when bitten into. Follow these straightforward steps to achieve professional-looking decorated cookies every time.
Ingredients
- 2 cups powdered sugar (confectioners’ sugar)
- 3-4 tablespoons milk
- 2 tablespoons light corn syrup
- 1/2 teaspoon pure vanilla extract or almond extract
- Food coloring (gel food coloring works best)
- Pinch of salt (optional)
Equipment Needed
- Medium mixing bowl
- Whisk or spoon
- Measuring cups and spoons
- Squeeze bottles or piping bags (for decorating)
- Small bowls (if making multiple colors)
- Toothpicks (for swirling colors)
Step-by-Step Instructions
- Combine dry ingredients: Place powdered sugar in a medium bowl. Add a pinch of salt if using to balance sweetness.
- Add wet ingredients: Pour in 3 tablespoons of milk, corn syrup, and vanilla extract.
- Mix thoroughly: Whisk until completely smooth and no lumps remain. The icing should ribbon when drizzled from the spoon and disappear back into the mixture within 15-20 seconds.
- Adjust consistency: For flooding (covering entire cookies with a smooth layer), add additional milk a teaspoon at a time until icing flows easily. For piping details, keep icing slightly thicker.
- Color the icing: Divide into separate bowls if making multiple colors. Add gel food coloring a drop at a time until desired shade is achieved. Stir thoroughly to distribute color evenly.
- Transfer to decorating tools: Fill squeeze bottles or piping bags with your colored icing. For squeeze bottles, use a small funnel to prevent spills.
Tips for Perfect Consistency
The key to successful sugar cookie icing lies in achieving the right consistency. Here’s how to test and adjust:
- Flooding consistency: Draw a line through the icing with the back of a spoon. The line should disappear in 15-20 seconds.
- Outlining consistency: The line should disappear in 25-30 seconds.
- Detail work: The line should remain visible for over 30 seconds.
Thin your icing with additional milk (1/4 teaspoon at a time) or thicken with additional powdered sugar (1 tablespoon at a time) to reach your desired consistency.
Storage Instructions
Your sugar cookie icing can be prepared ahead of time:
- Room temperature: Store in airtight containers or sealed piping bags for up to 2 days.
- Refrigerator: Keep for up to 1 week in airtight containers. Bring to room temperature and re-stir before using.
- On cookies: Once completely dry (usually 6-8 hours), decorated cookies can be stacked and stored in airtight containers for up to 1 week.
This versatile sugar cookie icing recipe creates a smooth, shiny finish that dries firm enough for stacking but remains soft enough to bite through easily.
Why This Sugar Cookie Icing Is The Best
This sugar cookie icing recipe stands out from others for multiple compelling reasons. First and foremost it achieves the perfect consistency that balances ease of use with beautiful results. Unlike other icings that are either too runny or too stiff this recipe creates a smooth texture that glides effortlessly across your cookies.
The versatility sets this icing apart from competitors. You can easily adjust the thickness for both flooding large areas and piping intricate details with the same batch. This eliminates the need to prepare multiple icing types for a single decorating session saving you valuable time and ingredients.
Many cookie icings sacrifice taste for appearance but not this one. The subtle vanilla flavor complements sugar cookies perfectly without overwhelming their delicate buttery taste. Your decorated cookies will taste as good as they look.
The drying properties make this icing truly exceptional. It forms a firm shell that allows for stacking and storing cookies without smudging your designs yet remains soft enough to bite through easily. No more worrying about ruined decorations or rock-hard icing that threatens to break teeth.
Simplicity makes this recipe accessible to bakers of all skill levels. With just a few common pantry ingredients and no complex techniques required even beginners can achieve professional-looking results. The straightforward mixing process takes minutes rather than the hours some royal icing recipes demand.
Storage flexibility provides another advantage. This icing can be made ahead of time and stored in the refrigerator for up to one week making it perfect for planned baking sessions. It rewhips beautifully with minimal effort when you’re ready to use it.
The vibrant color potential gives decorators unlimited creative options. This icing takes food coloring exceptionally well producing bright consistent hues that maintain their vibrancy after drying. Your decorated cookies will look as stunning on day three as they did on day one.
Tools You’ll Need
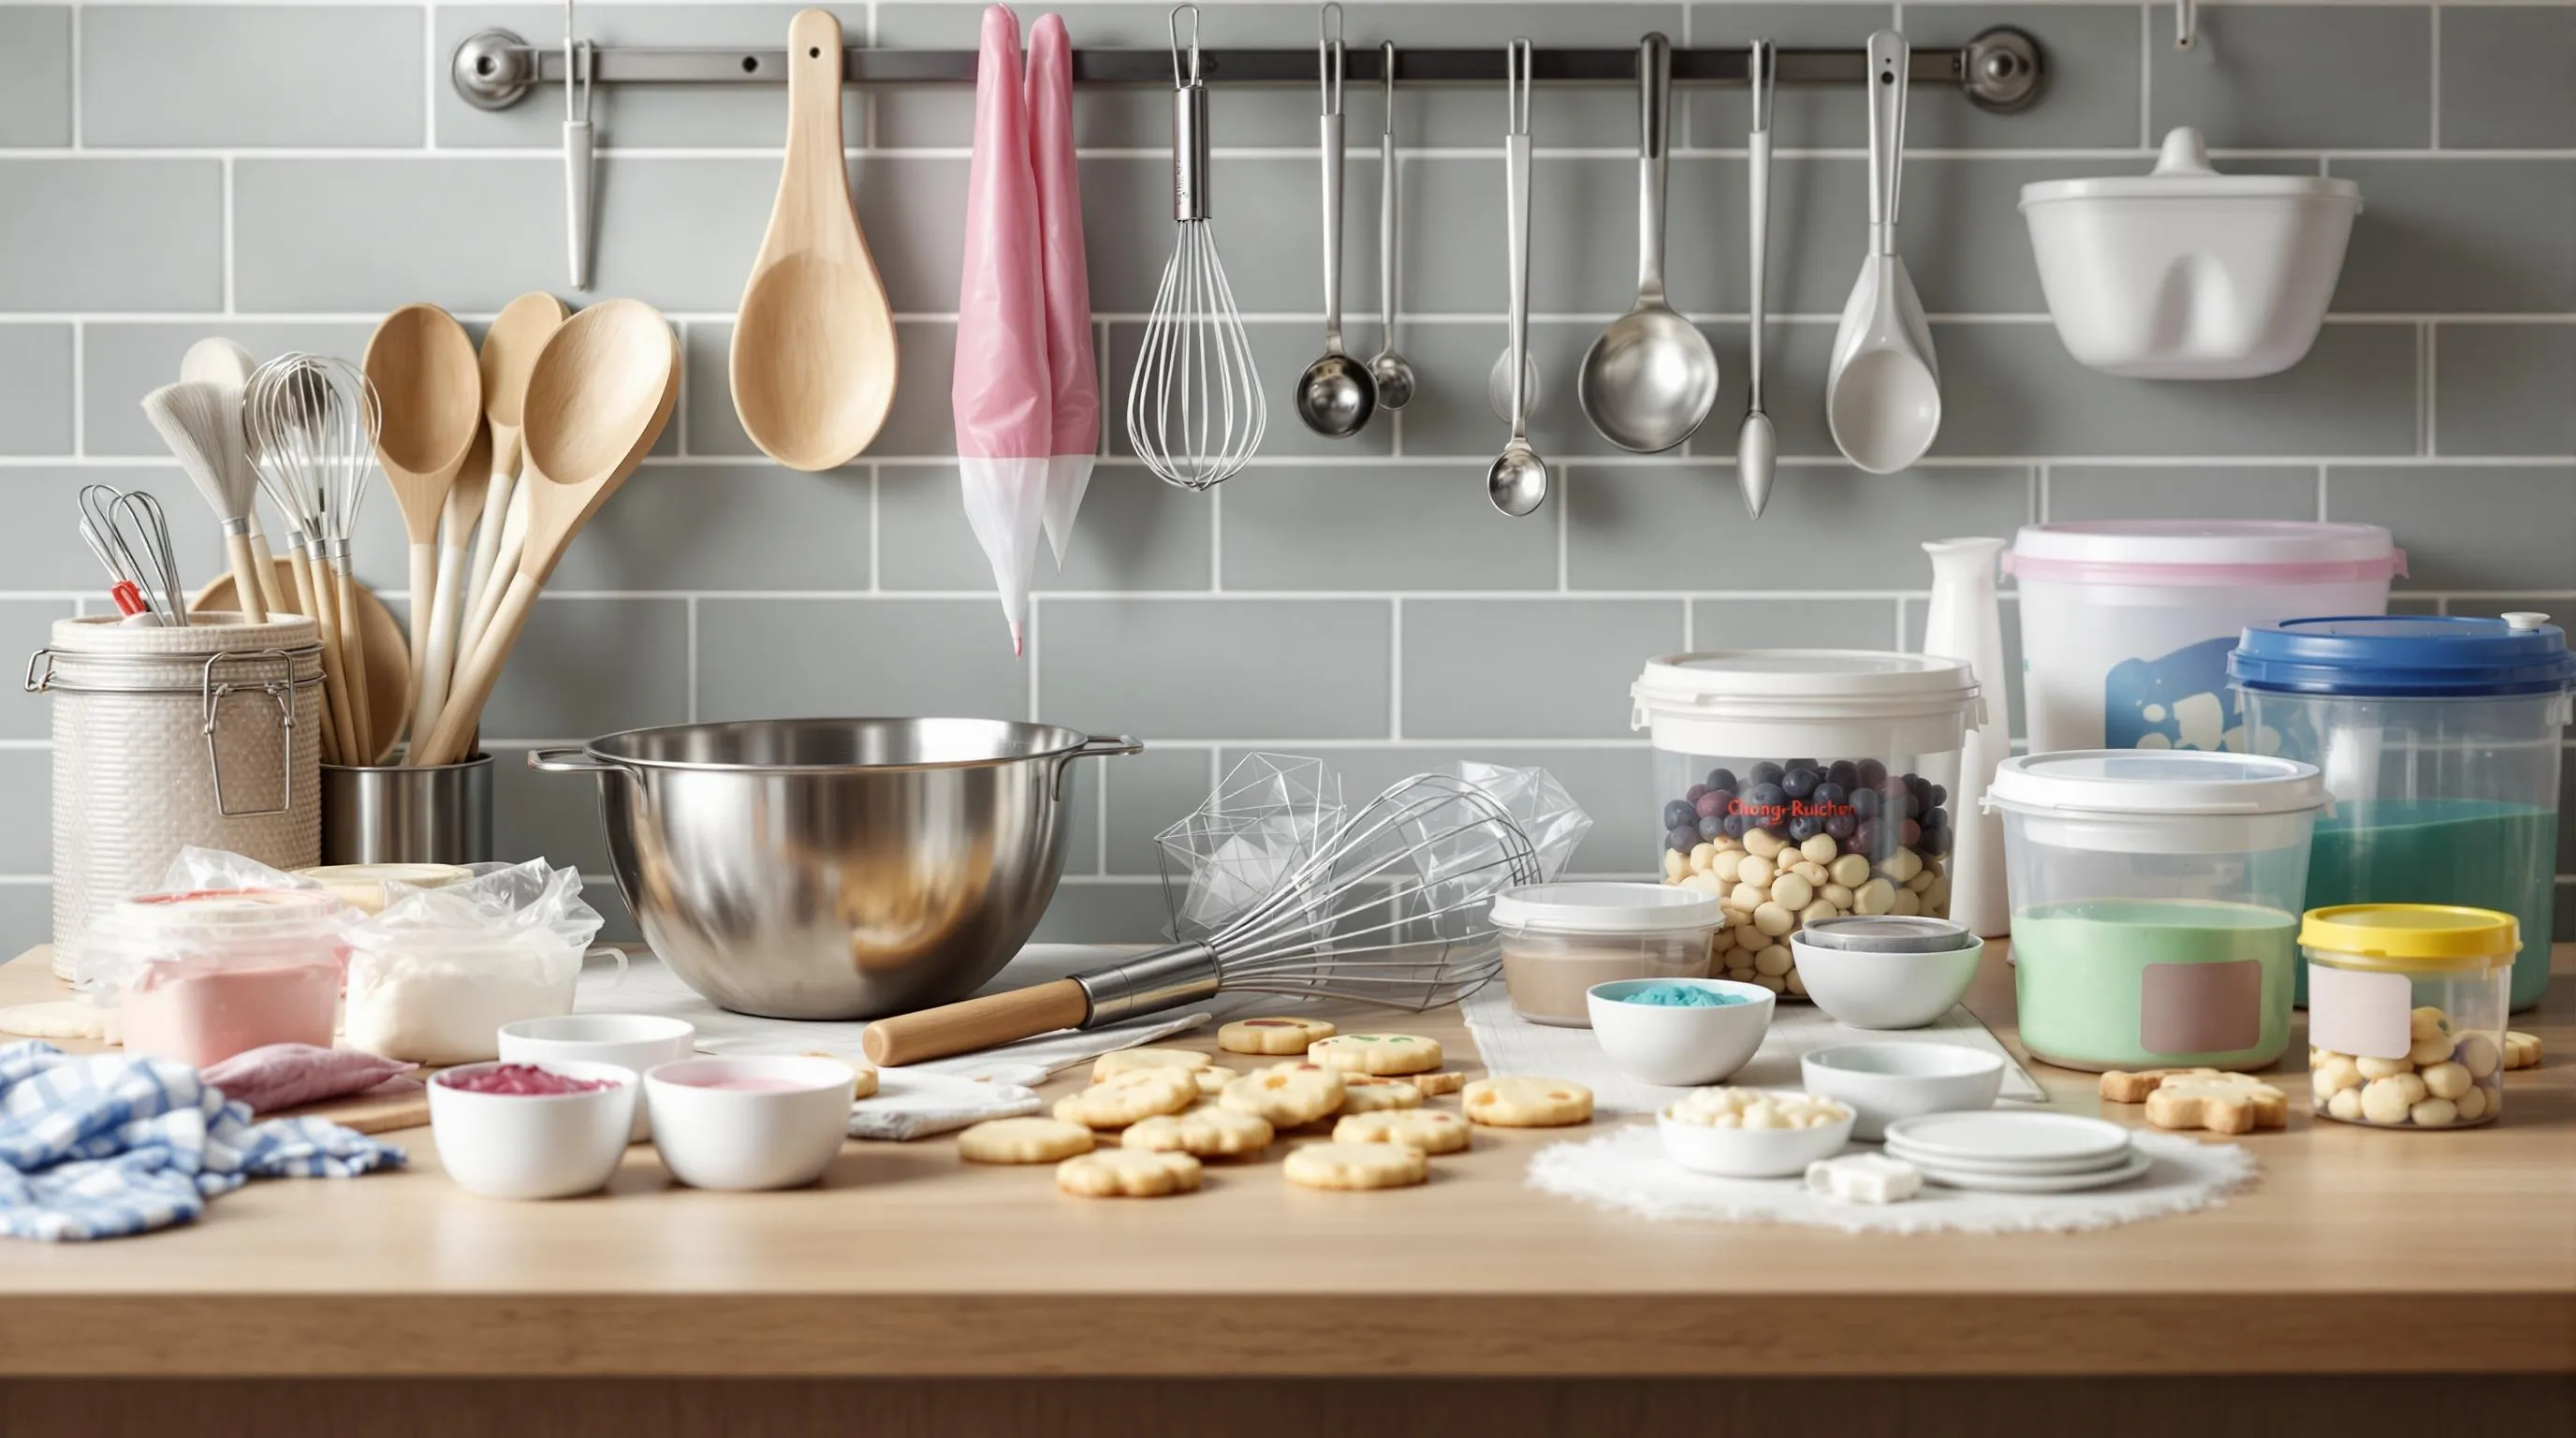
Creating perfect sugar cookie icing requires just a few basic tools that you likely already have in your kitchen. Gathering these items before you begin will streamline your decorating process and help achieve professional-looking results.
- Medium mixing bowl – For combining all ingredients without splashing
- Measuring cups and spoons – For precise ingredient measurements
- Whisk or spoon – To thoroughly incorporate ingredients without introducing air bubbles
- Rubber spatula – Helps scrape down the sides of the bowl for even mixing
- Small bowls – For dividing and coloring icing if creating multiple colors
- Piping bags – For detailed decorating work and outlining
- Piping tips – #2 or #3 round tips work well for outlining and detail work
- Squeeze bottles – Ideal for flooding larger areas of cookies
- Toothpicks or small skewer – For popping air bubbles and creating fine details
- Plastic wrap – To cover icing when not in use to prevent crusting
- Airtight containers – For storing leftover icing
Having your tools organized and ready will make the decorating process much more enjoyable. You don’t need fancy equipment to create beautiful cookies—even beginners can achieve great results with these basic items.
Ingredients
Creating perfect sugar cookie icing starts with gathering high-quality ingredients. This simple recipe requires just a few pantry staples that combine to create a smooth, versatile icing that dries to a beautiful finish.
Base Ingredients
- 2 cups powdered sugar (confectioners’ sugar), sifted to remove lumps
- 2-3 tablespoons milk (whole milk preferred for richness)
- 1½ tablespoons light corn syrup
- ½ teaspoon clear vanilla extract
- ⅛ teaspoon salt (to balance sweetness)
Optional Add-ins For Flavor Variations
- Almond extract (¼ teaspoon) for a nutty undertone
- Lemon extract or fresh lemon zest for citrus brightness
- Peppermint extract (¼ teaspoon) for holiday cookies
- Gel food coloring (preferred over liquid for vibrant colors without thinning the icing)
- Sprinkles, sanding sugar, or edible glitter for decoration
- Cocoa powder (1-2 tablespoons) for chocolate icing variation
- Freeze-dried fruit powder for natural coloring and flavor
How To Make Sugar Cookie Icing
Creating perfect sugar cookie icing is surprisingly simple with this foolproof method. Follow these steps to achieve professional-looking results every time.
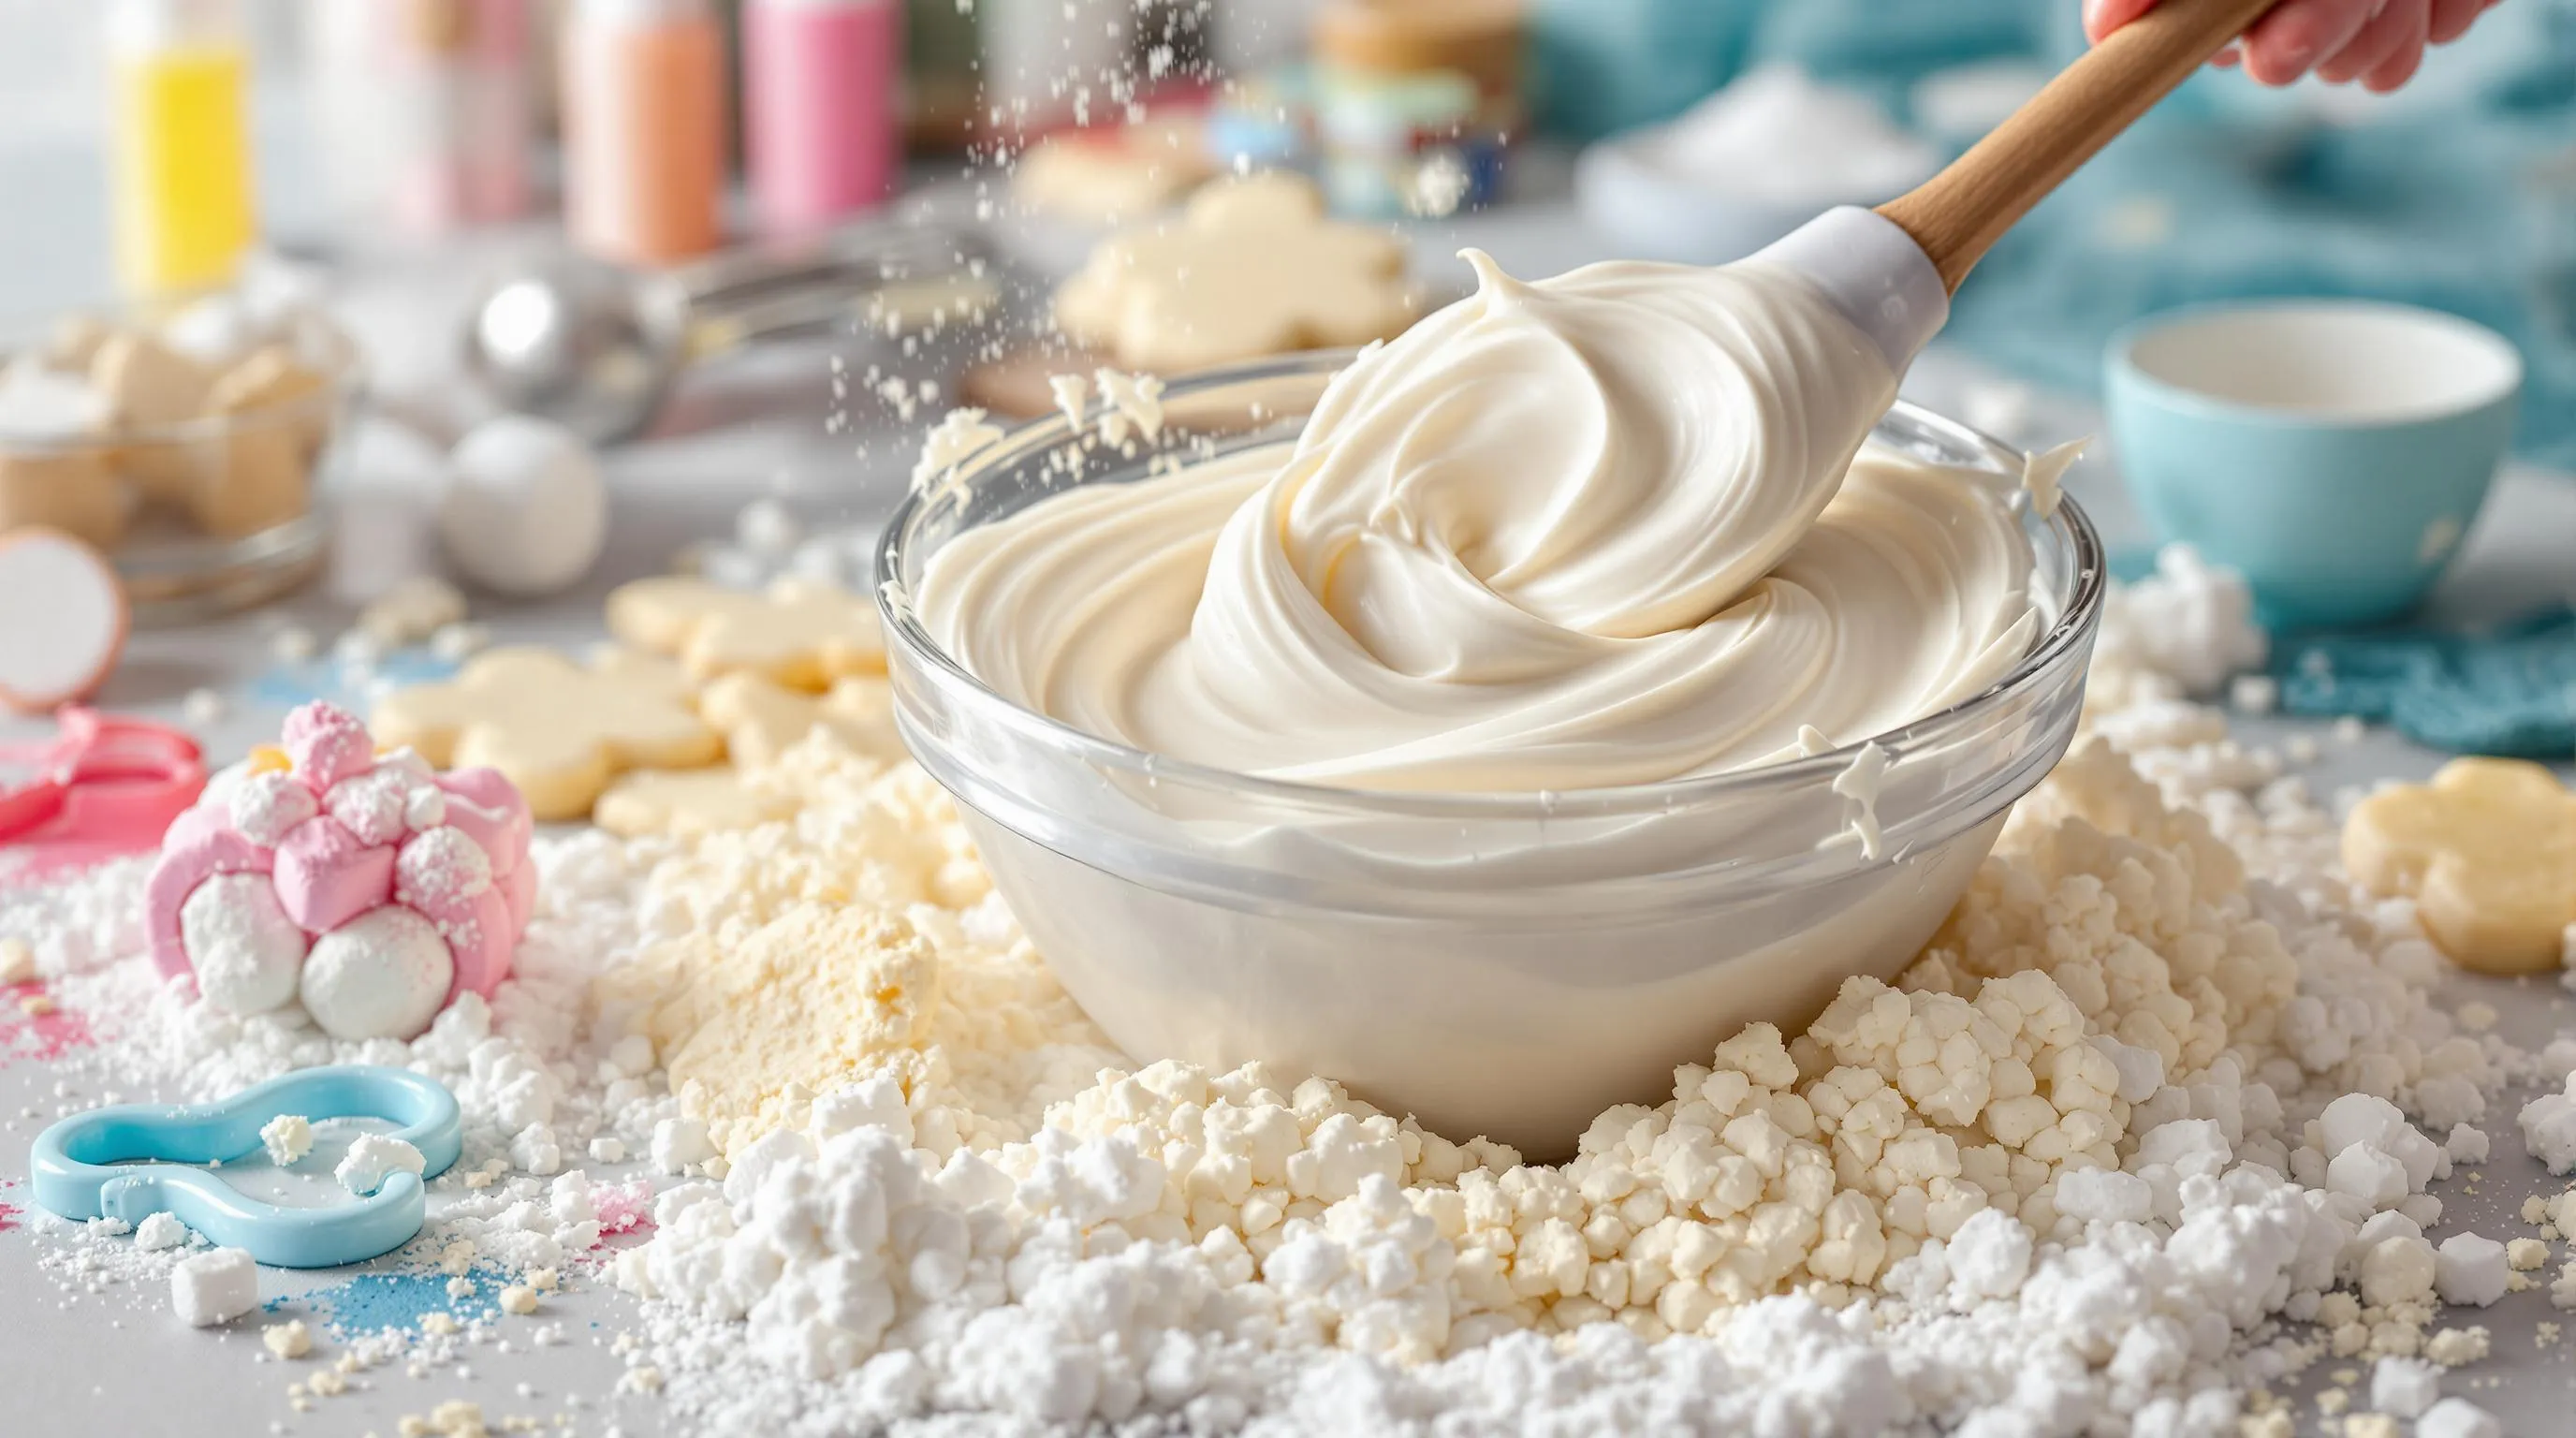
Mixing The Icing
Start by sifting the powdered sugar into a medium mixing bowl to remove any lumps. Add 2 tablespoons of milk, corn syrup, vanilla extract, and salt to the powdered sugar. Whisk these ingredients together until completely smooth, making sure to scrape down the sides of the bowl with a rubber spatula to incorporate all the powdered sugar. The mixture should initially appear thick and somewhat dry. Continue whisking for about 1-2 minutes until the ingredients are fully combined and the icing becomes glossy. This thorough mixing is crucial for breaking down any remaining sugar particles and creating that signature smooth texture.
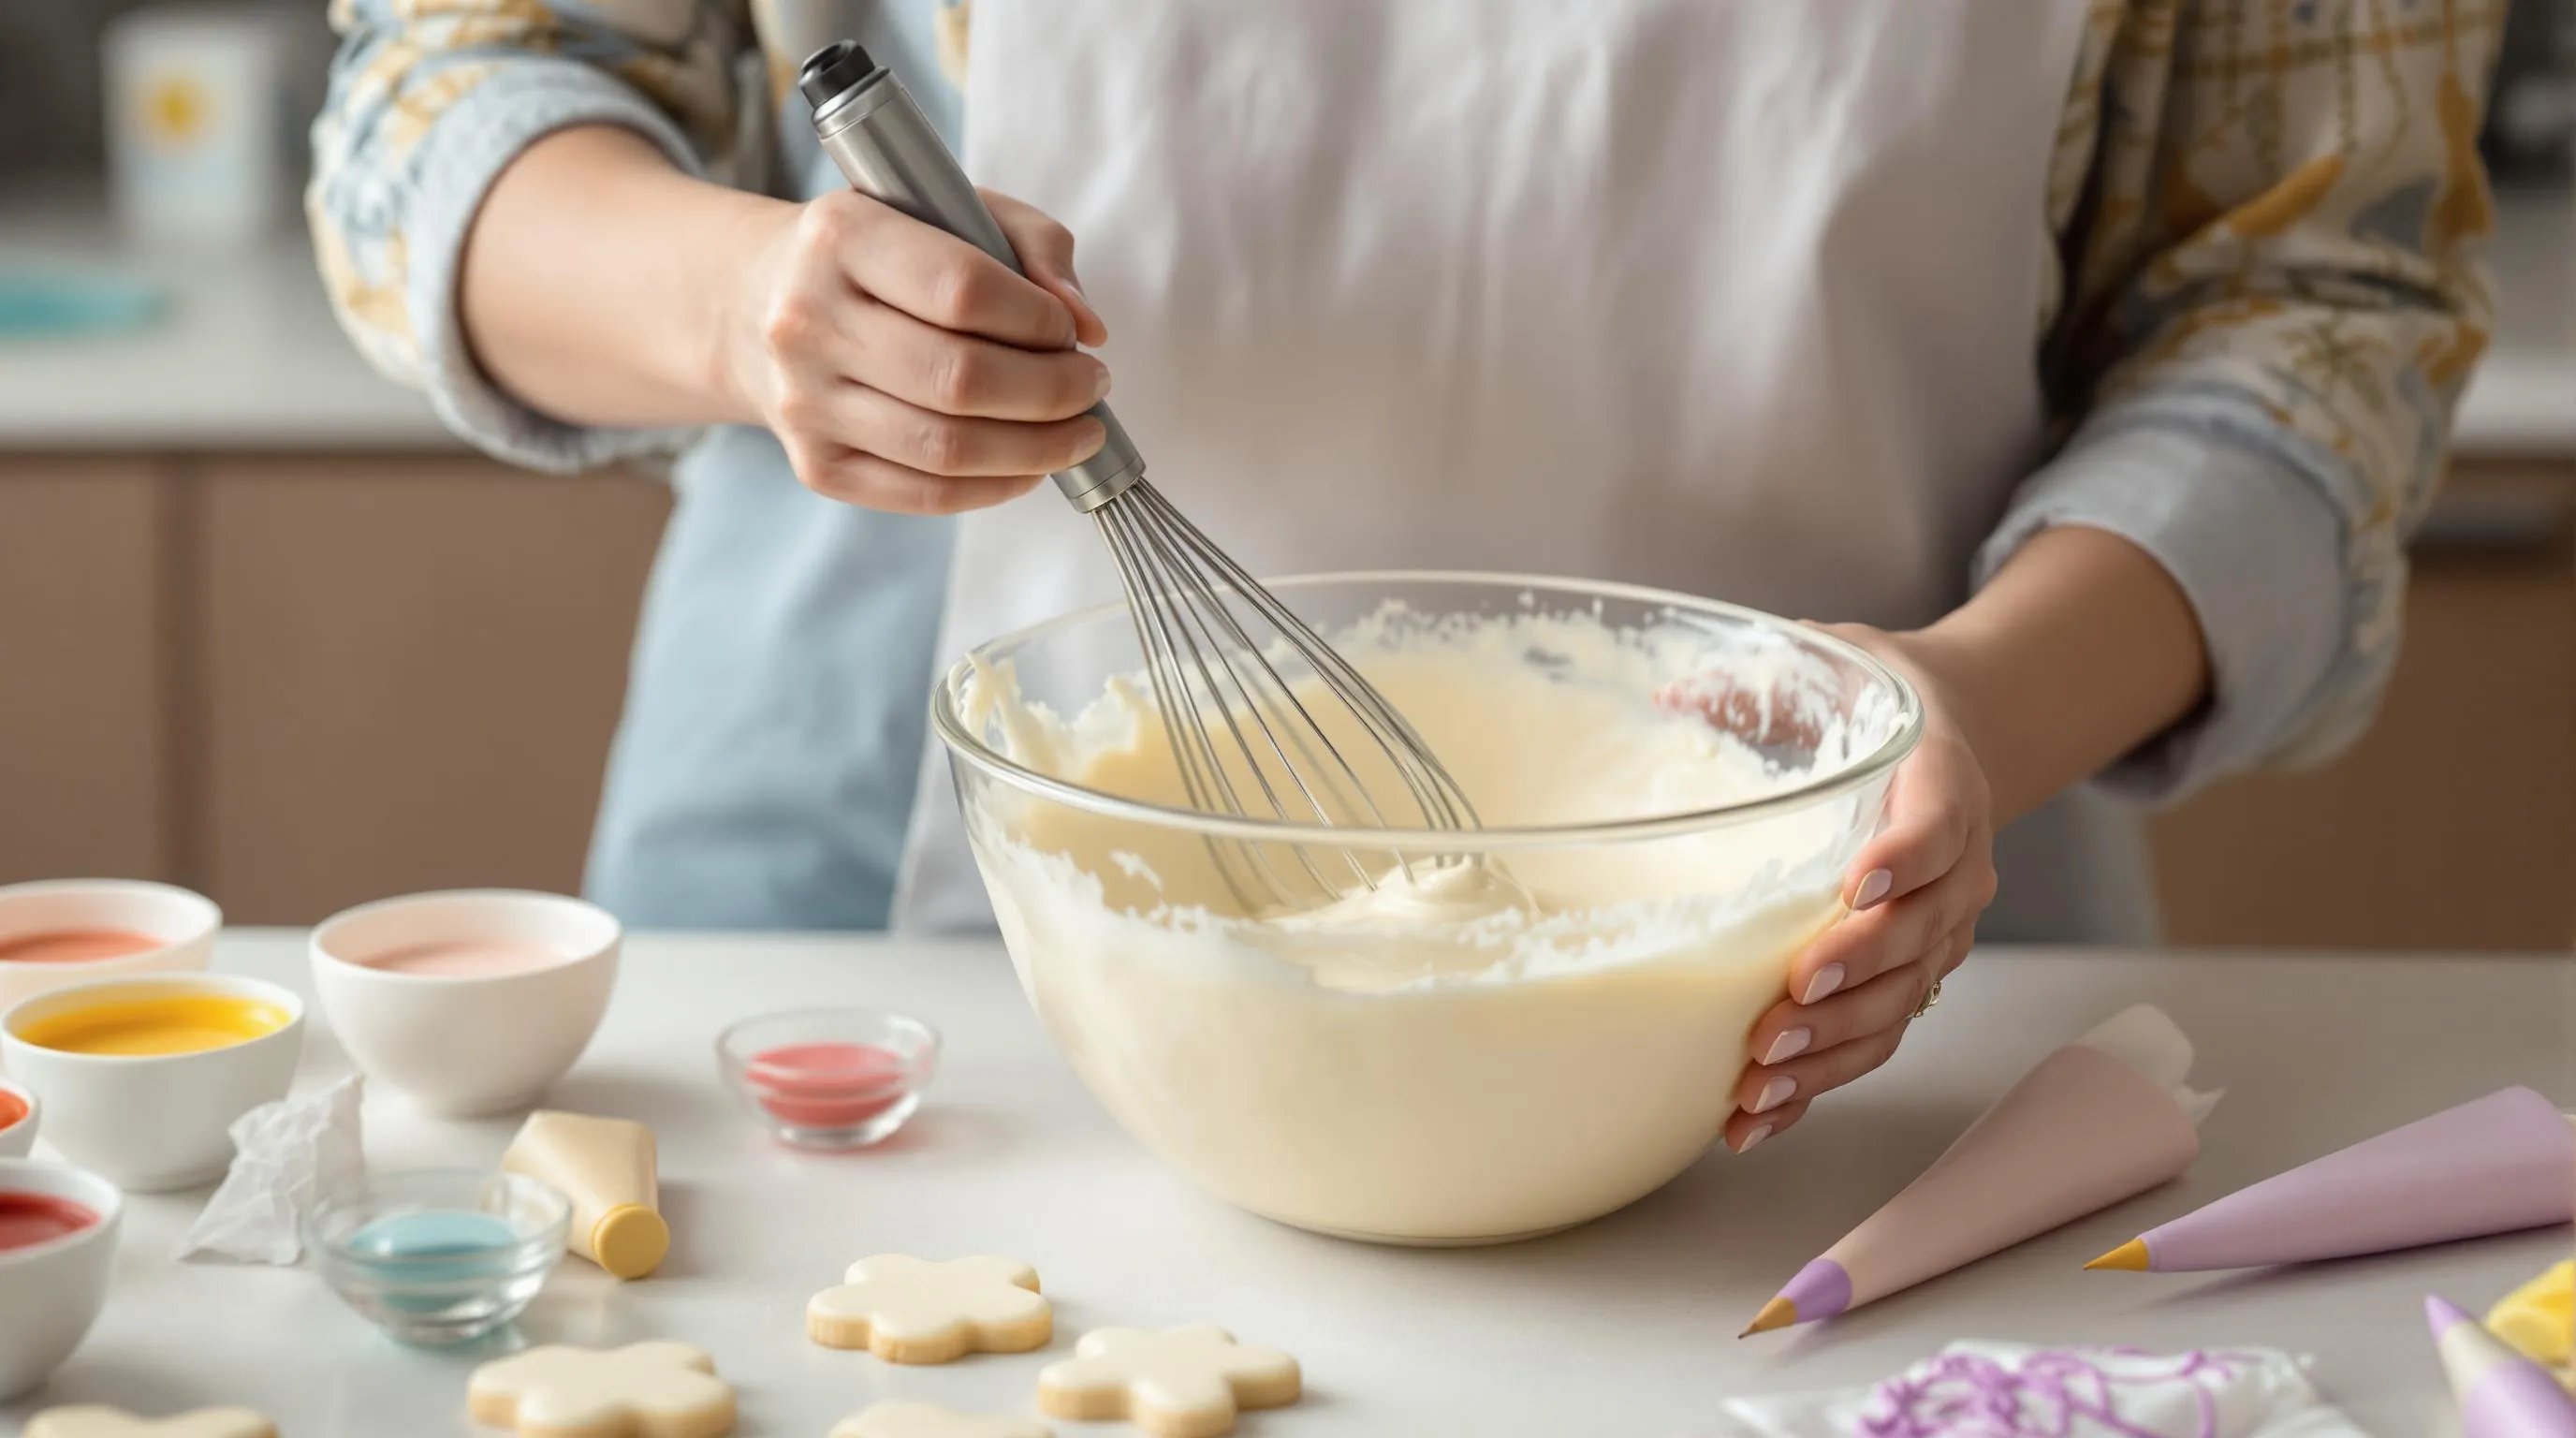
Achieving The Right Consistency
The ideal consistency depends on your decorating technique. For outlining cookies, the icing should be thick enough to hold its shape – similar to toothpaste. Test by lifting your whisk or spoon above the bowl; the icing should fall in a thick ribbon and take 15-20 seconds to disappear back into the surface. For flooding (filling in larger areas), add additional milk ¼ teaspoon at a time until the icing reaches a thinner consistency. Proper flooding consistency allows the icing to settle within 8-10 seconds when you run a knife through it. Always make adjustments gradually since a little liquid goes a long way. If your icing becomes too thin, add small amounts of sifted powdered sugar to thicken it back up. Remember that different decorating techniques require different consistencies, so consider dividing your base icing and adjusting portions separately.
Coloring Your Icing
Divide your prepared icing into separate small bowls for each color you plan to use. Add gel food coloring rather than liquid food coloring for the most vibrant results without altering the consistency. Start with a tiny amount on the tip of a toothpick and gradually build up to your desired shade, keeping in mind that colors typically darken slightly as the icing dries. Stir thoroughly with a clean utensil for each color to ensure even distribution and eliminate streaks. For pastel shades, use just a touch of coloring; for deeper hues, you may need several additions. Allow colored icing to rest for 5-10 minutes before using to let any air bubbles rise to the surface, then gently tap the bowls on your countertop to release them. Transfer your colored icing to piping bags or squeeze bottles immediately after mixing to prevent it from forming a crust on the surface.
Decorating Techniques

Master these essential sugar cookie decorating techniques to transform your freshly iced cookies into edible works of art. With practice you can create professional-looking designs that will impress friends and family at any occasion.
Flooding Method
Flooding creates a smooth solid base for your decorated cookies. Start by outlining the cookie with slightly thicker icing using a #2 piping tip. Let this outline dry for about 15 minutes to create a dam that prevents the thinner icing from spilling over the edges. Fill the center with thinned icing (add a few drops of milk until it reaches ribbon consistency) using a squeeze bottle for maximum control. Gently shake the cookie to help the icing settle into a flat even surface. Use a toothpick to guide the icing into corners and pop any air bubbles that form. Allow the flooded layer to dry completely for at least 4-6 hours before adding additional details.
Piping Details
Piping detailed designs requires slightly thicker icing that holds its shape. Prepare your icing to medium consistency where it forms soft peaks that gradually melt back into themselves within 15-20 seconds. Transfer the icing to piping bags fitted with appropriate tips based on your design needs. Use a #1 or #2 tip for fine lines and intricate details like names or thin borders. Switch to a #3 tip for bolder outlines or simple shapes. Practice consistent pressure when squeezing the bag to maintain even line thickness. For dots start by applying pressure while holding the tip just above the cookie surface then release pressure and pull away. Create dimension by layering piped elements after allowing base layers to dry completely.
Marbling Effect
The marbling technique creates stunning swirled patterns that look complex but are surprisingly simple to execute. Begin with a freshly flooded cookie base that hasn’t set. Drop dots or lines of contrasting colored icing onto the wet base. Work quickly as this technique requires all icings to be wet. Drag a toothpick or scribe tool through the dots in various directions to create beautiful swirls and patterns. For a feathered effect pull the toothpick through in one direction across multiple dots. Experiment with different color combinations like red and white for candy canes or multiple colors for rainbow effects. Allow the marbled design to dry completely undisturbed for at least 8 hours before handling to preserve your beautiful pattern.
Storage And Make-Ahead Tips
Properly storing your sugar cookie icing ensures you’ll have beautiful cookies whenever needed. This icing can be prepared well in advance of your decorating session saving you valuable time during busy holiday seasons or special events.
Storing Freshly Made Icing
Keep unused sugar cookie icing in airtight containers at room temperature for up to 24 hours. For longer storage place the containers in the refrigerator where the icing will stay fresh for up to 1 week. Always cover the surface of the icing directly with plastic wrap before securing the container lid to prevent a hard crust from forming.
Reviving Refrigerated Icing
Refrigerated icing will stiffen considerably but can be easily brought back to the perfect consistency. Remove the icing from the refrigerator and let it sit at room temperature for 15-20 minutes. Stir vigorously with a spoon or whisk until smooth. You may need to add a few drops of milk to reach your desired consistency if it remains too thick.
Freezing Options
Freeze sugar cookie icing for up to 3 months in freezer-safe containers for long-term storage. Transfer the icing to the refrigerator 24 hours before you plan to use it allowing it to thaw gradually. Once thawed whip the icing vigorously and adjust the consistency with small amounts of milk or powdered sugar as needed.
Storing Decorated Cookies
Cookies with dried icing can be stored in airtight containers at room temperature for 5-7 days. Place parchment paper between layers of cookies to prevent them from sticking together or damaging the decorations. Fully decorated cookies can also be frozen for up to 3 months in airtight containers with parchment paper separating each layer.
Make-Ahead Strategy
Prepare your icing up to a week before your decorating session keeping the base white icing uncolored in the refrigerator. When ready to decorate portion out what you need and add colors as required. This strategy works particularly well for large batch cookie decorating projects or when planning ahead for holiday baking.
Troubleshooting Common Icing Issues

Even experienced bakers encounter occasional challenges with sugar cookie icing. These common problems have simple answers that can quickly get your decorating project back on track.
Fixing Runny Icing
Icing that’s too thin spreads beyond your outlines and creates messy cookies with undefined designs. Add more powdered sugar to remedy this issue—start with 1 tablespoon at a time and mix thoroughly after each addition until you reach the desired consistency. Test the icing on a plate by drawing a line; properly thickened icing should hold its shape for at least 15 seconds before melting back. For precision work like detailed piping or outlining, your icing needs a thicker consistency similar to toothpaste. Remember that humidity affects icing thickness, so you might need more powdered sugar on particularly humid days.
Dealing With Hardened Icing
Icing can dry out or form a crust while you’re working, especially when left uncovered. Revive hardened icing by adding liquid in very small increments—¼ teaspoon of milk or water at a time—and stir thoroughly between additions to prevent overshooting the ideal consistency. For icing that’s developed a dry crust on top but remains usable underneath, simply remove the crusty layer and continue using the soft icing below. Always keep your icing covered with plastic wrap pressed directly onto its surface when not actively using it. Placing a damp paper towel over piping bag tips between uses prevents them from clogging with dried icing. For severely hardened icing in squeeze bottles, try running the bottle under warm water to loosen the contents before adding liquid to reconstitute.
Creative Sugar Cookie Icing Ideas

Now that you’ve mastered the basic sugar cookie icing recipe let’s explore creative decorating ideas that will elevate your cookies from simple treats to impressive edible art. These design concepts work beautifully with our versatile icing recipe and can be adapted for any occasion or holiday.
Seasonal and Holiday Designs
Transform your sugar cookies into festive masterpieces with season-exact designs. For Christmas cookies try decorating pine trees with green icing and tiny nonpareil “ornaments” or create snowflakes using white icing with delicate piped details. Halloween cookies shine with orange jack-o’-lanterns featuring black piped faces or spooky ghosts with white flooding and black accents. Easter designs work wonderfully with pastel-colored icings shaped into eggs bunnies and spring flowers.
Valentine’s Day cookies become special with red and pink heart designs enhanced with white piped lace patterns or written messages. For Fourth of July celebrations create patriotic cookies using red white and blue icings in star and stripe patterns that perfectly showcase your American spirit.
Color Techniques and Special Effects
Take your icing artistry to the next level with advanced color techniques. Try the wet-on-wet method by applying dots or lines of contrasting colors onto freshly flooded icing then dragging a toothpick through to create feathered or heart patterns. Ombré effects make stunning cookies—start with a dark shade at one edge of your cookie then gradually blend to a lighter shade across the surface.
Watercolor cookies offer an artistic approach—flood cookies with white icing then once partially set use highly diluted food coloring to paint soft watercolor-like designs. For a modern twist try the splatter technique by loading a clean food-safe paintbrush with thinned food coloring and flicking it across dried white icing for an abstract speckled effect.
Theme-Based Cookie Collections
Create cohesive cookie collections based on exact themes that tell a story or complement your event. Baby shower cookies delight guests with onesies strollers and baby blocks in gentle pastel colors. Wedding cookie sets elegantly feature wedding cakes rings and flower designs in the couple’s chosen color scheme.
Birthday-themed cookies become festive with balloons presents and personalized number cookies matching the party’s theme. Sports enthusiasts will appreciate cookies decorated as basketballs footballs jerseys or team logos using team colors. Animal-themed collections charm children with decorated lions elephants and giraffes that showcase your attention to detail.
Personalized and Message Cookies
Make cookies truly special by incorporating personalized elements and written messages. Name cookies become cherished favors at events when you pipe each guest’s name in contrasting icing on a flooded base. Monogram cookies offer elegant personalization with ornate letters centered on a beautifully flooded background.
Quote cookies make meaningful gifts—flood rectangular cookies and carefully pipe inspirational quotes or inside jokes once the base dries. For special announcements design cookies that reveal engagement news pregnancy announcements or other celebrations with creative messaging and appropriate imagery.
Textured and Dimensional Effects
Add impressive dimension to your cookies with techniques that create texture and depth. Royal icing transfers allow you to create delicate designs on parchment paper then apply them to cookies once dry for a 3D effect. Brush embroidery creates beautiful texture—pipe outlines then use a damp brush to pull the icing inward creating a fabric-like appearance.
Ruffled borders add elegant dimension—pipe a line of icing then use a toothpick to pull short strokes perpendicular to the line creating a gathered fabric look. For sparkle and shine add sprinkles sanding sugar or edible glitter while the icing is still wet or brush dry cookies with edible luster dust for a metallic finish that catches the light beautifully.
Conclusion
This sugar cookie icing recipe is your ticket to bakery-worthy decorated cookies at home. With just a few ingredients and simple techniques you can create beautifully decorated treats that taste as good as they look.
Whether you’re a beginner or experienced baker you’ll appreciate how this versatile icing adapts to your needs. From flooding to detailed piping it delivers professional results every time.
Remember that practice makes perfect so don’t be discouraged by initial attempts. Your decorating skills will improve with each batch. Now you’re equipped with everything needed to create stunning sugar cookies for any occasion that will impress family and friends alike.
Happy baking and decorating!