Ingredients
Creating this showstopping springtime pinata cake requires carefully selected ingredients across four main components. Each element works together to build the perfect surprise-filled dessert that will delight your guests.
For the Cake
- 2 cups (240g) all-purpose flour
- 2 teaspoons baking powder
- 1/2 teaspoon salt
- 1/2 cup (115g) unsalted butter, room temperature
- 1 1/4 cups (250g) granulated sugar
- 4 large eggs, room temperature
- 2 teaspoons pure vanilla extract
- 1 cup (240ml) whole milk, room temperature
- 1/4 teaspoon almond extract
For the Buttercream Frosting
- 1 cup (230g) unsalted butter, room temperature
- 4 cups (480g) powdered sugar, sifted
- 1/4 cup (60ml) heavy cream
- 2 teaspoons vanilla extract
- 1/4 teaspoon salt
- Food coloring in spring colors (pink, yellow, green, purple)
For the Filling
- 1 1/2 cups small colorful candies (jelly beans, mini chocolate eggs, or candy-coated chocolates)
- 1/4 cup rainbow sprinkles
- 2 tablespoons edible confetti
- 1/4 cup mini marshmallows (optional)
For Decoration
- 1/2 cup white chocolate chips, melted
- Edible glitter or pearl dust
- Fresh spring flowers (optional)
- Decorative Easter picks or cake toppers
- Additional sprinkles for exterior decoration
Equipment Needed
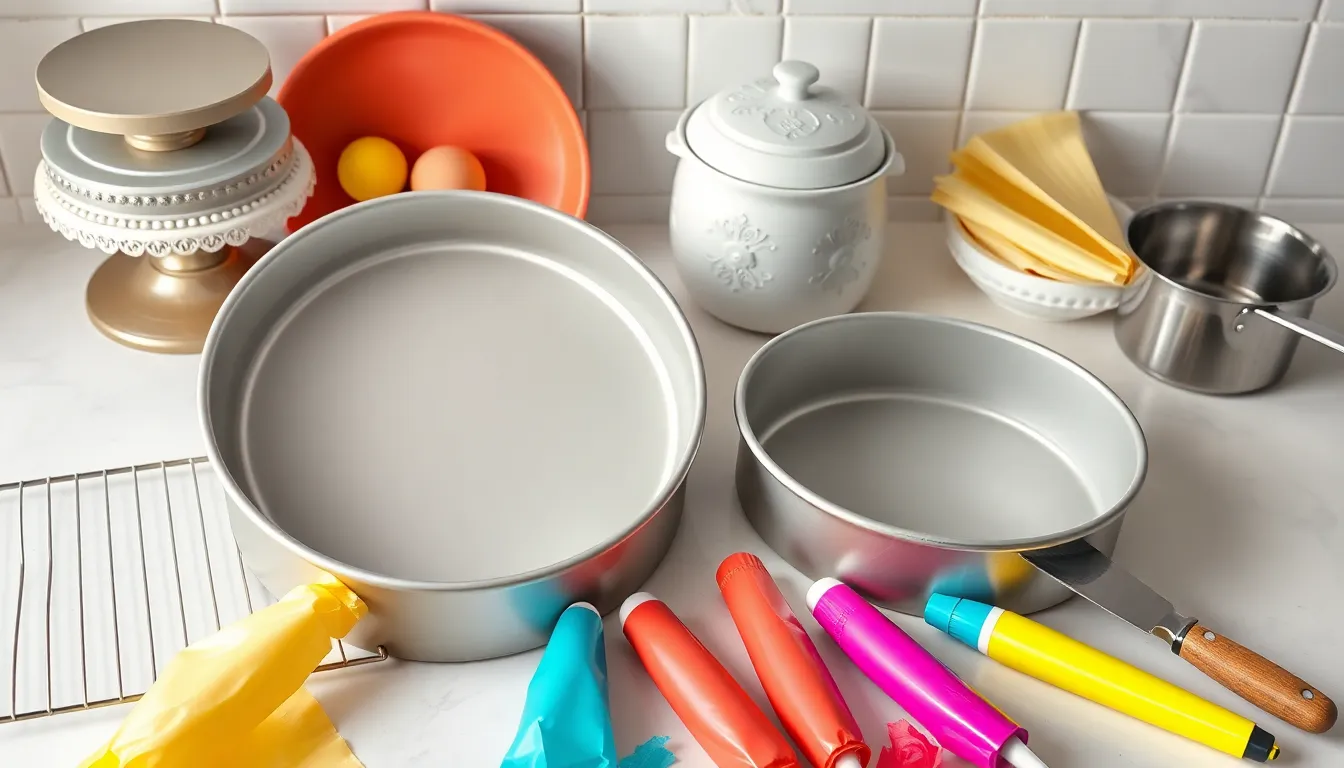
Creating your springtime pinata cake requires exact baking tools and equipment to achieve the perfect hollow center and stunning presentation. You’ll need essential baking equipment alongside some specialized tools to create the signature surprise element.
Basic Baking Equipment:
- Two 8-inch round cake pans
- Electric stand mixer or hand mixer
- Large mixing bowls (at least 3)
- Measuring cups and spoons
- Wire cooling racks
- Rubber spatulas for folding and scraping
- Offset spatula for frosting application
Specialized Tools for Pinata Effect:
- Sharp serrated knife for cake cutting
- Large spoon or ice cream scoop for hollowing
- Small bowl for collecting cake crumbs
- Clean kitchen towel for workspace protection
Decorating Essentials:
- Piping bags and tips (optional for decorative frosting)
- Small saucepan for melting chocolate
- Fine-mesh sifter for dusting edible glitter
- Cake turntable for smooth frosting application
- Bench scraper for clean cake sides
Preparation Tools:
- Parchment paper for pan lining
- Cooking spray or butter for greasing
- Kitchen scale for precise measurements (recommended)
- Timer for accurate baking intervals
Your stand mixer proves invaluable for achieving the light fluffy texture essential to this cake’s success. The serrated knife becomes your most important tool when creating the hollow cavity that holds your colorful surprise. Position your cake turntable at comfortable working height to ensure smooth frosting application around the entire cake surface.
Instructions
Creating your springtime pinata cake requires careful attention to timing and technique to achieve the perfect hollow center filled with colorful surprises. Follow these detailed steps to build your show-stopping dessert layer by layer.
Prepare the Cake Layers
Preheat your oven to 350°F and grease two 8-inch round cake pans with cooking spray. Line the bottom of each pan with parchment paper for easy removal.
Whisk together flour, baking powder, and salt in a medium bowl. Set this dry mixture aside while you prepare the wet ingredients.
Cream the softened butter and granulated sugar in a large bowl using your electric mixer on medium speed for 3-4 minutes until light and fluffy. Beat in eggs one at a time, ensuring each is fully incorporated before adding the next.
Mix in vanilla extract and almond extract until combined. Alternate adding the flour mixture and milk to the butter mixture, beginning and ending with the flour mixture. Beat on low speed just until combined after each addition.
Divide the batter evenly between your prepared pans. Bake for 25-30 minutes or until a toothpick inserted in the center comes out clean. Cool the layers in their pans for 10 minutes before turning them out onto wire racks to cool completely.
Make the Buttercream Frosting
Beat the softened butter in a large bowl with your electric mixer on medium speed until light and creamy, about 2-3 minutes. Gradually add powdered sugar, one cup at a time, beating well after each addition.
Pour in heavy cream and vanilla extract, then beat on high speed for 2-3 minutes until the frosting is smooth and fluffy. Divide the frosting into separate bowls if you plan to create multiple spring colors.
Add food coloring drops gradually to achieve your desired pastel shades. Mix each color thoroughly until evenly distributed throughout the frosting.
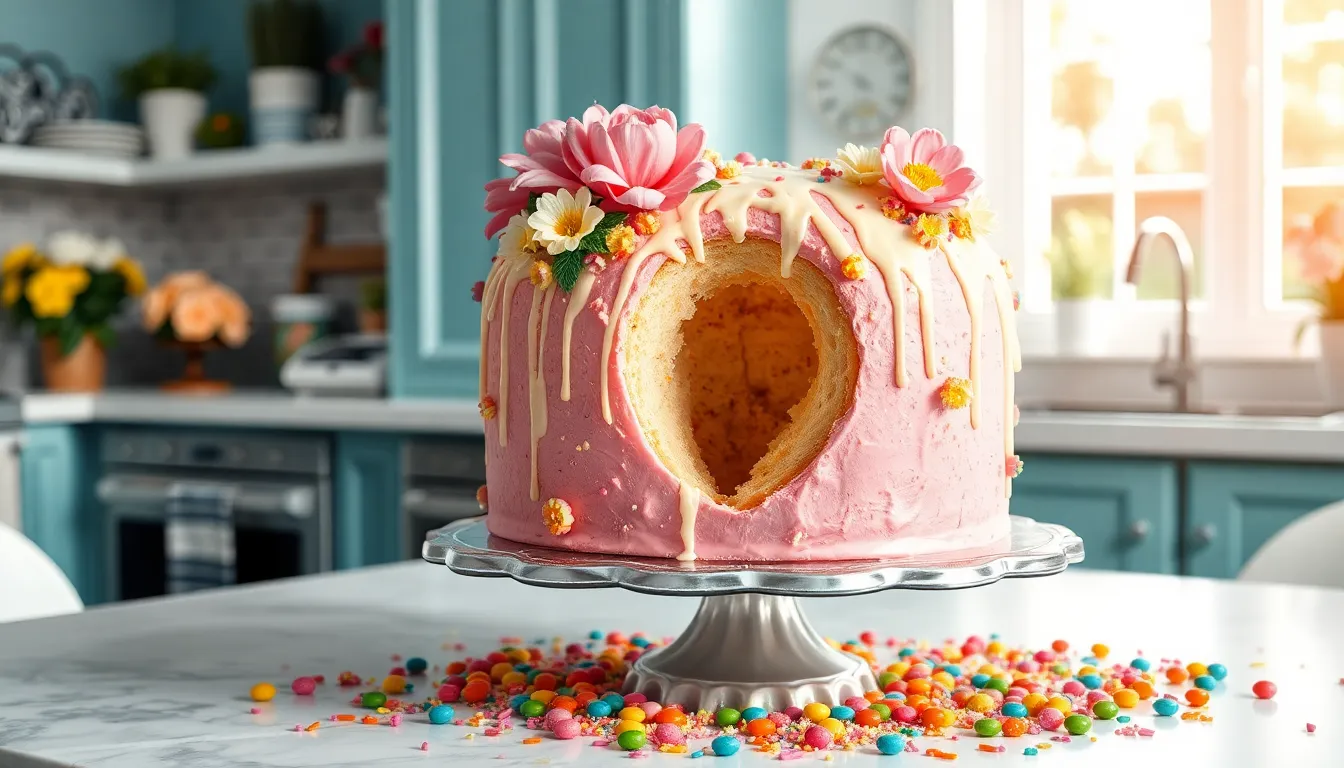
Create the Pinata Effect
Place one completely cooled cake layer on your work surface. Use your sharp serrated knife to cut a circle about 1 inch from the outer edge, leaving the border intact around the perimeter.
Cut down into the cake layer about 1.5 inches deep, following your circular guideline. Use your large spoon to carefully scoop out the cake from within the circle, creating a hollow well.
Reserve the removed cake pieces for snacking or discard them. Ensure the walls of your hollow cavity are sturdy enough to hold the candy filling without breaking through.
Fill the hollowed area with your colorful candies, rainbow sprinkles, edible confetti, and mini marshmallows if using. Pack the filling gently but avoid overstuffing, which could cause the top layer to crack.
Assemble the Cake
Place the filled bottom layer on your serving plate or cake turntable. Spread a thin layer of buttercream over the top surface, being careful not to let frosting fall into the candy-filled well.
Gently place the second cake layer on top, pressing down lightly around the edges to seal. The candy filling should now be completely enclosed between the two layers.
Apply a thin crumb coat of buttercream over the entire cake surface. Refrigerate for 30 minutes to set the crumb coat before applying the final frosting layer.
Spread the remaining buttercream evenly over the chilled cake using your offset spatula. Create smooth sides and top, or add decorative swirls as desired.
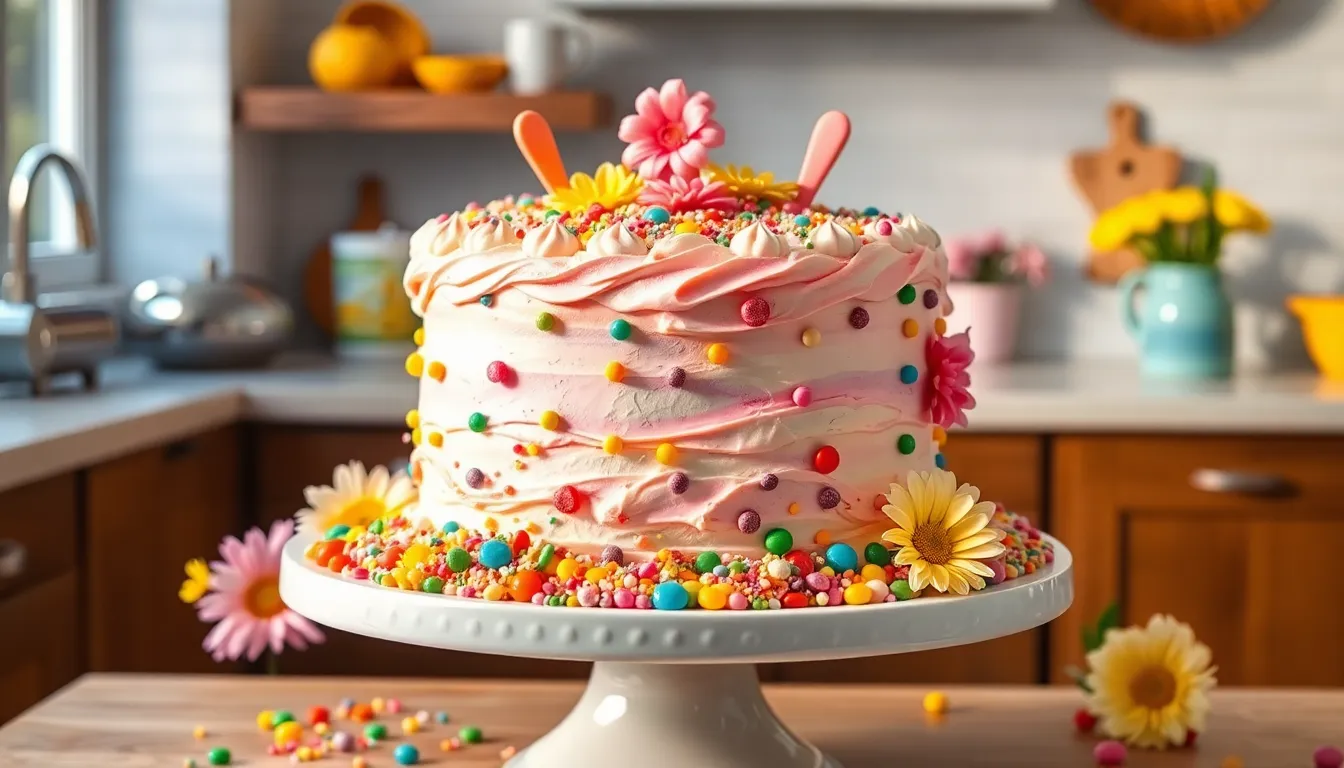
Decorate the Springtime Cake
Drizzle melted white chocolate over the frosted surface in decorative patterns. Allow the chocolate to set for 5 minutes before adding other decorations.
Sprinkle edible glitter over the wet chocolate drizzle to create a sparkling effect. Press fresh spring flowers gently into the frosting around the cake’s perimeter.
Add decorative picks or additional sprinkles as final touches. Refrigerate the completed cake for at least 1 hour before serving to ensure clean slices that reveal the colorful surprise inside.
Make-Ahead Tips
Your springtime pinata cake project becomes much more manageable when you break it into advance preparation steps. Planning ahead ensures the freshest taste while reducing stress on serving day.
Cake Layers Preparation
Bake your cake layers up to 2 days before assembly. Wrap cooled layers tightly in plastic wrap and store at room temperature. This resting period actually improves the cake’s texture and makes cutting cleaner when creating the hollow center.
Freeze cake layers for up to 1 month by wrapping in plastic wrap and aluminum foil. Thaw layers at room temperature for 2 hours before using. Frozen layers cut even more precisely for the pinata effect since they maintain their shape better.
Buttercream Frosting Timeline
Make buttercream frosting 3 days ahead and refrigerate in an airtight container. Bring to room temperature and rewhip with your electric mixer for 2-3 minutes before using. The flavors meld beautifully during refrigeration.
Store extra frosting in the freezer for up to 3 months. Thaw overnight in the refrigerator then rewhip to restore the fluffy texture. This works particularly well for leftover colored frosting portions.
Assembly Strategy
Complete the entire cake assembly 1 day before your event. Store the finished cake in the refrigerator covered loosely with plastic wrap. Remove 30 minutes before serving to bring to room temperature for optimal flavor.
Fill the hollow center with candies just before final decoration to prevent moisture from affecting the candy coating. Keep candy filling ingredients separate until the final assembly step.
Decoration Elements
Prepare chocolate drizzle decorations up to 1 week ahead. Store dried chocolate pieces in an airtight container at room temperature. Add fresh flowers and final touches on serving day for the most vibrant appearance.
| Make-Ahead Component | Storage Time | Storage Method |
|---|---|---|
| Cake layers | 2 days room temp / 1 month frozen | Plastic wrap + foil |
| Buttercream | 3 days refrigerated / 3 months frozen | Airtight container |
| Assembled cake | 1 day | Refrigerated covered |
| Chocolate decorations | 1 week | Room temperature container |
Storage Instructions
Your springtime pinata cake requires proper storage techniques to maintain its vibrant appearance and delicious flavor. Store the completed cake in the refrigerator covered with a cake dome or loosely tented with plastic wrap for up to 3 days.
Room temperature storage works best for the first 24 hours after assembly when you plan to serve the cake within a day. Keep the cake away from direct sunlight and heat sources to prevent the buttercream from melting or the colors from fading.
Refrigerated storage becomes necessary after the first day due to the dairy content in the buttercream frosting. Allow the cake to come to room temperature for 30 minutes before serving to restore the ideal texture and flavor profile.
Individual cake slices can be wrapped in plastic wrap and stored in the refrigerator for up to 5 days. Place wrapped slices in an airtight container to prevent them from absorbing other flavors from your refrigerator.
Freezing options include wrapping individual slices in plastic wrap followed by aluminum foil for up to 2 months. Thaw frozen slices in the refrigerator overnight then bring to room temperature before serving.
Candy filling may absorb moisture over time which can affect the pinata surprise element. Consume the cake within 2 days of assembly for the best candy texture and optimal visual impact when sliced.
| Storage Method | Duration | Temperature | Notes |
|---|---|---|---|
| Room Temperature | 24 hours | 68-72°F | Best for immediate serving |
| Refrigerated (whole cake) | 3 days | 35-40°F | Cover with dome or plastic wrap |
| Refrigerated (slices) | 5 days | 35-40°F | Wrap individually in airtight container |
| Frozen (slices) | 2 months | 0°F | Double wrap with plastic and foil |
Fresh flower decorations should be removed before storage as they wilt quickly and may affect the cake’s appearance. Replace wilted flowers with fresh ones just before serving your stored cake.
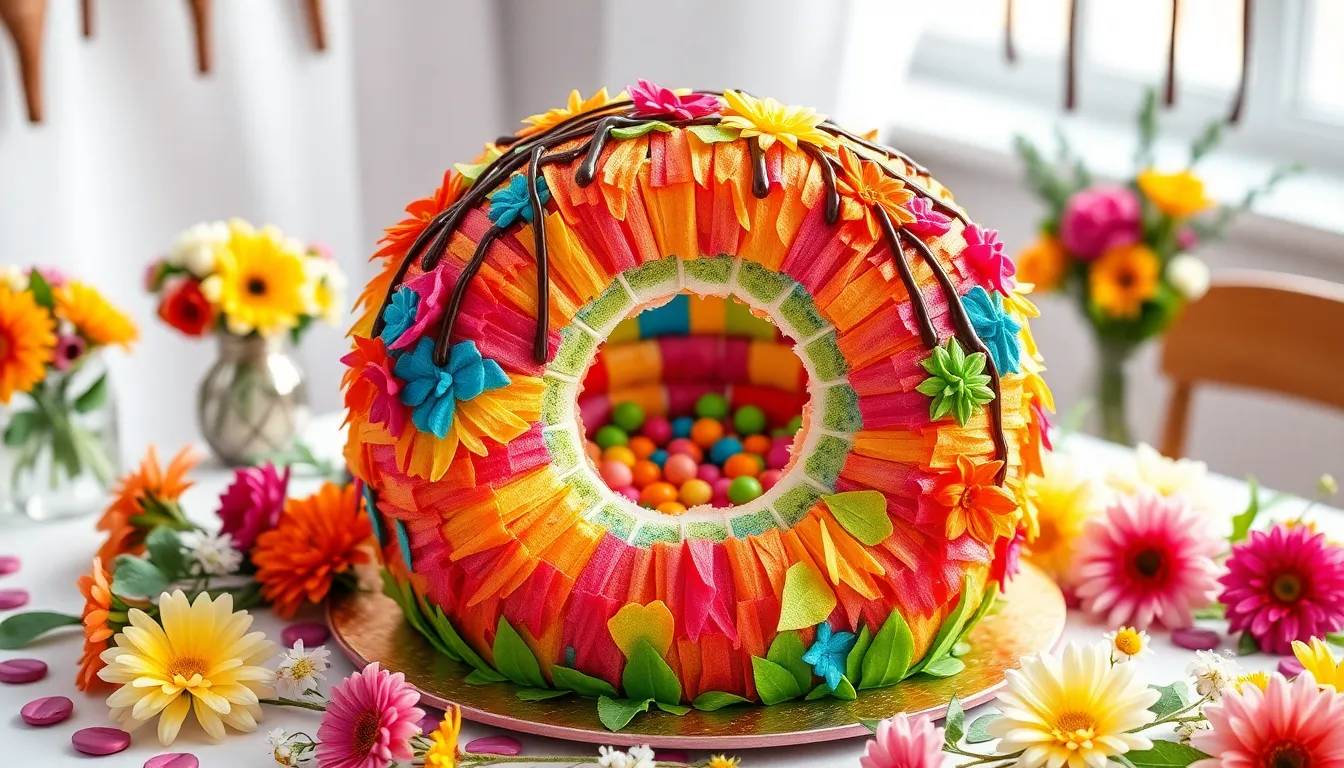
Serving Suggestions
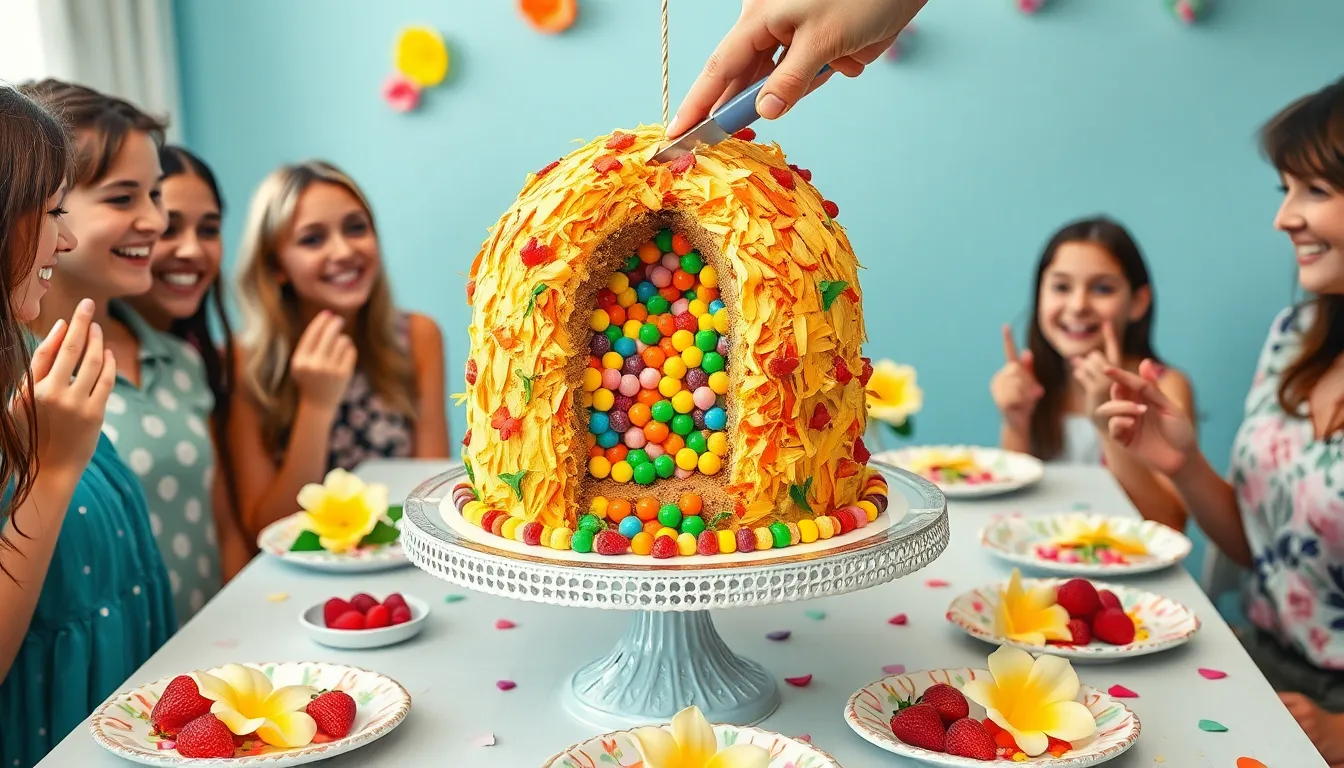
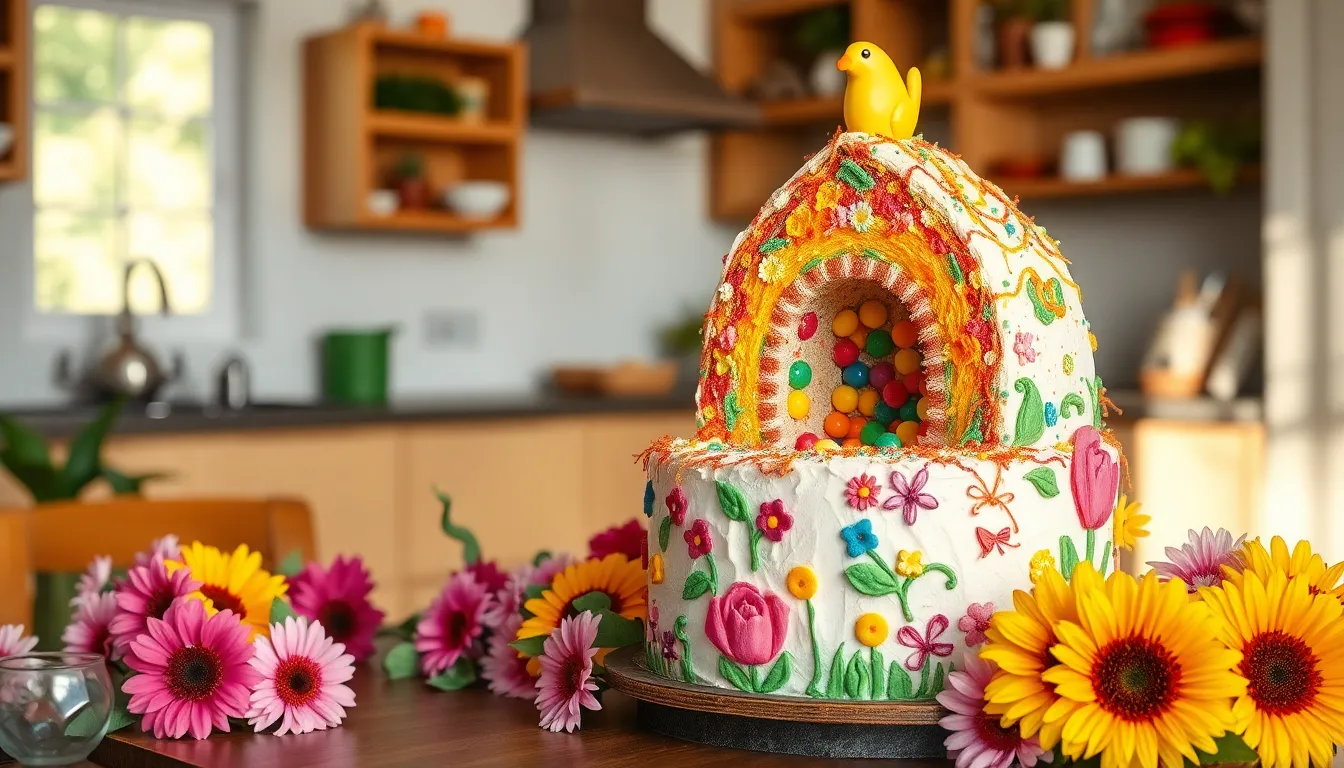
Present your springtime pinata cake as the grand finale of any celebration by allowing guests to gather around as you make the first dramatic cut. Position the cake on a beautiful cake stand or decorative platter to showcase its colorful layers and elegant decorations before revealing the surprise inside.
Create an unforgettable moment by having a designated person slice the cake while others watch in anticipation. The initial cut should be made slowly and deliberately to build excitement before the candies cascade out in a delightful shower of colors. Your guests will experience pure joy as they witness the magical surprise unfold before their eyes.
Serve individual slices on spring-themed dessert plates to complement the seasonal aesthetic of your pinata cake. Pair each serving with a small bowl or napkin to catch any loose candies that may fall during eating. Fresh berries like strawberries or raspberries make excellent accompaniments that enhance the spring theme while adding natural sweetness and vibrant color to each plate.
Complement your cake with light beverages that won’t overpower the sweet vanilla flavors. Champagne or sparkling cider creates an elegant pairing for adult celebrations while fresh lemonade or fruit-infused water provides refreshing options for family gatherings. Hot coffee or tea works beautifully for afternoon events when served alongside smaller cake portions.
Plan your serving strategy around the cake’s visual impact by dimming lights slightly and using candles or soft lighting to highlight the colorful candy filling as it spills out. Photography opportunities abound during the cutting ceremony so encourage guests to capture the magical moment when the hidden treasures are revealed.
Consider portioning the cake into generous slices since the light vanilla sponge pairs perfectly with the excitement of discovering candies in each bite. Younger guests especially enjoy hunting for their favorite candy pieces while adults appreciate the nostalgic charm of this playful dessert concept.
Conclusion
Your springtime pinata cake is guaranteed to become the star of any celebration. The combination of visual appeal and interactive fun creates memories that’ll last long after the last crumb is eaten.
With proper planning and the make-ahead tips provided you’ll find this showstopping dessert surprisingly manageable to create. The joy on your guests’ faces when those colorful candies tumble out makes every step of the process worthwhile.
This isn’t just a cake – it’s an experience that brings people together. Whether you’re celebrating Easter spring birthdays or simply welcoming the season your pinata cake will deliver both delicious flavors and delightful surprises that everyone will be talking about for years to come.