
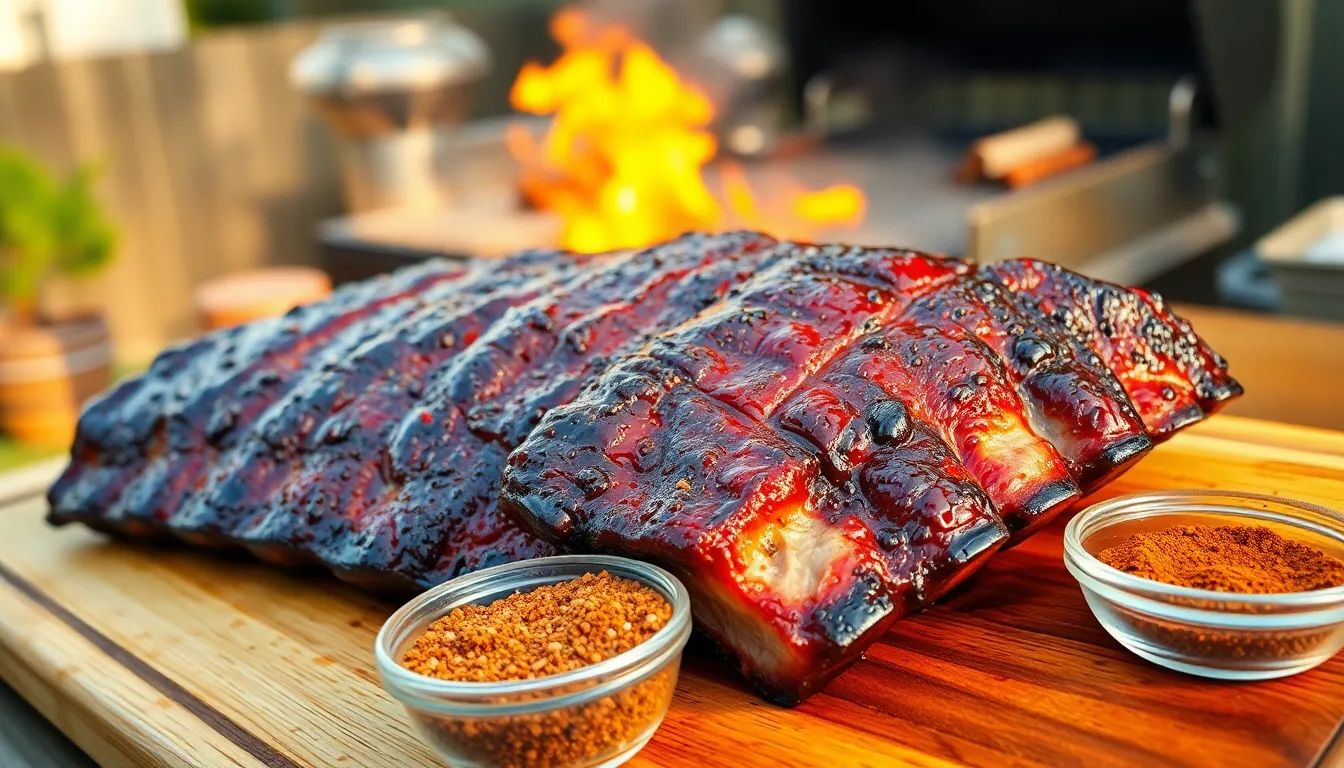
The Ultimate Homemade Rib Rub Recipe
Creating your own signature rib rub at home is easier than you might think. This versatile dry rub combines pantry staples to deliver the perfect balance of sweet savory and spicy flavors that will elevate your ribs to restaurant quality.
Ingredients
- 1/2 cup brown sugar (packed)
- 1/4 cup paprika
- 2 tablespoons kosher salt
- 2 tablespoons black pepper (freshly ground)
- 2 tablespoons garlic powder
- 2 tablespoons onion powder
- 1 tablespoon chili powder
- 1 tablespoon cumin
- 1 teaspoon cayenne pepper (adjust to taste)
- 1 teaspoon dried oregano
- 1 teaspoon dried thyme
Mixing Instructions
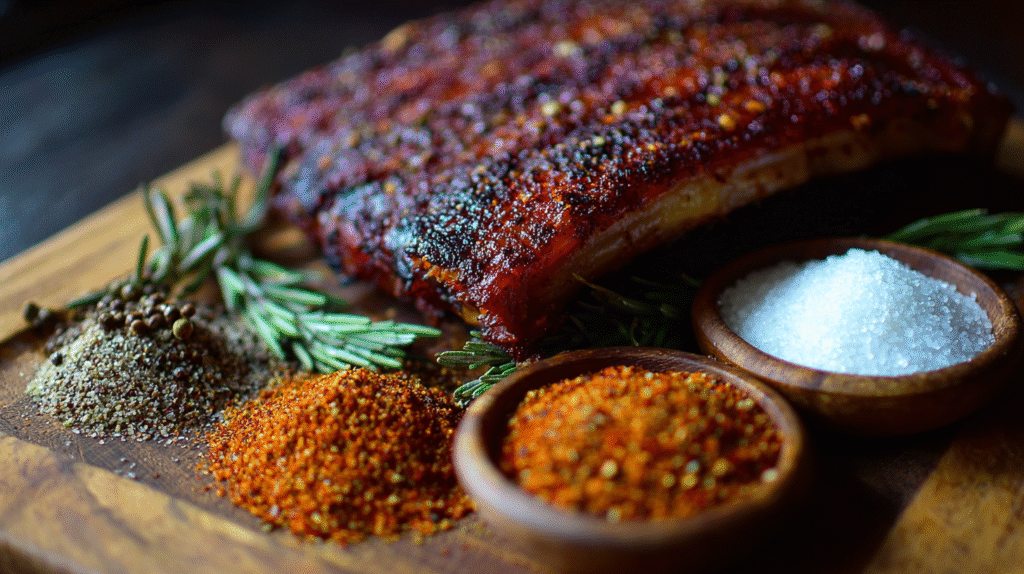
Grab a medium bowl and add all ingredients starting with the brown sugar and paprika. Mix thoroughly using a whisk or fork to break up any clumps especially in the brown sugar. Ensure all spices are fully incorporated for consistent flavor distribution throughout your rub. The color should be a rich reddish-brown with visible specks of herbs and spices.
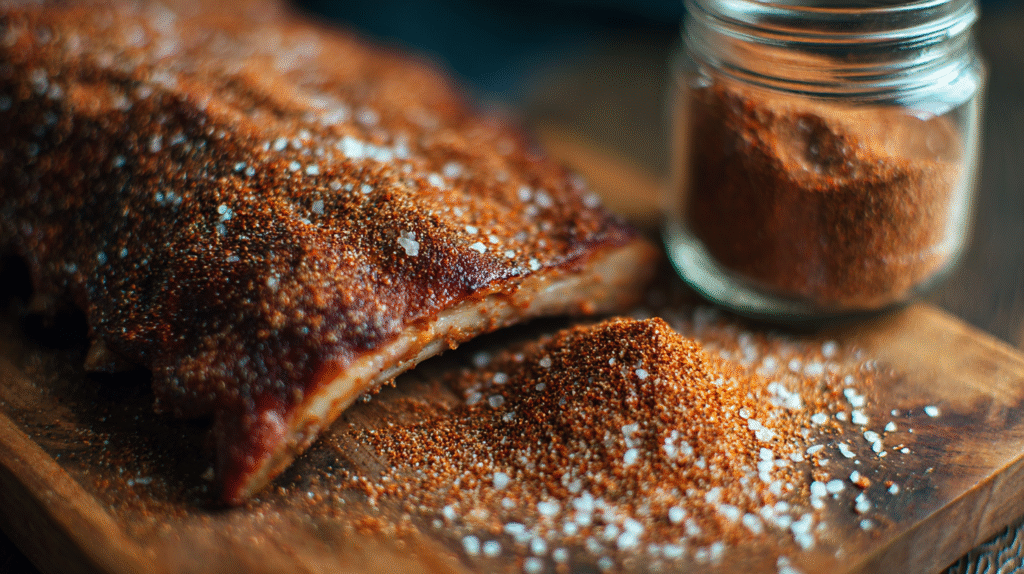
Storage Tips
Transfer your finished rib rub to an airtight container such as a mason jar or spice container with a tight-fitting lid. Store in a cool dry place away from direct sunlight to maintain freshness and flavor potency. Properly stored this homemade rib rub will maintain peak flavor for up to 6 months making it perfect for batch preparation before grilling season.
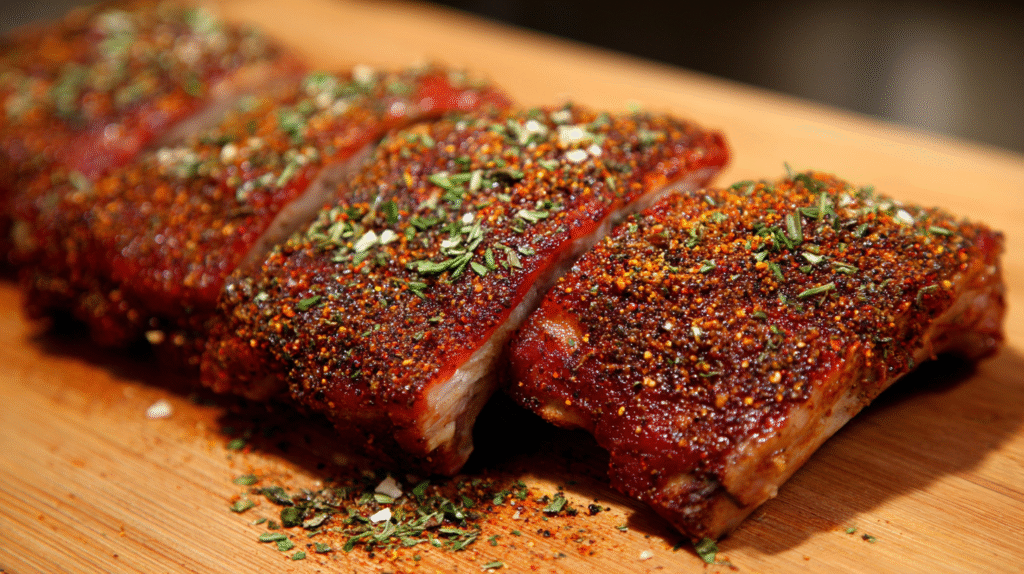
Application Method
Apply the rub generously to your ribs at least 2 hours before cooking allowing adequate time for the flavors to penetrate the meat. For best results pat the ribs dry with paper towels first then brush lightly with mustard or oil to help the rub adhere better. Use approximately 2-3 tablespoons of rub per rack of ribs covering all surfaces including the sides and ends.
Customization Options
Feel free to adjust this base recipe to suit your taste preferences. For a spicier profile increase the cayenne pepper or add red pepper flakes. Those preferring a sweeter rub can add more brown sugar or incorporate maple sugar. Coffee grounds (1-2 teaspoons) make an excellent addition for a deeper richness while smoked paprika can enhance the barbecue flavor without additional smoking time.
Why This Rib Rub Recipe Is Perfect For Any BBQ
This homemade rib rub brings exceptional versatility to your barbecue arsenal, working beautifully on everything from pork ribs to beef brisket. The balanced blend of sweet brown sugar, smoky paprika, and savory garlic creates a flavor profile that appeals to nearly everyone at your cookout. Professional pit masters often use similar combinations in competition because they consistently deliver crowd pleasing results.
Unlike store bought alternatives, this rub contains no artificial preservatives or mystery ingredients that might compromise your carefully prepared meats. You control exactly what goes into your seasoning blend, allowing you to avoid fillers and unnecessary additives commonly found in commercial products. The mixture also creates that coveted bark or crust on your meat that barbecue enthusiasts chase after.
Application couldn’t be simpler – just sprinkle generously and let the rub work its magic. This blend adheres perfectly to meat surfaces without falling off during cooking, ensuring maximum flavor penetration. The salt content helps tenderize your ribs while the sugar caramelizes beautifully during the slow cooking process, creating that sticky glaze everyone loves.
Storage flexibility makes this recipe particularly practical for barbecue enthusiasts. Make a large batch once and enjoy perfectly seasoned meats for months to come. The dried ingredients maintain their potency when stored properly, meaning your fifth barbecue with this rub will taste just as amazing as your first.
Best of all, this recipe strikes the ideal balance between complexity and simplicity – complex enough to create interesting layered flavors but simple enough that you don’t need culinary school training to execute it perfectly. Your guests will definitely ask for your secret recipe after tasting ribs prepared with this exceptional rub.
Ingredients You’ll Need
Creating your signature rib rub requires simple ingredients that work together to deliver complex flavors. Here’s everything you’ll need to make this award-worthy seasoning blend.
Base Spices
- 2 tablespoons kosher salt
- 2 tablespoons black pepper (freshly ground provides better flavor)
- 2 tablespoons garlic powder
- 2 tablespoons onion powder
- 1 tablespoon dried oregano
- 1 tablespoon dried thyme
- 1 tablespoon cumin
- 2 tablespoons paprika (sweet or smoked)
These base spices form the foundation of your rib rub. Kosher salt enhances all other flavors while black pepper adds essential spiciness. Garlic and onion powders contribute savory depth that permeates the meat during cooking. Herbs like oregano and thyme add aromatic complexity. Cumin brings earthy undertones that complement smoky flavors from your grill or smoker. Paprika provides rich color and mild sweetness that helps create that desirable bark on your ribs.
Sweeteners
- ¼ cup brown sugar (light or dark)
- 1 tablespoon white sugar (optional)
Sweeteners balance the savory and spicy elements in your rub. Brown sugar caramelizes during cooking to create that signature crust pit masters strive for. The molasses content in brown sugar adds depth and helps the rub adhere better to your meat. You can adjust the sweetness level based on your preference or the type of meat you’re seasoning. Dark brown sugar provides a stronger molasses flavor while light brown sugar offers a milder sweetness. White sugar adds a crisp sweetness that enhances caramelization.
Heat Elements
- 1 tablespoon chili powder
- 1-2 teaspoons cayenne pepper (adjust according to heat preference)
- 1 teaspoon black pepper (additional for extra heat)
- ½ teaspoon mustard powder (optional)
Heat elements add complexity and that mouth-watering spicy kick to your ribs. Chili powder contributes mild heat along with rich flavor. Cayenne pepper delivers clean spiciness that you can adjust based on your tolerance level. Start with less if you prefer milder heat or add more for a fiery experience. Mustard powder adds subtle heat with tangy notes that complement pork especially well. These heat elements won’t overwhelm your ribs but will provide that perfect background warmth that keeps people coming back for more.
Equipment Needed
Creating the perfect rib rub doesn’t require fancy equipment but having the right tools makes the process more efficient and ensures consistent results. Here’s what you’ll need to prepare your homemade rib rub:
- Medium mixing bowl – For combining all dry ingredients
- Measuring spoons – For accurate measurement of spices
- Measuring cups – To measure larger quantities like brown sugar
- Whisk or fork – To thoroughly blend all ingredients
- Airtight container – For storing leftover rub (mason jars work great)
- Funnel (optional) – Helps transfer the rub into storage containers without spills
- Label and marker – To date your rub mixture for freshness tracking
Your hands can work as effective application tools but many pit masters prefer using:
- Shaker bottle – For even distribution of the rub
- Spice grinder (optional) – If you prefer freshly ground spices
- Small sieve (optional) – For breaking up clumps in brown sugar
The beauty of making rib rub at home lies in its simplicity. Most kitchens already contain these basic items so you can likely start creating your signature blend immediately without purchasing special equipment. Professional results come from quality ingredients and proper technique rather than expensive tools.
How To Make The Perfect Rib Rub
Creating the perfect rib rub requires attention to detail and proper technique. Follow these steps to create a flavorful blend that will elevate your barbecue game.
Measuring and Mixing
Precise measurements ensure consistent results every time you make your rib rub. Start by gathering all your ingredients and measuring them individually using standard measuring spoons. Place your brown sugar in the mixing bowl first as it forms the base of the rub. Add the paprika salt and black pepper next followed by the remaining spices. Use a whisk or fork to thoroughly combine all ingredients working from the bottom up to prevent spice clouds from forming. Break up any clumps of brown sugar with the back of a spoon ensuring even distribution throughout the mixture. For optimal flavor development mix the spices for at least 2-3 minutes until the blend appears uniform in color. Test the consistency by pinching some between your fingers – it should feel slightly moist from the brown sugar but still flow freely. If your mixture appears too clumpy consider sifting it through a small sieve for a finer texture.
Storage Tips
Proper storage extends the shelf life of your rib rub while maintaining its potent flavors. Transfer your freshly mixed rub to an airtight container immediately after preparation. Glass jars with rubber seals work exceptionally well for maintaining freshness. Label your container with the date of preparation so you can track its age. Store your rib rub in a cool dark place away from direct sunlight and heat sources which can degrade the spices. Your pantry or spice cabinet provides ideal conditions for preservation. Avoid keeping the rub near your stove or oven where temperature fluctuations occur. The mixture will remain at peak flavor for up to 3 months though it remains safe to use for up to 6 months. Never use wet utensils when scooping out portions as moisture introduces bacteria and causes clumping. Consider dividing large batches into smaller containers to minimize air exposure each time you open it. Shake the container gently before each use to redistribute any settled ingredients ensuring consistent flavor in every application.
How To Apply Your Rib Rub
Applying your homemade rib rub properly is just as important as creating the perfect blend of spices. The right application technique ensures maximum flavor penetration and helps develop that coveted bark on your ribs.
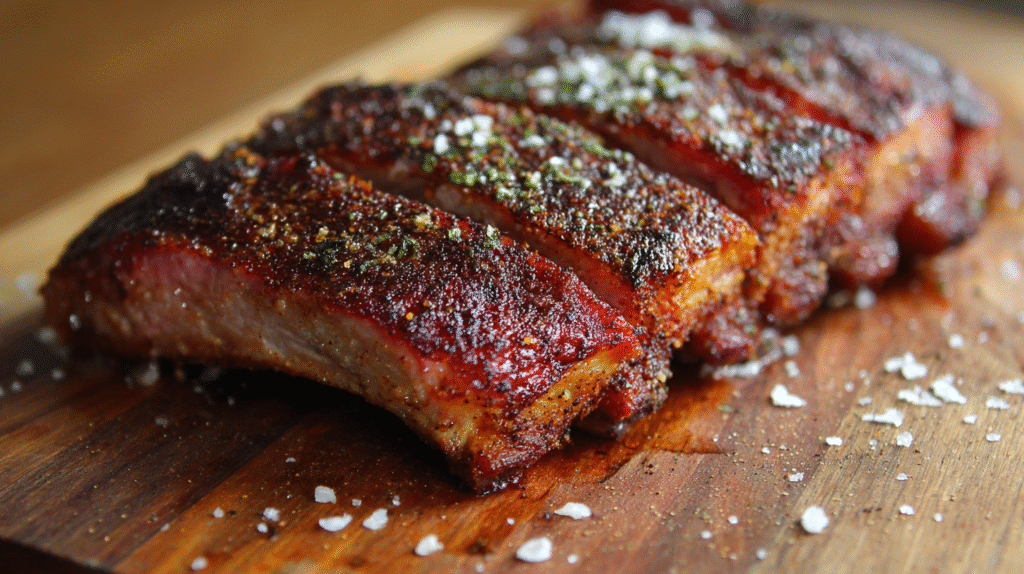
Dry Application Method
Start by patting your ribs completely dry with paper towels to remove excess moisture. Remove the membrane from the back of the ribs by sliding a butter knife under it and pulling it off with a paper towel for better grip. Apply a thin layer of yellow mustard or olive oil to help the rub adhere better to the meat surface. Sprinkle your rib rub generously over both sides of the ribs, using approximately 1/4 cup of rub per rack. Use your hands to massage the rub into the meat, ensuring all surfaces are evenly coated. Allow the seasoned ribs to rest at room temperature for 30 minutes before cooking or wrap them in plastic wrap and refrigerate for 2-24 hours for deeper flavor penetration. The dry method creates an excellent bark and is preferred by most competition pit masters for its ability to form a flavorful crust during the smoking process.
Wet Application Method
Prepare your ribs by removing the membrane and cleaning them as you would for the dry method. Create a wet rub paste by mixing your dry rib rub with a liquid binder like apple juice, vinegar, or Worcestershire sauce until it forms a thick, spreadable consistency. Apply this wet paste evenly to all surfaces of the ribs using your hands or a basting brush, focusing on covering every inch of the meat. The wet mixture should be thick enough to stick to the ribs without running off. Wrap the coated ribs tightly in plastic wrap and refrigerate for at least 4 hours or overnight to allow the flavors to penetrate deeply into the meat. This method works particularly well for tougher cuts or when you want a more intense flavor profile throughout the meat rather than just on the surface. The wet application typically results in a less pronounced bark but can yield juicier ribs with flavors that permeate the entire cut.
Best Meats For This Rib Rub
This versatile rib rub works exceptionally well on various cuts of meat beyond just ribs. Your barbecue game will reach new heights when you apply this flavorful blend to the following proteins:
Pork Cuts
Pork ribs stand as the classic choice for this rub with baby back ribs benefiting from the sweet and savory balance. St. Louis style ribs offer more meat and fat which creates an outstanding flavor profile when combined with this rub. Pork shoulders and butts absorb the spices beautifully during low and slow cooking making them perfect for pulled pork. Country style ribs also pair wonderfully with this rub giving you that rich smoky flavor in every bite.
Beef Options
Beef back ribs develop an incredible bark when seasoned with this rub mixture. Beef short ribs benefit from the balanced spice profile especially during long smoking sessions. Brisket transforms into a mouthwatering centerpiece when coated generously with this rub before a lengthy smoke. Chuck roast becomes remarkably flavorful when this rub penetrates deeply during cooking.
Poultry Possibilities
Whole chickens gain tremendous flavor when this rub is applied under the skin and over the exterior. Chicken wings create crowd-pleasing appetizers when tossed in this rub before grilling or smoking. Turkey breasts remain moist and flavorful with this rub applied before cooking. Duck benefits from the sweet and spicy notes in this rub which complement its rich meat perfectly.
Game Meats
Venison can be enhanced with this rub to help balance its lean nature and natural flavors. Wild boar takes on exceptional taste when seasoned with this blend before smoking. Lamb ribs develop complex flavors that marry well with the herbs in this rub mixture.
The brown sugar in this rub creates excellent caramelization on any meat while the paprika and spices penetrate for deep flavor development. Apply the rub at least 2 hours before cooking for best results but overnight application delivers even more intense flavor. Your meats will develop that coveted bark or crust that barbecue enthusiasts prize when using this versatile spice blend.
Flavor Variations
While our base rib rub recipe delivers outstanding results every time you can easily customize it to match your exact flavor preferences. These variations will help you create signature rubs that will set your barbecue apart from the rest.
Sweet and Smoky Version
For a deeper sweet and smoky profile increase the brown sugar to 1/2 cup and add 2 tablespoons of smoked paprika in place of regular paprika. Include 1 tablespoon of ground coffee for rich undertones and 1 teaspoon of cocoa powder to enhance the smoky elements. This combination creates a complex flavor that caramelizes beautifully on pork ribs forming a mahogany bark that will have your guests asking for your secret recipe. The coffee and cocoa don’t make the rub taste like mocha but rather add depth that complements the natural flavors of the meat during the long smoking process.
Spicy Kick Version
Transform your rib rub into a heat lover’s dream by doubling the amount of black pepper and cayenne while adding 1 tablespoon of crushed red pepper flakes. Incorporate 1 teaspoon of ground chipotle pepper for smoky heat and 1/2 teaspoon of ghost pepper powder if you dare to go extreme. Balance this intensity with 1 tablespoon of turbinado sugar which stands up better to high heat than regular brown sugar. Apply this spicy version more sparingly than the original recipe as the heat compounds during cooking. This variation pairs exceptionally well with beef ribs and creates a bold crust that delivers waves of complex heat followed by subtle sweetness.
Herb-Infused Version
Elevate your rub with an aromatic herb blend by adding 1 tablespoon each of dried rosemary and sage along with 2 teaspoons of dried thyme and 1 teaspoon of dried marjoram. Reduce the cayenne and chili powder by half to let the herbs shine through. Mix in 1 tablespoon of lemon zest for brightness that complements the earthy herbs. This herbaceous variation works wonderfully on lamb ribs poultry and even vegetables. The fragrant herbs release their essential oils during cooking creating an intoxicating aroma that enhances the entire barbecue experience. For best results with this version apply the rub at least 4 hours before cooking to allow the dried herbs time to rehydrate slightly from the meat’s natural moisture.
Make-Ahead and Storage Instructions
Preparing your rib rub ahead of time offers tremendous convenience for barbecue enthusiasts. This homemade spice blend can be made in larger batches and stored properly to maintain its potent flavors for multiple cooking sessions.
Batch Preparation
Making a large batch of rib rub saves time and ensures you always have seasoning ready for impromptu barbecues. Multiply the recipe ingredients by 3-4 times for an ample supply that will last through grilling season. Mix all ingredients thoroughly in a large bowl using a whisk to break up any brown sugar clumps. For ultimate consistency consider pulsing the mixture in a food processor or spice grinder to achieve uniform texture and distribution of flavors.
Storage Containers
The right storage container significantly extends your rib rub’s shelf life. Glass mason jars with tight-fitting lids offer the best protection against moisture and air exposure. Repurposed spice jars with shaker tops work perfectly for easy application during cooking. Avoid plastic containers that might absorb flavors or allow air penetration over time.
Shelf Life
When stored properly your homemade rib rub remains flavorful and potent for:
| Storage Method | Expected Shelf Life |
|---|---|
| Airtight container at room temperature | 4-6 months |
| Refrigerated in airtight container | 8-10 months |
| With vacuum sealing | Up to 1 year |
The shelf life depends primarily on the freshness of your original spices. Spices containing oils like paprika and garlic powder tend to lose potency faster than salt or sugar components.
Signs of Spoilage
Your rib rub remains safe to use until it shows signs of quality degradation. Watch for clumping indicating moisture exposure which can lead to mold development. Important color changes or loss of aroma suggest the spices have lost their potency. Any musty odor indicates the rub should be discarded immediately.
Freezing Options
For extremely long-term storage vacuum seal portions of your rib rub and store them in the freezer. This method preserves the aromatic compounds in the spices exceptionally well. Transfer frozen rub to your pantry container as needed without any thawing required.
Gifting Preparations
Homemade rib rub makes an excellent gift for fellow barbecue enthusiasts. Package your spice blend in decorative jars with custom labels indicating the ingredients and suggested uses. Add a handwritten note with application instructions and your favorite cooking method to create a thoughtful personalized gift that any grilling fan will appreciate.
Pairing Suggestions
Your perfectly seasoned ribs deserve complementary sides and beverages that enhance the overall dining experience. The right pairings can elevate your barbecue from good to unforgettable by creating a balanced meal that satisfies every palate.
Side Dishes
Classic barbecue sides work beautifully with ribs coated in this flavorful rub. Creamy coleslaw offers a cool crunch that cuts through the rich fattiness of ribs. Traditional mac and cheese provides comfort food appeal with its velvety texture contrasting the meaty ribs. Cornbread brings a touch of sweetness that complements the savory spice blend in the rub.
Vegetable options should not be overlooked when serving ribs. Grilled corn on the cob brushed with butter captures the smoky essence of outdoor cooking. Baked beans slow-cooked with bacon bits echo the sweet and savory notes in your rib rub. Garlic green beans add a fresh element that balances the meal’s heartier components.
For something unexpected try roasted sweet potatoes which mirror the brown sugar notes in the rub. Cucumber salad with vinegar dressing cleanses the palate between bites of rich spiced meat. Potato salad made with mustard dressing complements the mustard undertones often found in barbecue profiles.
Beverage Pairings
The right drinks can enhance the flavors in your perfectly rubbed ribs. Beer selections should favor malty varieties like amber ales or porters which stand up to bold barbecue flavors. IPA varieties work especially well with spicier versions of the rub as the hoppy bitterness balances heat.
Wine enthusiasts should reach for bottles that complement rather than compete with the robust flavors. Zinfandel offers fruit-forward characteristics that harmonize with sweet and smoky elements in the rub. Syrah brings peppery notes that enhance the spices without overwhelming them. For white wine lovers chilled Riesling provides sweetness and acidity that cuts through fatty rib meat.
Non-alcoholic options deserve equal consideration for your barbecue menu. Sweet tea with lemon represents Southern tradition and refreshes between savory bites. Lemonade with its tart profile balances the sweet components in the rub. Create root beer delivers complex vanilla and spice notes that mirror qualities in your barbecue seasoning.
Sauce Selections
While this rib rub creates flavorful meat that stands alone many barbecue enthusiasts enjoy sauce options. Traditional tomato-based barbecue sauce amplifies the smoky elements in the rub with its tangy sweetness. Carolina vinegar sauce cuts through richness with bright acidity making it perfect for fattier rib sections.
Alabama white sauce made with mayonnaise horseradish and vinegar offers a creamy counterpoint to spice-forward rubs. Mustard-based South Carolina sauce brings tangy heat that enhances the garlic and pepper in your seasoning blend. For heat seekers spicy chipotle sauce adds smoky complexity and capsaicin kick that intensifies the flavor experience.
Serve sauces warm in small individual ramekins allowing guests to customize their rib experience. This approach respects your perfectly seasoned meat while offering personalization options for various taste preferences.
The Secret To Getting The Most Flavor From Your Rib Rub
Creating a stellar rib rub is only half the battle – knowing how to maximize its flavor potential makes all the difference between good and extraordinary ribs. Professional pitmasters understand that timing application and proper meat preparation significantly impact your final results.
Prep Your Meat Properly
Trimming excess fat from your ribs allows the rub to directly contact the meat for better flavor absorption. Remove the membrane from the back of pork ribs by sliding a butter knife underneath it then pulling it off with a paper towel for better grip. Pat the meat dry with paper towels before applying your rub – moisture creates steam rather than the sought-after bark during cooking.
The Binding Agent Technique
Apply a thin layer of mustard olive oil or apple cider vinegar to your ribs before adding the rub. These binding agents help your seasoning adhere to the meat surface while adding minimal flavor themselves. Yellow mustard particularly works wonders as it disappears during cooking but ensures maximum rub adhesion.
Timing Is Everything
Apply your rub at least 2 hours before cooking for basic flavor development. For deeper penetration allow your seasoned ribs to rest uncovered in the refrigerator overnight – this creates a dry brine effect as the salt in your rub pulls moisture to the surface which then gets reabsorbed along with the spices. Competition pitmasters often use this 12-24 hour resting technique for intensified flavor.
Application Method Matters
Use your hands rather than sprinkling the rub from above to ensure even coverage. Press the seasonings gently into the meat rather than rubbing vigorously which can create uneven patches. Apply the rub in layers focusing first on the meaty side then finishing with the bone side for complete coverage.
Temperature Considerations
Remove your ribs from the refrigerator 30-45 minutes before cooking to allow them to reach room temperature. This ensures more even cooking and better smoke absorption. Cold meat creates condensation which can wash away your carefully applied rub.
Resist The Urge To Reapply
Many first-timers make the mistake of adding more rub during the cooking process. This creates a gritty texture instead of the desired crust. Apply your rub generously before cooking then let the heat work its magic in transforming those seasonings into a flavorful bark.
Spritz Strategically
Keep a spray bottle filled with apple juice apple cider vinegar or beer to mist your ribs occasionally during longer cooks. This adds moisture and helps the smoke particles adhere to the meat surface creating deeper flavor without washing away your rub.
Low And Slow Is Your Friend
Cook ribs at temperatures between 225-275°F to allow adequate time for the spices to meld with the meat. Rushing the cooking process with high heat prevents proper flavor development and can burn the sugars in your rub.
Following these techniques transforms your homemade rib rub from a simple seasoning into a flavor powerhouse that penetrates deep into every bite. The difference lies not just in the quality of your ingredients but in how you apply and treat your rub during the entire cooking process.
Conclusion
This homemade rib rub recipe is your ticket to barbecue greatness. With simple pantry ingredients and easy customization options you can create a signature flavor profile that will have everyone asking for your secret.
Whether you prefer sweet and smoky baby backs or spicy beef ribs this versatile blend delivers consistent results every time. Remember that proper application and storage are just as important as the ingredients themselves.
Don’t be afraid to experiment with different ratios and additions to make this recipe truly your own. The beauty of crafting your own rub is the freedom to adjust it to your exact taste preferences while avoiding the preservatives found in store-bought versions.
Now it’s time to fire up that smoker and put your perfectly seasoned ribs on display!