Ingredients
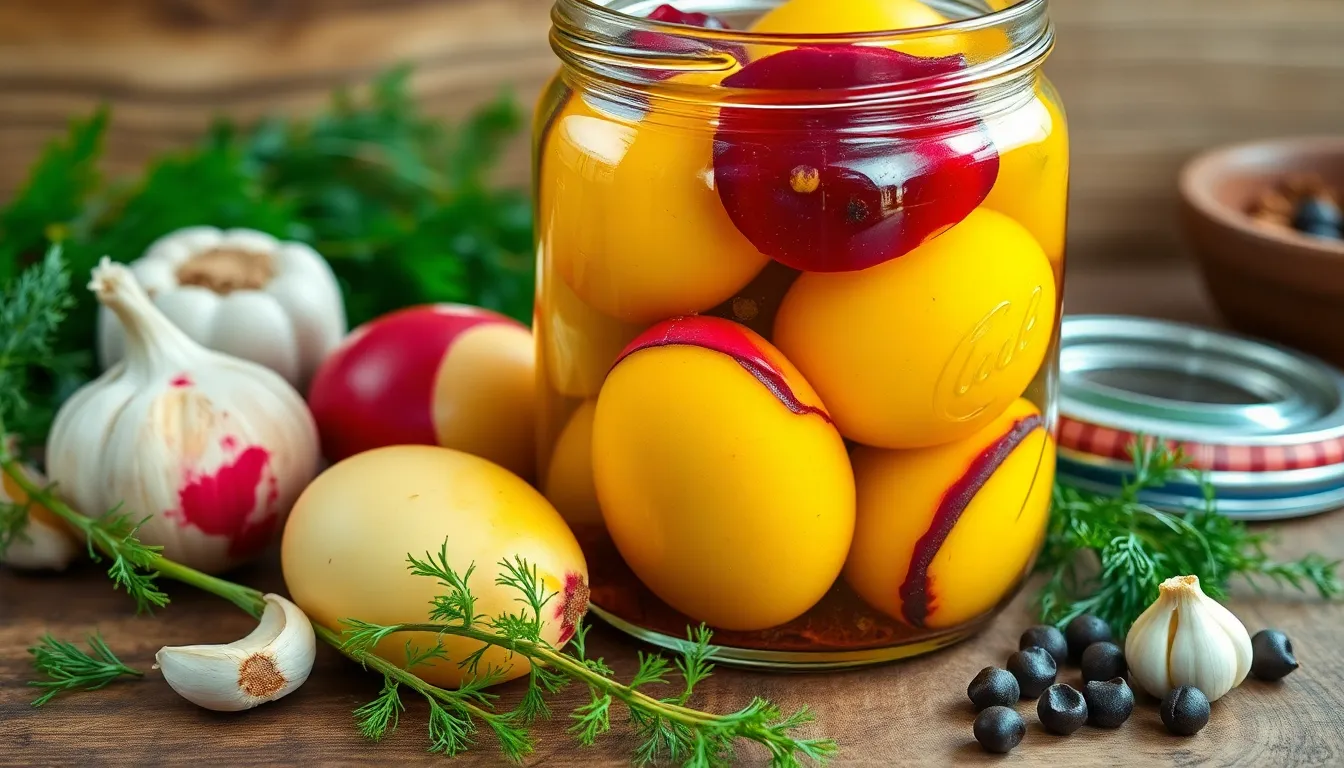
Creating perfect pickled eggs starts with gathering the right ingredients that transform simple hard-boiled eggs into tangy delights. I’ve organized these ingredients by their role in the pickling process to make preparation seamless.
For the Eggs
- 12 large eggs (room temperature for easier peeling)
- Water for boiling
For the Pickling Brine
- 2 cups white vinegar (5% acidity)
- 1 cup water
- 2 tablespoons granulated sugar
- 1 tablespoon kosher salt
- 1 teaspoon black peppercorns
- 1 teaspoon mustard seeds
- 2 bay leaves
- 3 garlic cloves (peeled and smashed)
Optional Flavor Additions
- 1 small onion (thinly sliced)
- 2-3 dried chili peppers (for heat)
- 1 teaspoon coriander seeds
- 1/2 teaspoon turmeric (for golden color)
- 2-3 fresh dill sprigs
- 1 tablespoon pickling spice blend
- 1 small beet (sliced, for pink color)
Equipment Needed
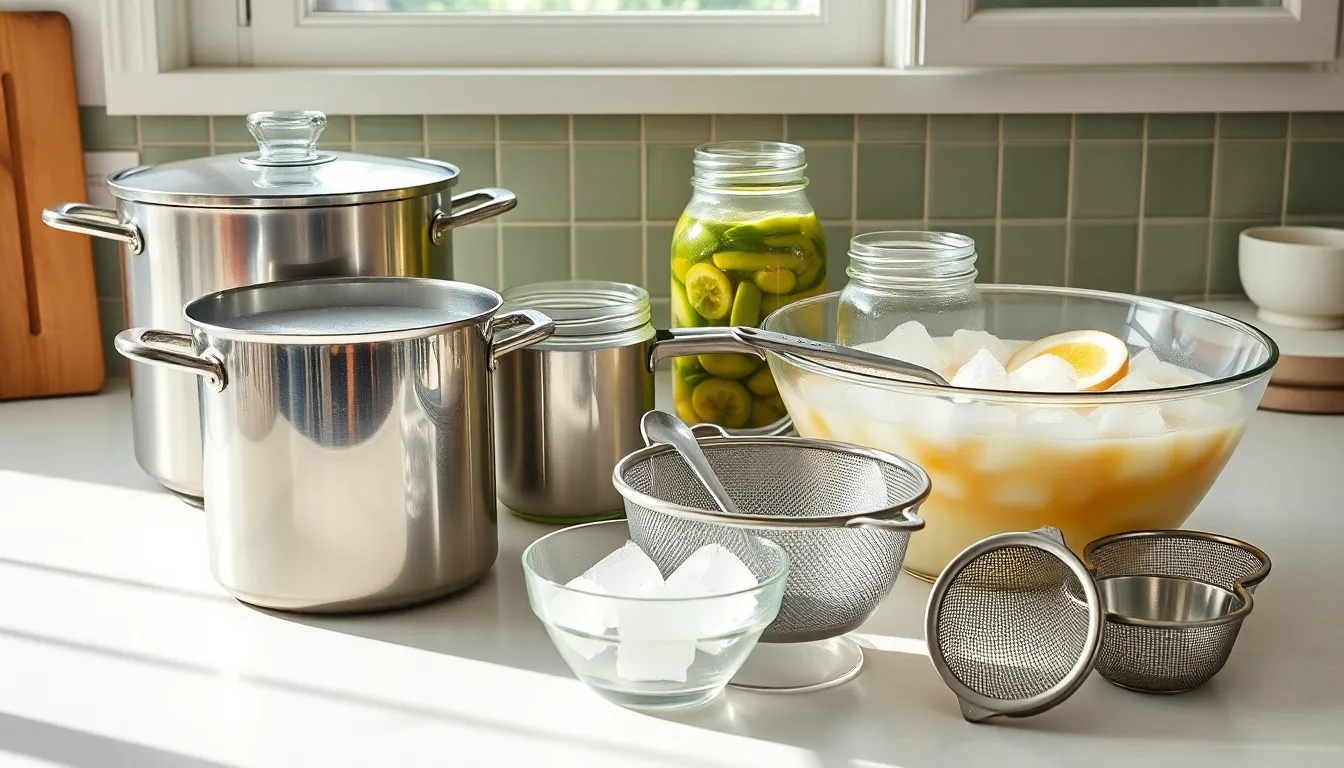
Creating pickled eggs requires basic kitchen tools that you likely already have in your culinary arsenal. I find that having the right equipment makes the entire process smoother and ensures consistent results every time.
Large saucepan serves as your primary vessel for hard boiling the eggs. I recommend using one that holds at least 3 quarts to accommodate a dozen eggs comfortably without overcrowding.
Medium saucepan becomes essential for preparing the pickling brine. This separate pot allows you to heat the vinegar mixture while your eggs cool after boiling.
Glass jars with tight-fitting lids provide the perfect storage solution for your pickled eggs. I prefer using wide-mouth mason jars because they make adding and removing eggs much easier. Two quart-sized jars work perfectly for a dozen eggs.
Slotted spoon helps you transfer the hot eggs from boiling water to the ice bath safely. This tool prevents burns and makes handling much more manageable.
Large mixing bowl filled with ice water creates the perfect cooling bath for your freshly boiled eggs. Rapid cooling stops the cooking process and makes peeling significantly easier.
Sharp knife becomes necessary if you choose to slice onions, garlic, or other flavor additions for your pickling liquid.
Measuring cups and spoons ensure accurate proportions for your brine ingredients. Precise measurements create consistent flavor profiles batch after batch.
Fine-mesh strainer allows you to strain the hot brine if you prefer removing whole spices before jarring. This step creates a cleaner appearance in your finished product.
Instructions
My step-by-step approach ensures perfect pickled eggs every time. I’ll walk you through each stage of the process to achieve that ideal balance of tangy flavor and tender texture.
Prep the Eggs
I start by bringing a large saucepan of water to a rolling boil over high heat. Once the water reaches a vigorous boil I gently lower the room-temperature eggs into the water using a slotted spoon to prevent cracking. I set my timer for exactly 10 minutes to achieve perfectly cooked yolks that are fully set but not overcooked.
While the eggs boil I prepare an ice water bath in my large mixing bowl. The moment my timer goes off I immediately transfer the eggs to the ice water using my slotted spoon. I allow the eggs to cool completely in the ice bath for at least 10 minutes before handling them.
After the eggs have cooled I carefully peel each one under cool running water. I start at the wider end where the air pocket sits and work my way around the egg. The shells should slip off easily when the eggs are properly cooked and cooled.
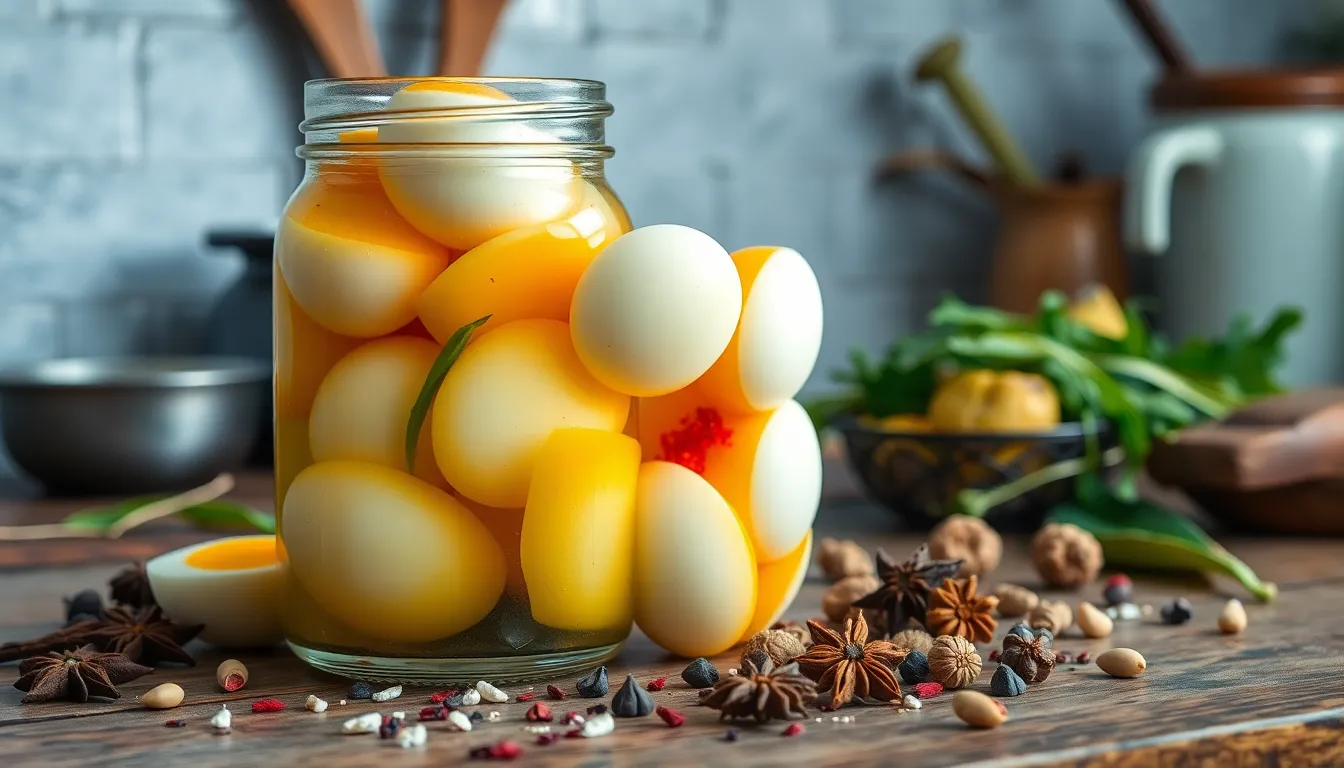
Make the Pickling Brine
I combine the white vinegar water granulated sugar and kosher salt in my medium saucepan. I bring this mixture to a boil over medium-high heat while stirring occasionally to dissolve the sugar and salt completely. The brine should be clear and fully dissolved before proceeding.
Once the brine reaches a boil I add my chosen spices. I drop in the black peppercorns mustard seeds bay leaves and minced garlic cloves. If I’m using optional spices like coriander seeds or dried chili peppers I add them now as well. I let the mixture boil for 2 minutes to infuse the flavors into the brine.
I remove the saucepan from heat and allow the brine to cool for about 15 minutes. The brine should still be warm when I pour it over the eggs but not scalding hot which could affect the egg texture.
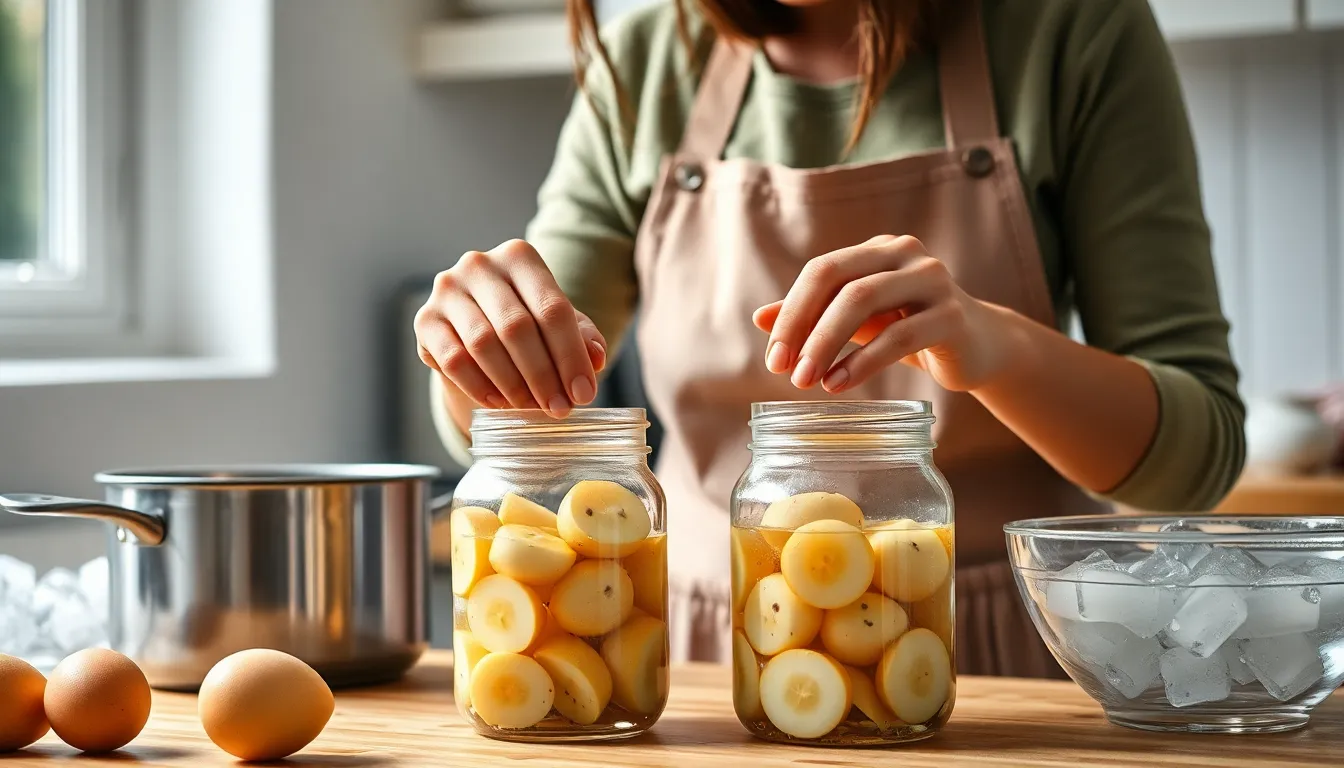
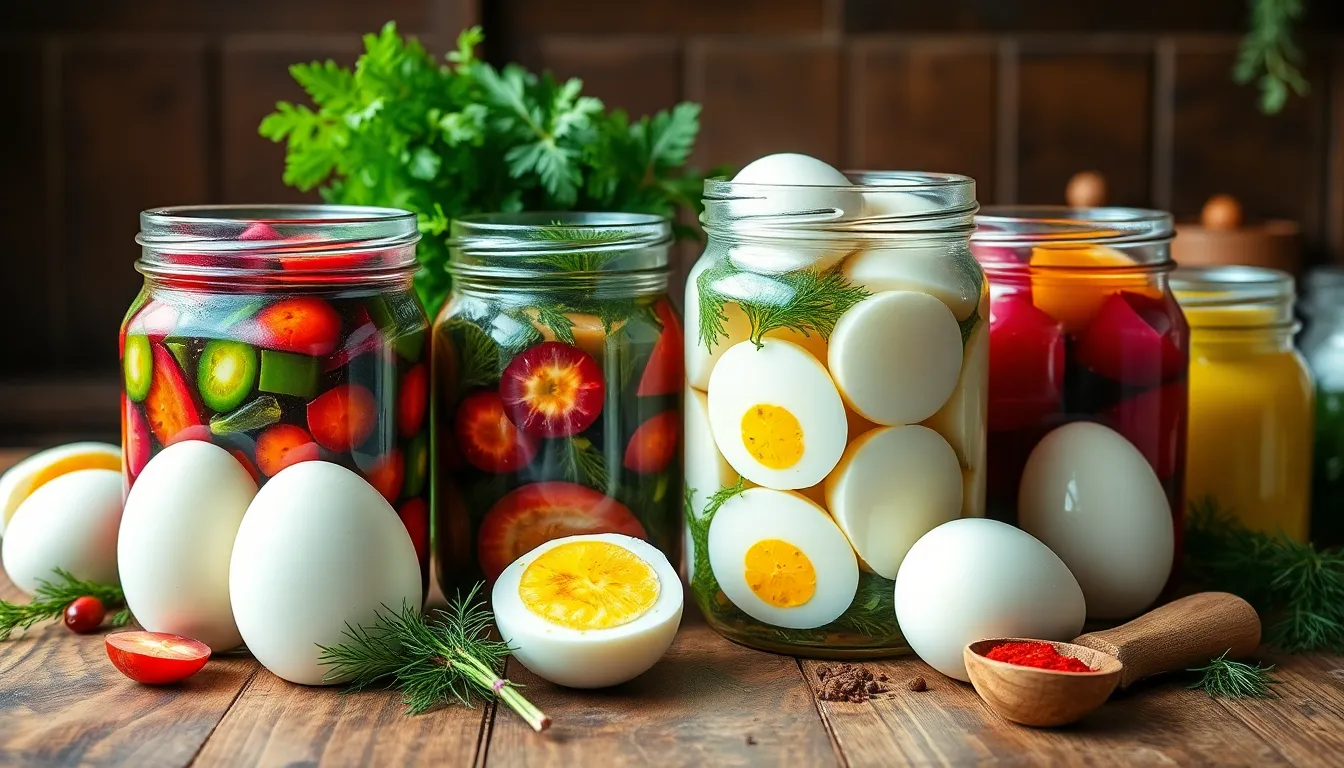
Assemble the Pickled Eggs
I place my peeled hard-boiled eggs into clean glass jars leaving about 1 inch of headspace at the top. If I’m using sliced onion fresh dill or sliced beet for color I layer these ingredients between the eggs for even distribution of flavors.
I carefully pour the warm pickling brine over the eggs ensuring they are completely submerged. The liquid should cover the eggs by at least half an inch. I use my clean spoon to gently press down any eggs that try to float to the surface.
I secure the jar lids tightly and allow the jars to cool to room temperature before refrigerating. The pickled eggs need at least 24 hours in the refrigerator before eating but I recommend waiting 3 to 5 days for optimal flavor development. My pickled eggs stay fresh in the refrigerator for up to one month when stored properly.
Storage Instructions
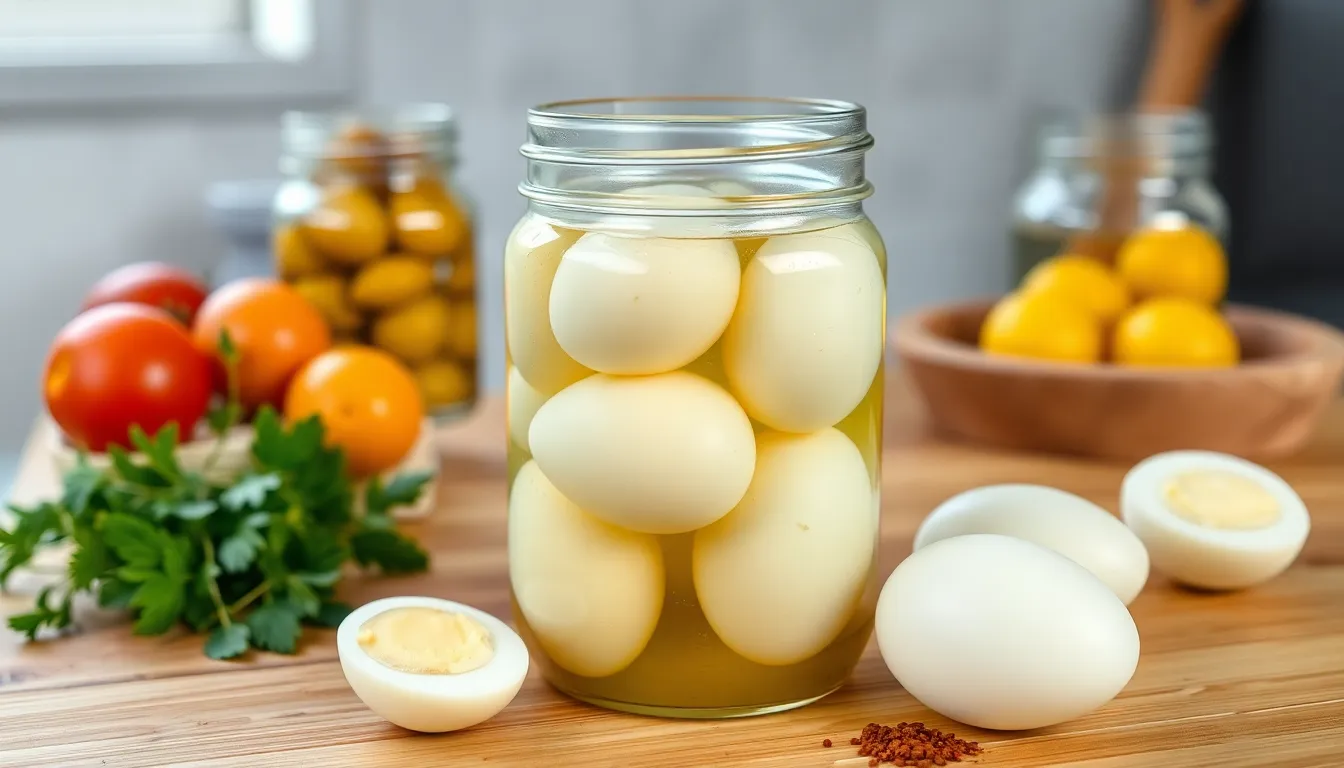
I always store my freshly made pickled eggs in the refrigerator immediately after sealing the jars. The cool temperature slows bacterial growth and maintains the eggs’ texture while allowing the flavors to develop properly.
My pickled eggs reach their peak flavor after sitting in the refrigerator for 3 to 5 days. During this time the brine penetrates the egg whites completely and creates that signature tangy taste throughout. I recommend waiting at least 3 days before eating your first egg to experience the full flavor potential.
Clean glass jars with tight-fitting lids provide the best storage environment for pickled eggs. I prefer mason jars or similar containers that create an airtight seal. This prevents contamination and keeps the brine from evaporating or absorbing refrigerator odors.
| Storage Timeline | Quality Level | Notes |
|---|---|---|
| 1-2 days | Mild flavor | Brine hasn’t fully penetrated |
| 3-5 days | Optimal flavor | Perfect balance achieved |
| 1-2 weeks | Peak quality | Best texture and taste |
| 3-4 weeks | Good quality | Still safe but flavor may fade |
I keep my pickled eggs submerged in brine at all times to prevent spoilage and maintain consistent flavor. If the liquid level drops below the eggs I add more pickling brine using the same vinegar and water ratio. The eggs should never sit exposed to air for extended periods.
Properly stored pickled eggs maintain their quality for up to one month in the refrigerator. I write the preparation date on each jar to track freshness. The eggs remain safe to eat as long as they stay refrigerated and show no signs of spoilage like off odors or unusual texture changes.
I never store pickled eggs at room temperature after the initial cooling period. The acidic environment helps preserve the eggs but refrigeration remains essential for food safety. Room temperature storage can lead to bacterial growth and potential foodborne illness.
Serving Suggestions
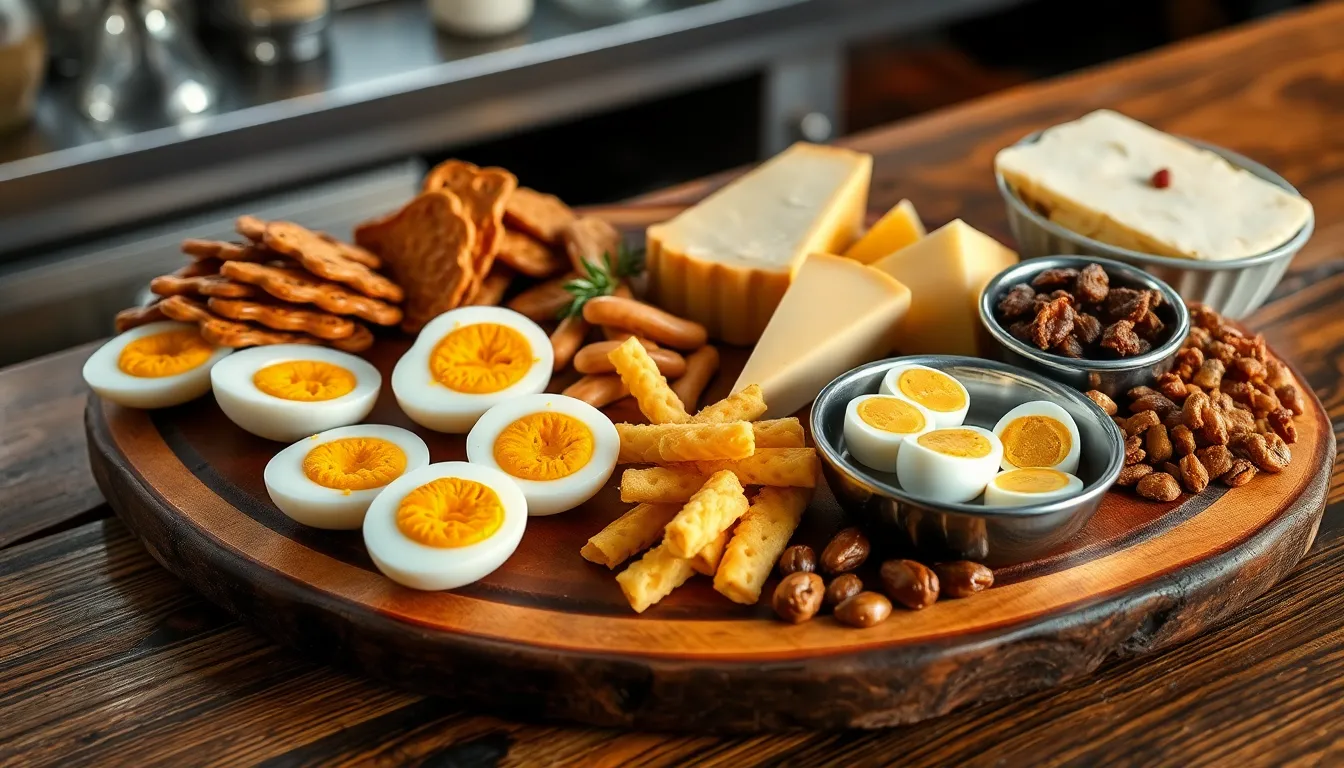
I love serving pickled eggs in multiple ways that showcase their tangy flavor and firm texture. My favorite presentation involves slicing them in half lengthwise and arranging them on a wooden board alongside artisanal crackers and aged cheddar cheese.
Bar snacks become elevated when I add pickled eggs to the spread. I place whole eggs in small bowls next to pretzels, mixed nuts, and beef jerky for an authentic tavern experience. The briny flavor pairs exceptionally well with cold beer and creates that classic pub atmosphere at home.
Salads benefit tremendously from quartered pickled eggs as a protein-rich topping. I add them to spinach salads with bacon bits and warm vinaigrette or incorporate them into potato salad for extra tang. The eggs provide both visual appeal and a flavor punch that transforms ordinary greens.
Deviled eggs take on new dimension when I use pickled eggs as the base. I mash the yolks with mayonnaise and a touch of the pickling brine instead of regular mustard. This creates a unique appetizer that guests always remember and request at future gatherings.
Charcuterie boards become more interesting with pickled eggs as the centerpiece. I surround them with cured meats, pickled vegetables, and crusty bread. The eggs serve as both a conversation starter and a substantial component that satisfies heartier appetites.
Breakfast dishes gain complexity when I slice pickled eggs over avocado toast or incorporate them into breakfast hash. The acidic bite cuts through rich foods and adds depth to morning meals without overwhelming delicate flavors.
Quick lunch answers emerge when I pair whole pickled eggs with hummus and fresh vegetables. This combination provides sustained energy and satisfies cravings for both protein and vegetables in a portable format perfect for busy days.
Recipe Variations
Building on the classic pickled egg recipe I’ve shared, these variations transform the fundamental technique into exciting new flavor profiles. Each variation maintains the same basic process while introducing unique ingredients that create distinctly different taste experiences.
Spicy Pickled Eggs
I elevate the heat in my spicy pickled eggs by incorporating multiple layers of spice that build complexity rather than just adding burn. My go-to combination includes 2-3 jalapeño peppers sliced into rings and 1 teaspoon of red pepper flakes added directly to the brine. The jalapeños provide fresh heat while the red pepper flakes contribute a deeper warmth.
For those seeking more intense heat, I substitute habanero or serrano peppers for the jalapeños. Adding 1 tablespoon of hot sauce to the warm brine creates another dimension of flavor. The key lies in allowing the peppers to infuse the brine for at least 5 minutes before pouring it over the eggs.
These spicy pickled eggs develop their full heat after 5-7 days in the refrigerator. I find the spice mellows slightly over time while still maintaining a satisfying kick that pairs perfectly with cold beer and barbecue.
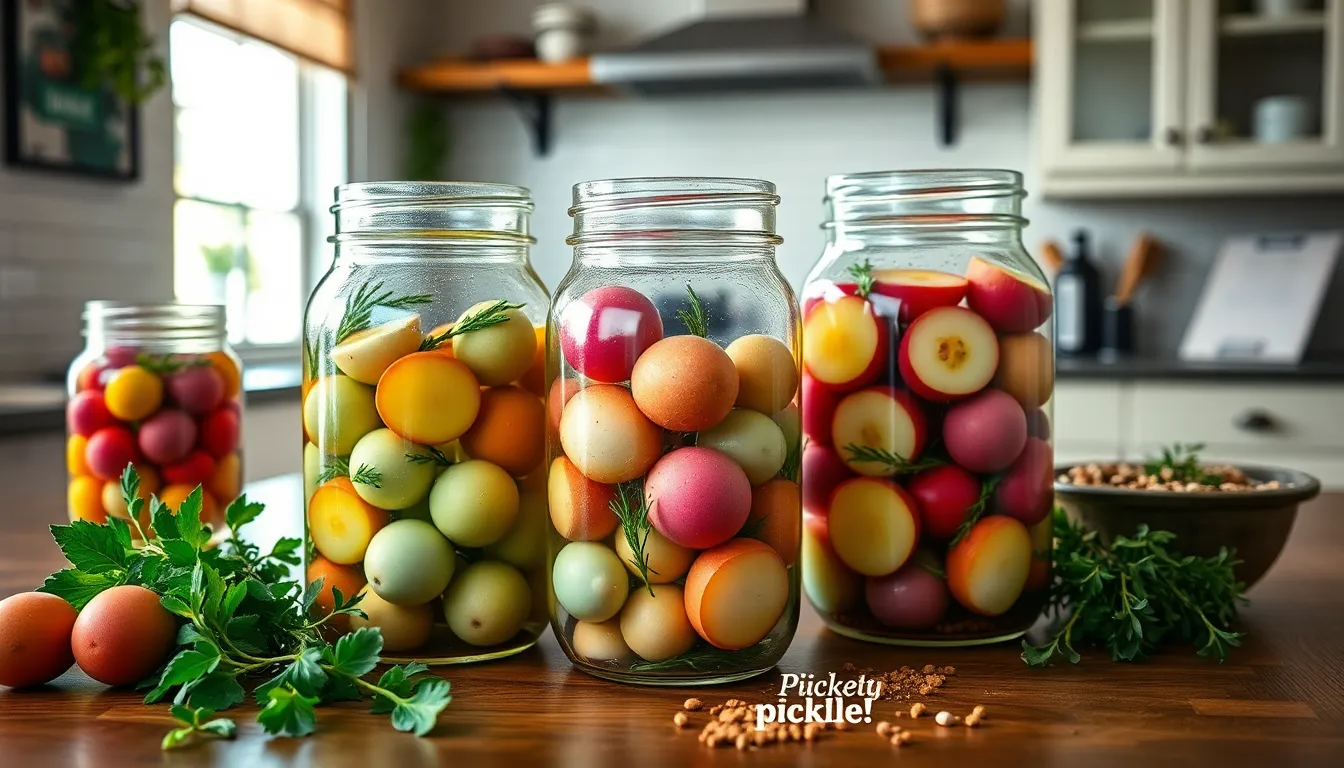
Beet Pickled Eggs
My beet pickled eggs create a stunning visual presentation with their deep magenta color while adding earthy sweetness to the tangy brine. I use 1-2 medium cooked beets sliced into rounds or 1/2 cup of beet juice added directly to the pickling liquid. Fresh beets require roasting at 400°F for 45 minutes until tender before slicing.
The natural sugars in beets complement the vinegar beautifully, creating a more mellow flavor profile than traditional pickled eggs. I increase the sugar in my base recipe to 3 tablespoons when making beet pickled eggs to balance the earthiness.
These eggs achieve their characteristic ruby color within 24 hours, though I recommend waiting the full 3-5 days for complete flavor penetration. The beet juice continues to intensify the color over time, making these eggs particularly striking on appetizer platters.
Dill Pickled Eggs
Fresh dill transforms my pickled eggs into a garden-fresh variation that reminds me of classic dill pickles. I pack 3-4 fresh dill sprigs into each jar before adding the eggs, ensuring the herb makes contact with both the eggs and the brine. Dried dill works as a substitute using 2 tablespoons per jar.
I enhance the dill flavor by adding 1 tablespoon of dill seeds to the brine along with extra garlic cloves. The combination creates layers of dill flavor that develop differently over time. Fresh dill provides bright herbal notes while dill seeds contribute a more concentrated, slightly bitter undertone.
These dill pickled eggs reach their peak flavor after 4-6 days when the herb has fully infused the brine. The eggs develop a refreshing taste that makes them excellent additions to potato salad or as standalone snacks with crackers and cheese.
Tips for Perfect Pickled Eggs
Creating flawless pickled eggs requires attention to detail throughout every step of the process. I’ve discovered these essential techniques through years of perfecting my recipe.
Start with fresh eggs that are at least one week old for easier peeling. Room temperature eggs prevent cracking when they hit the boiling water. I always use large eggs for consistent results and uniform appearance.
Time your boiling precisely to achieve the perfect texture. Exactly 10 minutes creates firm whites without rubbery consistency. Longer cooking times result in that undesirable green ring around the yolk.
Prepare your ice bath beforehand with plenty of ice cubes and cold water. Immediate cooling stops the cooking process and makes peeling significantly easier. I let the eggs sit in the ice bath for at least 5 minutes.
Peel eggs under cool running water to remove stubborn shell pieces. Starting at the wider end where the air pocket sits usually yields the best results. Gentle pressure prevents gouging the egg white surface.
Make your brine hot but not boiling when adding it to the jars. Hot brine penetrates the eggs faster than cold brine. I let it cool for just 2-3 minutes after removing from heat before pouring.
Pack eggs snugly but not tightly in your jars to prevent cracking. Leave about half an inch of headspace at the top. The eggs should be completely submerged under the brine at all times.
Use clean glass jars with tight-fitting lids to prevent contamination. Mason jars work perfectly for this purpose. I sterilize my jars with boiling water before filling them.
Layer your spices evenly throughout the jar rather than dumping them all at the bottom. This ensures every egg receives equal flavor distribution. Whole spices provide better flavor than ground versions.
Be patient with the pickling process as rushing diminishes the final result. Three days minimum allows proper brine penetration. I find that day five provides the most balanced flavor profile.
Keep eggs refrigerated immediately after sealing to maintain food safety. Room temperature storage creates dangerous bacterial growth conditions. Cold temperatures preserve both flavor and texture quality.
Make-Ahead Instructions
I recommend making pickled eggs well in advance since they need time to develop their signature tangy flavor. The beauty of this recipe lies in its make-ahead nature, allowing you to prepare a batch when you have time and enjoy them throughout the week.
My preferred timeline starts three days before I plan to serve the pickled eggs. Day one involves boiling and peeling the eggs, preparing the brine, and assembling everything in jars. I always complete this process in the morning, giving the eggs maximum time to absorb the flavors.
The waiting period proves crucial for flavor development. After sealing the jars, I place them directly in the refrigerator where they begin their transformation. During the first 24 hours, the brine starts penetrating the egg whites, creating subtle flavor changes.
By day three, the eggs reach their optimal taste profile. I’ve found that patience during this period rewards you with perfectly flavored eggs that have absorbed all the spices and tang from the brine. The egg whites become firm yet tender, while maintaining their smooth texture.
For meal planning purposes, I often prepare two batches at once. Staggering the preparation dates ensures I always have properly aged pickled eggs ready when guests arrive or when I crave this protein-rich snack.
Advanced preparation also allows flexibility in your schedule. You can complete the entire process during a weekend afternoon, then enjoy the results throughout the following weeks. The eggs actually improve with time, reaching peak flavor between days three and seven.
Storage containers play an important role in make-ahead success. I use clean glass mason jars that seal tightly, preventing air exposure that could compromise flavor development. Labeling each jar with the preparation date helps track aging progress and ensures food safety.
Planning ahead means you can experiment with different spice combinations across multiple batches. I often prepare one classic batch alongside a spicier version, allowing me to offer variety when entertaining or simply satisfying different mood preferences throughout the month.
Conclusion
I’ve found that making pickled eggs at home isn’t just economical—it’s incredibly rewarding. The ability to control every ingredient and customize flavors to my exact preferences makes this recipe a keeper in my kitchen rotation.
What excites me most about this recipe is its versatility. Whether I’m craving something spicy tangy or uniquely colorful each batch becomes a new culinary adventure that keeps my taste buds guessing.
The best part? Once you’ve mastered the basic technique the variations are endless. I encourage you to experiment with different spice combinations and create your own signature pickled egg recipe that’ll have friends asking for your secret.