The allure of a perfectly baked moist chocolate cake lies in its rich, decadent flavor and melt-in-your-mouth texture.
Each bite offers a luxurious experience of deep chocolatey goodness complemented by a soft, velvety crumb.
This recipe takes me back to my grandmother’s kitchen, where the aroma of freshly baked cake filled the air and promised an indulgent treat.
Whether it’s a family gathering, a birthday celebration, or just a weekend indulgence, this cake never fails to impress.
Embrace the simplicity of this homemade treat that captures the essence of comfort and nostalgia.
The History and Cultural Significance
• Moist Chocolate Cake traces its origins to the 19th century in the United States, where it was originally created by inventive home bakers experimenting with available ingredients.
• The dish evolved over decades as the use of baking powder and refined cocoa powder became commonplace, eventually becoming the beloved version we know today.
• In many Western cultures, this dish traditionally appears at birthdays and weddings, symbolizing joy and celebration.
• While many variations exist across different regions, the authentic version maintains a dense yet fluffy texture that sets it apart from imitations.
Recipe Overview
Nutritional Information (per serving)
Essential Equipment Guide
Stand Mixer: A stand mixer is crucial for achieving a smooth, lump-free batter, which is key to the cake’s moist texture. While a hand mixer can work, a stand mixer offers more consistent results and ease of use. Look for a mixer with a whisk attachment for best results.
Springform Pan: This pan allows for easy removal of the cake without damaging its sides, which is important for presentation. A regular cake pan can be used, but ensure it’s well-greased and floured to prevent sticking.
Cooling Rack: Proper cooling is key to maintaining the cake’s moisture. A cooling rack allows air to circulate around the cake, preventing it from becoming soggy on the bottom. A simple grid-style rack works best for even airflow.
Ingredients
For the Cake
|
|
| Amount | Ingredient | Notes |
|---|---|---|
| 1 3/4 cups | all-purpose flour | sifted for light texture |
| 2 cups | granulated sugar | for sweetness |
| 3/4 cup | unsweetened cocoa powder | provides rich chocolate flavor |
| 1 1/2 teaspoons | baking powder | helps the cake rise |
| 1 1/2 teaspoons | baking soda | adds to the leavening |
| 1 teaspoon | salt | enhances flavor |
| 2 large | eggs | at room temperature |
| 1 cup | whole milk | adds moisture |
| 1/2 cup | vegetable oil | contributes to moistness |
| 2 teaspoons | vanilla extract | adds depth of flavor |
| 1 cup | boiling water | helps bloom the cocoa |
For the Frosting
| Amount | Ingredient | Notes |
|---|---|---|
| 1/2 cup | unsalted butter | softened |
| 2/3 cup | unsweetened cocoa powder | intensifies chocolate flavor |
| 3 cups | powdered sugar | for a smooth texture |
| 1/3 cup | milk | adjusts consistency |
| 1 teaspoon | vanilla extract | enhances the chocolate flavor |
Preparation Methods
Creaming Method: This technique involves beating the sugar and butter until light and fluffy, which is crucial for incorporating air into the batter. This step is vital for achieving the cake's tender crumb. Use room temperature butter for best results.
Blooming Cocoa: Adding boiling water to cocoa powder helps to release its full flavor potential. This step enhances the overall chocolate taste of the cake. Ensure the water is truly boiling to properly bloom the cocoa.
Folding: Gently folding the dry ingredients into the wet mixture helps maintain the airiness of the batter. Use a spatula and a light hand to gently incorporate, avoiding over-mixing which can lead to a dense cake.
Step 1: Preheat the Oven

Preheat your oven to 350°F (175°C).
Ensure the oven rack is positioned in the center.
This allows for even heat distribution.
Proper preheating is crucial for consistent baking results.
Step 2: Prepare the Cake Pans

Grease two 9-inch round cake pans with butter or nonstick spray.
Dust them with flour, tapping out the excess.
This prevents the cake from sticking to the pans.
Ensure even coverage for easy removal.
Step 3: Mix Dry Ingredients

In a large bowl, combine flour, sugar, cocoa powder, baking powder, baking soda, and salt.
Use a whisk to thoroughly mix these ingredients.
This ensures an even distribution of leavening agents.
Sift together if necessary to remove clumps.
Step 4: Combine Wet Ingredients

In a separate bowl, beat the eggs slightly.
Add milk, oil, and vanilla extract to the eggs.
Mix until the ingredients are well combined.
This forms the wet component of the batter.
Step 5: Bloom Cocoa with Boiling Water

Gradually add boiling water to the cocoa mixture.
Stir continuously to dissolve the cocoa fully.
This step enhances the chocolate flavor.
Ensure the mixture is smooth and lump-free.
Step 6: Combine All Components

Slowly pour the wet ingredients into the dry ingredients.
Mix on medium speed until just combined.
Add the bloomed cocoa mixture.
Ensure batter is smooth and homogeneous without overmixing.
Step 7: Pour Batter into Pans

Divide the batter evenly between the prepared cake pans.
Use a spatula to smooth the top.
This ensures even baking.
Tap the pans gently to release air bubbles.
Step 8: Bake the Cakes

Place the cake pans in the preheated oven.
Bake for 30 to 35 minutes.
Check for doneness by inserting a toothpick into the center.
It should come out clean or with a few crumbs attached.
Step 9: Cool the Cakes
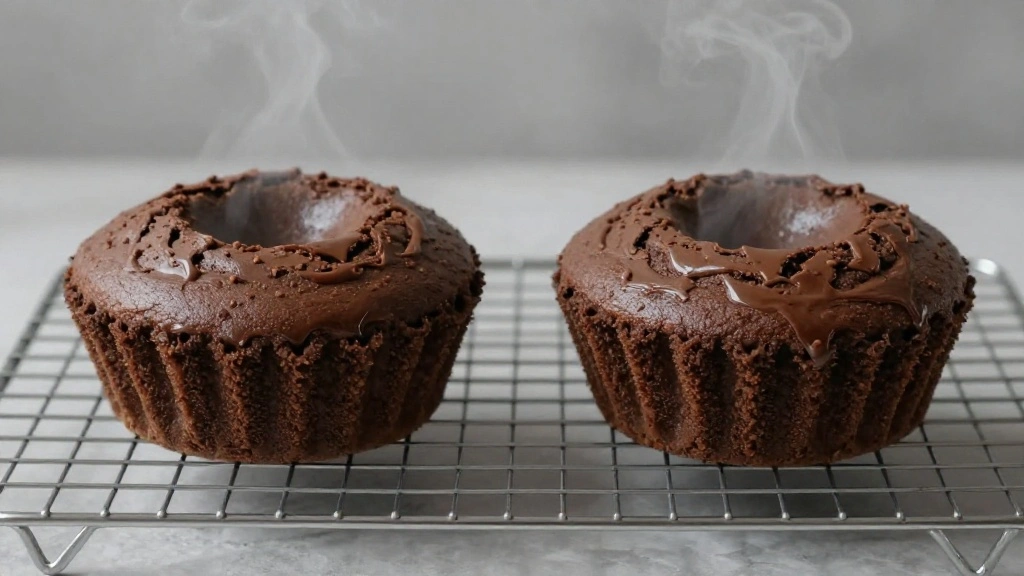
Remove the cakes from the oven.
Allow them to cool in the pans for 10 minutes.
Transfer to a wire rack to cool completely.
This step prevents the cakes from becoming soggy.
Step 10: Prepare the Frosting

In a mixing bowl, beat softened butter until creamy.
Gradually add cocoa powder and powdered sugar, alternating with milk.
Mix until smooth and spreadable.
Add vanilla extract and beat until fully incorporated.
Step 11: Assemble the Cake
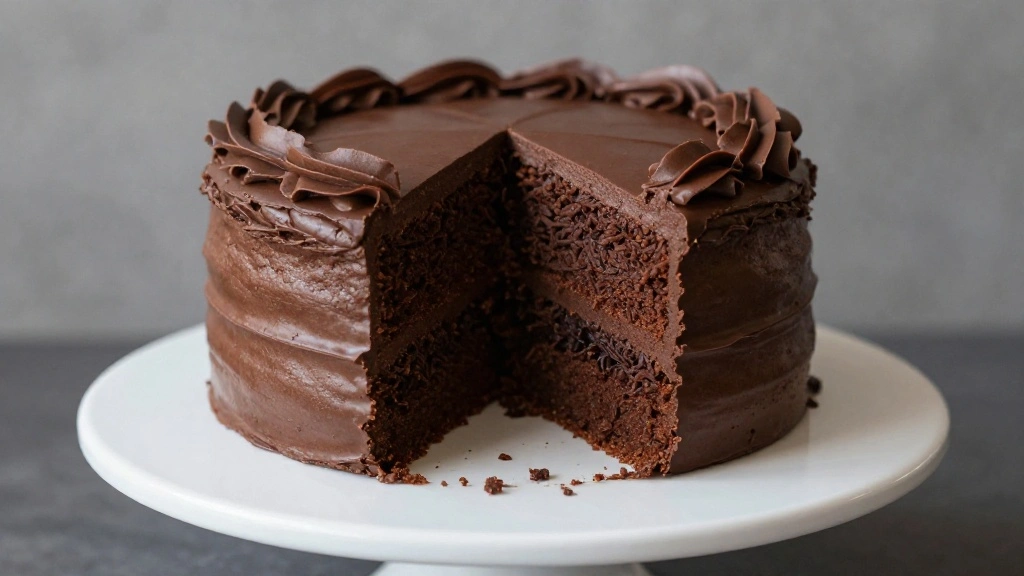
Place one cake layer on a serving plate.
Spread a generous amount of frosting over the top.
Place the second layer on top and apply frosting to the top and sides.
Ensure even coverage for a professional appearance.
Step 12: Serve and Enjoy
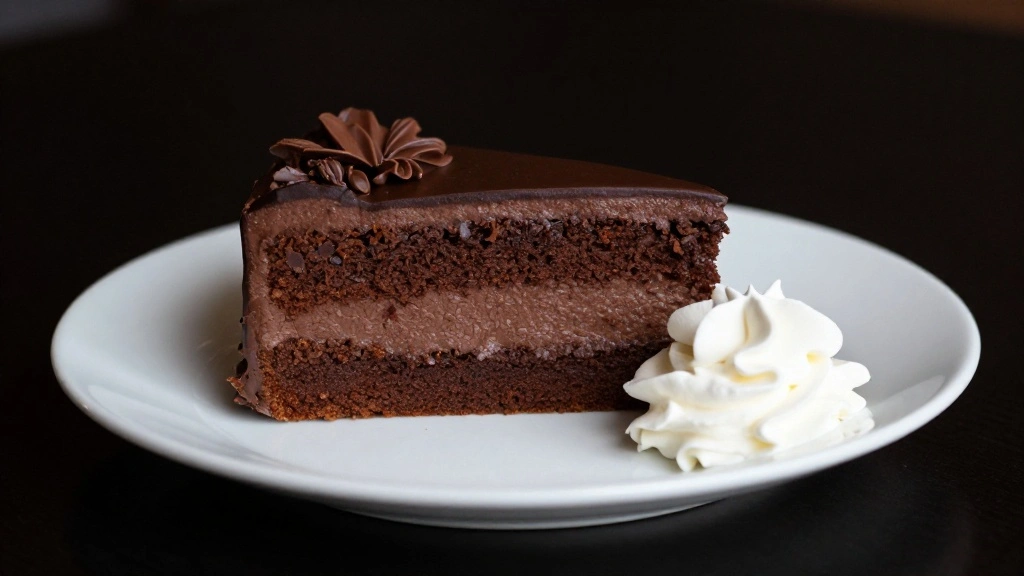
Once assembled, allow the cake to set for a few minutes.
Slice with a sharp knife for clean cuts.
Serve each slice with a dollop of whipped cream if desired.
Enjoy the rich, moist texture of your homemade chocolate cake.
Critical Timing and Temperature Guide
Baking the Cake: Bake at 350°F for 30-35 minutes. Look for a cake that springs back when lightly pressed. Avoid opening the oven door frequently, as this can cause the cake to collapse.
Cooling: Allow the cake to cool in pans for 10 minutes before transferring to a wire rack. Cool completely before frosting to prevent melting. Avoid placing in a drafty area, which can cause uneven cooling.
Frosting Application: Frost the cake once it is completely cooled. Use a spatula for smooth application. Applying frosting to a warm cake can cause it to slide off.
Pro Tips for Moist Chocolate Cake
• Ingredient Selection: Use high-quality cocoa powder for the richest chocolate flavor. Fresh eggs and real vanilla extract also make a significant difference.
• Preparation Secret: Adding boiling water to the cocoa enhances the chocolate flavor—don't skip this step.
• Temperature Management: Ensure all ingredients are at room temperature before mixing to achieve a smooth batter.
• Texture Enhancement: Avoid overmixing the batter once the flour is added to prevent a dense cake.
• Flavor Layering: Add a pinch of espresso powder to the batter to deepen the chocolate flavor without adding a coffee taste.
• Make-Ahead Strategies: Bake the cake layers a day in advance and wrap them tightly in plastic wrap. Frost the next day for best results.
• Restaurant-Quality Finishing Touches: Use a hot knife to slice the cake for clean, professional-looking servings.
• Equipment Optimization: Use a serrated knife for leveling the cake layers if needed.
Troubleshooting Common Issues
• Texture Too Dense: This can occur from overmixing the batter or using expired leavening agents. Ensure your baking powder and soda are fresh, and mix just until combined.
• Cake Sticks to Pan: Improper greasing can cause sticking. Always grease and flour the pan, or use parchment paper for guaranteed release.
• Crumbly Cake: Overbaking can lead to a dry, crumbly cake. Check for doneness early and rely on a toothpick test.
• Frosting Not Spreading Smoothly: If the frosting is too stiff, add a little milk until it reaches a spreadable consistency.
• Uneven Cake Layers: Uneven baking can be due to incorrect oven temperature. Use an oven thermometer to ensure accuracy and rotate pans halfway through baking.
• Frosting Separating: This can happen if the butter is too warm. Chill the frosting slightly and re-whip before using.
Variations and Regional Differences
• European Style: Often made with dark chocolate instead of cocoa powder, resulting in a denser, richer cake. Ingredients like almond flour may be used for texture.
• Mexican Variation: Incorporates a hint of cinnamon and cayenne pepper for a spicy kick, reflecting traditional Mexican chocolate flavors.
• Vegan Version: Uses applesauce or mashed banana in place of eggs, and a plant-based milk like almond or soy, creating a moist cake without dairy.
• Gluten-Free Adaptation: Swaps all-purpose flour for a gluten-free blend, ensuring those with gluten intolerance can enjoy the cake without compromise.
Food Science Behind the Recipe
• Role of Baking Powder and Soda: These leavening agents release carbon dioxide when mixed with moisture and heat, creating bubbles that help the cake rise.
• Maillard Reaction: The browning of the cake's surface occurs due to this chemical reaction between amino acids and reducing sugars, enhancing flavor and color.
• Importance of Emulsification: Eggs act as emulsifiers, helping to combine oil and liquid in the batter, ensuring a smooth, consistent texture in the cake.
Frequently Asked Questions
What's the most common mistake people make when preparing Moist Chocolate Cake? Overmixing the batter is a frequent issue, as it can lead to a dense texture. Mix until ingredients are just combined.
Can I use chocolate chips instead of cocoa powder? While chocolate chips can be melted and used, they may alter the texture and sweetness. Cocoa powder is recommended for best results.
How can I make this cake without eggs? Use a quarter cup of unsweetened applesauce or a mashed banana per egg as a substitute.
What is the best way to store leftover cake? Store in an airtight container at room temperature for up to 3 days, or refrigerate for longer shelf life.
Can I freeze the cake layers? Yes, wrap each layer tightly in plastic wrap and freeze for up to 2 months. Thaw overnight in the refrigerator before frosting.
Why did my cake sink in the middle? This can result from underbaking or opening the oven door too early. Ensure the cake is fully set before removing it from the oven.
How do I prevent my cake from doming? To prevent doming, use bake-even strips or lower the oven temperature slightly, extending the baking time.
Serving and Presentation Guide
• Traditional Presentation: Serve the cake on a decorative cake stand, with frosting swirls on top and a dusting of cocoa powder for elegance.
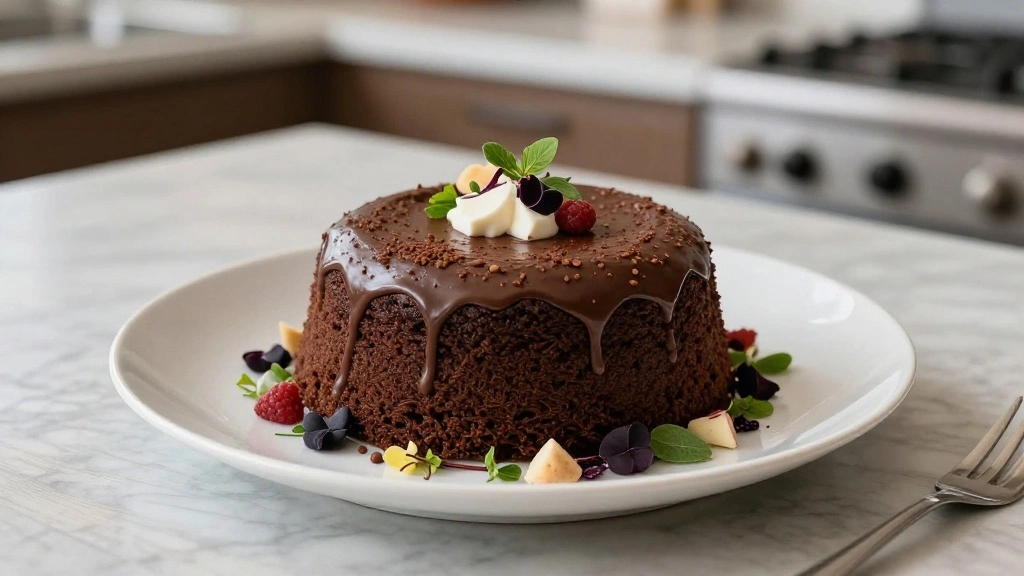
• Modern Minimalist: Use a plain white plate, with a single fresh raspberry or mint leaf for a pop of color.
• Family Style: Slice the cake into squares and serve on a large platter, making it easy for guests to help themselves.
• Festive Presentation: Add edible gold leaf or chocolate shavings for a special occasion, creating a luxurious finish.
Conclusion
This moist chocolate cake recipe brings together simple ingredients with a touch of technique to create a dessert that's both classic and irresistible.
Whether you're a seasoned baker or a novice, this recipe is designed to deliver success with every bite.
I invite you to try this recipe and experience the joy of homemade baking, creating memories that will last a lifetime.