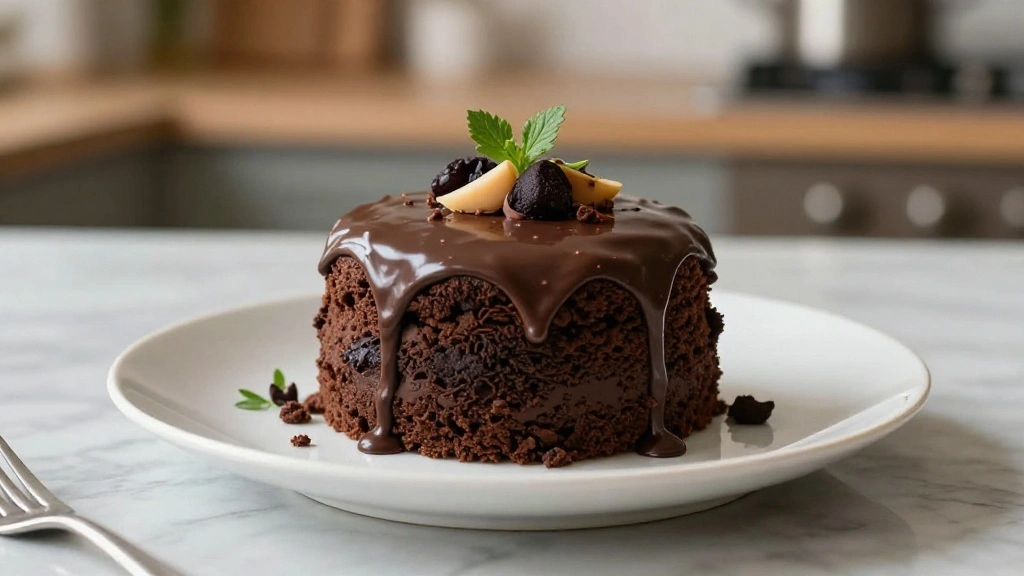
The Matilda Chocolate Cake is an ode to rich, decadent desserts that leave a lasting impression.
With its fudgy texture and intense chocolate flavor, it’s a dessert that promises indulgence in every bite.
I first encountered this cake during a family gathering, where its velvety layers and sweet aroma captivated everyone present.
It has become a staple for special occasions, cherished for its ability to bring people together around the table.
Whether you’re celebrating a birthday or simply craving chocolate, this cake is the perfect choice.
Prepare to delight your taste buds and those of your loved ones with this timeless recipe.
The History and Cultural Significance
• Matilda Chocolate Cake traces its origins to 20th-century America, where it was originally created by home bakers seeking the ultimate chocolate experience.
• The dish evolved over decades as the availability of high-quality chocolate and refined baking techniques improved, eventually becoming the beloved version we know today.
• In American culture, this dish traditionally appears at birthdays and celebrations, symbolizing indulgence and joy.
• While many variations exist across different regions, the authentic version maintains a dense, fudgy texture that sets it apart from imitations.
Recipe Overview
Nutritional Information (per serving)
Essential Equipment Guide
Springform Pan: This tool is essential for achieving the perfect cake shape and easy removal. Alternatives might include a regular cake pan, but a springform ensures a clean release. Look for a pan with a non-stick surface and a tight seal.
Electric Mixer: Important for achieving a smooth, lump-free batter. While a whisk can work, an electric mixer saves time and effort. Choose one with multiple speed settings for versatility.
Offset Spatula: Necessary for spreading frosting evenly across the cake layers. A regular spatula can work, but an offset spatula gives better control. Opt for one with a comfortable grip and durable blade.
Ingredients
For the Cake
|
|
| Amount | Ingredient | Notes |
|---|---|---|
| 1 3/4 cup | all-purpose flour | provides structure |
| 3/4 cup | unsweetened cocoa powder | adds rich chocolate flavor |
| 2 cups | granulated sugar | sweetens and moistens |
| 1 1/2 teaspoon | baking powder | aids in rising |
| 1/2 teaspoon | baking soda | balances acidity |
| 1 teaspoon | salt | enhances flavor |
| 2 large | eggs | binds ingredients |
| 1 cup | whole milk | adds moisture |
| 1/2 cup | vegetable oil | adds richness |
| 2 teaspoon | vanilla extract | adds aroma |
| 1 cup | boiling water | intensifies cocoa flavor |
Preparation Methods
Creaming Method: This technique involves beating sugar and fat together until light and fluffy, which is crucial for aerating the cake batter. Proper creaming results in a tender crumb. Use room temperature ingredients for best results.
Folding: Incorporating dry ingredients into wet without deflating the batter is key. This gentle method ensures a light texture. Use a rubber spatula and fold in a figure-eight motion.
Bain-Marie: A water bath technique used for gently melting chocolate without scorching. Important for achieving a smooth, glossy ganache. Ensure the bowl doesn't touch the water and stir frequently.
Step 1: Preheat the Oven

Preheat your oven to 350°F (175°C).
Ensure the oven rack is positioned in the middle.
This temperature is ideal for baking cakes evenly.
Avoid opening the oven door frequently to maintain temperature.
Step 2: Prepare the Cake Pan

Grease a 9-inch springform pan with butter or non-stick spray.
Line the bottom with parchment paper for easy removal.
This prevents the cake from sticking and ensures a clean release.
Make sure the parchment fits snugly and covers the entire bottom.
Step 3: Mix Dry Ingredients

In a large bowl, sift together flour, cocoa powder, baking powder, baking soda, and salt.
Sifting aerates the ingredients, ensuring a smooth batter.
Whisk the mixture to combine thoroughly and ensure even distribution.
Look for a uniform color and texture in the dry mix.
Step 4: Combine Wet Ingredients

In another bowl, beat the eggs with an electric mixer on medium speed until light and frothy.
Add in sugar, milk, oil, and vanilla extract, beating until well combined.
The mixture should be smooth and slightly thick.
Scrape down the sides of the bowl to ensure all ingredients are incorporated.
Step 5: Blend Wet and Dry Mixes

Gradually add the dry ingredients to the wet mixture, beating on low speed.
Alternate additions to prevent clumping and ensure smooth mixing.
Stop mixing once the batter is just combined with no visible streaks.
Over-mixing can lead to a dense cake.
Step 6: Add Boiling Water

Slowly pour the boiling water into the batter, mixing on low speed.
This step enhances the cocoa flavor and creates a smooth consistency.
The batter will be thin but should be well-mixed.
Pour steadily to avoid splashes and ensure even mixing.
Step 7: Pour Batter into Pan

Carefully pour the batter into the prepared springform pan.
Use an offset spatula to smooth the top and eliminate air bubbles.
Ensuring an even surface helps the cake bake uniformly.
Tap the pan gently on the counter to release any trapped air.
Step 8: Bake the Cake
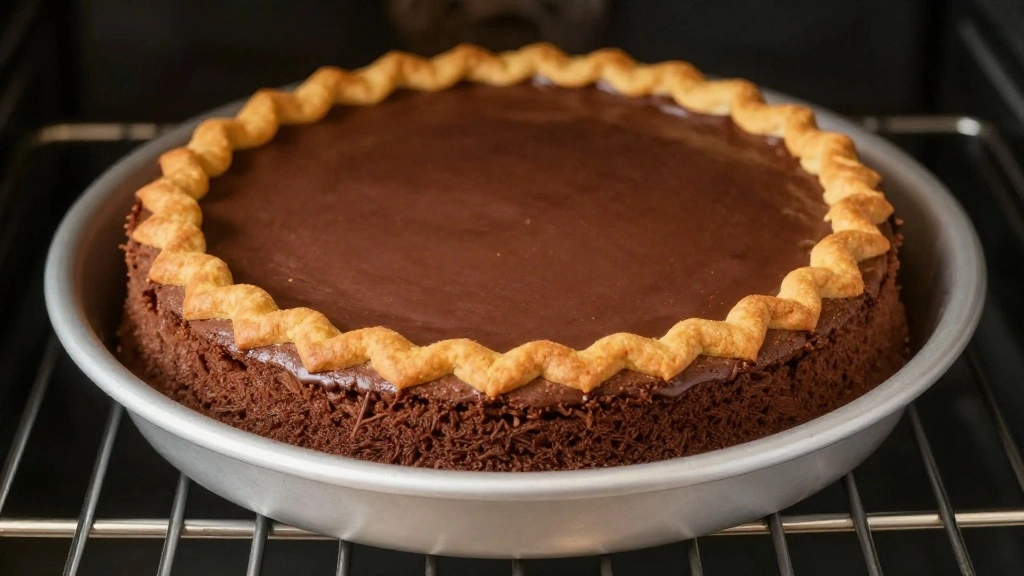
Place the pan in the preheated oven on the middle rack.
Bake for 35 minutes or until a toothpick inserted comes out clean.
The cake should have a slight spring when touched.
Avoid opening the oven door frequently to prevent heat loss.
Step 9: Cool the Cake
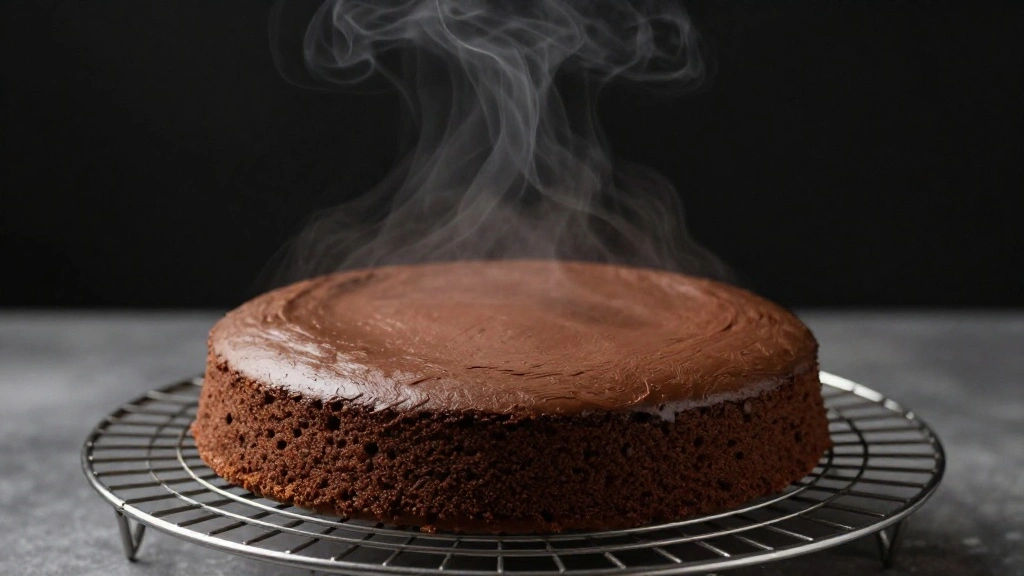
Remove the cake from the oven and let it cool in the pan for 10 minutes.
Run a knife around the edges to loosen it from the pan.
Transfer the cake to a wire rack to cool completely.
Cooling fully prevents frosting from melting.
Step 10: Prepare the Ganache
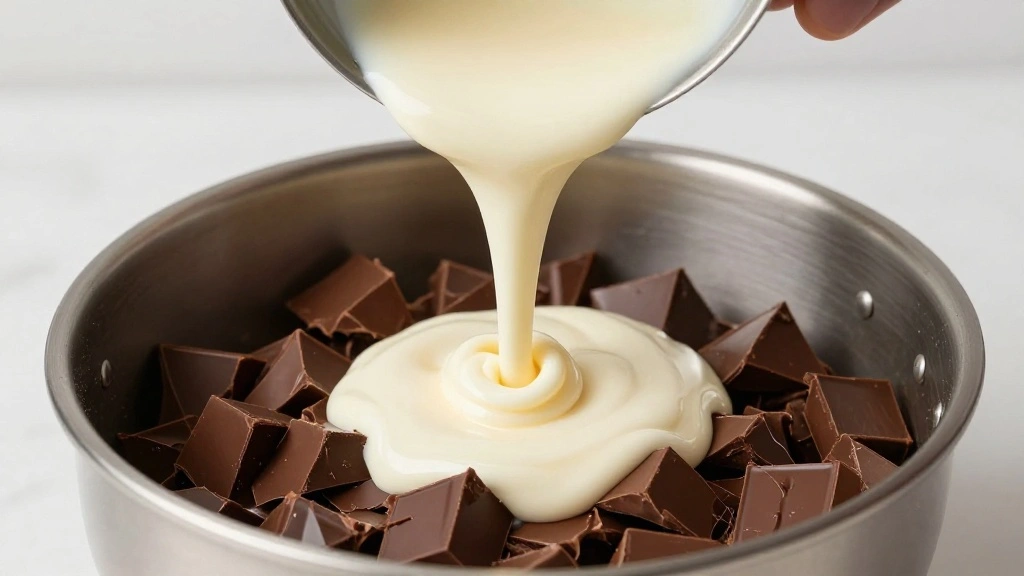
Heat heavy cream in a saucepan until it simmers, not boils.
Pour over chopped chocolate in a heatproof bowl.
Stir until the chocolate is fully melted and smooth.
Let the ganache cool slightly to thicken before spreading.
Step 11: Frost the Cake
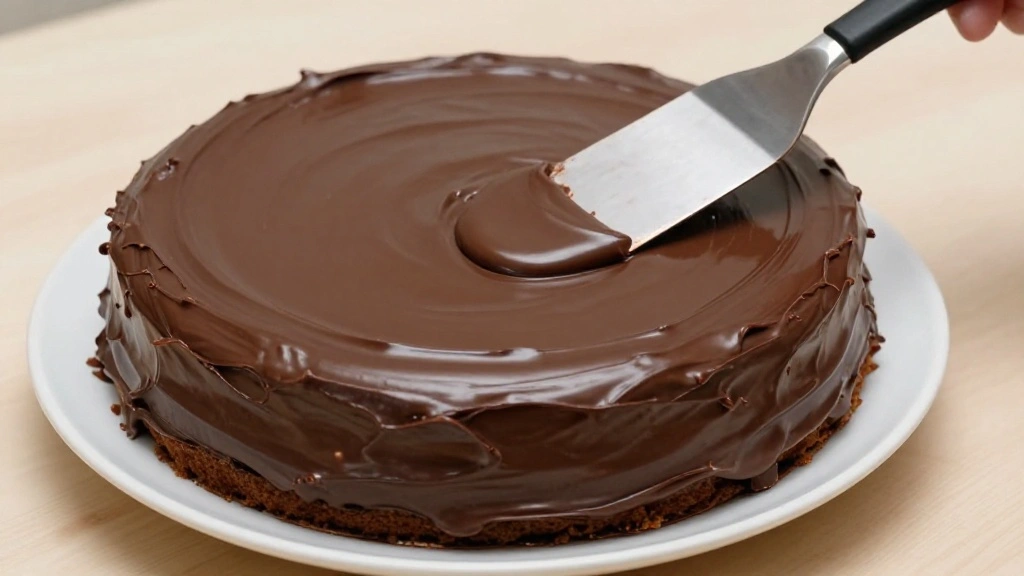
Place the cooled cake on a serving platter.
Pour the ganache over the top, spreading evenly with an offset spatula.
Allow ganache to drip down the sides for a rustic look.
Ensure the ganache sets slightly before serving for a clean cut.
Critical Timing and Temperature Guide
Baking: Bake at 350°F (175°C) for 35 minutes. Look for a slight spring in the cake and a clean toothpick test to indicate doneness. Avoid underbaking to prevent a dense texture.
Cooling: Allow the cake to cool in the pan for 10 minutes before transferring to a wire rack. This step prevents the cake from sticking. Rushing can cause the cake to break.
Ganache: Heat cream until it simmers, not boils. The correct temperature ensures a smooth ganache without overheating the chocolate. Watch for a glossy finish as an indicator.
Pro Tips for Matilda Chocolate Cake
• Ingredient Selection: Choose high-quality cocoa powder and chocolate for the richest flavor. Opt for Dutch-processed cocoa for a more intense chocolate taste.
• Preparation Secret: Add a pinch of espresso powder to the batter to enhance the chocolate flavor without adding coffee taste.
• Temperature Management: Ensure all ingredients are at room temperature before mixing. This helps them combine smoothly, resulting in a uniform batter.
• Texture Enhancement: Use cake flour instead of all-purpose flour for a softer crumb. Sift the flour to incorporate air and lighten the texture.
• Flavor Layering: Incorporate a hint of sea salt in the ganache to balance the sweetness and deepen the chocolate flavor.
• Make-Ahead Strategies: Prepare the cake layers a day in advance, wrap tightly in plastic, and store at room temperature. Prepare ganache the day of serving for best results.
• Restaurant-Quality Finishing Touches: Garnish with chocolate shavings or a dusting of cocoa powder for an elegant presentation.
• Equipment Optimization: Use a hand mixer and a sturdy spatula to ensure thorough mixing and even batter distribution.
Troubleshooting Common Issues
• Texture Too Dense: Caused by over-mixing the batter or using cold ingredients. To fix, ensure ingredients are at room temperature and mix only until combined.
• Cracked Top: Often a result of too high oven temperature. Use an oven thermometer to verify the correct temperature and avoid overbaking.
• Ganache Separation: Occurs if the cream is too hot. Stir gently and consistently, and allow cream to cool slightly before adding chocolate.
• Dry Cake: Caused by overbaking. Test with a toothpick a few minutes before the recommended time to avoid dryness.
• Uneven Layers: Can result from uneven batter distribution. Use an offset spatula to smooth the batter before baking.
• Sticking to Pan: Ensure the pan is well-greased and lined with parchment paper. Run a knife around the edges before removing the cake from the pan.
Variations and Regional Differences
• European Style: Often incorporates almond flour for a denser texture and uses dark chocolate with higher cocoa content.
• Mexican Chocolate Cake: Adds cinnamon and cayenne pepper for a spicy kick, reflecting traditional Mexican flavors.
• Vegan Version: Substitutes eggs with flaxseed meal and water, and uses almond milk and coconut oil for a plant-based alternative.
• Gluten-Free Option: Replaces all-purpose flour with a gluten-free flour blend, ensuring those with dietary restrictions can enjoy the cake.
Food Science Behind the Recipe
• Maillard Reaction: This chemical reaction between amino acids and sugars gives the cake a complex flavor and brown color as it bakes.
• Emulsification: The process of combining fat and water-based ingredients, crucial for a smooth batter. Eggs play a significant role in this process.
• Leavening Agents: Baking powder and soda create carbon dioxide, helping the cake rise. Understanding their balance ensures the right texture.
• Chocolate Blooming: Adding boiling water to cocoa powder helps release its full flavor potential, enhancing the cake's chocolate intensity.
Frequently Asked Questions
What's the most common mistake people make when preparing Matilda Chocolate Cake? Over-mixing the batter, which can lead to a dense texture. Mix only until ingredients are combined.
Can I use a different type of chocolate for the ganache? Yes, but adjust the cream-to-chocolate ratio based on the chocolate's cocoa content to maintain consistency.
Is it necessary to use parchment paper? While not strictly necessary, it ensures the cake releases easily from the pan, preventing damage.
How do I store leftovers? Store in an airtight container at room temperature for up to three days or refrigerate for up to a week.
Can this recipe be doubled? Yes, but use two pans and bake simultaneously for consistent results.
What can I use if I don't have a springform pan? A regular 9-inch cake pan can work, but lining with parchment paper is recommended for easy removal.
How do I prevent my ganache from separating? Ensure the cream is warm, not hot, and stir gently until smooth. If separation occurs, add a teaspoon of warm milk and stir.
Serving and Presentation Guide
• Traditional Presentation: Serve the cake on a cake stand with a dusting of cocoa powder and chocolate curls for an elegant finish.
• Casual Presentation: Slice and serve on individual plates with a dollop of whipped cream and a sprig of mint.
• Party Presentation: Cut into small squares and arrange on a platter for a self-serve dessert bar.
• Gourmet Presentation: Accompany with a scoop of vanilla ice cream and a drizzle of raspberry coulis for a restaurant-quality touch.
Conclusion
The Matilda Chocolate Cake is a timeless classic that captures the hearts of chocolate lovers everywhere.
With its rich flavor and moist texture, it’s the perfect centerpiece for any occasion.
Try this recipe and experience the joy of sharing a delicious homemade dessert with friends and family.
Your kitchen will be filled with the irresistible aroma of chocolate, inviting everyone to gather around and savor each bite.