Ingredients
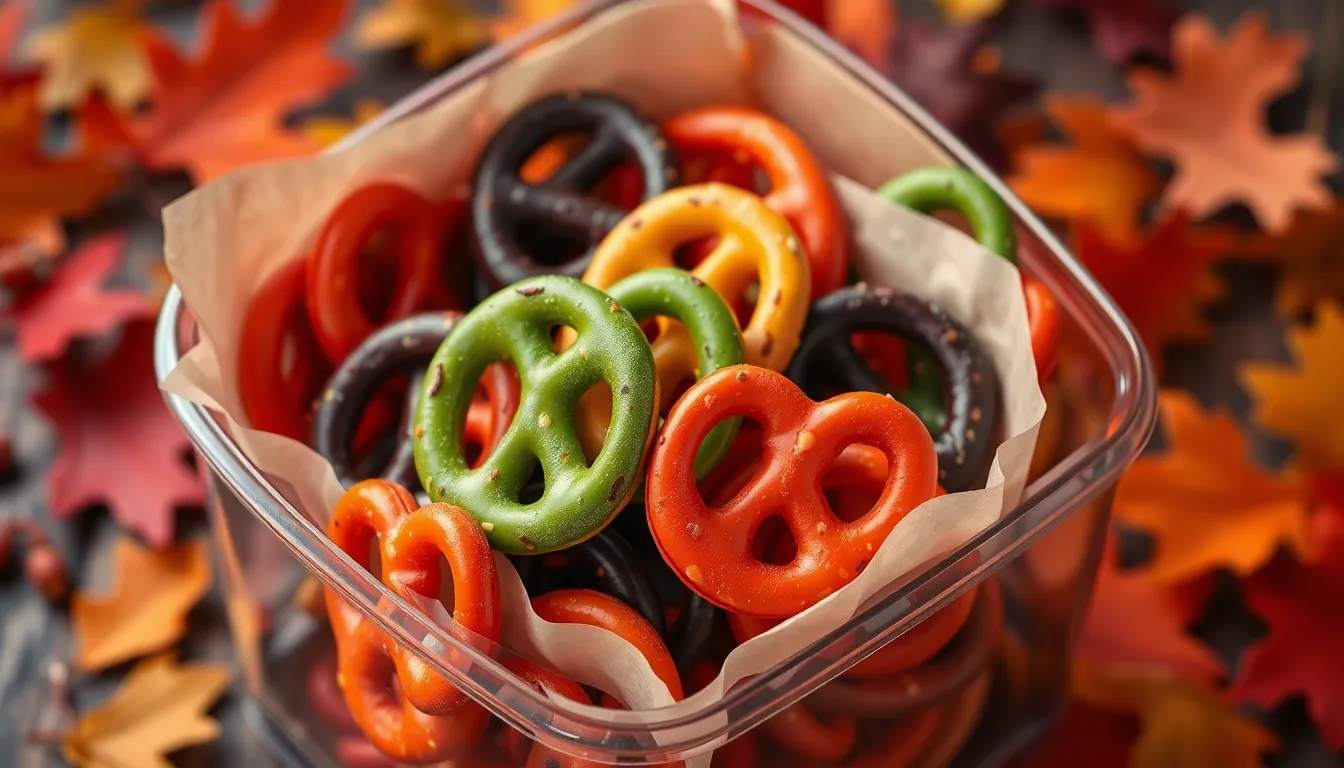
I’ve carefully selected each ingredient to create the perfect balance of salty and sweet flavors that make these Halloween pretzel rings irresistible. The combination of simple pantry staples transforms ordinary pretzels into a festive treat that everyone will love.
For the Pretzel Rings
- 4 cups mini pretzel twists or regular pretzel rings
- 2 tablespoons vegetable oil or melted butter
- 1 teaspoon garlic powder
- 1/2 teaspoon onion powder
- 1/4 teaspoon paprika
- 1/2 teaspoon salt
For the Chocolate Coating
- 12 ounces semi-sweet chocolate chips
- 2 tablespoons coconut oil or vegetable shortening
- 1/4 cup white chocolate chips (optional for drizzling)
- Orange food coloring gel or liquid
- Black food coloring gel or liquid
For Halloween Decorations
- 1/2 cup candy corn pieces
- 2 tablespoons mini chocolate chips
- 1/4 cup orange sprinkles
- 2 tablespoons black sprinkles
- 1/4 cup crushed Oreo cookies (for dirt effect)
- 12 candy eyeballs
- 2 tablespoons mini marshmallows (cut in half for teeth)
Equipment Needed
Making these Halloween pretzel rings requires basic kitchen equipment that you likely already have in your home. I recommend gathering all your tools before starting to ensure a smooth cooking process.
Large Mixing Bowl – I use this for tossing the pretzel rings with oil and seasonings. A bowl with high sides prevents ingredients from spilling during the mixing process.
Baking Sheet – Choose a rimmed baking sheet to prevent pretzels from rolling off during baking. I prefer using two sheets if making large batches to avoid overcrowding.
Parchment Paper or Silicone Baking Mat – This prevents sticking and makes cleanup effortless. I always line my baking sheets to ensure the pretzel rings release easily after baking.
Small Microwave-Safe Bowls – You’ll need these for melting chocolate coatings. I use separate bowls for different colored chocolates to avoid mixing flavors or colors accidentally.
Measuring Spoons and Cups – Accurate measurements ensure consistent results every time. I keep both dry and liquid measuring tools within reach for efficiency.
Wooden Spoon or Spatula – Use these for stirring seasonings into pretzels and mixing melted chocolate. I prefer wooden utensils as they won’t scratch my bowls.
Fork or Dipping Tool – This helps coat individual pretzel rings in chocolate without making a mess. I sometimes use a candy dipping fork for more precise coating control.
Wire Cooling Rack – Place chocolate-coated pretzel rings here to set properly. I position parchment paper underneath to catch any drips.
Kitchen Timer – Precise timing prevents burning during the baking process. I set multiple timers when working with different batches or coating steps.
Instructions
I’ll walk you through each step to create these spooky Halloween pretzel rings that will impress your guests. My method ensures perfect chocolate coverage and festive decoration every time.
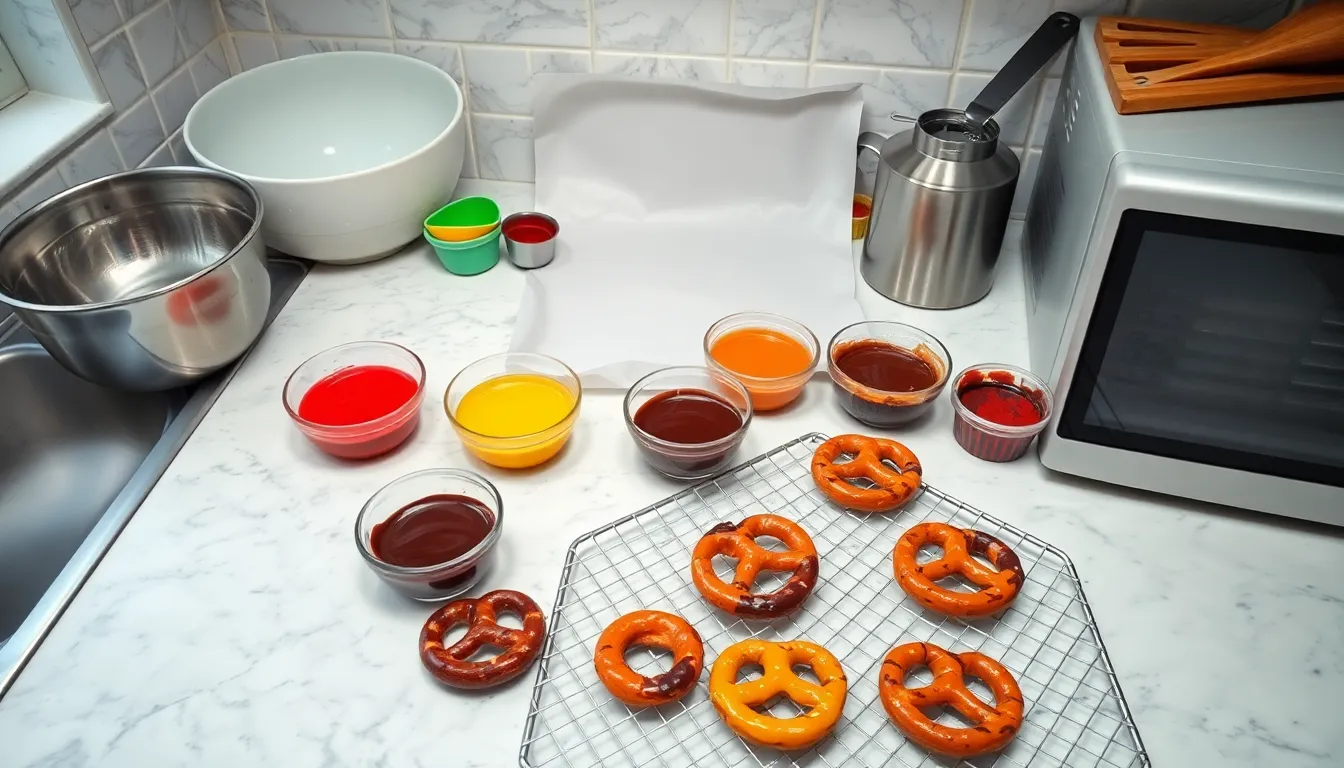
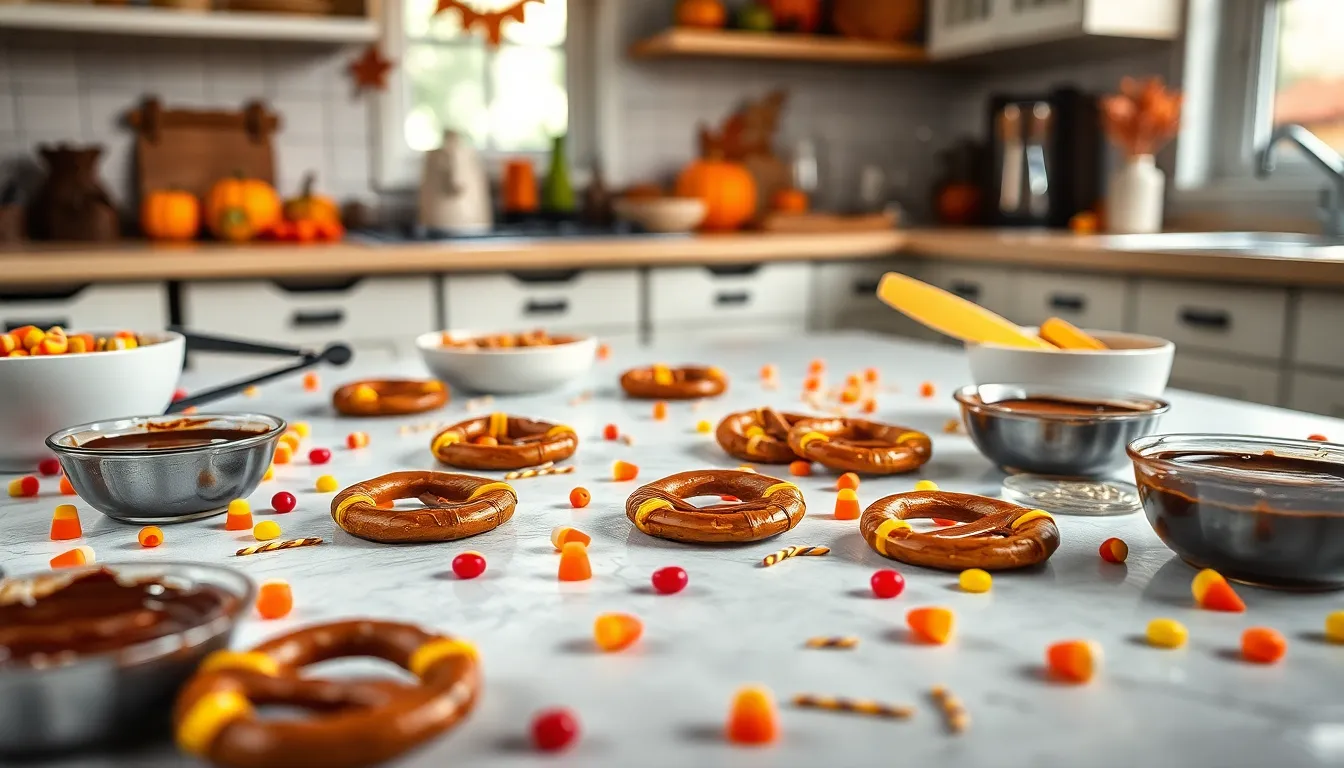
Prep the Workspace
I start by lining my baking sheets with parchment paper or silicone mats to prevent sticking. Next I arrange all my Halloween decorations in small bowls within easy reach. My workspace includes the pretzel rings sorted by size and the measuring tools ready for chocolate preparation. I also set up my wire cooling rack nearby for the final setting stage.
Melt the Chocolate
I place the semi-sweet chocolate chips and coconut oil in a microwave-safe bowl. My preferred method involves heating in 30-second intervals stirring between each round until smooth and glossy. The mixture should coat the back of a spoon when properly melted. I prepare separate bowls for white chocolate if creating multiple colors and add food coloring one drop at a time until I achieve the desired Halloween hues.
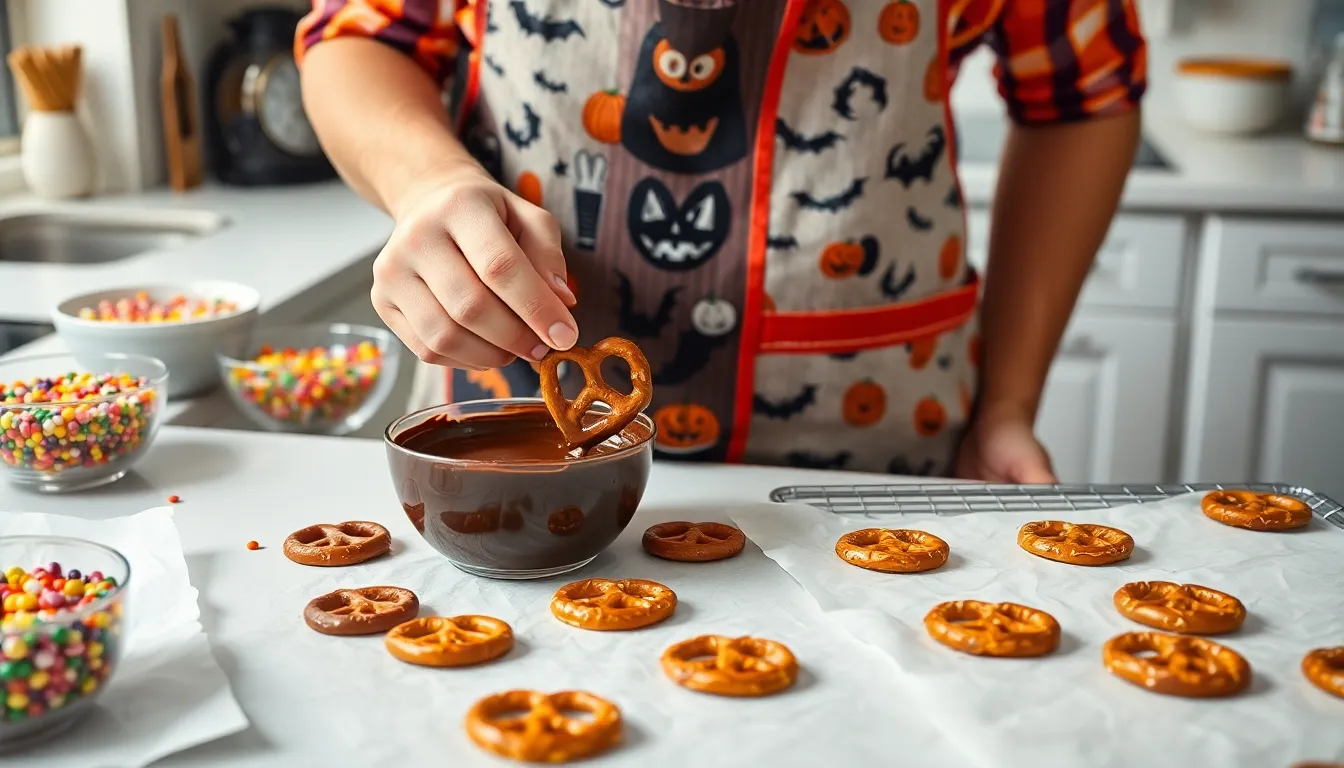
Dip the Pretzel Rings
I use a fork to dip each pretzel ring into the melted chocolate ensuring complete coverage. My technique involves tapping the fork gently against the bowl edge to remove excess chocolate. Each coated pretzel goes directly onto the prepared parchment paper with space between pieces. I work quickly since the chocolate begins to set within minutes at room temperature.
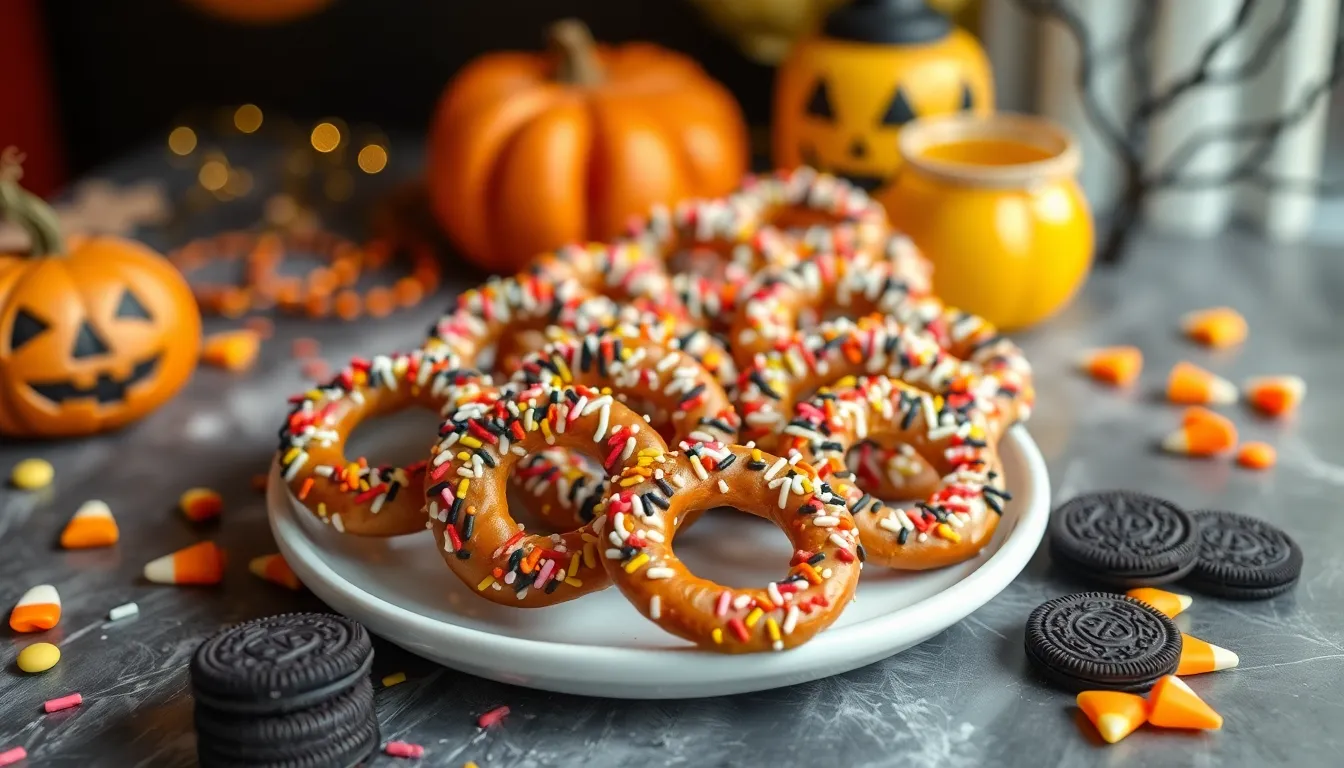
Add Halloween Decorations
I sprinkle decorations immediately while the chocolate remains wet for best adhesion. My favorite combinations include candy corn pieces on orange-tinted chocolate and crushed Oreos on dark chocolate rings. The candy eyeballs work perfectly when pressed gently into the coating. I add mini chocolate chips or orange sprinkles for extra Halloween flair before the chocolate hardens.
Set and Cool
I place the decorated pretzel rings in the refrigerator for 15 minutes to set the chocolate completely. My cooling method ensures clean breaks and prevents smudging when handling. The finished rings can remain at room temperature for serving or storage in airtight containers. I always make extra batches since these Halloween treats disappear quickly at parties.
Make-Ahead Tips
I always prepare these Halloween pretzel rings in advance for parties since they actually taste better after the flavors have time to meld together. The chocolate coating becomes more stable and the seasonings penetrate deeper into the pretzels when given time to set properly.
Storage Timeline:
| Preparation Method | Storage Duration | Storage Location |
|---|---|---|
| Fully assembled pretzel rings | 5-7 days | Airtight container at room temperature |
| Seasoned pretzels (uncoated) | 2 weeks | Sealed container at room temperature |
| Melted chocolate coating | 3 days | Refrigerated in covered bowl |
| Decorated final product | 1 week | Layered between parchment in container |
I recommend making the seasoned pretzel base up to two weeks ahead of your event. Store them in an airtight container after they’ve cooled completely from the initial baking process. This actually enhances the flavor as the spices have more time to develop.
Chocolate Coating Strategy:
Prepare your chocolate coating mixture three days before serving. Reheat it gently in 15-second microwave intervals when ready to dip the pretzels. This method prevents the chocolate from seizing and maintains that glossy finish I love.
Assembly Timeline:
Complete the chocolate dipping and decorating process one day before your party. The overnight rest period allows the chocolate to fully set while keeping the pretzels from becoming soggy. I place finished pretzel rings on parchment-lined trays and refrigerate them for the first two hours.
Decoration Prep:
Organize all your Halloween decorations in small bowls the night before assembly. Crush Oreo cookies and separate candy corn colors ahead of time. This preparation makes the decorating process flow smoothly when working with melted chocolate that sets quickly.
Store completed pretzel rings in single layers separated by parchment paper. Stack no more than three layers in each container to prevent crushing the decorative elements. Room temperature storage works perfectly for up to one week.
Storage Instructions
I store my Halloween pretzel rings using exact methods to maintain their crunch and chocolate coating integrity. Room temperature storage works best for fully assembled pretzel rings in an airtight container for up to one week.
Layering prevents damage when I stack the pretzel rings. I place parchment paper between each layer to avoid chocolate transfer and crushing. Large containers with tight-fitting lids work better than bags for maintaining shape.
Refrigerator storage extends freshness for chocolate-coated varieties. I keep decorated pretzel rings in the refrigerator for up to 10 days when stored properly. Cold temperatures help prevent chocolate bloom and maintain decorative elements.
| Storage Method | Duration | Temperature | Container Type |
|---|---|---|---|
| Room Temperature | 5-7 days | 65-75°F | Airtight container |
| Refrigerated | 10 days | 35-40°F | Sealed container |
| Frozen | 3 months | 0°F | Freezer bags |
Freezing preserves long-term quality when I need to store pretzel rings for future events. I wrap individual portions in plastic wrap before placing them in freezer bags. Thawing takes 2-3 hours at room temperature while maintaining texture.
Moisture control prevents soggy pretzels by including silica gel packets or paper towels in storage containers. I avoid storing near heat sources or in humid areas like above the stove. Direct sunlight causes chocolate melting and color fading.
Individual wrapping works well for gift-giving or portion control. I use small cellophane bags tied with ribbon for single servings. This method keeps decorations intact and prevents flavor transfer between different varieties.
Serving Suggestions
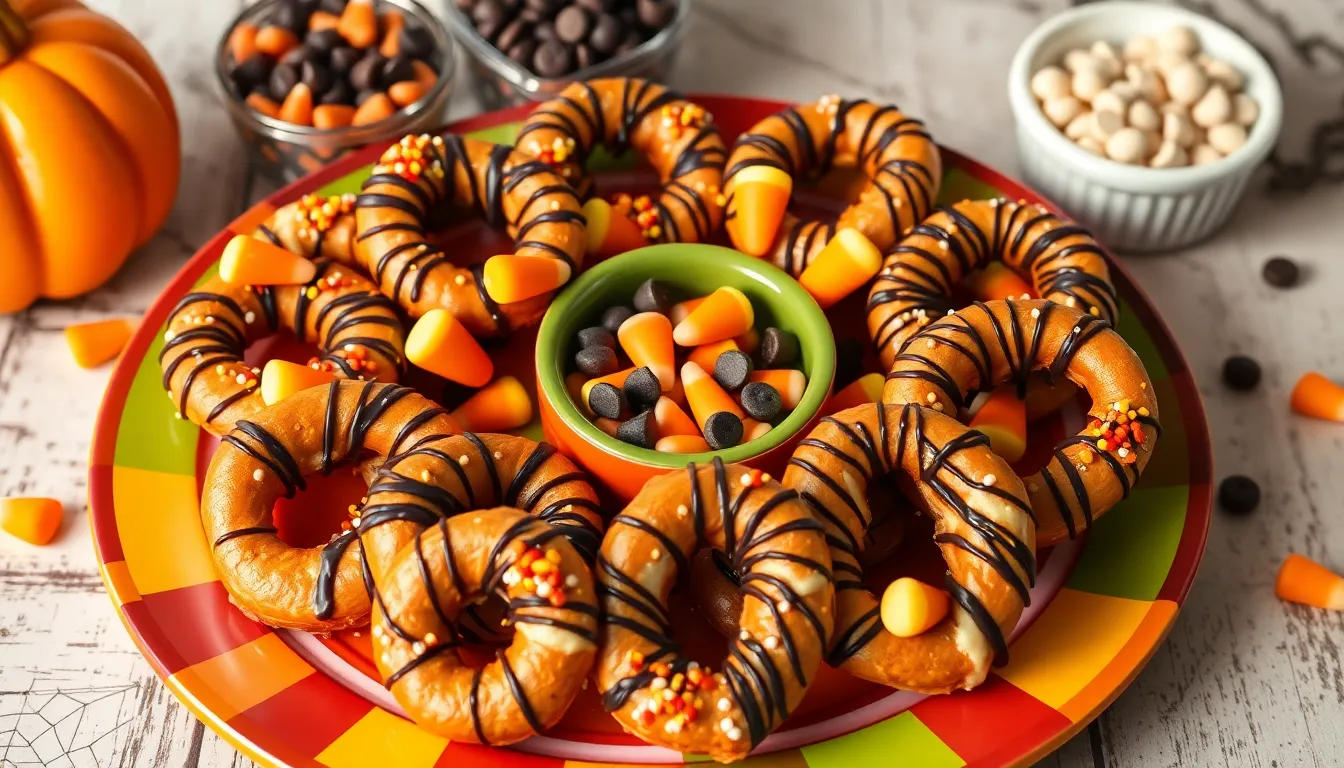
I love presenting these Halloween pretzel rings on festive orange and black serving platters to enhance the spooky atmosphere. My favorite approach involves arranging them in circular patterns around small bowls filled with additional candy for guests to customize their treats further.
These pretzel rings work beautifully as part of a Halloween dessert table alongside other themed treats. I often create height variation by using cake stands and tiered serving trays to make the display more visually appealing. Placing them near pumpkin-shaped bowls filled with extra decorating candies allows guests to add their own finishing touches.
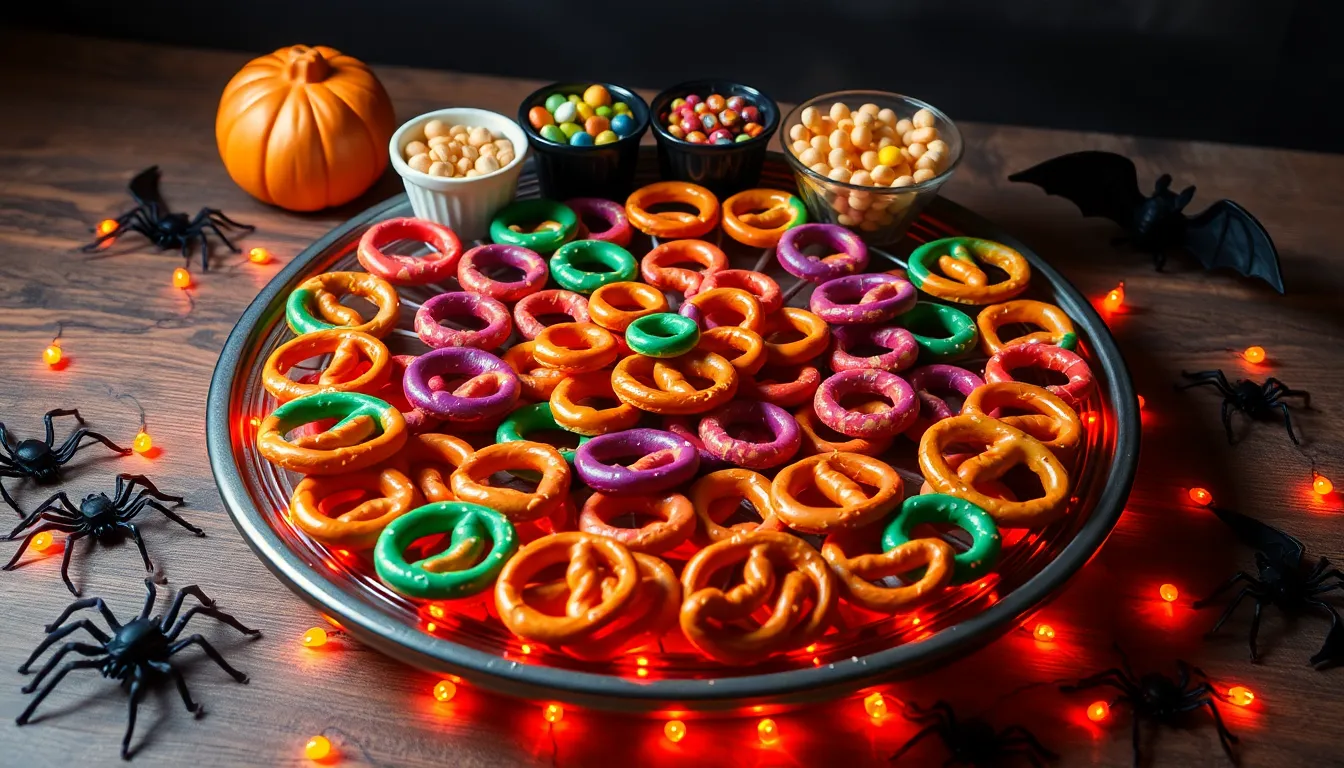
For Halloween parties, I arrange the pretzel rings in spider web patterns on large black platters. Small battery-operated orange lights placed underneath clear serving dishes create an eerie glow that guests absolutely love. I scatter plastic spiders and rubber bats around the serving area to complete the haunted effect.
My go-to movie night setup includes serving these treats in individual paper cones made from Halloween-themed scrapbook paper. This presentation method makes them easy to grab while watching scary movies and reduces mess. I place the cones in weighted glass containers to keep them upright and accessible.
Office parties benefit from portion-controlled presentation in small treat bags tied with orange and black ribbons. I create labels with spooky fonts that read “Witch’s Brew Bites” or “Ghostly Pretzel Rings” to add personality to the treats. This packaging method allows colleagues to take extras home for later enjoyment.
Trick-or-treat distribution becomes special when I present these pretzel rings alongside traditional candy in decorative bowls. The homemade touch impresses parents while providing a unique alternative to store-bought options. I always keep a separate container for guests with food allergies to ensure everyone can participate safely.
My family gatherings feature these pretzel rings as conversation starters during appetizer hour. I create small cards describing the different flavor combinations and decorating techniques used on each batch. This educational element helps guests appreciate the effort while encouraging them to try varieties they might otherwise skip.
Variations
These Halloween pretzel rings transform into countless spooky creations with simple ingredient swaps and decorating techniques. I’ve discovered that changing colors and toppings creates entirely different Halloween experiences.
Orange and Black Theme
I start by melting orange-tinted white chocolate using gel food coloring for vibrant results. The key lies in achieving the perfect shade without making the chocolate too thick. I dip half the pretzel rings in orange chocolate and the other half in dark chocolate for striking contrast.
My favorite orange decoration combinations include mini orange chocolate chips, orange sprinkles, and crushed orange Oreo cookies. For the black rings, I use crushed regular Oreos, black sprinkles, and mini dark chocolate chips. The visual impact doubles when I arrange them in alternating patterns on serving platters.
I sometimes create gradient effects by dipping one side of each ring in orange chocolate and the other in dark chocolate. This technique produces a beautiful ombre appearance that guests always admire. The dual-tone rings become conversation starters at every Halloween gathering.
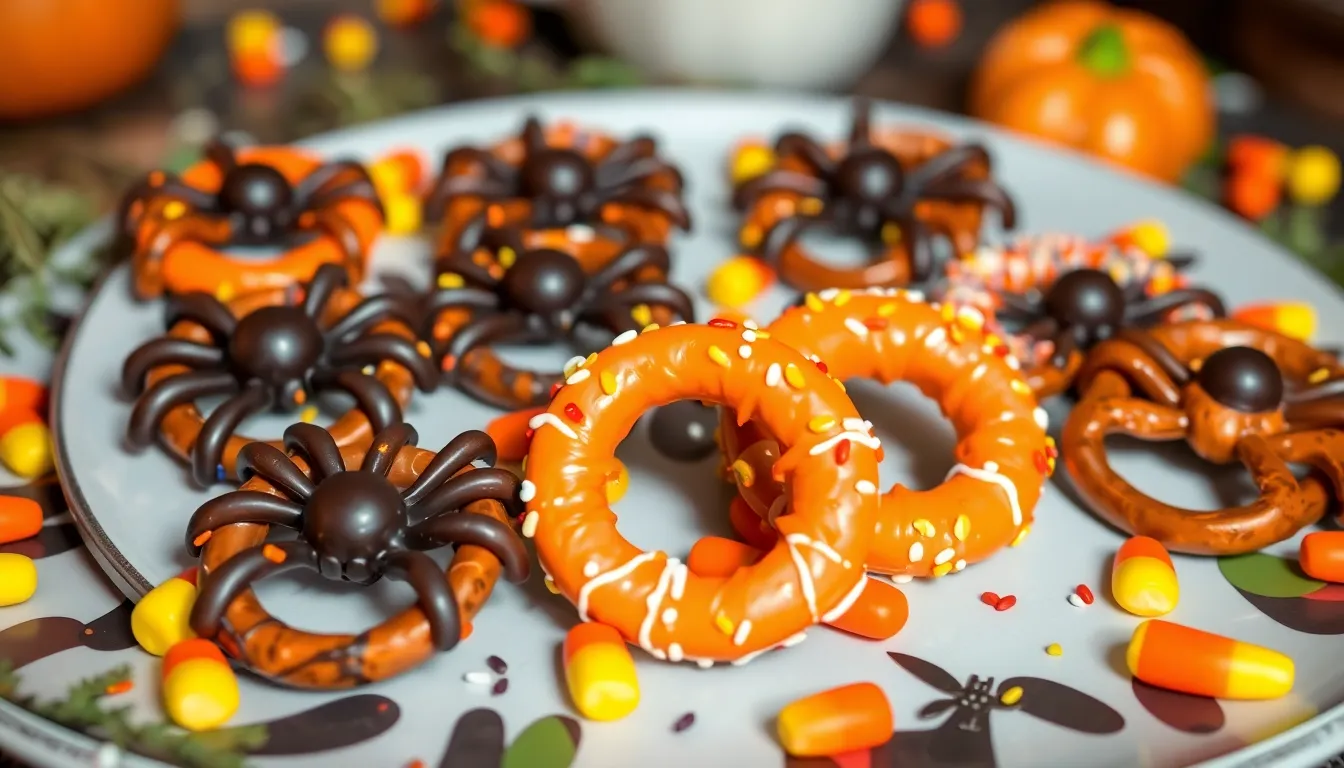
Spooky Spider Rings
Creating spider rings requires mini chocolate chips for bodies and pretzel stick pieces for legs. I break pretzel sticks into quarter-inch segments and insert four pieces on each side of a chocolate chip while the coating remains wet. The timing matters because the chocolate needs enough grip to hold the legs securely.
My spider assembly process involves working quickly with small batches of five rings at a time. I position the chocolate chip body first, then carefully insert the pretzel legs at slight angles for realistic positioning. Sometimes I add tiny white chocolate dots for eyes using a toothpick.
These spider rings work exceptionally well for children’s parties because kids love the interactive element. I often set up a spider-making station where children can create their own versions with supervision. The activity keeps them engaged while producing edible Halloween decorations.
Candy Corn Inspired
I recreate the classic candy corn pattern using three distinct chocolate layers. My process begins with white chocolate as the base, followed by orange-tinted chocolate for the middle section, and yellow-tinted chocolate for the tip. Each layer must set for five minutes before applying the next.
The technique requires steady hands and patience, but the results mirror authentic candy corn appearance. I use small spoons to carefully drizzle each colored layer, creating clean lines between sections. Practice makes perfect with this variation, so I recommend testing the technique on a few rings first.
For easier execution, I sometimes create candy corn-inspired rings by rolling them in crushed candy corn pieces after the chocolate coating. This method delivers similar visual appeal with less technical skill required. The crushed candy adds delightful texture contrast to the smooth chocolate surface.
Troubleshooting Tips
Even with the best intentions, I’ve learned that making Halloween pretzel rings can present some challenges. Let me share the most common issues I encounter and my proven answers to ensure your treats turn out perfectly every time.
Chocolate Won’t Stick to Pretzels
I find this happens when the pretzel surface is too oily or dusty. Gently wipe each pretzel with a clean paper towel before dipping to remove excess salt and oil residue. Make sure your chocolate temperature stays between 86-90°F for optimal coating consistency. If the chocolate becomes too thick, add a teaspoon of coconut oil to restore proper viscosity.
Chocolate Coating Cracks or Breaks
Temperature shock causes this frustrating problem in my experience. Allow your pretzels to reach room temperature before dipping them in melted chocolate. Never refrigerate chocolate-coated pretzels immediately after decorating. Instead, let them set at room temperature for 30 minutes before moving to cooler storage.
Decorations Fall Off
Timing is everything when I add decorations to chocolate-coated pretzels. Press candy pieces gently into the chocolate within 2-3 minutes of dipping, while the coating remains tacky. For heavier decorations like candy corn, I create small indentations in the wet chocolate using a toothpick before placing the candy.
Pretzels Become Soggy
Moisture is the enemy of crispy pretzels. I always use completely dry bowls and utensils when melting chocolate. Store finished pretzel rings in airtight containers with silica gel packets to absorb excess humidity. Avoid making these treats on particularly humid days when possible.
Uneven Chocolate Coverage
I use a fork to lift pretzels from the melted chocolate, allowing excess coating to drip back into the bowl. Tap the fork gently against the bowl’s edge to remove stubborn drips. For complete coverage, I rotate the pretzel while it’s submerged in chocolate before lifting.
Chocolate Seizes Up
Water is chocolate’s biggest enemy in my kitchen. Keep all tools completely dry and avoid steam from boiling water when using a double boiler. If chocolate does seize, I gradually whisk in warm cream one teaspoon at a time until smooth consistency returns.
Colors Look Muddy
I learned to keep colored chocolates separate until the final decorating step. When creating orange chocolate, I add gel food coloring drop by drop until achieving the desired shade. Liquid food coloring can cause chocolate to seize, so I stick with gel or powder varieties.
Conclusion
These Halloween pretzel rings have become my go-to party snack because they deliver maximum impact with minimal effort. The combination of sweet chocolate coating and salty pretzel crunch creates an irresistible treat that guests can’t stop reaching for.
What I love most about this recipe is how forgiving it is – even kitchen beginners can create impressive results. The make-ahead flexibility means you’ll spend less time in the kitchen during party prep and more time enjoying your Halloween festivities.
Whether you’re hosting a spooky movie night or need treats for the office party these pretzel rings adapt to any occasion. I guarantee you’ll find yourself making batch after batch because they disappear faster than you’d expect!