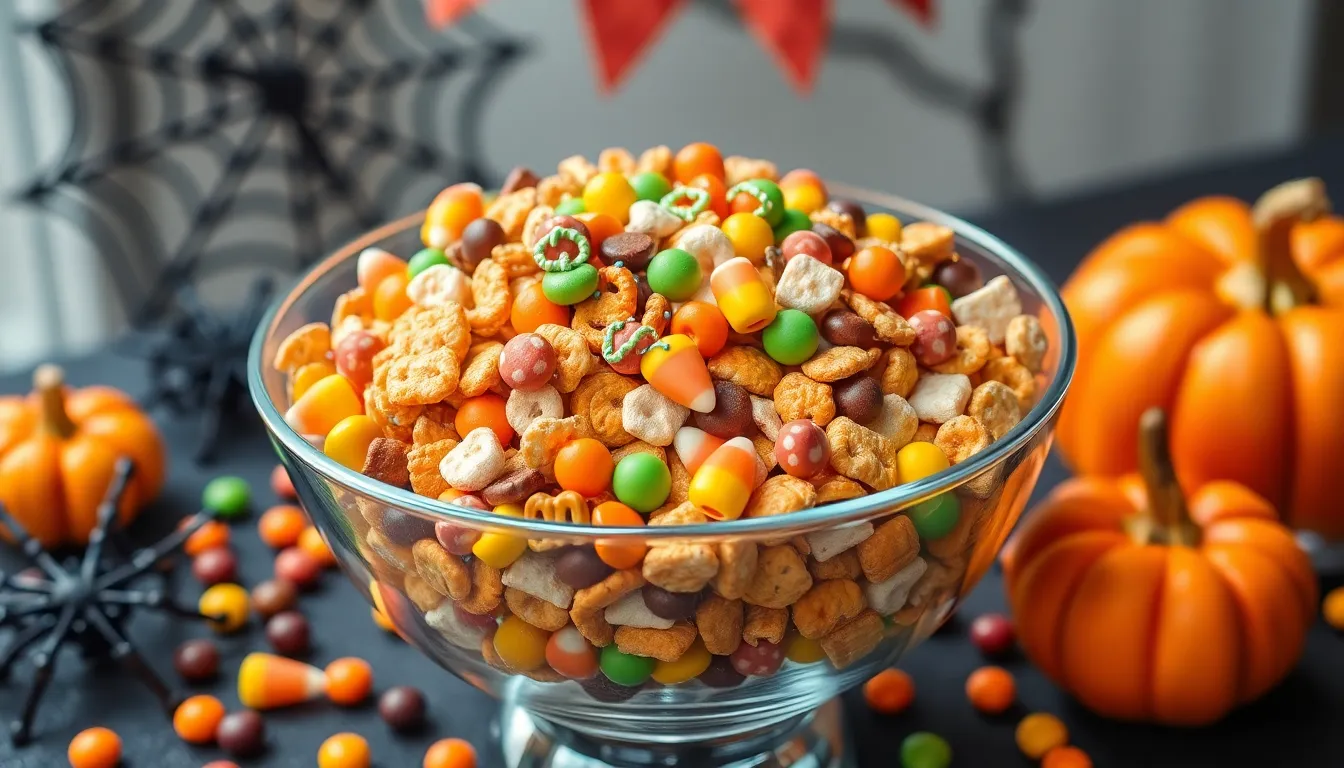
Ingredients
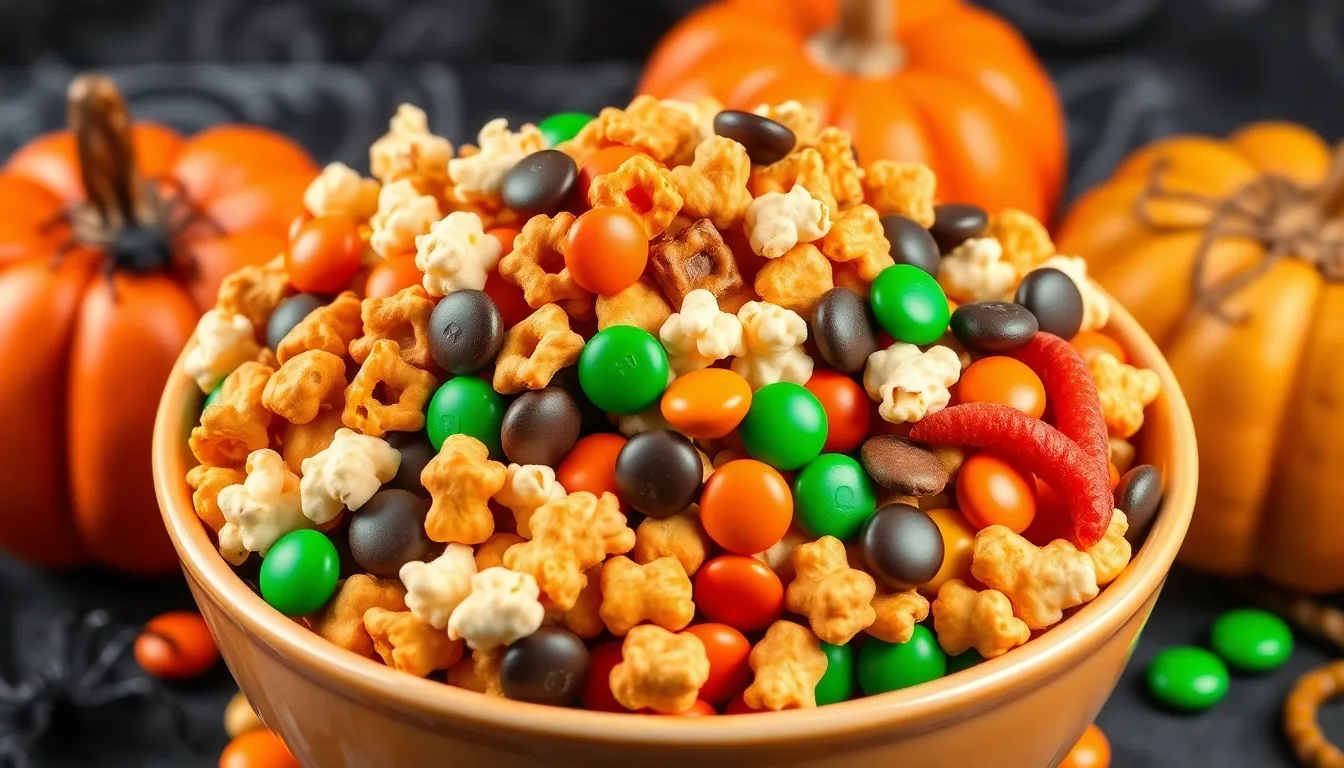
You’ll need just a handful of pantry staples and colorful Halloween-themed treats to create this irresistible monster munch. Each component serves a exact purpose in building the perfect balance of sweet, salty, and crunchy textures.
For the Base Mix
- 6 cups Rice Chex cereal
- 4 cups Corn Chex cereal
- 3 cups small pretzels (twists or squares)
- 2 cups mixed nuts (peanuts, cashews, or almonds)
- 1 cup oyster crackers
- 1 cup bagel chips, broken into bite-sized pieces
For the Chocolate Coating
- 12 oz white chocolate chips or melting wafers
- 3 tablespoons coconut oil or vegetable shortening
- Orange food coloring (gel or liquid)
- Purple food coloring (gel or liquid)
- 2 cups powdered sugar, divided
For the Halloween Decorations
- 1 cup candy corn
- 1 cup orange and black M&Ms
- ½ cup mini chocolate chips
- ½ cup Halloween-themed sprinkles
- ¼ cup mini marshmallows
- ¼ cup Halloween candy eyes (optional)
Equipment Needed
Your kitchen likely already contains most of the tools required for creating this spooky Halloween Monster Munch. The process demands minimal specialized equipment since this no-bake recipe focuses on simple mixing and coating techniques.
A large mixing bowl serves as your primary workspace for combining all the crunchy base ingredients. Choose a bowl with plenty of room to accommodate the entire batch while allowing space for thorough tossing and mixing without spillage.
You’ll need a medium saucepan for melting the white chocolate coating smoothly and evenly. The saucepan should provide enough surface area for gentle heating while preventing the chocolate from burning or seizing.
Two large baking sheets become essential for spreading your monster munch during the drying process. Line these sheets with parchment paper or wax paper to prevent sticking and ensure easy cleanup afterward.
A wooden spoon or rubber spatula helps you stir the melted chocolate mixture and fold ingredients together without crushing delicate components like cereal pieces. These tools provide better control than metal utensils that might break fragile elements.
Measuring cups and spoons ensure accurate proportions for both dry ingredients and the chocolate coating mixture. Precise measurements create consistent results and prevent overly sweet or underseasoned batches.
Small bowls organize your colorful decorations and candies before adding them to the mix. This preparation method prevents scrambling for ingredients while working with time-sensitive melted chocolate.
A fine-mesh strainer becomes useful for dusting powdered sugar evenly over the finished monster munch. This tool creates a professional-looking finish that enhances the spooky presentation.
Instructions
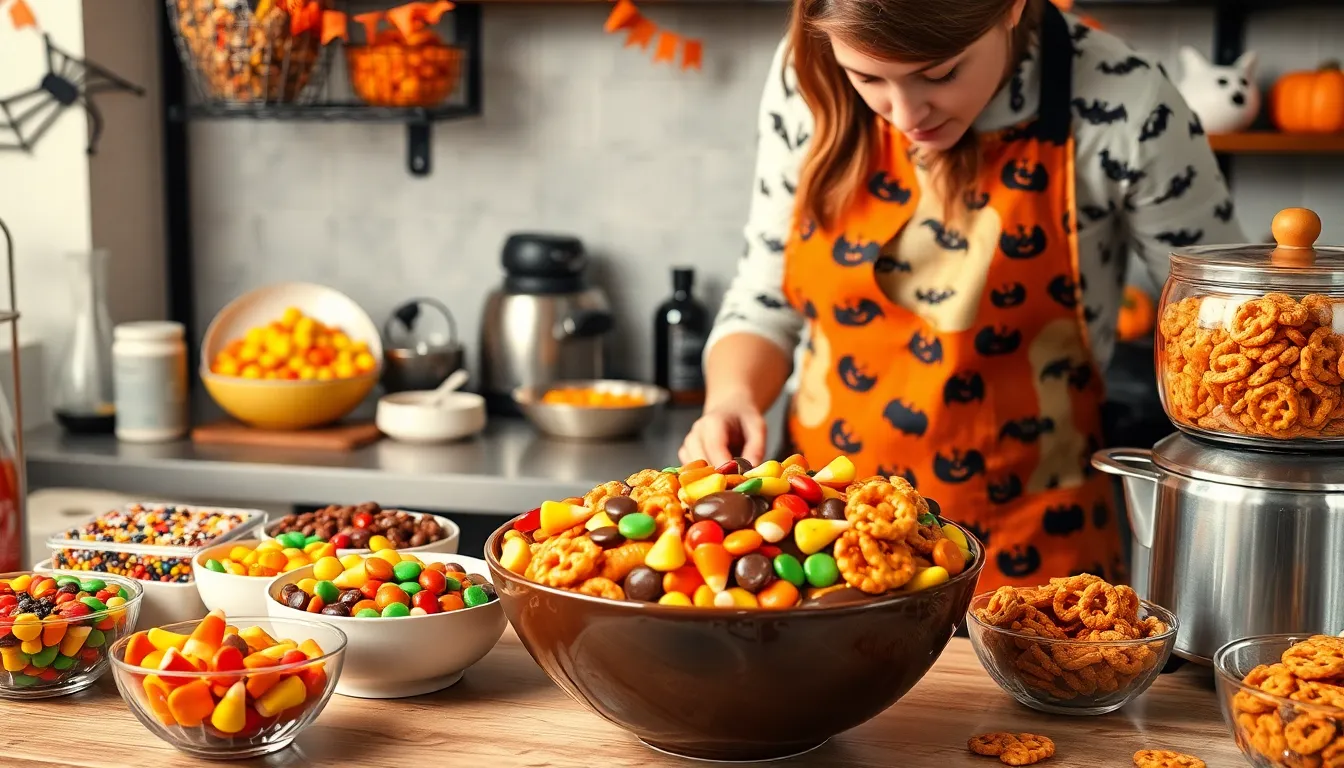
Transform your Halloween party spread with this foolproof monster munch recipe that delivers maximum spookiness with minimal effort. Follow these straightforward steps to create a crowd-pleasing treat that looks as frightening as it tastes delicious.
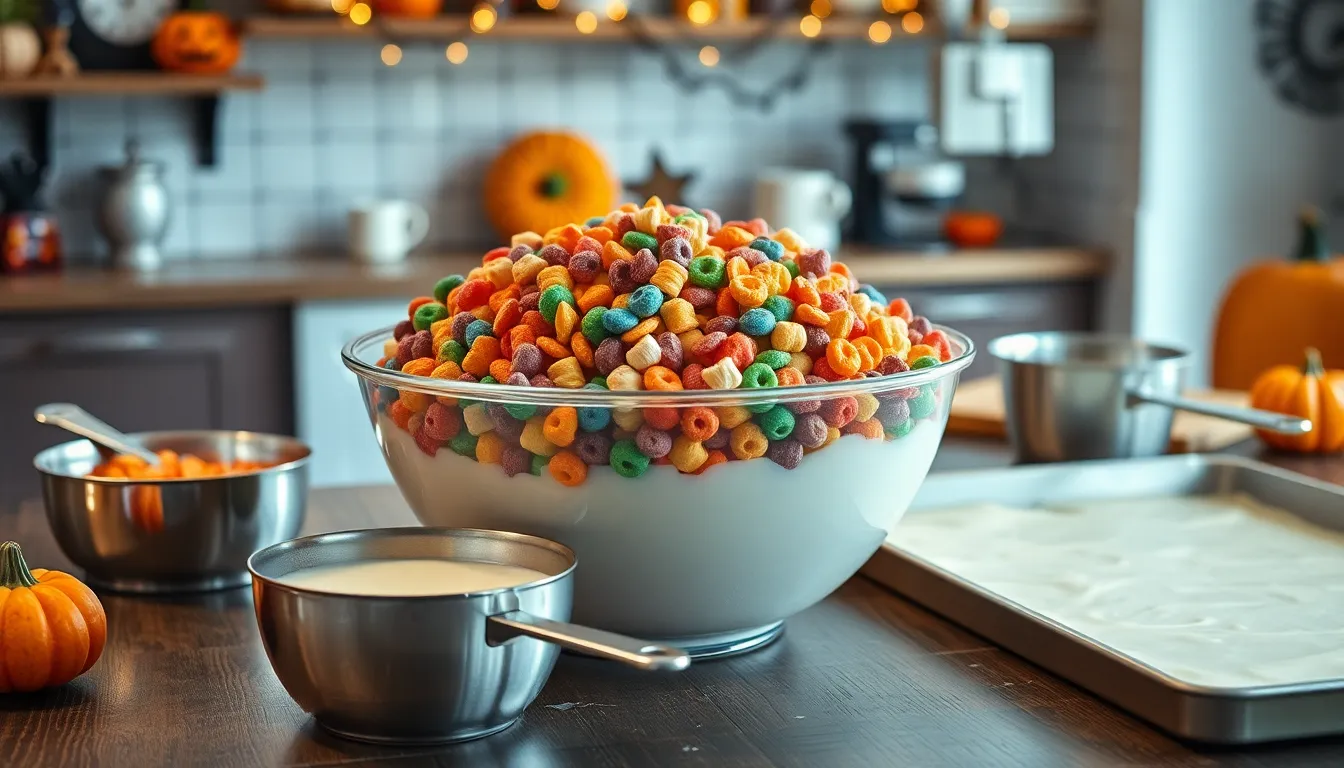
Prep the Base Ingredients
Line two large baking sheets with parchment paper and set them aside for later use. Measure 3 cups Rice Chex cereal, 3 cups Corn Chex cereal, 2 cups small pretzels, 1 cup mixed nuts, 1 cup oyster crackers, and 1 cup broken bagel chip pieces into your large mixing bowl. Toss all the dry ingredients together until evenly distributed throughout the mixture. Set this base mixture aside while you prepare the chocolate coating.
Melt the Chocolate
Add 12 ounces white chocolate chips and 2 tablespoons coconut oil to your medium saucepan over low heat. Stir the mixture constantly with your wooden spoon until the chocolate melts completely and becomes smooth. Remove the saucepan from heat once the chocolate reaches a creamy consistency. Divide the melted chocolate between 2-3 small bowls if you want multiple colors. Add 3-4 drops of food coloring to each bowl and stir until you achieve your desired Halloween shades.
Combine and Coat
Pour the melted chocolate over your prepared base mixture in the large mixing bowl. Use your rubber spatula to fold and stir the ingredients until every piece gets coated with the colorful chocolate mixture. Work quickly but thoroughly to ensure even coverage before the chocolate begins to set. The mixture should look glossy and vibrant once properly coated.
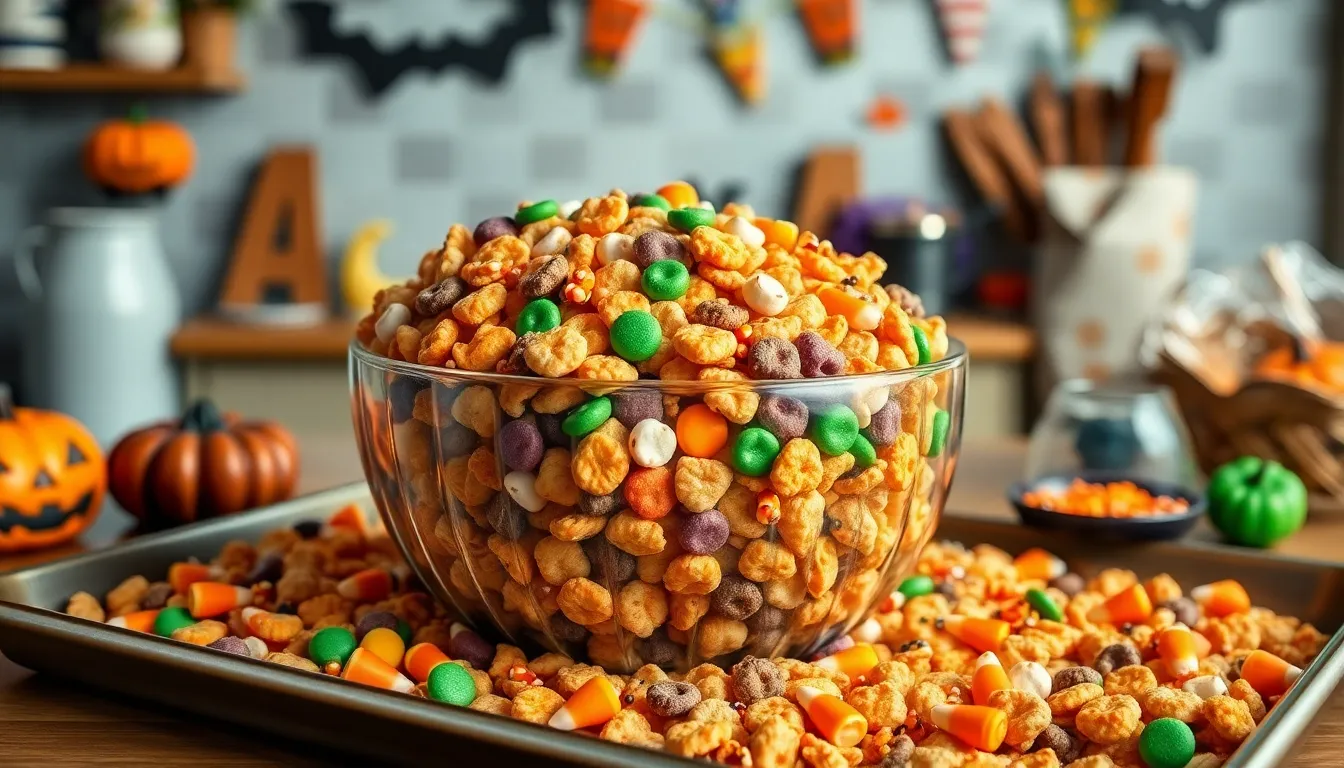
Add Halloween Decorations
Spread the chocolate-coated mixture onto your prepared baking sheets in an even single layer. Sprinkle 1 cup candy corn, 1 cup Halloween M&Ms, ½ cup mini chocolate chips, and ¼ cup Halloween sprinkles over the mixture while the chocolate remains wet. Press the decorations gently into the surface so they adhere properly. Add mini marshmallows and candy eyes if using, distributing them evenly across both baking sheets.
Set and Cool
Place both baking sheets in a cool, dry area for 30-45 minutes until the chocolate hardens completely. Break apart any large clumps with your hands once the mixture has set. Use your fine-mesh strainer to dust the entire batch with powdered sugar for an extra spooky appearance. Transfer the finished monster munch to serving bowls or storage containers once fully cooled.
Storage Instructions
Your Halloween Monster Munch maintains peak freshness when stored properly in an airtight container at room temperature for up to one week. Store the snack mix away from direct sunlight and heat sources to prevent the chocolate coating from melting or becoming sticky.
You should wait until the Monster Munch completely cools and hardens before transferring it to storage containers. Divide large batches into smaller airtight containers or resealable plastic bags to maintain crispness and prevent moisture absorption.
| Storage Method | Duration | Temperature | Container Type |
|---|---|---|---|
| Airtight container | 7 days | Room temperature | Glass or plastic with tight seal |
| Freezer bags | 2-3 weeks | Freezer | Heavy-duty freezer bags |
| Individual portions | 5 days | Room temperature | Small resealable bags |
Layer parchment paper between portions if stacking the mix in deeper containers. This prevents pieces from sticking together and makes serving easier when you need individual portions for parties or lunch boxes.
Refrigeration is not recommended as it can cause condensation to form inside containers. The moisture will make your crunchy cereals and pretzels lose their appealing texture and become soggy.
For longer storage periods you can freeze the Monster Munch for up to three weeks in heavy-duty freezer bags. Remove excess air from bags before sealing to prevent freezer burn. Thaw frozen portions at room temperature for 15-20 minutes before serving to restore the optimal texture and crunch.
Check stored Monster Munch regularly for any signs of staleness or loss of crispness. Discard any portions that develop an off smell or show visible moisture accumulation in the container.
Make-Ahead Tips
Halloween Monster Munch becomes your party planning secret weapon when you prepare components in advance. You can mix all the dry base ingredients up to three days before your event and store them in an airtight container at room temperature. This strategy saves precious time on busy Halloween day while maintaining the cereals’ and pretzels’ perfect crunch.
Prepare your chocolate coating mixture the morning of your party for optimal results. Melted chocolate holds its consistency better when used within 4-6 hours of preparation. Store the melted mixture in a warm place or use a double boiler to keep it workable throughout your prep time.
Sort and organize your decorative elements 24 hours ahead to streamline assembly. Place candy corn, M&Ms, mini chocolate chips, and sprinkles in separate small bowls for easy access during the coating process. Your Halloween sprinkles and mini marshmallows maintain their vibrant colors and shapes when kept in sealed containers away from moisture.
Create portion-controlled servings by dividing your finished Monster Munch into individual treat bags immediately after the cooling process. These pre-portioned bags stay fresh for up to five days and eliminate last-minute party prep stress. Label each bag with fun Halloween stickers to add extra festive appeal.
Freeze completed Monster Munch portions up to two weeks before your celebration for maximum convenience. Thaw frozen portions at room temperature for 30 minutes before serving to restore their optimal texture. Your guests will never detect that this crowd-pleasing snack was prepared weeks in advance.
Set up your workspace with all equipment and ingredients arranged within arm’s reach before beginning the chocolate coating process. This preparation method prevents the chocolate from hardening while you search for decorations and ensures even distribution throughout the mix.
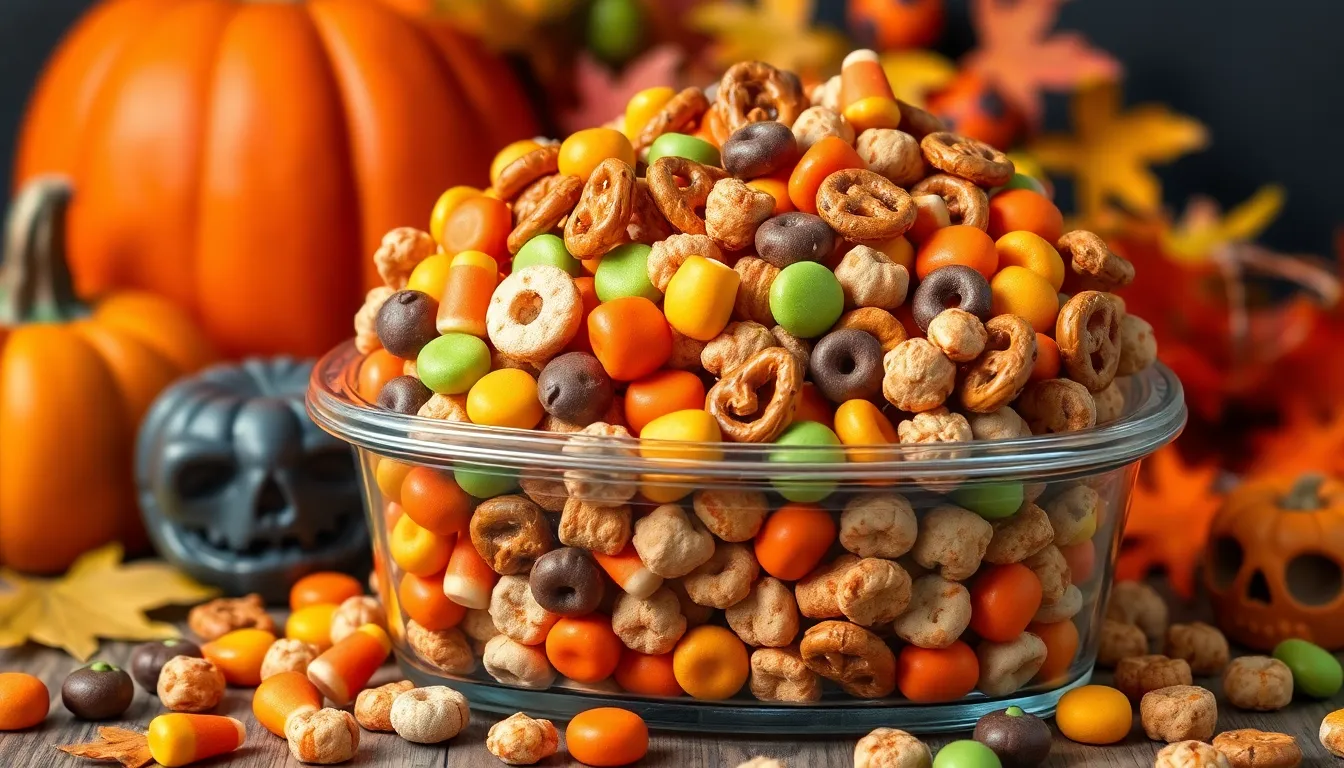
Serving Suggestions
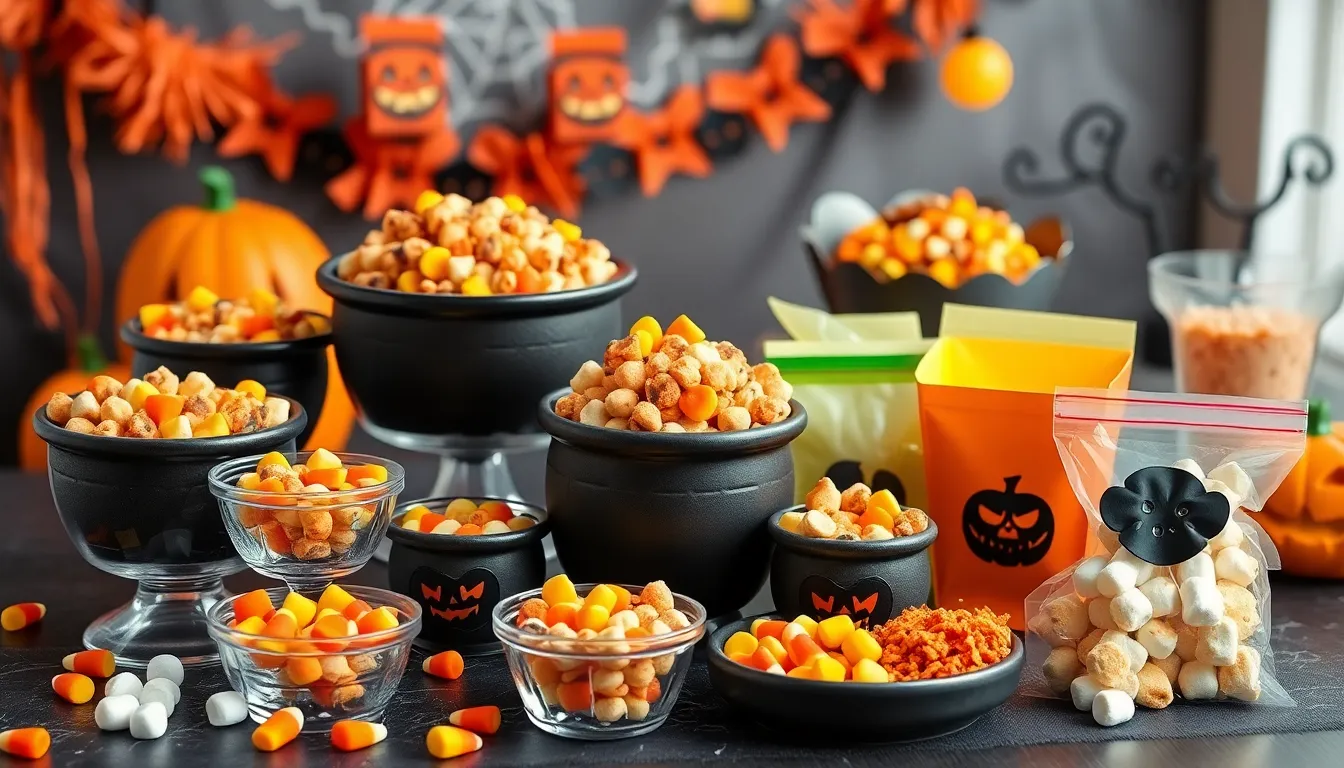
Transform your Halloween Monster Munch into a memorable party centerpiece with creative presentation ideas. Display the colorful mix in clear glass bowls or mason jars to showcase the vibrant orange and black colors alongside spooky decorations.
Create individual serving portions in small Halloween-themed containers like plastic cauldrons or orange paper bags tied with black ribbon. Label each container with fun monster names like “Vampire Bites” or “Witch’s Mix” to add extra Halloween spirit to your presentation.
Set up a monster munch bar where guests can customize their own servings with additional toppings. Provide small scoops and let everyone add extra candy corn, chocolate chips, or mini marshmallows to their personal portions.
Consider the timing of your serving for optimal freshness and texture. Serve the mix within 2-3 hours of adding the final decorations to maintain maximum crispiness of the cereal and pretzel components.
Pair your Halloween Monster Munch with complementary beverages that enhance the spooky theme. Orange punch, apple cider, or “witch’s brew” hot chocolate create perfect flavor combinations with the sweet and salty snack mix.
Use the monster munch as part of a larger Halloween spread by incorporating it into dessert tables or trick-or-treat stations. The portable nature makes it ideal for outdoor Halloween events or classroom parties where easy cleanup matters.
Package individual servings in clear cellophane bags with Halloween stickers for party favors or office treats. This approach allows guests to take portions home while maintaining the freshness of the remaining mix.
Temperature considerations play a crucial role in serving success. Keep the monster munch at room temperature and away from warm areas like heating vents or direct sunlight to prevent the chocolate coating from becoming sticky or melting.
Recipe Variations
Transform your Halloween Monster Munch into something uniquely yours with these creative adaptations. Each variation maintains the same addictive crunch while offering new flavors and dietary accommodations.
Peanut-Free Version
Replace mixed nuts with sunflower seeds or pumpkin seeds for a safe alternative that maintains the satisfying crunch. Swap out any peanut butter candies for allergy-friendly options like SunButter cups or enjoy the mix without nuts entirely. Use certified peanut-free chocolate chips and verify all your cereal and pretzel brands are manufactured in peanut-free facilities. Add extra oyster crackers or bagel chips to maintain volume and texture when omitting nuts completely. Check Halloween candy labels carefully since many seasonal treats contain traces of peanuts even when not listed as main ingredients.
White Chocolate Monster Munch
Skip the food coloring entirely and embrace the elegant simplicity of pure white chocolate coating. Melt 16 ounces of white chocolate chips with 2 tablespoons coconut oil for an ultra-smooth finish. Create visual interest by adding orange and black M&Ms alongside purple sprinkles for classic Halloween colors. Drizzle melted orange candy melts over the cooled white chocolate base for striking contrast. Incorporate mini white chocolate chips and white candy corn to maintain the monochromatic theme while adding texture variety. Dust with orange-tinted powdered sugar instead of plain white for a subtle seasonal twist.
Extra Spooky Add-ins
Boost the frightening factor with gummy worms cut into smaller pieces and mixed throughout the cooled mixture. Add crushed chocolate sandwich cookies for “dirt” texture and deep black color contrast. Include plastic spider rings pressed into the mix while chocolate remains soft for removable decoration. Scatter edible glitter or luster dust over the finished product for an otherworldly shimmer effect. Mix in popcorn kernels for unexpected pops of texture and additional crunch. Add mini pretzel sticks broken in half to resemble skeleton bones throughout your monster munch creation.
Conclusion
You now have everything you need to create the ultimate Halloween Monster Munch that’ll be the star of your spooky celebrations. This versatile treat adapts to any dietary need while delivering that perfect balance of sweet salty and crunchy textures your guests crave.
The beauty of this recipe lies in its simplicity and endless customization options. Whether you’re hosting a massive Halloween bash or preparing treats for trick-or-treaters you can’t go wrong with this crowd-pleasing snack mix.
So grab your ingredients fire up that creativity and get ready to watch this addictive Monster Munch disappear faster than a ghost in the night. Your Halloween spread will never be the same again.