Ingredients
These Halloween brownies require basic baking staples along with colorful decorating supplies to create your spooky masterpiece. You’ll need ingredients for both the rich chocolate base and the festive Halloween decorations.
For the Brownies
- 1 cup unsalted butter
- 2 cups granulated sugar
- 4 large eggs
- 1 cup all-purpose flour
- 3/4 cup unsweetened cocoa powder
- 1/2 teaspoon salt
- 1 teaspoon vanilla extract
- 1/2 cup chocolate chips
For the Halloween Decorations
- 1 cup powdered sugar
- 2-3 tablespoons milk
- Orange food coloring
- Black food coloring
- 1/2 cup mini chocolate chips
- 12-15 thin pretzel sticks (broken in half)
- 1/4 cup white chocolate chips (melted)
- Halloween sprinkles
- Candy eyes (optional)
- Orange and black gel icing tubes
Equipment Needed
Creating perfect Halloween brownies requires the right tools to achieve both exceptional flavor and spooky presentation. You’ll need standard baking equipment along with specialized decorating tools to transform ordinary brownies into frightening treats.
Essential Baking Equipment:
- 8×8 inch square baking pan for the ideal brownie thickness
- Large mixing bowl for combining wet and dry ingredients
- Medium saucepan for melting butter and chocolate
- Wooden spoon or rubber spatula for stirring
- Wire whisk for smooth batter consistency
- Measuring cups and spoons for accurate ingredient portions
- Wire cooling rack to prevent soggy bottoms
Decorating Tools:
- Small mixing bowls for preparing colored icings
- Offset spatula for smooth frosting application
- Piping bags or zip-top bags for detailed decorating
- Round piping tips for creating precise designs
- Toothpicks for swirling colors and creating marbled effects
- Small spoons for drizzling melted chocolate
Specialized Halloween Equipment:
- Food coloring gel or liquid for vibrant orange and black colors
- Fine-tip squeeze bottles for intricate web patterns
- Kitchen scissors for cutting pretzel sticks to size
- Tweezers for precise placement of candy eyes and small decorations
Your baking pan should have straight sides to ensure even brownie thickness throughout. Metal pans conduct heat better than glass alternatives and create the perfect chewy texture. Line your pan with parchment paper for easy removal and clean presentation.
Temperature control becomes crucial when working with chocolate decorations. Keep a candy thermometer nearby to monitor melted chocolate temperatures and prevent seizing. Room temperature ingredients blend more easily and create smoother batters.
Instructions
These step-by-step instructions will guide you through creating the perfect Halloween brownies from start to finish. Follow each stage carefully to achieve the ideal fudgy texture and prepare your brownies for spooky decorating.
Prep the Pan and Oven
Preheat your oven to 350°F and position the rack in the center. Line your 8×8 inch square baking pan with parchment paper, leaving a 2-inch overhang on two sides for easy removal. Lightly grease the parchment paper with butter or cooking spray to prevent sticking. This preparation ensures your brownies will release cleanly from the pan once cooled.
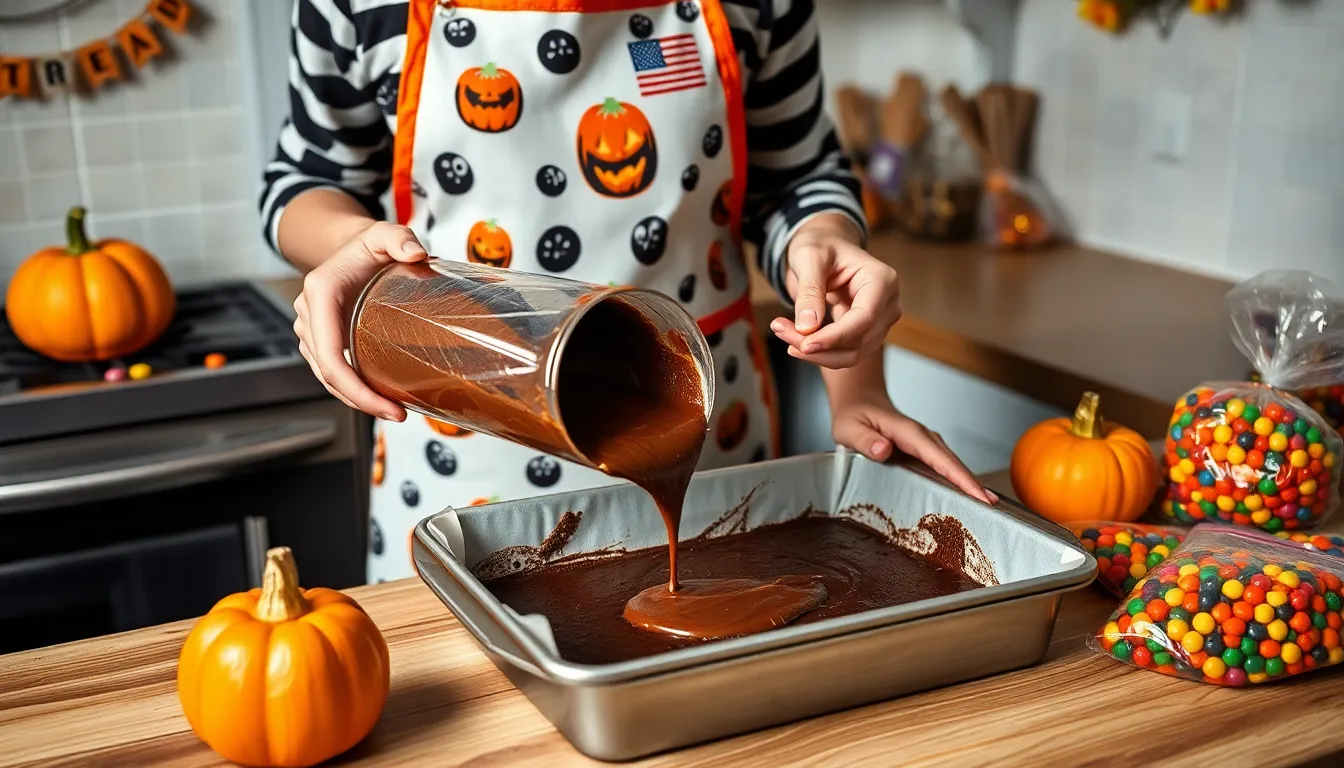
Make the Brownie Batter
Melt the unsalted butter in a microwave-safe bowl in 30-second intervals until completely smooth. Stir the granulated sugar into the melted butter until well combined. Beat in the eggs one at a time, mixing thoroughly after each addition. Add the vanilla extract and whisk until the mixture becomes glossy.
Sift together the all-purpose flour, cocoa powder, and salt in a separate bowl. Gradually fold the dry ingredients into the wet mixture using a wooden spoon or rubber spatula. Stop mixing as soon as the flour disappears to avoid tough brownies. Fold in the chocolate chips for extra richness and texture.
Bake the Brownies
Pour the batter into your prepared pan and spread it evenly using an offset spatula. Tap the pan gently on the counter to release any air bubbles. Bake for 25-30 minutes until a toothpick inserted 2 inches from the edge comes out with a few moist crumbs attached. The center should still appear slightly underdone as the brownies will continue cooking from residual heat.
Cool Completely
Remove the brownies from the oven and place the pan on a wire rack. Allow them to cool in the pan for at least 2 hours before attempting to lift them out using the parchment paper overhang. Complete cooling is essential for clean cuts and prevents your decorations from melting when applied. Cut into 16 squares using a sharp knife wiped clean between cuts for the neatest presentation.
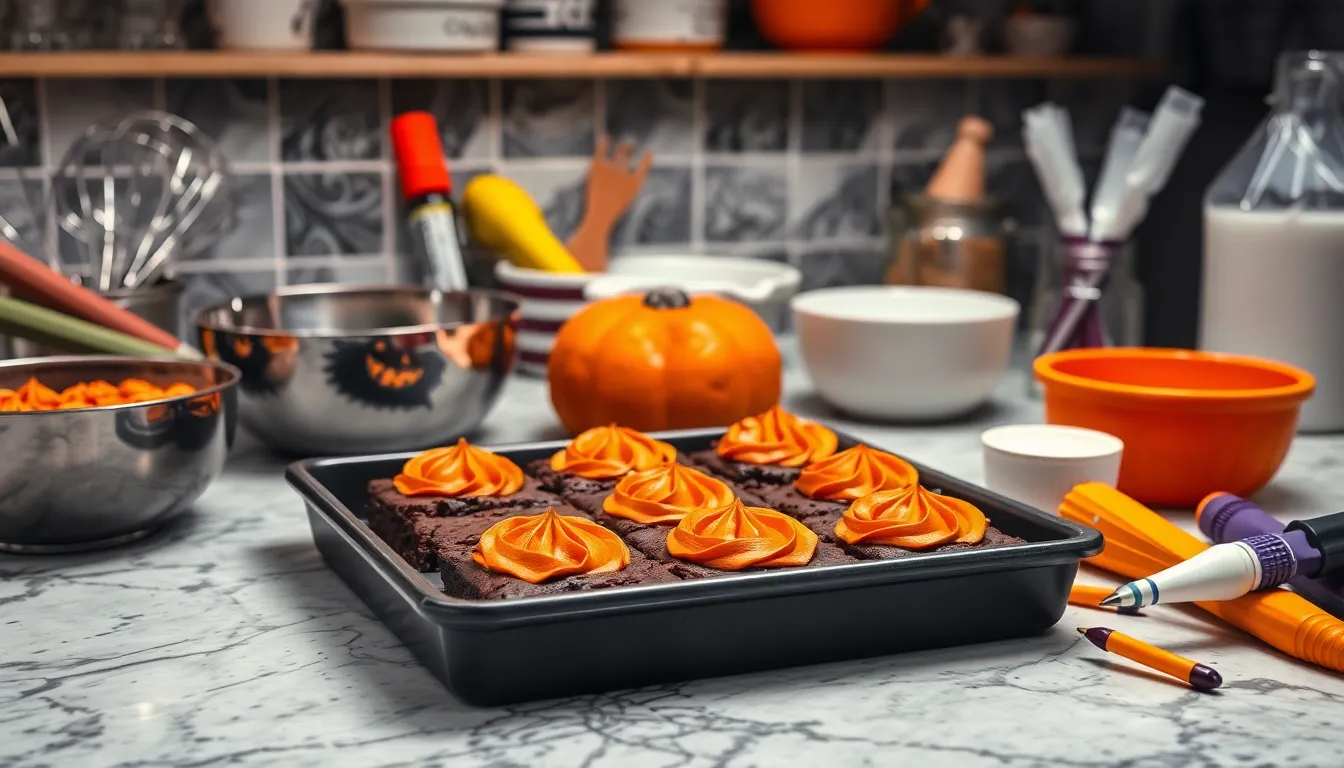
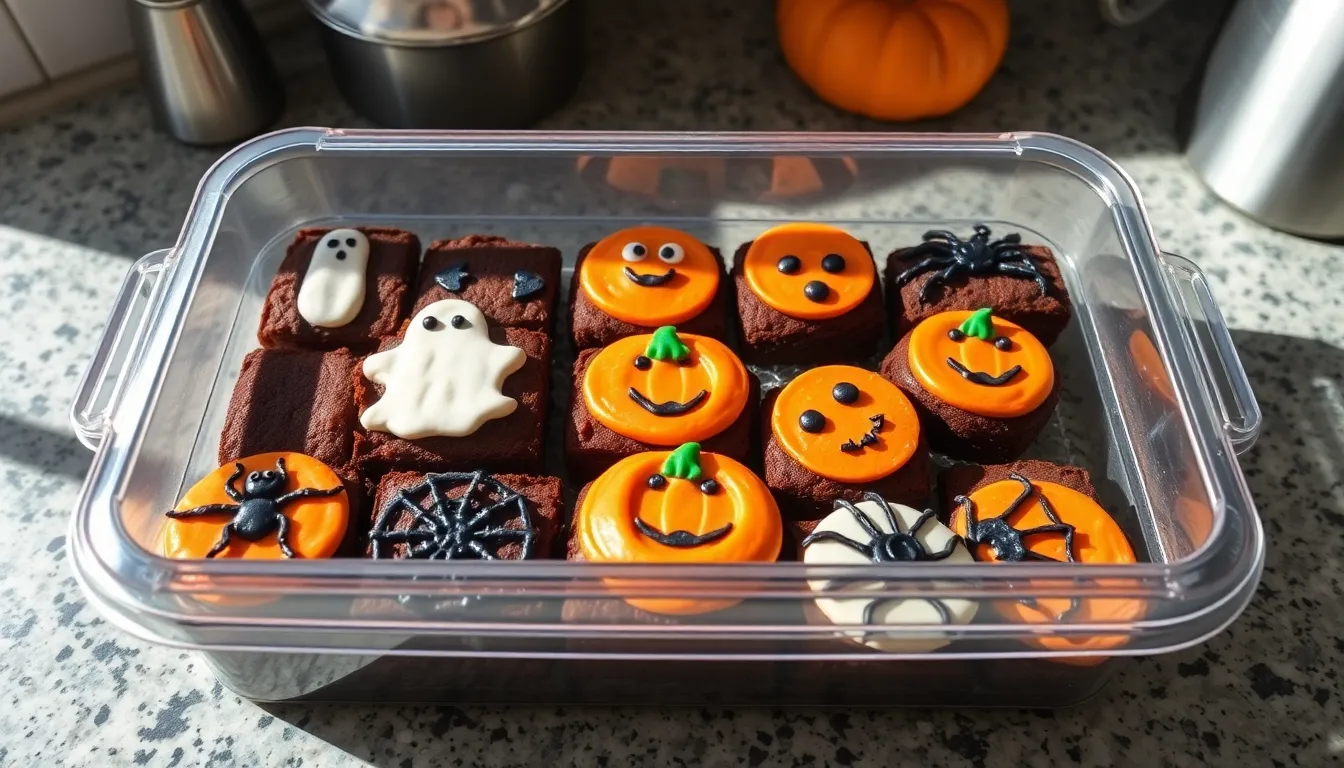
Halloween Decorating Ideas
Transform your plain chocolate brownies into spine-chilling masterpieces with these creative decorating techniques. Each design adds visual drama while keeping the decorating process simple and enjoyable.
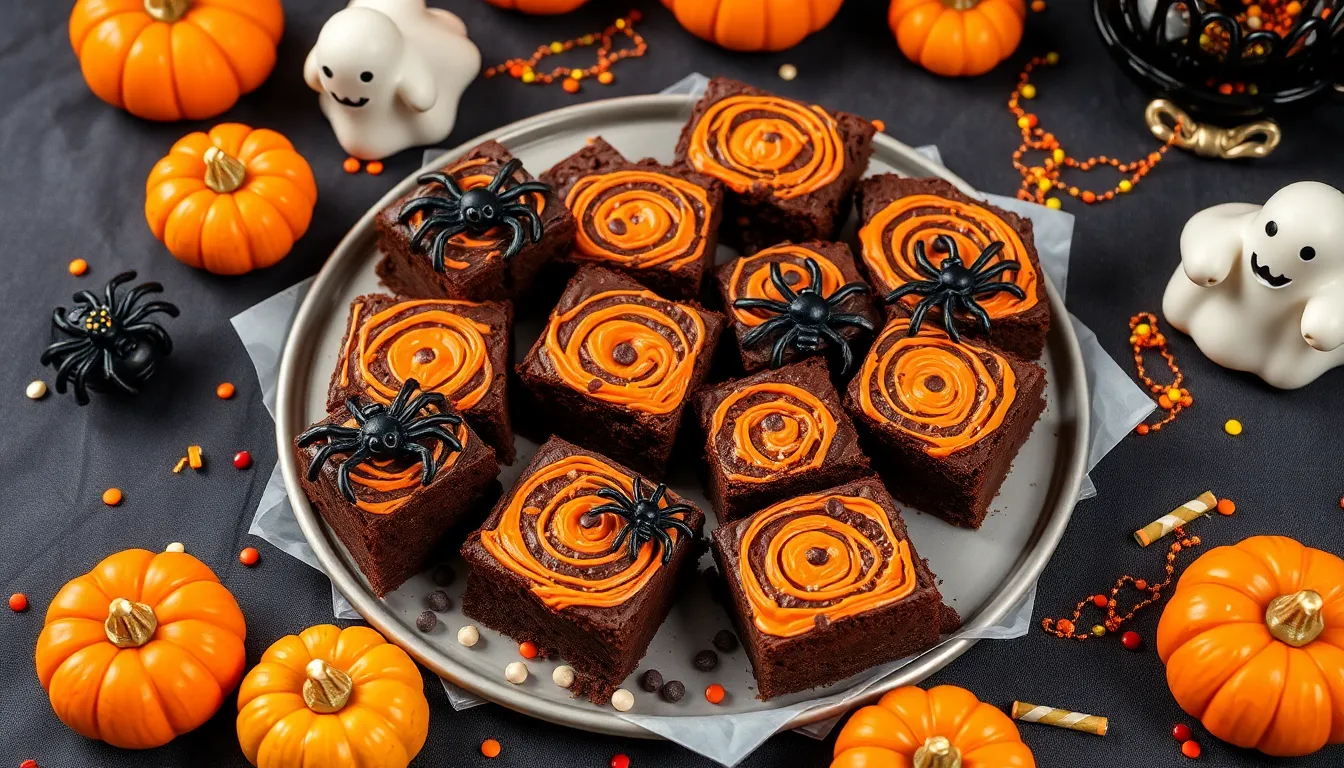
Orange and Black Frosting Design
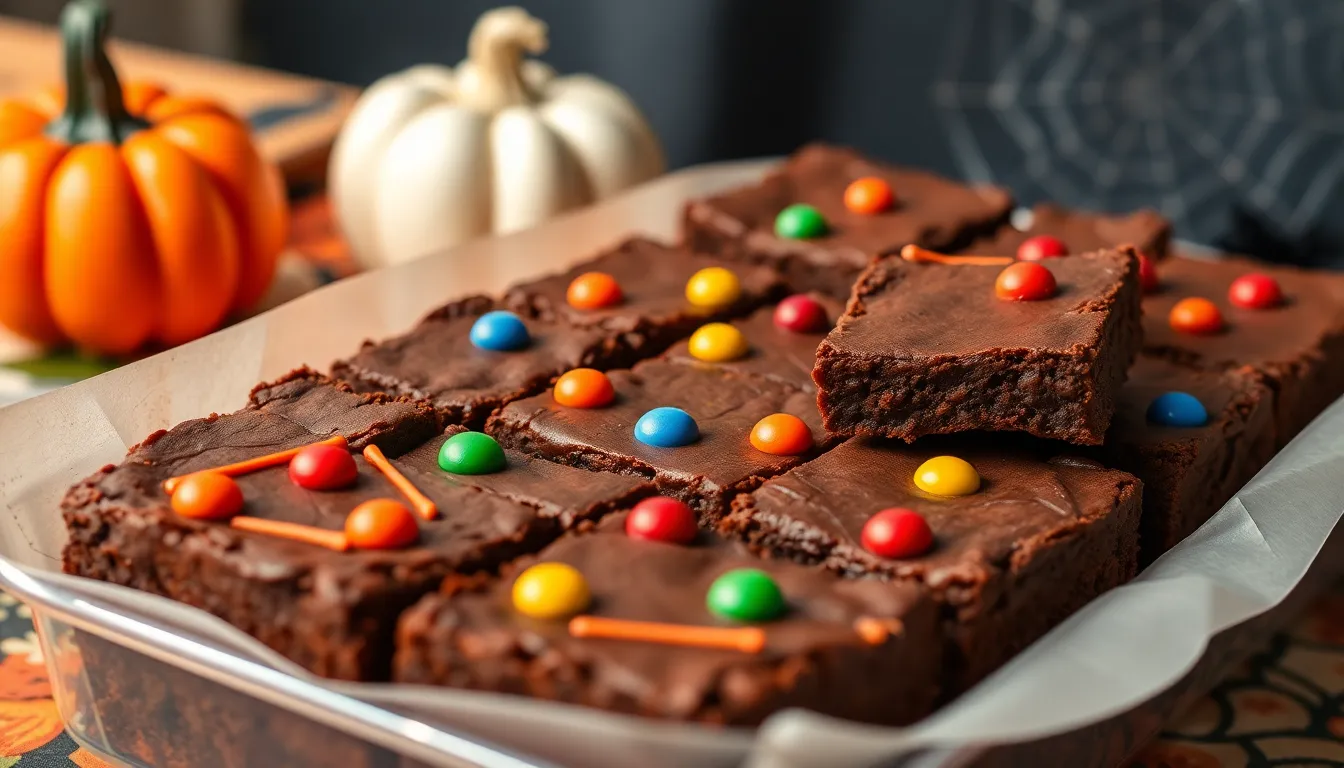
Create classic Halloween colors by mixing orange and black buttercream frosting in separate bowls. Beat together 2 cups powdered sugar with 4 tablespoons softened butter and 2-3 tablespoons milk until smooth. Divide this base frosting into two portions and add orange food coloring to one bowl and black to the other. Spread the orange frosting across your brownie surface using an offset spatula. Drop spoonfuls of black frosting on top and use a toothpick to create swirl patterns throughout the orange base. The contrasting colors will create striking marble effects that capture the Halloween spirit perfectly.
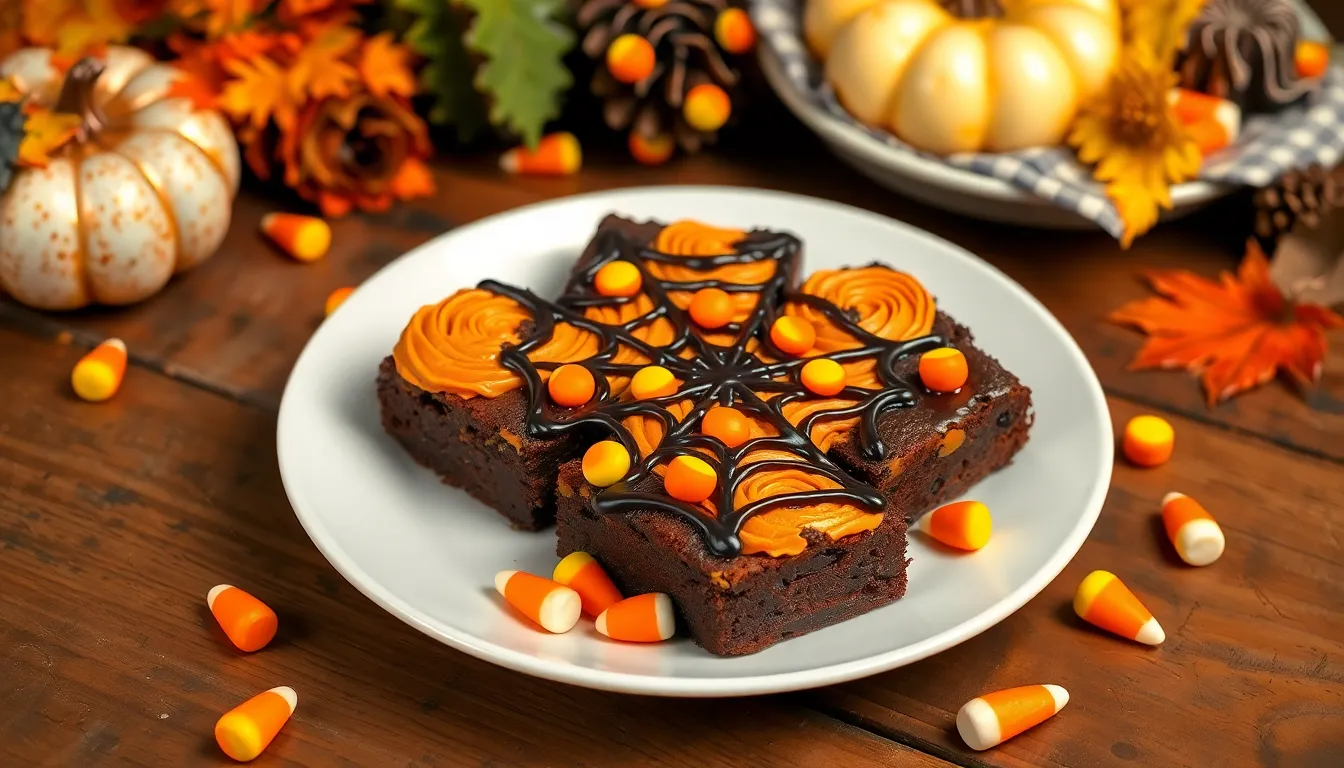
Spider Web Pattern
Start with a base layer of white chocolate melted in 30-second microwave intervals until smooth. Pour the melted chocolate over your brownies and spread evenly with a spatula. While the white chocolate remains wet, create concentric circles using melted dark chocolate in a squeeze bottle. Begin at the center and work outward with evenly spaced rings. Use a toothpick to draw lines from the center to the edges, creating the classic web pattern. Work quickly since the chocolate sets fast, and aim for 6-8 lines radiating from the center for the most realistic web appearance.
Candy Corn Topping
Crush candy corn pieces into small chunks using a rolling pin or food processor for varied textures. Press the crushed candy corn into your brownies while the frosting remains tacky for better adhesion. Arrange whole candy corn pieces around the edges to frame your brownies with autumn colors. You can also create patterns by placing candy corn in rows or geometric designs across the surface. The orange, yellow, and white colors add instant Halloween recognition while providing a sweet crunch that complements the fudgy brownie texture.
Spooky Chocolate Drizzle
Melt white chocolate and dark chocolate separately for contrasting drizzle effects. Transfer each melted chocolate to separate piping bags or squeeze bottles for precise control. Create ghostly white drizzles by moving the piping bag in wavy motions across the brownie surface. Add dark chocolate drizzles in perpendicular directions to create crosshatch patterns or spider leg designs. Let each layer set for 2-3 minutes before adding the next color to prevent blending. Finish with a sprinkle of edible glitter or Halloween-themed sprinkles while the chocolate remains slightly wet.
Make-Ahead Instructions
You can prepare these Halloween brownies up to three days before your spooky celebration. Bake the brownies completely according to the recipe instructions and allow them to cool thoroughly at room temperature. Once cooled, wrap the uncut brownies tightly in plastic wrap or store them in an airtight container at room temperature.
Storage Timeline:
| Storage Method | Duration | Notes |
|---|---|---|
| Room Temperature | 3 days | Wrap tightly in plastic wrap |
| Refrigerated | 1 week | Store in airtight container |
| Frozen (undecorated) | 3 months | Double wrap in plastic and foil |
| Frozen (decorated) | 1 month | May affect decoration quality |
Cut your brownies into squares the day you plan to serve them for the cleanest presentation. Fresh cuts prevent the edges from drying out and create sharp corners that showcase your decorative work beautifully.
Prepare your decorating supplies one day ahead by making the frosting and storing it covered in the refrigerator. Bring refrigerated frosting to room temperature 30 minutes before decorating for easier spreading and piping. Melt chocolate for drizzling techniques just before decorating to maintain the proper consistency.
Store decorated brownies in a single layer in an airtight container with parchment paper between layers if stacking becomes necessary. Room temperature storage works best for decorated brownies since refrigeration can cause condensation that may smudge your Halloween designs.
Freeze undecorated brownies wrapped individually in plastic wrap for portion control at parties. Thaw frozen brownies at room temperature for 2 hours before decorating. This method allows you to create fresh looking Halloween treats even when prepared weeks in advance.
Storage Tips
Proper storage keeps your Halloween brownies fresh and maintains their spooky decorations for several days. Room temperature storage works best for most decorated brownies since refrigeration can cause condensation that damages delicate frosting designs.
Room Temperature Storage
Store your Halloween brownies in an airtight container at room temperature for up to 4 days. Place parchment paper between layers to prevent decorations from sticking together. Keep the container away from direct sunlight and heat sources to preserve the chocolate decorations.
Refrigerated Storage
Refrigerate brownies with cream cheese frosting or perishable decorations for up to 1 week. Wrap individual brownies in plastic wrap before placing them in an airtight container. Remove brownies from the refrigerator 30 minutes before serving to restore their fudgy texture.
Freezer Storage
Freeze undecorated brownies for up to 3 months by wrapping them tightly in plastic wrap followed by aluminum foil. Thaw frozen brownies overnight in the refrigerator before decorating. Decorated brownies freeze for up to 1 month but may lose some visual appeal upon thawing.
Decoration Preservation
Handle decorated brownies with clean hands or food-safe gloves to prevent smudging. Store brownies with chocolate drizzles in a cool area to prevent melting. Keep gel icing decorations away from moisture by storing brownies in low-humidity environments.
Cut vs Uncut Storage
Store whole brownie slabs wrapped in plastic wrap for maximum freshness. Cut brownies dry out faster than uncut ones but stack more efficiently in storage containers. Cut your brownies just before serving when possible for the best texture and appearance.
Serving Suggestions
Your Halloween brownies deserve presentation that matches their spooky appearance. Arrange cut brownies on a black serving platter to create dramatic contrast against the orange and chocolate decorations. You can place dry ice around the edges of the serving tray to create an eerie fog effect that will captivate your guests.
Create a haunting dessert table by pairing your brownies with complementary Halloween treats. Stack different brownie designs at varying heights using cake stands and serving pedestals. Position spider web brownies alongside candy corn topped squares to showcase the variety of decorating techniques you’ve mastered.
Transform individual brownies into personalized party favors by wrapping each decorated square in clear cellophane bags tied with orange and black ribbons. Your guests will appreciate taking home these carefully crafted treats that maintain their festive appearance throughout the evening.
Serve brownies alongside seasonal beverages to enhance the Halloween experience. Hot apple cider pairs beautifully with the rich chocolate flavor while pumpkin spice lattes complement the autumn theme. For adult gatherings consider offering coffee cocktails or mulled wine that balance the sweetness of your dessert.
Present brownies as part of a dessert buffet featuring temperature contrasts. Place your room temperature brownies next to warm caramel sauce for dipping or cold vanilla ice cream for à la mode service. The combination of textures creates an elevated dessert experience that guests remember long after the party ends.
Cut brownies into themed shapes using Halloween cookie cutters before decorating to maximize visual impact. Pumpkin-shaped brownies topped with orange frosting or ghost-shaped pieces drizzled with white chocolate create cohesive presentation themes. You can arrange these shaped brownies on individual dessert plates garnished with Halloween sprinkles for formal dinner parties.
Consider portion sizes when planning your serving strategy. Cut standard 8×8 inch pan brownies into 16 small squares for large gatherings or 9 generous pieces for intimate celebrations. Your guests will appreciate appropriately sized portions that satisfy without overwhelming their appetite for other Halloween treats.
Conclusion
Your Halloween brownies are now ready to become the showstopper of your spooky celebration. With these decorating techniques and storage tips you’ve got everything you need to create memorable treats that’ll have everyone asking for the recipe.
Whether you’re hosting a Halloween party or preparing treats for trick-or-treaters these brownies offer the perfect combination of rich chocolate flavor and festive flair. The versatility of decorating options means you can customize them to match any Halloween theme or skill level.
Don’t forget that proper storage and presentation can make all the difference in delivering that wow factor. Your guests will be impressed by both the taste and the creative Halloween spirit you’ve brought to these delicious brownies.