Ingredients
I’ve organized these tiramisu ingredients into three simple categories to streamline your preparation process. Each component plays a crucial role in creating the perfect balance of coffee-soaked cookies and creamy mascarpone layers.
For the Coffee Mixture
- 1 cup strong espresso or coffee, cooled to room temperature
- 3 tablespoons coffee liqueur (Kahlúa or Marsala wine)
- 2 tablespoons granulated sugar
For the Mascarpone Layer
- 6 large egg yolks
- 3/4 cup granulated sugar
- 1 1/4 cups mascarpone cheese, room temperature
- 1 3/4 cups heavy whipping cream, cold
- 1 teaspoon vanilla extract
- Pinch of salt
For Assembly and Topping
- 2 packages (7 oz each) ladyfinger cookies (savoiardi)
- Unsweetened cocoa powder for dusting
- Dark chocolate shavings or grated chocolate (optional)
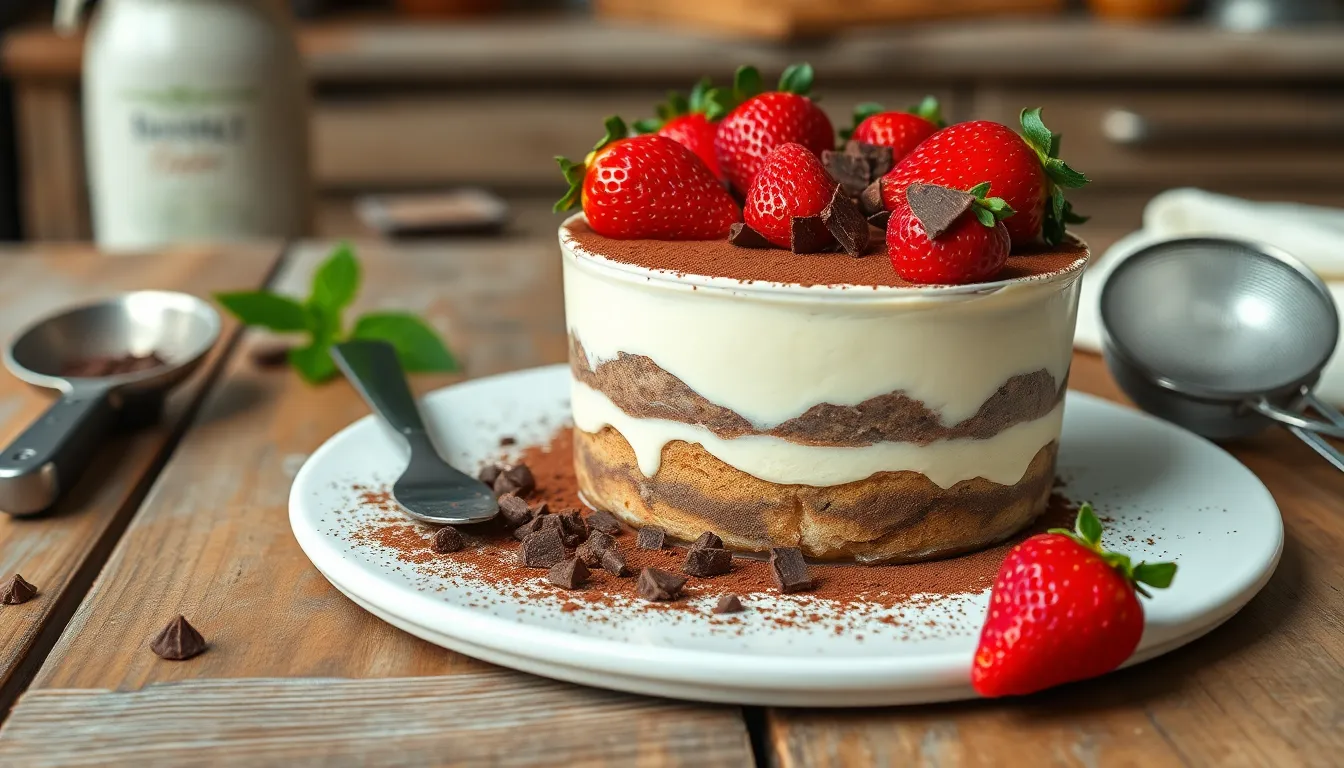
- Fresh berries for garnish (optional)
Equipment Needed
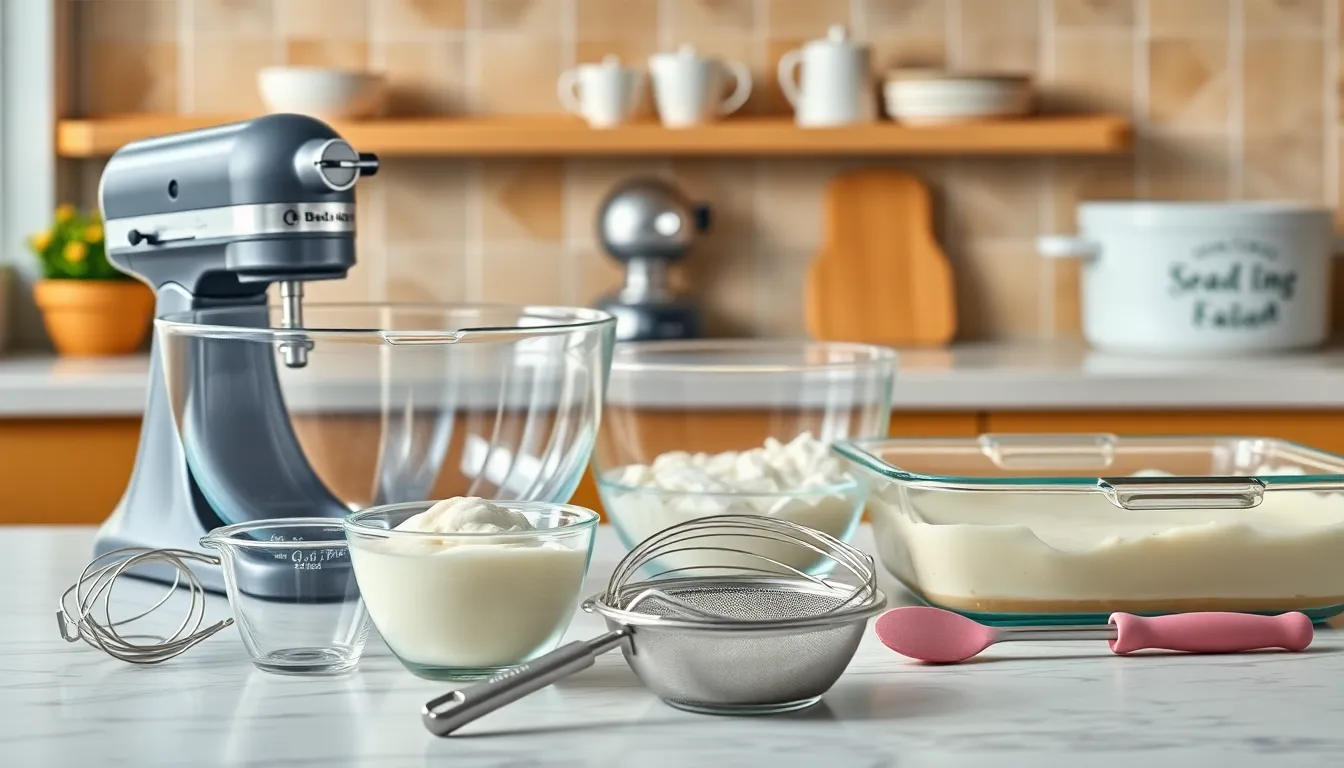
Creating this easy tiramisu requires basic kitchen equipment that most home cooks already have on hand. I recommend gathering these essential tools before starting to ensure smooth preparation.
Large mixing bowl serves as your primary workspace for combining the mascarpone mixture. I prefer using a glass or stainless steel bowl that provides ample room for folding ingredients without spillage.
Electric hand mixer or stand mixer makes whipping the cream and combining ingredients effortless. The mixer ensures proper texture and prevents lumps in your mascarpone layer.
Medium mixing bowl handles the coffee mixture preparation. This separate bowl prevents cross-contamination and allows you to control the coffee concentration.
Wire whisk works perfectly for manual mixing when you need gentle incorporation. I use this tool for combining egg yolks with sugar before adding mascarpone.
Rubber spatula becomes essential for folding delicate ingredients together. The flexible blade preserves the light texture while ensuring thorough mixing.
8×8 inch baking dish or 9×9 inch pan provides the ideal size for layering your tiramisu. Glass dishes work best as they allow you to see the beautiful layers through the sides.
Measuring cups and spoons ensure accuracy in your ingredient ratios. Precise measurements make the difference between good and exceptional tiramisu.
Fine-mesh sieve helps achieve smooth cocoa powder dusting on top. This tool eliminates clumps and creates an even professional finish.
Plastic wrap covers your assembled tiramisu during the crucial chilling period. Proper coverage prevents the dessert from absorbing refrigerator odors and maintains moisture balance.
Instructions
Creating this easy tiramisu involves four simple steps that transform basic ingredients into an elegant Italian dessert. I’ll guide you through each stage to ensure perfect results every time.
Prep the Coffee Mixture
I start by brewing 1 cup of strong espresso and allowing it to cool to room temperature. In my medium mixing bowl, I combine the cooled espresso with 3 tablespoons of coffee liqueur and 2 tablespoons of sugar. Using my wire whisk, I stir the mixture until the sugar completely dissolves. The coffee mixture should taste slightly sweet with a bold espresso flavor that will soak beautifully into the ladyfingers.
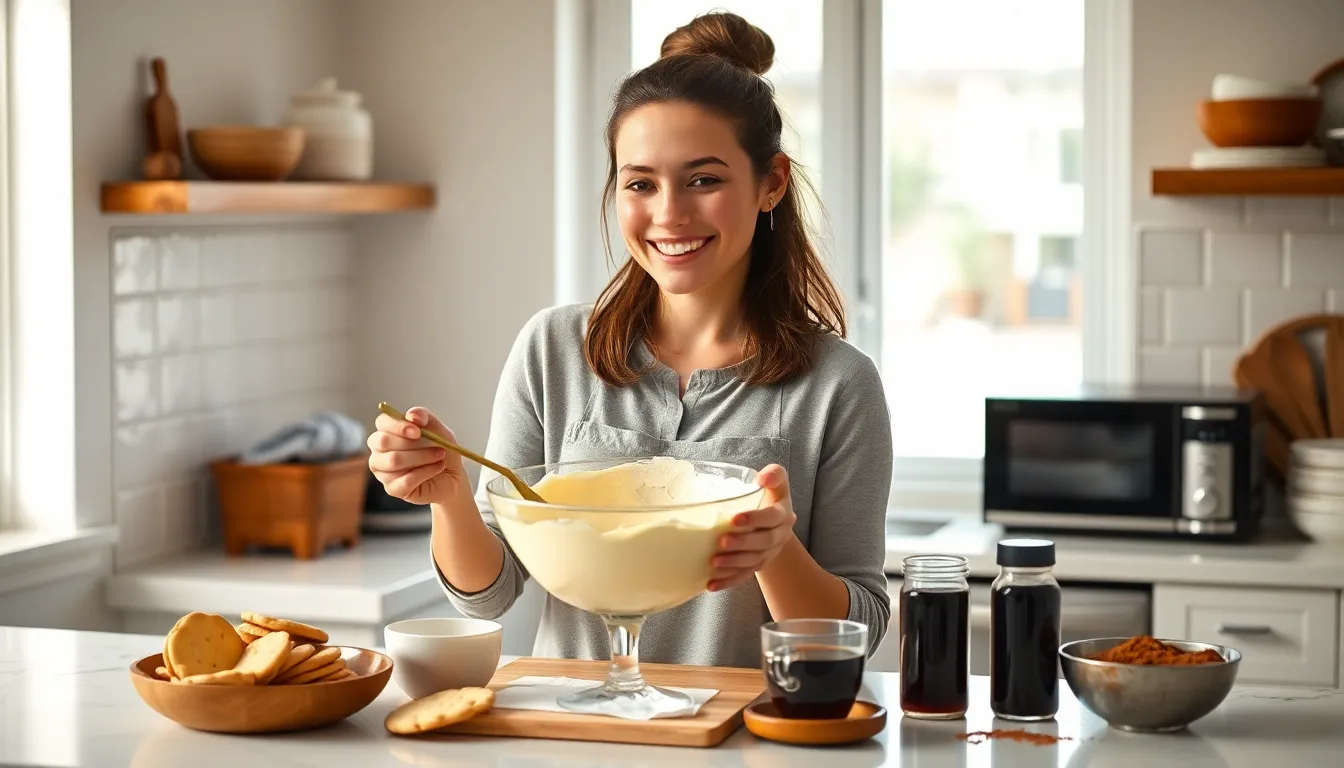
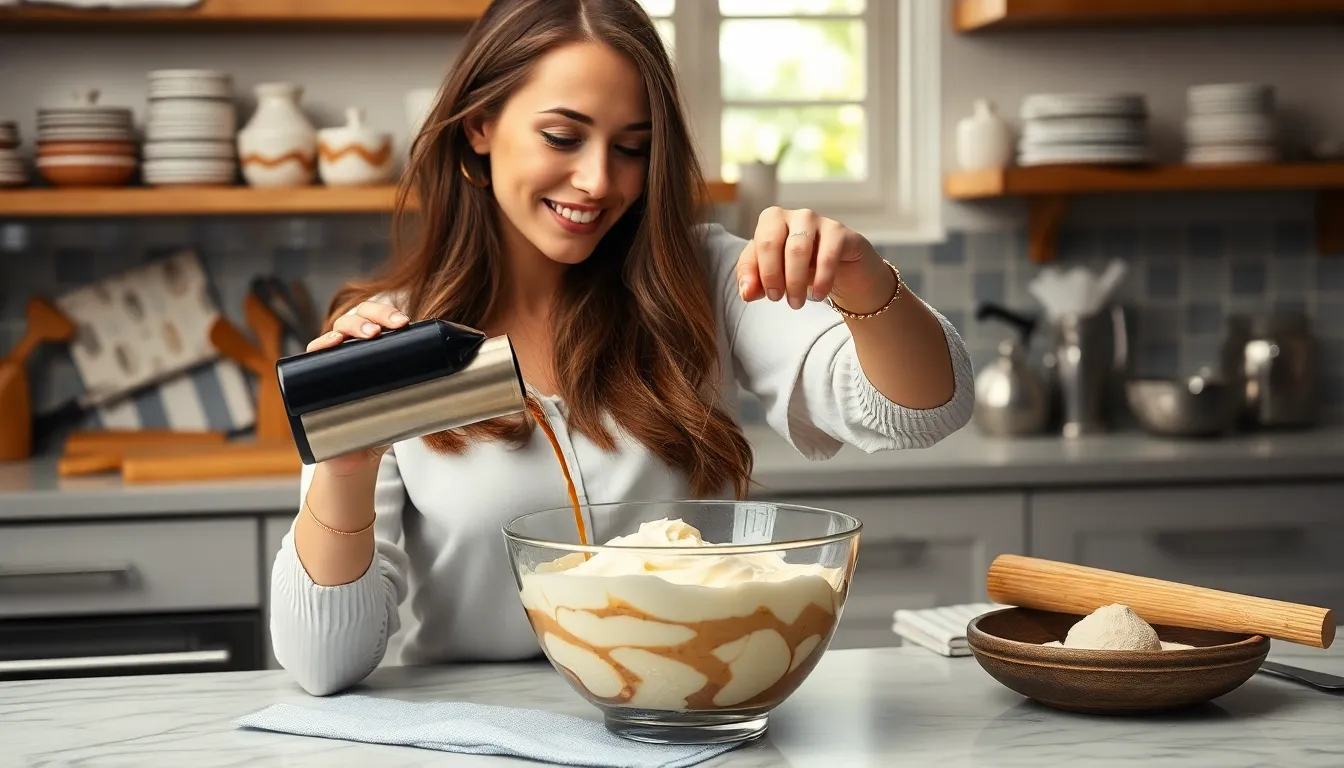
Make the Mascarpone Cream
I separate my eggs and place 6 egg yolks in my large mixing bowl. Adding 3/4 cup of sugar to the yolks, I whisk vigorously until the mixture becomes pale yellow and slightly thick. Next, I incorporate 1 1/3 cups of mascarpone cheese, whisking until the mixture is smooth and creamy. In a separate bowl, I whip 1 3/4 cups of heavy cream with my electric mixer until soft peaks form. I add 2 teaspoons of vanilla extract and a pinch of salt to the whipped cream. Using my rubber spatula, I gently fold the whipped cream into the mascarpone mixture in three additions, being careful not to deflate the cream.
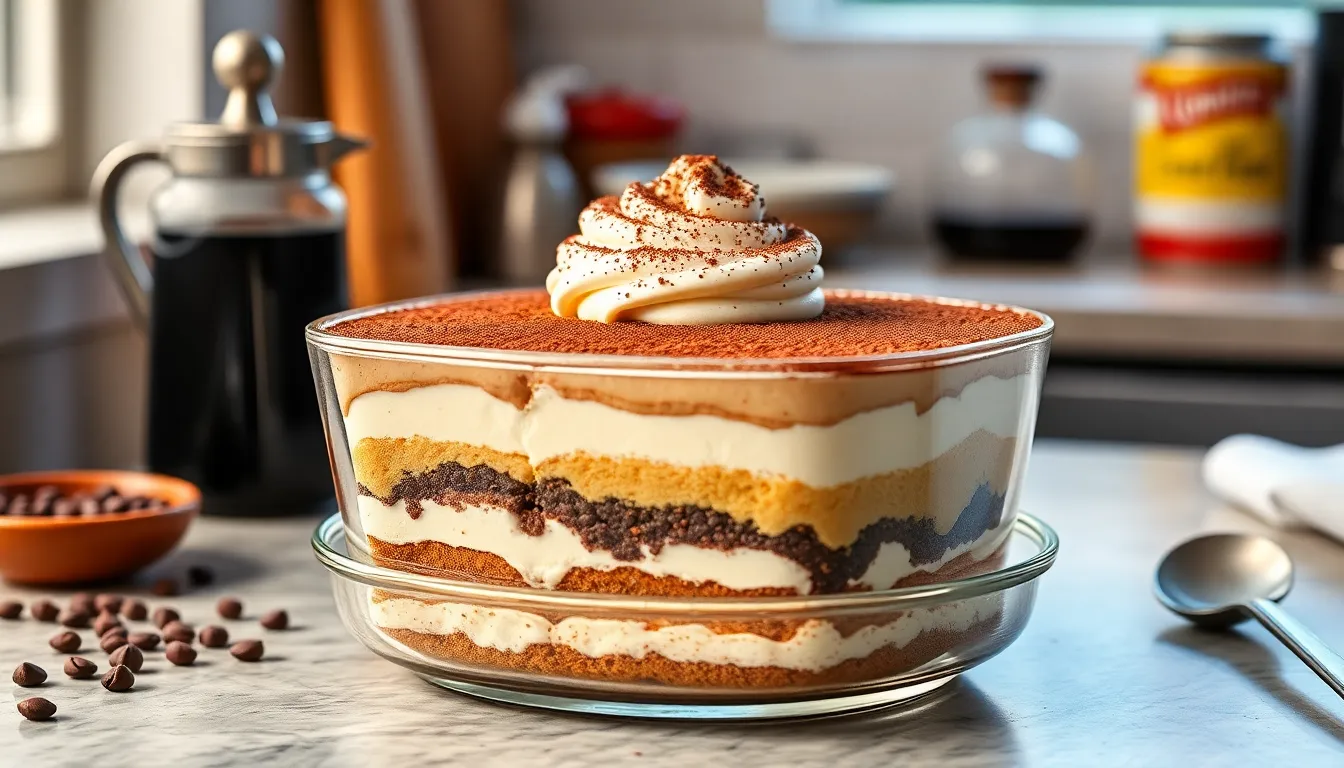
Assemble the Tiramisu
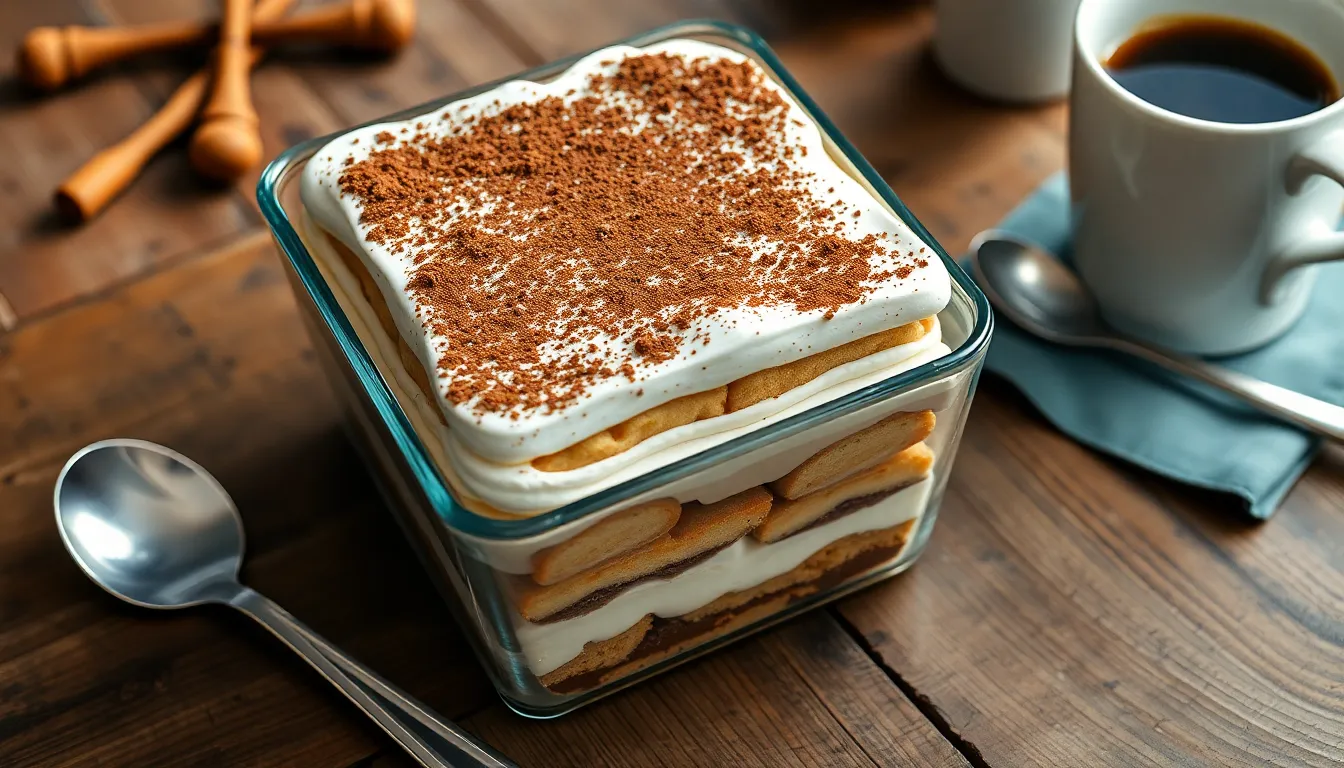
I arrange my 8×8 inch baking dish and begin layering. Working quickly, I dip each ladyfinger cookie into the coffee mixture for 2-3 seconds per side, ensuring they absorb the liquid without becoming soggy. I place the soaked cookies in a single layer at the bottom of my dish, breaking pieces as needed to fill gaps. Over the cookie layer, I spread half of the mascarpone cream using my rubber spatula, creating an even layer. I repeat this process with another layer of dipped ladyfingers, then top with the remaining mascarpone cream, smoothing the surface.
Chill and Set
I cover my assembled tiramisu tightly with plastic wrap, ensuring the wrap doesn’t touch the cream surface. The dessert goes into my refrigerator for at least 4 hours, though overnight chilling produces the best texture and flavor development. Just before serving, I use my fine-mesh sieve to dust the top evenly with unsweetened cocoa powder. For extra elegance, I add dark chocolate shavings or fresh berries as desired.
Directions for Best Results

Master these essential techniques to transform your tiramisu from good to extraordinary. I’ve discovered through countless attempts that attention to these key details makes all the difference in creating a restaurant-quality dessert at home.
Tips for Perfect Ladyfingers
I always work quickly when dipping ladyfingers to prevent them from becoming soggy. The secret lies in a swift dip on each side for exactly one second per side. Too long and they’ll fall apart in your hands. Too short and they won’t absorb enough coffee flavor.
Select high-quality savoiardi cookies for the best structure. I prefer the Italian brands because they hold their shape better than generic alternatives. Check that your ladyfingers are fresh and crisp before starting. Stale cookies will break apart during the dipping process.
Keep your coffee mixture at room temperature rather than hot. Hot coffee will cause the cookies to disintegrate immediately. I prepare my coffee mixture first and let it cool while I work on the mascarpone cream.
Achieving the Right Consistency
The mascarpone cream should hold soft peaks without being overwhipped. I stop mixing the moment I see gentle peaks forming. Overwhipped cream becomes grainy and separates from the mascarpone.
Room temperature mascarpone blends more smoothly than cold cheese. I remove it from the refrigerator 30 minutes before starting. Cold mascarpone creates lumps that are difficult to smooth out even with vigorous mixing.
Fold the whipped cream into the mascarpone mixture gently using a rubber spatula. I use a figure-eight motion to maintain the airy texture. Aggressive stirring deflates the cream and results in a dense final product.
Layering Technique
I spread an even layer of mascarpone cream on the bottom of my dish before adding the first layer of ladyfingers. This prevents the cookies from sticking to the dish and creates a smooth base layer.
Arrange ladyfingers in a single tight layer without gaps. I break cookies to fit if necessary rather than leaving empty spaces. Uniform coverage ensures every bite contains the perfect ratio of cookie to cream.
The second layer of mascarpone should completely cover the ladyfingers. I use my offset spatula to smooth the surface and eliminate air pockets. These air pockets can cause uneven setting during the chilling process.
Make-Ahead Instructions
I recommend preparing this tiramisu at least 6 hours before serving, though overnight chilling produces the best results. The flavors develop and meld beautifully during the extended refrigeration period.
Complete Assembly Timeline:
| Preparation Stage | Timing | Notes |
|---|---|---|
| Coffee mixture prep | Day before or same day | Can be stored covered for up to 24 hours |
| Mascarpone cream | Same day as assembly | Use within 2 hours of making |
| Assembly | 6-24 hours before serving | Optimal flavor after 8+ hours |
| Final dusting | Just before serving | Prevents cocoa from dissolving |
Day-Before Preparation:
I start by making the coffee mixture up to 24 hours in advance. Store the cooled espresso blend covered in the refrigerator. This allows the coffee and liqueur flavors to marry perfectly.
The mascarpone cream requires same-day preparation for optimal texture. I make this mixture no more than 2 hours before assembly to maintain the proper consistency and prevent separation.
Assembly and Storage:
After layering the tiramisu, I cover it tightly with plastic wrap, ensuring the wrap touches the surface to prevent a skin from forming. The dessert needs a minimum of 6 hours in the refrigerator, but I prefer 8 to 12 hours for the flavors to fully develop.
Extended Storage Options:
This tiramisu stays fresh in the refrigerator for up to 3 days when properly covered. I avoid dusting with cocoa powder until serving time, as it will absorb moisture and lose its visual appeal.
For longer storage, the assembled tiramisu freezes well for up to 1 month. I thaw it overnight in the refrigerator before serving and add fresh cocoa dusting just before presentation.
Storage and Serving
After all that careful preparation and patient chilling, proper storage ensures your tiramisu maintains its perfect texture and flavor. I’ll share my best practices for keeping this dessert fresh and my favorite ways to serve it elegantly.
How to Store Tiramisu
I always store my finished tiramisu in the refrigerator covered tightly with plastic wrap or aluminum foil. The dessert stays fresh for up to 3 days when properly covered, though I find it tastes best within the first 48 hours.
For longer storage, I freeze individual portions or the entire dish for up to one month. When freezing, I wrap the tiramisu in plastic wrap first, then add a layer of aluminum foil to prevent freezer burn. I thaw frozen tiramisu in the refrigerator overnight before serving.
Temperature control matters significantly for maintaining the creamy texture. I never leave tiramisu at room temperature for more than 2 hours, as the mascarpone mixture can become unstable and the ladyfingers may become soggy.
When storing assembled tiramisu, I keep the cocoa powder dusting separate and add it just before serving. This prevents the cocoa from absorbing moisture and losing its vibrant appearance.
Serving Suggestions
I serve tiramisu chilled directly from the refrigerator for the best texture and flavor contrast. Each portion should showcase distinct layers when cut with a sharp knife that I dip in warm water between cuts.
For elegant presentation, I dust individual portions with fresh cocoa powder using a fine-mesh sieve. Dark chocolate shavings or curls add visual appeal and extra richness to each serving.
I pair tiramisu with strong espresso or cappuccino to complement the coffee flavors in the dessert. A small glass of dessert wine like Moscato or Vin Santo creates an authentic Italian dining experience.
Fresh berries like raspberries or strawberries provide a bright acidic contrast that cuts through the rich mascarpone cream. I arrange them alongside each portion rather than on top to maintain the classic appearance.
For special occasions, I garnish with a light sprinkle of cinnamon or a small piece of dark chocolate. These additions enhance the presentation without overwhelming the traditional flavors that make tiramisu so beloved.
Recipe Variations
My easy tiramisu recipe serves as the perfect foundation for creating several delicious variations. Each version maintains the beloved essence of this Italian dessert while offering unique twists to suit different preferences and occasions.
Classic Italian Style
I prepare the most traditional version by using authentic Italian ingredients and techniques that honor the original recipe. Savoiardi ladyfingers imported from Italy provide the ideal texture and absorption rate for the coffee mixture. I replace the coffee liqueur with genuine Italian Marsala wine, which adds a sophisticated depth of flavor that Italians have cherished for generations.
For the mascarpone layer, I incorporate raw egg yolks as the traditional recipe demands, whisking them with fine sugar until they reach a pale, creamy consistency. This creates the authentic custard base that distinguishes genuine tiramisu from modern adaptations. I dust the final layer with premium Italian cocoa powder, preferably from Perugina or another renowned Italian brand, to complete the classic presentation.
Alcohol-Free Version
My family-friendly adaptation eliminates all alcohol while preserving the rich, coffee-forward flavor profile that makes tiramisu irresistible. I substitute the coffee liqueur with an additional tablespoon of strong espresso mixed with one teaspoon of vanilla extract and one tablespoon of simple syrup.
The coffee mixture becomes more concentrated by brewing espresso with twice the normal coffee grounds, then cooling it completely before adding the vanilla and syrup. I sometimes incorporate a pinch of cinnamon or a few drops of rum extract to enhance the complexity without introducing alcohol. This version works perfectly for children’s parties, workplace gatherings, or anyone avoiding alcohol for personal reasons.
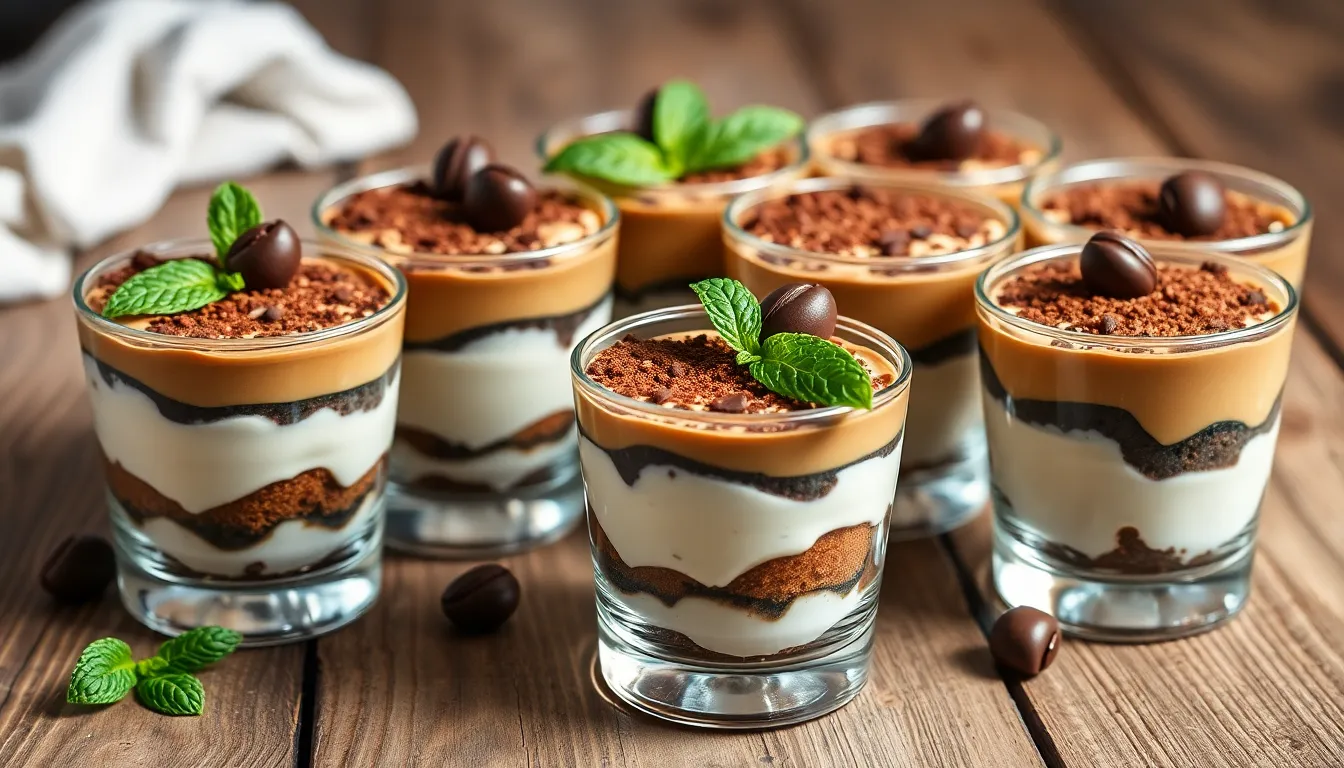
Individual Portions
I create elegant single-serving tiramisus using clear glass containers that showcase the beautiful layers while controlling portion sizes. Small mason jars, wine glasses, or dessert cups work beautifully for this presentation style.
Each serving requires approximately two ladyfinger cookies broken to fit the container, two tablespoons of coffee mixture, and one-quarter cup of mascarpone cream. I layer these components twice in each glass, creating miniature versions of the classic dessert. The individual portions make serving effortless at dinner parties and allow guests to enjoy perfectly portioned desserts.
For special occasions, I garnish each individual tiramisu with a single chocolate-covered espresso bean or a delicate mint leaf. These personal-sized desserts can be prepared up to two days in advance, making them ideal for entertaining when I want to impress guests without last-minute preparation stress.
Troubleshooting Common Issues
Even with my foolproof recipe, I know you might encounter a few challenges when making tiramisu. Let me walk you through the most common issues and my proven answers to ensure your dessert turns out perfect every time.
Soggy Ladyfingers
I see this problem more often than any other. The key lies in timing your coffee dip correctly. Dip each ladyfinger for exactly 1-2 seconds per side. Any longer and they’ll become mushy and break apart. My coffee mixture should be at room temperature when you use it. Hot coffee will make the cookies fall apart instantly.
Runny Mascarpone Cream
When your cream won’t thicken properly, temperature is usually the culprit. I always ensure my mascarpone cheese reaches room temperature before mixing. Cold mascarpone creates lumps and prevents proper incorporation. Whip your heavy cream to soft peaks only. Over-whipped cream will curdle when folded into the mascarpone mixture.
Lumpy Texture
Lumps form when ingredients aren’t properly combined. I recommend sifting the cocoa powder before dusting to avoid clumps on the surface. For the mascarpone layer, I whisk the egg yolk mixture thoroughly before adding the cheese. Fold ingredients gently using a rubber spatula rather than mixing vigorously.
Separated Layers
Layer separation happens when the mascarpone cream is too thin or the assembly process is rushed. I ensure my whipped cream reaches the right consistency before folding it in. Spread each mascarpone layer completely to the edges of your dish. This prevents air pockets that can cause separation during chilling.
Weak Coffee Flavor
A bland tiramisu disappoints every time. I brew my espresso extra strong using a 1:1 ratio of coffee to water. Let the coffee cool completely before adding the liqueur and sugar. Taste your coffee mixture before assembly. It should be bold and slightly sweet since the mascarpone will mellow the intensity.
Uneven Setting
Sometimes one section of tiramisu sets differently than another. I level my mascarpone layers carefully with an offset spatula. Cover the entire surface tightly with plastic wrap, pressing it directly onto the top layer. This prevents a skin from forming and ensures even chilling throughout.
Too Sweet or Too Bitter
Flavor balance requires attention to each component. I taste my coffee mixture and adjust with additional sugar if needed. The mascarpone layer should be mildly sweet since the cocoa powder adds slight bitterness. Start with less sugar and add more gradually until you achieve the perfect balance for your taste preferences.
Conclusion
This simplified tiramisu recipe transforms what seems like an intimidating dessert into an achievable kitchen victory. I’ve stripped away the complexity while keeping every bit of that authentic Italian magic that makes tiramisu so irresistible.
With just 20 minutes of hands-on work and a few hours of patience while it chills you’ll have a restaurant-quality dessert that’ll impress everyone at your table. The beauty lies in its simplicity – no baking required and ingredients you can easily find at your local grocery store.
Whether you’re making it for a special celebration or just treating yourself on a Tuesday night this foolproof method ensures success every time. Trust me – once you realize how easy homemade tiramisu can be you’ll never want to order it at a restaurant again.