There’s nothing quite like coming home to the aroma of a warm, home-cooked meal, especially when it involves chicken cooked to perfection.
The versatility and simplicity of these easy chicken recipes make them a staple in busy weeknight dinner rotations.
From juicy, tender meat to bold, savory flavors, these recipes are designed to please every palate.
Having discovered these recipes during my culinary explorations, I can attest to their quick preparation and delightful results.
Whether you’re a novice cook or a seasoned chef, these dishes promise to bring satisfaction to your table.
So, let’s dive into a world of flavor that transforms simple chicken into a delightful feast.
The History and Cultural Significance
• Chicken Recipes Anyone traces its origins to Ancient Rome, where it was originally created by cooks seeking quick but delicious meals.
• The dish evolved over decades as global trade introduced new spices and cooking techniques, eventually becoming the beloved version we know today.
• In Italian culture, chicken dishes traditionally appear at family gatherings, symbolizing unity and warmth.
• While many variations exist across different regions, the authentic version maintains a balance of rich and subtle flavors that sets it apart from imitations.
Recipe Overview
Nutritional Information (per serving)
Essential Equipment Guide
Non-stick Skillet: A good non-stick skillet ensures even cooking and prevents the chicken from sticking, which is crucial for maintaining the dish’s texture. Alternatives like a cast-iron skillet can work but may require more oil to prevent sticking.
Meat Thermometer: This tool is vital for ensuring the chicken is cooked to the correct internal temperature, preventing overcooking or undercooking. Look for digital thermometers for quick and accurate readings.
Sharp Chef’s Knife: A sharp knife is essential for efficiently cutting chicken and vegetables. A dull knife can cause uneven cuts and increase prep time. Look for high-carbon stainless steel blades for durability.
Ingredients
For the Base
|
|
| Amount | Ingredient | Notes |
|---|---|---|
| 4 pieces | chicken breasts | boneless, skinless |
| 2 tablespoons | olive oil | for sautéing |
Seasonings
| Amount | Ingredient | Notes |
|---|---|---|
| 1 teaspoon | salt | to enhance flavor |
| 1 teaspoon | black pepper | freshly ground |
Sauce
| Amount | Ingredient | Notes |
|---|---|---|
| 1 cup | chicken broth | low sodium |
| 2 tablespoons | lemon juice | freshly squeezed |
Vegetables
| Amount | Ingredient | Notes |
|---|---|---|
| 1 cup | mushrooms | sliced |
| 1 medium | onion | finely chopped |
Preparation Methods
Searing: Searing involves cooking the chicken over high heat to create a flavorful crust. This technique locks in juices and enhances flavor. Allow the chicken to rest at room temperature before searing for even cooking.
Deglazing: Deglazing is the process of adding liquid to a hot pan to lift and dissolve browned bits from the pan's surface. This technique is essential for creating a rich sauce with deep flavors.
Simmering: Simmering involves cooking ingredients gently at a low temperature. This technique ensures the chicken remains tender while allowing flavors to meld together.
Step 1: Prepare Ingredients

Gather all ingredients and equipment needed for the recipe.
Ensure chicken breasts are boneless and skinless.
Slice mushrooms and finely chop the onion.
Measure out the chicken broth and lemon juice.
Step 2: Season Chicken

Pat the chicken breasts dry with paper towels.
Season both sides with salt and freshly ground black pepper.
Ensure even coverage for consistent flavor.
Let the seasoned chicken rest for a few minutes.
Step 3: Sear Chicken

Heat olive oil in a non-stick skillet over medium-high heat.
Once the oil is shimmering, add the chicken breasts.
Sear for 3-4 minutes on each side until golden brown.
Remove chicken from the skillet and set aside.
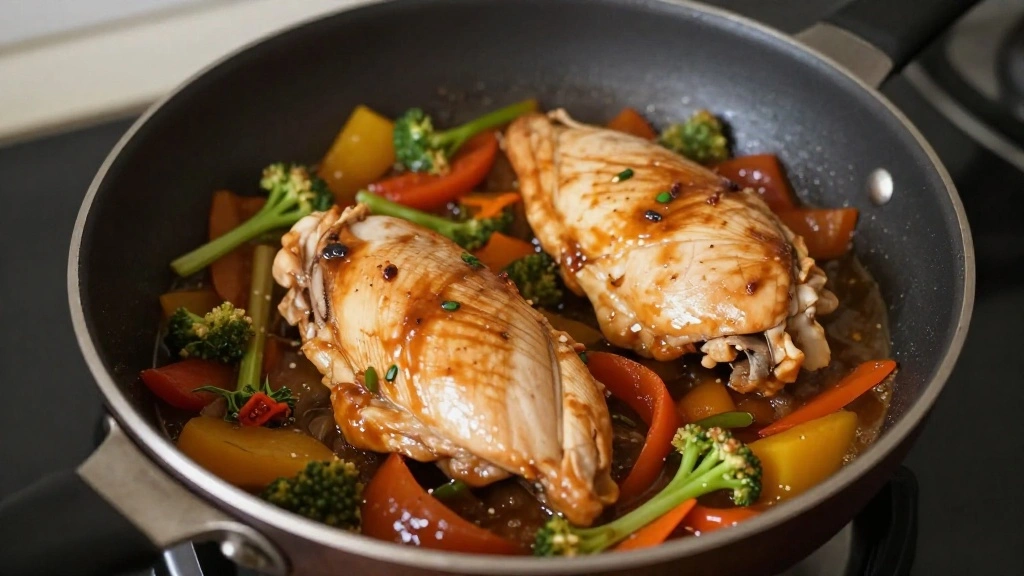
Step 4: Sauté Vegetables

In the same skillet, add a bit more olive oil if needed.
Add sliced mushrooms and chopped onion to the skillet.
Sauté until the vegetables are softened and golden.
Stir occasionally to prevent burning.
Step 5: Deglaze Pan

Pour chicken broth into the skillet to deglaze the pan.
Use a wooden spoon to scrape up browned bits from the bottom.
Add lemon juice and stir to combine.
Bring the mixture to a simmer.
Step 6: Return Chicken
Place the seared chicken breasts back into the skillet.
Ensure they are submerged in the sauce for even cooking.
Reduce heat to low and cover the skillet.
Simmer for 10-12 minutes until chicken is cooked through.
Step 7: Check Doneness

Use a meat thermometer to check the chicken's internal temperature.
It should read 165°F for safe consumption.
If not done, continue simmering for a few more minutes.
Remove from heat once cooked.
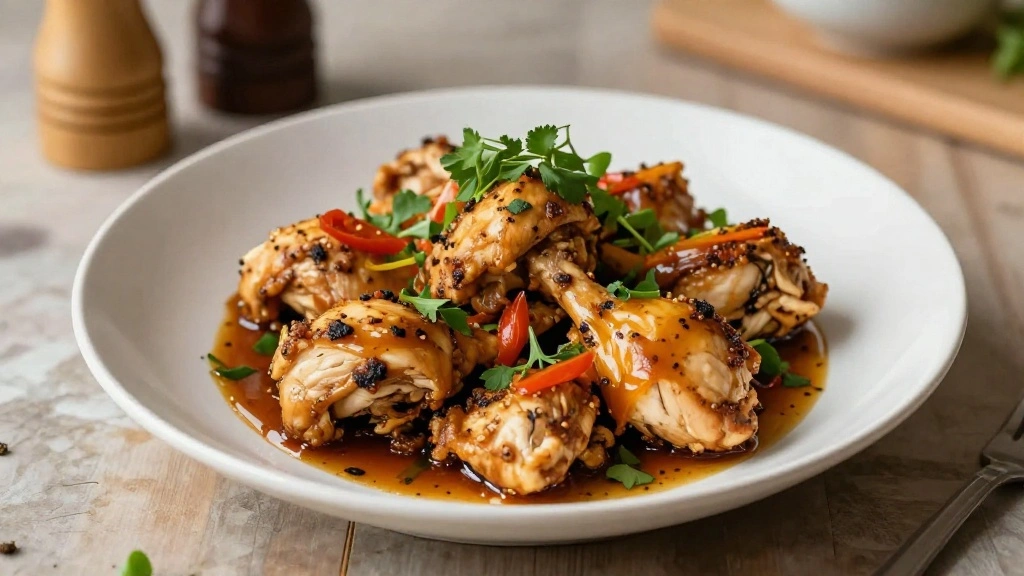
Step 8: Serve and Garnish
Transfer chicken and sauce to a serving platter.
Garnish with fresh herbs like parsley for added flavor.
Serve immediately with your choice of sides.
Enjoy your delicious homemade chicken dish.
Critical Timing and Temperature Guide
Searing: Sear chicken for 3-4 minutes per side at medium-high heat. Look for a golden brown crust and avoid moving chicken too soon to prevent sticking.
Simmering: Simmer chicken for 10-12 minutes at low heat. Check for doneness by cutting into the thickest part of the chicken.
Resting: Allow chicken to rest for 5 minutes after cooking to let juices redistribute. Avoid cutting too soon to prevent loss of moisture.
Pro Tips for Chicken Recipes Anyone
• Ingredient Selection: Choose organic, free-range chicken for the best flavor and texture, as it is less likely to be injected with water or additives.
• Preparation Secret: Marinating the chicken for a few hours, even with just salt and pepper, enhances flavor and tenderness.
• Temperature Management: Start with a hot skillet for searing to lock in juices and prevent sticking.
• Texture Enhancement: Allow chicken to rest at room temperature before cooking for even searing.
• Flavor Layering: Use the browned bits from searing to build a rich, flavorful sauce.
• Make-Ahead Strategies: Cook chicken and store in an airtight container in the fridge for up to 2 days. Reheat gently to avoid drying out.
• Restaurant-Quality Finishing Touches: Drizzle with a touch of high-quality olive oil and a sprinkle of sea salt before serving for enhanced taste.
• Equipment Optimization: Preheat your skillet to the correct temperature before adding chicken for optimal searing.
Troubleshooting Common Issues
• Chicken Too Dry: This can occur if chicken is overcooked. Ensure to monitor internal temperature with a thermometer and remove from heat once it reaches 165°F.
• Sauce Too Thin: If the sauce is too thin, allow it to simmer uncovered for a few more minutes to reduce and thicken.
• Uneven Cooking: Ensure chicken breasts are of uniform thickness or use a meat mallet to even them out for consistent cooking.
• Flavors Unbalanced: Taste the sauce before serving and adjust seasoning with salt, pepper, or lemon juice as needed.
• Chicken Sticking to Pan: Ensure the skillet is properly heated and coated with oil before adding chicken to prevent sticking.
Variations and Regional Differences
• Italian Style: In this version, add garlic and capers to the sauce for a traditional piccata flavor.
• Mexican Variation: Use spices like cumin and chili powder, and add bell peppers for a Southwestern twist.
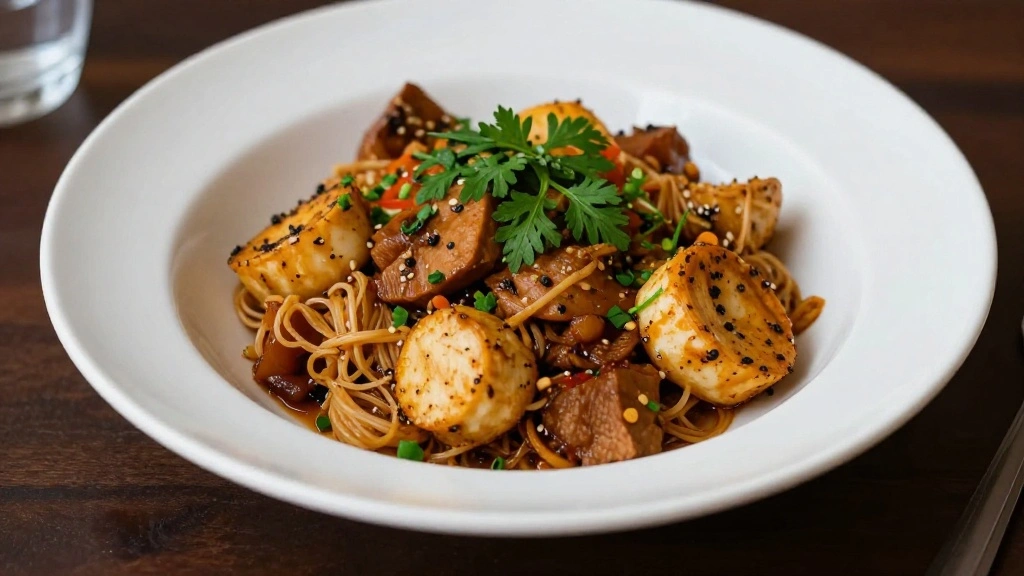
• Asian Influence: Incorporate soy sauce and ginger into the sauce, and serve with steamed rice for an Asian-inspired dish.
• French Classic: Add a touch of white wine and fresh tarragon to the sauce for a French flair.
Food Science Behind the Recipe
• Maillard Reaction: This chemical reaction between amino acids and reducing sugars gives the chicken its browned crust, enhancing flavor.
• Protein Denaturation: Cooking changes the structure of proteins in chicken, which is essential for achieving the right texture.
• Emulsion Formation: The sauce's consistency is improved by emulsifying fats from the chicken with the broth and lemon juice.
Frequently Asked Questions
What's the most common mistake people make when preparing chicken dishes? Overcooking the chicken, which results in dry, tough meat. Use a thermometer to ensure it cooks to the right temperature.
How can I ensure the sauce is flavorful? Deglaze the pan properly and taste the sauce, adjusting seasonings as needed for depth of flavor.
Can I use chicken thighs instead of breasts? Yes, thighs are juicier and can be cooked similarly, though they may require slightly longer cooking times.
Is it necessary to let the chicken rest before slicing? Yes, resting ensures the juices are redistributed, resulting in a juicier final product.
Can I make this dish ahead of time? Yes, the chicken can be cooked and stored for a couple of days, but it's best to reheat gently to prevent drying out.
What's the best way to reheat leftovers? Reheat gently in a covered pan over low heat or in the microwave with a damp paper towel to retain moisture.
How can I tell if the chicken is done without a thermometer? Pierce the thickest part of the chicken; the juices should run clear, not pink.
Serving and Presentation Guide
• Traditional Presentation: Serve the chicken on a platter with the sauce drizzled over and garnish with fresh herbs.
• Contemporary Style: Plate the chicken individually, with sauce pooled artistically around it and a sprig of thyme for garnish.
• Family-Style Dining: Serve the chicken in a large dish with sides such as roasted vegetables or a fresh salad.
• Elegant Dinner: Pair the dish with a glass of white wine and set it on a fine china plate for a sophisticated dining experience.
Conclusion
I hope these easy chicken recipes inspire you to add a new favorite to your weeknight dinner rotation.
With straightforward steps and delectable results, these dishes promise satisfaction for both the cook and the diners.
So roll up your sleeves and bring a taste of culinary excellence to your table tonight.