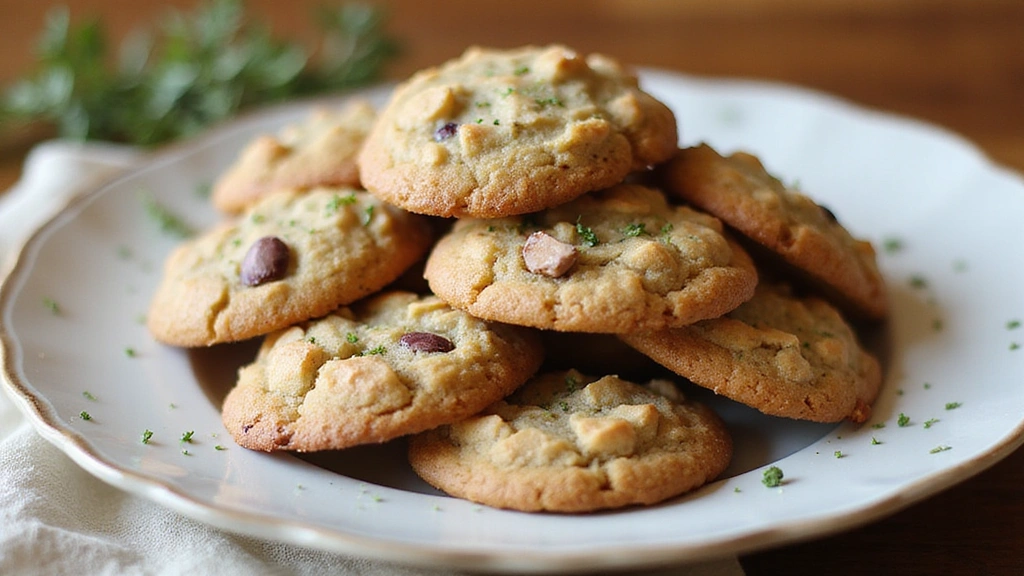
These Quick Easy Cookie Recipes are perfect for bake sales and gatherings, offering a delightful array of flavors that everyone will love.
Whether you crave classic chocolate chip, oatmeal raisin, or peanut butter delights, these recipes are designed for simplicity and satisfaction.
I often recall the joyous atmosphere of school bake sales where these cookies brought smiles to faces young and old alike.
With minimal ingredients and straightforward steps, you can whip up a batch that will have your friends and family coming back for more.
The History and Cultural Significance
• Easy Cookie Recipes trace their origins to the 18th century, when cookies were made as a way to test oven temperatures.
• The dish evolved over decades as ingredients like chocolate and nuts were incorporated, eventually becoming the beloved versions we know today.
• In American culture, cookies traditionally appear at holidays, family gatherings, and celebrations, symbolizing warmth and hospitality.
• While many variations exist across different regions, the authentic versions maintain a balance of sweetness and texture that sets them apart from imitations.
Recipe Overview
Nutritional Information (per serving)
You Might Also Like
Essential Equipment Guide
Mixing Bowl: A large mixing bowl is crucial for blending ingredients evenly. Look for one that’s sturdy and easy to grip, as it will help prevent spills during mixing.
Baking Sheet: A good quality, non-stick baking sheet ensures cookies bake evenly and prevent sticking. Opt for a heavy-duty sheet that withstands high temperatures without warping.
Cookie Scoop: A cookie scoop is essential for portioning dough uniformly, which helps ensure even baking. Choose a scoop that matches the size of cookies you prefer, typically 1.5 inches for standard cookies.
Key Ingredients Explained
For Cookie Dough:
• 2 cups all-purpose flour – Opt for unbleached flour for a more natural flavor and better texture, as it helps create a sturdy base for the cookies. Avoid using cake flour as it can make cookies too soft and crumbly.
• 1 cup granulated sugar – Choose a fine granulated sugar that will dissolve easily and create a nice balance of sweetness in your cookies. Brown sugar can also be used for a moister cookie with a richer flavor.
For Flavoring:
• 1 cup chocolate chips – Select high-quality chocolate chips for the best flavor; semi-sweet is a popular choice. Avoid generic brands that may contain less cocoa, affecting the overall taste.
• 1 teaspoon vanilla extract – Use pure vanilla extract instead of imitation for a more authentic flavor. The quality of this ingredient significantly impacts the final taste of your cookies.
Preparation Methods
Creaming Method: This technique involves beating butter and sugar together until light and fluffy. This step is crucial as it incorporates air into the mixture, resulting in a lighter cookie texture. Make sure your butter is at room temperature for optimal blending.
Chilling Dough: Chilling the cookie dough before baking helps solidify the fats, leading to a thicker cookie that spreads less. Aim to chill for at least 30 minutes to achieve the best results.
Using Parchment Paper: Lining your baking sheet with parchment paper prevents sticking and makes cleanup easier. Ensure the paper is cut to size for the baking sheet to avoid any curling during the baking process.
Step 1: Prepare Ingredients
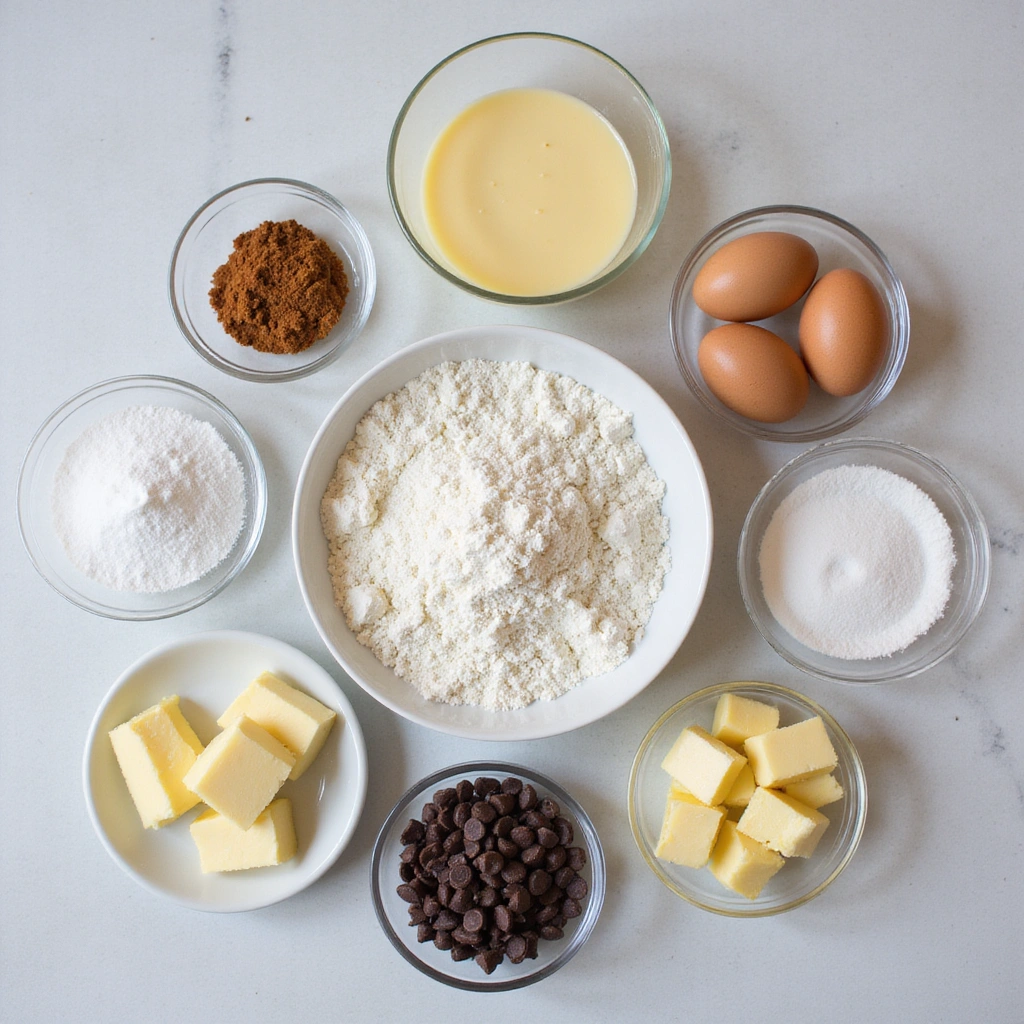
Gather all your ingredients on the counter for easy access.
Check that your butter is softened to room temperature for optimal creaming.
Measure out all ingredients precisely for consistent results.
This organization will streamline your baking process.
Step 2: Cream Butter and Sugar
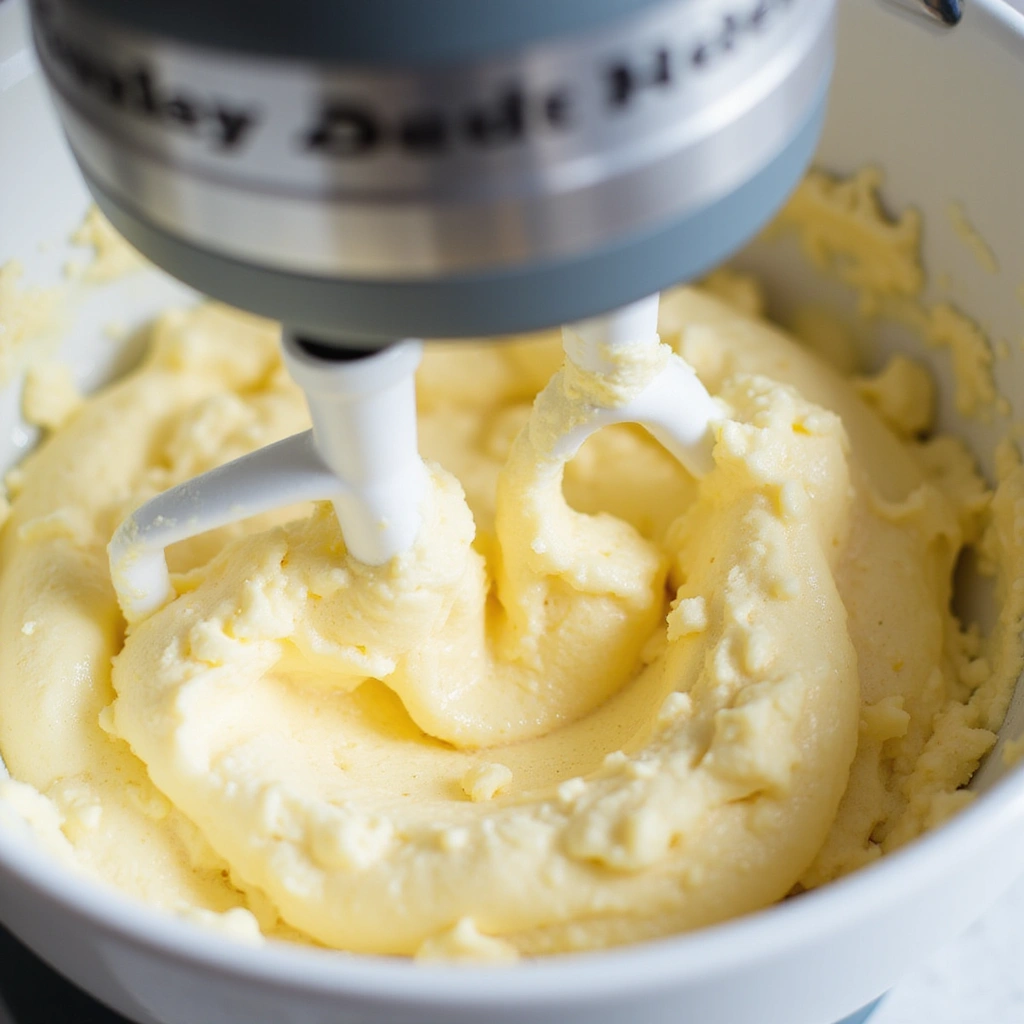
In a mixing bowl, add the softened butter and granulated sugar.
Using an electric mixer, beat on medium speed until the mixture is light and fluffy, about 2-3 minutes.
Look for a pale yellow color and a texture that’s airy.
This step is essential for incorporating air into the dough.
Step 3: Add Eggs and Vanilla
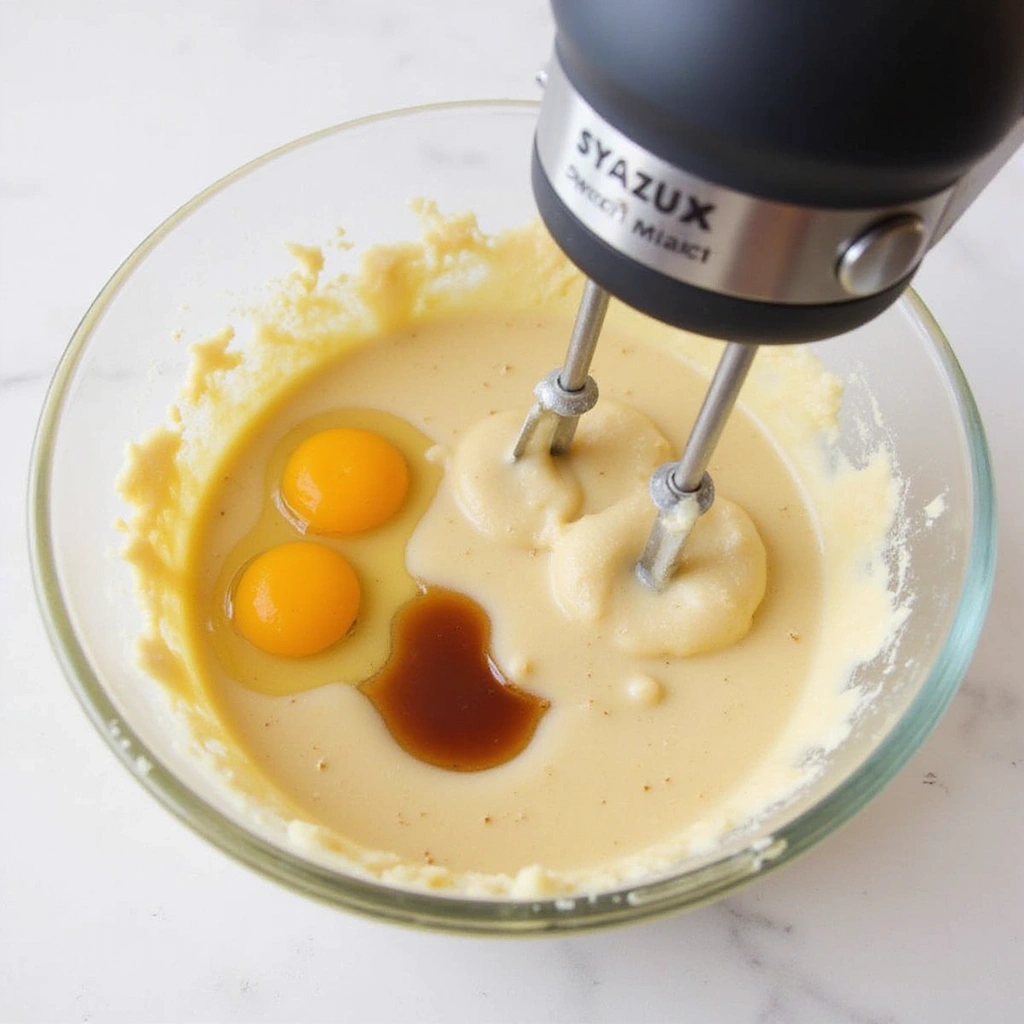
Crack in the eggs one at a time, mixing well after each addition.
Pour in the vanilla extract and continue to mix until fully incorporated.
The batter will become smoother and creamier at this stage.
Ensure there are no visible streaks of egg remaining.
Step 4: Combine Dry Ingredients
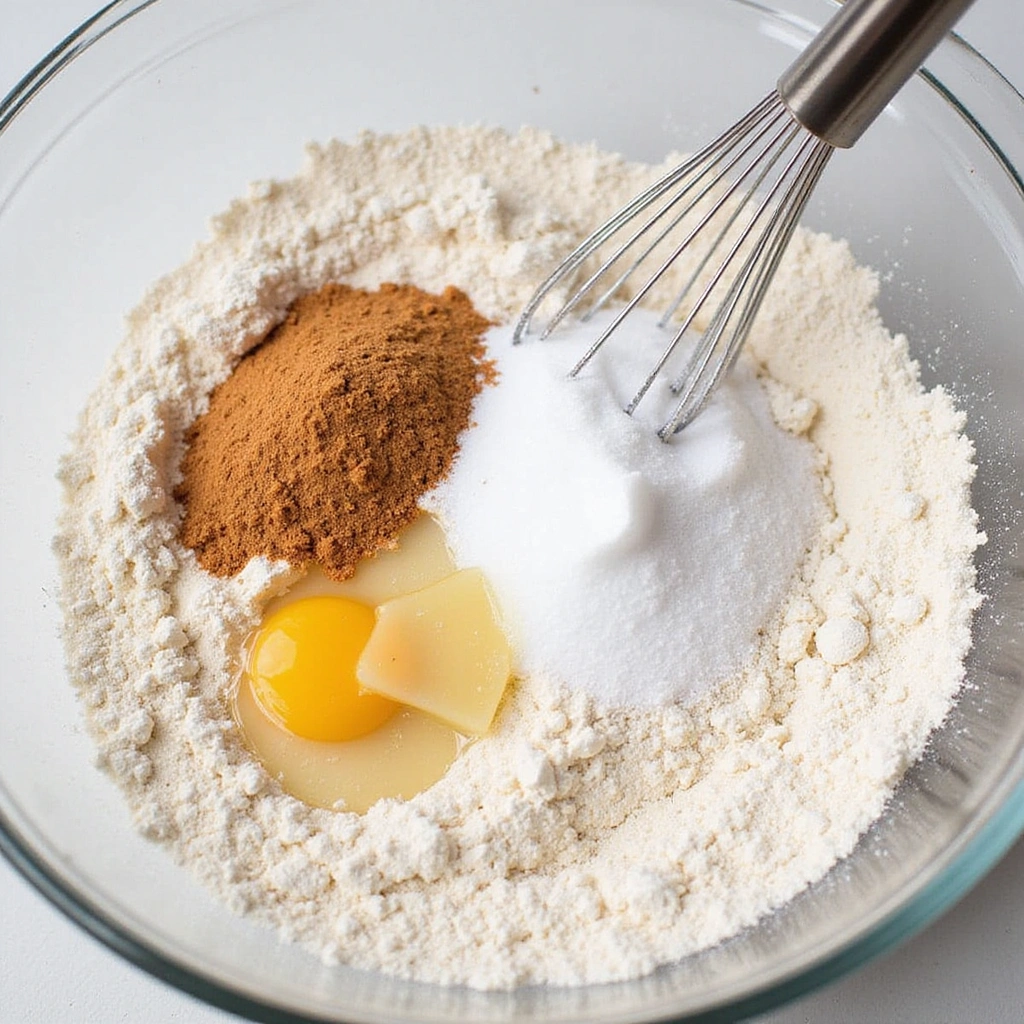
In a separate bowl, whisk together the flour, baking soda, and salt.
Gradually add the dry ingredients to the wet mixture, mixing on low speed.
Stop mixing when you no longer see dry flour; overmixing can lead to tough cookies.
This step ensures the dry ingredients are evenly distributed.
Step 5: Fold in Chocolate Chips
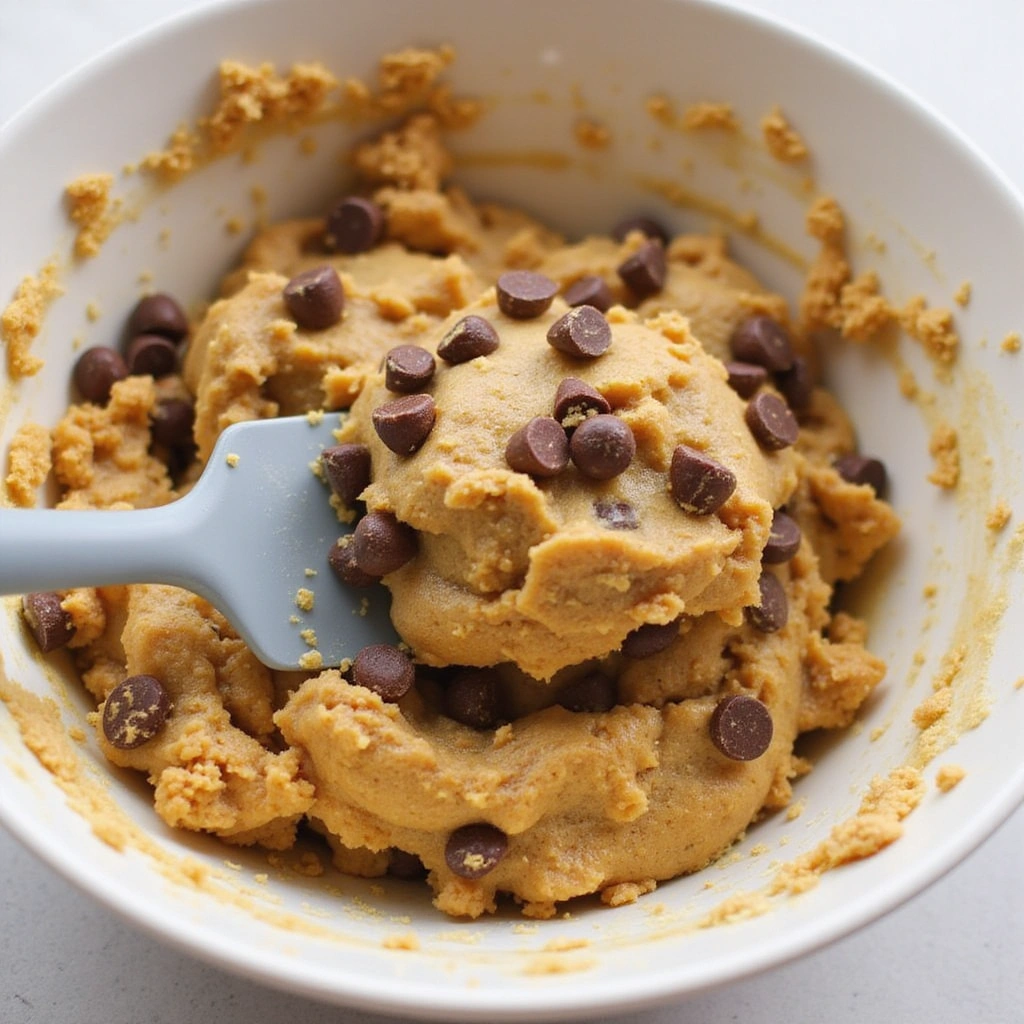
With a spatula, gently fold in the chocolate chips until evenly distributed throughout the dough.
Be careful not to over-mix; you want to retain the airiness from the creaming stage.
The chocolate chips should be visible and well incorporated into the dough.
This adds a delightful burst of flavor to each cookie.
Step 6: Chill the Dough
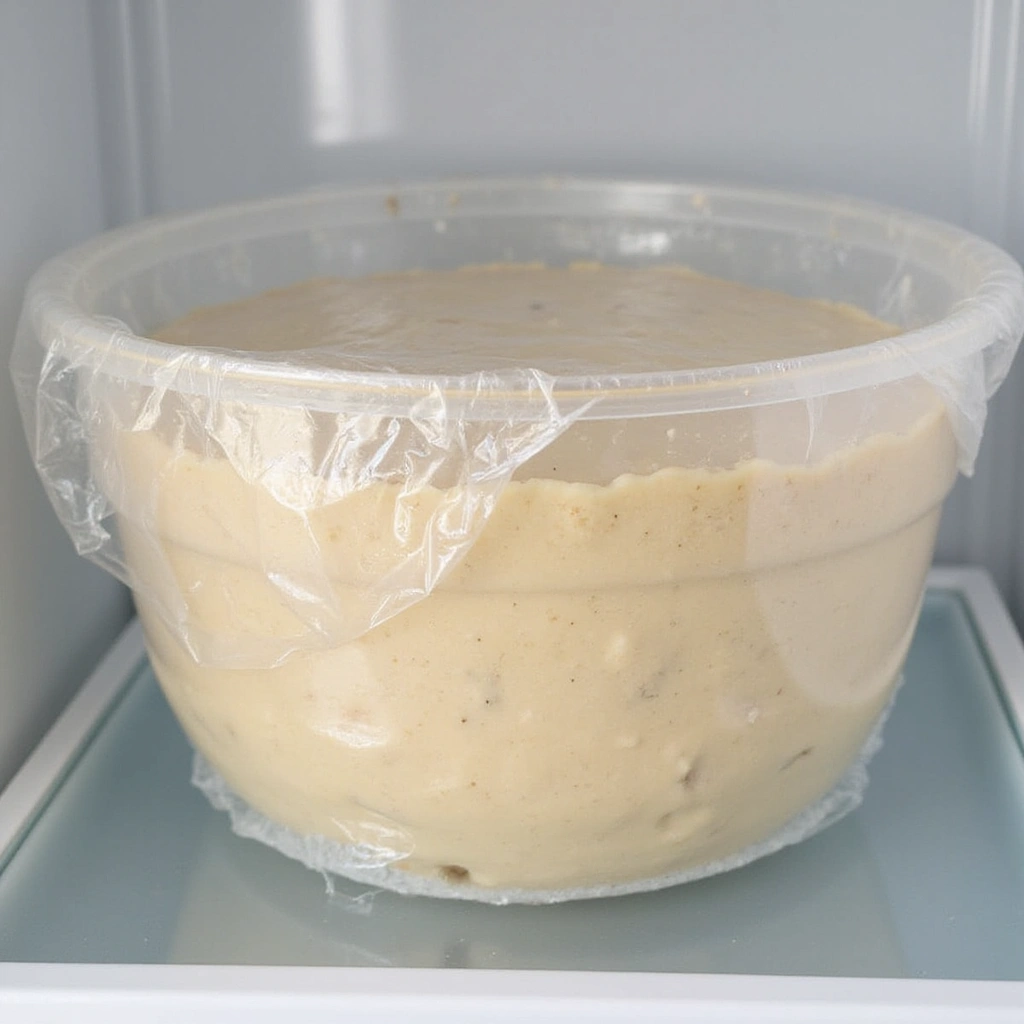
Cover the bowl with plastic wrap or a lid and place it in the refrigerator for at least 30 minutes.
This chilling time helps solidify the fats, resulting in thicker cookies.
You can chill longer if needed, up to overnight.
This step is key for preventing excessive spreading during baking.
Step 7: Preheat the Oven
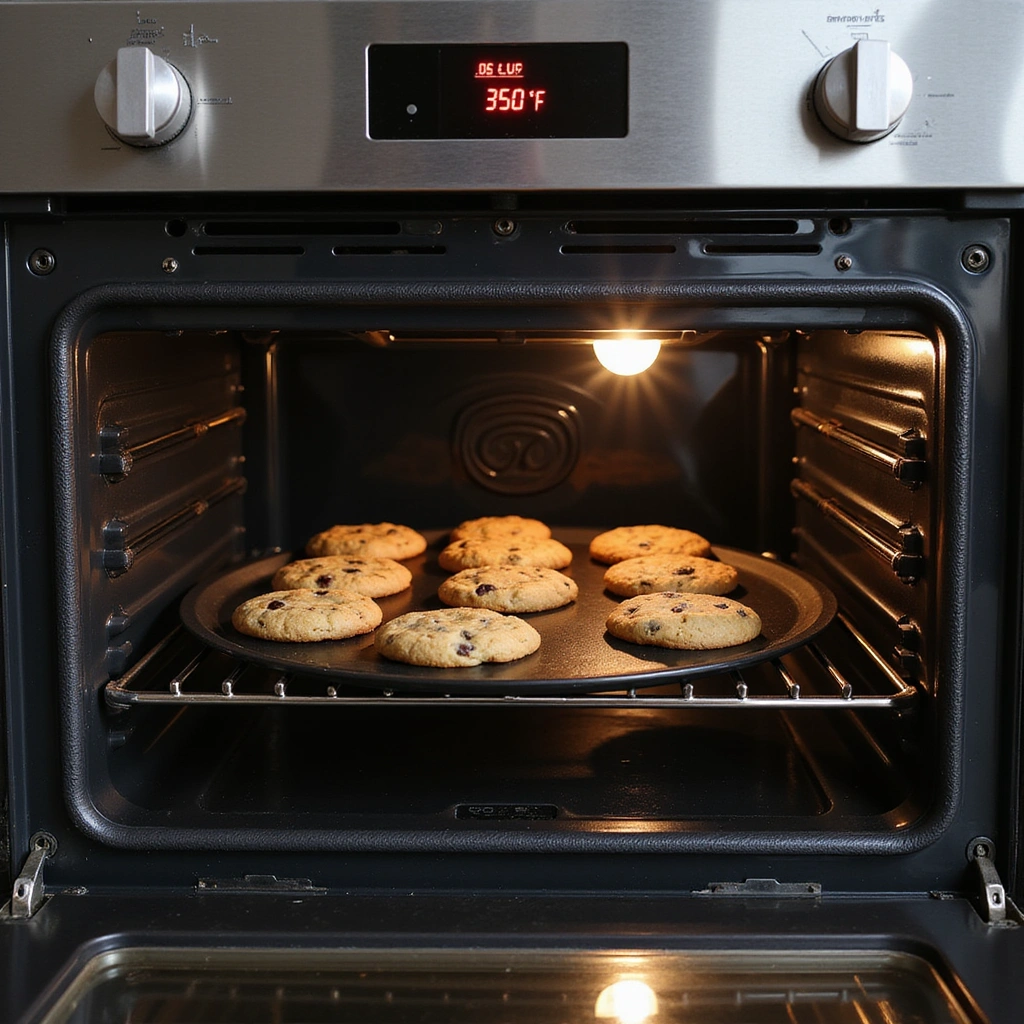
Preheat your oven to 350°F (175°C) to ensure even baking.
Allow at least 10-15 minutes for the oven to reach the desired temperature.
Use an oven thermometer to check accuracy if necessary.
A fully preheated oven is essential for proper cookie rise and texture.
Step 8: Scoop the Dough
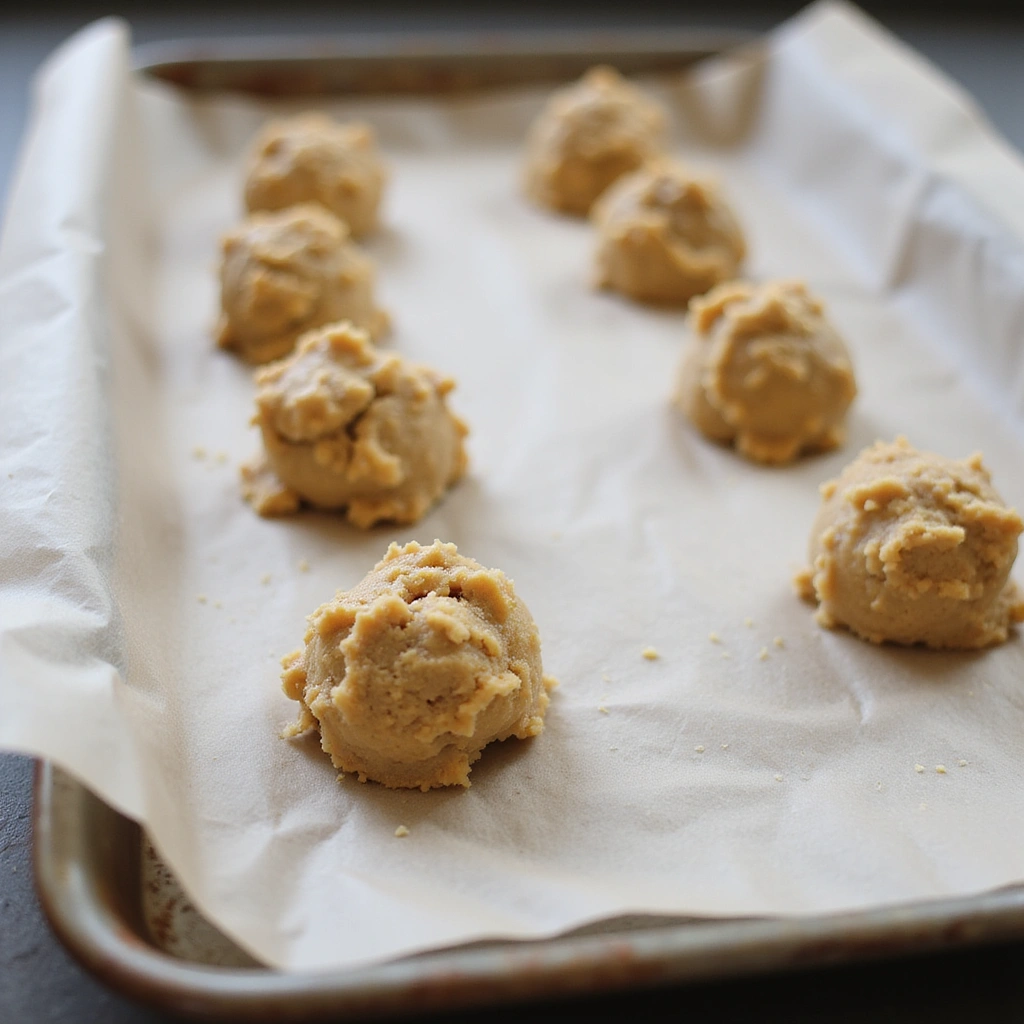
Remove the chilled dough from the refrigerator and use a cookie scoop to portion out the dough onto a baking sheet lined with parchment paper.
Leave enough space between each cookie to allow for spreading.
Aim for a uniform size to ensure even baking.
This step helps create uniformly shaped cookies.
Step 9: Bake the Cookies
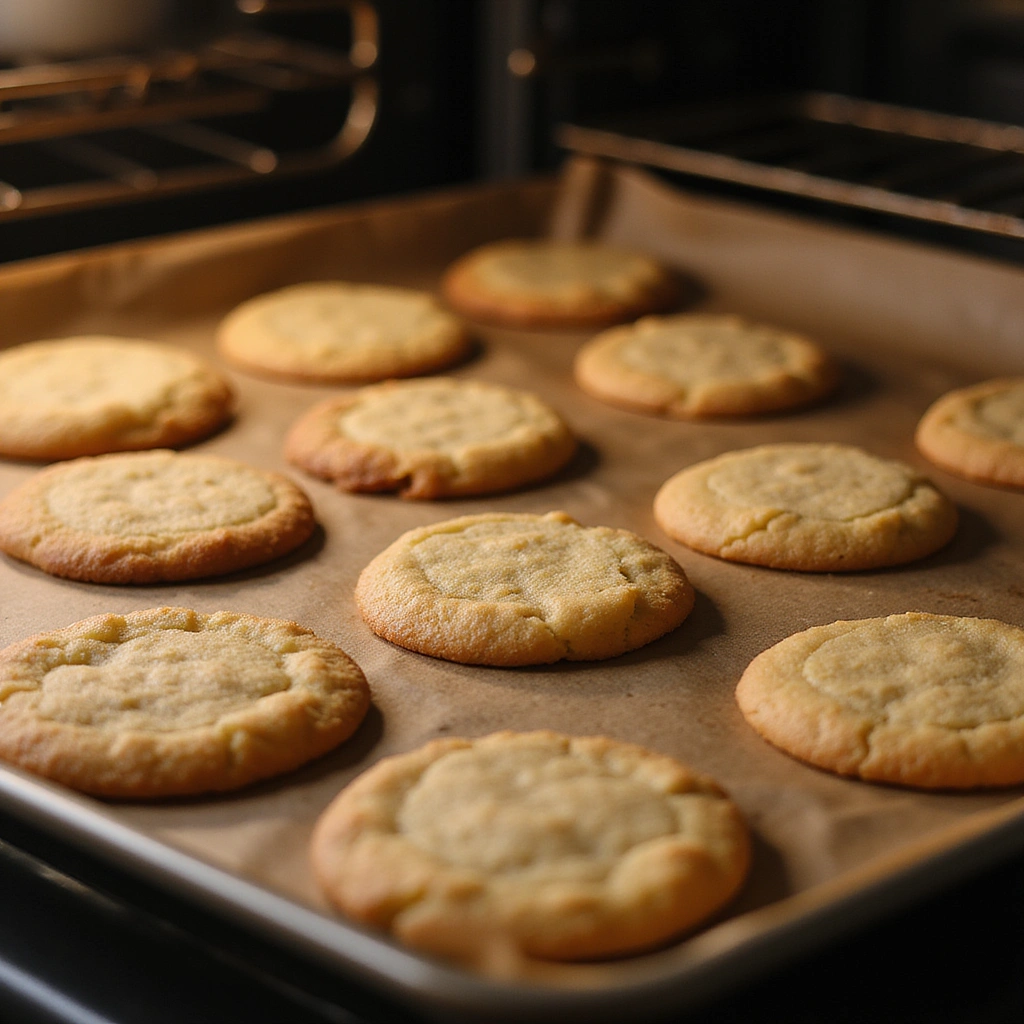
Place the baking sheet in the preheated oven and bake for 10-12 minutes.
Look for the edges to turn golden brown while the centers remain slightly soft.
Remove them from the oven before they look completely done; they will continue to cook on the sheet.
This timing is crucial for achieving the perfect chewy texture.
Step 10: Cool on a Wire Rack
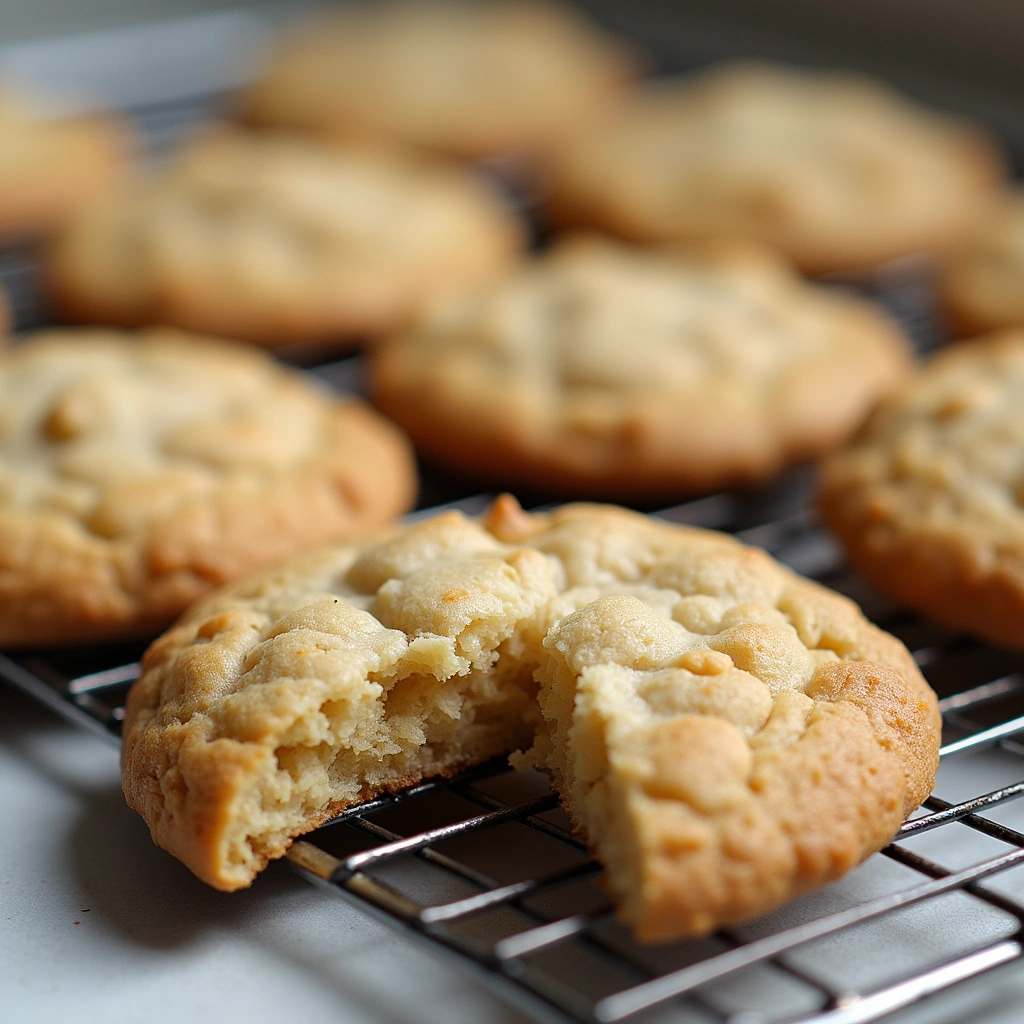
Once baked, allow the cookies to cool on the baking sheet for 5 minutes.
Then, transfer them to a wire rack to cool completely.
This prevents them from becoming soggy and maintains their crisp edges.
Proper cooling is essential for the ideal texture.
Critical Timing and Temperature Guide
Chilling Time: Chill cookie dough for at least 30 minutes but no more than 24 hours for the best texture. Look for a firm but pliable dough.
Baking Time: Bake cookies for 10-12 minutes until edges are golden. Avoid overbaking for a chewy center.
Cooling Time: Allow cookies to cool for at least 5 minutes on the baking sheet before transferring them. This helps them set without becoming too hard.
Pro Tips for Easy Cookie Recipes
• Ingredient Selection: Use high-quality chocolate chips, as they significantly enhance the cookie’s flavor.
• Preparation Secret: Chilling the dough is a simple yet effective step that improves texture and flavor.
• Temperature Management: Make sure your butter is at the right temperature for optimal creaming results.
• Texture Enhancement: Avoid overmixing the dough after adding flour to maintain a tender cookie.
• Flavor Layering: Consider adding a pinch of sea salt on top before baking for enhanced flavor.
• Make-Ahead Strategies: Cookie dough can be frozen for up to three months; just scoop and freeze on a baking sheet, then transfer to a bag.
• Restaurant-Quality Finishing Touches: Drizzle melted chocolate over cooled cookies for a gourmet look.
• Equipment Optimization: Use a kitchen scale for precise measurements of dry ingredients for consistent results.
Troubleshooting Common Issues
• Cookies Spread Too Much: This can happen if the dough is too warm or not chilled enough. Ensure you chill the dough and use cooled baking sheets.
• Texture Too Dense: Overmixing the dough can lead to a denser cookie. Mix just until combined after adding flour.
• Cookies Burn on the Bottom: This may occur if your baking sheet is not insulated. Use a double-layered baking sheet to prevent burning.
• Flavor Too Bland: Always season with a pinch of salt, even in sweet recipes, to enhance sweetness and flavor complexity.
• Cookies Too Hard: Overbaking can cause hard cookies. Remove them from the oven when they still look slightly underbaked in the center.
• Uneven Baking: Make sure to rotate your baking sheets halfway through baking to ensure even cooking.
Variations and Regional Differences
• Chocolate Chip Variations: Some regions add nuts or fruit to chocolate chip cookies, enhancing flavor and texture.
• Oatmeal Raisin Cookies: A popular alternative, these cookies use oats for added chewiness and a more wholesome feel.
• Peanut Butter Cookies: In the southern United States, peanut butter cookies are often made with a crisscross pattern and a sprinkle of sugar on top.
• Modern Interpretations: Today, many bakers incorporate trendy ingredients like matcha or vegan substitutes to cater to dietary preferences.
Food Science Behind the Recipe
• Maillard Reaction: This chemical reaction between sugars and proteins during baking produces the golden color and complex flavors of cookies. Understanding this helps with achieving the perfect bake.
• Emulsification: The process of combining butter and sugar creates a stable emulsion that contributes to a tender texture. Properly creaming these ingredients is essential for success.
• Gluten Development: When flour is mixed with wet ingredients, gluten forms, providing structure. Knowing when to stop mixing is key to maintaining tenderness in cookies.
Frequently Asked Questions
What’s the most common mistake people make when preparing cookie recipes? Many overlook the importance of chilling the dough, which can lead to excessive spreading.
Can I prepare components of this dish in advance? Yes, you can make the dough ahead of time and refrigerate it for up to 24 hours.
How do I adapt this recipe for dietary restrictions? Substitute gluten-free flour for a gluten-free version, and use dairy-free butter for dairy-free cookies.
What’s the best way to store and reheat leftovers? Store cookies in an airtight container at room temperature for up to a week. Reheat in the microwave for a few seconds to restore softness.
Can I freeze this dish? Yes, freeze the baked cookies in an airtight container for up to three months. Thaw at room temperature.
What wine or beverages pair best with this dish? Pair these cookies with milk, coffee, or dessert wines like port for a delightful experience.
How can I scale this recipe up for a crowd? Simply multiply the ingredient quantities while ensuring to bake in batches for even results.
What side dishes complement this recipe best? Serve with a glass of cold milk or a scoop of vanilla ice cream for a classic treat.
How do professional chefs elevate this dish for restaurant service? They often use high-quality ingredients and garnishes, like drizzles of gourmet sauces or toppings.
Serving and Presentation Guide
• Traditional Presentation: Arrange cookies neatly on a decorative plate, perhaps dusted with powdered sugar for an elegant touch.
• Modern Plating Ideas: Stack cookies vertically on a slate board with a side of dipping chocolate for a trendy presentation.
• Accompaniment Suggestions: Pair with fresh fruit or whipped cream for a delightful contrast.
• Special Occasion Presentation: Create cookie gift boxes with assorted flavors, tied with a ribbon for gifting at celebrations.
Conclusion
I hope you feel inspired to try these easy cookie recipes for your next bake sale or family gathering.
With their delightful flavors and simple preparation, they are sure to impress.
Baking is a wonderful way to create lasting memories and share joy with others.
Recipe Tags:
gluten-free
easy
dessert
quick
kid-friendly
bake sale
budget-friendly
make-ahead