
The classic deviled eggs recipe brings together centuries of culinary tradition with modern techniques to create a dish that’s both comforting and elegant.
The harmonious balance of creamy yolks and tangy mustard creates a memorable dining experience that will have everyone asking for your secret.
I discovered this recipe during a family gathering, where it was a staple appetizer that everyone loved.
Whether you’re preparing a casual family dinner or hosting a special celebration, these deviled eggs deliver impressive results with straightforward preparation.
The History and Cultural Significance
• Perfect Deviled Eggs trace their origins to ancient Rome, where it was originally created as a savory stuffed egg dish.
• The dish evolved over decades as spices and mayonnaise were introduced, eventually becoming the beloved version we know today.
• In the United States, this dish traditionally appears at picnics and holiday gatherings, symbolizing abundance and hospitality.
• While many variations exist across different regions, the authentic version maintains a creamy yolk mixture that sets it apart from imitations.
Recipe Overview
Nutritional Information (per serving)
Essential Equipment Guide
Egg Boiler: Ensures even cooking of eggs, preventing overcooked yolks. If unavailable, a regular saucepan works, but monitor closely to avoid boiling mishaps.
Mixing Bowl: Important for evenly combining yolk mixture. Opt for a medium-sized, non-reactive bowl.
Piping Bag: Provides professional presentation for yolk filling. A plastic sandwich bag with a corner snipped off is a suitable alternative.
Ingredients
For the Base
|
|
| Amount | Ingredient | Notes |
|---|---|---|
| 6 large | eggs | hard-boiled, peeled |
For the Filling
| Amount | Ingredient | Notes |
|---|---|---|
| 3 tablespoons | mayonnaise | adds creaminess |
| 1 teaspoon | yellow mustard | provides tang |
| 1 teaspoon | white vinegar | adds acidity |
| 1/8 teaspoon | salt | enhances flavor |
| 1/8 teaspoon | black pepper | adds mild heat |
Garnish
| Amount | Ingredient | Notes |
|---|---|---|
| 1 teaspoon | paprika | for color and mild flavor |
| 1 tablespoon | chives | finely chopped, optional |
Preparation Methods
Hard-Boiling Eggs: Carefully place eggs in a single layer in a saucepan, cover with water, and bring to a boil over medium-high heat. Once boiling, cover and remove from heat, letting them sit for 10 minutes to achieve perfect consistency.
Yolk Mixing: Mash yolks with a fork or potato masher to achieve a smooth mixture. This technique prevents lumps and ensures even distribution of flavors.
Piping with Precision: Use a piping bag fitted with a star tip to fill egg whites for a decorative touch. Practice on a plate first to control flow and avoid overfilling.
Step 1: Boil the Eggs
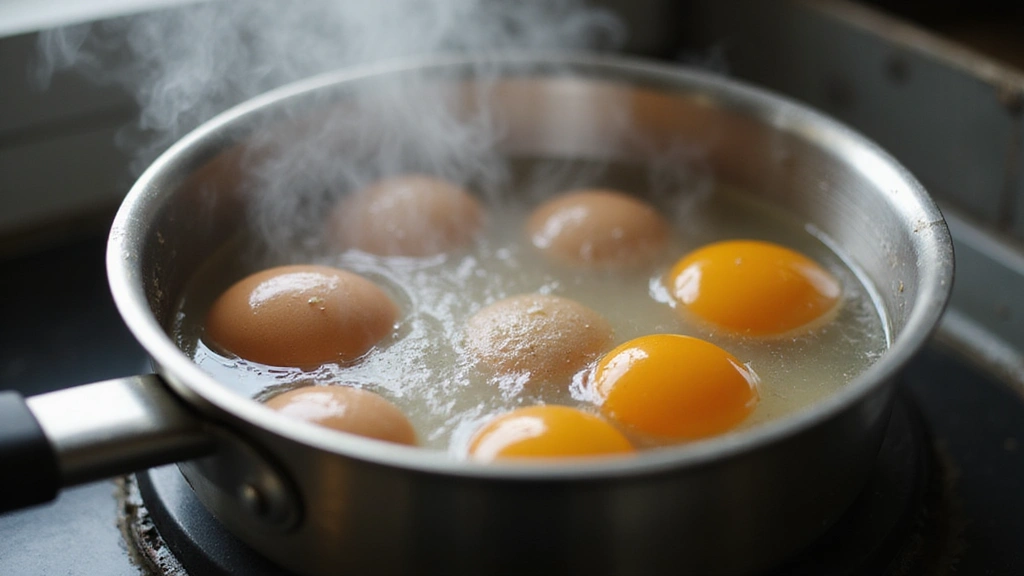
Place eggs in a single layer in a saucepan.
Cover with water until it's an inch above the eggs.
Bring to a boil over medium-high heat.
Remove from heat and let sit covered for 10 minutes.
Step 2: Cool the Eggs

Transfer eggs to an ice bath immediately after boiling.
Let sit for 5 minutes to stop the cooking process.
Ensure eggs are completely cooled before peeling.
This prevents the yolk from developing a green ring.
Step 3: Peel the Eggs
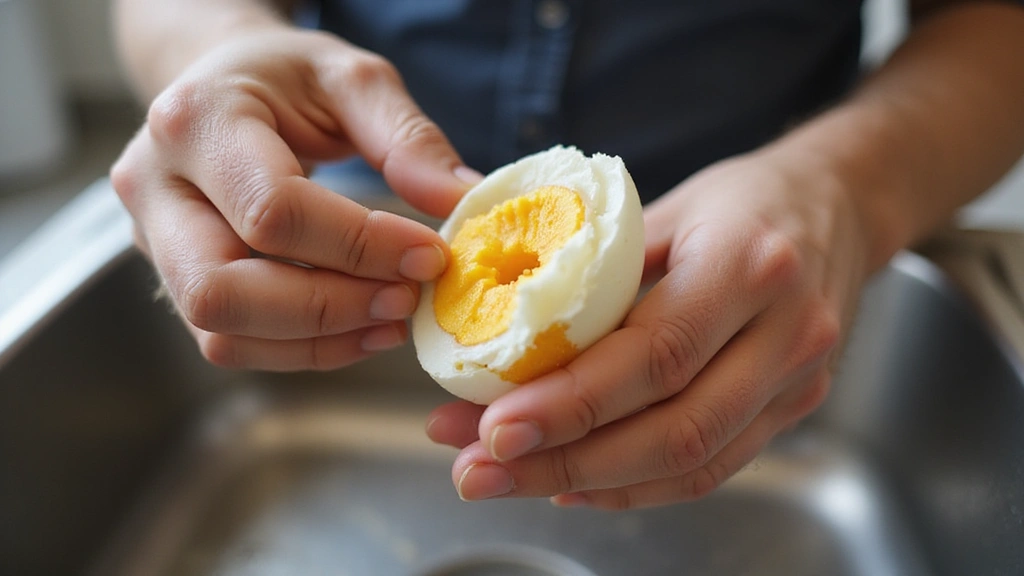
Gently tap each egg on the counter to crack the shell.
Roll the egg to loosen the shell for easy peeling.
Rinse under cold water to remove any remaining shell pieces.
Pat each egg dry with a paper towel.
Step 4: Halve the Eggs
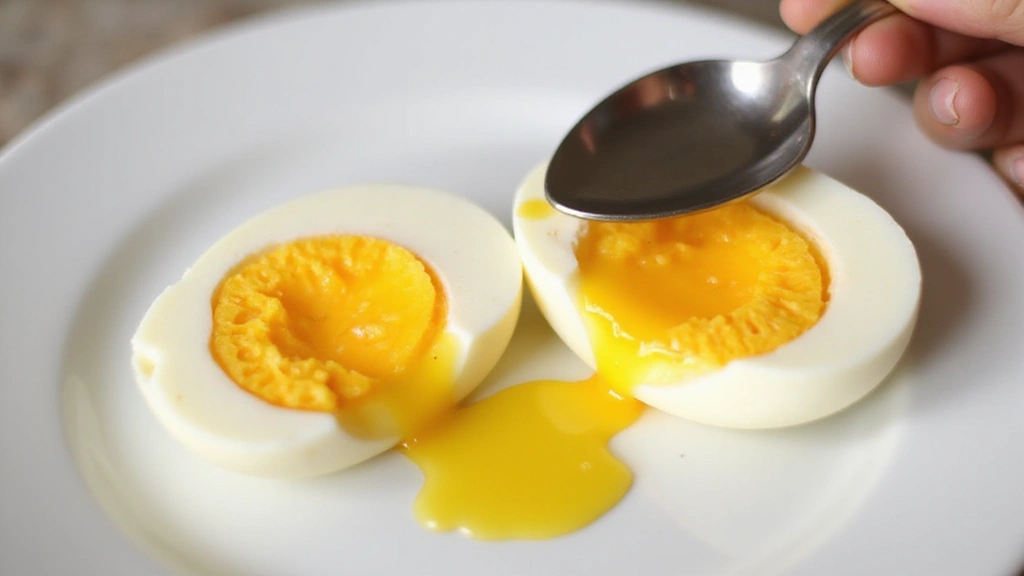
Slice each egg in half lengthwise using a sharp knife.
Wipe the knife between cuts for clean slices.
Carefully remove the yolks and place them in a bowl.
Ensure whites remain intact for filling.
Step 5: Mix the Filling

Mash yolks with a fork until crumbly.
Add mayonnaise, mustard, vinegar, salt, and pepper.
Mix until smooth and creamy.
Adjust seasoning to taste.
Step 6: Prepare the Piping Bag
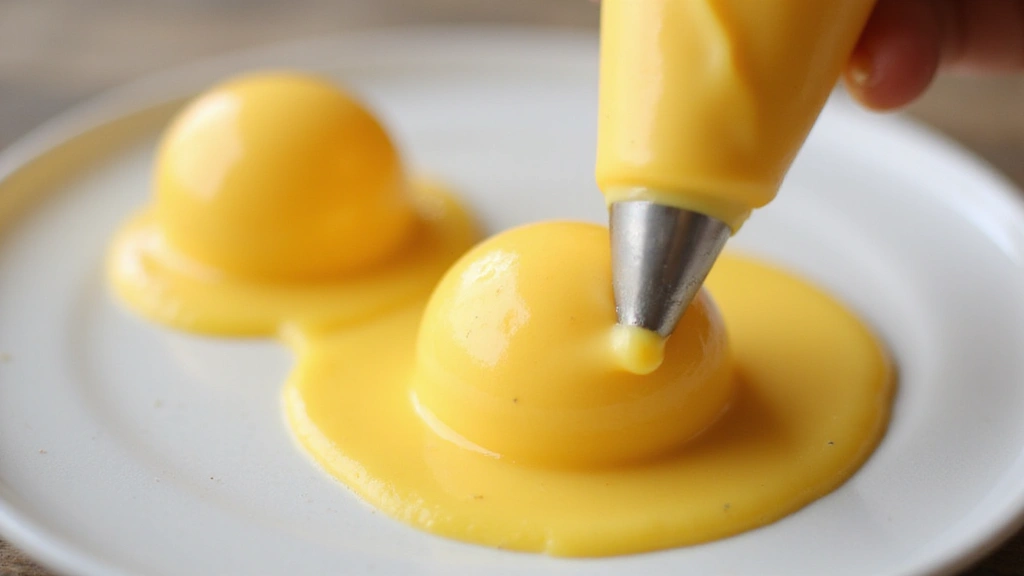
Fit a piping bag with a star tip.
Fill the bag with the yolk mixture.
Twist the top to secure and remove air.
Practice piping onto a plate for consistency.
Step 7: Fill the Egg Whites
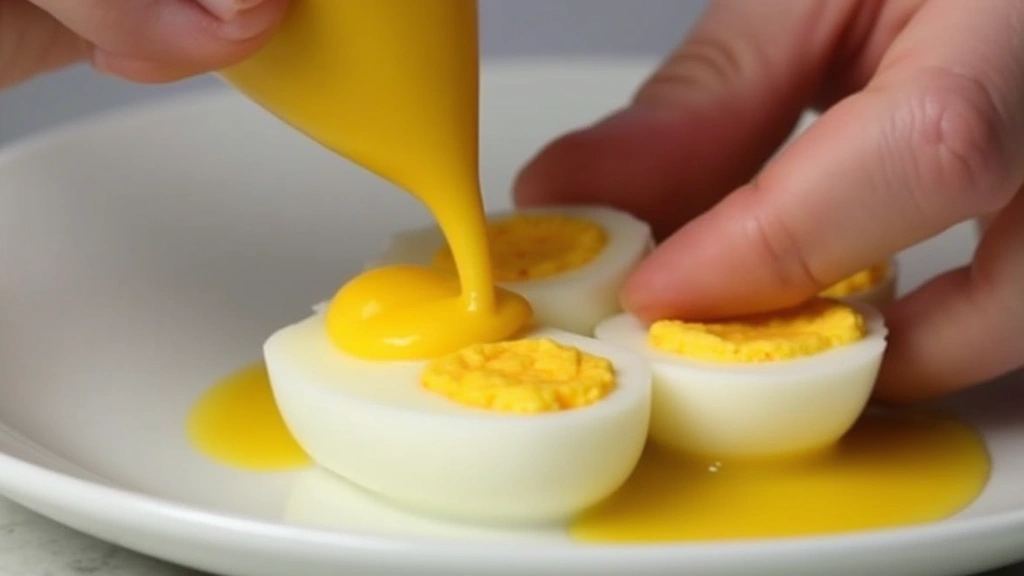
Pipe yolk mixture into the cavity of each egg white.
Start from the outer edge and swirl inward.
Ensure an even and decorative filling.
Clean any spills with a damp cloth.
Step 8: Garnish and Serve
Sprinkle paprika over the filled eggs for color.
Add finely chopped chives if using.
Arrange eggs on a serving platter.
Chill before serving for best flavor.
Critical Timing and Temperature Guide
Boiling Eggs: Boil eggs for 10 minutes for perfectly cooked yolks without a green ring.
Cooling Eggs: Ice bath for 5 minutes halts cooking and makes peeling easier.
Piping Filling: Pipe filling immediately after mixing to maintain smooth texture and prevent drying out.
Pro Tips for Perfect Deviled Eggs
• Ingredient Selection: Opt for fresh, free-range eggs for richer yolks and better flavor.
• Preparation Secret: Adding a splash of vinegar to boiling water helps prevent egg whites from leaking if the shell cracks.
• Temperature Management: Ensure eggs and filling are fully chilled before serving for optimal flavor.
• Texture Enhancement: Use a fine-mesh sieve to press yolks through for an ultra-smooth filling.
• Flavor Layering: Incorporate a pinch of cayenne pepper into the filling for a subtle kick.
• Make-Ahead Strategies: Prepare eggs a day in advance and store whites and yolk mixture separately until assembly.
• Restaurant-Quality Finishing Touches: Use a torch to lightly caramelize paprika for a smoky finish.
• Equipment Optimization: Ensure piping bags are free from air bubbles to avoid uneven filling.
Troubleshooting Common Issues
• Texture Too Dense: Overmixing yolks can cause a dense texture; mash gently and combine until just smooth.
• Flavors Unbalanced: Taste filling before piping; adjust seasoning by adding small increments of salt or mustard.
• Filling Too Runny: Excess mayonnaise can thin filling; reduce amount and add more yolks if needed.
• Eggs Difficult to Peel: Fresh eggs are harder to peel; use eggs nearing expiration for easier peeling.
• Yolks Turn Green: Caused by overcooking; follow precise boiling and cooling method to prevent this.
Variations and Regional Differences
• Southern Style: Includes sweet relish and a dash of hot sauce for a tangy, spicy twist.
• French Twist: Incorporates Dijon mustard and tarragon, lending a sophisticated flavor profile.
• Spicy Mexican: Adds jalapeño and cilantro for heat and freshness, giving a bold, flavorful kick.
• Asian Fusion: Uses wasabi and soy sauce in the filling for a unique, umami-rich variation.
Food Science Behind the Recipe
• Protein Coagulation: Understanding the temperature at which egg proteins coagulate helps achieve perfectly cooked eggs without overcooking.
• Emulsification: The combination of fats in mayonnaise with other ingredients creates a smooth, stable filling.
• Flavor Absorption: The filling's resting time allows flavors to meld, enhancing overall taste.
Frequently Asked Questions
What's the most common mistake people make when preparing deviled eggs? Overcooking the eggs, which can lead to rubbery whites and green yolks.
Can I make deviled eggs ahead of time? Yes, prepare components separately and assemble just before serving to maintain freshness.
How do I prevent the filling from becoming too runny? Control the amount of mayonnaise and ensure yolks are well-mashed before adding other ingredients.
Is there a way to make deviled eggs lower in calories? Substitute some mayonnaise with Greek yogurt for a lighter version.
What can I use as a garnish besides paprika? Try chives, dill, or even crispy bacon bits for varied flavors and textures.
How do I avoid overcooking the eggs? Use a timer and follow precise boiling and cooling methods for consistent results.
Why do my deviled eggs have a sulfur smell? Overcooked yolks can release sulfur compounds; proper cooking prevents this issue.
Serving and Presentation Guide
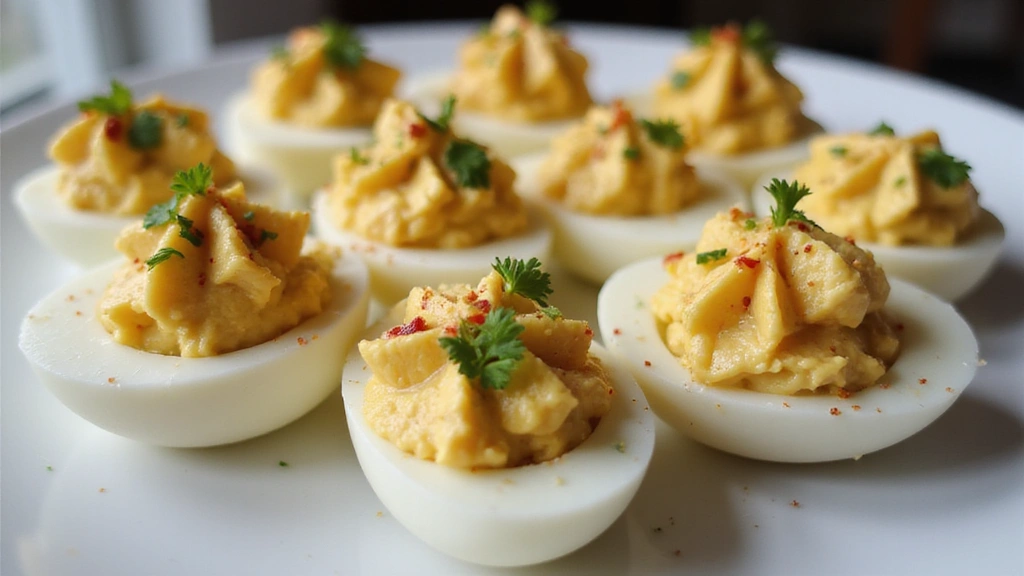
• Traditional Presentation: Arrange deviled eggs neatly on a round platter, garnished with paprika and chives.
• Modern Minimalist: Serve on individual tasting spoons for an elegant touch at cocktail parties.
• Rustic Style: Use a wooden board and garnish with edible flowers for a natural, farm-to-table feel.
• Festive Arrangement: Decorate with seasonal herbs and vegetables for holiday-themed gatherings.
Conclusion
Now that you have the secrets to making perfect deviled eggs, it's time to impress your guests.
With their creamy texture and rich flavor, these eggs are sure to be a hit at any gathering.
Try this recipe today and enjoy a timeless appetizer that's loved by all.