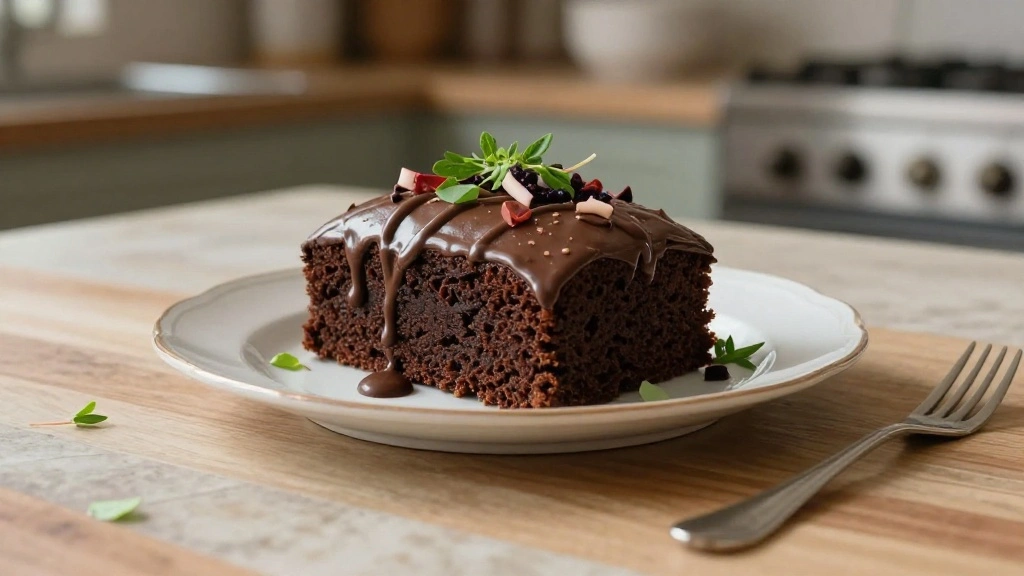
This classic Chocolate Pound Cake brings together centuries of culinary tradition with modern techniques to create a dessert that’s both comforting and elegant.
The harmonious balance of rich chocolate and buttery undertones creates a memorable dining experience that will have everyone asking for your secret.
I first discovered this recipe through my grandmother, who cherished it as a family heirloom, passed down through generations.
Whether you’re preparing a casual family dinner or hosting a special celebration, this Classic Chocolate Pound Cake delivers impressive results with straightforward preparation.
Its dense yet tender crumb and deep chocolate flavor make it a timeless favorite.
Perfect for any occasion, this cake promises to delight both young and old alike.
The History and Cultural Significance
• Chocolate Pound Cake traces its origins to 18th-century Europe, where it was originally created by home bakers using equal parts of flour, butter, eggs, and sugar.
• The dish evolved over decades as chocolate became more widely available, eventually becoming the beloved version we know today.
• In many cultures, this dish traditionally appears at holiday gatherings and celebrations, symbolizing warmth and togetherness.
• While many variations exist across different regions, the authentic version maintains its dense texture and rich flavor that sets it apart from imitations.
Recipe Overview
Nutritional Information (per serving)
Essential Equipment Guide
Stand Mixer: A stand mixer is crucial for achieving a smooth and evenly mixed batter, which is key for a dense yet tender crumb. Hand mixers can also work but may require more effort.
Loaf Pan: A standard 9×5-inch loaf pan ensures the cake bakes evenly. Non-stick options are ideal, but if unavailable, thoroughly greasing and flouring a regular pan will suffice.
Cooling Rack: Allows the pound cake to cool evenly and prevents the bottom from becoming soggy. Alternatives include any wire rack that provides airflow underneath the cake.
Ingredients
For the Cake Base
|
|
| Amount | Ingredient | Notes |
|---|---|---|
| 1 cup | unsalted butter | softened, adds richness |
| 1 3/4 cups | granulated sugar | provides sweetness |
| 4 large | eggs | at room temperature, for structure |
| 1 teaspoon | vanilla extract | for aroma |
| 2 cups | all-purpose flour | sifted for light texture |
| 1/2 cup | cocoa powder | sifted, for chocolate flavor |
| 1/2 teaspoon | baking powder | for slight lift |
| 1/2 teaspoon | salt | enhances flavor |
| 1 cup | whole milk | adds moisture |
Preparation Methods
Creaming Method: This technique involves beating butter and sugar until light and fluffy. It incorporates air into the batter, essential for a tender cake. Use medium speed on a stand mixer for best results.
Sifting Ingredients: Sifting flour and cocoa powder ensures a smooth batter and prevents lumps. It also aerates the ingredients, contributing to the cake's texture.
Checking Doneness: Insert a toothpick into the center of the cake; it should come out with a few moist crumbs. This prevents overbaking, which can lead to dryness.
Step 1: Prepare Ingredients

Start by gathering all the ingredients.
Make sure butter is softened and eggs are at room temperature.
Measure out each ingredient precisely.
Preheat your oven to 325°F (163°C).
Step 2: Cream Butter and Sugar

Add softened butter and sugar to the bowl of a stand mixer.
Beat on medium speed until the mixture is light and fluffy, about 3-5 minutes.
Scrape down the sides of the bowl to ensure even mixing.
This step is crucial for incorporating air, which helps the cake rise.
Step 3: Incorporate Eggs and Vanilla

Add eggs one at a time, mixing well after each addition.
Pour in vanilla extract and mix until combined.
Scrape the sides of the bowl to ensure all ingredients are incorporated.
The mixture should appear smooth and slightly thickened.
Step 4: Sift Dry Ingredients

In a separate bowl, sift together flour, cocoa powder, baking powder, and salt.
Sifting ensures there are no lumps in the batter.
It also helps to evenly distribute the leavening agent and cocoa.
This step contributes to the cake's smooth texture.
Step 5: Combine Dry and Wet Ingredients

Gradually add the dry ingredients to the wet ingredients in the stand mixer.
Alternate with adding milk, starting and ending with the flour mixture.
Mix on low speed to prevent the batter from becoming too dense.
The final batter should be smooth and well combined.
Step 6: Prepare the Loaf Pan
Grease a 9x5-inch loaf pan with butter or non-stick spray.
Lightly flour the pan, shaking out excess flour.
This prevents the cake from sticking and ensures easy removal.
Ensure even coverage for best results.
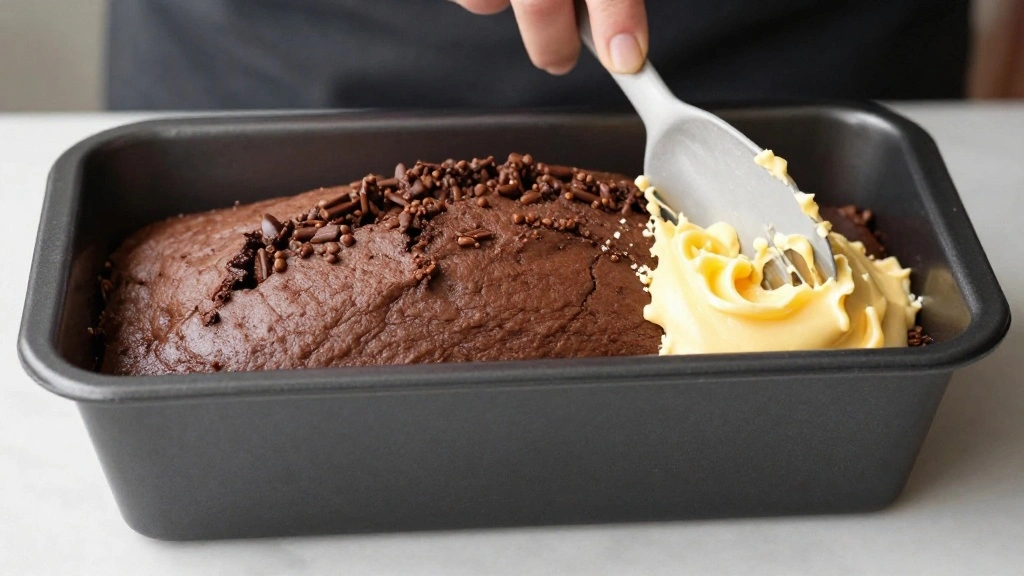
Step 7: Pour Batter into Pan

Pour the batter into the prepared loaf pan.
Use a spatula to smooth the top of the batter.
Tap the pan gently on the counter to remove air bubbles.
This ensures the cake bakes evenly.
Step 8: Bake the Cake

Place the pan in the preheated oven.
Bake for 60 minutes, or until a toothpick inserted into the center comes out with a few moist crumbs.
Rotate the pan halfway through baking for even cooking.
Avoid opening the oven door frequently to maintain the temperature.
Step 9: Cool the Cake

Remove the cake from the oven and let it cool in the pan for 10 minutes.
Run a knife around the edges to loosen the cake.
Carefully invert the cake onto a cooling rack.
Allow it to cool completely before slicing.
Step 10: Slice and Serve
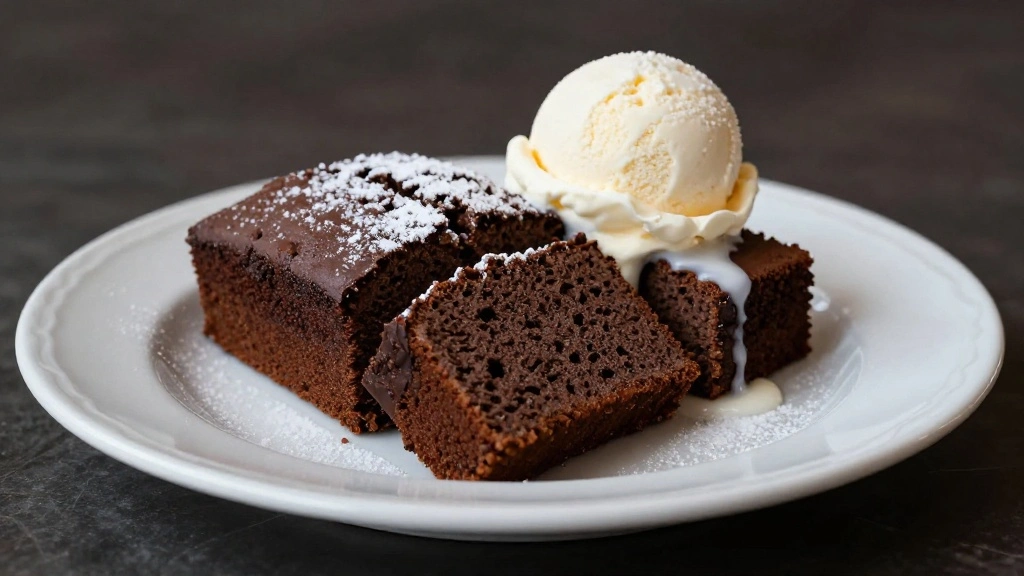
Once the cake is completely cooled, slice it into desired thickness.
Serve it plain, or with a dusting of powdered sugar.
For a special touch, add a scoop of vanilla ice cream.
Enjoy your classic chocolate pound cake with friends and family.
Critical Timing and Temperature Guide
Baking: Bake at 325°F (163°C) for 60 minutes. Look for a firm top and a toothpick that comes out with a few moist crumbs. Avoid overbaking as it can dry out the cake.
Cooling: Allow the cake to cool in the pan for 10 minutes, then transfer to a wire rack. This prevents the cake from continuing to cook and becoming overdone.
Serving: The cake should be completely cooled before slicing. This ensures clean cuts and prevents crumbling.
Pro Tips for Chocolate Pound Cake
• Ingredient Selection: Use high-quality cocoa powder for a rich chocolate flavor. This is the key ingredient that makes the biggest difference in taste.
• Preparation Secret: Adding eggs one at a time ensures better emulsification, leading to a smoother batter.
• Temperature Management: Ensure all ingredients are at room temperature before mixing. This helps them combine more easily and evenly.
• Texture Enhancement: Sifting the dry ingredients aerates them, leading to a lighter cake texture.
• Flavor Layering: Adding a pinch of espresso powder enhances the chocolate flavor without being noticeable.
• Make-Ahead Strategies: The cake can be baked a day in advance. Wrap it tightly in plastic wrap and store at room temperature.
• Restaurant-Quality Finishing Touches: Garnish with a light dusting of powdered sugar or a drizzle of chocolate ganache for an elegant presentation.
• Equipment Optimization: Use a stand mixer to achieve a well-aerated batter, which leads to a better texture in the final cake.
Troubleshooting Common Issues
• Texture Too Dense: This can occur if the butter and sugar are not creamed properly. Ensure they are mixed until light and fluffy.
• Flavors Unbalanced: If the cake tastes too sweet, check that the correct amount of cocoa powder was used. It balances the sugar.
• Cake Sticks to Pan: Ensure the pan is thoroughly greased and floured. Alternatively, use parchment paper for easy removal.
• Crumbly Cake: This can happen if the cake is cut while still warm. Always let it cool completely before slicing.
• Overbaked or Dry Cake: Confirm that the oven temperature is accurate and avoid overbaking by checking for doneness with a toothpick.
Variations and Regional Differences
• French Style: Often includes the addition of a splash of rum or brandy, giving it a unique aroma and depth of flavor.
• German Variation: Incorporates ground nuts, such as almonds or hazelnuts, for added texture and a nutty flavor.
• American Twist: Sometimes includes chocolate chips or a swirl of peanut butter for a richer, more indulgent cake.
• British Influence: May be served with a layer of marzipan or fondant for special occasions, adding a sweet, decorative finish.
Food Science Behind the Recipe
• Creaming Process: This method incorporates air, which expands during baking, contributing to the cake's rise and light texture.
• Role of Eggs: Eggs provide structure and stability, as their proteins coagulate during baking, setting the cake's final form.
• Importance of Sifting: Sifting not only removes lumps but also aerates the flour and cocoa, ensuring even distribution and a finer crumb.
Frequently Asked Questions
What's the most common mistake people make when preparing Chocolate Pound Cake? Overmixing the batter, which can lead to a dense cake.
Can I use salted butter instead of unsalted? Yes, but reduce the added salt in the recipe by half to maintain balance.
How do I store the cake to keep it fresh? Wrap it tightly in plastic wrap and store at room temperature for up to 3 days.
Can I freeze Chocolate Pound Cake? Yes, wrap slices individually and freeze for up to 2 months. Thaw at room temperature.
How can I make this cake gluten-free? Substitute all-purpose flour with a 1:1 gluten-free baking blend.
What should I do if my cake sinks in the middle? Ensure that the cake is fully baked before removing it from the oven, as underbaking can cause sinking.
Can I add mix-ins like nuts or chocolate chips? Absolutely, fold them into the batter gently to avoid deflating it.
Serving and Presentation Guide
• Traditional Presentation: Serve slices on a large platter with a light dusting of powdered sugar for a classic look.
• Elegant Arrangement: Accompany each slice with a dollop of whipped cream and a few fresh berries for a pop of color.
• Casual Style: Serve with a scoop of vanilla ice cream and a drizzle of chocolate sauce for a comforting dessert.
• Festive Presentation: Garnish with edible flowers or chocolate shavings for a special occasion.
Conclusion
Now that you have all the steps and tips, it's time to create your own Classic Chocolate Pound Cake.
This recipe promises to deliver a rich, decadent dessert that will impress everyone who tastes it.
Embrace the joy of baking this timeless treat and share it with your loved ones.
Enjoy the process and the delightful results!