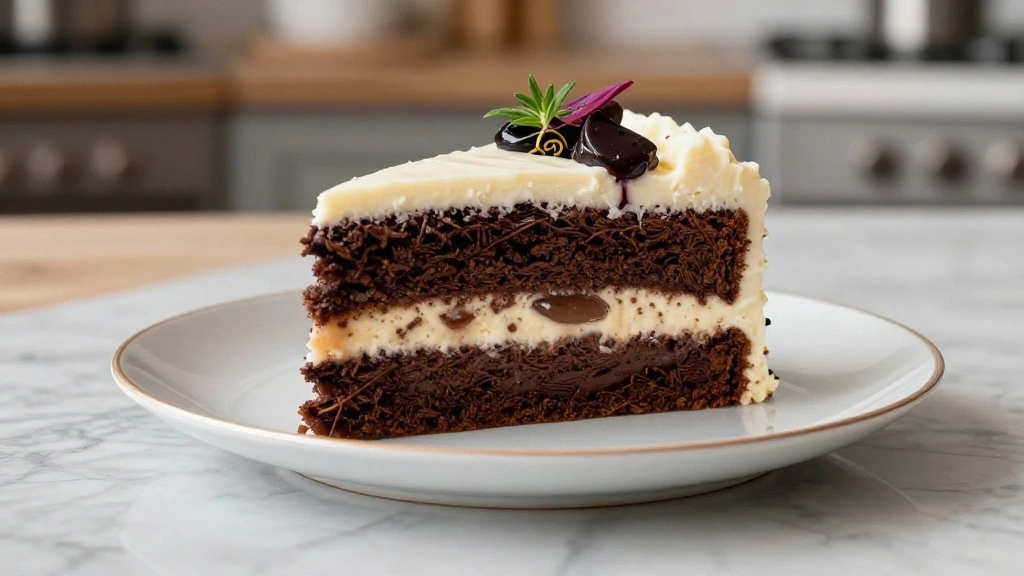
The allure of a well-made Chocolate Layer Cake is unmatched, with its rich and decadent flavors creating a symphony of sweetness.
The creamy frosting adds a luscious contrast to the dense, moist layers of chocolate, making it a perennial favorite at celebrations and gatherings.
I first encountered this delightful dessert at a family reunion, where it was the centerpiece of our festive table, and I’ve been perfecting the recipe ever since.
Whether you’re celebrating a birthday, an anniversary, or simply indulging your sweet tooth, this Chocolate Layer Cake with Creamy Frosting is sure to impress.
Its harmonious blend of textures and flavors is bound to make it a cherished recipe in your collection.
The History and Cultural Significance
• Chocolate Layer Cake traces its origins to the United States in the late 19th century, where it was originally created by passionate home bakers inspired by European baking traditions.
• The dish evolved over decades as baking techniques improved and the accessibility of quality chocolate increased, eventually becoming the beloved version we know today.
• In American culture, this dish traditionally appears at birthdays and weddings, symbolizing celebration and indulgence.
• While many variations exist across different regions, the authentic version maintains its signature layered structure and rich chocolate flavor that sets it apart from imitations.
Recipe Overview
Nutritional Information (per serving)
Essential Equipment Guide
Stand Mixer: A stand mixer is crucial for achieving the right consistency in both the cake batter and the frosting. While you can use a hand mixer as an alternative, a stand mixer provides more power and even mixing.
Offset Spatula: This tool is important for spreading the frosting evenly and smoothly across the cake layers. A butter knife can serve as a substitute, but an offset spatula offers greater control.
Springform Pans: Using springform pans ensures easy removal of the cake layers without damaging them. Look for ones that are non-stick and have a tight seal to prevent leaks.
Ingredients
For the Cake
|
|
| Amount | Ingredient | Notes |
|---|---|---|
| 2 cups | all-purpose flour | sifted for light texture |
| 1 cup | unsweetened cocoa powder | provides rich chocolate flavor |
| 1 1/2 teaspoons | baking powder | helps cake rise |
| 1/2 teaspoon | baking soda | aids in leavening |
| 1 teaspoon | salt | enhances flavor |
| 3/4 cup | unsalted butter | softened, adds richness |
| 2 cups | granulated sugar | sweetens and adds structure |
| 3 large | eggs | room temperature, binds ingredients |
| 2 teaspoons | vanilla extract | adds depth of flavor |
| 1 1/2 cups | buttermilk | room temperature, adds moisture |
For the Frosting
| Amount | Ingredient | Notes |
|---|---|---|
| 1 cup | unsalted butter | softened, creamy base |
| 3 1/2 cups | powdered sugar | sifted, adds sweetness |
| 1/2 cup | unsweetened cocoa powder | provides chocolate flavor |
| 1/4 cup | heavy cream | adjusts consistency |
| 2 teaspoons | vanilla extract | enhances flavor |
| 1/4 teaspoon | salt | balances sweetness |
Preparation Methods
Creaming Butter and Sugar: Creaming involves beating the butter and sugar together until light and fluffy. This process incorporates air, which is crucial for the cake's texture. Use a stand mixer at medium speed for best results.
Sifting Dry Ingredients: Sifting ensures that the flour, cocoa, baking powder, and baking soda are free of lumps and evenly combined. This step is essential for a smooth batter and even baking.
Folding: Folding is a gentle mixing method used to combine the dry ingredients into the wet. This technique prevents over-mixing, which can lead to a dense cake. Use a spatula to fold, lifting from the bottom of the bowl.
Step 1: Preheat the Oven

Preheat your oven to 350°F (175°C).
Ensure oven racks are centered.
This allows for even baking.
Preheating is crucial to start baking immediately.
Step 2: Prepare the Cake Pans

Grease two 9-inch round cake pans with butter.
Line the bottoms with parchment paper.
This prevents sticking and ensures easy removal.
Proper preparation saves time and keeps layers intact.
Step 3: Sift Dry Ingredients

Sift together flour, cocoa powder, baking powder, baking soda, and salt.
Use a fine-mesh sieve for best results.
This ensures a lump-free mixture.
Sifting is essential for a smooth batter.
Step 4: Cream Butter and Sugar

In a stand mixer, beat butter and sugar on medium speed.
Continue until light and fluffy, about 3-5 minutes.
Scrape down the sides as needed.
Proper creaming creates a tender cake.
Step 5: Add Eggs and Vanilla

Add eggs one at a time to the creamed mixture.
Beat well after each addition.
Add vanilla extract and mix until combined.
Incorporating eggs properly ensures even texture.
Step 6: Combine Wet and Dry Ingredients

Alternate adding dry ingredients and buttermilk to the batter.
Begin and end with the dry ingredients.
Mix on low speed until just combined.
Avoid over-mixing to keep the cake light.
Step 7: Divide and Bake

Divide the batter evenly between the prepared pans.
Smooth the tops with a spatula.
Bake for 30-35 minutes until a toothpick comes out clean.
Even division ensures uniform layers.
Step 8: Make the Frosting

Beat butter in a stand mixer until creamy.
Gradually add powdered sugar and cocoa powder.
Mix in heavy cream, vanilla, and salt.
Adjust consistency with extra cream if needed.
Step 9: Cool and Assemble Cake
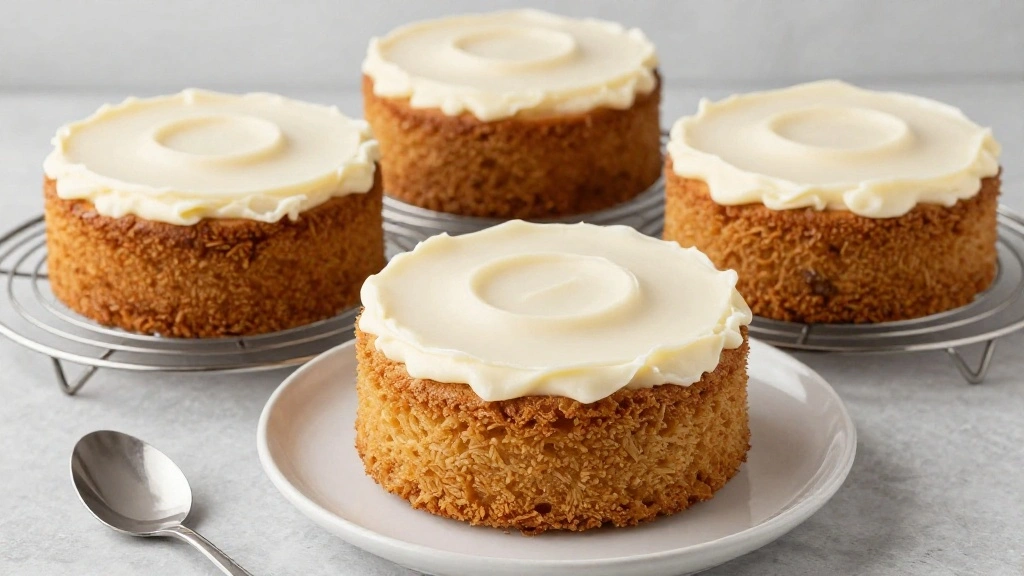
Allow cake layers to cool in pans for 10 minutes.
Remove from pans and cool completely on wire racks.
Place one layer on a serving plate.
Spread frosting evenly over the top.
Step 10: Frost and Decorate
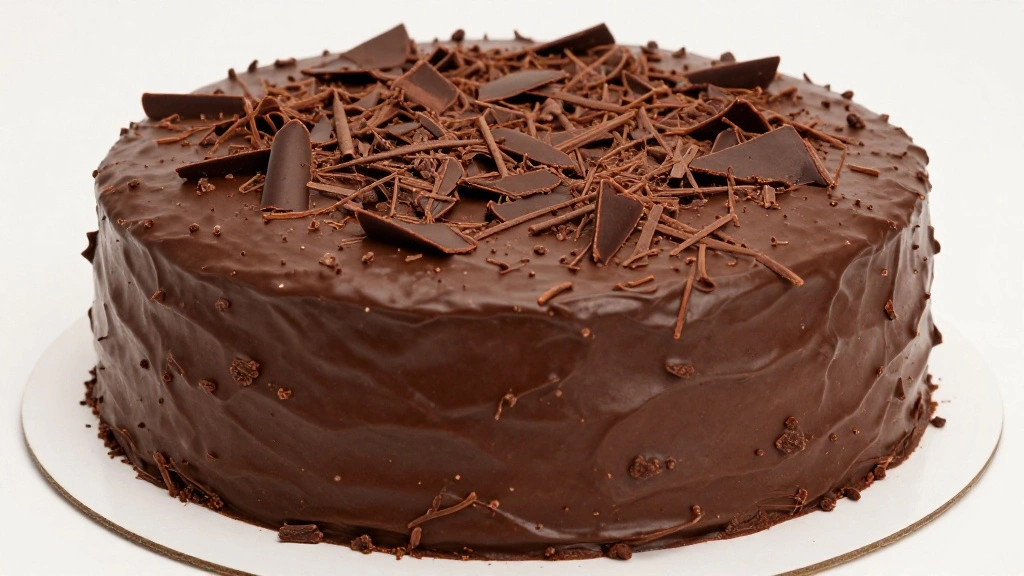
Place the second layer on top of the first.
Apply frosting over the top and sides.
Smooth with an offset spatula.
Decorate with chocolate shavings if desired.
Critical Timing and Temperature Guide
Baking the Cake: Bake at 350°F (175°C) for 30-35 minutes. Cake is done when a toothpick inserted in the center comes out clean. Avoid opening the oven door too early, which can cause the cake to collapse.
Cooling the Cake: Allow layers to cool in the pans for about 10 minutes before transferring to wire racks. Cooling completely before frosting is crucial to prevent melting the frosting.
Frosting Consistency: Beat butter for about 2 minutes before adding other ingredients. Adjust with cream to achieve a spreadable, smooth consistency. Too thick or too thin frosting can affect the cake's appearance and ease of spreading.
Pro Tips for Chocolate Layer Cake
• Ingredient Selection: Choose high-quality cocoa powder and vanilla extract, as these ingredients significantly impact the cake's flavor.
• Preparation Secret: Chill the cake layers before frosting to make handling and assembly easier.
• Temperature Management: Ensure all ingredients are at room temperature before starting to ensure even mixing and baking.
• Texture Enhancement: Beat the butter and sugar thoroughly during the creaming stage to incorporate air and create a light texture.
• Flavor Layering: Add a pinch of espresso powder to enhance the chocolate flavor without making it taste like coffee.
• Make-Ahead Strategies: Bake cake layers a day in advance and wrap tightly in plastic wrap. Store at room temperature.
• Restaurant-Quality Finishing Touches: Use a hot knife to smooth the frosting for a polished finish.
• Equipment Optimization: Ensure your stand mixer is fitted with a paddle attachment for best results when making the batter and frosting.
Troubleshooting Common Issues
• Texture Too Dense: This can be caused by over-mixing the batter or using cold ingredients. Ensure ingredients are at room temperature and mix just until combined.
• Cake Sinking in the Middle: Often due to under-baking or opening the oven door too soon. Bake until a toothpick comes out clean and avoid disturbing the oven.
• Frosting Too Runny: This can happen if the butter is too warm. Chill the frosting slightly and beat again to thicken.
• Uneven Cake Layers: Ensure batter is evenly distributed in pans and smooth out tops before baking.
• Crumbly Cake: Over-baking can dry out the cake. Test for doneness with a toothpick a few minutes before the recommended time.
• Frosting Separating: Can occur if ingredients are too cold. Bring them to room temperature and beat until they come together.
Variations and Regional Differences
• German Chocolate Cake: This version features a coconut-pecan frosting instead of the traditional creamy frosting, offering a distinctively nutty and sweet flavor profile.
• Black Forest Cake: Originating from Germany, this cake incorporates layers of whipped cream and cherries, providing a fruity twist to the chocolate base.
• Mexican Chocolate Cake: Infused with spices such as cinnamon and chili powder, adding warmth and a hint of heat to the chocolate layers.
• Italian Chocolate Torta: A denser, flourless version that relies on high-quality chocolate and almonds for a rich, intense flavor.
Food Science Behind the Recipe
• Leavening Agents: Baking powder and baking soda produce carbon dioxide gas, which helps the cake rise and achieve a light texture. Understanding their role can help you adjust quantities for desired results.
• Maillard Reaction: This chemical reaction between amino acids and reducing sugars gives baked goods their browned color and complex flavor. Proper baking time and temperature enhance this effect.
• Emulsification: Eggs act as emulsifiers, binding fats and liquids to create a stable batter. This process is crucial for a smooth, uniform cake structure.
Frequently Asked Questions
What's the most common mistake people make when preparing Chocolate Layer Cake? Over-mixing the batter, which leads to a dense cake texture.
Can I use a different type of flour? Yes, but results may vary. Cake flour can create a lighter texture, while whole wheat flour will be denser.
How do I store leftover cake? Store in an airtight container at room temperature for up to 3 days, or refrigerate for longer freshness.
Can I freeze the cake layers? Yes, wrap them tightly in plastic wrap and freeze for up to 2 months. Thaw before frosting.
What if I don't have buttermilk? Use a mixture of milk and lemon juice or vinegar as a substitute.
How can I make the frosting less sweet? Add a pinch of salt to balance the sweetness and enhance the chocolate flavor.
Why did my cake crack on top? This can happen if the oven temperature is too high. Ensure your oven is properly calibrated.
Serving and Presentation Guide
• Traditional Presentation: Serve the cake on a cake stand, with chocolate shavings on top and a few fresh berries for contrast.
• Modern Minimalist: Present on a white plate with a drizzle of chocolate sauce and a sprig of mint for a clean, elegant look.
• Family Style: Cut into generous slices and serve on rustic wooden boards, accompanied by a bowl of whipped cream.
• Festive Celebration: Decorate with edible flowers and gold leaf for a luxurious touch, ideal for special occasions.
Conclusion

With its rich layers and creamy frosting, this Chocolate Layer Cake is a true celebration of indulgence.
Whether you're a seasoned baker or a novice in the kitchen, this recipe offers straightforward steps to achieve impressive results.
Share this delightful cake with friends and family, and watch as it becomes a beloved favorite at your gatherings.