Ingredients
Gather these simple ingredients to create your perfectly glazed baked maple mustard chicken. Each component plays a crucial role in developing the dish’s signature sweet and tangy flavor profile.
For the Chicken
- 4 boneless skinless chicken breasts (6-8 oz each)
- 1 tablespoon olive oil
- 1 teaspoon garlic powder
- 1 teaspoon onion powder
- 1 teaspoon smoked paprika
- 1/2 teaspoon salt
- 1/4 teaspoon black pepper
- 1/4 teaspoon dried thyme
For the Maple Mustard Glaze
- 1/3 cup pure maple syrup
- 3 tablespoons Dijon mustard
- 2 tablespoons whole grain mustard
- 2 tablespoons apple cider vinegar
- 2 cloves garlic (minced)
- 1 tablespoon soy sauce
- 1/2 teaspoon ground ginger
- 1/4 teaspoon red pepper flakes
- 2 tablespoons butter (cold and cubed)
Equipment Needed
Your kitchen setup for this baked maple mustard chicken requires just a few essential tools that you likely already own. A 9×13 inch baking dish serves as the foundation for cooking your chicken breasts evenly while allowing the maple mustard glaze to caramelize beautifully around the edges.
You’ll need two medium mixing bowls to keep your preparation organized. One bowl holds the dry seasoning mixture for coating the chicken while the second bowl is perfect for whisking together your maple mustard glaze ingredients until smooth.
A sharp chef’s knife makes quick work of any ingredient prep including mincing fresh garlic. Your cutting board provides a stable surface for this task and keeps your countertops protected.
Measuring cups and spoons ensure accuracy when portioning your maple syrup, mustards, and spices. Precise measurements create the perfect balance of sweet and tangy flavors that make this dish exceptional.
A wire whisk blends your glaze ingredients smoothly without lumps. This tool helps incorporate the cold butter pieces evenly into your sauce for a glossy finish.
Aluminum foil becomes crucial for the initial covered baking phase. This covering traps moisture and steam to keep your chicken breasts tender before the final uncovered browning period.
A meat thermometer takes the guesswork out of doneness. Insert it into the thickest part of your chicken breast to confirm the internal temperature reaches 165°F for food safety.
Tongs or a spatula help you flip and move the chicken safely during cooking. These tools prevent you from piercing the meat and losing those delicious juices.
Prep Instructions

Getting your chicken and glaze prepared properly sets the foundation for this restaurant-quality dish. Follow these essential steps to ensure your baked maple mustard chicken turns out perfectly glazed and flavorful.
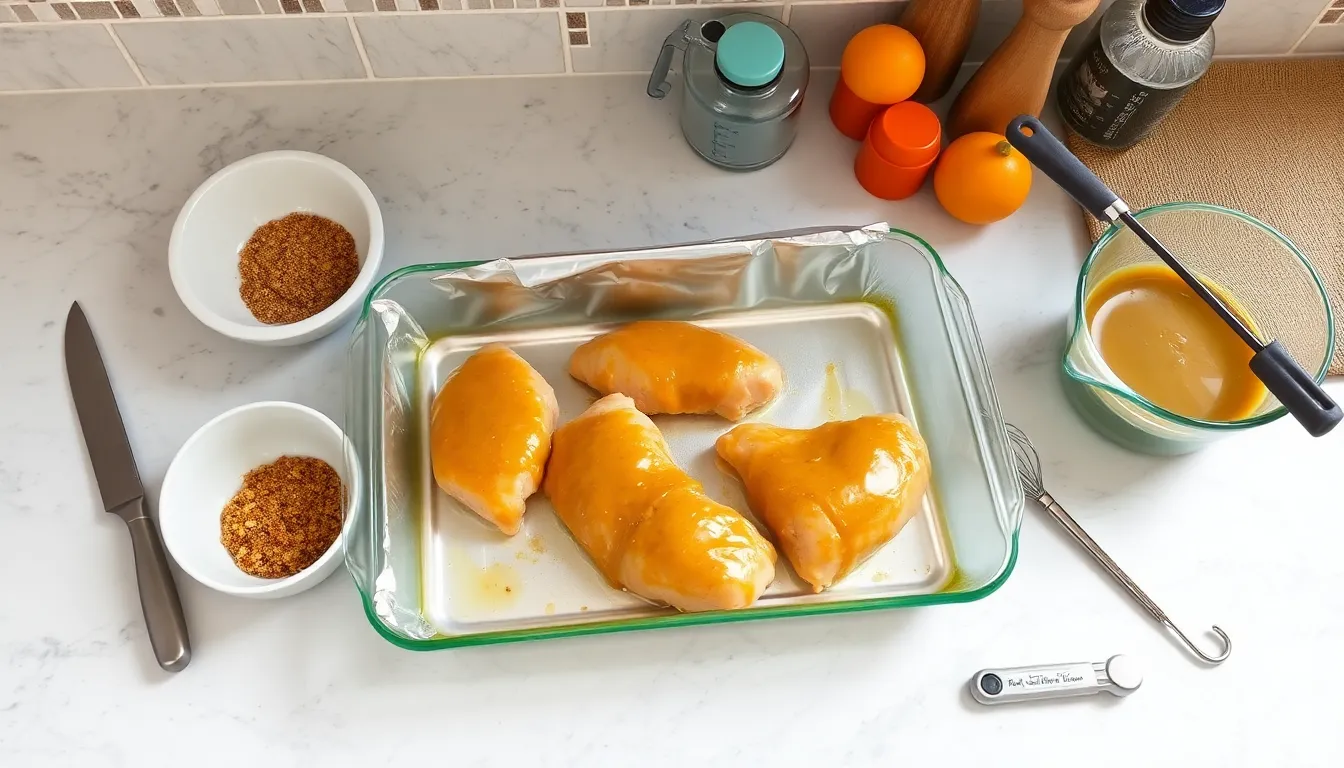
Preparing the Chicken
Pat your chicken breasts completely dry with paper towels to remove excess moisture. Place the chicken in a 9×13 inch baking dish and drizzle with olive oil, ensuring each piece is lightly coated.
Season the chicken evenly with garlic powder, onion powder, and smoked paprika. Sprinkle salt and black pepper generously over both sides of each breast. Add dried thyme to complete the seasoning blend, then rub the spices into the meat with your hands for better adherence.
Arrange the seasoned chicken breasts in a single layer with space between each piece. This spacing allows for proper air circulation and even cooking throughout the baking process.
Making the Maple Mustard Glaze
Combine pure maple syrup and Dijon mustard in a medium mixing bowl, whisking until smooth. Add whole grain mustard for texture and apple cider vinegar for brightness, continuing to whisk the mixture.
Incorporate minced garlic and soy sauce into the glaze base. Sprinkle in ground ginger and red pepper flakes to build the complex flavor profile that makes this glaze exceptional.
Whisk all ingredients thoroughly until completely combined and no streaks remain. Add the cold cubed butter last, whisking vigorously until the butter melts and creates a glossy, cohesive glaze. The finished glaze should coat the back of a spoon and have a beautiful amber color.
Directions
Follow these step-by-step instructions to create perfectly caramelized baked maple mustard chicken. Each phase builds upon the previous preparation to ensure restaurant-quality results.
Preheating and Setup
Preheat your oven to 425°F and position the rack in the center for optimal heat circulation. Place your prepared chicken breasts in the 9×13 inch baking dish, ensuring they don’t overlap for even cooking. Cover the dish tightly with aluminum foil to lock in moisture during the initial baking phase.
Coating the Chicken
Remove the foil and brush half of your prepared maple mustard glaze generously over each chicken breast using a pastry brush or spoon. Make sure to coat all surfaces evenly, allowing the glaze to pool slightly around the chicken. Reserve the remaining glaze for the final application to maintain food safety standards.
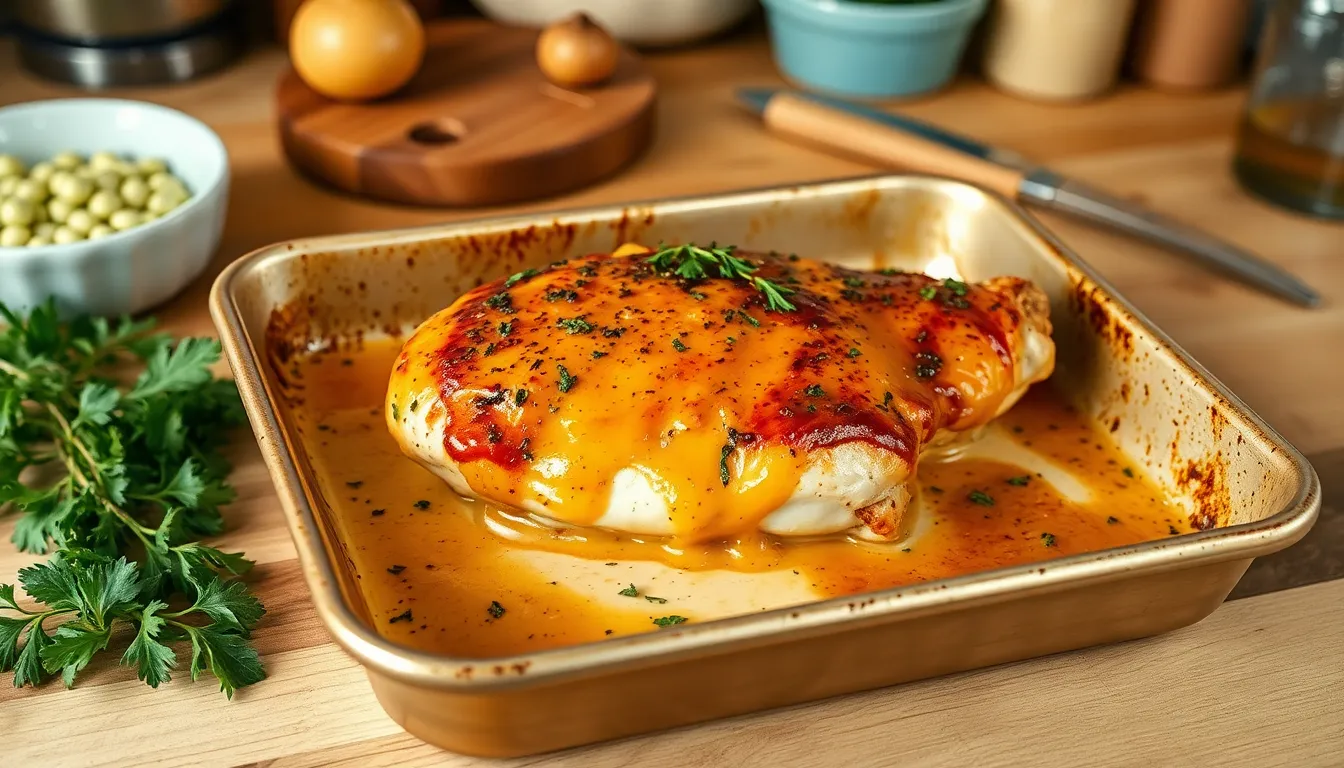
Baking the Chicken
Bake the glazed chicken uncovered for 20-25 minutes until the internal temperature reaches 165°F when checked with a meat thermometer. The glaze will begin to caramelize and develop a beautiful golden brown color during this time. Baste the chicken with pan juices halfway through cooking to enhance flavor and prevent drying.
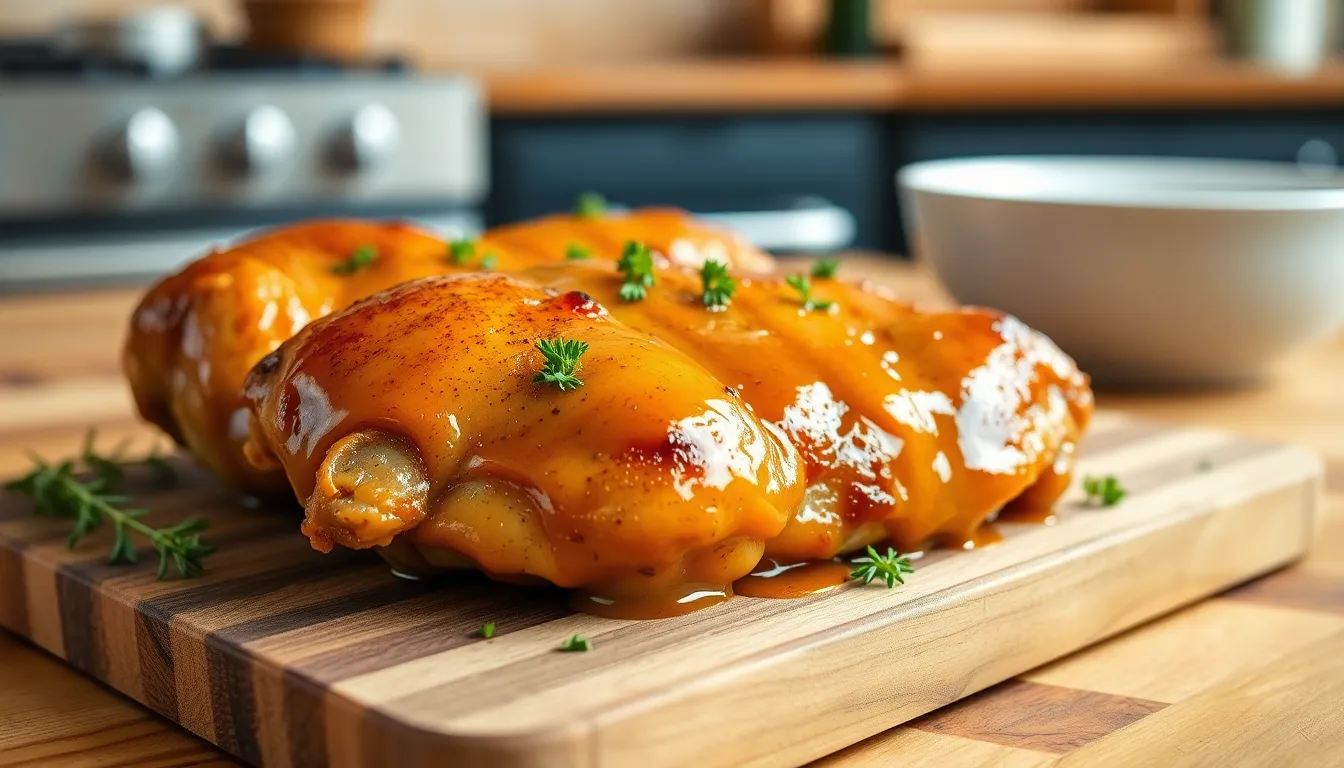
Final Glaze Application
Remove the chicken from the oven and immediately brush with the reserved maple mustard glaze while the meat is still hot. The residual heat will help the fresh glaze adhere and create an extra layer of flavor. Let the chicken rest for 5 minutes before slicing to allow juices to redistribute throughout the meat.
Cooking Tips and Techniques
Master the art of even chicken thickness by gently pounding your chicken breasts to a uniform 3/4-inch thickness. This simple technique prevents uneven cooking and ensures your maple mustard glaze caramelizes perfectly across the entire surface. Place the chicken between plastic wrap or parchment paper before pounding to avoid mess.
Temperature control makes the difference between juicy and dry chicken. Your oven’s accuracy varies so use an oven thermometer to verify your 425°F setting. Position your rack in the center of the oven for optimal heat circulation around the baking dish.
Glaze consistency determines your final results. Whisk your maple mustard mixture until completely smooth before the first application. The glaze should flow easily from your brush but maintain enough body to coat the chicken. If your glaze appears too thick add one teaspoon of warm water at a time until you achieve the perfect consistency.
Timing your glaze applications prevents burning while maximizing flavor. Apply the first layer after removing the foil when the chicken reaches 140°F internally. Reserve half your glaze for the final application after baking to ensure a glossy finish that won’t burn during cooking.
| Timing Guide | Temperature | Action |
|---|---|---|
| 0 minutes | Room temp | Season and arrange chicken |
| 15 minutes | 140°F | Remove foil and first glaze |
| 30 minutes | 155°F | Baste with pan juices |
| 35-40 minutes | 165°F | Final glaze and rest |
Basting technique enhances moisture retention and flavor development. Tilt your baking dish slightly and use a spoon to collect the accumulated juices. Drizzle these caramelized drippings over each piece every 10 minutes during the uncovered cooking phase.
Rest your chicken properly to redistribute juices throughout the meat. Tent loosely with foil and allow 5 minutes of resting time before slicing. This waiting period prevents juice loss when you cut into the chicken and maintains the glossy glaze appearance on your finished dish.
Make-Ahead Instructions

You can prepare this baked maple mustard chicken up to 24 hours before cooking to save time on busy days. Season the chicken breasts with olive oil and all dry spices as directed in the recipe. Place the seasoned chicken in your baking dish and cover tightly with plastic wrap before refrigerating.
Prepare the maple mustard glaze separately and store it in an airtight container in the refrigerator. The glaze will thicken slightly when chilled but will return to the proper consistency once it reaches room temperature. Whisk the glaze gently before using if any separation occurs.
Remove the chicken from the refrigerator 15-20 minutes before baking to allow it to come closer to room temperature. This step ensures more even cooking throughout the chicken breasts. Take the glaze out at the same time so it becomes easier to brush onto the chicken.
Follow the original baking instructions exactly as written when you’re ready to cook. Apply the first coating of glaze just before placing the dish in the oven. The pre-seasoned chicken will develop even more flavor after marinating overnight with the spices.
Store any leftover cooked chicken in the refrigerator for up to 3 days in a covered container. Reheat individual portions in the microwave at 50% power for 1-2 minutes or warm the entire dish in a 350°F oven for 10-15 minutes until heated through.
Freeze the seasoned raw chicken in the baking dish for up to 2 months by wrapping tightly with plastic wrap and aluminum foil. Thaw completely in the refrigerator before baking and add 5-10 extra minutes to the cooking time if the chicken is still slightly cold.
Storage and Reheating
Your leftover baked maple mustard chicken maintains its quality for up to 4 days when stored properly in the refrigerator. Place cooled chicken pieces in airtight containers or wrap them tightly with plastic wrap to prevent moisture loss and maintain flavor.
Refrigerator Storage:
- Store in airtight containers for maximum freshness
- Keep at 40°F or below consistently
- Separate chicken from any remaining glaze if storing together
- Label containers with the date for easy tracking
Freezer Storage:
Cooked maple mustard chicken freezes well for up to 3 months. Wrap individual portions in freezer-safe bags or containers to prevent freezer burn. Remove as much air as possible before sealing to maintain texture and taste.
Reheating Methods:
Oven Method (Best Results):
Preheat your oven to 325°F and place chicken in a baking dish. Add 2 tablespoons of chicken broth or water to prevent drying. Cover with foil and heat for 15-20 minutes until warmed through. Remove foil during the last 5 minutes to crisp the glaze.
Microwave Method (Quick Option):
Place chicken on a microwave-safe plate and cover with a damp paper towel. Heat in 30-second intervals on medium power until heated through. This method works best for single servings.
Stovetop Method:
Heat a skillet over medium-low heat with a splash of chicken broth. Add chicken pieces and cover. Heat for 5-7 minutes while turning once halfway through cooking.
Always ensure reheated chicken reaches an internal temperature of 165°F before serving. The maple mustard glaze may darken slightly during reheating but will maintain its delicious flavor profile.
Serving Suggestions
Transform your baked maple mustard chicken into a complete meal by pairing it with complementary sides that enhance its sweet and tangy flavors. The caramelized glaze works beautifully with both simple and sophisticated accompaniments.
Starch Companions
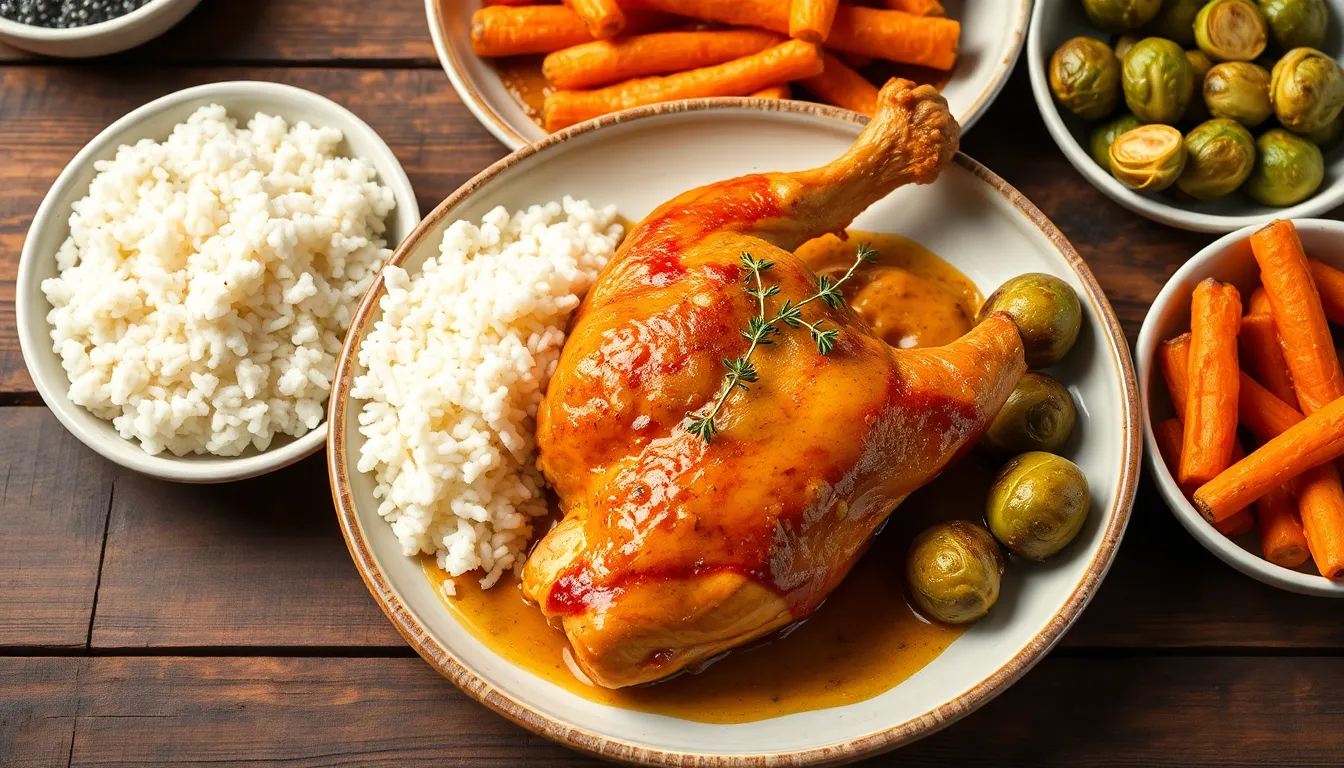
Fluffy white rice absorbs the delicious pan juices and glaze that pools beneath the chicken. Wild rice pilaf adds a nutty flavor that complements the maple notes perfectly. Creamy mashed potatoes provide a comforting base that balances the tangy mustard elements. Roasted baby potatoes with herbs create texture contrast while soaking up the flavorful drippings.
Vegetable Pairings
Roasted Brussels sprouts develop a slight char that pairs magnificently with the sweet glaze. Steam fresh green beans and toss them with almonds for a crisp texture that cuts through the richness. Honey glazed carrots echo the maple sweetness while adding vibrant color to your plate. Sautéed spinach with garlic provides a fresh, earthy counterpoint to the bold chicken flavors.
Salad Options
Mixed greens with dried cranberries and pecans create a restaurant-quality presentation. Apple slices and candied walnuts in your salad mirror the maple glaze components. Arugula with lemon vinaigrette adds peppery notes that balance the dish’s sweetness. Coleslaw with a tangy dressing provides cooling contrast and satisfying crunch.
Bread Selections
Warm dinner rolls help guests savor every drop of the precious glaze. Cornbread muffins complement the dish’s comfort food appeal while adding subtle sweetness. Crusty French bread allows diners to soak up the caramelized pan juices effectively.
Complete Meal Ideas
| Meal Theme | Main Sides | Additional Elements |
|---|---|---|
| Comfort Dinner | Mashed potatoes, green beans | Dinner rolls, butter |
| Healthy Option | Wild rice, roasted vegetables | Mixed green salad |
| Family Style | Roasted potatoes, corn | Coleslaw, biscuits |
| Elegant Evening | Rice pilaf, asparagus | Arugula salad, wine |
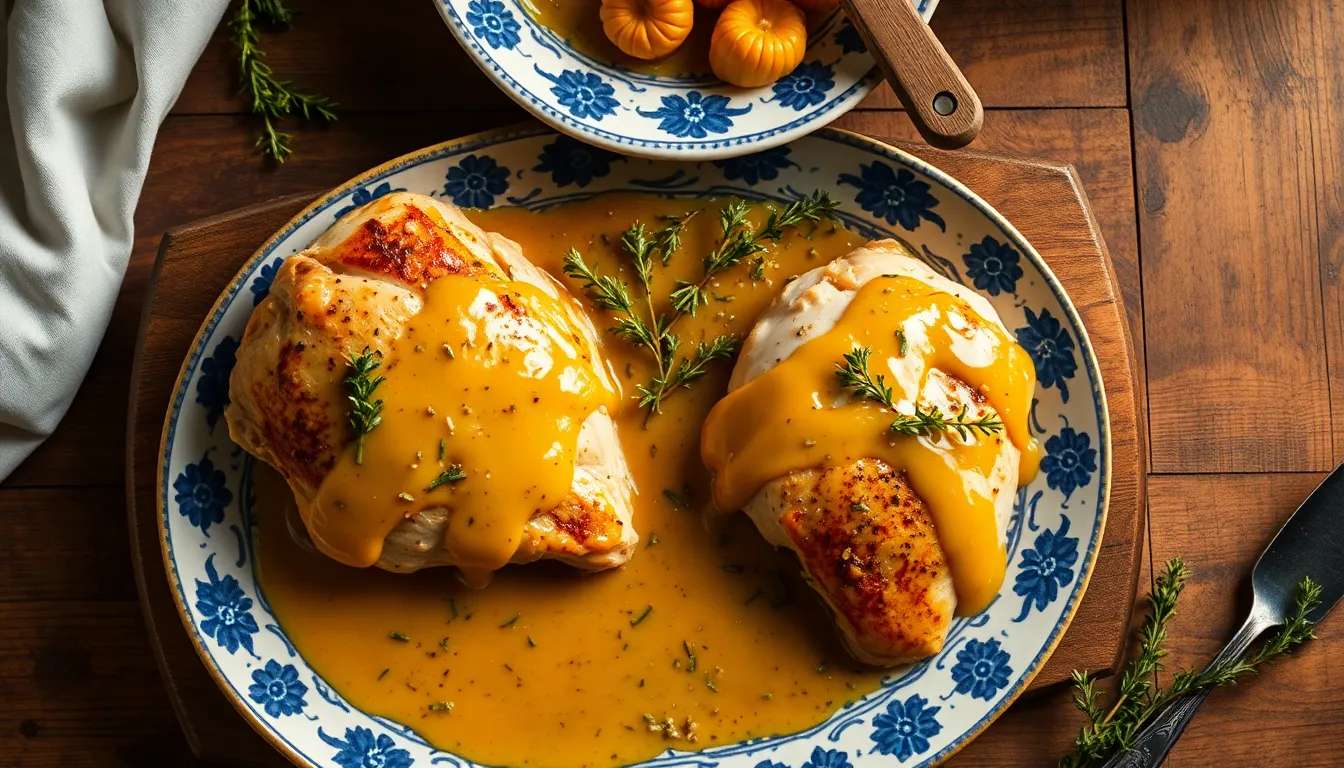
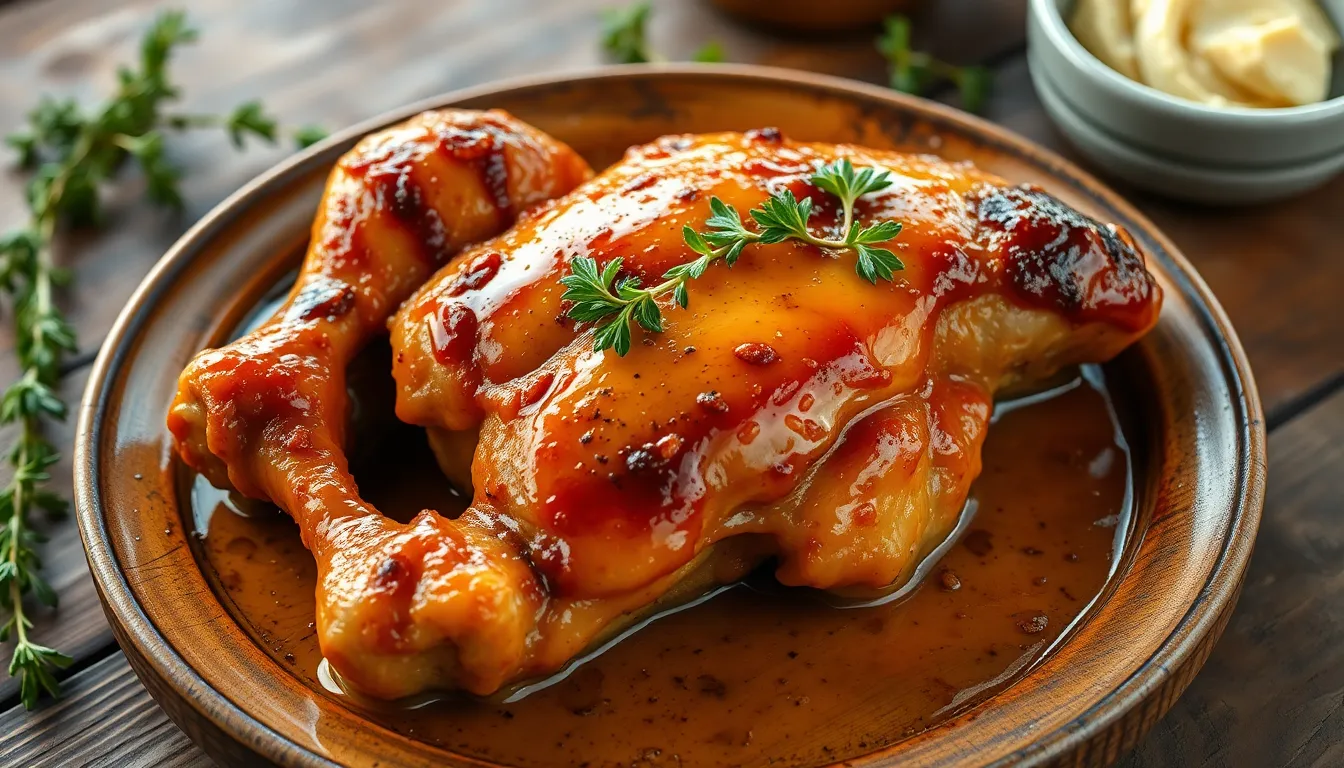
Garnish your plated chicken with fresh thyme sprigs to echo the seasoning blend and add visual appeal. Drizzle any remaining pan juices around the plate for professional presentation. Serve immediately while the glaze maintains its glossy finish and the chicken retains maximum juiciness.
Recipe Variations
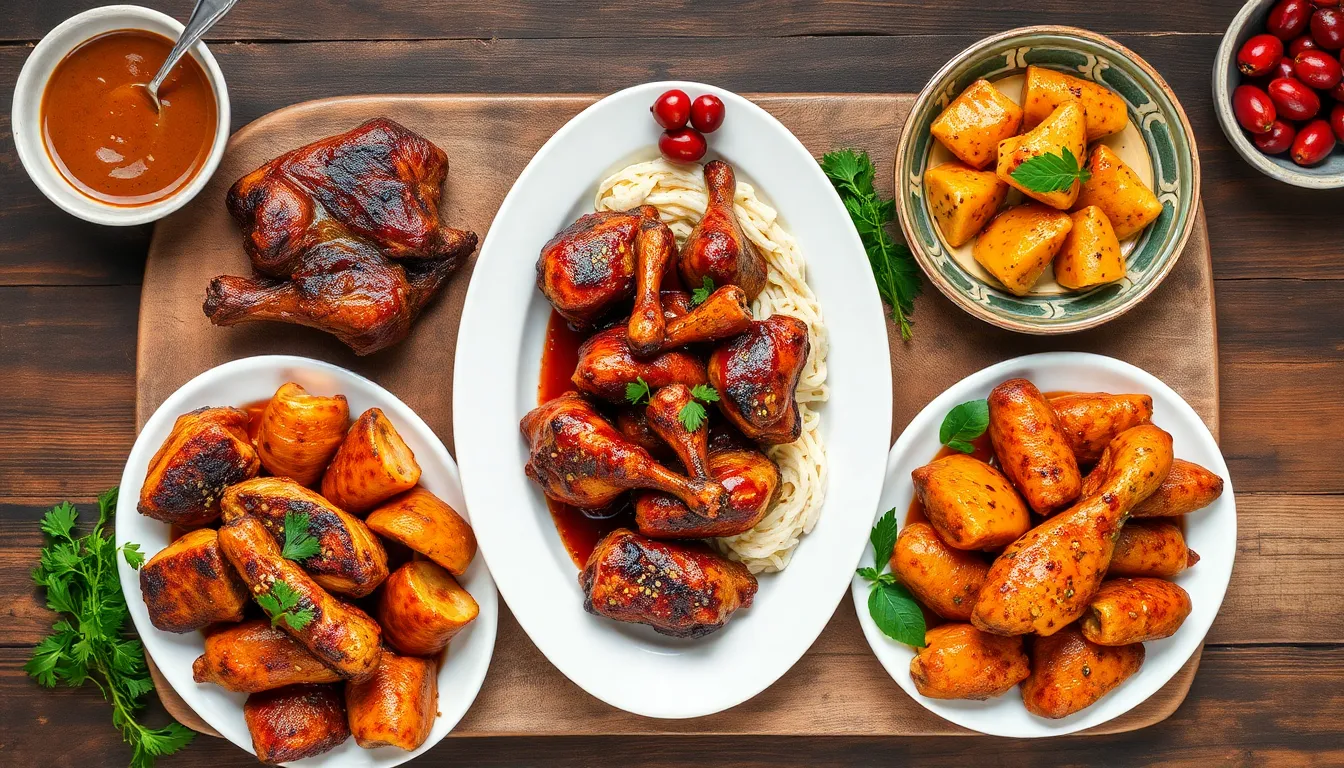
Transform your baked maple mustard chicken into exciting new flavors with these tested variations that maintain the dish’s signature appeal while offering fresh twists.
Honey Bourbon Chicken
Replace the maple syrup with honey and add 2 tablespoons of bourbon to the glaze. The honey creates a different sweetness profile while the bourbon adds depth and complexity. Cook using the same method but watch for slightly faster caramelization due to the honey’s lower burning point.
Asian-Inspired Glazed Chicken
Substitute the maple syrup with brown sugar and add 1 tablespoon each of rice vinegar and sesame oil to the glaze. Include 1 teaspoon of fresh grated ginger instead of ground ginger and garnish with sliced green onions and sesame seeds after cooking.
Spicy Maple Mustard Chicken
Increase the red pepper flakes to 1 teaspoon and add 1 tablespoon of sriracha or hot sauce to the glaze. This variation delivers heat while maintaining the sweet and tangy balance that makes the original recipe so appealing.
Herb-Crusted Maple Mustard Chicken
Mix 1/2 cup of panko breadcrumbs with 2 tablespoons of chopped fresh herbs like rosemary and sage. After the initial glazing press this mixture onto the chicken before the final baking phase. The herbs complement the maple flavors while adding textural contrast.
Cranberry Maple Chicken
Add 1/4 cup of dried cranberries to the glaze and let them plump while the mixture simmers. The cranberries provide bursts of tartness and create a festive appearance perfect for holiday meals.
Balsamic Maple Chicken
Replace the apple cider vinegar with balsamic vinegar and reduce the maple syrup to 1/4 cup. The balsamic adds sophisticated acidity and creates a darker more complex glaze that pairs beautifully with the mustard.
Protein Alternatives
Adapt this recipe for bone-in chicken thighs by increasing the cooking time to 35-40 minutes and ensuring the internal temperature reaches 175°F. Pork tenderloin works excellently with this glaze using a cooking time of 25-30 minutes until it reaches 145°F internal temperature.
| Variation | Key Changes | Cooking Time Adjustment |
|---|---|---|
| Honey Bourbon | Replace maple syrup with honey, add bourbon | Same timing, watch for faster browning |
| Asian-Inspired | Brown sugar base, rice vinegar, sesame oil | Same timing |
| Spicy Version | Extra red pepper flakes, sriracha | Same timing |
| Herb-Crusted | Add panko breadcrumb topping | Same timing |
| Cranberry | Dried cranberries in glaze | Same timing |
| Balsamic | Balsamic vinegar, reduced maple syrup | Same timing |
| Bone-in Thighs | Same glaze | 35-40 minutes |
| Pork Tenderloin | Same glaze | 25-30 minutes |
Each variation maintains the fundamental cooking technique while offering distinct flavor profiles that suit different preferences and occasions. Start with the base recipe to master the technique then experiment with these variations to discover your favorite combination.
Conclusion
This baked maple mustard chicken recipe delivers everything you want in a weeknight dinner – bold flavors minimal effort and impressive results. You’ll love how the sweet and tangy glaze transforms simple chicken breasts into something truly special that rivals your favorite restaurant dishes.
The beauty of this recipe lies in its versatility. Whether you’re cooking for your family on a busy Tuesday or hosting friends for dinner you can count on this dish to impress. The make-ahead options and storage tips ensure you can enjoy this delicious meal whenever the craving strikes.
Don’t hesitate to experiment with the variations we’ve shared. Each twist on the original recipe opens up new flavor possibilities while keeping the same foolproof cooking method you’ve mastered. Your kitchen success starts with this reliable recipe that’s destined to become a regular on your dinner rotation.