
The Perfect Homemade Apple Pie Filling
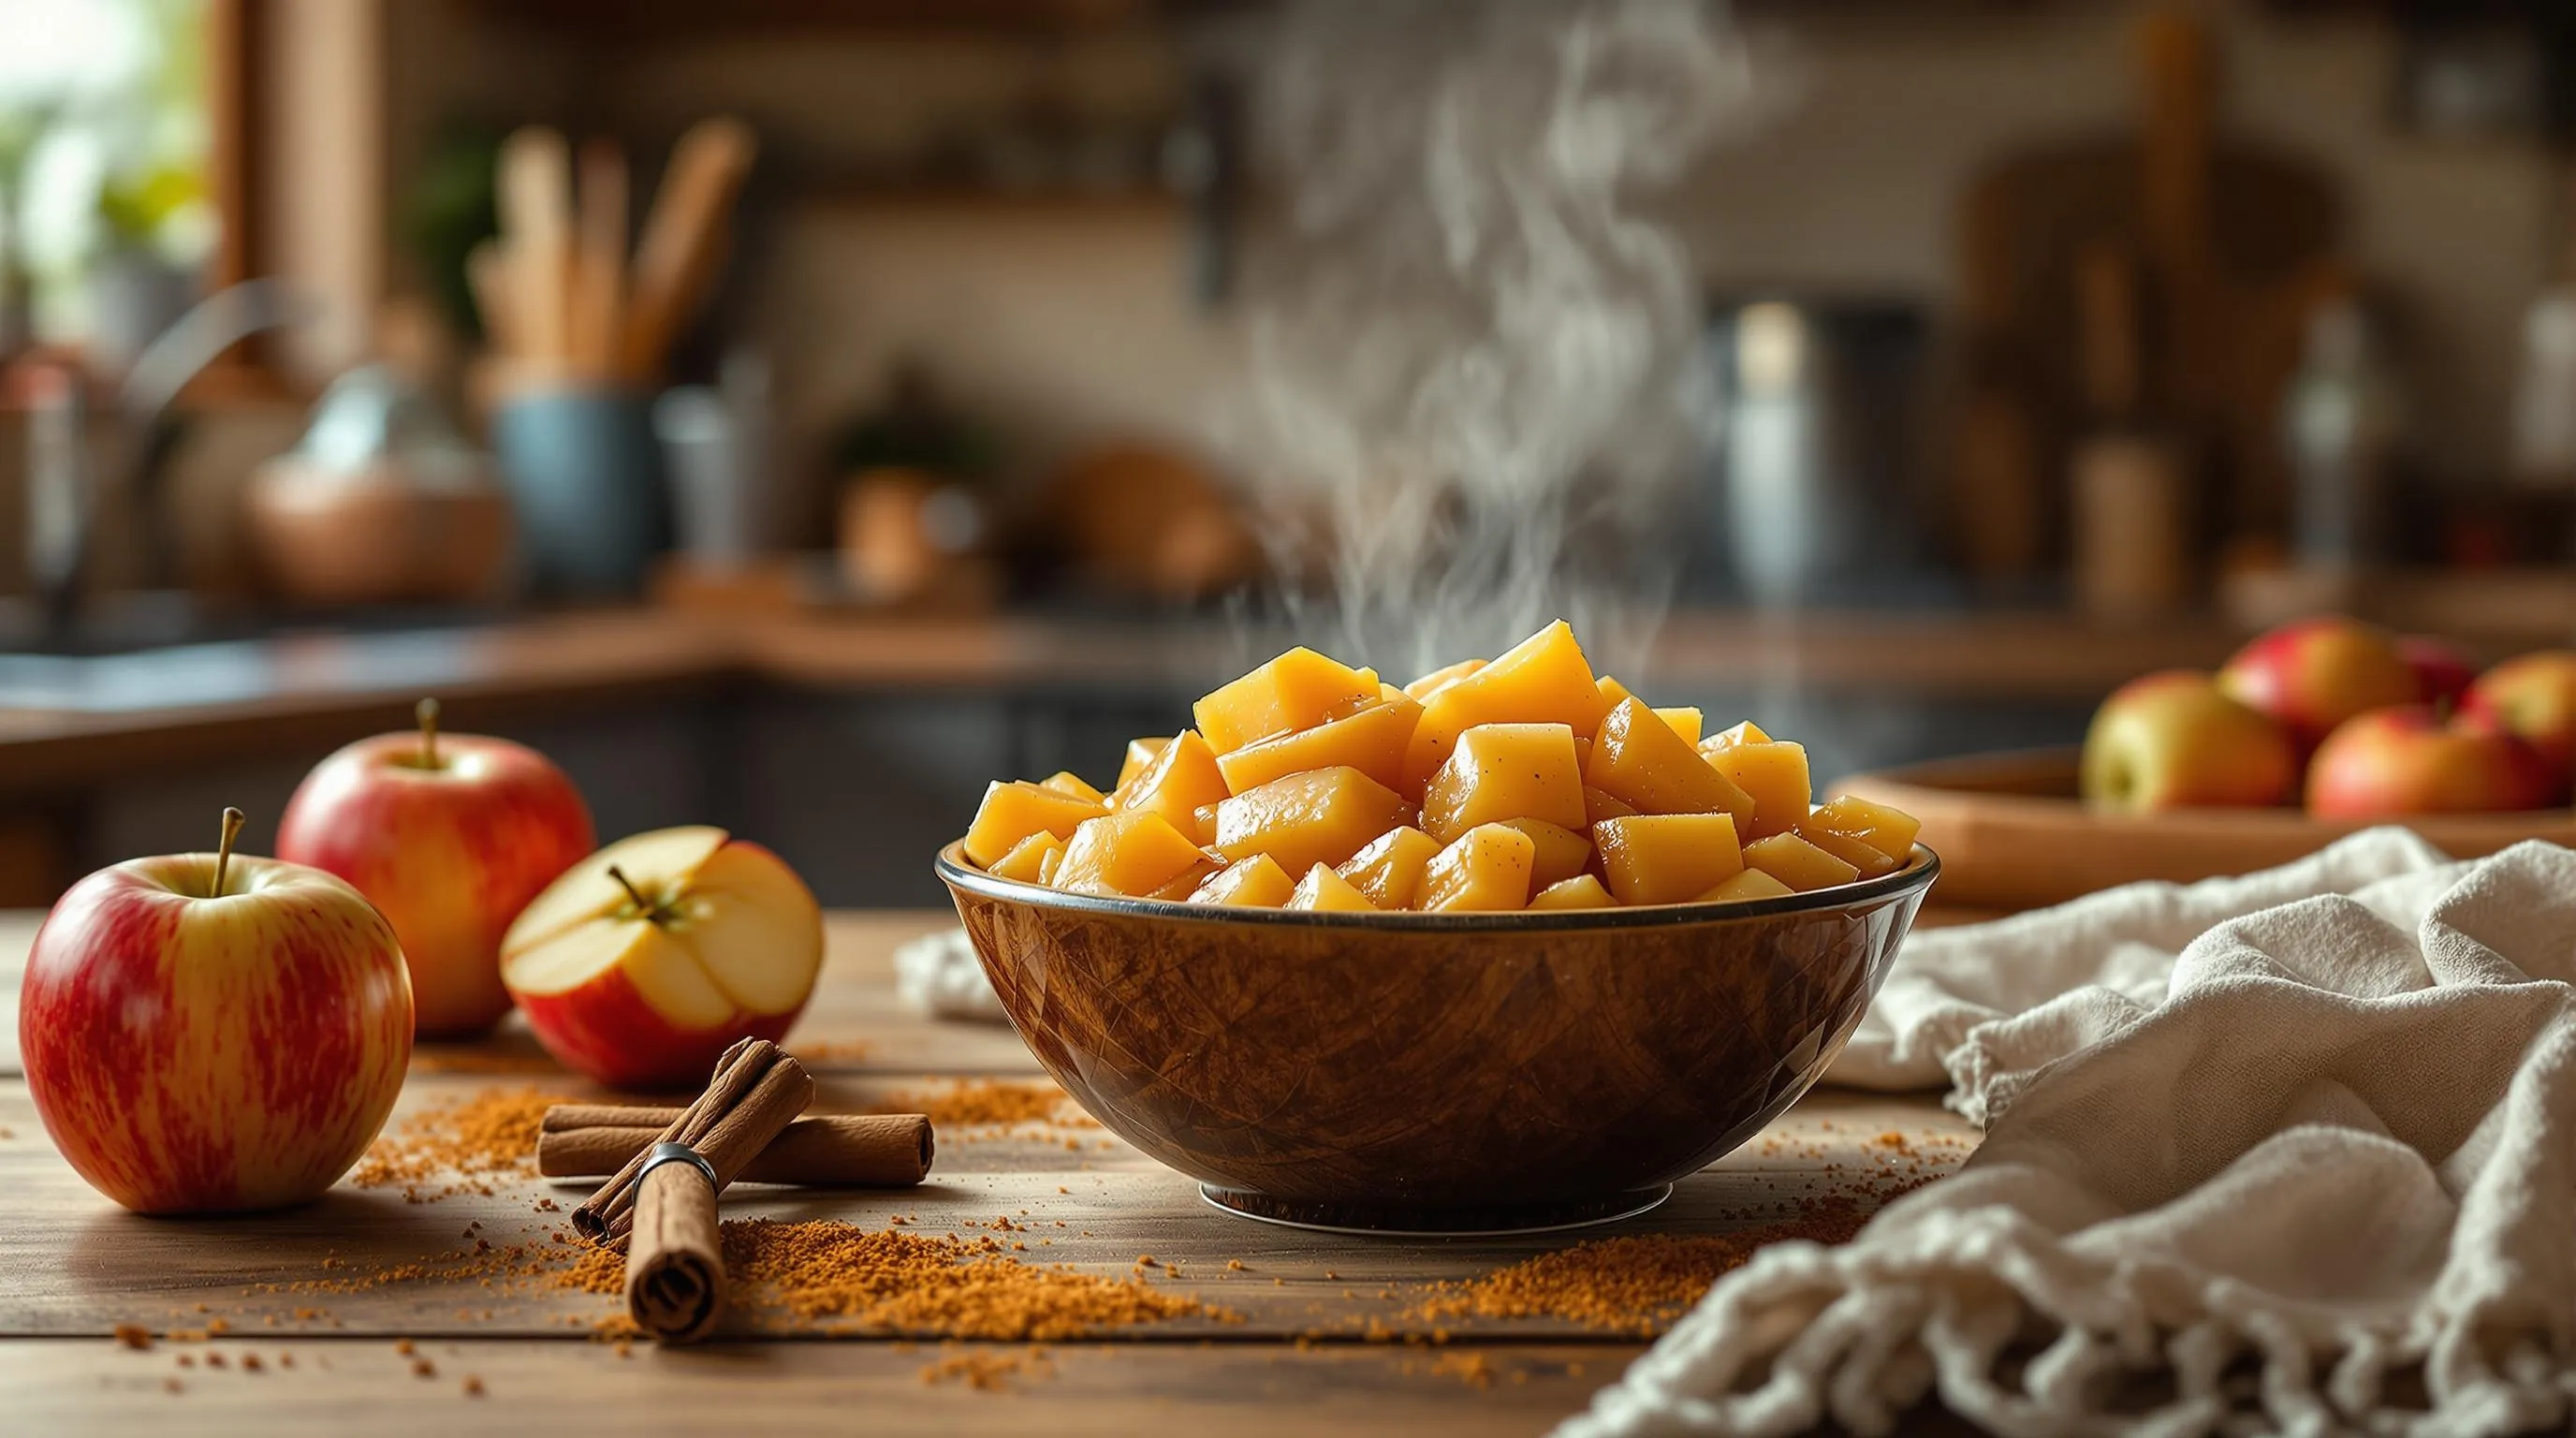
Creating the perfect apple pie filling requires just the right balance of sweetness tartness and spice. This homemade version delivers rich flavor while maintaining the integrity of the apples for that ideal pie texture.
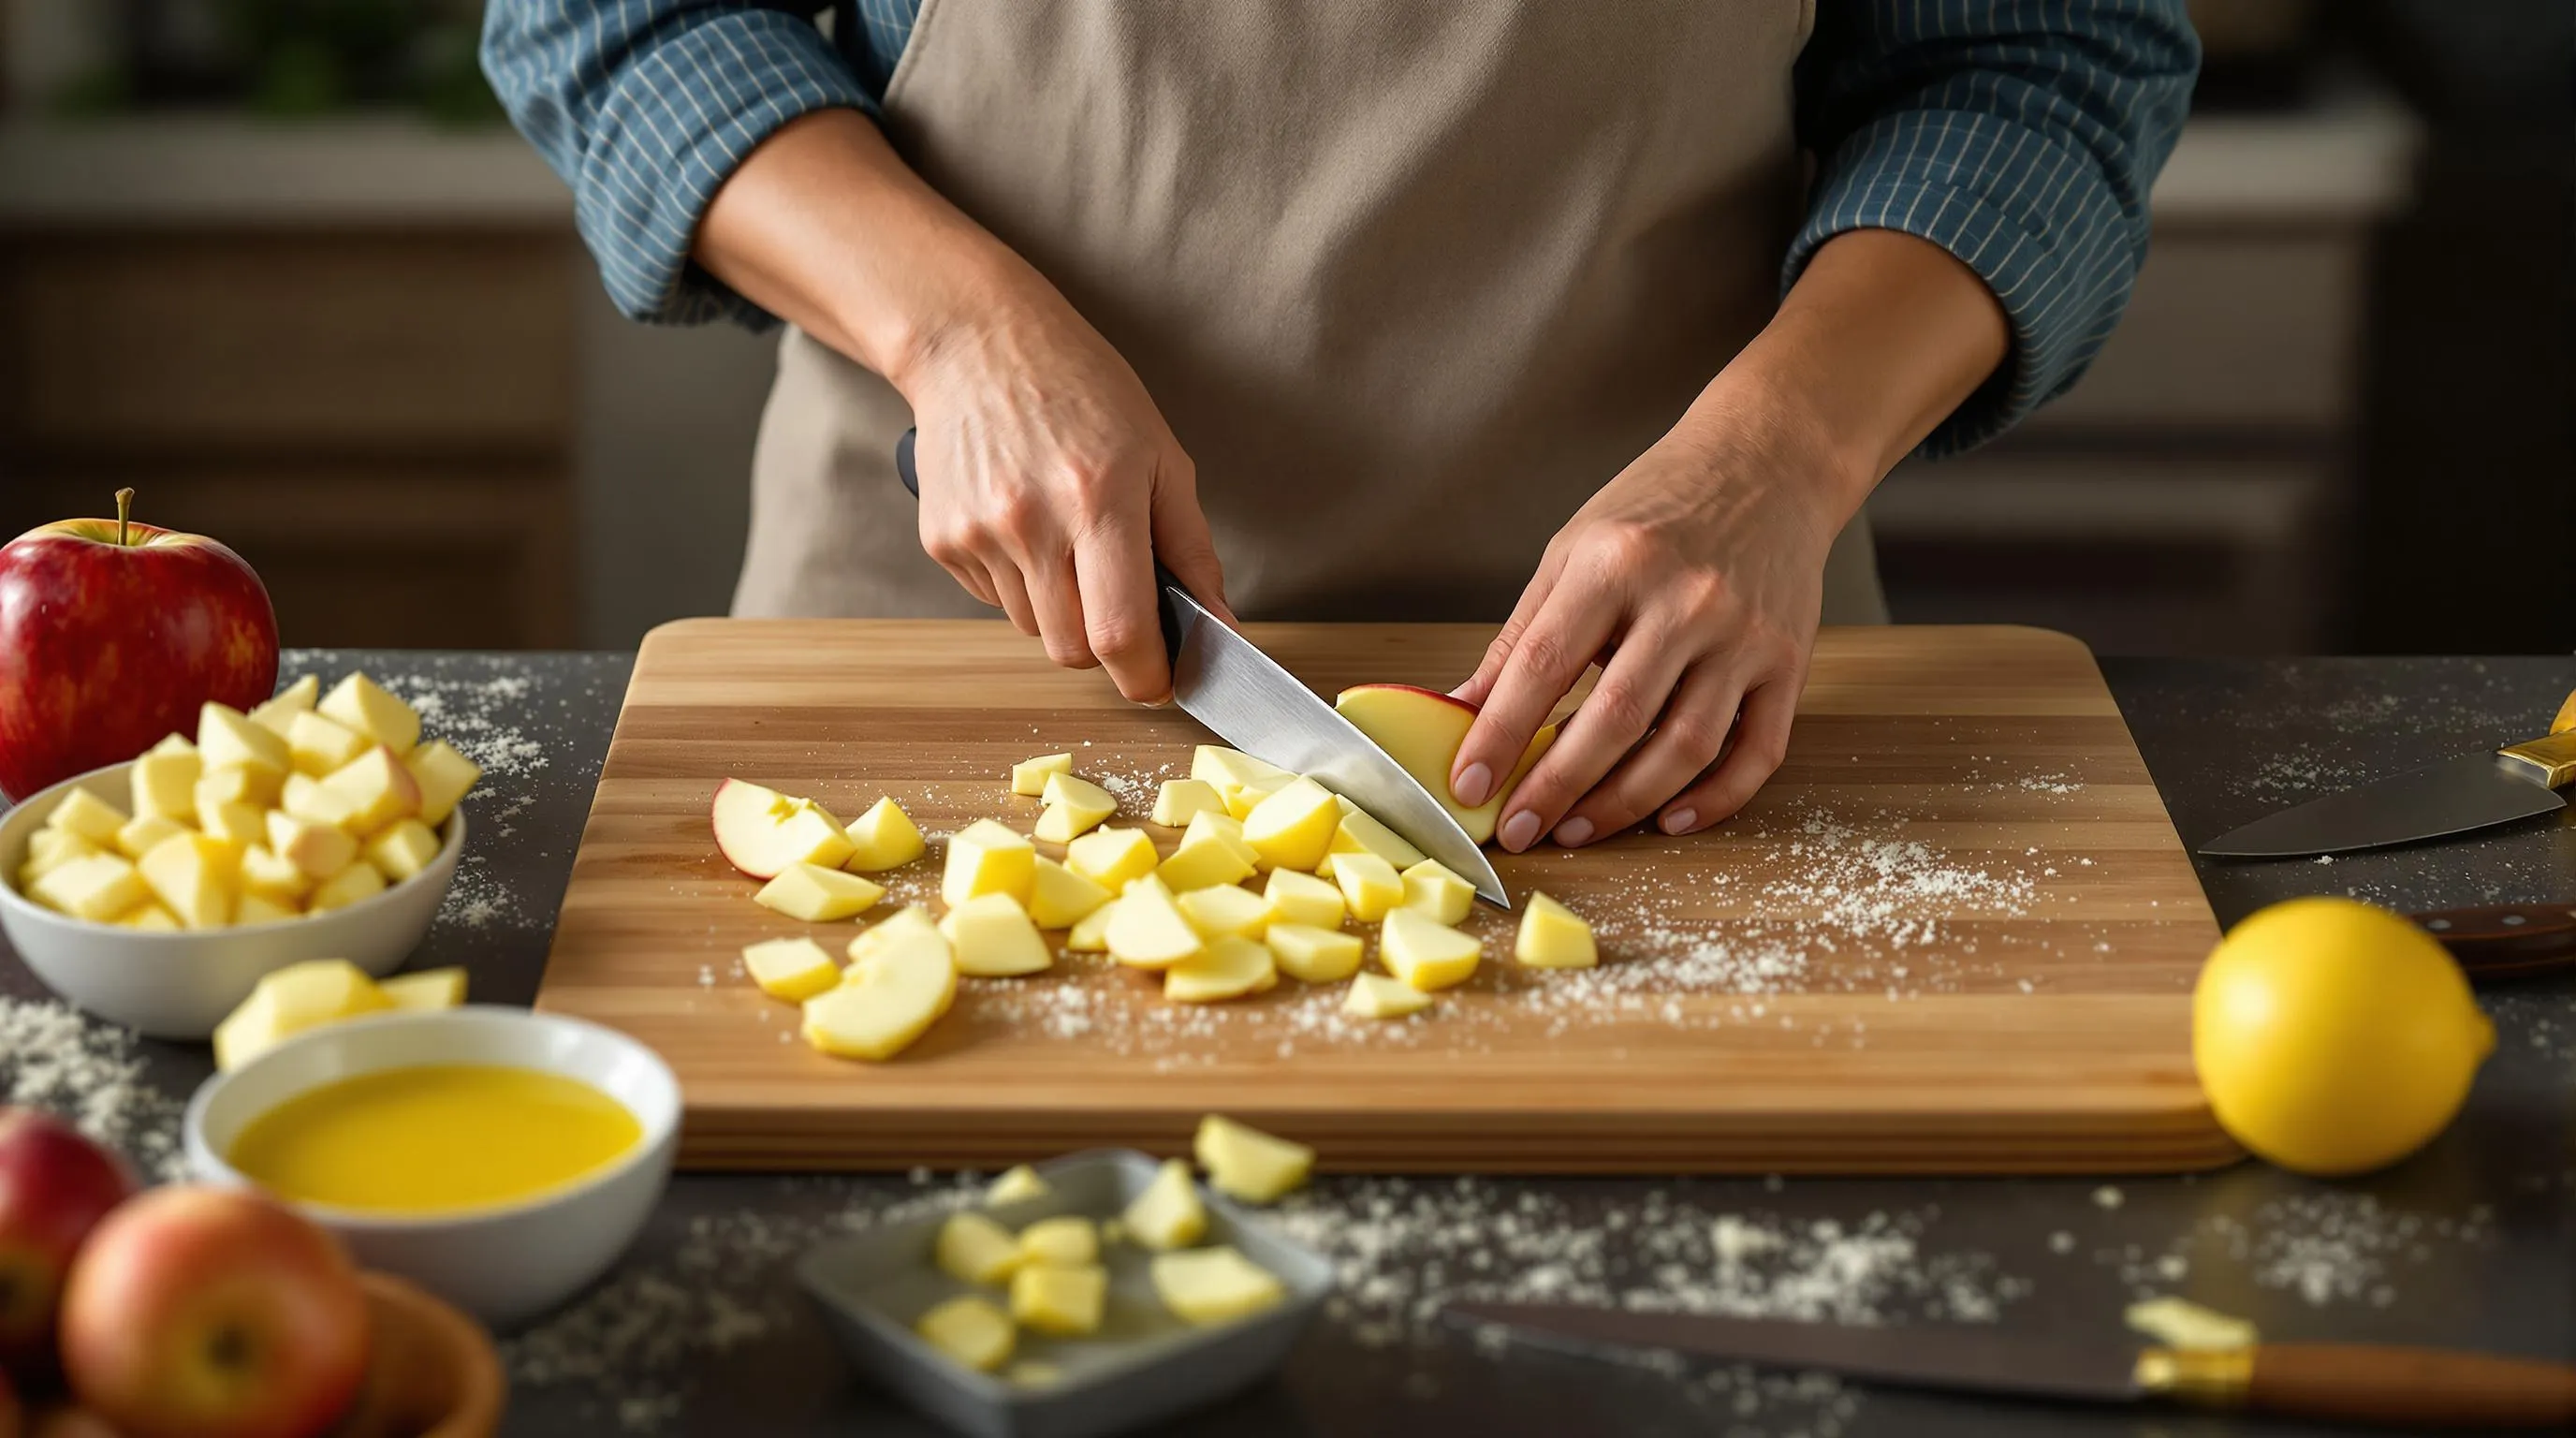
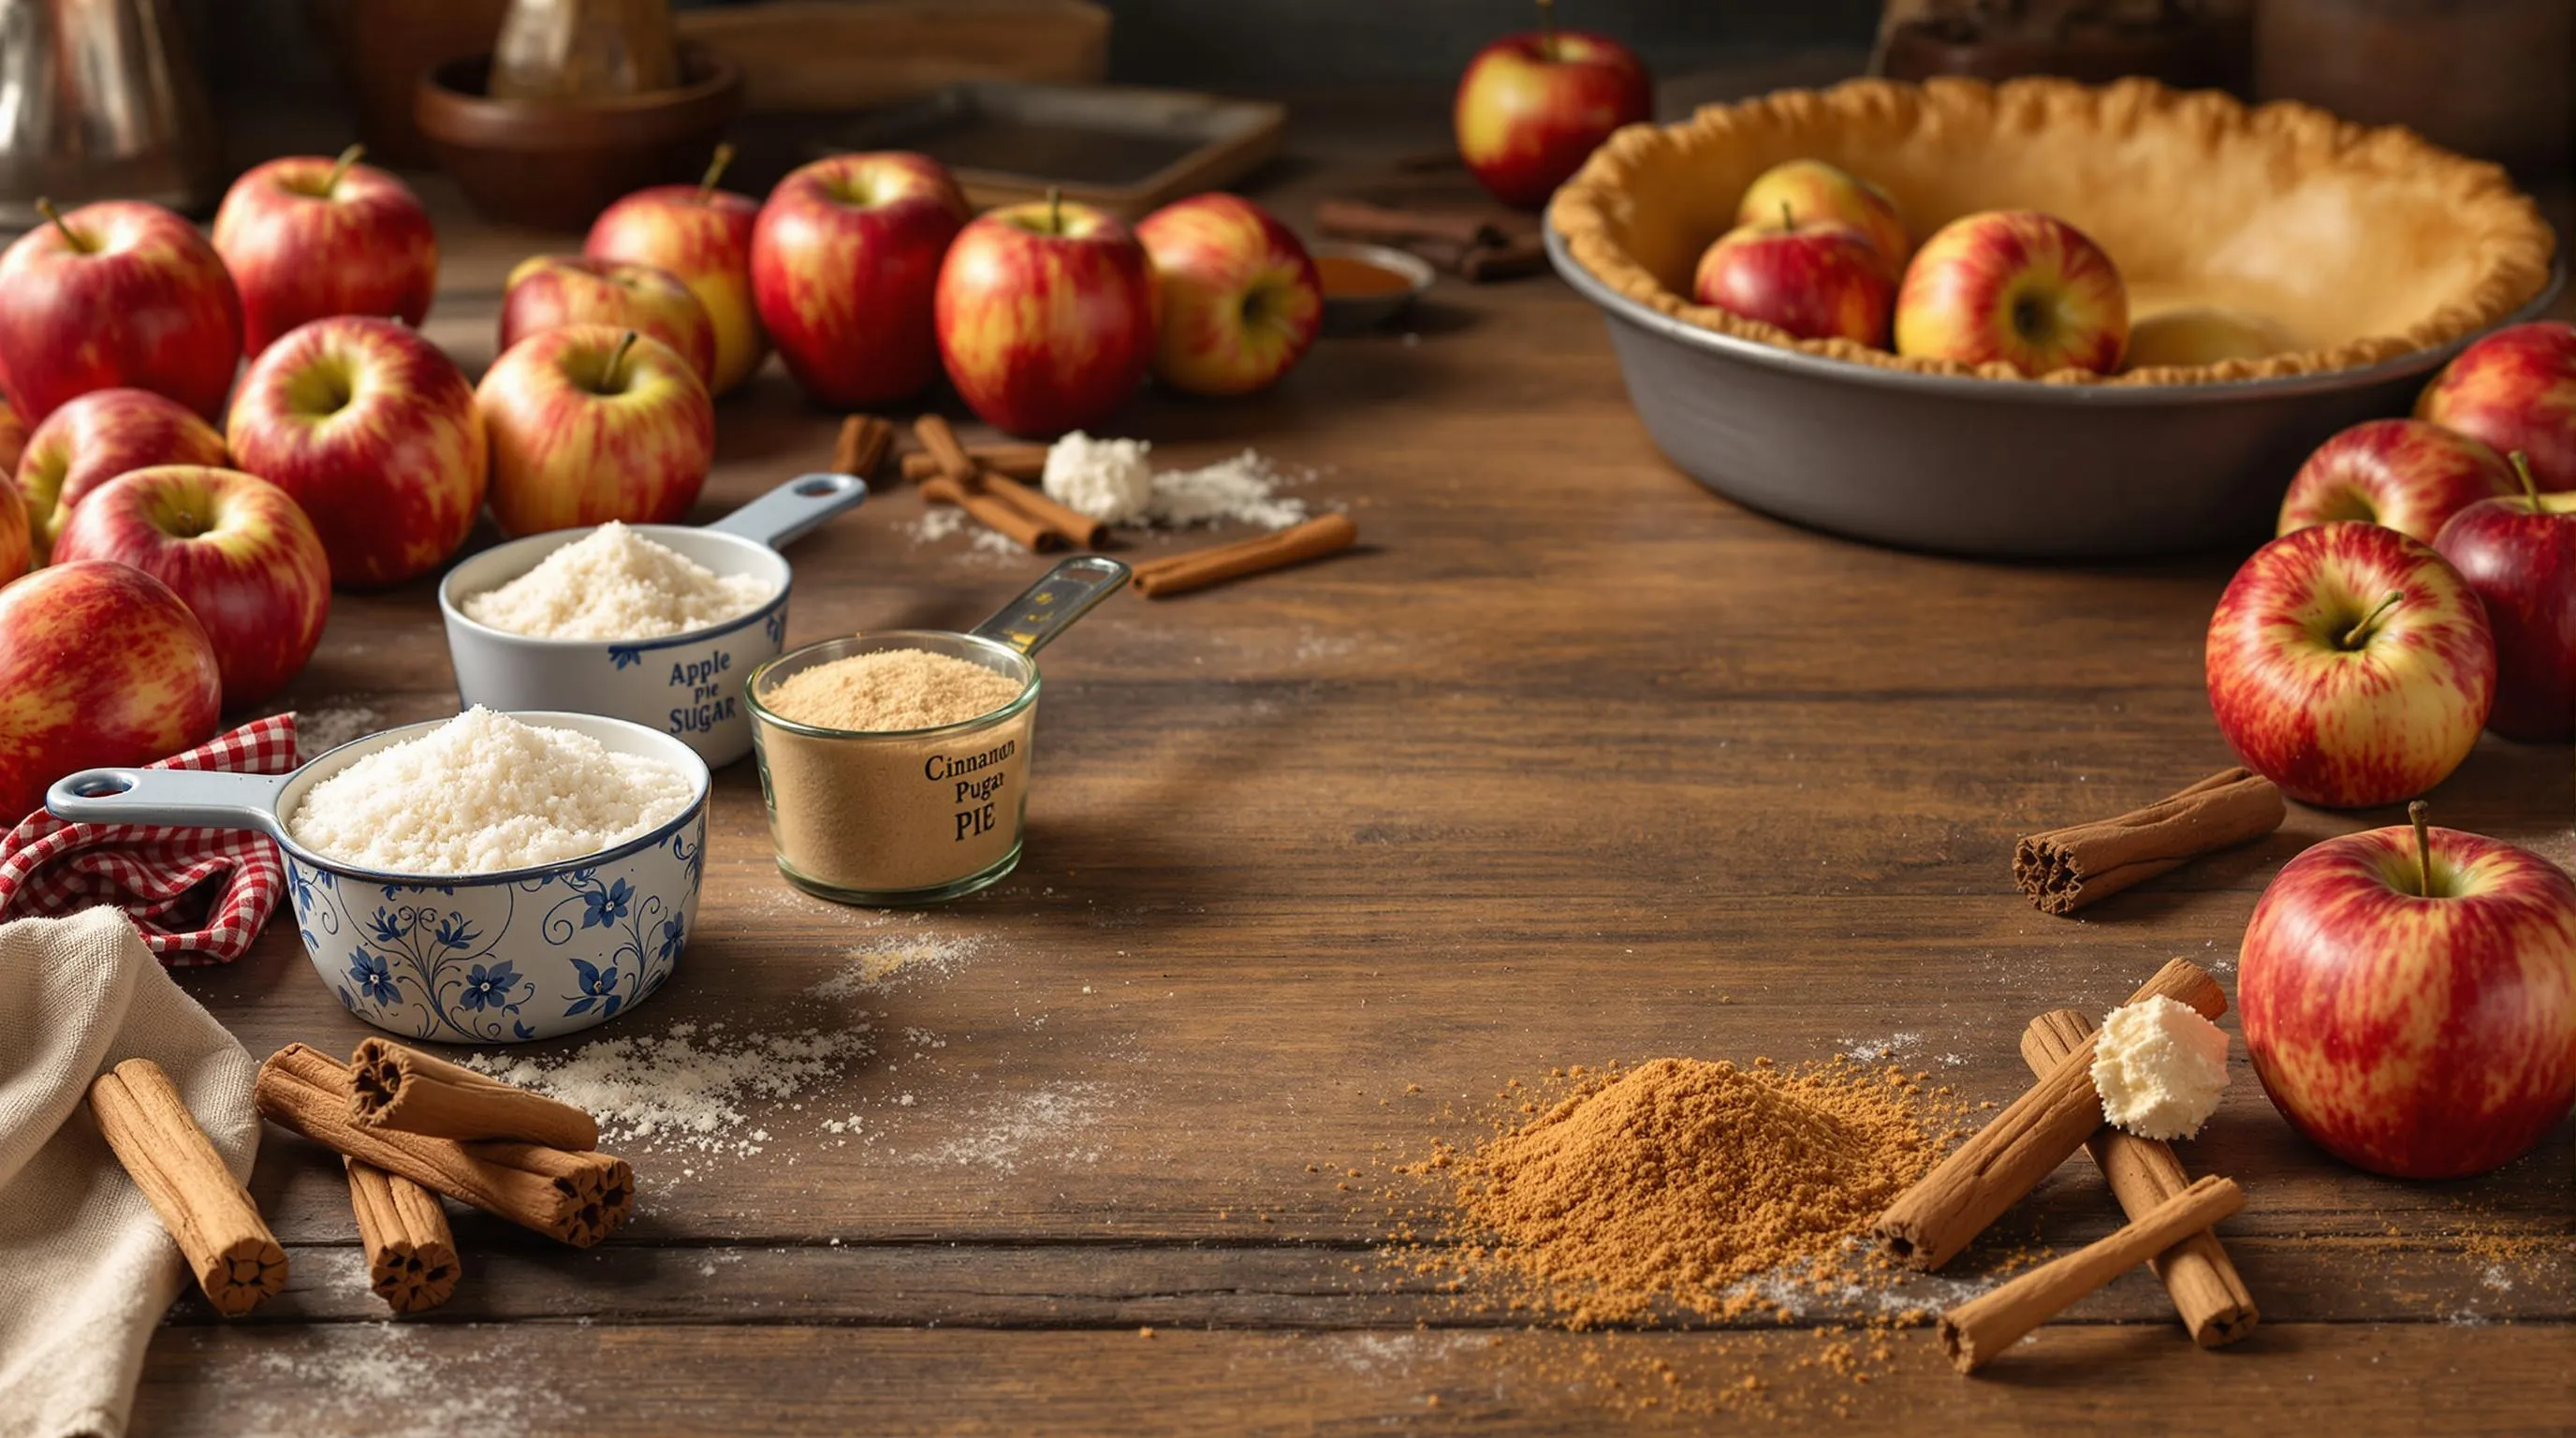
Start by selecting 6-8 medium sized apples preferably a mix of tart varieties like Granny Smith and sweeter ones such as Honeycrisp or Fuji. Peel core and slice them into even ¼-inch pieces to ensure consistent cooking.
In a large heavy bottomed pot combine:
- 6-8 medium apples (peeled cored and sliced)
- ¾ cup granulated sugar
- ¼ cup brown sugar
- 2 tablespoons cornstarch
- 1 tablespoon cinnamon
- ¼ teaspoon nutmeg
- ⅛ teaspoon cloves (optional)
- 2 tablespoons lemon juice
- ¼ cup water
- 2 tablespoons butter
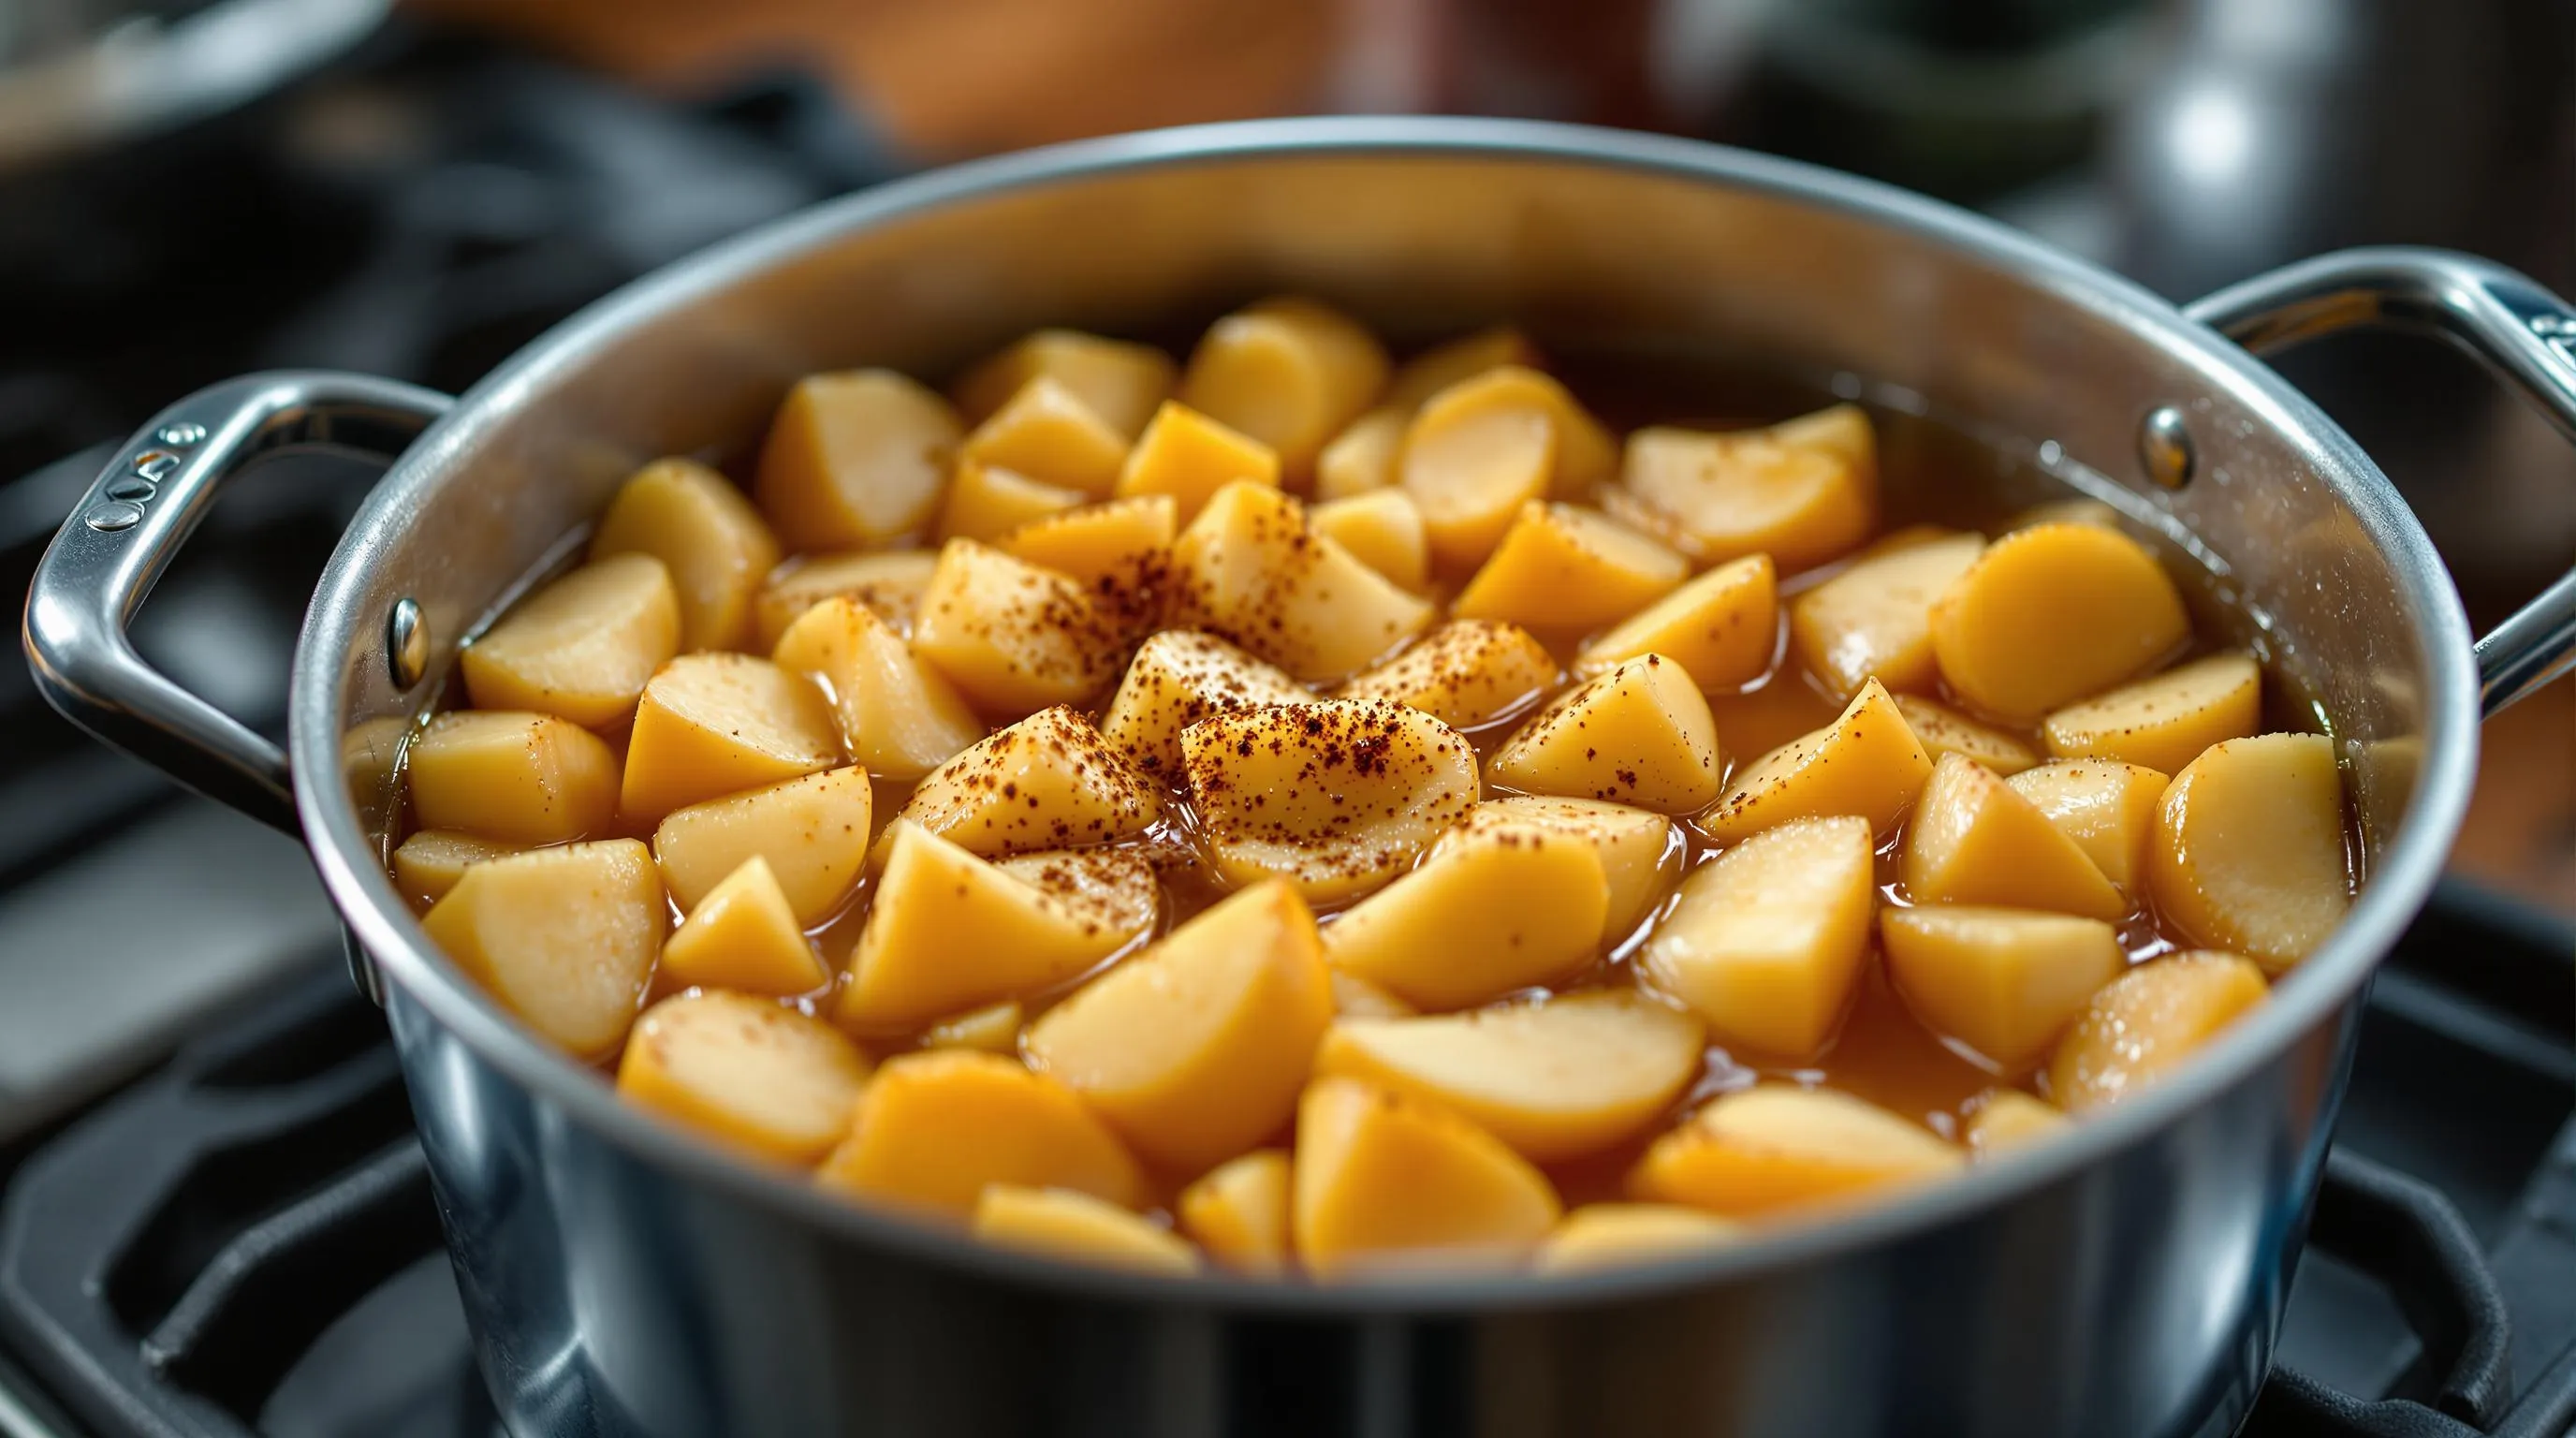
Heat the mixture over medium heat stirring gently until the butter melts and ingredients combine. Allow the filling to simmer for 8-10 minutes until the apples soften but still maintain some firmness. You’ll know it’s ready when the sauce has thickened and coats the back of a spoon.
Remove from heat and let the filling cool completely before using in your pie. This cooling period allows the flavors to meld together and the filling to set properly. For best results refrigerate the cooled filling for at least 2 hours before assembling your pie.
This recipe yields enough filling for one 9-inch deep dish pie but can be easily doubled for larger quantities. The filling keeps well in the refrigerator for up to 5 days or can be frozen for up to 3 months in airtight containers.
Why Make Your Own Apple Pie Filling
Store-bought pie fillings simply can’t compete with homemade versions in flavor taste and quality. When you make your own apple pie filling you control exactly what goes into it eliminating preservatives artificial flavors and excess sugars found in commercial products.
The fresh apple taste shines through when you prepare filling from scratch using real ingredients and spices that haven’t been sitting on a shelf for months. Your kitchen will fill with an irresistible aroma as the apples simmer with cinnamon and nutmeg creating an experience that no canned product can replicate.
Homemade filling allows you to customize the sweetness level texture and spice profile according to your preferences. Some family members prefer a tarter filling while others might enjoy extra cinnamon – making your own lets you adjust to please everyone’s taste buds.
Budget-conscious bakers will appreciate the cost savings especially during apple season when fruit prices drop significantly. A few pounds of fresh apples can yield multiple pie fillings at a fraction of the premium price of pre-made versions.
The versatility of homemade apple pie filling extends beyond traditional pies. Your batch can transform ordinary breakfast foods like pancakes yogurt or oatmeal into special treats. The same filling works beautifully in apple crisps tarts hand pies and countless other desserts giving you tremendous value from one preparation session.
Most importantly homemade apple pie filling connects you to a time-honored baking tradition. The process of selecting peeling and preparing apples engages all your senses creating memories and skills you can pass down through generations.
Best Apples for Pie Filling
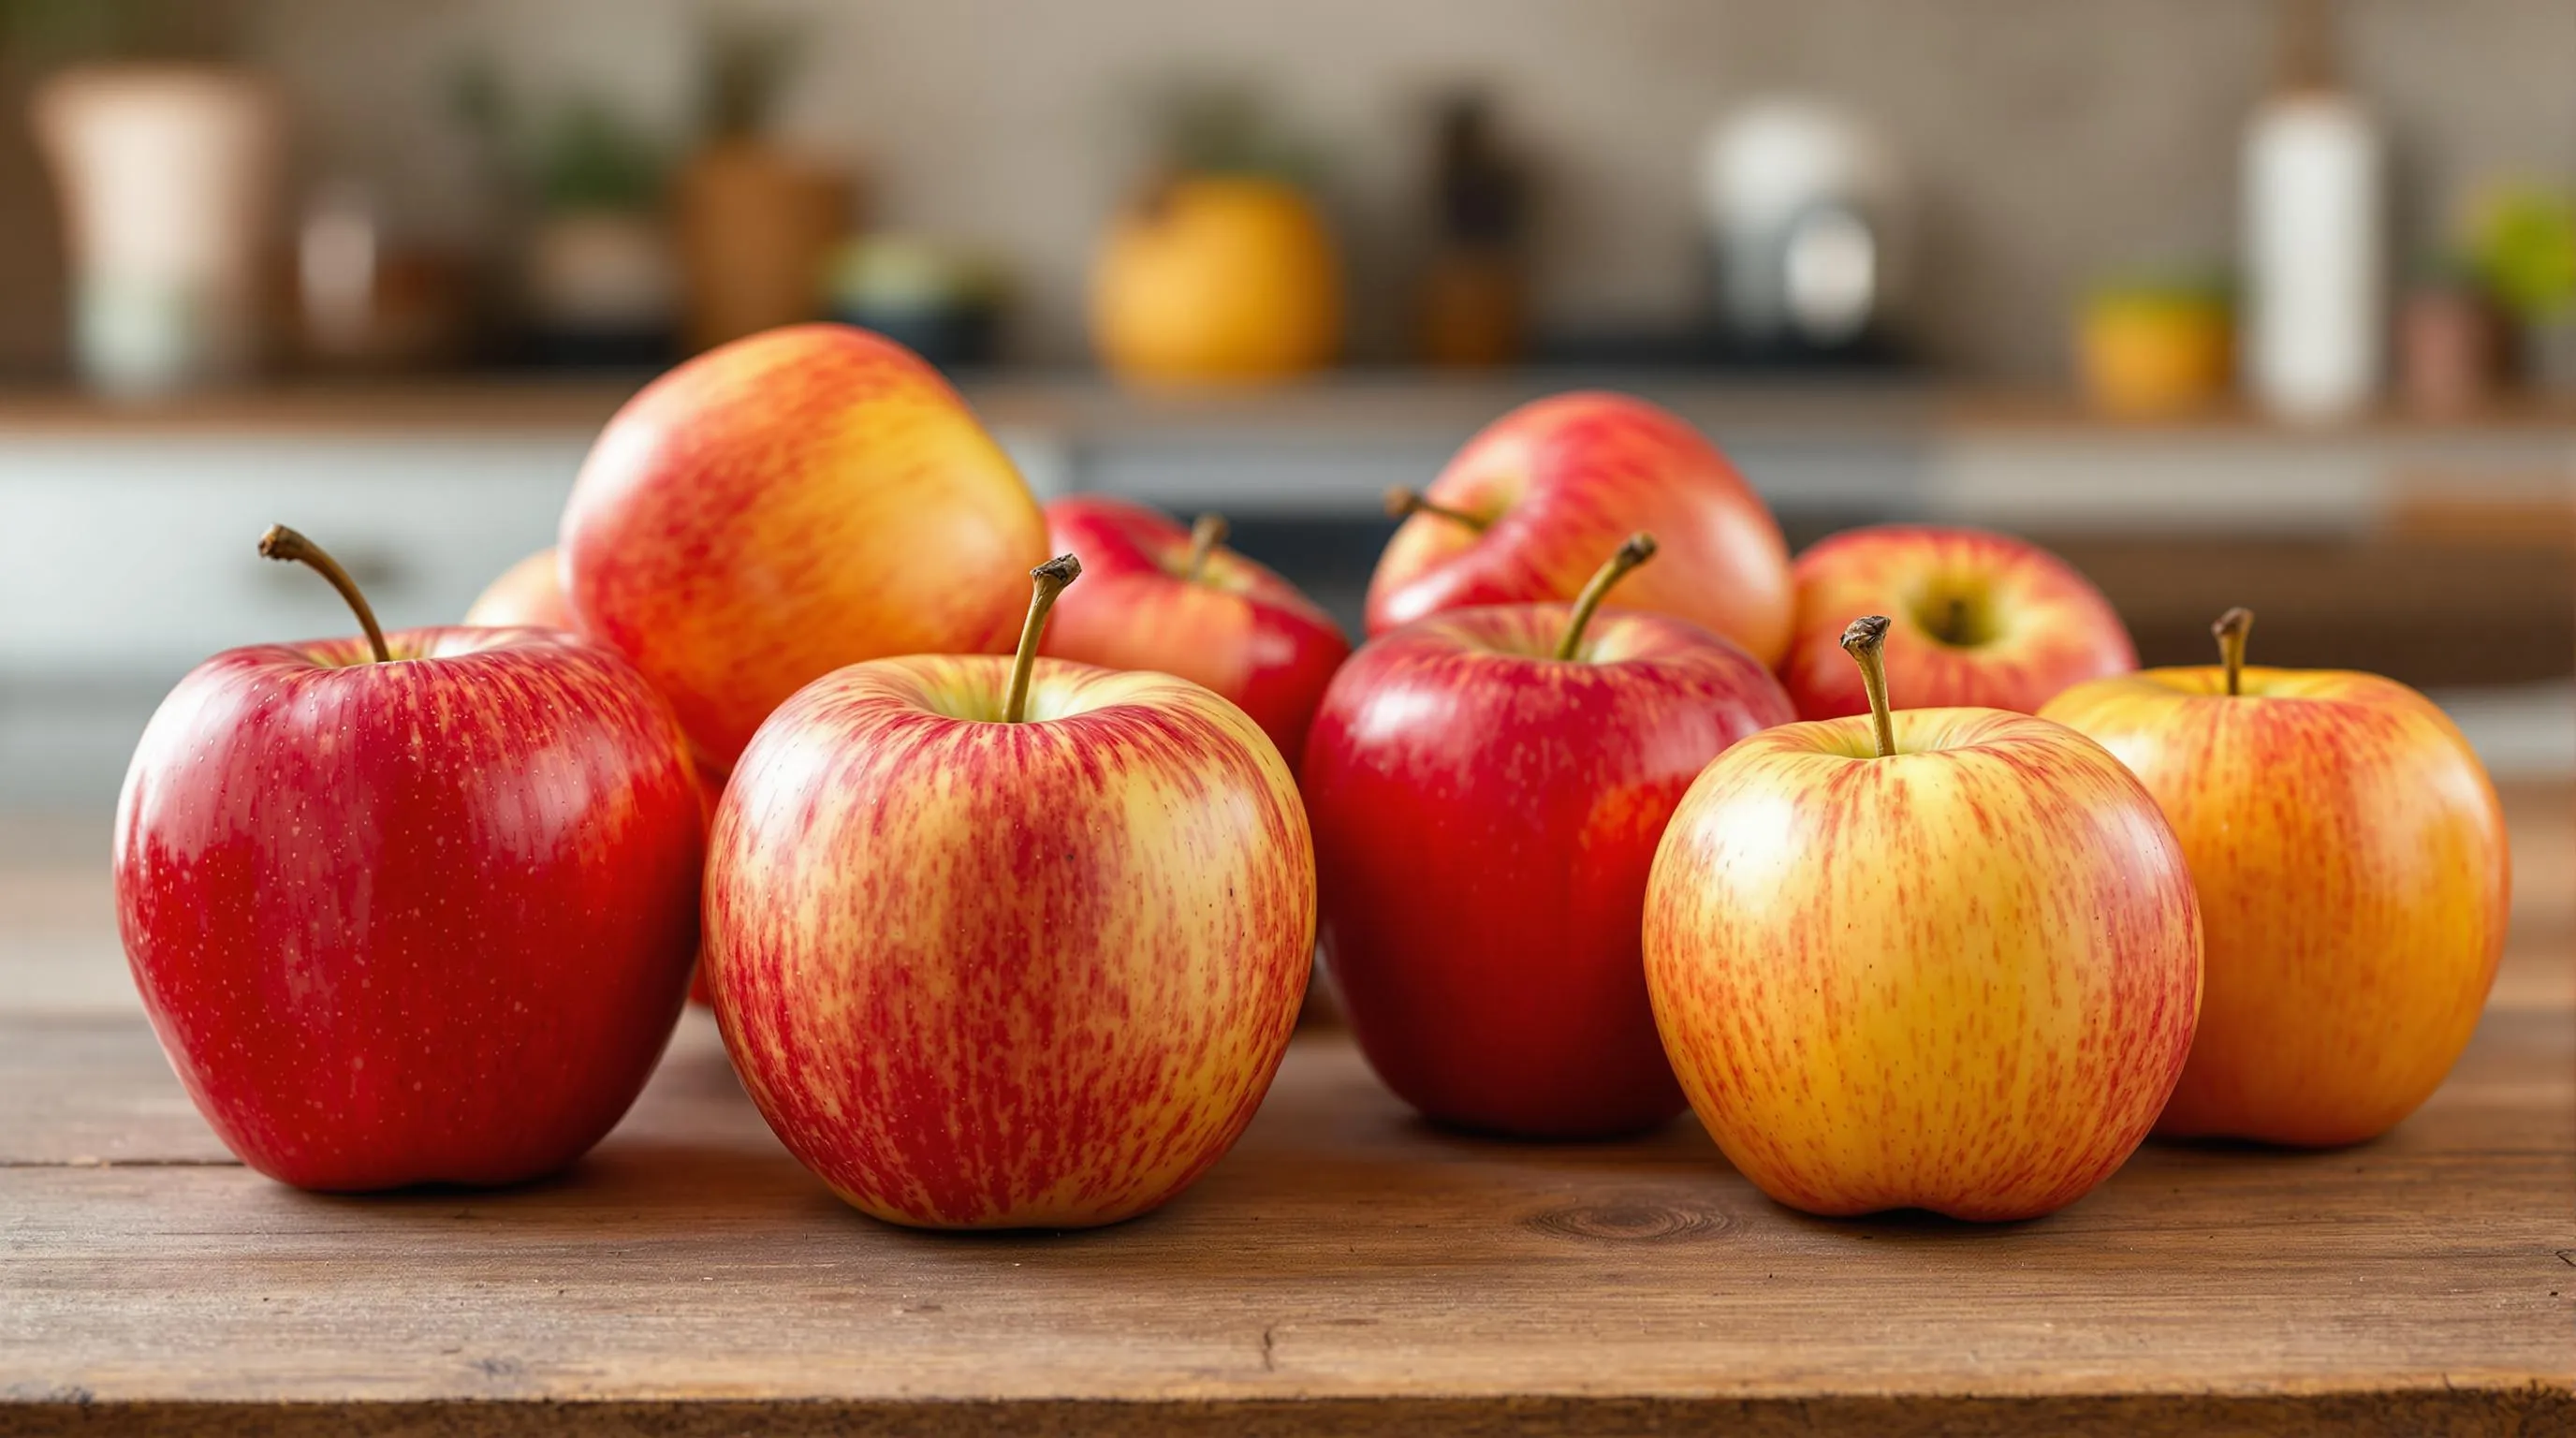
Selecting the right apples for your pie filling is crucial for achieving that perfect balance of flavor and texture. Not all apple varieties perform equally when baked, so knowing which types to use makes a important difference in your final dessert.
Firm Varieties That Hold Their Shape
When making apple pie filling, you want apples that maintain their structure during cooking. Granny Smith apples reign supreme in this category with their firm flesh that softens without turning mushy. Honeycrisp apples offer excellent stability while baking and provide a satisfying bite in your finished pie. Braeburn and Pink Lady varieties also retain their shape wonderfully, creating distinct apple pieces rather than applesauce. Northern Spy apples, though less common in some regions, are prized by pie enthusiasts for their ability to hold up during extended cooking times. Golden Delicious can work well when slightly underripe, giving you tender slices that still maintain their integrity throughout the baking process.
Sweet vs. Tart Balance
Creating a memorable apple pie filling requires thoughtful consideration of flavor profiles. Tart apples like Granny Smith provide a bright acidity that prevents your filling from becoming cloyingly sweet. Honeycrisp apples deliver a perfect middle ground with their balanced sweet-tart flavor that appeals to most palates. Jonagold apples offer honey-sweet notes with just enough tartness to create complexity in your filling. You can achieve flavor depth by combining varieties – pair sweet Fuji or Gala apples with tarter options like Granny Smith or Braeburn. This strategic mixing allows you to customize the sweet-tart balance precisely to your preference. The ideal approach often involves using at least two different apple varieties to create a more nuanced flavor profile that elevates your pie filling beyond the ordinary.
Ingredients You’ll Need
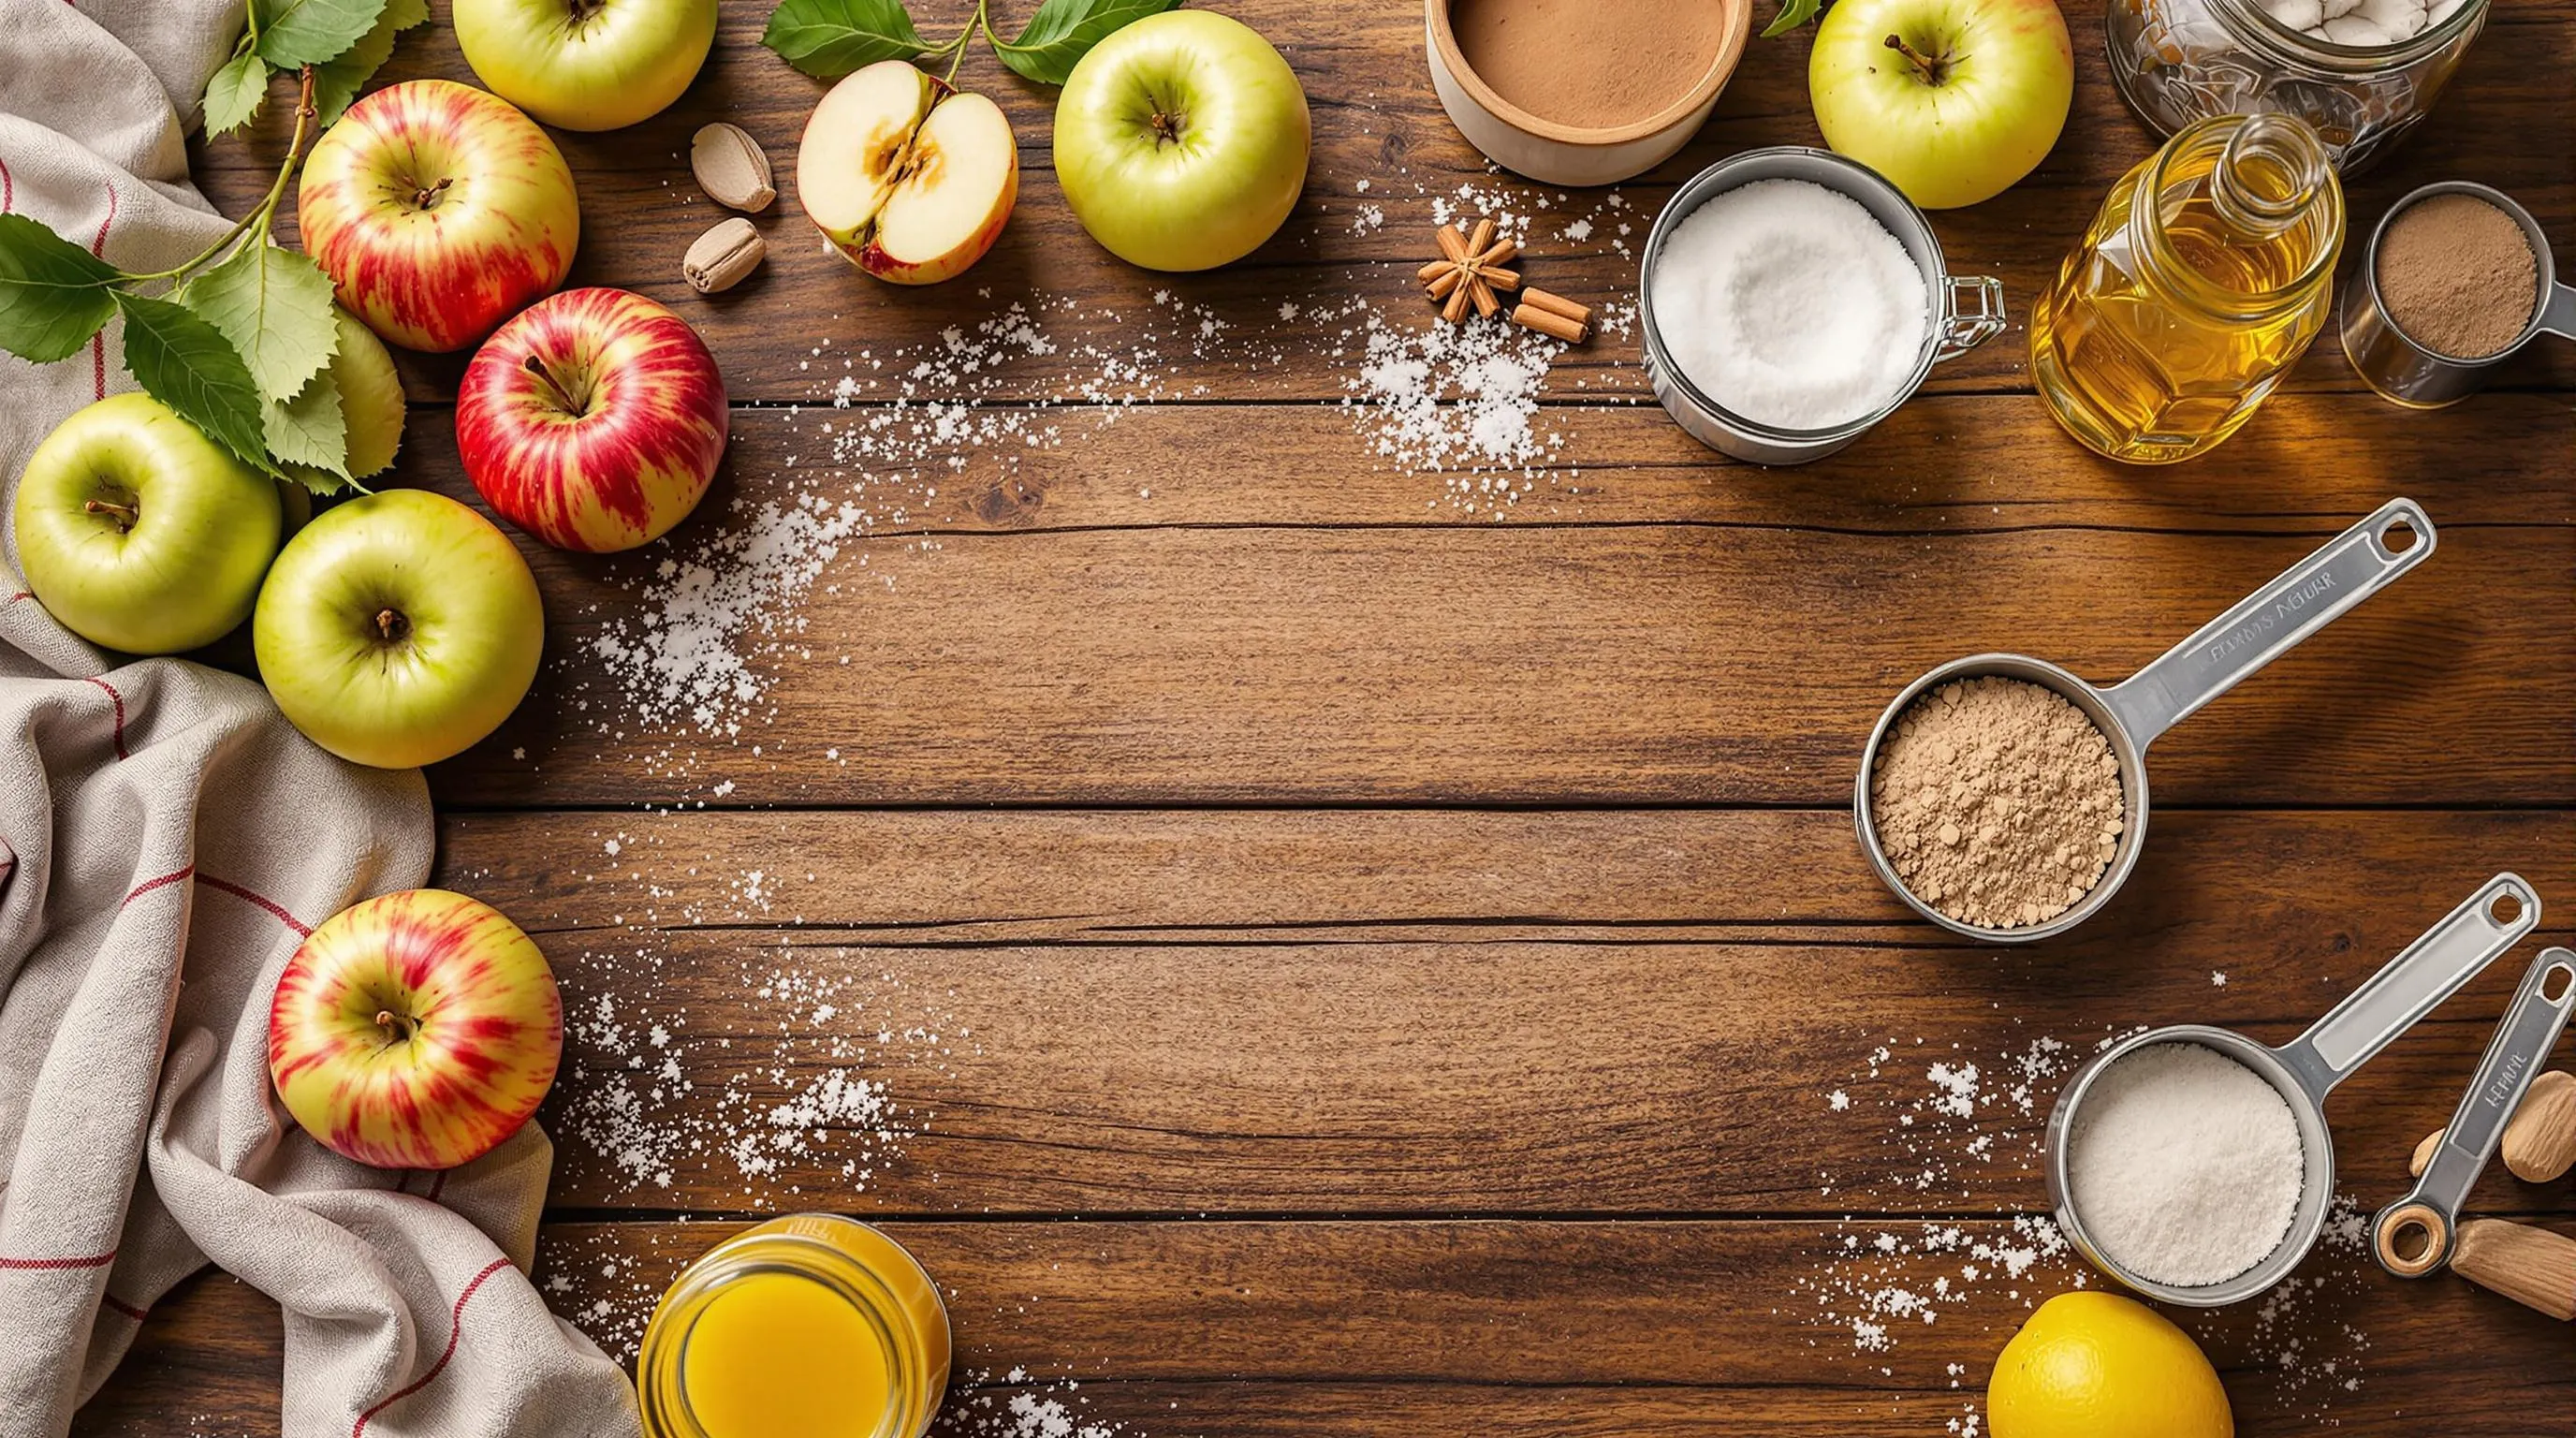
Creating perfect apple pie filling requires just a handful of quality ingredients that work together to achieve that classic flavor and texture. Here’s everything you’ll need to make this delicious filling.
Apple Selection
For this recipe you’ll need approximately 6-7 medium apples (about 2½ pounds) peeled cored and sliced. Choose a mix of firm varieties that will hold their shape during cooking such as Granny Smith Honeycrisp Braeburn or Pink Lady. Granny Smith apples provide excellent tartness while Honeycrisp adds natural sweetness and wonderful texture. Aim for apple slices of consistent thickness (about ¼ inch) to ensure even cooking throughout your filling.
Sweeteners and Spices
The magical flavor of apple pie filling comes from its perfect blend of sweeteners and warming spices:
- ½ cup granulated sugar
- ¼ cup light brown sugar packed
- 1½ teaspoons ground cinnamon
- ¼ teaspoon ground nutmeg
- ⅛ teaspoon ground allspice (optional)
- ¼ teaspoon salt
- 1 tablespoon fresh lemon juice
- 1 teaspoon vanilla extract
- 2 tablespoons unsalted butter
Brown sugar adds depth and moisture while granulated sugar provides classic sweetness. The combination of cinnamon nutmeg and allspice creates that signature warm apple pie aroma that fills your kitchen. Lemon juice brightens the flavor and helps prevent browning while vanilla extract adds aromatic complexity.
Thickening Agents
Achieving the perfect consistency for your apple pie filling requires proper thickening agents:
- 3 tablespoons cornstarch
- ¾ cup water or apple juice
Cornstarch serves as the primary thickener creating that luscious glossy sauce that coats each apple slice. Mix it with cold water or apple juice before adding to your apple mixture to prevent lumps. The filling will continue to thicken as it cools so don’t worry if it seems slightly loose while still hot. For a thicker filling you can increase the cornstarch to 4 tablespoons or reduce it to 2 tablespoons for a more saucy consistency.
Equipment Needed
Preparing homemade apple pie filling requires minimal equipment yet having the right tools makes the process seamless and efficient. Gather these kitchen essentials before you start:
- Large saucepan or Dutch oven – A heavy-bottomed pot with at least 4-quart capacity works best for even heating and preventing scorching
- Sharp chef’s knife – Essential for cleanly slicing through apples with precision
- Cutting board – Provides a stable surface for apple preparation
- Apple peeler/corer (optional) – Speeds up the prep process significantly if making large batches
- Measuring cups and spoons – For accurate ingredient measurements
- Wooden spoon or heat-resistant spatula – Necessary for stirring the filling without scratching your cookware
- Mason jars or airtight containers – For storing your finished filling
- Vegetable peeler – Helps remove apple skins efficiently
- Large mixing bowl – Useful for tossing sliced apples with lemon juice before cooking
- Citrus juicer (optional) – For extracting fresh lemon juice
Your saucepan selection is particularly important as it directly affects how evenly your filling cooks. Choose one with a thick bottom to distribute heat uniformly and prevent hot spots that might burn parts of your filling. Stainless steel or enameled cast iron pots offer excellent heat conductivity for this recipe.
Having all equipment ready before you begin streamlines the cooking process and ensures your apple pie filling achieves that perfect consistency between saucy and chunky. Quality tools also make the preparation more enjoyable with less frustration during critical cooking stages.
Preparation Steps
Creating the perfect apple pie filling requires attention to detail and proper technique. Follow these steps to achieve that homemade flavor that makes your desserts truly exceptional.
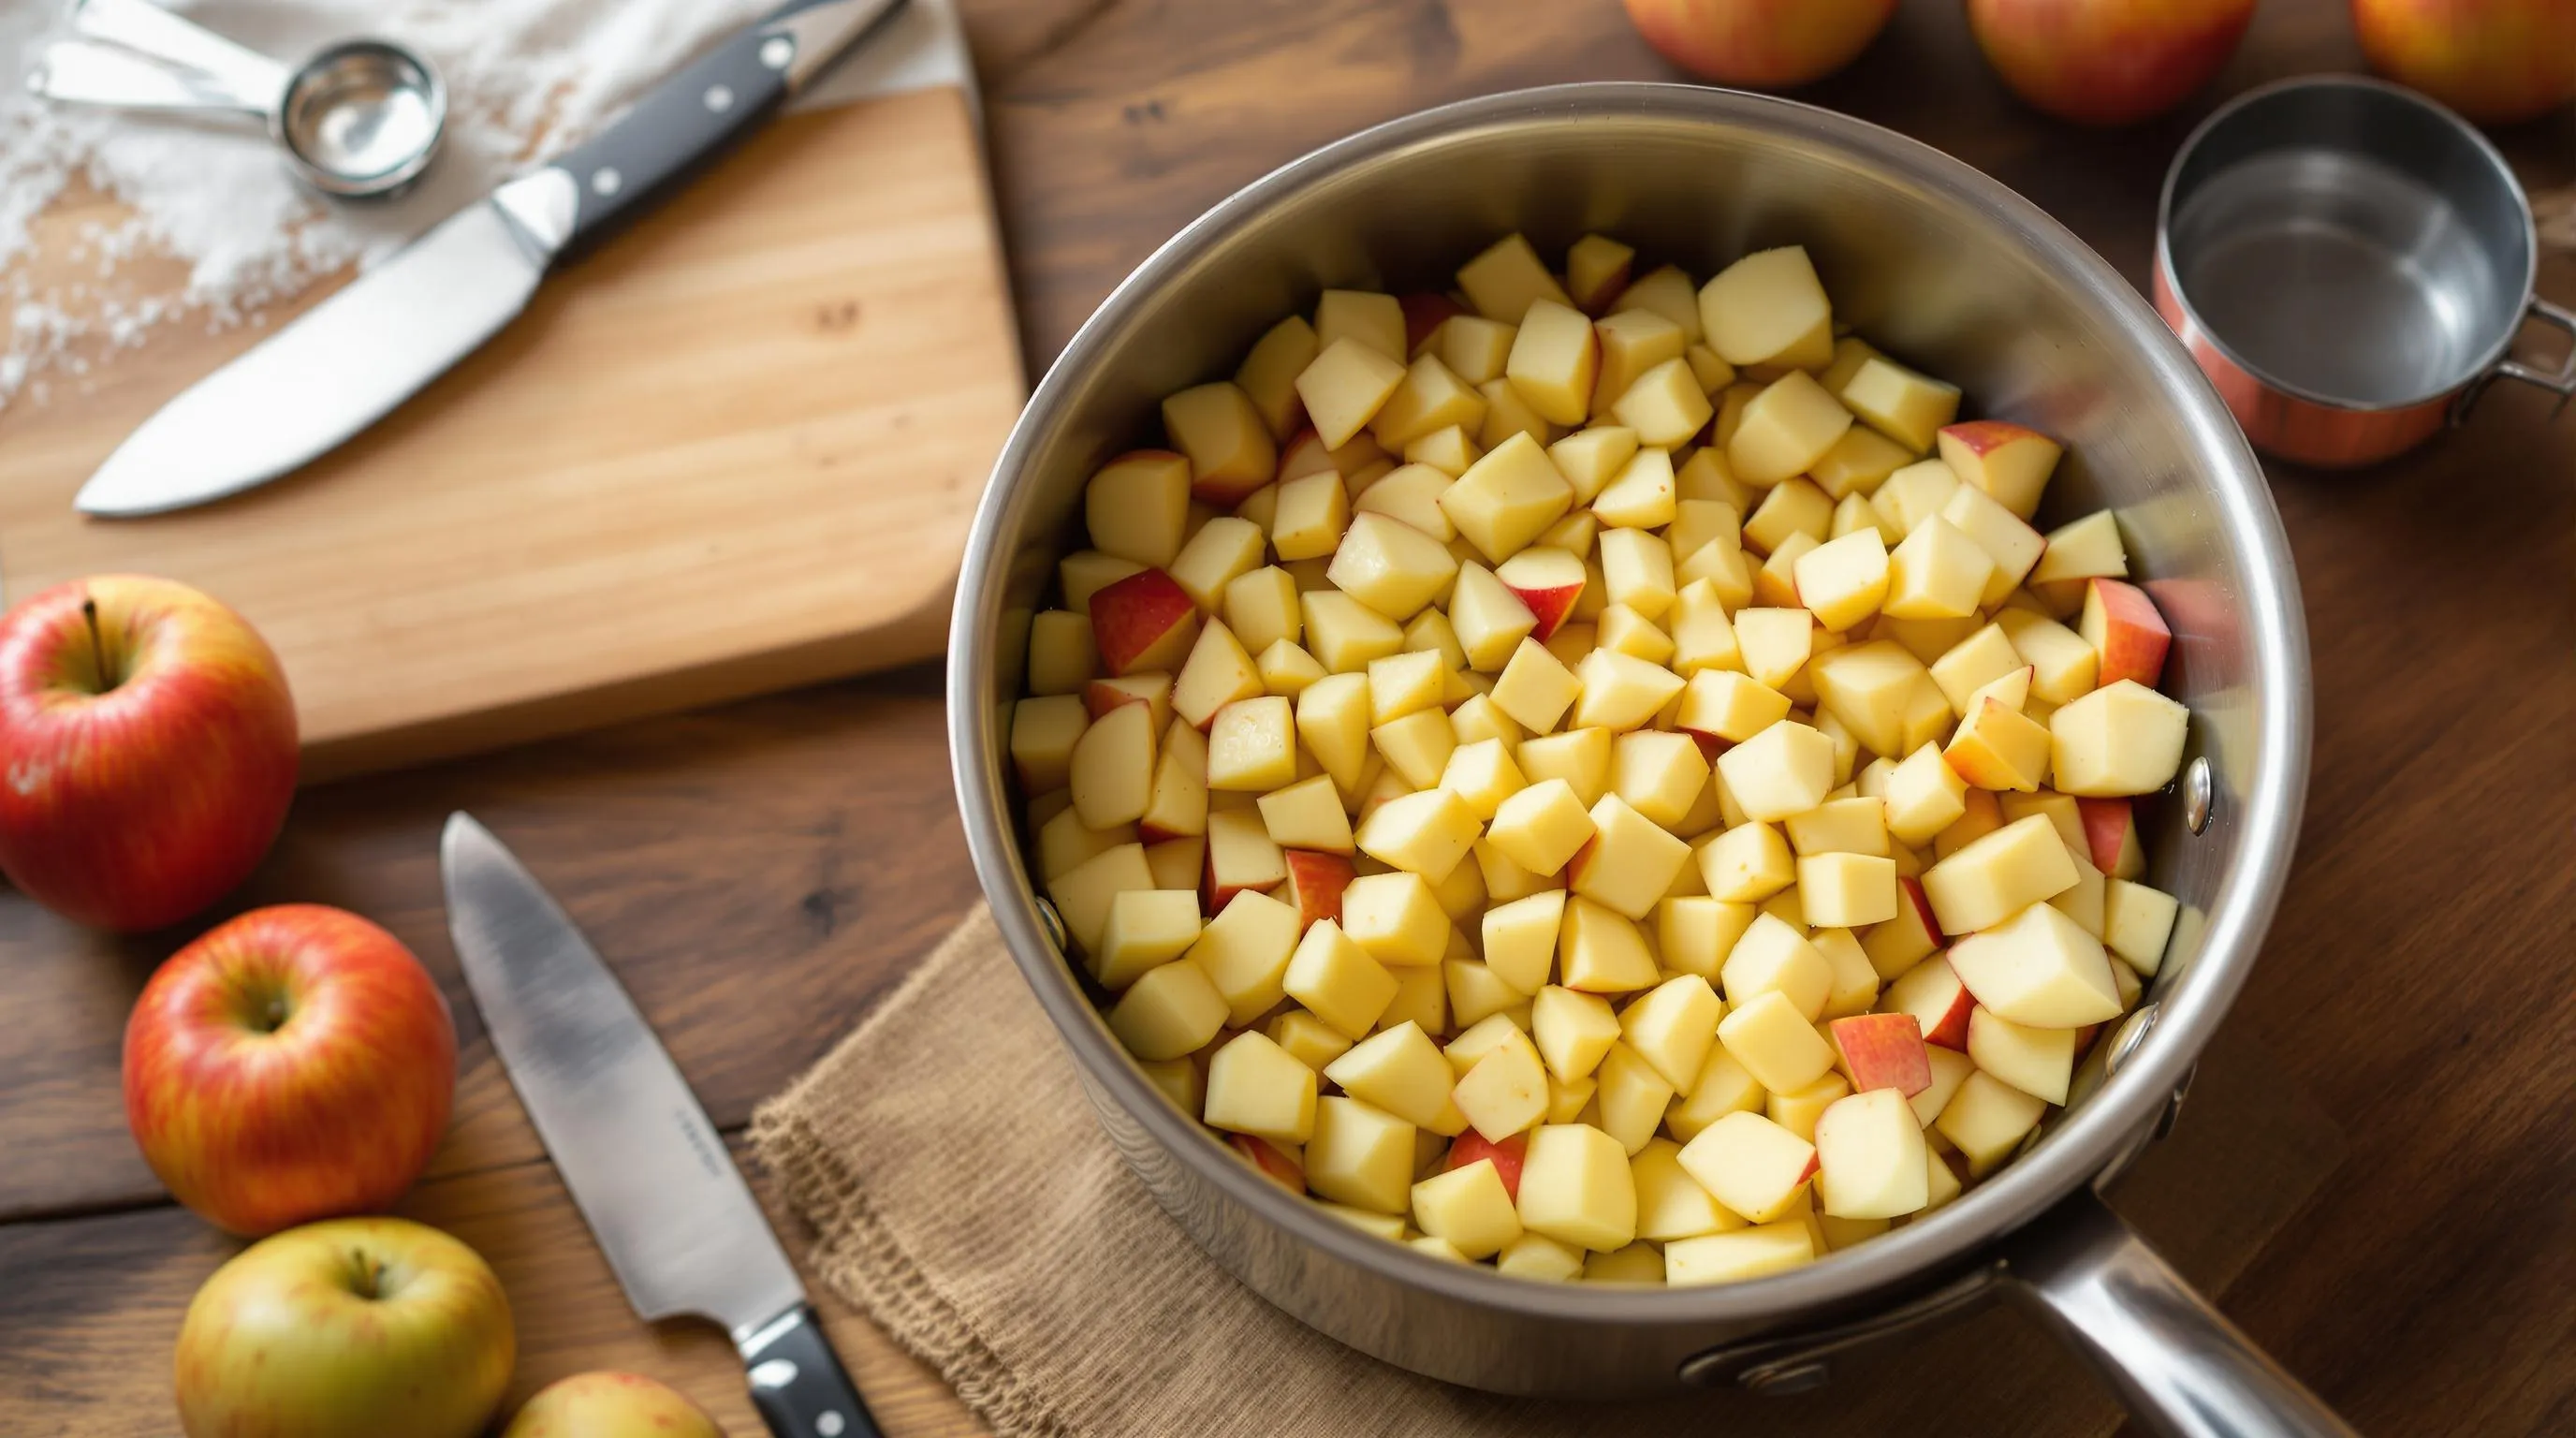
Peeling and Slicing Apples
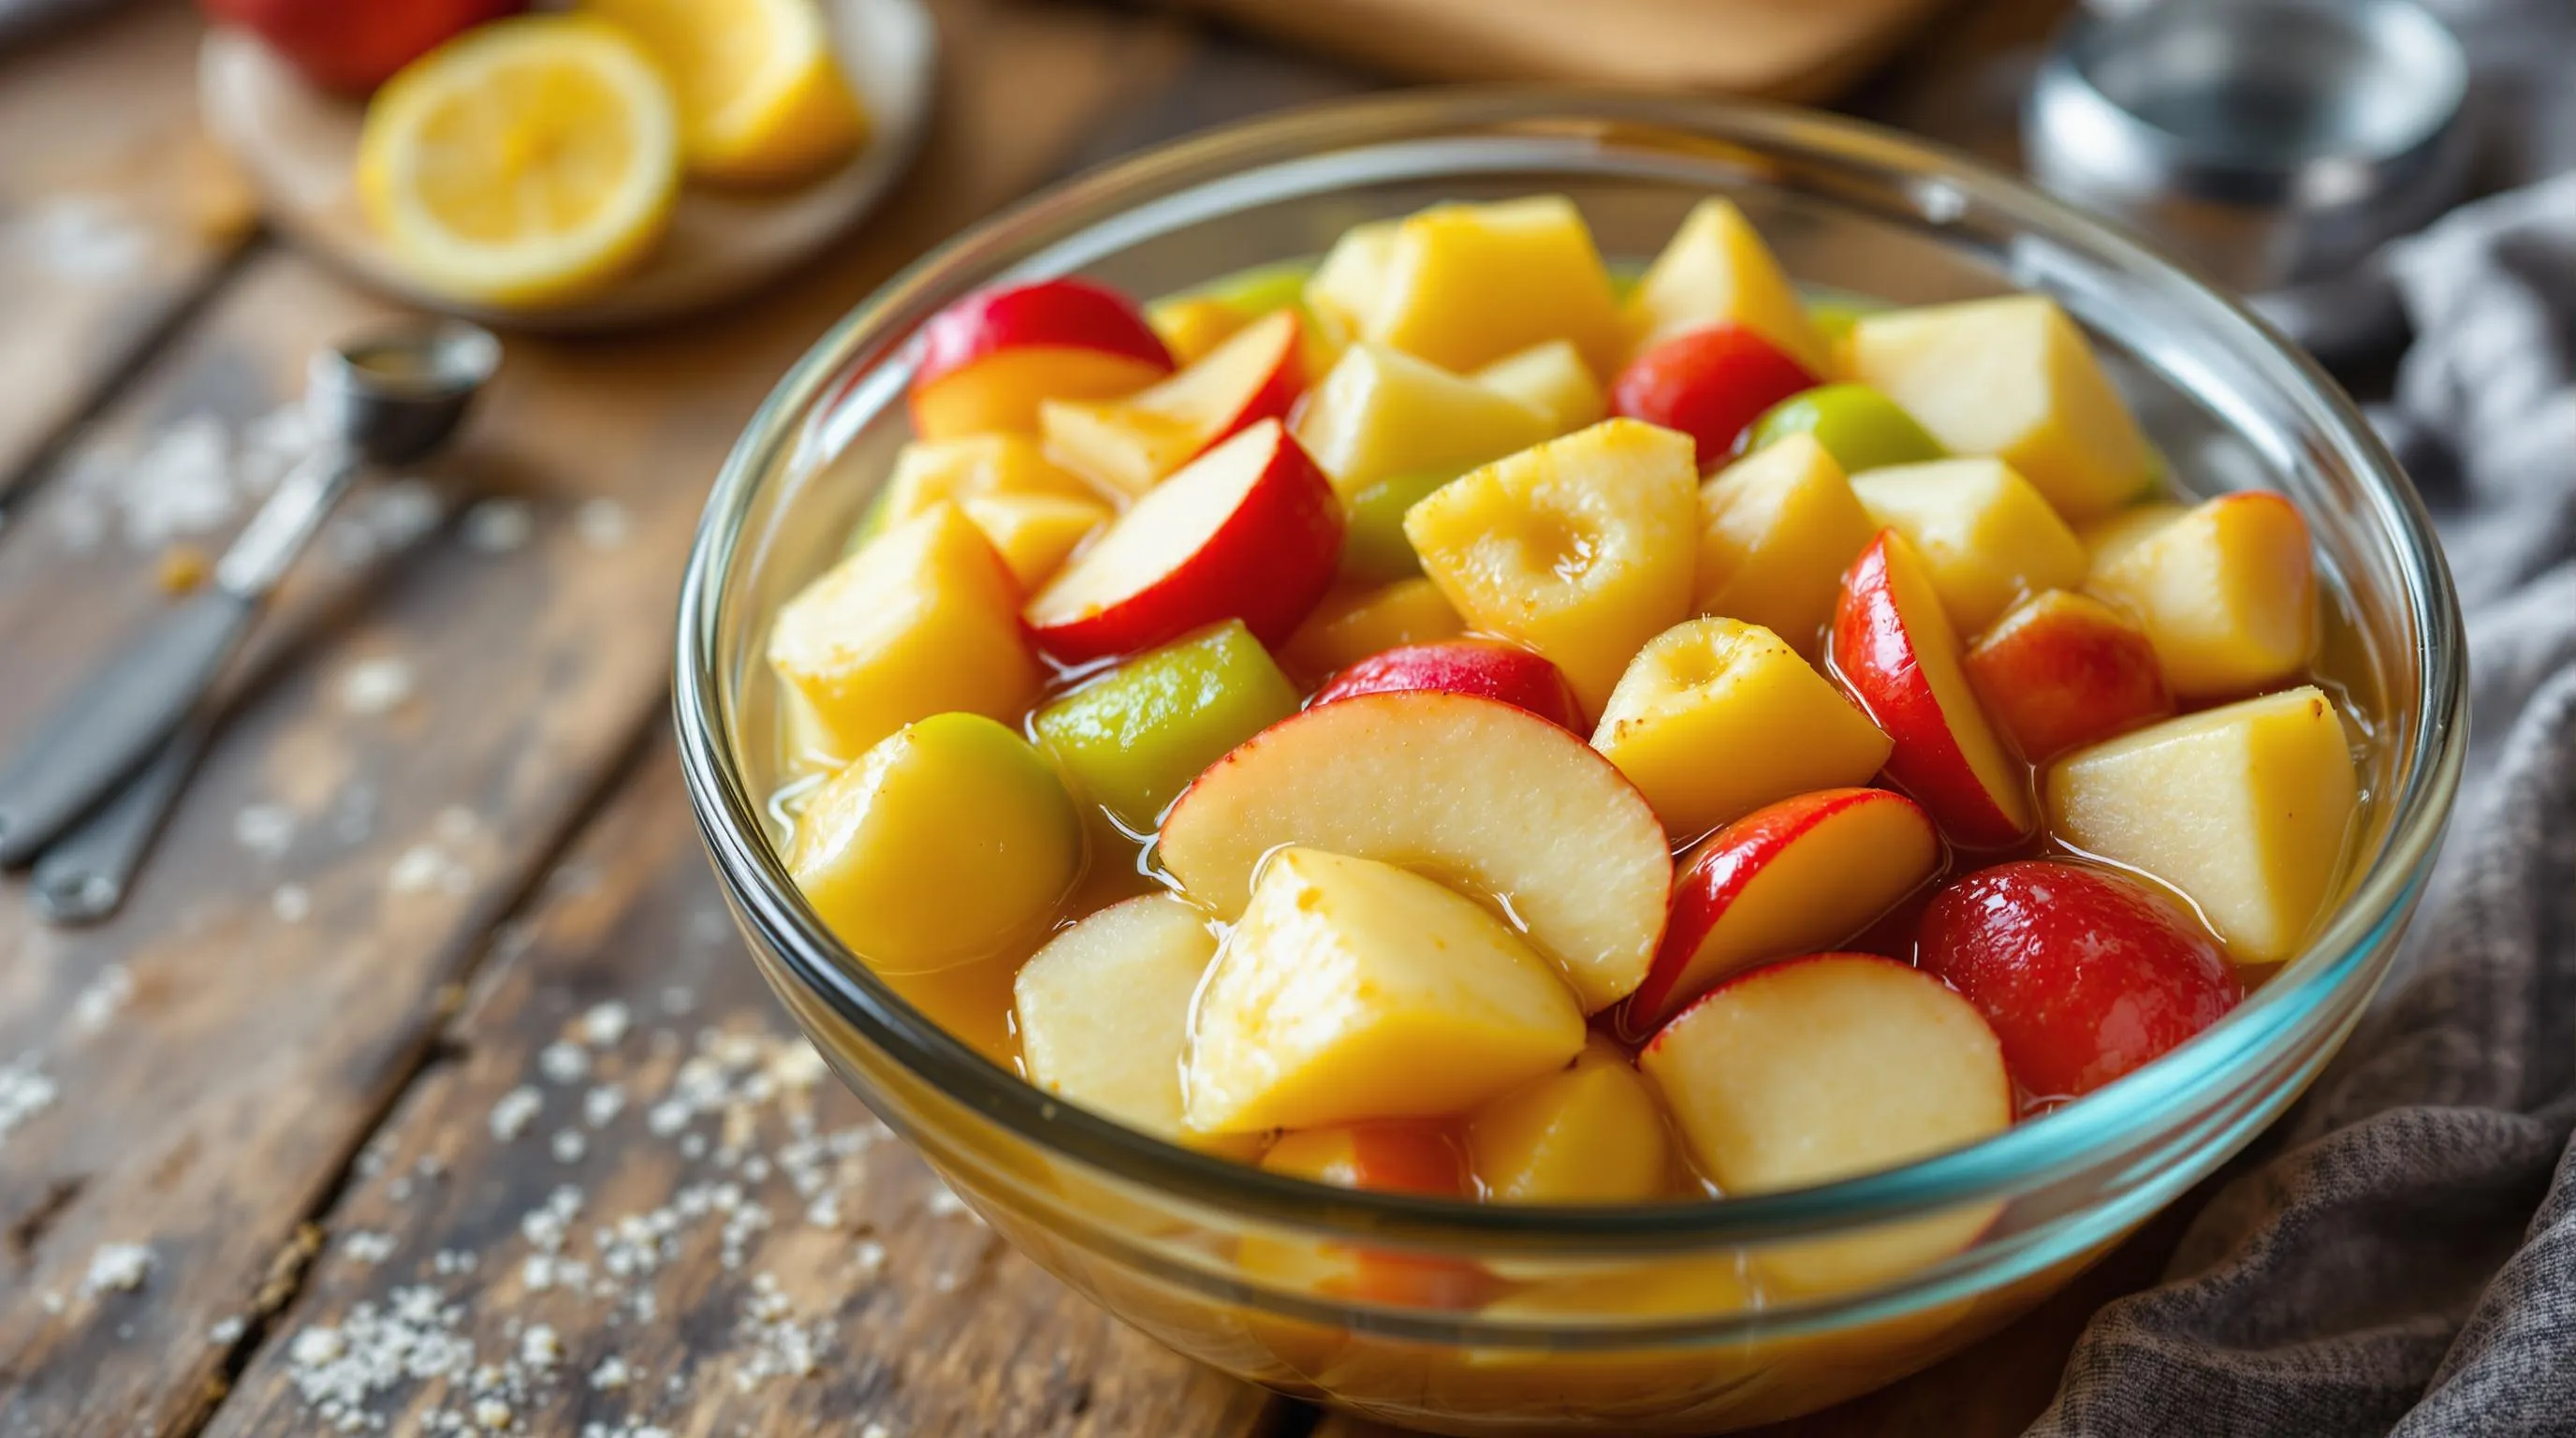
Start by washing your apples thoroughly under cool running water to remove any dirt or residue. Set up your workstation with a cutting board, sharp chef’s knife, and a bowl for the sliced apples. Peel each apple completely using a vegetable peeler or paring knife with smooth, downward strokes. Remove the core by cutting the apple into quarters and slicing away the center containing seeds. For uniform cooking, slice the apples to an even thickness of about ¼ inch—this ensures all pieces will cook at the same rate. You can use an apple corer/slicer tool to speed up this process if available. Aim for consistent slice size as varying thickness will result in some pieces becoming mushy while others remain firm. Place your sliced apples directly into your cooking pot or a large bowl if not cooking immediately.
Preventing Browning
Fresh apple slices begin to oxidize and turn brown quickly when exposed to air. Toss your sliced apples immediately with 1-2 tablespoons of lemon juice to prevent browning—the acid in lemon juice slows down the oxidation process. For a more subtle flavor alternative, you can use apple juice or white grape juice instead. Prepare a bowl of cold water with a tablespoon of lemon juice as another option and place your apple slices in this solution as you work. Remove the slices from the water and pat them dry before continuing with your recipe. Work efficiently to minimize exposure time between slicing and cooking. If you need to prepare your apples in advance, store them in an airtight container with a squeeze of lemon juice and refrigerate for up to 24 hours before cooking. Remember that preventing browning is purely aesthetic and doesn’t affect the taste of your finished filling.
Cooking Instructions
Now that you’ve prepared your apples and gathered all your ingredients, it’s time to transform them into that perfect apple pie filling. Following these cooking methods will ensure your filling achieves that ideal balance of tender apples and rich sauce.
Stovetop Method
- Place a large heavy-bottomed pot or Dutch oven over medium heat and add your sliced apples.
- Pour the granulated sugar, brown sugar, cornstarch, cinnamon, nutmeg, allspice, and salt over the apples and stir gently to coat each slice evenly.
- Add the water or apple juice and lemon juice to the pot, stirring to combine all ingredients thoroughly.
- Bring the mixture to a gentle boil, stirring frequently to prevent sticking or burning on the bottom.
- Once boiling, reduce the heat to low and simmer for 8-10 minutes until the apples have softened but still retain some firmness.
- Add the butter and stir until completely melted and incorporated.
- Continue cooking for another 2-3 minutes until the sauce has thickened to your desired consistency.
- Remove from heat and allow the filling to cool completely before using in your pie or storing.
The stovetop method gives you complete control over the texture of your apples and thickness of your sauce. You’ll know your filling is perfect when the apples are tender but not mushy and the sauce coats the back of a spoon.
Slow Cooker Alternative
- Add your sliced apples to a 6-quart slow cooker.
- Combine the granulated sugar, brown sugar, cornstarch, cinnamon, nutmeg, allspice, and salt in a bowl, then sprinkle over the apples.
- Pour in the water or apple juice and lemon juice, then stir gently to coat the apples.
- Cover and cook on LOW for 3-4 hours or on HIGH for 1-2 hours until the apples are tender.
- During the last 30 minutes of cooking, stir in the butter pieces until melted.
- If the sauce seems too thin, mix 1 tablespoon cornstarch with 1 tablespoon cold water and stir into the filling.
- Continue cooking uncovered for the remaining time to allow the sauce to thicken.
- Allow the filling to cool completely before transferring to storage containers or using in your pie.
The slow cooker method is perfect for busy days when you want to fill your home with the aroma of spiced apples without constant monitoring. This hands-off approach yields exceptionally tender apples while maintaining that rich sauce consistency that makes apple pie filling so irresistible.
Storage Options
Properly storing your homemade apple pie filling ensures you can enjoy the fruits of your labor for weeks or months to come. Follow these storage methods to maintain the filling’s flavor and texture for whenever you need a quick pie or dessert.
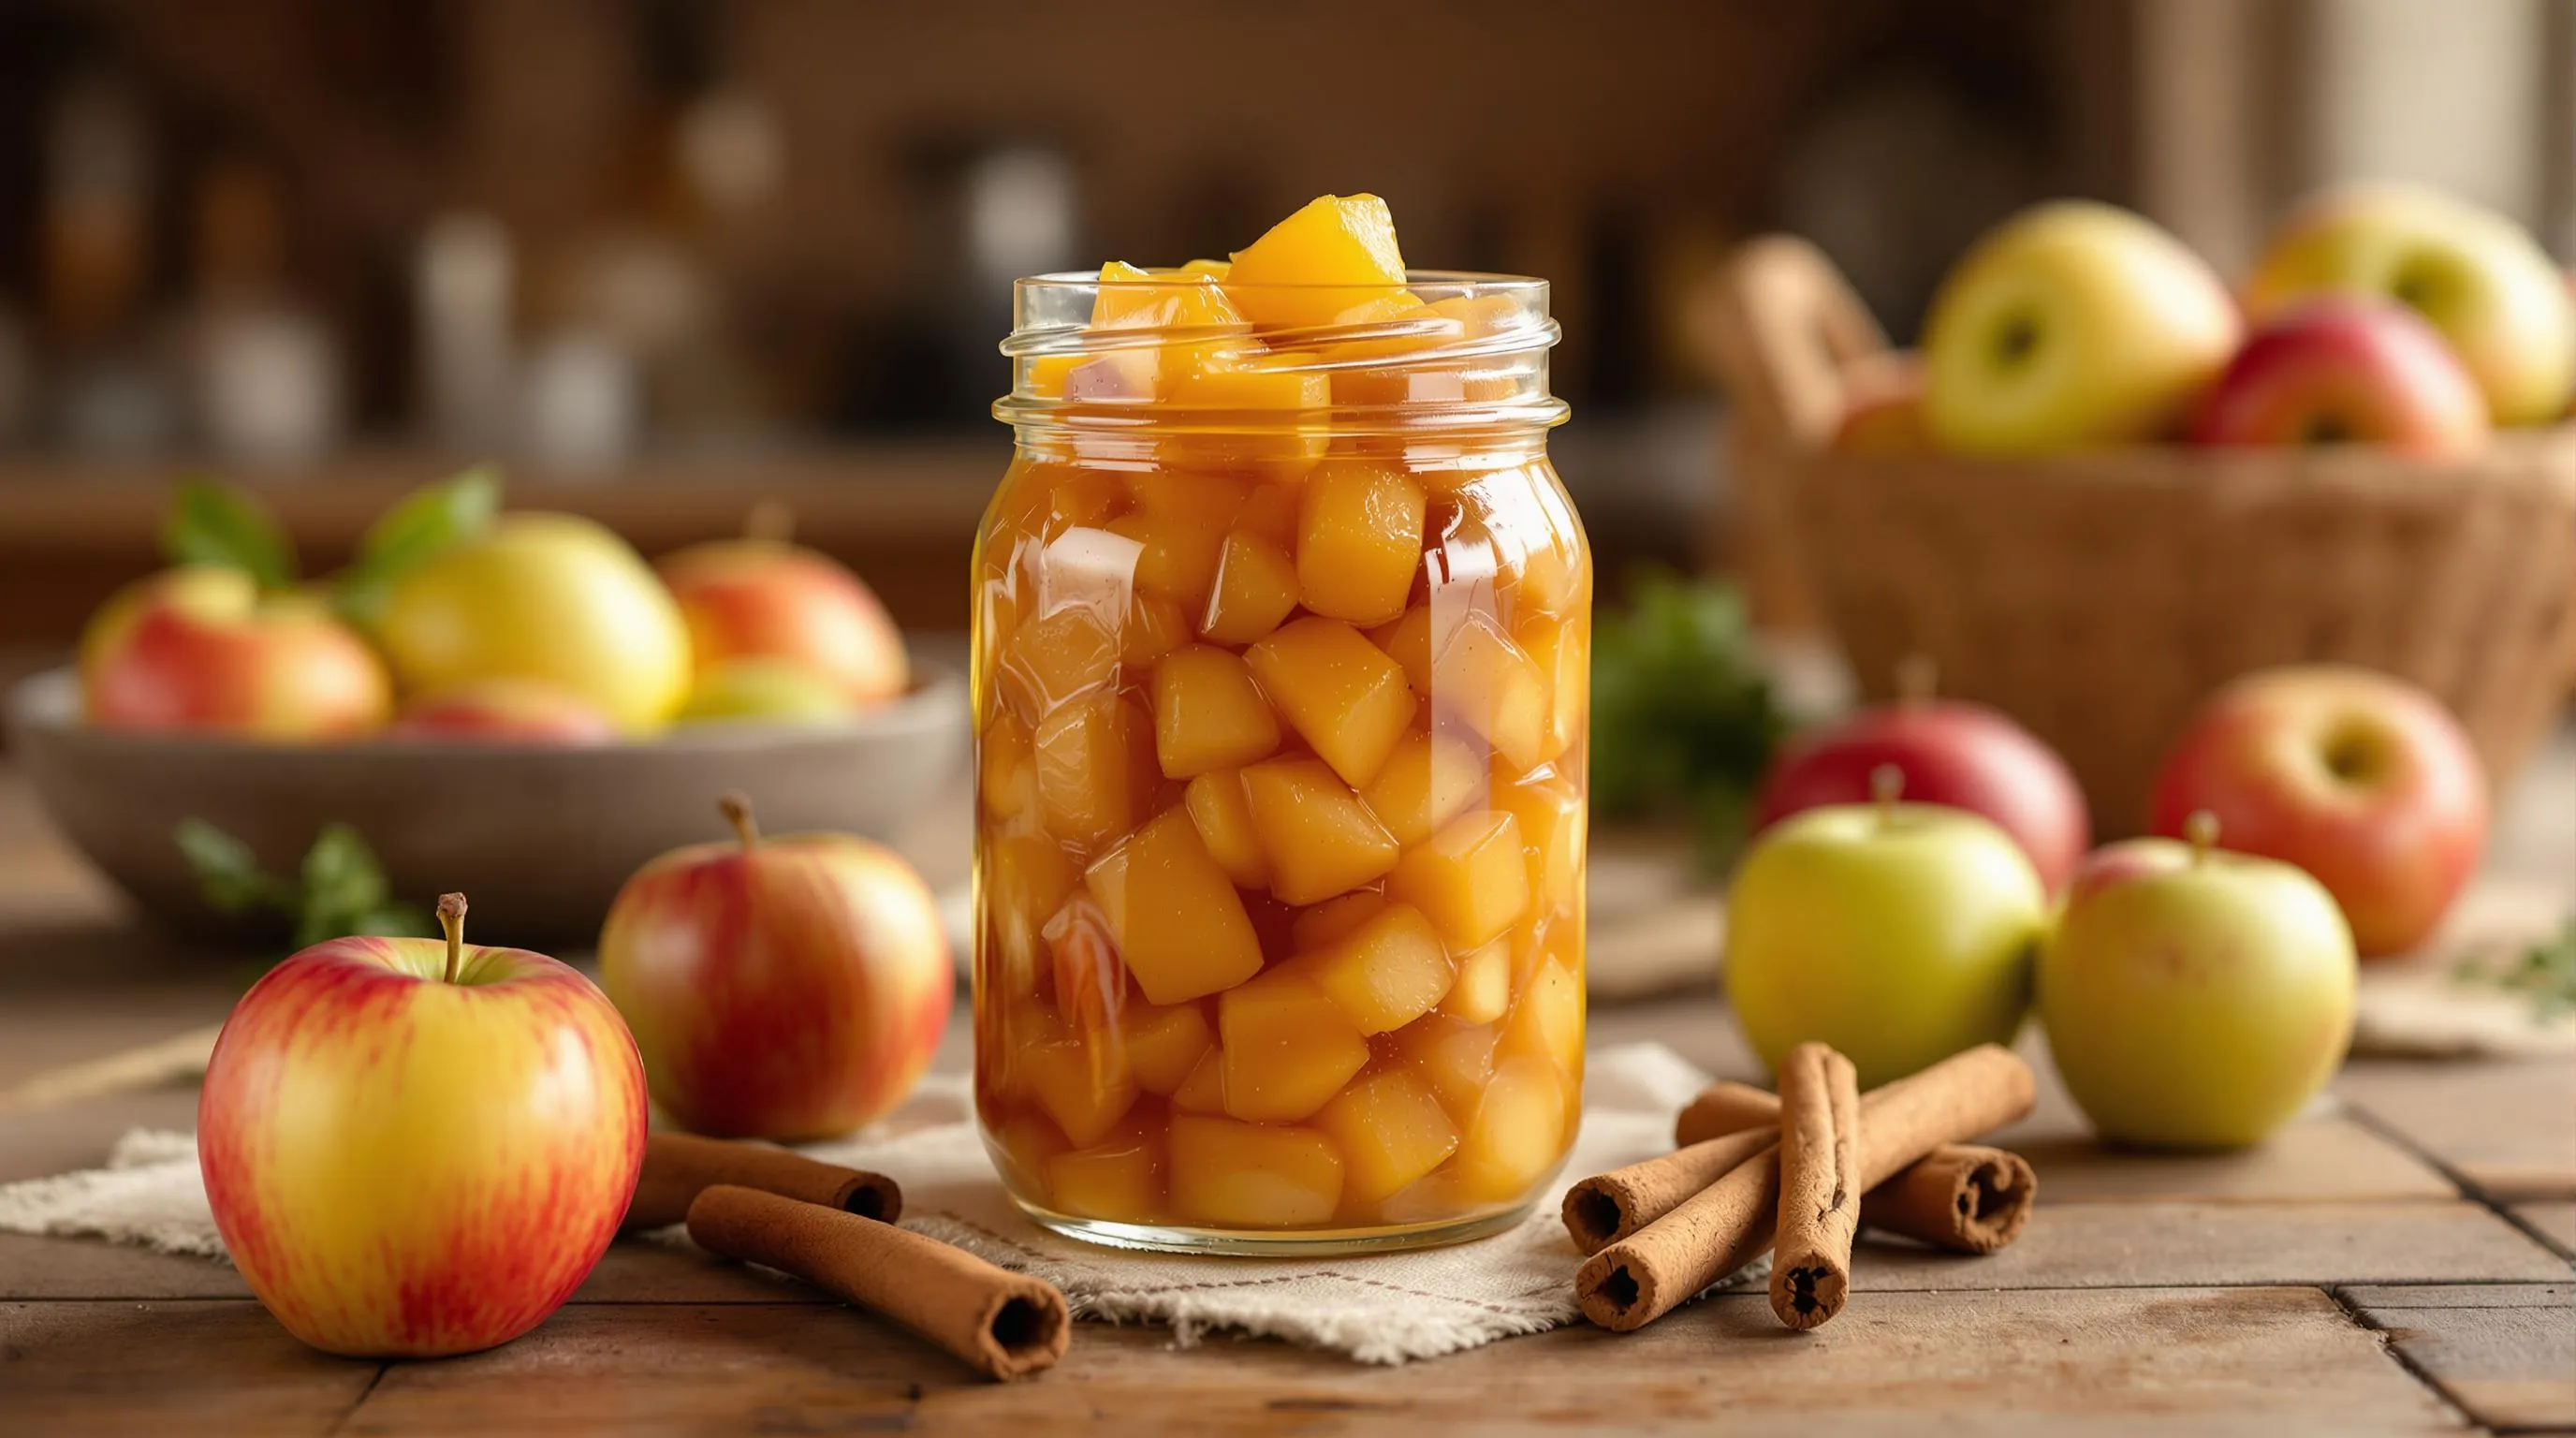
Refrigerating Your Filling
Transfer your cooled apple pie filling to airtight containers before refrigerating. Glass jars with tight-fitting lids work exceptionally well for preserving flavor and preventing absorption of other food odors. Your homemade filling will maintain its quality for up to 5 days when properly refrigerated at or below 40°F (4°C). Before using refrigerated filling, give it a gentle stir as some separation might occur. Allow the filling to come to room temperature if using it in unbaked desserts or warm it slightly if using in a hot pie. Remember that refrigerated filling may thicken considerably so you might need to add a tablespoon of water when reheating to achieve your desired consistency.
Freezing For Later Use
Freezing extends your apple pie filling’s shelf life substantially, allowing you to enjoy fall flavors throughout the year. Cool your filling completely before transferring it to freezer-safe containers or heavy-duty freezer bags. Leave about 1 inch of headspace in containers to allow for expansion during freezing. For convenient portions, consider freezing the filling in amounts typically needed for single recipes—about 2 cups for a standard pie. Label each container with the date and contents for easy identification. Properly stored frozen apple pie filling maintains optimal quality for up to 3 months but remains safe indefinitely at 0°F (-18°C). Thaw overnight in your refrigerator before use or place the sealed container in warm water for quicker thawing when needed unexpectedly.
Canning For Long-Term Storage
Canning transforms your apple pie filling into a shelf-stable product that can last 12-18 months without refrigeration. This method requires exact equipment including mason jars with new lids, a large water bath canner, jar lifters, and a funnel. You must adjust the recipe slightly by increasing the acidity with additional lemon juice (about 1/4 cup per batch) and using Clear Jel starch instead of cornstarch, as traditional cornstarch breaks down during the canning process. Fill sterilized jars with hot filling, leaving 1-inch headspace, then remove air bubbles by running a plastic spatula around the inside edges. Process pint jars for 20 minutes and quart jars for 25 minutes in a boiling water bath at altitudes below 1,000 feet (adjust processing time for higher elevations). After processing, allow jars to cool completely on a towel-covered countertop for 24 hours before checking seals. Store successfully sealed jars in a cool, dark place like a pantry or cabinet away from direct sunlight and heat sources.
Ways To Use Your Apple Pie Filling
Your homemade apple pie filling is incredibly versatile and can elevate many dishes beyond traditional pie. Here are creative and delicious ways to enjoy this cinnamon-spiced apple treasure throughout the year.
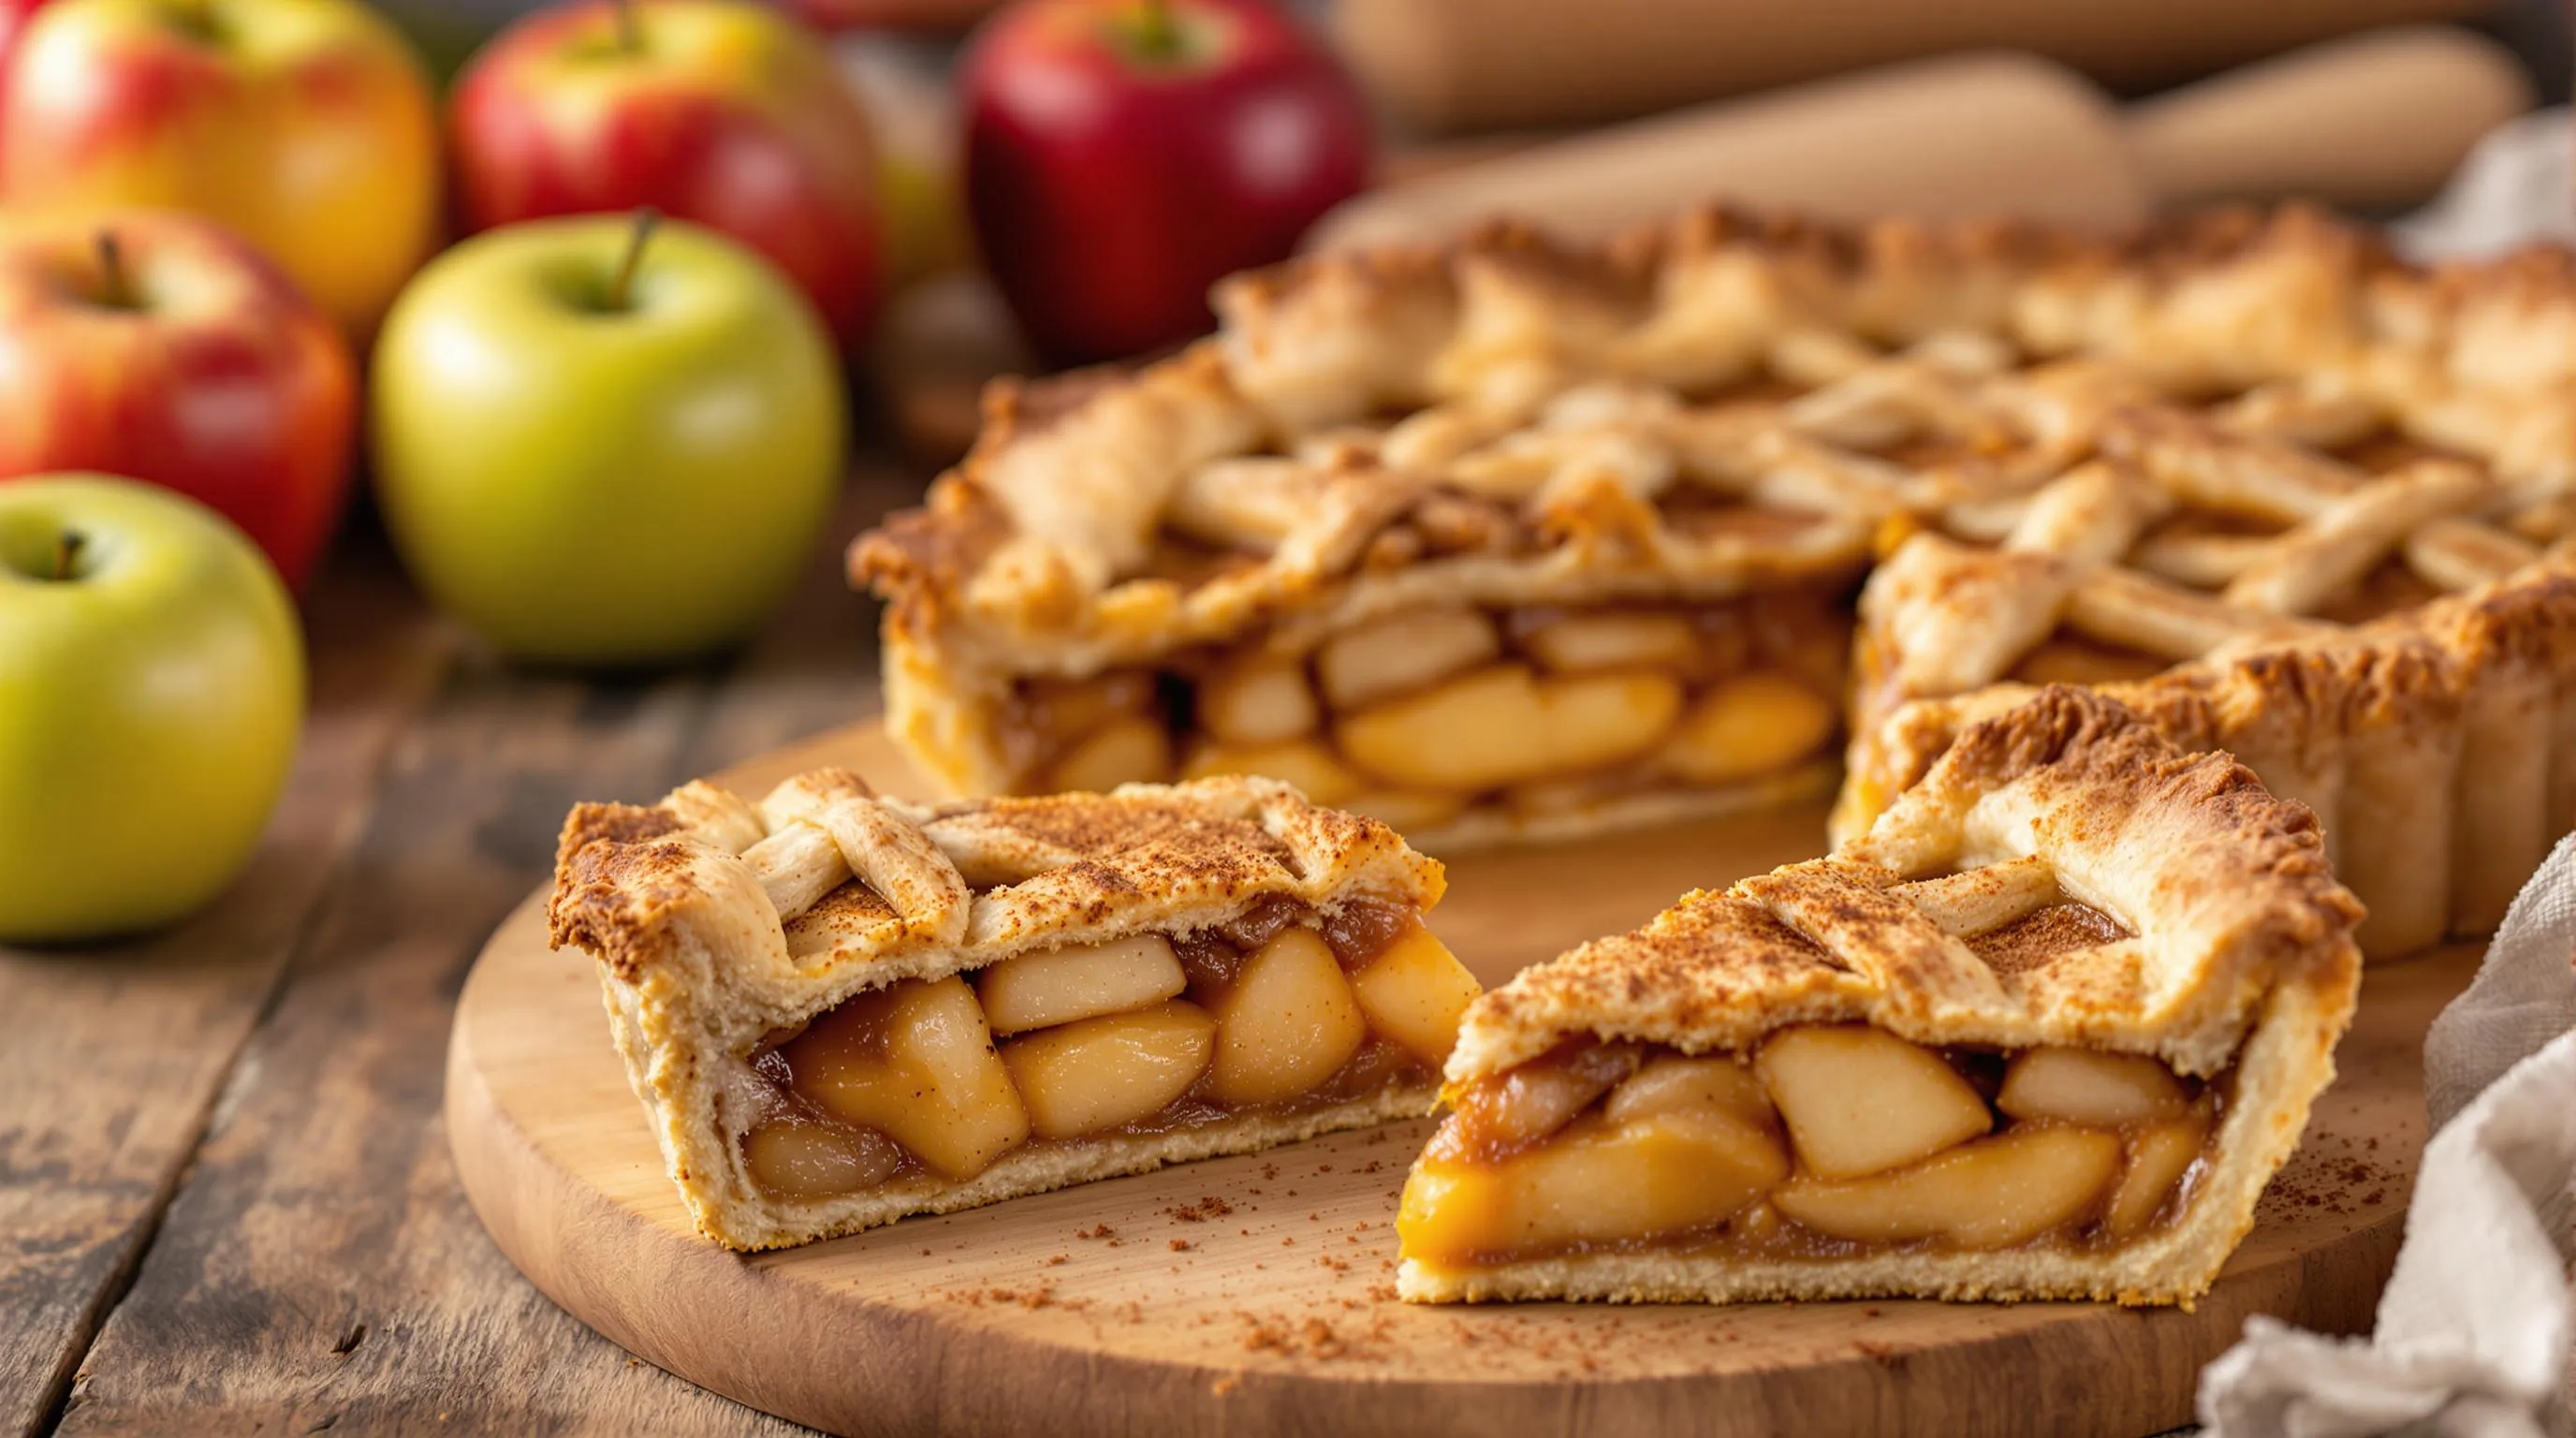
Classic Apple Pie
Transform your homemade filling into a spectacular classic apple pie by simply pouring it into your favorite pie crust. Pour the cooled filling into an unbaked pie shell, add your top crust, and bake at 375°F for 45-50 minutes until golden brown. The pre-cooked filling ensures your apples reach the perfect tenderness without overcooking the crust. Add a lattice top for visual appeal or a full top crust with decorative vents to release steam during baking. Brush the top with an egg wash before baking to achieve that professional bakery shine. Your homemade filling eliminates the worry of a soggy bottom crust since much of the moisture has already been cooked off during the filling preparation.
Other Desserts and Treats
Turn ordinary desserts into extraordinary treats with your apple pie filling as the star ingredient. Spoon warm filling over vanilla ice cream for an instant apple pie à la mode experience without the crust. Layer it between sheets of puff pastry for quick and impressive apple turnovers that bake in just 20 minutes. Create stunning apple hand pies by folding circles of pie dough over small portions of filling for portable treats perfect for picnics or lunchboxes.
Mix the filling into cake batters to create moist apple spice cakes with built-in flavor pockets. Swirl it into cheesecake batter before baking for an apple pie cheesecake fusion dessert. Fill crepes with your apple mixture and top with caramel sauce for an elegant breakfast or dessert option. Add a spoonful to the center of muffin batter before baking to create bakery-style apple surprise muffins.
For quick entertaining options, warm your filling and serve it as a dip with cinnamon sugar pita chips or graham crackers. Top a wheel of brie with the filling and wrap in puff pastry for a show-stopping appetizer that combines sweet and savory flavors perfectly. The natural thickness of your homemade filling makes it ideal for these applications without additional modifications.
Tips For Customizing Your Filling
Your homemade apple pie filling can be easily customized to match your taste preferences or dietary needs. These customization options will help you create a signature filling that reflects your personal style.
Adjusting Sweetness
The sweetness level of your apple pie filling can be modified to suit your palate. Reduce the total sugar by up to one-third if you prefer a less sweet filling that allows the natural tartness of the apples to shine through. Alternatively add an extra quarter cup of sugar for a more dessert-like sweetness that appeals to those with a sweet tooth.
Brown sugar contributes a deeper molasses flavor while granulated sugar provides straightforward sweetness. Experiment with adjusting the ratio between these two sugars to find your perfect balance. For a more complex flavor profile try incorporating natural sweeteners like pure maple syrup or honey in place of some of the granulated sugar. These alternatives add unique flavor notes that complement the apples beautifully.
For those monitoring sugar intake consider using sugar substitutes designed for baking. Measure according to the manufacturer’s instructions as these products often have different sweetness levels compared to traditional sugar. Remember that some sugar alternatives may affect the consistency of your filling so you might need to adjust your thickening agent accordingly.
Spice Variations
The spice blend in your apple pie filling creates its signature aroma and flavor profile. Traditional cinnamon serves as the foundation but you can adjust the amount based on your preference. Double the cinnamon for a more pronounced spice flavor or reduce it slightly for a milder taste.
Nutmeg adds warmth to your filling but can be potent when used in large quantities. Start with a small amount and increase gradually until you reach your desired intensity. Replace ground ginger with fresh grated ginger for a more vibrant zingy flavor that cuts through the sweetness of the filling.
Create unique flavor combinations by incorporating unexpected spices. Add a pinch of cardamom for a distinctive Nordic-inspired apple filling with floral notes. Include a small amount of ground cloves for a deeper holiday flavor reminiscent of mulled cider. Star anise or Chinese five-spice powder introduces an exotic element that transforms your filling into something truly special.
For an adult variation add a splash of bourbon whiskey or dark rum to the filling during the last few minutes of cooking. The alcohol will cook off leaving behind complex caramel notes that enhance the natural flavors of the apples. Vanilla extract or vanilla bean seeds contribute a smooth aromatic quality that rounds out the sharper spice notes beautifully.
Troubleshooting Common Issues
Even with the best recipes, apple pie filling can sometimes present challenges. Understanding how to address these common problems will ensure your filling turns out perfect every time.
Runny Filling
Runny apple pie filling typically results from insufficient thickening. Add an additional tablespoon of cornstarch mixed with cold water to your filling and simmer for 2-3 minutes until thickened. Always remember that hot filling appears thinner than cooled filling. Let your mixture cool completely before judging its consistency. Testing the thickness by coating the back of a spoon can help determine if additional thickener is needed.
Too Thick Filling
Overly thick filling creates a gummy texture that diminishes the pie’s appeal. Thin out overly thick filling by stirring in 1-2 tablespoons of apple juice or water while gently warming the mixture. Continue adding liquid in small increments until you reach your desired consistency. The filling should be spoonable yet hold its shape when placed on a plate.
Apple Texture Problems
Mushy apples ruin the textural contrast that makes apple pie special. Prevent this by selecting firm apple varieties like Granny Smith or Honeycrisp. Cut your apples into consistent 1/4-inch slices for even cooking. Watch cooking time carefully – simmer just until apples are fork-tender but still hold their shape. For undercooked apples, return the filling to low heat and simmer until desired tenderness is achieved.
Filling Discoloration
Brown or gray discoloration often occurs when apples oxidize before cooking. Toss freshly cut apples immediately with lemon juice to prevent browning. For filling that’s already discolored, adding a touch of lemon juice can brighten the appearance without significantly altering flavor. Remember that slight browning doesn’t affect taste and is perfectly natural with homemade fillings.
Balancing Sweetness and Tartness
An overly sweet or tart filling can be fixed with simple adjustments. For overly sweet filling, add 1-2 teaspoons of lemon juice to balance the sweetness. If your filling tastes too tart, incorporate 1-2 tablespoons of additional sugar while the mixture is still warm enough to dissolve it completely. Taste test after each addition to achieve perfect balance.
Spice Adjustments
Spice intensity is highly personal and easily adjusted. For overpowering spices, dilute the flavor by adding more apples cooked in just a bit of water or apple juice, then mixing with your original filling. When spices are too subtle, warm the filling gently and add small amounts of ground cinnamon, nutmeg, or allspice until desired flavor is achieved. Remember that spices intensify over time, especially during storage.
Preventing Crystallization
Sugar crystallization creates unwanted grittiness in your filling. Prevent this by ensuring sugars completely dissolve during cooking. Stir constantly while adding sugar to hot mixtures. If crystallization occurs, gently reheat the filling while stirring until crystals dissolve. Using a combination of white and brown sugar also helps reduce crystallization risk.
Conclusion
Now you’re ready to create apple pie filling that rivals any bakery’s version. This versatile kitchen staple transforms ordinary desserts into memorable treats while filling your home with irresistible aromas.
The beauty of homemade filling lies in its adaptability. Adjust the sweetness customize the spices or experiment with apple varieties to create your signature version that perfectly suits your taste.
Whether you’re making a traditional pie stocking your freezer or looking for ways to elevate breakfast dishes this recipe delivers consistent delicious results every time. With proper storage techniques you’ll have this fall favorite at your fingertips year-round.
Master this recipe and you’ll never reach for store-bought filling again. Your friends and family will taste the difference that comes from quality ingredients and a little homemade love.