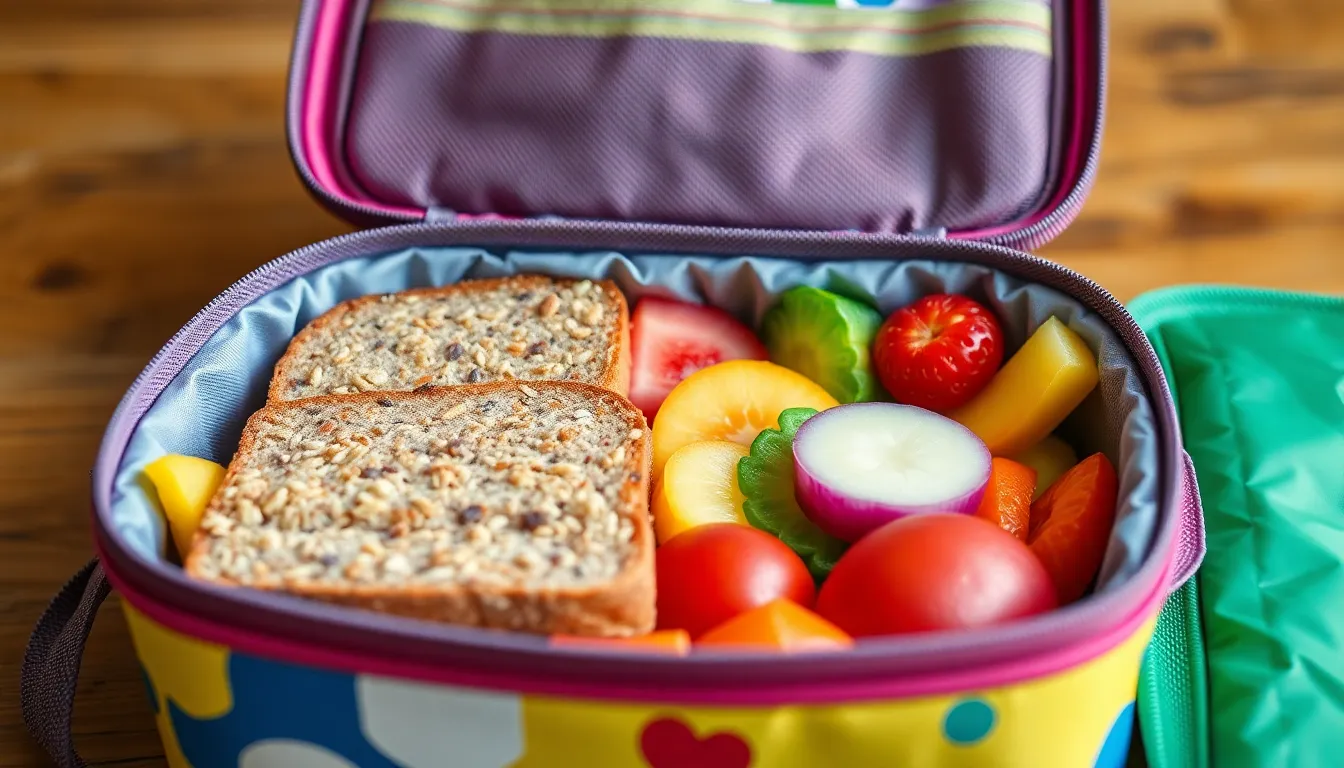
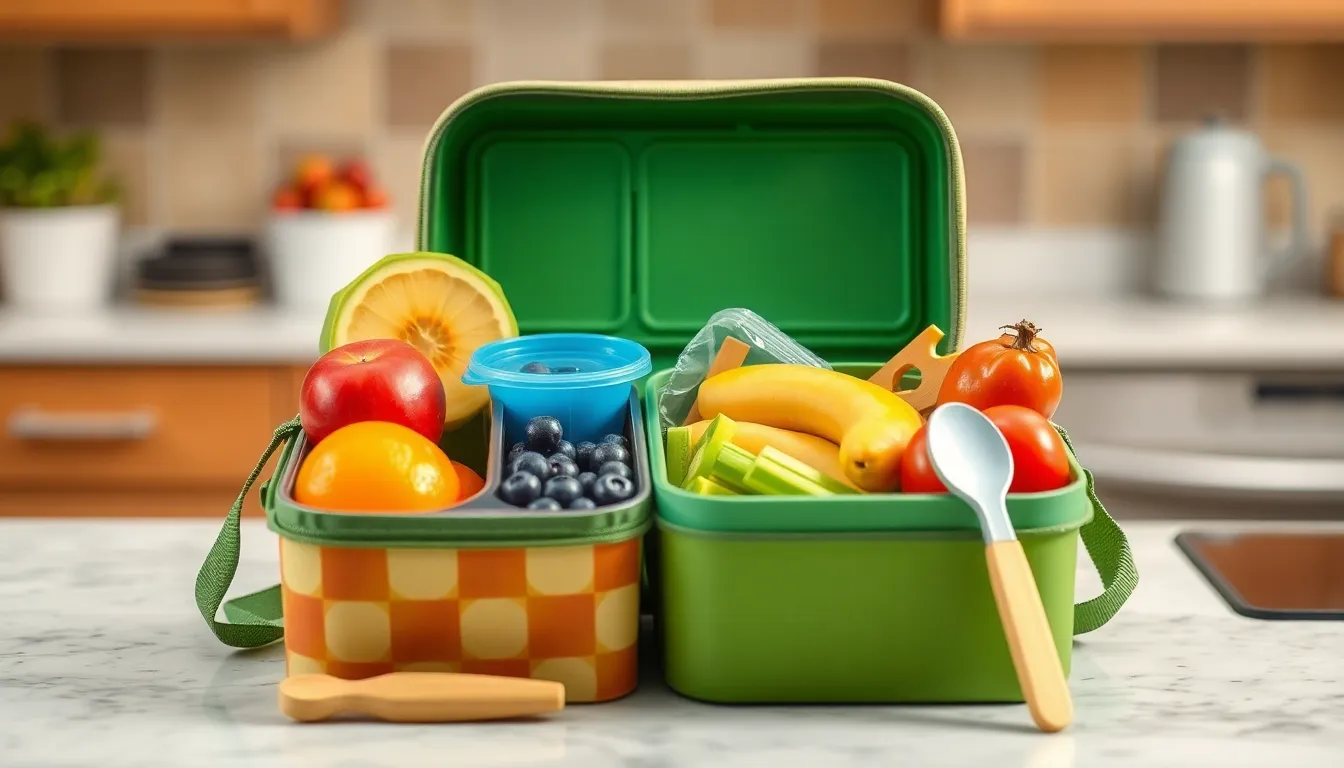
Essential Components of a 6 Year Old’s Lunch Box
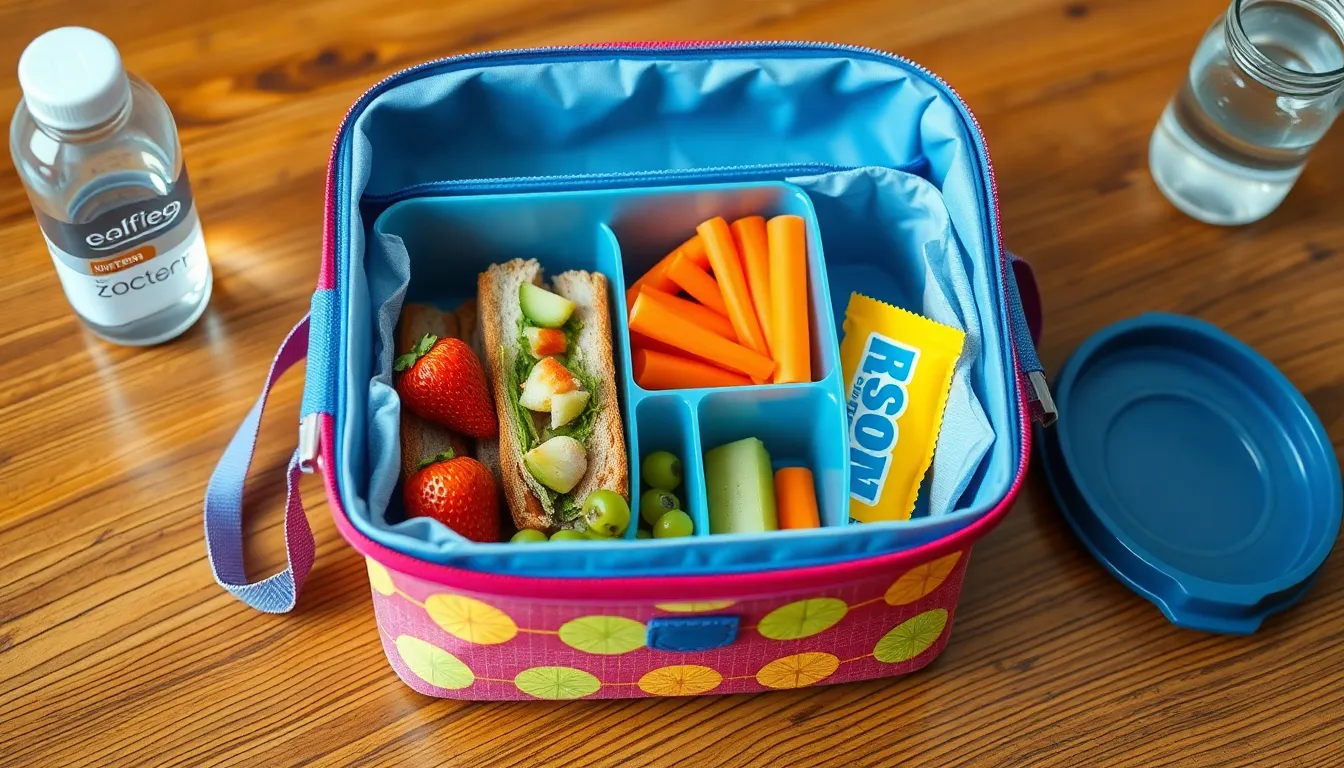
Building a successful lunch box requires five fundamental elements that work together to create a balanced and appealing meal. Your child needs a combination of protein, healthy carbohydrates, fruits, vegetables, and dairy or calcium-rich alternatives to fuel their growing body and developing brain.
Protein Foundation
Start with a quality protein source that provides sustained energy throughout the afternoon. Turkey and ham slices, hard-boiled eggs, or cheese cubes offer familiar options that most children readily accept. Nut-free alternatives like sunflower seed butter or hummus work well for schools with allergy restrictions. These proteins help maintain steady blood sugar levels and support your child’s concentration during afternoon classes.
Complex Carbohydrates for Energy
Include whole grain options that release energy slowly rather than causing sugar spikes. Whole wheat bread, brown rice, or quinoa salads provide the sustained fuel your 6-year-old needs. Avoid refined white bread and sugary snacks that lead to energy crashes before school ends. These complex carbohydrates should comprise about one-third of your child’s lunch box contents.
Fresh Produce Appeal
Pack fruits and vegetables in forms your child will actually eat rather than waste. Cut apples into wedges, separate grapes from stems, or arrange rainbow veggie sticks with ranch dip. Cherry tomatoes, baby carrots, and cucumber rounds offer satisfying crunch that appeals to developing taste buds. Seasonal fruits like strawberries or mandarin oranges add natural sweetness without added sugars.
Hydration Essentials
Water remains the best beverage choice for school lunches. Pack a reusable water bottle filled with plain water rather than juice boxes or flavored drinks. Milk boxes provide calcium and protein but choose low-fat or non-fat varieties. Avoid sugary drinks that contribute empty calories and potential dental problems.
Portion Control Guidelines
Size portions appropriately for your child’s appetite and energy needs. A 6-year-old typically needs smaller portions than adults assume necessary. Use compartmentalized containers to control serving sizes and prevent food mixing that many children dislike.
| Component | Recommended Portion | Examples |
|---|---|---|
| Protein | 2-3 oz | 2 slices turkey, 1 hard-boiled egg |
| Grains | 1-2 servings | 2 slices bread, 1/2 cup rice |
| Fruits | 1 cup | 1 medium apple, 15 grapes |
| Vegetables | 1/2 cup | 10 baby carrots, 1/2 cucumber |
| Dairy | 1 serving | 1 string cheese, 8 oz milk |
Temperature safety becomes crucial when packing perishable items. Use insulated lunch boxes with ice packs to keep cold foods below 40°F. Pack hot foods in insulated containers that maintain temperatures above 140°F until lunch time.
Ingredients for Main Dishes
Building satisfying main dishes for your 6-year-old’s lunch box requires selecting ingredients that balance nutrition with kid-friendly appeal. These protein-rich options will keep your child energized throughout their school day.
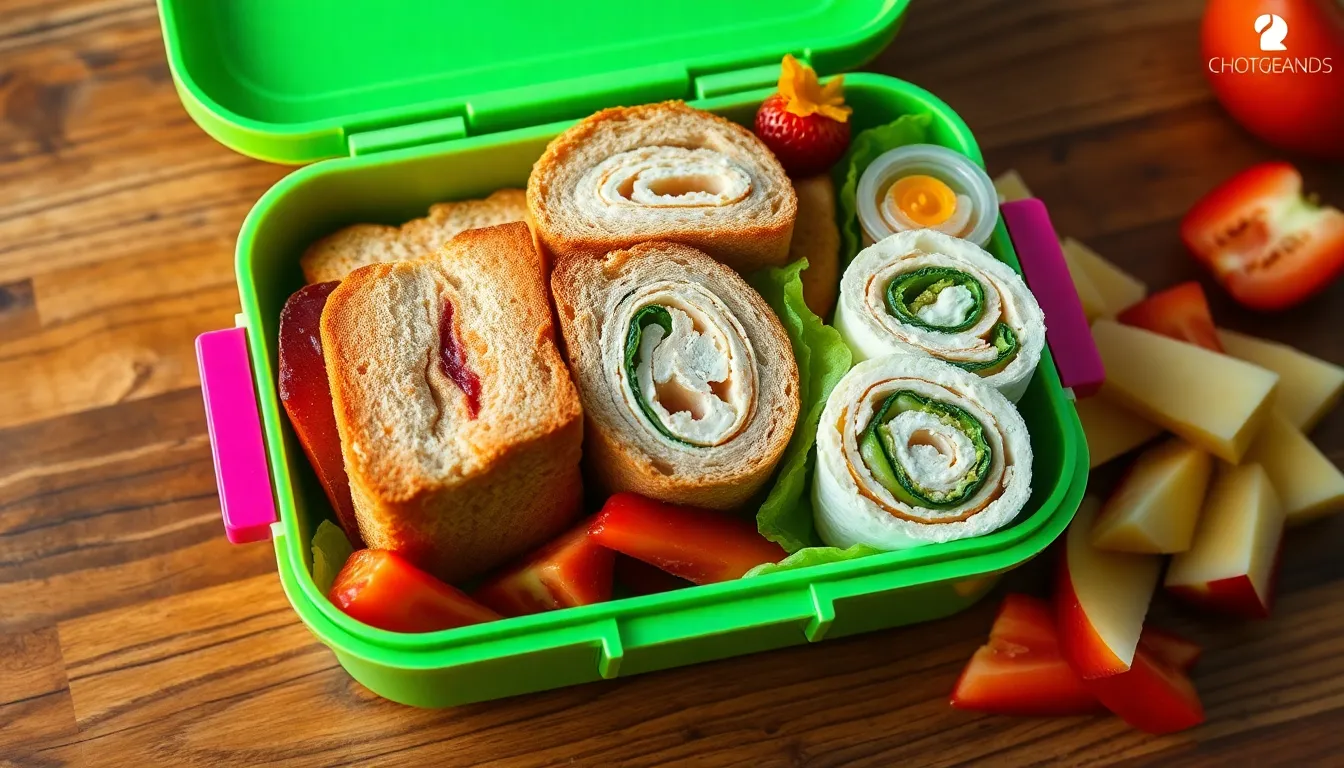
Sandwich Options
Turkey provides lean protein and mild flavor that most children enjoy. Choose nitrate-free deli turkey for the healthiest option. Ham offers another familiar protein choice that pairs well with cheese. Cream cheese creates a smooth base that helps vegetables stick to bread while adding calcium. Peanut butter delivers healthy fats and protein when school policies allow. Sunflower seed butter serves as an excellent nut-free alternative with similar nutritional benefits.
Whole grain bread provides complex carbohydrates and fiber for sustained energy. Soft dinner rolls work well for children who prefer lighter textures. English muffins create convenient pocket sandwiches that hold fillings securely. Bagel thins offer a fun alternative while keeping portion sizes appropriate.
American cheese melts smoothly and appeals to most young palates. Cheddar cheese slices add calcium and familiar sharp flavor. Swiss cheese provides holes that children find entertaining while delivering protein. String cheese tears into fun shapes and doubles as a finger food.
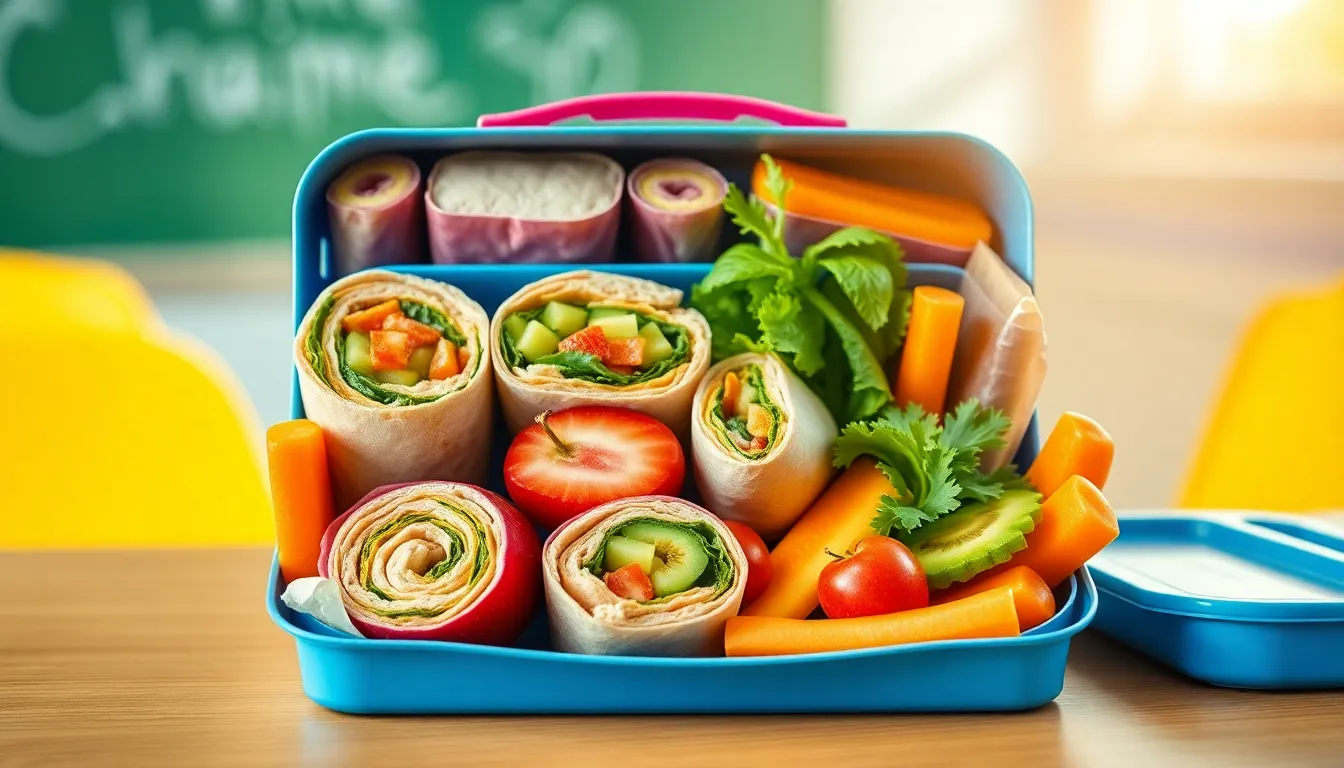
Wrap and Roll-Up Fillings
Flour tortillas create flexible wraps that hold ingredients without tearing. Whole wheat tortillas boost fiber content while maintaining soft texture. Lavash bread rolls thinly and stays fresh longer than traditional tortillas.
Hummus spreads easily and provides plant-based protein plus fiber. Ranch dressing appeals to vegetable-hesitant children while adding flavor. Cream cheese creates a neutral base that pairs with both sweet and savory fillings.
Rotisserie chicken shreds easily and offers convenience for busy mornings. Deli roast beef provides iron and protein in thin, manageable slices. Tuna salad made with light mayonnaise delivers omega-3 fatty acids.
Shredded lettuce adds crunch without overpowering other flavors. Cucumber strips provide hydration and mild taste. Shredded carrots offer natural sweetness and vibrant color.
Hot Lunch Alternatives
Pasta shells hold sauce well and fit perfectly on small spoons. Elbow macaroni creates familiar shapes that encourage eating. Rotini pasta twirls around forks easily for developing motor skills.
Ground turkey makes lean meatballs that reheat evenly in thermoses. Chicken breast dices into bite-sized portions perfect for small mouths. Beef stew meat becomes tender when slow-cooked and stays warm longer.
Sweet potatoes cube perfectly and provide natural sweetness plus vitamins. Carrots maintain their texture when cooked and add vibrant color. Green peas offer pop-in-your-mouth fun while delivering protein and fiber.
Low-sodium chicken broth creates flavorful bases for soups and stews. Tomato sauce provides familiar taste that most children accept. Mild salsa adds flavor without overwhelming heat.
Ingredients for Healthy Snacks
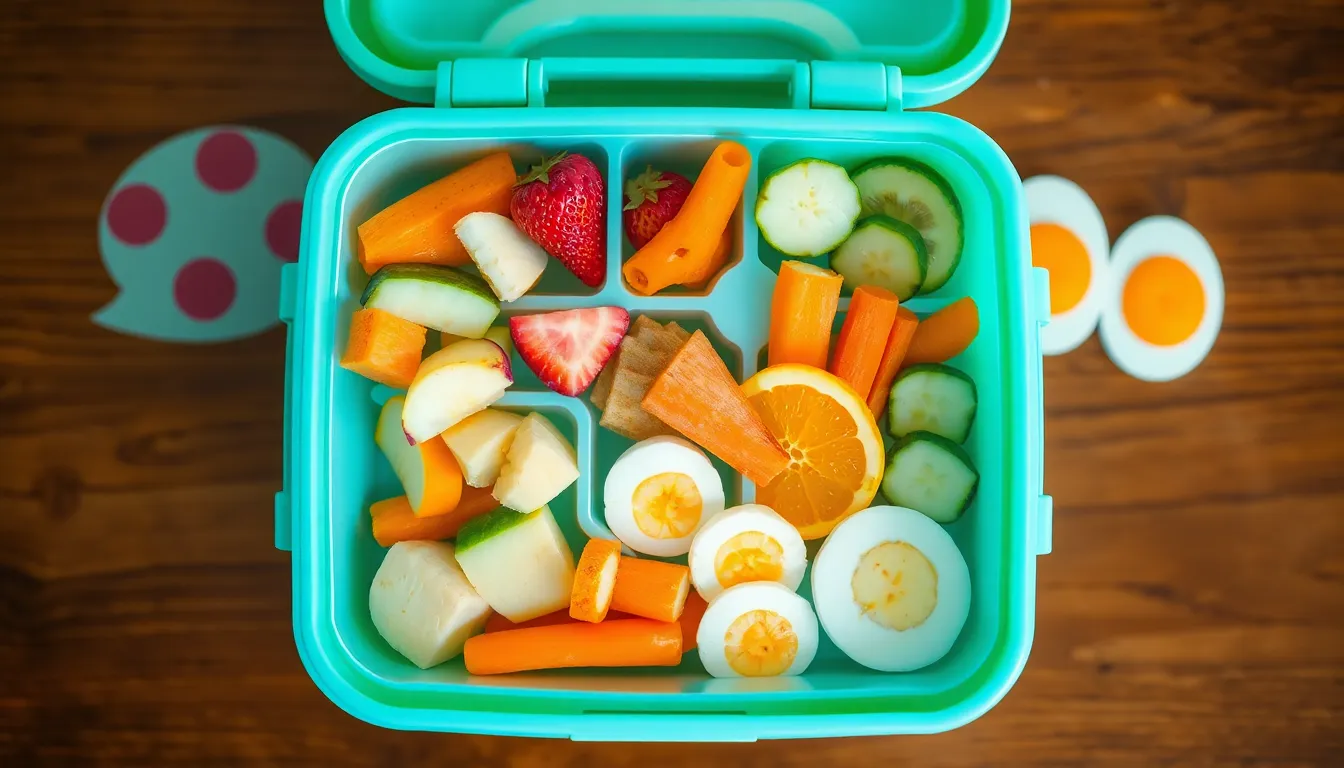
Smart snack choices keep your 6-year-old energized between meals while supporting their growing nutritional needs. These wholesome options provide essential vitamins and minerals without the sugar crashes that come from processed alternatives.
Fresh Fruit Choices
- Apple slices with skin for fiber and natural sweetness
- Banana pieces that resist browning and provide potassium
- Orange segments packed in small containers to prevent mess
- Grapes cut in half lengthwise for safe eating
- Strawberries hulled and quartered for easy handling
- Blueberries that require no preparation and travel well
- Watermelon cubes stored in leak-proof containers
- Cantaloupe balls cut with a melon baller for fun shapes
- Pear slices brushed with lemon juice to prevent browning
- Cherry tomatoes counted as fruit by most kids
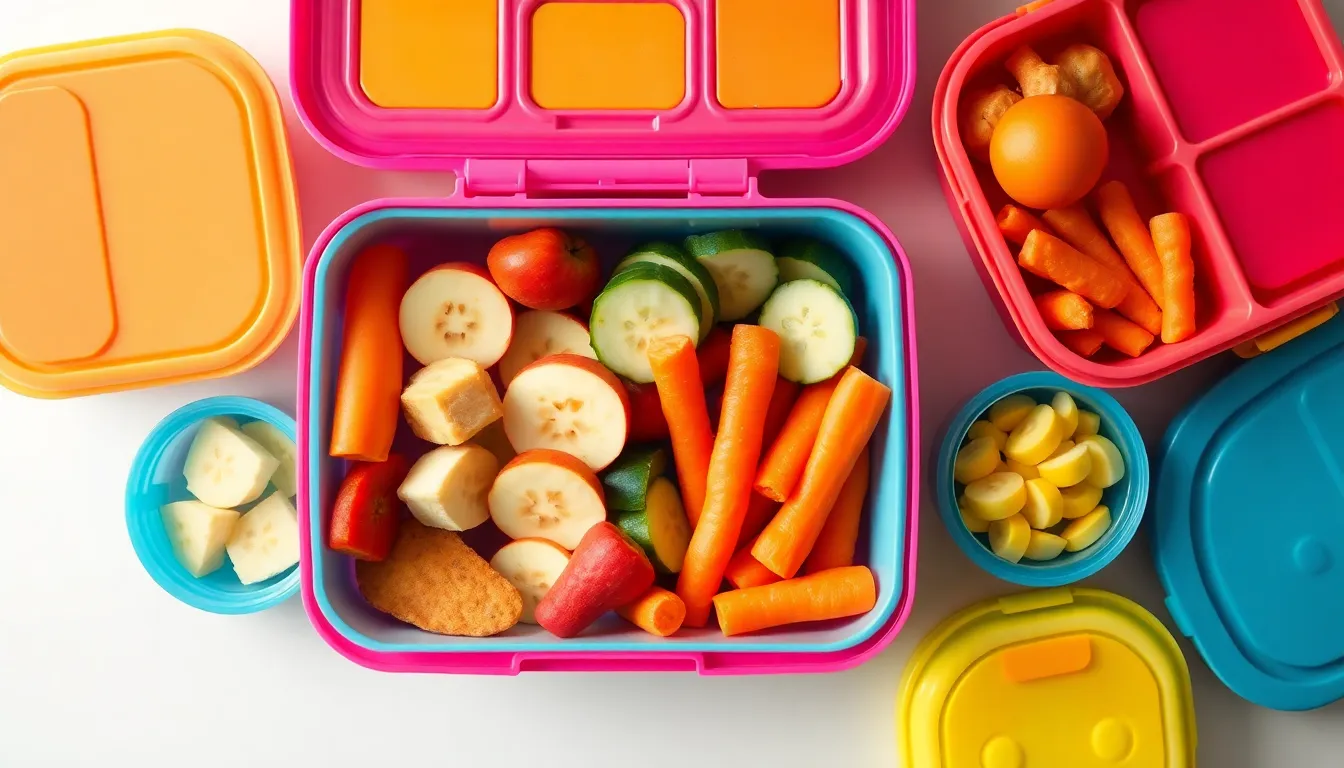
Vegetable Options
- Baby carrots that crunch satisfyingly and store easily
- Cucumber rounds cut thick enough to hold their shape
- Red bell pepper strips for sweet flavor and bright color
- Sugar snap peas that kids can eat like natural candy
- Cherry tomatoes halved to prevent choking hazards
- Celery sticks cut into 3-inch lengths for proper portion sizes
- Broccoli florets blanched briefly for better texture
- Cauliflower pieces that mimic popcorn when cut small
- Radish slices for kids who enjoy mild spicy flavors
- Jicama sticks that provide satisfying crunch and natural sweetness
Protein-Packed Snacks
- String cheese sticks that pull apart for interactive eating
- Hard-boiled eggs peeled and halved for easy consumption
- Turkey roll-ups made with nitrate-free deli meat
- Hummus portions served in small containers with veggie dippers
- Greek yogurt cups with live cultures for digestive health
- Nuts and seeds mixed in age-appropriate portions (check school policies)
- Cheese cubes cut from blocks for better nutrition than processed options
- Edamame beans shelled and lightly salted
- Sunflower seed butter on whole grain crackers
- Mini meatballs made from lean ground turkey and pre-cooked
Ingredients for Fun Treats
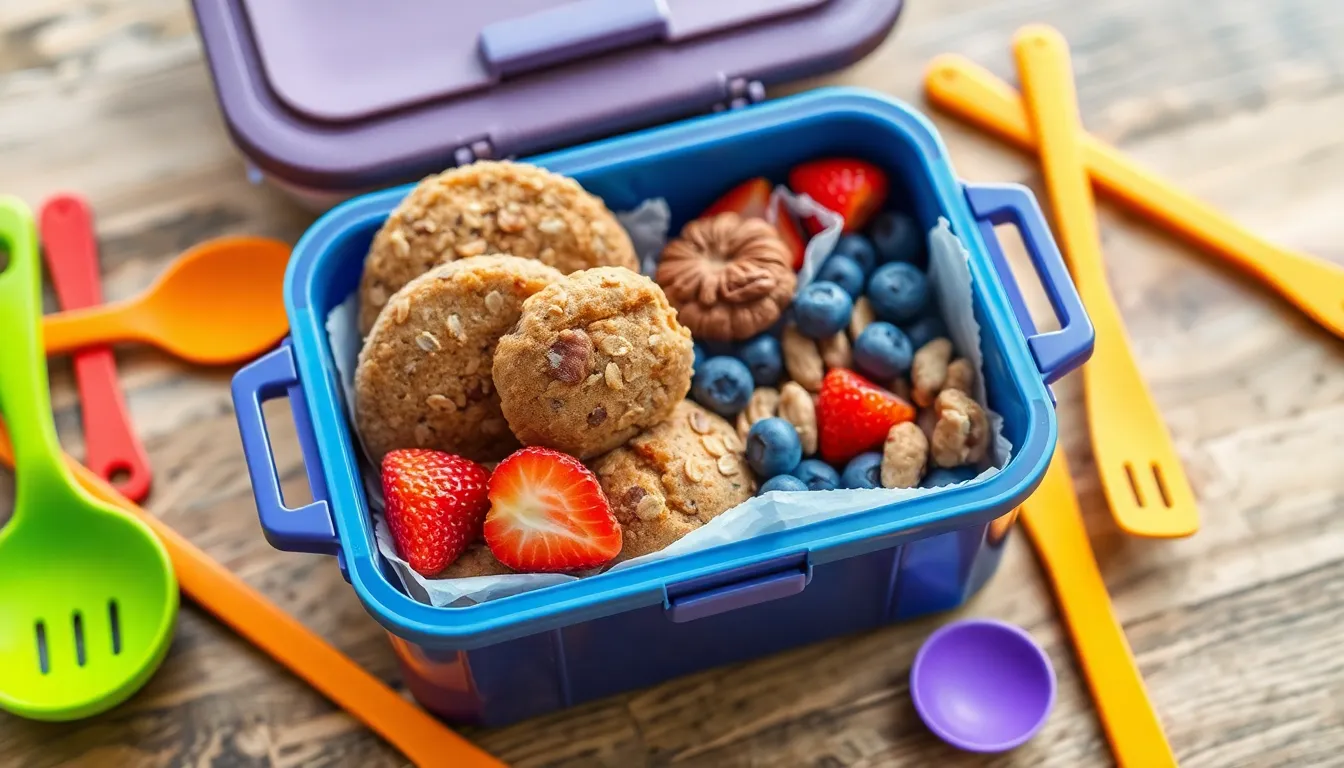
Transform your 6-year-old’s lunch box into something special with treats that balance sweetness with nutrition. These carefully selected ingredients create memorable lunch experiences while supporting healthy growth.
Homemade Baked Goods
- Whole wheat flour – provides fiber and nutrients for muffins and cookies
- Oats (old-fashioned or quick) – adds texture and heart-healthy benefits
- Unsweetened applesauce – natural moisture replacement for excess butter or oil
- Mashed bananas – natural sweetener and potassium source
- Pure vanilla extract – enhances flavor without artificial additives
- Baking powder (aluminum-free) – creates light fluffy textures
- Ground cinnamon – adds warmth and natural sweetness
- Mini dark chocolate chips – antioxidant-rich treats in moderation
- Shredded carrots or zucchini – sneaks vegetables into baked treats
- Unsweetened cocoa powder – rich chocolate flavor with minerals
- Coconut oil (melted) – healthier fat alternative for baking
- Eggs (large) – binding agent and protein source
- Greek yogurt (plain) – adds moisture and protein to batters
Healthy Sweet Options
- Medjool dates (pitted) – natural caramel-like sweetness and fiber
- Raw almonds or cashews – protein and healthy fats for energy balls
- Natural peanut butter – no-sugar-added protein spread
- Unsweetened coconut flakes – tropical flavor and healthy fats
- Chia seeds – omega-3s and fiber for puddings
- Pure maple syrup – natural sweetener in small amounts
- Freeze-dried strawberries – concentrated fruit flavor without added sugar
- Dark chocolate (70% cacao) – antioxidants and minimal processing
- Honey (raw) – natural antibacterial properties and sweetness
- Vanilla Greek yogurt – protein-packed base for parfaits
- Fresh berries (blueberries strawberries raspberries) – antioxidants and natural sugars
- Unsweetened dried fruit – concentrated nutrients without added sugars
Equipment and Supplies Needed
Packing the perfect lunch box for your 6-year-old requires the right tools to keep food fresh, safe, and appealing. Having quality equipment ensures your carefully planned meals arrive at school exactly as intended.
Lunch Box Essentials
Your primary lunch box should feature insulated walls to maintain proper food temperatures throughout the school day. Look for containers with multiple compartments that separate wet and dry foods while preventing flavor mixing. A leak-proof design protects backpacks and books from spills during transport.
Choose lunch boxes with easy-open latches that small hands can manage independently. Bento-style boxes work exceptionally well for portion control and visual appeal. Consider boxes with removable dividers that adapt to different meal combinations.
Size matters when selecting your lunch box. Pick containers that fit comfortably in your child’s backpack without taking up excessive space. Lunch boxes measuring 9x6x4 inches typically provide adequate room for balanced meals without overwhelming young appetites.
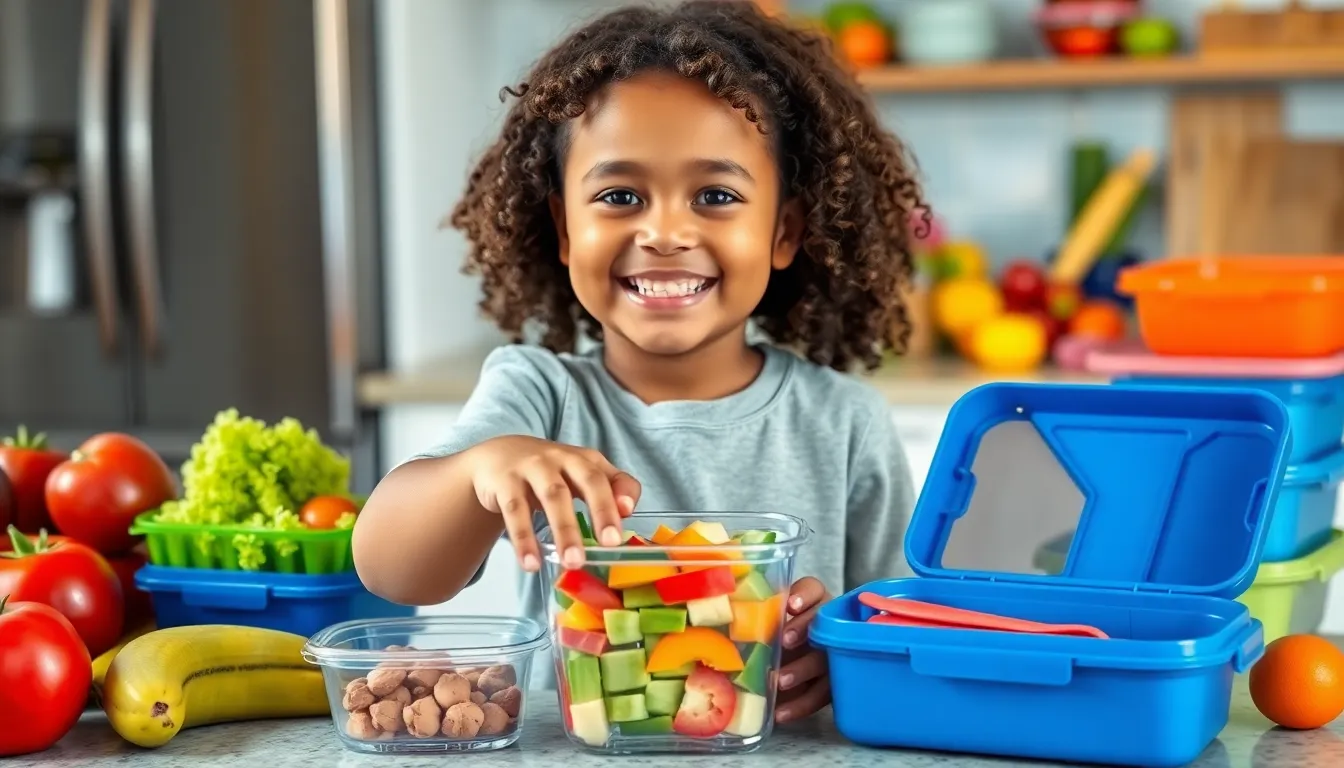
Food Storage Containers
Individual storage containers maintain food freshness and prevent cross-contamination between different lunch components. Invest in leak-proof containers with secure snap-on lids for wet items like yogurt and applesauce. Glass containers offer durability but plastic versions work better for school environments.
Small portion containers measuring 4 ounces work perfectly for dips, sauces, and treats. Medium containers holding 8-12 ounces accommodate main dishes and larger snacks. Choose containers with clear sides so your child can easily identify contents.
Silicone food cups create perfect portions for berries, nuts, and small snacks within larger compartments. These flexible cups wash easily and stack efficiently in your kitchen storage. Freezer-safe containers allow you to prep components ahead of time.
Utensils and Accessories
Pack child-sized utensils that match your 6-year-old’s motor skills and hand size. Stainless steel spoons and forks with ergonomic handles provide better grip control than plastic alternatives. Include a plastic knife for spreading condiments safely.
Ice packs maintain proper food temperatures in non-insulated sections of lunch boxes. Slim gel packs fit efficiently without taking up valuable food space. Reusable ice packs with fun designs add visual interest while serving practical purposes.
Water bottles with straw or sport-top designs encourage hydration throughout the school day. Choose bottles with measurement markings to track daily fluid intake. Insulated bottles keep drinks at optimal temperatures for extended periods.
Cloth napkins reduce waste while adding a personal touch to lunch presentations. Pack wet wipes for easy cleanup after messy foods. Include small condiment containers for ranch dressing, ketchup, or other favorite dips.
Instructions for Sandwich Assembly
Building the perfect sandwich for your 6-year-old requires strategic layering and proper technique to ensure every bite stays fresh until lunchtime. Follow these step-by-step methods to create satisfying sandwiches that won’t fall apart in small hands.
Classic PB&J Method
Spread natural peanut butter on one slice of whole grain bread using a butter knife in smooth even strokes. Cover the entire surface from edge to edge to create a moisture barrier. Apply your chosen jam or jelly to the second bread slice using the same thorough coverage technique. Press the slices together gently but firmly to seal the edges without squishing the bread. Cut diagonally or straight across depending on your child’s preference for easier handling.
Store the completed sandwich in an airtight container or wrap tightly in parchment paper to maintain freshness. Place the wrapped sandwich in the main compartment of your lunch box away from ice packs to prevent sogginess.
Turkey and Cheese Preparation
Layer 2-3 slices of nitrate-free turkey evenly across one piece of whole grain bread. Add one slice of mild cheddar or American cheese on top of the turkey for optimal flavor balance. Spread a thin layer of mayonnaise or mustard on the second bread slice if your child enjoys condiments.
Place lettuce leaves or cucumber slices between the protein and condiment layers to add crunch without making the bread soggy. Press the sandwich halves together and slice into manageable portions using a sharp knife. Wrap immediately in foil or place in a divided container to maintain structure during transport.
Cream Cheese and Veggie Wraps
Lay a flour or whole wheat tortilla flat on a clean cutting board. Spread 2 tablespoons of cream cheese evenly across the entire surface leaving a 1-inch border around the edges. Arrange thin cucumber slices and shredded carrots in a single layer across the center third of the tortilla.
Add a few strips of bell pepper for extra color and nutrition if your child tolerates new vegetables well. Roll the tortilla tightly from bottom to top while tucking in the sides to prevent filling from escaping. Slice the completed wrap into 1-inch pinwheels using a serrated knife for bite-sized portions that look appealing in the lunch box.
Secure each pinwheel with a toothpick if needed and arrange in a shallow container with dividers to prevent unrolling during the school day.
Instructions for Snack Preparation
Proper snack preparation transforms ordinary ingredients into appealing and nutritious components that keep your 6-year-old energized throughout the school day. These simple techniques ensure your snacks stay fresh and maintain their visual appeal until lunchtime.
Fruit Prep and Storage
Wash all fresh fruit thoroughly under cold running water before cutting or packing. Apple slices require immediate treatment with lemon juice to prevent browning – simply toss cut pieces with one tablespoon of fresh lemon juice per apple. Store prepared apple slices in airtight containers lined with paper towels to absorb excess moisture.
Cut bananas into bite-sized rounds just before packing to maintain their natural sweetness and texture. Orange segments work best when you remove all white pith and separate each piece carefully to avoid messy juice leaks. Pack citrus fruits in small containers with tight-fitting lids to prevent sticky spills.
Berry preparation involves gentle rinsing and thorough drying on paper towels. Remove any damaged or overripe berries that could spoil the entire portion. Store cleaned berries in ventilated containers to prevent moisture buildup that leads to mold growth.
Pack cut fruits in the coldest section of your lunch box near ice packs to maintain optimal freshness. Always use separate containers for different fruit types to prevent flavor transfer and maintain individual textures.
Veggie Cutting and Packing
Baby carrots require minimal preparation beyond a quick rinse and pat dry with clean towels. Cut regular carrots into uniform sticks approximately three inches long and half an inch thick for easy handling by small hands. Soak cut carrots in ice water for 10 minutes to enhance their crispness before packing.
Slice cucumbers into rounds quarter-inch thick for the perfect bite size. Remove seeds from the center if they appear large or watery to prevent soggy containers. Pat cucumber slices dry with paper towels before placing them in storage containers.
Red bell pepper strips should measure about three inches long and half an inch wide for optimal dipping capability. Remove all seeds and white membranes during preparation to eliminate bitter flavors that children often reject. Store pepper strips upright in tall containers to maintain their shape and visual appeal.
Cherry tomatoes need gentle washing and complete drying before packing. Pierce each tomato with a small knife tip to prevent bursting and messy explosions during eating. Pack tomatoes separately from other vegetables to avoid moisture transfer.
Celery sticks benefit from soaking in ice water for 15 minutes before packing to restore crispness. Fill hollow centers with natural peanut butter or cream cheese for added protein and flavor appeal.
Portion Control for Treats
Measure treat portions using standard kitchen tools to ensure appropriate serving sizes for your child’s age and appetite. One tablespoon equals the perfect portion size for nut butters when used as dips or spreads. Use small measuring cups to portion dried fruits like raisins or cranberries at quarter-cup servings.
| Treat Type | Appropriate Portion | Container Size |
|---|---|---|
| Mini muffins | 2 pieces | Small round container |
| Trail mix | 1/4 cup | 2 oz container |
| Cheese cubes | 1 oz (6-8 cubes) | Small square container |
| Crackers | 10-12 pieces | Medium rectangular container |
| Dried fruit | 2 tablespoons | 1 oz container |
Package homemade treats in individual serving containers to prevent overindulgence and maintain freshness. Wrap baked goods like mini muffins in parchment paper before placing them in containers to absorb excess moisture and prevent sticking.
Store chocolate chips or small candies in tiny containers with secure lids to prevent spilling throughout the lunch box. Limit sweet treats to one small portion per lunch to maintain balanced nutrition without completely eliminating enjoyable foods.
Use silicone cupcake liners as natural portion dividers within larger containers. These reusable liners create perfect individual servings while adding colorful visual appeal that attracts young children to their healthy snacks.
Make-Ahead Tips for Busy Mornings
Transform hectic school mornings into smooth routines with strategic meal preparation techniques. These time-saving strategies ensure your 6-year-old enjoys nutritious lunches while reducing daily stress.
Sunday Meal Prep Strategies
Dedicate 2-3 hours every Sunday to prepare lunch components for the entire week. Wash and cut all fresh fruits and vegetables immediately after grocery shopping to maintain peak freshness. Store prepared produce in clear containers so you can quickly assess what needs replenishing.
Cook protein portions in batches by preparing hard-boiled eggs, slicing deli meats, and portioning cheese cubes into individual containers. Prepare sandwich spreads like hummus, cream cheese mixtures, and nut butter combinations in small containers for easy assembly. Mix dry ingredients for homemade muffins or energy balls and store them in labeled bags.
Create a weekly lunch menu and post it on your refrigerator to streamline daily decision-making. Prepare snack portions by dividing crackers, nuts, and dried fruits into individual serving containers. Pre-assemble cold sandwiches on Sunday and store them wrapped in parchment paper for Monday and Tuesday lunches.
Wash and dry reusable containers and utensils immediately after use to ensure they’re ready for the next day. Set up a designated lunch-packing station in your kitchen with all supplies within easy reach. Include measuring cups, small containers, and packing materials in one convenient location.
Freezer-Friendly Options
Prepare and freeze complete sandwiches using freezer-friendly ingredients like peanut butter, cream cheese, and cooked meats. Avoid freezing sandwiches with mayonnaise, lettuce, or tomatoes as these ingredients don’t thaw well. Wrap individual sandwiches in plastic wrap and place them in freezer bags with preparation dates.
Freeze homemade muffins, energy balls, and granola bars in individual portions for grab-and-go convenience. Store baked goods in airtight containers with parchment paper between layers to prevent sticking. Label each container with contents and freeze date for easy identification.
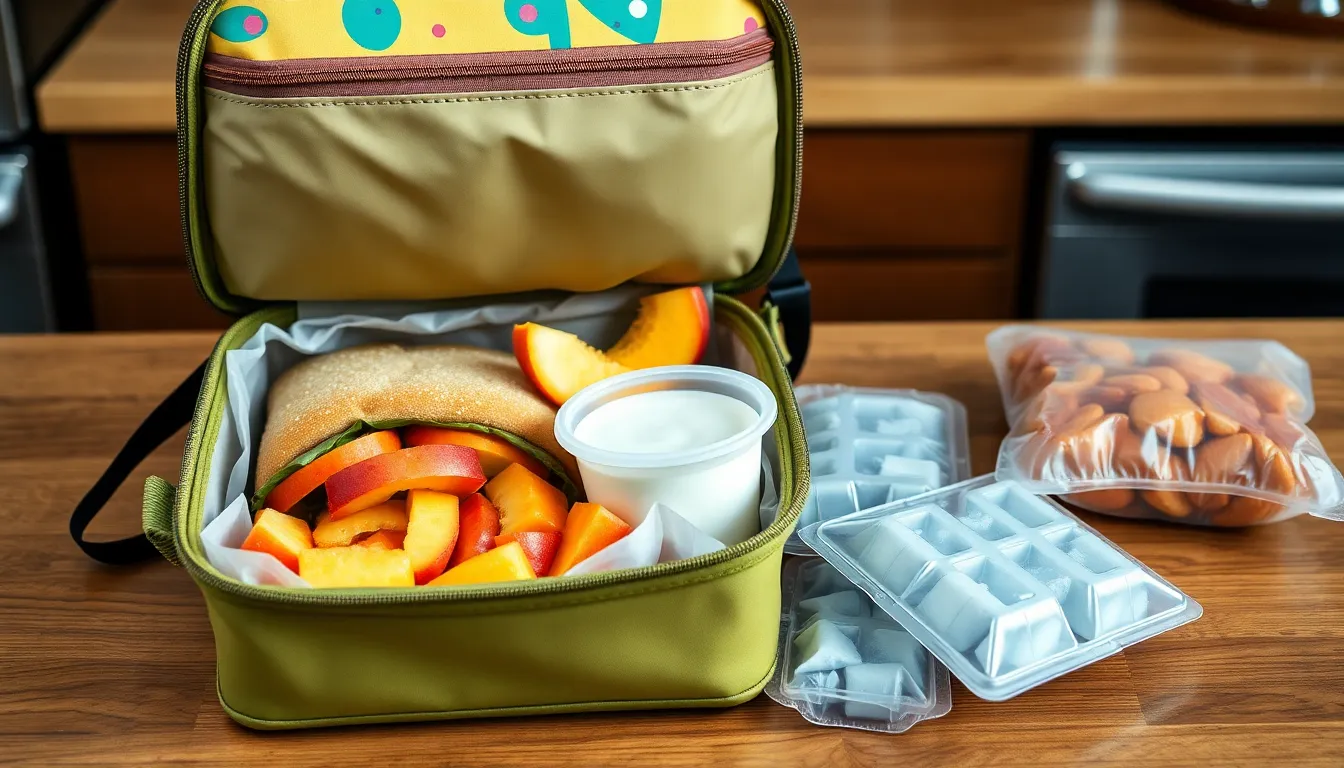
Create freezer packs of pre-portioned fruits like grapes, berries, and sliced bananas that can double as ice packs while keeping other foods cold. Package individual servings of smoothie ingredients in freezer bags for quick morning blending. Include spinach, fruits, and yogurt portions that blend easily when partially thawed.
Prepare larger batches of soup, pasta salad, and grain bowls that freeze well in individual thermos-sized portions. Pour hot items directly into wide-mouth thermoses and freeze overnight for easy reheating in the morning. Thaw frozen lunch items in the refrigerator overnight for optimal food safety and texture.
Packing Instructions for Optimal Freshness

Proper packing techniques ensure your 6-year-old’s lunch stays fresh and appetizing until lunchtime. Strategic organization and temperature management preserve food quality while preventing soggy textures and unwanted mixing.
Temperature Control Methods
Pack perishable items like deli meats, cheese, and yogurt with frozen ice packs to maintain safe temperatures below 40°F. Position ice packs on the bottom of your insulated lunch box since cold air sinks naturally. Place the most temperature-sensitive items closest to the ice pack for maximum cooling effect.
Use insulated compartments or thermal containers for hot foods like pasta or soup. Preheat thermal containers by filling them with hot water for 5 minutes before adding the actual food. Empty the water and immediately add your hot meal to maintain warmth for 4-6 hours.
Freeze water bottles overnight to serve as additional cooling sources that gradually thaw throughout the morning. Your child gets perfectly chilled water by lunchtime while keeping surrounding foods cool. Wrap frozen items in paper towels to prevent condensation from affecting other lunch components.
Preventing Soggy Sandwiches
Create moisture barriers by placing lettuce leaves or cheese slices directly against the bread before adding wet ingredients like tomatoes or pickles. Spread condiments on the inside of both bread slices to seal the bread surface from moisture absorption. Pat wet ingredients dry with paper towels before assembling sandwiches.
Toast bread lightly to create a protective barrier against moisture while maintaining soft texture for young children. Allow toasted bread to cool completely before spreading any condiments or adding fillings. Store particularly juicy ingredients like tomatoes or cucumbers in separate containers for your child to add at lunchtime.
Wrap completed sandwiches tightly in parchment paper or aluminum foil to prevent air circulation that can lead to staleness. Cut sandwiches just before packing rather than the night before to maintain structural integrity. Place sandwiches in rigid containers to prevent crushing during transport.
Keeping Foods Separate
Use bento-style lunch boxes with multiple compartments to prevent flavor transfer between sweet and savory items. Silicone food cups create additional barriers within larger compartments while keeping portion sizes appropriate for 6-year-olds. Choose containers with secure lids that won’t pop open during transport.
Pack wet items like applesauce or yogurt in leak-proof containers with tight-sealing lids. Double-bag items prone to leaking by placing the primary container inside a resealable plastic bag. Keep crackers and other crispy items in separate compartments away from fruits that release moisture.
Store cut fruits in airtight containers to prevent browning and maintain crispness. Separate strong-smelling foods like cheese or hard-boiled eggs from delicate items that absorb odors easily. Use dividers or small containers within larger compartments to maintain organization throughout the school day.
Age-Appropriate Portion Sizes
Understanding proper portion sizes for your 6-year-old ensures they receive adequate nutrition without overwhelming their small stomachs. Children at this age have exact dietary needs that differ significantly from adult requirements.
Main Dish Portions
You should pack sandwiches or wraps using 2-3 ounces of protein, which equals about 2-3 thin slices of deli meat or 1-2 tablespoons of nut butter. Two slices of bread provide sufficient carbohydrates, while whole grain options offer sustained energy throughout the school day. For pasta dishes, aim for 1/2 to 3/4 cup of cooked pasta with 1-2 ounces of protein mixed in.
Fruit and Vegetable Guidelines
Fresh fruit portions should equal approximately 1/2 cup, which translates to one small apple, half a banana, or 1/4 cup of berries. Vegetable servings work best at 1/4 to 1/2 cup, such as 6-8 baby carrots or 1/4 cup of cucumber rounds. These portions provide essential vitamins while remaining manageable for small hands and appetites.
Dairy and Snack Amounts
Dairy portions should include 1 string cheese stick, 1/2 cup of milk, or 4 ounces of yogurt to meet calcium requirements. Snack portions require careful consideration to complement rather than compete with the main meal. Pack 1-2 tablespoons of nuts or seeds, 1/4 cup of crackers, or one small granola bar to provide energy without spoiling appetite.
| Food Category | Recommended Portion | Example |
|---|---|---|
| Protein | 2-3 ounces | 2-3 deli meat slices |
| Grains | 1-2 servings | 2 bread slices or 3/4 cup pasta |
| Fruits | 1/2 cup | 1 small apple or 1/4 cup berries |
| Vegetables | 1/4 to 1/2 cup | 6-8 baby carrots |
| Dairy | 1 serving | 1 string cheese or 4 oz yogurt |
| Snacks | 1-2 tablespoons | Small handful of crackers |
Adjusting for Individual Needs
Your child’s activity level, growth spurts, and personal appetite will influence appropriate portion sizes. Active children who participate in sports or spend important time playing outdoors may require slightly larger portions to fuel their energy needs. Monitor your child’s hunger cues and adjust portions accordingly, ensuring they finish most of their lunch without feeling overly full or still hungry.
Hydration Requirements
Water needs for 6-year-olds range from 5-7 cups daily, with lunch contributing approximately 1-2 cups through an insulated water bottle. Avoid sugary drinks that can interfere with appetite and provide empty calories. Fresh fruit naturally contains water content, contributing to overall hydration goals throughout the school day.
Food Safety Guidelines for School Lunches
Keeping your 6-year-old’s lunch safe requires following exact temperature and hygiene protocols that prevent foodborne illness. Temperature control becomes your first line of defense when packing perishable items like dairy products, meats, and prepared sandwiches.
Temperature Safety Requirements
Perishable foods must remain below 40°F (4°C) throughout the school day to prevent bacterial growth. Use insulated lunch boxes with properly frozen ice packs to maintain safe temperatures for up to 6 hours. Position ice packs against items containing dairy, meat, or mayonnaise-based foods for maximum cooling effectiveness.
Hot foods require different handling when you pack thermos containers. Fill thermos bottles with boiling water for several minutes before adding hot food to maintain temperatures above 140°F (60°C). This temperature range prevents dangerous bacteria from multiplying in warm food environments.
Safe Food Preparation Practices
Clean hands and surfaces prevent cross-contamination during lunch preparation. Wash your hands thoroughly before handling any food items and sanitize all cutting boards and utensils between different ingredients.
Store raw meats separately from ready-to-eat foods in your refrigerator before packing. Use dedicated cutting boards for raw proteins and wash them immediately after use to prevent bacteria transfer to other lunch components.
Prepare perishable items like sandwiches with mayo or cream cheese on the morning of consumption rather than the night before. This practice reduces bacterial growth opportunities and maintains food quality.
Packaging and Storage Guidelines
Choose containers with tight-fitting lids to prevent spills and maintain food integrity throughout transport. Glass or BPA-free plastic containers offer the best protection against temperature fluctuations and contamination.
Pack wet items like cut fruits separately from dry foods to prevent sogginess and maintain texture appeal. Use compartmentalized lunch boxes to create natural barriers between different food types.
Replace ice packs that no longer freeze solid as they lose effectiveness in maintaining safe temperatures. Monitor your lunch box system regularly to ensure all components function properly for food safety.
School Storage Considerations
Most schools store lunch boxes at room temperature rather than in refrigerated spaces. Account for this reality by packing extra ice packs during warmer months and choosing shelf-stable alternatives when refrigeration concerns arise.
Label your child’s lunch box clearly with their name and grade to prevent mix-ups that could expose them to allergens or unsafe foods. Include emergency contact information for schools to reach you if food safety questions arise.
Educate your 6-year-old about proper food handling at school including keeping lunch boxes closed until eating time and not sharing perishable items with classmates. These habits reinforce home safety practices in the school environment.
Conclusion
Packing your 6-year-old’s lunch box doesn’t have to be a daily struggle. With the right balance of nutrition and kid-friendly appeal you can create meals that fuel their growing bodies while keeping them excited about lunchtime.
Remember that every child’s preferences and appetite are unique. Start with the basics – quality proteins whole grains fresh produce and proper hydration – then adjust portions and ingredients based on your child’s individual needs and feedback.
The key to success lies in preparation and safety. Invest in quality lunch box equipment maintain proper food temperatures and involve your child in the process when possible. This approach not only ensures they’re getting the nutrition they need but also builds healthy eating habits that’ll last a lifetime.
Your effort in creating thoughtful nutritious lunches shows your child that their health and happiness matter – and that’s a lesson worth more than any single meal.