Want to learn how to coffee stain wood for that perfect rustic look? This natural DIY technique not only saves money but creates a rich, warm finish that commercial stains can’t match.
Coffee staining wood is surprisingly simple and eco-friendly. You’ll need just a few household items to transform raw wood into beautifully aged furniture, picture frames, or decorative pieces. The depth of color is easily customizable by adjusting the coffee concentration or applying multiple coats. Whether you’re a seasoned woodworker or a beginner looking for an affordable finishing technique, coffee staining offers remarkable results with minimal effort.
What Is Coffee Staining and Why Choose It for Wood
Coffee staining is a natural technique that uses brewed coffee to color wood surfaces, creating a rich, warm tone similar to traditional wood stains. This method transforms ordinary light-colored wood into pieces with depth and character by applying concentrated coffee solution that penetrates the wood grain.
The appeal of coffee staining comes from its accessibility and eco-friendly nature. Unlike commercial stains containing harsh chemicals and volatile organic compounds (VOCs), coffee staining uses a biodegradable, non-toxic substance you already have in your kitchen. Many woodworkers appreciate this natural alternative that doesn’t release harmful fumes during application.
Coffee stains provide unique aesthetic benefits that commercial products can’t match. The tannic acid in coffee reacts with the wood fibers to create subtle variations in color, highlighting the natural grain patterns in ways synthetic stains often mask. The resulting finish ranges from light honey hues to deep walnut tones, depending on the coffee concentration and number of applications.
Cost-effectiveness makes coffee staining particularly attractive for DIY enthusiasts and budget-conscious crafters. While traditional wood stains cost $15-30 per quart, coffee staining requires only basic brewing supplies and leftover coffee grounds. Rikki Manny, an experienced woodworker, discovered this budget-friendly technique during a workshop renovation when conventional stains were unavailable. “I was amazed at how the coffee brought out beautiful amber undertones in my pine shelving—better than the expensive stain I’d originally planned to use.”
The versatility of coffee staining accommodates various wood types and projects. It works exceptionally well on porous woods like pine, oak, and maple, though results vary based on the wood’s natural characteristics. From furniture and picture frames to decorative boxes and wooden utensils, coffee staining adapts to many creative applications while maintaining food-safe properties when properly sealed.
Recommended Products

PRODUCT DETAILS - This 13 piece kit includes 6 Repair Markers, 6 paper wrapped wax sticks and 1 wax stick sharpener packaged in a blister card.

Product Details: 13 pieces furniture repair kit, 6 touch up markers and 6 wax sticks with 1 sharpener.It has both markers and crayon type filler, very easy to fill the scratch, discoloration, hole or separation gaps, Ideal for any kind of wooden furniture.

KIT INCLUDES our most powerful wood repair compounds, so you can repair all levels of damage to wood furniture by yourself. Includes 12 touch up fillers, 8 touch up markers, 1 wood putty, 1 beewax, 2 brushes, 2 sandpaper, 1 sponge and 1 scraper
Materials Needed for Coffee Staining Wood
Coffee staining wood requires several basic supplies that you’ll likely have around your home already. The process is straightforward and economical, requiring just a few key materials to achieve professional-looking results.
Recommended Products

Liquid Volume: 16.0 Fluid Ounces

【Premium Material】Crafted from high-quality, tear-resistant, and heat-resistant materials, our coffee mat is built to last. It features a non-slip, leak-proof design that offers reliable protection for your countertop. Plus, it can be easily cut to any size or shape to fit your unique space
Types of Coffee to Use
Coffee selection significantly impacts your final stain color and quality. Regular brewed coffee works excellently, with darker roasts producing deeper colors and lighter roasts creating subtle tones. Instant coffee dissolved in boiling water offers precise control over concentration, making it ideal for achieving consistent results across larger projects. Many DIYers prefer using instant coffee because it can be easily layered through multiple applications to build depth gradually. Used coffee grounds steeped in boiling water overnight create an eco-friendly option that adds unique texture and character to your wood projects. The concentration of your coffee directly affects the stain’s darkness—more coffee creates richer colors while more water produces lighter shades.
Tools and Additional Supplies
Proper tools ensure smooth application and professional results when coffee staining wood. You’ll need staining rags or soft cloths for even application, with old t-shirts working particularly well for their lint-free qualities. Paintbrushes or sponges help with detailed work or reaching into corners and crevices of ornate woodwork. Various grits of sandpaper (typically 150-320) prepare the wood surface properly, with finer grits crucial for reducing over-absorption on end grain sections. A container such as a mason jar holds your coffee stain solution and provides easy access for dipping applicators. Steel wool offers an optional method for both applying stain and creating distressed effects after staining. A shop vacuum or brush removes sanding dust before application, preventing unwanted texture in your finish. French presses or standard coffee makers brew your stain effectively, with the former allowing better control over steeping time for stronger answers. Clean water is essential for diluting your stain to achieve the perfect shade for your project.
Preparing Your Wood Surface for Staining
Proper preparation creates the foundation for a beautiful coffee stain finish. Taking time to prepare your wood surface ensures the coffee stain absorbs evenly and produces professional-looking results.
Recommended Products
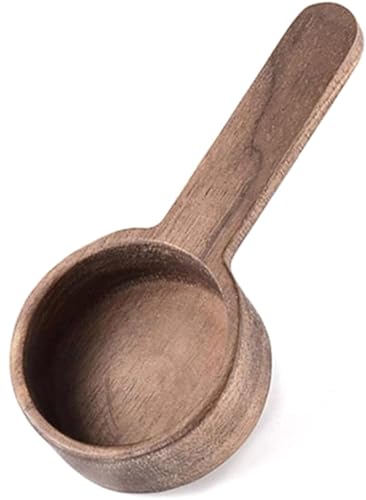
Food grade, healthy and eco-friendly. The scoops are made of nature wood which can keep the food fresh. Won't scratch and damage pots or pans.

TIMELESS BEAUTY: Wood Stain is a fast-drying, high-concentration wood stain suitable for all indoor and outdoor wooden surfaces. Our wood stain provides a natural matte finish and unparalleled texture enhancement with just one coat, revitalizing old wood.

**Each Table Top Wooden Colors and Designs are different because their Table Top Materials are Natural Oak Wood Veneer Materials. Product Material information: Table Top / USA Natural Oak Wood Veneer, Legs / Vietnam Natural Rubberwood Material.
Sanding and Cleaning
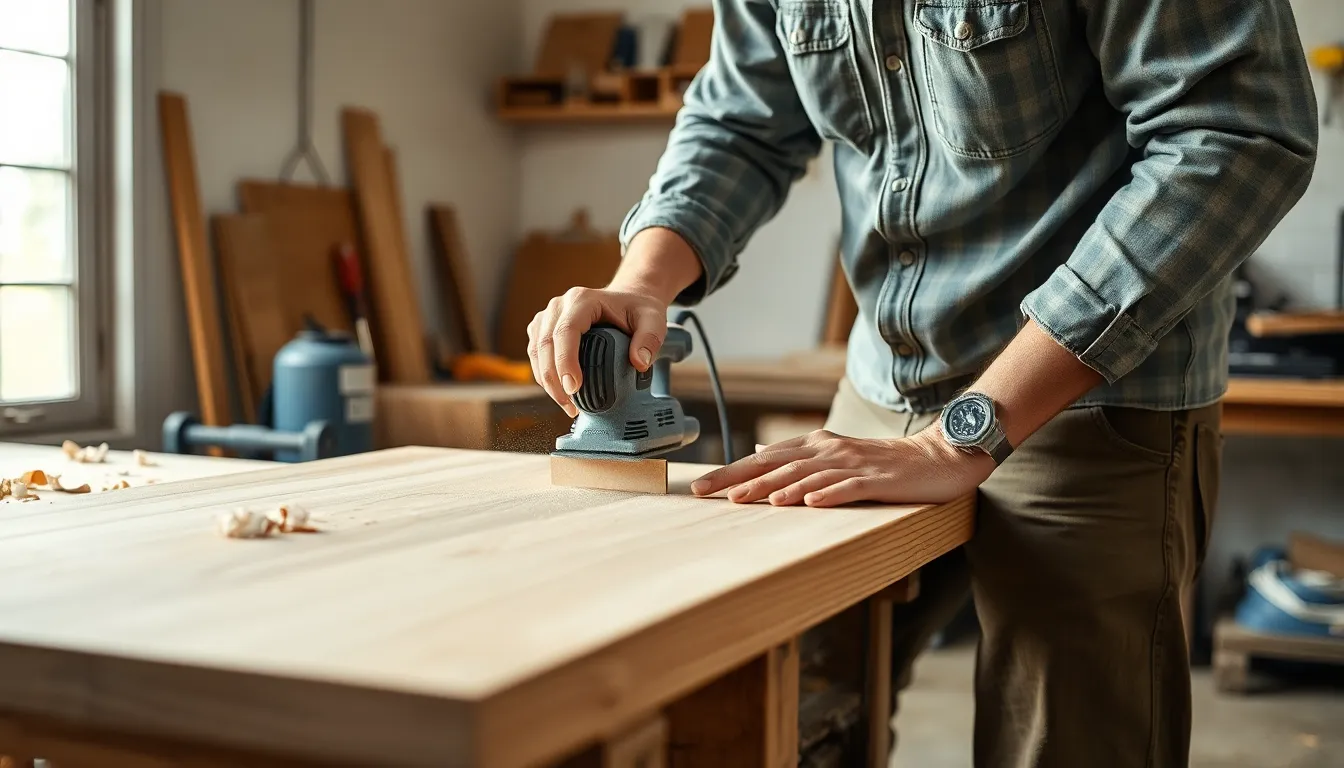
Begin your wood preparation with thorough sanding to create an ideal surface for stain absorption. Start with medium-grit sandpaper (around 150) for the main surface, working with the grain to avoid scratches. Switch to a finer grit (up to 320) for endgrain areas, as these typically absorb more stain than flat surfaces. Remove all dust completely after sanding using a vacuum or tack cloth—even small dust particles can interfere with stain adhesion and create an uneven finish. Clean surfaces allow the coffee stain to penetrate uniformly, highlighting the natural beauty of the wood grain rather than emphasizing imperfections.
Pre-Stain Conditioning
Apply a wood conditioner before staining to prevent blotchiness, particularly on softwoods like pine or maple. This optional but valuable step creates a barrier that regulates how much coffee stain the wood absorbs, resulting in more consistent coloration. Commercial wood conditioners work well, but you can also make a DIY version using a 2:1 mixture of mineral spirits and polyurethane. Brush the conditioner onto the wood surface evenly, let it penetrate for 15 minutes, then wipe away any excess with a clean cloth. Allow the conditioner to dry completely according to manufacturer instructions before applying your coffee stain. Conditioning significantly improves results on porous woods that typically develop uneven, splotchy finishes when stained.
Creating the Perfect Coffee Stain Solution
Coffee staining transforms ordinary wood into pieces with rich, warm tones using simple household ingredients. Creating an effective coffee stain solution requires just a few steps and allows for customization based on your desired finish.
Basic Coffee Stain Recipe
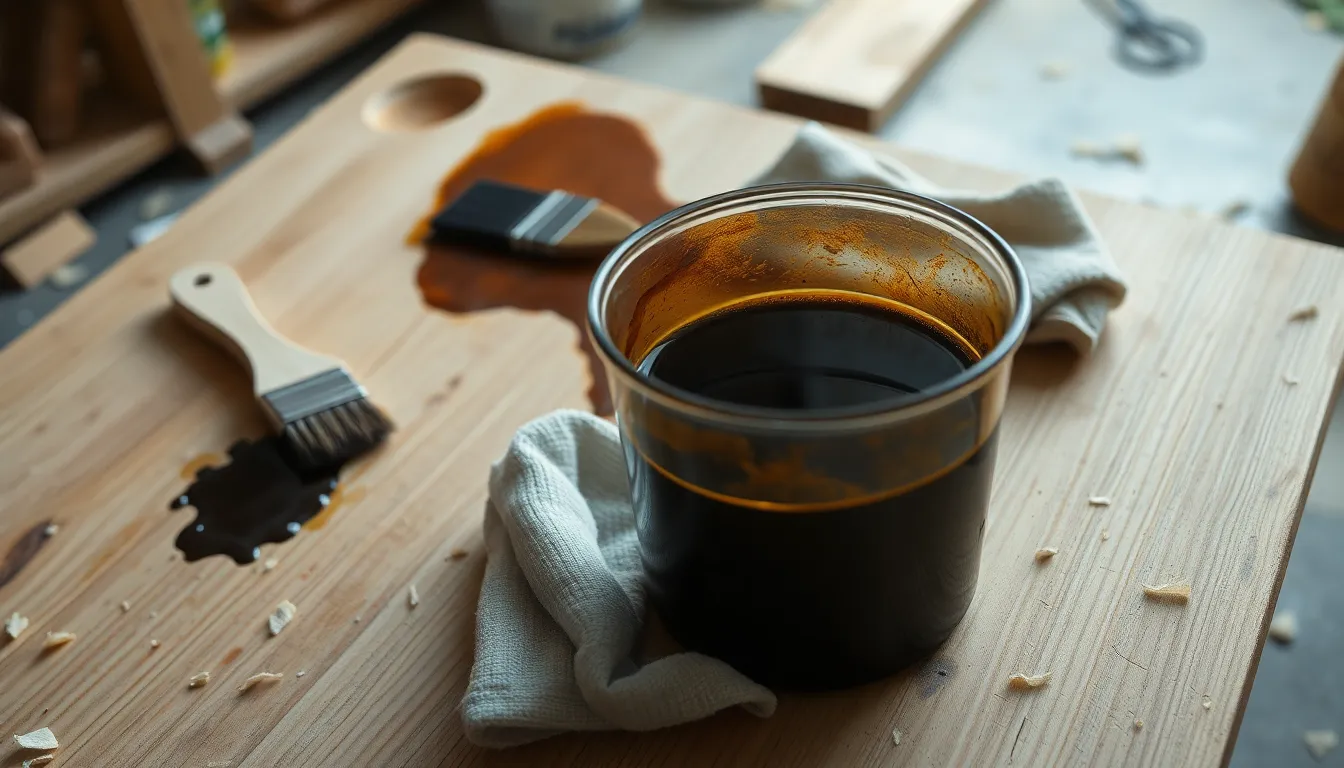
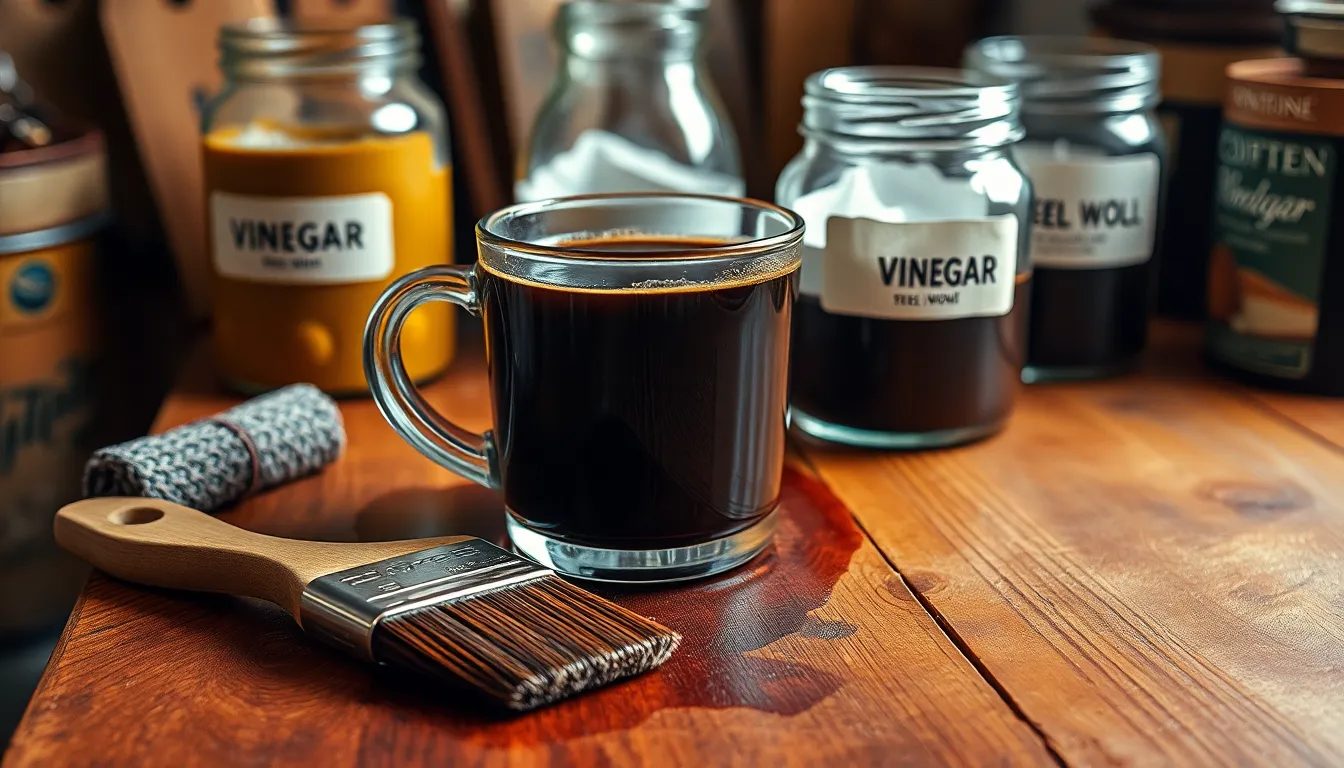
The standard coffee stain recipe starts with brewing strong coffee. Begin by boiling water and adding coffee grounds (about 1 cup of brewed coffee for a basic solution or more grounds for deeper color). Let the mixture cool completely before application to prevent warping the wood. For a more potent, chemical-free alternative, you can create a vinegar-based coffee stain by combining 2 cups of distilled white vinegar in a mason jar with pieces of steel wool and 2 tablespoons of coffee grounds. Seal the jar tightly, shake it daily, and allow it to steep for at least a week to develop a rich, dark stain solution.
Application techniques matter significantly when using coffee stain. Sand your wood surface thoroughly, paying special attention to the endgrain which requires finer sanding to prevent blotchiness. Remove all dust particles completely before applying the stain using a rag, sponge, paintbrush, or steel wool. Multiple coats create deeper coloration, with each layer needing to dry fully before adding another. The initial application appears lighter but darkens considerably as it dries, developing that characteristic aged appearance many woodworkers seek.
Adjusting Stain Intensity
Coffee stain intensity depends on several key factors you can easily control. The concentration of coffee directly affects color depth—stronger brewed coffee or additional grounds produce darker stains. For vinegar-steel wool mixtures, longer soaking times significantly increase the richness and darkness of the resulting stain. Applying multiple coats progressively deepens the color, allowing for precise control over the final appearance.
Proper surface preparation dramatically affects stain evenness. Sanding the wood to a finer grit, particularly on endgrain sections, creates a more uniform stain absorption and minimizes blotchiness. The natural porosity of different wood species also impacts stain uptake, with softwoods like pine typically accepting the coffee stain more readily than hardwoods. This method offers an inexpensive, non-toxic alternative to commercial stains while still achieving that coveted warm, aged effect that enhances the natural beauty of wood grain.
Step-by-Step Coffee Staining Process
Transforming wood with coffee stain creates a rich, warm finish through a simple process that’s both effective and eco-friendly. Follow these detailed steps to achieve professional-looking results on your wooden projects.
- Prepare the Wood
Start by thoroughly cleaning the wood surface to remove all dirt, dust, and old finishes. Sand the wood lightly with medium-grit sandpaper to open up the pores, ensuring better absorption of the coffee stain. Wipe the surface with a damp sponge to remove sanding residue before proceeding to the staining phase.
- Prepare the Coffee Stain
Create your stain using one of these proven methods:
- Mix 2-3 tablespoons of instant coffee with 2 tablespoons of boiling water, stirring until completely dissolved for a quick stain solution.
- Soak 1 cup of used coffee grounds in boiling water for at least 2 hours or overnight, then strain the liquid to collect the stain.
- For a richer, more developed color, combine coffee grounds with distilled white vinegar and steel wool in a jar. Let this mixture sit for at least a week, shaking daily—the vinegar helps develop the wood tannins for deeper coloration.
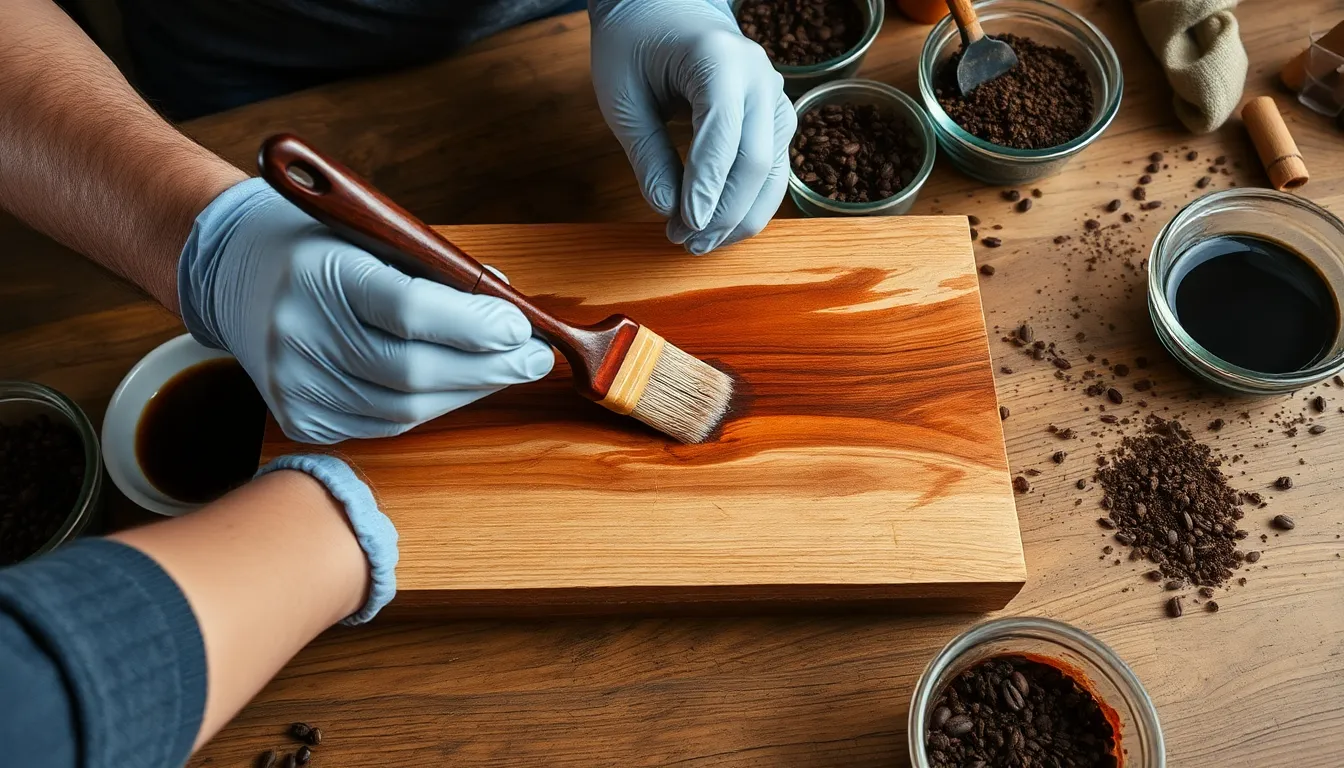
- Apply the Coffee Stain
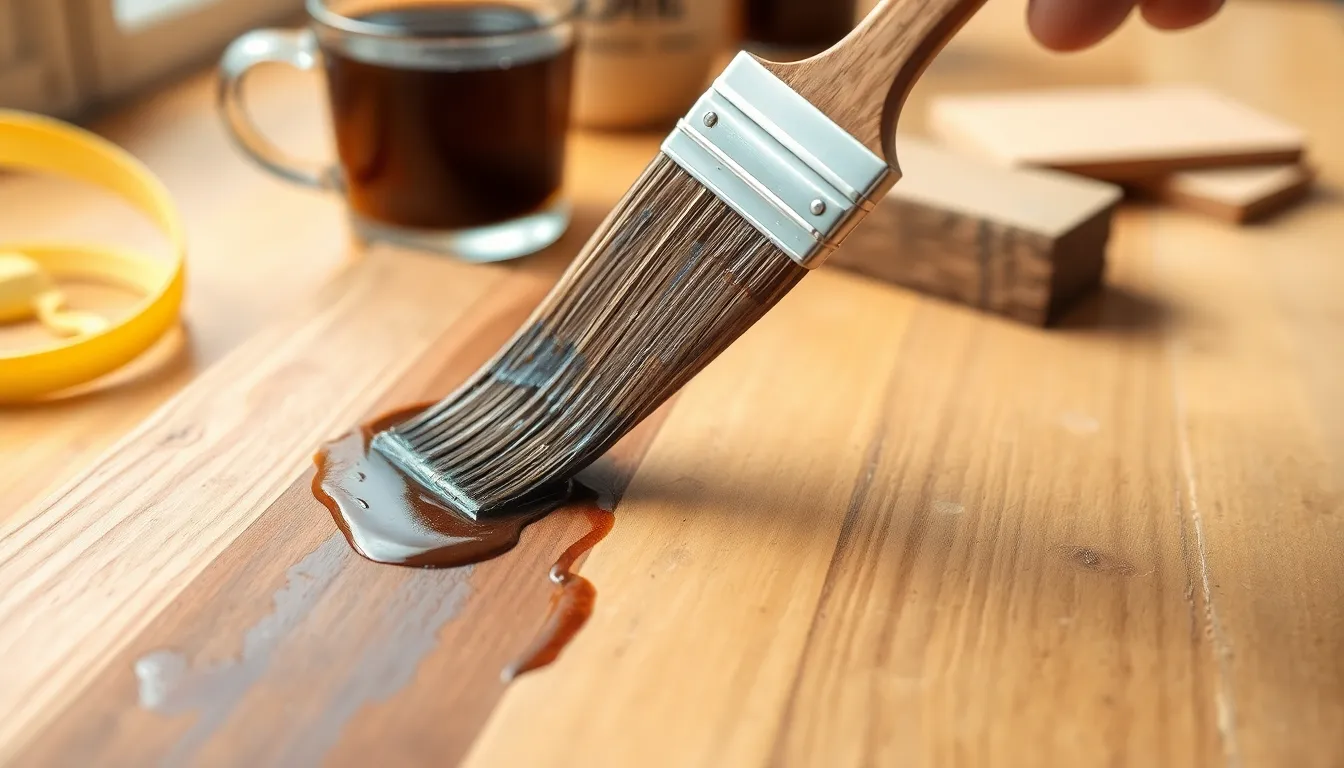
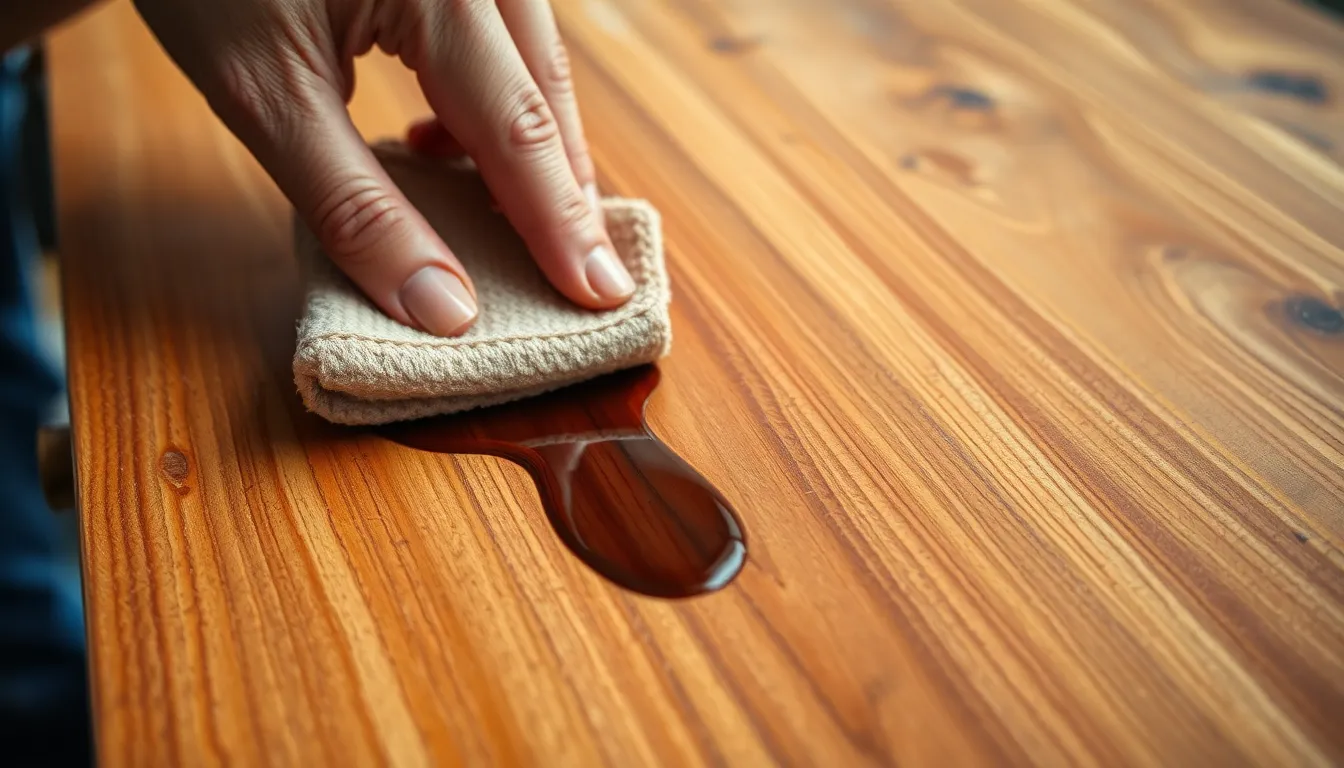
Apply the coffee stain evenly across the wood using a brush, sponge, or clean cloth. For stronger staining results, apply the instant coffee mixture liberally and allow it to sit for up to an hour before drying. When using the coffee ground stain, apply it generously while keeping the wood surface slightly moist for optimal absorption.
- Dry the Wood
Allow the stained wood to dry completely, which typically takes several hours depending on your environmental conditions. Avoid touching the surface during this drying period to prevent smudges or uneven coloration. The stain may initially appear lighter but will deepen as it dries completely, particularly with vinegar-based coffee mixtures.
- Assess and Repeat
Examine the color after drying and apply additional coats if a darker finish is desired. Between applications of coffee ground stain, try rubbing the grounds directly into the wood for a richer color, but be sure to wipe off excess grounds before applying the next coat.
Application Techniques
Coffee stain application techniques significantly impact your final results. Brushes provide precise control for detailed work and reaching into corners and crevices. Sponges distribute the stain evenly across larger surfaces, creating a uniform appearance. Clean cloths offer gentle application that follows the wood grain naturally, reducing streaking.
For texture and dimension, try applying coffee grounds directly to the wood between liquid stain applications. Gently rub the grounds into the grain using circular motions, then wipe away excess with a clean cloth. Building up color gradually with multiple light coats produces more predictable results than attempting to achieve your desired shade with a single heavy application.
Drying Times Between Coats
Proper drying times create professional-quality finishes when coffee staining wood. Environmental factors like temperature and humidity affect drying—warm, dry conditions speed the process while cool, damp environments extend it. Most coffee stains require several hours of drying time between applications.
For standard coffee stains, allow a minimum of 2-3 hours between coats, though overnight drying produces the most reliable results. Vinegar-based stains need complete drying to properly develop their color chemistry with the wood. Coffee ground applications can receive additional coats after just 10 minutes, but waiting at least an hour ensures layers are properly set before reapplication.
Testing the surface with a gentle touch in an inconspicuous area confirms drying progress—if it feels tacky or leaves a mark, more drying time is needed. This patience between applications prevents blotchiness and ensures the rich, warm tones that make coffee staining such a popular natural finishing technique.
Sealing and Protecting Your Coffee-Stained Wood
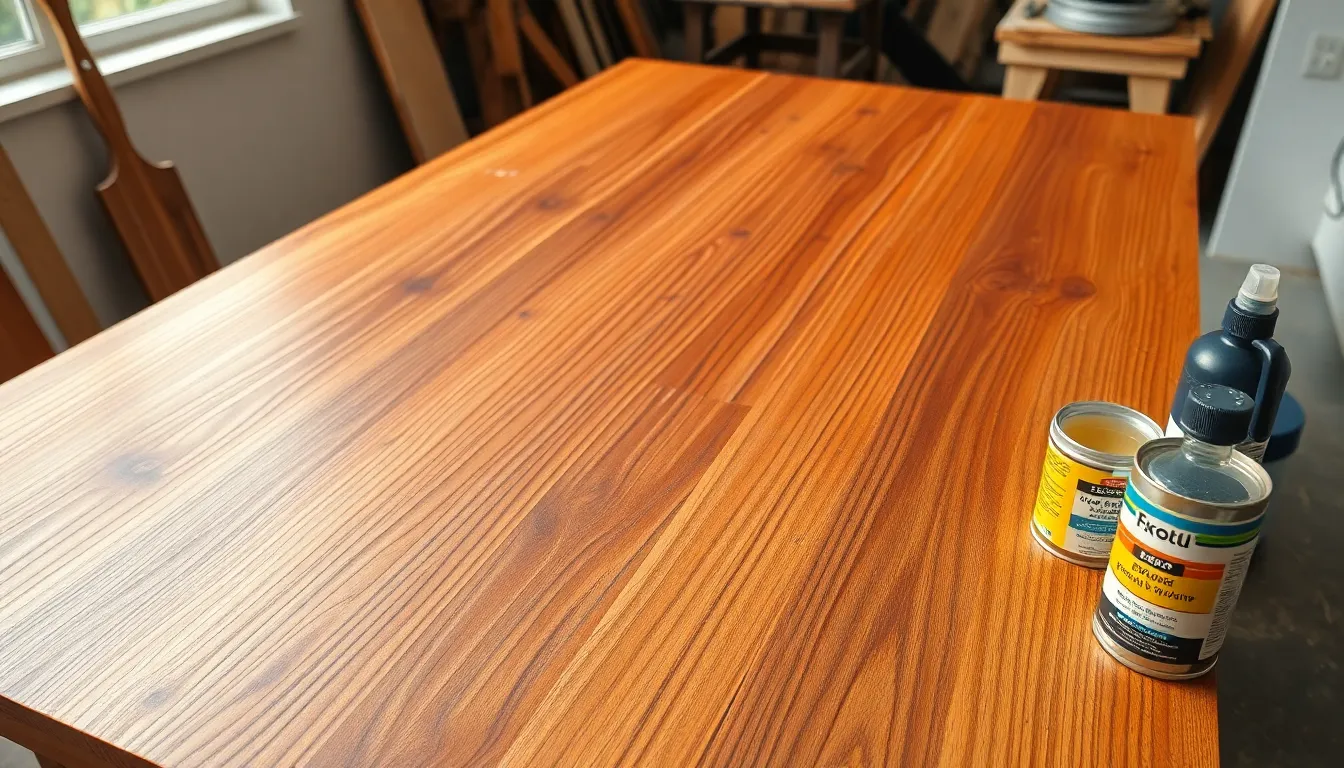
Sealing your coffee-stained wood projects is essential for preserving the rich, warm tones you’ve created and protecting the surface from wear and moisture. Coffee stains aren’t permanent without proper sealing, as they can fade or become damaged over time. Applying the right protective finish locks in the beautiful coffee coloration while improving the wood’s natural characteristics.
Best Sealers for Coffee-Stained Projects
Selecting the appropriate sealer transforms your coffee-stained wood from a beautiful but vulnerable surface into a durable, long-lasting piece. Polyurethane offers exceptional protection with a clear finish that enhances the coffee stain’s depth and richness. This popular option creates a strong barrier against moisture, scratches, and daily wear, making it ideal for high-traffic items like coffee tables or dining surfaces.
Varnish provides a glossy, traditional finish that many woodworkers prefer for decorative projects. Its robust protective qualities resist heat and liquids effectively, making it perfect for kitchen items or surfaces near windows where sun exposure occurs. Traditional oil-based varnishes develop an amber tone over time that complements the warm tones of coffee stains beautifully.
Wax finishes deliver a soft, natural look that many craftspeople prefer for rustic or antique-style projects. Applying beeswax or carnauba wax creates a subtle sheen that feels smooth to the touch while allowing the wood grain and coffee stain to remain prominent. This option works wonderfully for decorative boxes, picture frames, and other items that won’t face heavy use or moisture exposure.
Shellac, derived from natural resin, creates a traditional finish that enhances the warmth of coffee stains with its amber undertones. This fast-drying sealer builds up quickly with multiple coats and provides a classic look perfect for antique reproductions or vintage-inspired pieces.
Water-based finishes offer an eco-friendly alternative with low odor and quick drying times. These clear sealers maintain the exact color of your coffee stain without adding the yellowish tint that oil-based products often contribute, making them excellent for projects where preserving the precise coffee shade is important.
Troubleshooting Common Coffee Staining Issues
Dealing with Uneven Staining
Uneven staining occurs most commonly on endgrain areas which naturally absorb more coffee stain than other parts of the wood. Sand endgrain to a finer grit (around 320) compared to the rest of your wood surface to reduce excessive absorption. This differential sanding technique creates a more consistent surface for the stain to penetrate uniformly across all parts of your project.
Fixing Streaks and Blotches
Coffee staining streaks typically result from inconsistent application techniques. Use a rag or sponge instead of a brush for more even coverage across wood surfaces. Apply the stain with smooth, continuous strokes in the direction of the wood grain. Avoid excessive back-and-forth brushing once you’ve applied the stain, as this disturbs the liquid on the surface and creates visible stroke marks.
Addressing Insufficient Color Depth
When your coffee stain appears lighter than desired, several answers can deepen the color. Brew stronger coffee by using more grounds with less water – approximately 2-3 tablespoons of instant coffee with just 2 tablespoons of boiling water creates a concentrated solution. Apply multiple coats, ensuring each layer dries completely before adding the next. Each additional application intensifies the color while maintaining the natural wood grain visibility.
Resolving Poor Stain Absorption
Poor absorption often stems from inadequate surface preparation. Ensure your wood is thoroughly cleaned of all dust and oils before application. Open the wood pores properly through progressive sanding techniques, starting with medium grit and finishing with finer paper. Dampen the wood slightly with water before applying coffee stain to help the pigments penetrate deeper into the surface for better color retention.
Managing Extended Drying Times
Environmental factors significantly impact drying times for coffee stains. Humidity levels above 60% and temperatures below 65°F extend the curing process. Improve ventilation around your project by using fans to circulate air without blowing directly on the stained surface. Test for dryness by lightly touching an inconspicuous area – if it feels tacky, more drying time is needed before applying additional coats or sealant.
Beautiful Project Ideas for Coffee-Stained Wood
Coffee-stained wood offers a warm, natural aesthetic that enhances various DIY projects. Transform ordinary wooden items into distinctive pieces with character using this eco-friendly finishing technique. Explore these creative applications that showcase the versatility of coffee staining.
Furniture Revamps
Breathe new life into tired furniture pieces with coffee stain. Dining tables, end tables, and bookshelves develop a rich, antique appearance when treated with coffee. Old dressers gain warmth and depth with multiple coats of coffee stain, creating a custom finish without harsh chemicals. Coffee staining highlights natural wood grain while providing an aged appearance that complements farmhouse and rustic décor styles.
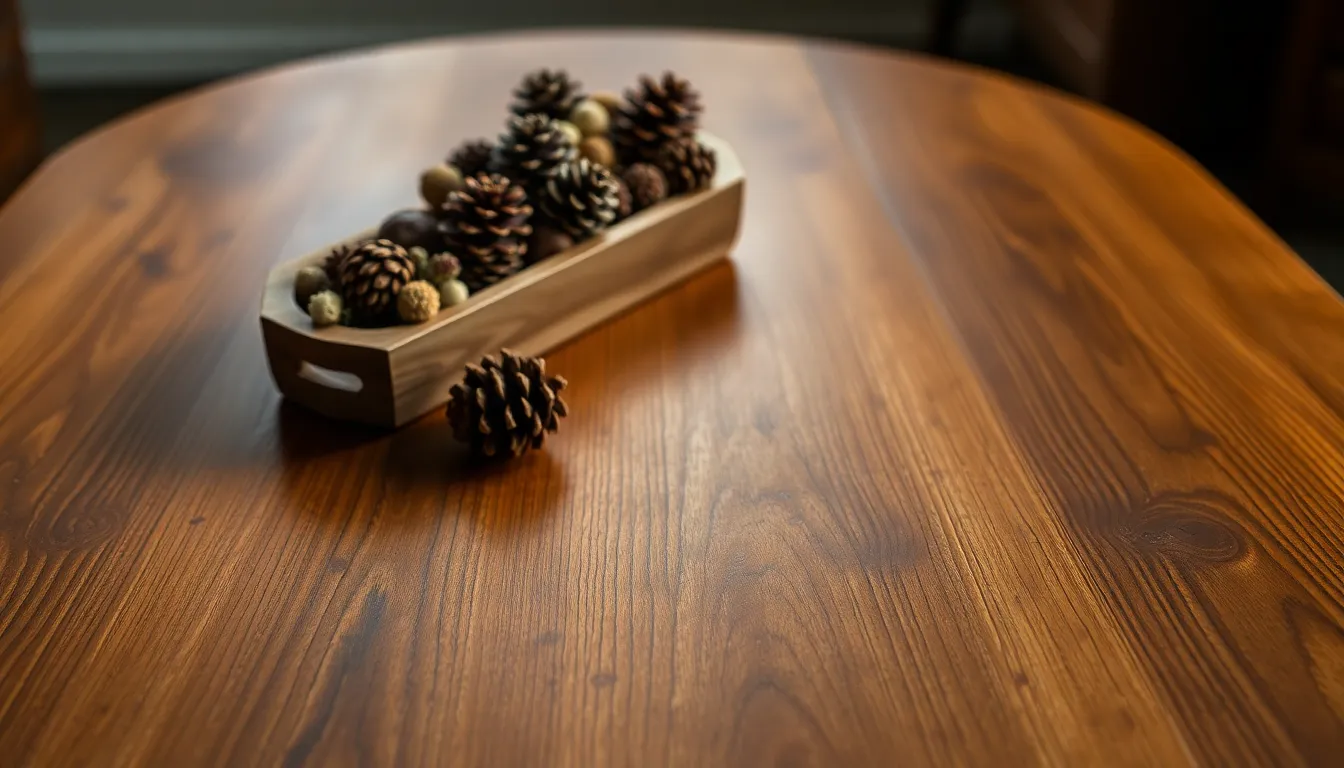
Decorative Home Accents
Small wooden crafts become conversation pieces when finished with coffee stain. Wooden signs displaying family names or inspirational quotes gain visual interest with the varied tones coffee creates. Picture frames treated with coffee stain showcase photos with a vintage feel. Decorative wooden boxes, trays, and coasters develop subtle color variations that emphasize their craftsmanship when stained with coffee.
Rustic Wall Art
Create distinctive wall art using coffee-stained wood as your canvas. Wooden panels gain depth and character through selective application of coffee stain. Geometric patterns emerge when masking techniques are combined with coffee staining. Layered staining produces gradient effects that add visual dimension to wooden art pieces. Coffee stain enhances carved or routered designs by providing natural shadow effects that highlight the details.
Kitchen and Dining Projects
Kitchen items benefit from the food-safe nature of coffee stain when properly sealed. Cutting boards develop rich, varied tones that showcase the wood’s natural beauty. Wooden utensils like spoons and spatulas gain character with light coffee staining. Serving trays and charcuterie boards become elegant entertaining pieces when enhanced with coffee’s warm hues. Wine racks and kitchen shelving treated with coffee stain add rustic charm to culinary spaces.
Mixed Media Creations
Combine coffee-stained wood with other materials for unique mixed media projects. Metal hardware stands out beautifully against the warm background of coffee-stained wood. Contrast coffee-stained elements with painted components for eye-catching visual interest. Natural rope or twine complements the organic feel of coffee-stained wood in hanging shelves or wall organizers. Coffee-stained frames highlight artwork, mirrors, or textile pieces with their subtle, natural coloration.
Seasonal and Gift Items
Create memorable gifts and seasonal décor using coffee-stained wood. Holiday ornaments gain vintage appeal with coffee staining techniques. Wooden gift tags become reusable keepsakes when treated with coffee stain. Seasonal door hangers and wreaths with coffee-stained wooden elements blend naturally with other organic materials. Personalized wooden signs for special occasions develop character and depth through coffee staining.
Conclusion
Coffee staining offers a beautiful natural alternative to commercial wood finishes that’s both accessible and environmentally friendly. With just coffee and basic supplies you already have at home you can transform ordinary wood pieces into rich warm-toned treasures.
The beauty of this technique lies in its simplicity and customization potential. You’ll achieve professional-looking results by properly preparing your wood sanding thoroughly applying even coats and sealing with the right protective finish.
Whether you’re refreshing old furniture creating rustic home decor or crafting handmade gifts coffee staining provides endless creative possibilities. Give this affordable DIY method a try and discover how your morning brew can do double duty as a gorgeous eco-friendly wood finish.
Frequently Asked Questions
Is coffee staining wood safe for food-contact surfaces?
Yes, coffee staining is food-safe when properly sealed. Unlike commercial stains containing harsh chemicals, coffee is a natural, non-toxic alternative. For kitchen items like cutting boards or serving trays, seal your coffee-stained wood with food-grade mineral oil, beeswax, or a food-safe polyurethane to create a protective barrier while maintaining its safety for food contact.
How long does coffee stain take to dry on wood?
Coffee stain typically takes 2-4 hours to dry between coats, depending on humidity, temperature, and airflow. Complete drying may require 24 hours before sealing. Test for dryness by lightly touching the surface—if it feels tacky, allow more drying time. Using fans or dehumidifiers can accelerate the process in humid environments.
Can any type of coffee be used for staining wood?
Yes, any brewed coffee works for staining wood, but different types produce varying results. Dark roasts create deeper, richer colors due to higher oil content. Instant coffee offers convenience and consistent concentration control. Experiment with espresso for intense color or lighter roasts for subtle tones. The coffee’s freshness affects the vibrancy of the final color.
How many coats of coffee stain should I apply?
Most projects require 2-3 coats of coffee stain to achieve desired color depth. Light woods may need additional coats for rich coloration. Apply thin, even layers, allowing complete drying between applications. Test your desired shade on scrap wood first. Each additional coat deepens the color, but diminishing returns occur after 4-5 coats.
Do I need to sand between coats of coffee stain?
Light sanding between coats is beneficial but not always necessary. If you notice raised grain or roughness after the first coat dries, sand lightly with fine-grit sandpaper (320-400). This creates a smoother finish and helps subsequent coats absorb evenly. Always wipe away dust completely before applying the next coat.
Will coffee stain make my wood smell like coffee?
The coffee aroma dissipates as the stain dries. Initially, the wood will have a mild coffee scent, but this typically disappears completely within a few days after sealing. If concerned about lingering odors for indoor projects, ensure adequate ventilation during drying and consider using a sealer with its own pleasant scent.
How do I fix blotchy areas in my coffee-stained wood?
To fix blotchy areas, sand the affected regions lightly with fine-grit sandpaper and reapply the stain. For prevention, always prepare wood properly by sanding evenly and applying a pre-stain conditioner, especially on softwoods like pine. Consistent application technique using overlapping strokes and wiping excess stain helps achieve uniform coloration.
What’s the best sealer to use over coffee-stained wood?
The best sealer depends on your project’s use and desired finish. Polyurethane offers excellent durability for high-traffic items. Danish oil provides a natural look for decorative pieces. Water-based polyacrylic works well for eco-conscious projects. Shellac gives a traditional amber glow. For outdoor items, choose a UV-resistant exterior polyurethane to prevent fading.
Can coffee stain be used on all wood types?
Coffee stain works on most wood types but performs best on porous woods like pine, oak, and maple. Dense woods like cherry may require longer application times or stronger coffee concentrations. Softwoods accept the stain more readily but can become blotchy without proper conditioning. Test on an inconspicuous area first to ensure satisfactory results.
How does coffee stain compare to commercial wood stains?
Coffee stain offers a natural, non-toxic alternative to chemical-based commercial stains. It produces warm, subtle brown tones that highlight wood grain beautifully but provides fewer color options than commercial products. Coffee stain is more environmentally friendly and budget-conscious but may require more coats for depth. It’s ideal for DIY enthusiasts seeking an eco-friendly finish.