There’s something magical about a chocolate cake that melts in your mouth, and when it’s eggless, it becomes a delightful surprise.
This super soft eggless chocolate cake is perfect for those who want to indulge without using eggs, whether due to dietary preferences or allergies.
Rich in chocolatey flavor, it offers a moist and tender crumb that’s hard to resist.
I stumbled upon this recipe during a family gathering, where it was the star of the dessert table, drawing compliments from everyone.
Ideal for any occasion, this cake promises to deliver a satisfying experience with its simple yet effective preparation.
The History and Cultural Significance
• Eggless Chocolate Cake traces its origins to the Great Depression era in the United States, where it was originally created by resourceful bakers who needed to make do without eggs.
• The dish evolved over decades as baking powder and soda became more widely used to provide the necessary rise, eventually becoming the beloved version we know today.
• In many cultures, this dish traditionally appears at vegetarian celebrations, symbolizing the ability to create delicious desserts without animal products.
• While many variations exist across different regions, the authentic version maintains a moist crumb and rich cocoa flavor that sets it apart from imitations.
Recipe Overview
Nutritional Information (per serving)
Essential Equipment Guide
Mixing Bowl: A large mixing bowl is crucial for combining ingredients evenly, allowing for proper aeration without spilling. Alternatives like a stand mixer bowl can work if it’s large enough, but ensure it’s clean and dry before use.
Whisk: A whisk helps incorporate air and mix dry and wet ingredients smoothly. If a whisk is unavailable, a fork can be used, but it may require more effort to achieve the same consistency.
Baking Pan: A well-greased or parchment-lined baking pan ensures even cooking and easy release of the cake. Look for non-stick pans or use a silicone baking mat for optimal results.
Ingredients
For the Base
|
|
| Amount | Ingredient | Notes |
|---|---|---|
| 1.5 cups | all-purpose flour | sifted to avoid lumps |
| 1 cup | granulated sugar | provides sweetness |
| 1/3 cup | unsweetened cocoa powder | for chocolate flavor |
| 1 teaspoon | baking soda | leavening agent |
| 1/2 teaspoon | salt | enhances flavor |
Wet Ingredients
| Amount | Ingredient | Notes |
|---|---|---|
| 1 cup | water | at room temperature |
| 1/3 cup | vegetable oil | adds moisture |
| 1 tablespoon | vinegar | activates baking soda |
| 1 teaspoon | vanilla extract | adds aroma |
Preparation Methods
Sifting: Sifting the dry ingredients like flour and cocoa powder is essential to prevent lumps and ensure a light, airy cake. Use a fine-mesh sieve or a dedicated sifter, shaking gently to incorporate air.
Emulsifying: Combining oil and water requires proper emulsification to achieve a consistent batter. Whisk vigorously until the mixture appears smooth and uniform.
Folding: When adding dry ingredients to wet, folding ensures minimal deflation and maintains the batter's airiness. Use a spatula to gently fold, turning the bowl as you go.
Step 1: Preheat the Oven

Preheat your oven to 350°F (175°C).
This ensures that the oven is at the right temperature when your batter is ready.
Check the temperature with an oven thermometer for accuracy.
Proper preheating helps the cake rise evenly.
Step 2: Prepare the Baking Pan

Grease a 9-inch round baking pan with vegetable oil.
Alternatively, line it with parchment paper for easy removal.
Ensure all sides are evenly coated to prevent sticking.
Proper preparation prevents the cake from breaking upon release.
Step 3: Mix Dry Ingredients

In a large mixing bowl, sift together flour, sugar, cocoa powder, baking soda, and salt.
Use a whisk to combine them thoroughly after sifting.
Look for a uniform brown color with no visible lumps.
Proper mixing ensures even flavor distribution.
Step 4: Combine Wet Ingredients

In a separate bowl, mix water, vegetable oil, vinegar, and vanilla extract.
Whisk the ingredients until they are well combined and emulsified.
The mixture should appear smooth with no oil separation.
Proper emulsification is crucial for even texture.
Step 5: Create the Batter

Slowly pour the wet ingredients into the dry ingredients.
Use a spatula to fold them together gently.
Continue folding until no dry streaks remain and the batter is smooth.
Avoid over-mixing to keep the cake light and fluffy.
Step 6: Pour Batter into Pan

Carefully pour the batter into the prepared baking pan.
Use a spatula to spread it evenly across the pan.
Check that the surface is level to ensure even baking.
A level surface prevents uneven rising.
Step 7: Bake the Cake
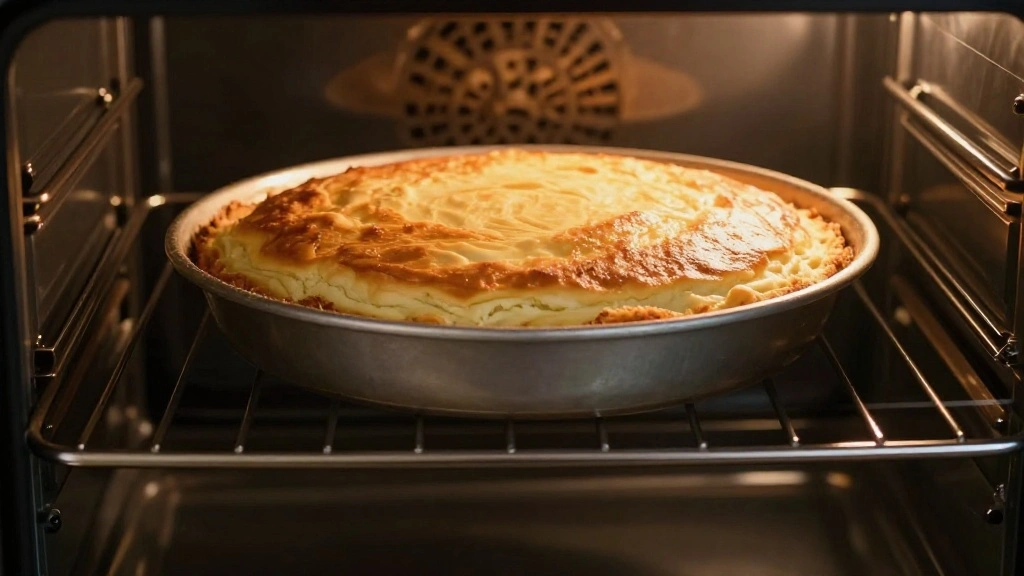
Place the pan in the preheated oven on the middle rack.
Bake for 30-35 minutes, checking for doneness at 30 minutes.
Insert a toothpick in the center; it should come out clean.
Bake until the cake is firm to the touch and springs back slightly.
Step 8: Cool and Serve
Remove the cake from the oven and let it cool in the pan for 10 minutes.
Run a knife around the edges to loosen it.
Invert the cake onto a wire rack to cool completely.
Cooling prevents the cake from crumbling when cut.
Critical Timing and Temperature Guide
Mixing Batter: Mix the batter just until combined, about 2-3 minutes, to ensure a tender cake. Over-mixing can lead to a dense texture.
Baking: Bake at 350°F for 30-35 minutes. Look for a firm top and a clean toothpick test. Avoid opening the oven door frequently, which can disrupt rising.
Cooling: Cool in the pan for 10 minutes, then transfer to a rack until completely cool. Rushing this can cause the cake to crack or crumble.
Pro Tips for Eggless Chocolate Cake
• Ingredient Selection: Choose high-quality cocoa powder for a rich chocolate flavor and fresh baking soda for proper leavening.
• Preparation Secret: Adding vinegar activates the baking soda, which is crucial for the cake's rise without eggs.
• Temperature Management: All ingredients should be at room temperature to mix more uniformly.
• Texture Enhancement: Folding the batter gently retains air, leading to a soft texture.
• Flavor Layering: Use vanilla extract to complement the chocolate, adding depth to the flavor.
• Make-Ahead Strategies: Bake the cake a day in advance, wrap it tightly in plastic wrap, and refrigerate for enhanced flavor.
• Restaurant-Quality Finishing Touches: Dust with powdered sugar or cocoa powder before serving for a professional look.
• Equipment Optimization: Use a metal pan for even heat distribution and proper rise.
Troubleshooting Common Issues
• Dense Texture: Caused by over-mixing or old baking soda. Ensure fresh leavening agents and mix until just combined.
• Cracked Top: Oven temperature too high or batter overfilled. Bake at the correct temperature and use the right pan size.
• Sticky Bottom: Insufficient greasing or cooling. Grease the pan well and allow the cake to cool properly before removing.
• Unbaked Center: Under-baking or incorrect oven calibration. Use an oven thermometer and bake until a toothpick comes out clean.
• Flat Cake: Baking soda not activated. Ensure vinegar is fresh and mixed with wet ingredients before combining with dry ingredients.
Variations and Regional Differences
• Indian Variation: Often includes cardamom or cinnamon for a spiced flavor, reflecting regional preferences for aromatic spices.
• Vegan Version: Uses plant-based milk instead of water and coconut oil for added richness, catering to vegan diets.
• Gluten-Free Adaptation: Substitutes all-purpose flour with almond or coconut flour, making it suitable for gluten-free diets.
• European Influence: Incorporates nuts or dried fruits for added texture and flavor, inspired by traditional fruit cakes.
Food Science Behind the Recipe
• Leavening Reaction: The combination of baking soda and vinegar creates carbon dioxide bubbles, providing lift and a light texture.
• Emulsification: Proper mixing of oil and water helps distribute fat evenly, ensuring moisture and tenderness.
• Maillard Reaction: Baking the cake develops a deep brown color and complex flavor through the Maillard reaction, enhancing taste.
Frequently Asked Questions
What's the most common mistake people make when preparing eggless chocolate cake? Over-mixing the batter, which leads to a dense texture.
Can I replace vinegar with lemon juice? Yes, lemon juice can be used as an acid to activate baking soda, though it may slightly alter the flavor.
What's the best way to store the cake? Wrap it in plastic wrap and keep in an airtight container at room temperature for up to 3 days.
How do I ensure the cake doesn't stick to the pan? Thoroughly grease the pan or line it with parchment paper.
Can I add extra ingredients like nuts or chocolate chips? Yes, fold them in gently just before pouring the batter into the pan.
What can I use instead of vegetable oil? Canola or melted coconut oil can be used as substitutes for a similar effect.
Is it possible to freeze the cake? Yes, wrap it tightly in plastic wrap and foil before freezing for up to 2 months.
How can I make the cake more chocolatey? Add a small amount of espresso powder or use a higher cocoa content chocolate.
Serving and Presentation Guide
• Traditional Presentation: Serve with a dusting of powdered sugar and a side of fresh berries for a classic look.
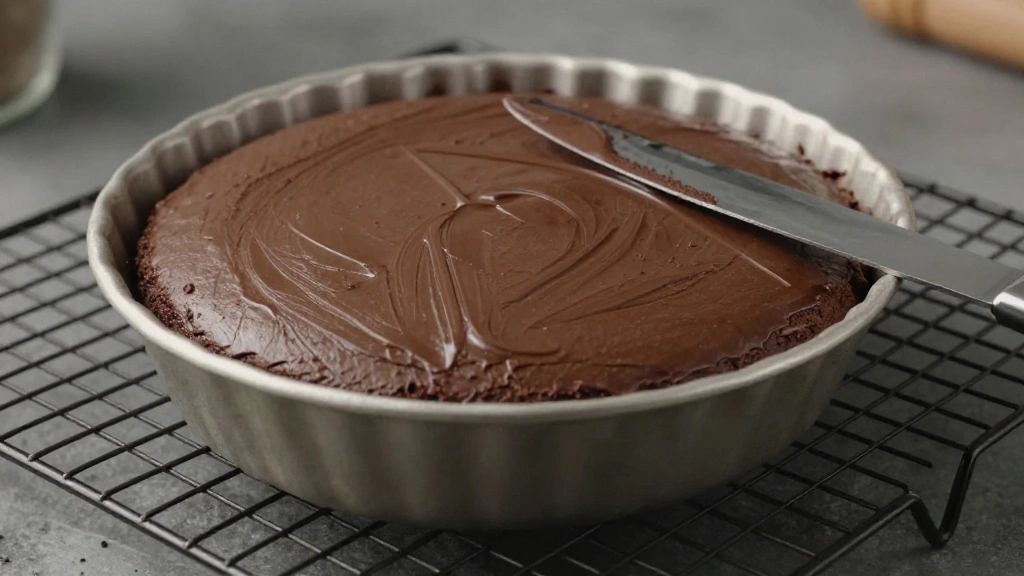
• Modern Twist: Drizzle with a chocolate glaze and sprinkle with sea salt for a contemporary touch.
• Party Style: Cut into small squares and serve as part of a dessert buffet, allowing guests to enjoy various treats.
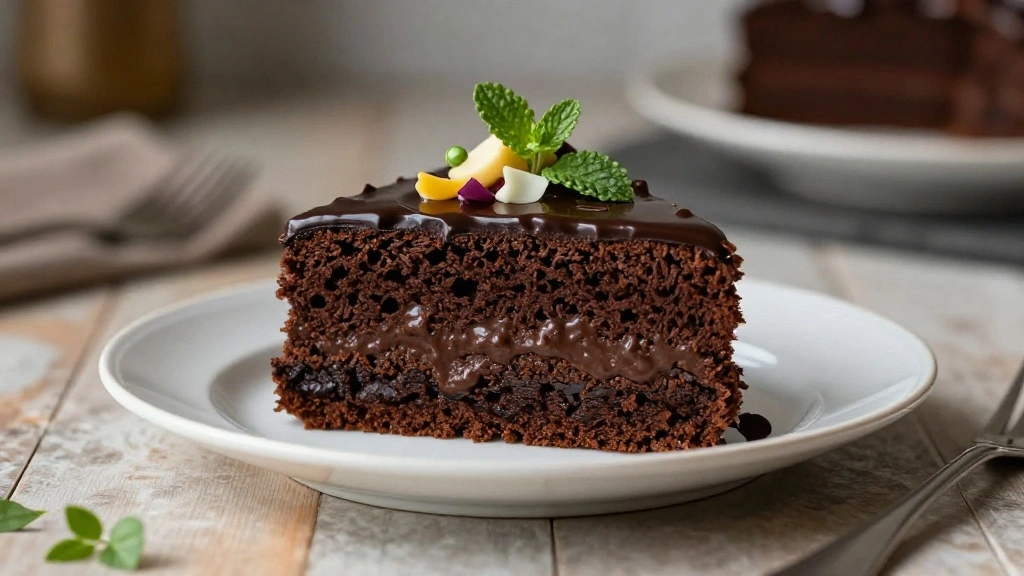
• Elegant Plating: Place a slice on a plate with a dollop of whipped cream and a mint sprig for a restaurant-style presentation.
Conclusion
This eggless chocolate cake is a testament to the fact that you don't need eggs to create an incredibly soft and flavorful dessert.
With its simple ingredients and straightforward steps, it's a recipe that anyone can master and enjoy.
Whether you're catering to dietary restrictions or simply exploring new baking adventures, this cake is sure to impress.
I encourage you to give it a try and experience the magic of eggless baking firsthand.