When I first transitioned to a gluten-free lifestyle, I feared losing the joy of baking a classic chocolate cake.
The rich and indulgent flavors of chocolate paired with a moist, tender crumb seemed hard to replicate without traditional flour.
This Gluten-Free Chocolate Cake, however, surprised me with its decadent texture and deep chocolatey essence.
Perfect for any occasion, its appeal lies in the simplicity of preparation and the satisfaction it brings to those with or without gluten sensitivities.
Whether you’re a seasoned baker or a novice, this recipe promises a delightful experience that will have everyone coming back for more.
The History and Cultural Significance
• Gluten-Free Chocolate Cake traces its origins to the early 20th century, where it was originally created by home bakers adapting to dietary needs.
• The dish evolved over decades as gluten-free flour blends improved, eventually becoming the beloved version we know today.
• In North American culture, this dish traditionally appears at birthday celebrations and family gatherings, symbolizing inclusivity and indulgence.
• While many variations exist across different regions, the authentic version maintains a rich chocolate flavor that sets it apart from imitations.
Recipe Overview
Nutritional Information (per serving)
Essential Equipment Guide
Stand Mixer: A stand mixer is important for achieving a smooth and well-aerated batter, which is critical for the cake’s texture. Alternatives include a hand mixer or a sturdy whisk, though these may require more effort. Look for a mixer with multiple speed settings and a large bowl.
Springform Pan: Using a springform pan ensures that the cake can be released easily without damage. Alternatives include a regular cake pan lined with parchment paper. Choose a pan with a reliable latch and a non-stick coating.
Wire Cooling Rack: A wire cooling rack allows the cake to cool evenly, preventing sogginess on the bottom. An alternative is to use a makeshift rack by propping the cake up on utensils. Ensure the rack is sturdy and can hold the cake’s weight.
Ingredients
For the Cake
|
|
| Amount | Ingredient | Notes |
|---|---|---|
| 1 cup | gluten-free all-purpose flour | ensures light texture |
| 1 cup | granulated sugar | provides sweetness |
| 1/2 cup | unsweetened cocoa powder | adds rich chocolate flavor |
| 1 teaspoon | baking powder | helps cake rise |
| 1/2 teaspoon | baking soda | aids in leavening |
| 1/4 teaspoon | salt | enhances flavors |
| 2 large | eggs | at room temperature for better mixing |
| 1/2 cup | vegetable oil | adds moisture |
| 1 teaspoon | vanilla extract | for flavor |
| 1 cup | buttermilk | adds tang and softness |
Preparation Methods
Folding: Folding involves gently combining ingredients to retain air and ensure a light texture. Use a spatula to carefully fold dry ingredients into the wet mix, turning the bowl and lifting the batter from the bottom. This technique is crucial for maintaining the cake’s lightness.
Room Temperature Ingredients: Using room temperature ingredients allows for better emulsification and even baking. Leave eggs and buttermilk out for 30 minutes before use. This technique prevents curdling and creates a smoother batter.
Preheating the Oven: Ensure the oven is fully preheated to the correct temperature before baking. This step ensures even cooking and prevents the cake from sinking. Use an oven thermometer for accuracy.
Step 1: Preheat the Oven

Set your oven to 350°F (175°C).
Ensure the oven rack is in the middle position.
This helps with even baking.
Preheating is crucial for the cake to rise properly.
Step 2: Prepare the Cake Pan

Grease a 9-inch springform pan with butter or cooking spray.
Line the bottom with parchment paper.
This prevents the cake from sticking.
Proper preparation ensures easy removal after baking.
Step 3: Mix Dry Ingredients

In a large bowl, combine gluten-free flour, sugar, cocoa powder, baking powder, baking soda, and salt.
Whisk them together until evenly mixed.
This step breaks up any lumps and ensures even distribution.
A well-mixed dry mixture leads to a uniform cake texture.
Step 4: Combine Wet Ingredients

In another bowl, whisk together eggs, vegetable oil, vanilla extract, and buttermilk.
Ensure everything is fully combined and smooth.
The mixture should be a uniform pale yellow color.
Using room temperature ingredients helps achieve a smooth blend.
Step 5: Combine Wet and Dry Ingredients

Pour the wet ingredients into the bowl of dry ingredients.
Use a spatula to fold them together gently.
Mix until just combined to avoid overmixing.
This step is crucial for achieving a tender crumb.
Step 6: Pour Batter into Pan

Pour the batter into the prepared springform pan.
Use the spatula to spread it evenly across the surface.
Tap the pan gently on the counter to pop air bubbles.
Even distribution ensures uniform baking.
Step 7: Bake the Cake

Place the pan in the preheated oven.
Bake for 30-35 minutes.
The cake is done when a toothpick inserted in the center comes out clean.
Avoid opening the oven door frequently to prevent temperature drops.
Step 8: Cool the Cake
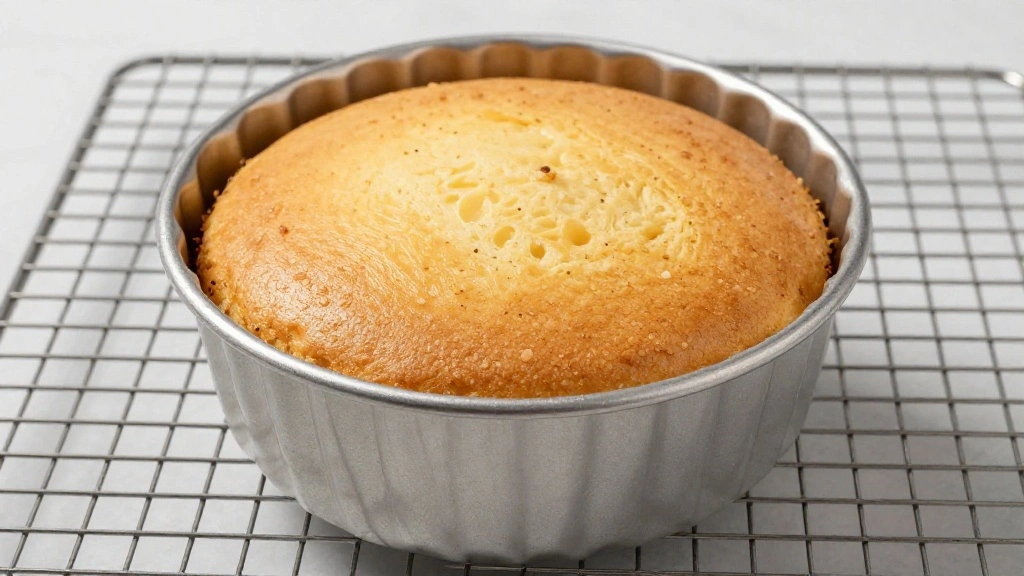
Remove the cake from the oven and place it on a wire cooling rack.
Let it cool in the pan for 10 minutes.
Then, remove the sides of the springform pan.
Cooling on a rack prevents the bottom from becoming soggy.
Critical Timing and Temperature Guide
Preheating the Oven: Preheat to 350°F (175°C) for at least 15 minutes. Wait for the oven thermometer to confirm the temperature. Avoid placing the cake in a cold oven as it affects rising.
Baking Time: Bake for 30-35 minutes. Check for doneness with a toothpick. Opening the oven early can cause the cake to sink.
Cooling: Allow the cake to cool for 10 minutes in the pan, then on a rack. Do not rush this step to prevent the cake from breaking.
Pro Tips for Gluten-Free Chocolate Cake
• Ingredient Selection: Choose a high-quality gluten-free flour blend that includes xanthan gum for structure and texture.
• Preparation Secret: Let the batter rest for 10 minutes before baking to allow the flour to fully hydrate.
• Temperature Management: Ensure all wet ingredients are at room temperature for better emulsification and a smooth batter.
• Texture Enhancement: Sift the cocoa powder to remove lumps and achieve a smoother batter.
• Flavor Layering: Enhance chocolate flavor with a pinch of espresso powder in the dry ingredients.
• Make-Ahead Strategies: Bake the cake a day in advance and store it wrapped in plastic wrap at room temperature to enhance flavor.
• Restaurant-Quality Finishing Touches: Dust the cake with cocoa powder or powdered sugar before serving for an elegant finish.
• Equipment Optimization: Use a springform pan for easy removal without damaging the cake.
Troubleshooting Common Issues
• Texture Too Dense: Caused by overmixing or using too much flour. Carefully fold ingredients and measure flour accurately using a scale.
• Flavors Unbalanced: Results from not sifting cocoa powder or uneven mixing. Sift cocoa powder and whisk dry ingredients well.
• Cake Sinking: Often due to underbaking or opening the oven door too early. Ensure the cake bakes for the full time and resist checking too soon.
• Crumbly Cake: Can happen if the cake is overbaked or lacks enough binding. Check oven temperature and ensure proper ingredient ratios.
• Cake Sticking to Pan: Results from insufficient greasing. Always grease and line the pan with parchment paper.
• Uneven Rising: Caused by uneven oven temperature. Rotate the cake halfway through baking if necessary.
Variations and Regional Differences
• French Flourless Chocolate Cake: This version omits flour entirely, relying on eggs for structure and achieving a dense, rich cake. Often enjoyed during Passover.
• Mexican Chocolate Cake: Incorporates cinnamon and a hint of cayenne pepper into the batter, offering a spicy twist on tradition.
• Vegan Gluten-Free Chocolate Cake: Uses flaxseed meal as a substitute for eggs and coconut oil instead of butter, catering to plant-based diets.
• Italian Chocolate and Almond Cake: Known as Torta Caprese, this cake includes ground almonds for a nutty flavor and is naturally gluten-free.
Food Science Behind the Recipe
• Gluten-Free Baking Chemistry: Gluten-free flour lacks the protein structure of wheat flour, so using a blend with xanthan gum mimics gluten's elasticity.
• Role of Leavening Agents: Baking powder and baking soda react with acidic ingredients like buttermilk to create carbon dioxide, causing the cake to rise.
• Emulsification in Cake Batter: Room temperature eggs and oil ensure proper emulsification, creating a uniform batter and even crumb.
Frequently Asked Questions
What's the most common mistake people make when preparing Gluten-Free Chocolate Cake? Overmixing the batter, which can lead to a dense texture. Fold ingredients gently.
Can I use almond flour instead of gluten-free all-purpose flour? Almond flour can be used, but it will change the texture to be denser and more moist.
How do I make the cake vegan? Substitute eggs with flaxseed meal mixed with water and use plant-based milk instead of buttermilk.
Why does my cake crack on top? This is often due to high oven temperature. Use an oven thermometer to ensure accurate baking temperature.
How should I store the cake? Wrap it in plastic wrap and keep it at room temperature for up to three days or refrigerate for up to a week.
Can I freeze the cake? Yes, wrap it tightly in plastic wrap and foil, then freeze for up to three months. Thaw at room temperature before serving.
What's the best way to slice the cake? Use a sharp knife dipped in hot water and wiped clean between cuts for even slices.
Does the batter need to be rested before baking? Resting for 10 minutes allows the flour to hydrate and results in a softer texture.
Serving and Presentation Guide
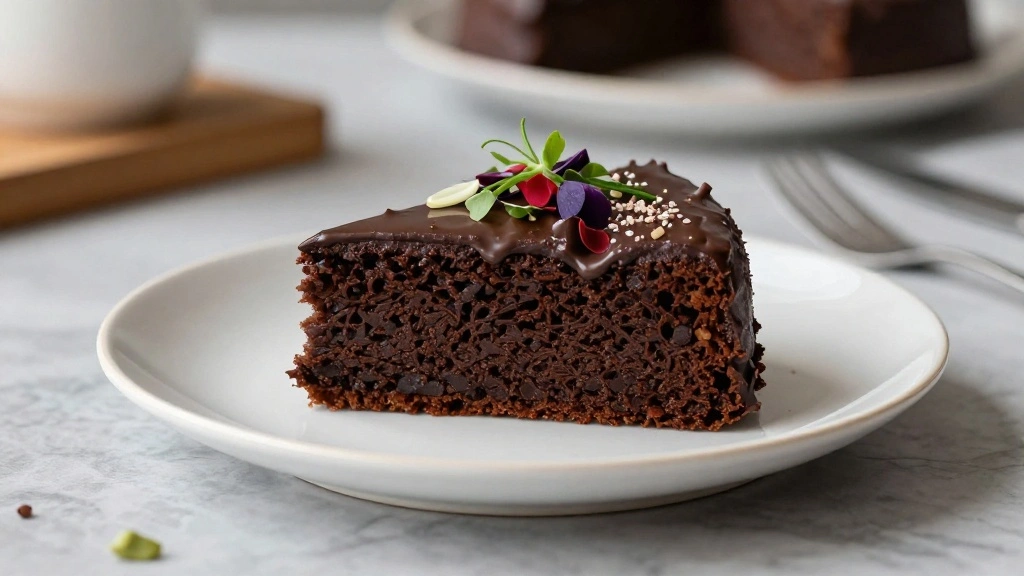
• Traditional Presentation: Serve the cake on a cake stand with a light dusting of cocoa powder, accompanied by fresh berries.
• Modern Minimalist: Slice the cake into even portions and serve on white plates with a drizzle of chocolate syrup.
• Family Style: Present the whole cake at the center of the table, allowing guests to slice their portions.
• Elegant Touch: Garnish with edible flowers or mint leaves for a decorative finish.
Conclusion
Embark on a delightful culinary journey with this Gluten-Free Chocolate Cake.
Its rich flavor and moist texture make it a standout at any gathering.
Whether you’re hosting a celebration or simply indulging at home, this cake is sure to impress.
Try it today and discover a new favorite that everyone can enjoy.