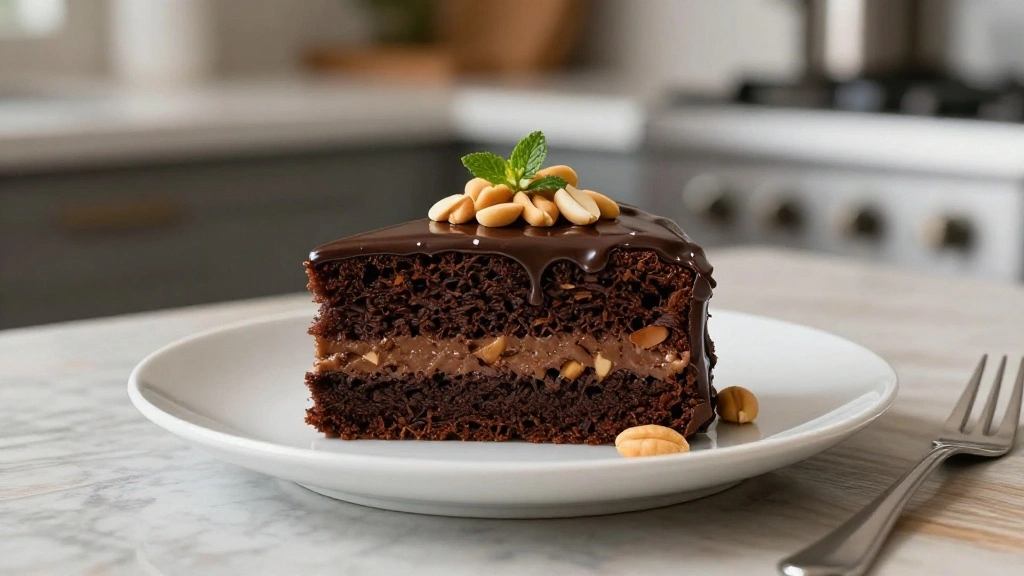
The ultimate dessert duo, chocolate and peanut butter, come together in this indulgent cake that captivates with every bite.
The rich, velvety chocolate intertwines with creamy peanut butter, creating a symphony of flavors that resonate with both nostalgic comfort and modern decadence.
This recipe was a revelation during one of my culinary explorations, combining traditional textures with innovative techniques for a delightful treat.
Perfect for any occasion, this Chocolate Peanut Butter Cake is a guaranteed hit, whether for a cozy family gathering or an elegant dinner party.
Each layer bursts with flavor, ensuring that your guests will be savoring every morsel and asking for more.
Prepare to embark on a culinary journey that celebrates this classic combination in a way you’ve never experienced before.
The History and Cultural Significance
• Chocolate Peanut Butter traces its origins to the early 20th century in the United States, where it was originally created by combining two popular flavors into one dessert.
• The dish evolved over decades as techniques for tempering chocolate and incorporating peanut butter improved, eventually becoming the beloved version we know today.
• In American culture, this dish traditionally appears at birthdays and holiday celebrations, symbolizing indulgence and familial love.
• While many variations exist across different regions, the authentic version maintains the smooth, creamy texture and balanced sweetness that sets it apart from imitations.
Recipe Overview
Nutritional Information (per serving)
Essential Equipment Guide
Stand Mixer: A stand mixer is essential for achieving the perfect cake batter consistency and evenly incorporating the peanut butter into the frosting. Alternatives like a hand mixer can work but may require more effort. Consider models with multiple speed settings for versatility.
Springform Pan: This pan makes it easier to remove the cake without damaging its layers. A regular cake pan can be used, but line it with parchment paper for easier release. Look for non-stick options for best results.
Offset Spatula: This tool helps in spreading frosting evenly over the cake layers, ensuring a smooth finish. A regular spatula can be used, but an offset spatula provides better control and precision.
Ingredients
For the Cake
|
|
| Amount | Ingredient | Notes |
|---|---|---|
| 2 cups | all-purpose flour | sifted for light texture |
| 1 3/4 cups | granulated sugar | adds sweetness |
| 3/4 cup | unsweetened cocoa powder | for rich chocolate flavor |
| 1 1/2 teaspoons | baking powder | helps cake rise |
| 1 1/2 teaspoons | baking soda | balances acidity |
| 1 teaspoon | salt | enhances flavors |
| 2 large | eggs | provides structure |
| 1 cup | whole milk | adds moisture |
| 1/2 cup | vegetable oil | for moisture |
| 2 teaspoons | vanilla extract | adds depth |
| 1 cup | boiling water | for blooming cocoa |
For the Frosting
| Amount | Ingredient | Notes |
|---|---|---|
| 1 cup | creamy peanut butter | key flavor element |
| 1/2 cup | unsalted butter | softened, for richness |
| 2 cups | powdered sugar | for sweetness |
| 1/4 cup | heavy cream | for smooth consistency |
| 1 teaspoon | vanilla extract | enhances flavor |
Preparation Methods
Creaming Method: This technique involves beating sugar and butter until fluffy, which is crucial for a light cake texture. It incorporates air into the mixture, leading to a tender crumb. Ensure butter is at room temperature for best results.
Frosting Technique: Achieving a smooth frosting requires patience and precision, spreading evenly using an offset spatula. Start from the center and work outwards to avoid uneven layers.
Baking with Boiling Water: Adding boiling water to cocoa powder enhances the chocolate flavor by blooming it, making the cake richer. Stir quickly to prevent lumps and ensure even mixing.
Step 1: Prepare Ingredients

Preheat your oven to 350°F (175°C).
Gather all ingredients and ensure they are at room temperature.
Measure out each ingredient accurately to ensure consistency.
Grease and flour your cake pans or line them with parchment paper.
Step 2: Mix Dry Ingredients

In a large bowl, sift together flour, sugar, cocoa powder, baking powder, baking soda, and salt.
Use a whisk to combine the dry ingredients thoroughly.
Look for a uniform mixture with no visible clumps.
Set aside for later use.
Step 3: Combine Wet Ingredients

In a separate bowl, beat the eggs until frothy.
Add milk, vegetable oil, and vanilla extract to the eggs.
Mix until well combined and smooth.
Ensure there are no streaks of egg yolk remaining.
Step 4: Incorporate Dry Ingredients

Slowly add the wet ingredients to the dry mixture.
Stir gently with a spatula until just combined.
Avoid overmixing to prevent a dense cake.
The batter should be thick and slightly lumpy.
Step 5: Add Boiling Water

Carefully pour boiling water into the batter while stirring.
Mix until the water is fully incorporated.
The batter will become thin and smooth.
Ensure there are no lumps or unmixed areas.
Step 6: Bake the Cake

Divide the batter evenly between prepared pans.
Place pans in the preheated oven on the middle rack.
Bake for 30-35 minutes, or until a toothpick inserted comes out clean.
Remove from oven and let cool in pans for 10 minutes.
Step 7: Prepare the Frosting
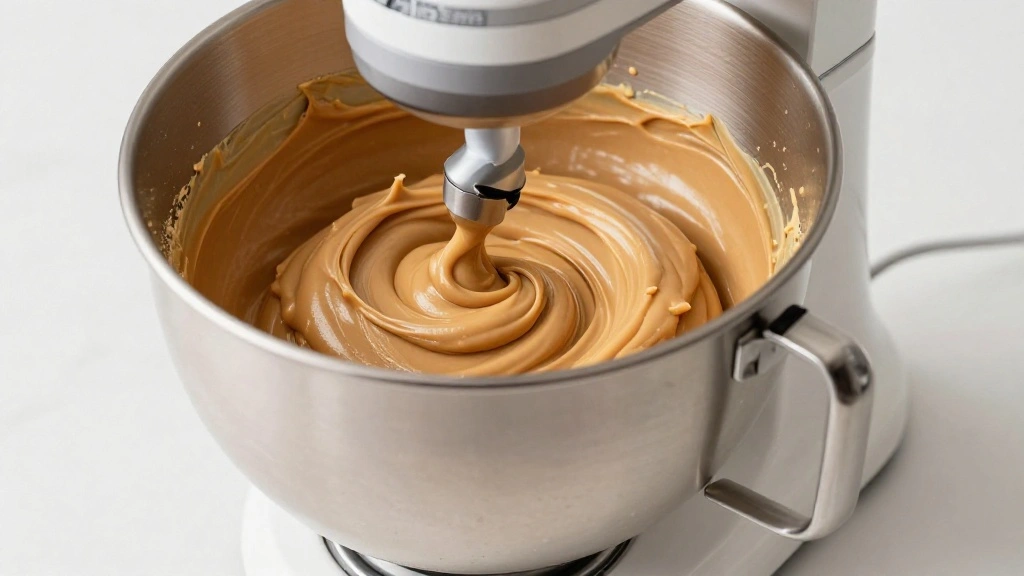
In a stand mixer, beat peanut butter and butter until creamy.
Gradually add powdered sugar, mixing on low to combine.
Pour in heavy cream and vanilla extract, beating until smooth and fluffy.
Adjust consistency with more cream if needed.
Step 8: Assemble the Cake
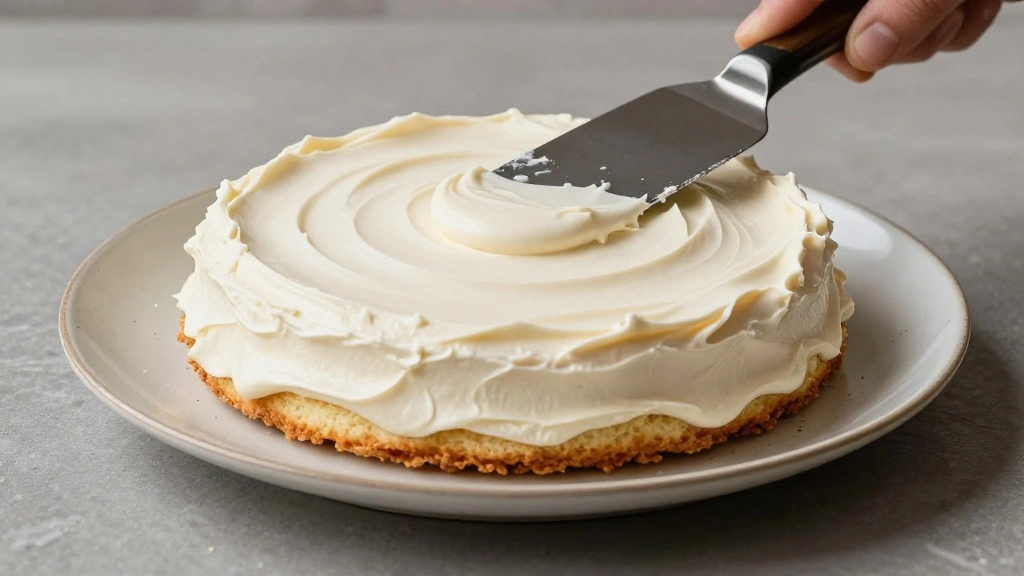
Place the first cake layer on a serving plate.
Spread a generous layer of frosting on top using an offset spatula.
Place the second cake layer on top and repeat frosting.
Cover the sides evenly for a smooth finish.
Step 9: Decorate
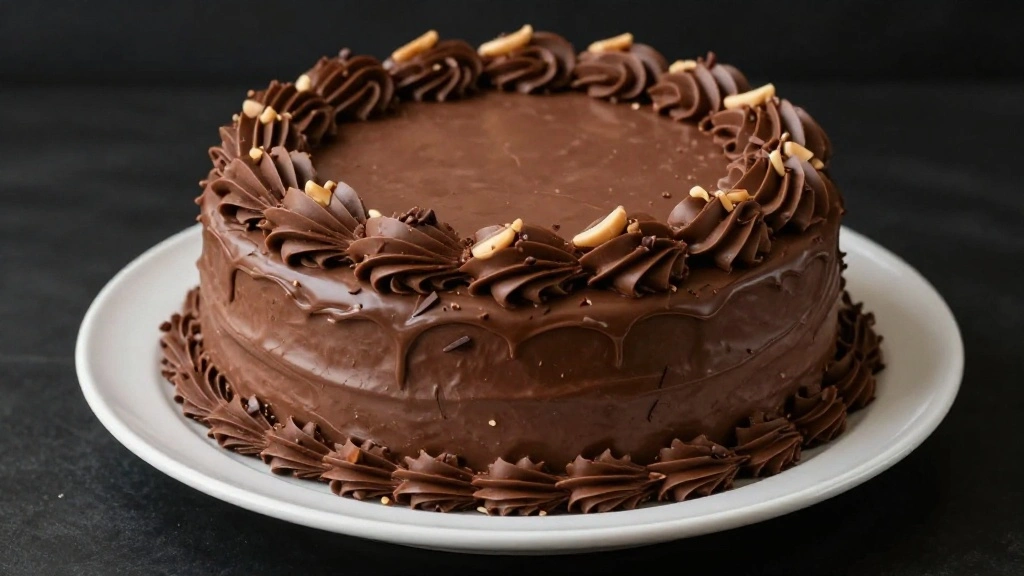
Use remaining frosting to pipe decorative edges or patterns.
Sprinkle chocolate shavings or drizzle melted chocolate on top.
Add a few whole peanuts or crushed peanuts for garnish.
Let the cake sit for a few minutes to set before serving.
Critical Timing and Temperature Guide
Mixing the Batter: Mix dry and wet ingredients until just combined, avoiding overmixing. Look for a thick, slightly lumpy batter to prevent a dense cake.
Baking the Cake: Bake at 350°F (175°C) for 30-35 minutes. Test for doneness with a toothpick—if it comes out clean, the cake is ready. Avoid opening the oven door frequently, as this can cause the cake to sink.
Cooling and Frosting: Allow cakes to cool completely before frosting to ensure the frosting adheres properly. A warm cake will cause the frosting to melt.
Pro Tips for Chocolate Peanut Butter
• Ingredient Selection: Opt for high-quality cocoa powder and natural peanut butter for the best flavor profile, as these ingredients are the stars of the dish.
• Preparation Secret: Sift the cocoa powder with the flour to ensure even distribution and avoid clumps in the batter.
• Temperature Management: Ensure all ingredients are at room temperature before mixing, as this helps them combine more easily.
• Texture Enhancement: Use a spatula to fold ingredients gently, preserving air bubbles in the batter for a lighter cake texture.
• Flavor Layering: Add a pinch of sea salt to the frosting to enhance the peanut butter flavor and balance the sweetness.
• Make-Ahead Strategies: Bake the cake layers a day ahead and store them wrapped in plastic wrap to keep them moist. Frosting can also be made in advance and kept in the fridge.
• Restaurant-Quality Finishing Touches: Garnish with a drizzle of melted chocolate and a sprinkle of crushed peanuts for a professional look.
• Equipment Optimization: Use parchment paper liners in cake pans for easy removal and minimal cleanup.
Troubleshooting Common Issues
• Dense Texture: Caused by overmixing the batter. Recognize it by a heavy, compact cake. Prevent by mixing until just combined.
• Frosting Too Runny: Can occur if too much cream is added. Fix by adding more powdered sugar to thicken it, or chill in the refrigerator to firm up.
• Cake Sticking to Pan: Usually due to insufficient greasing. Use parchment paper or grease and flour pans thoroughly to prevent this.
• Uneven Layers: Caused by uneven batter distribution. Use a scale to divide batter equally between pans for uniform layers.
• Crumbly Cake: Results from overbaking. Check for doneness slightly before the recommended time and cool cakes in the pan before transferring to a rack.
Variations and Regional Differences
• Southern Style: Incorporates a layer of caramel sauce between the cake layers for an added richness and Southern flair.
• European Influence: Uses a dark chocolate ganache instead of frosting for a more intense chocolate experience, common in European-style desserts.
• Vegan Version: Replaces eggs with flaxseed meal and uses almond milk and coconut oil to accommodate dietary preferences.
• Gluten-Free Adaptation: Utilizes almond flour or a gluten-free baking blend to cater to gluten sensitivities, maintaining a moist texture.
Food Science Behind the Recipe
• Maillard Reaction: This reaction between amino acids and reducing sugars gives the cake its brown color and complex flavor profile when baked.
• Emulsification: The process of combining oil and water-based ingredients in the batter creates a stable mixture that contributes to the cake's tender crumb.
• Baking Powder and Soda: These leavening agents release carbon dioxide gas, causing the cake to rise and achieve a light, airy texture.
Frequently Asked Questions
What's the most common mistake people make when preparing Chocolate Peanut Butter Cake? Overmixing the batter is a frequent error that leads to a dense cake. Mix until ingredients are just combined for a lighter texture.
Can I use natural peanut butter for the frosting? Yes, but it may affect the frosting's consistency. Stir well to combine oils before using and adjust sugar and cream to achieve the desired texture.
How can I store leftover cake? Keep covered at room temperature for up to 3 days or refrigerate for longer storage. Ensure the cake is wrapped or in an airtight container to prevent it from drying out.
Is it possible to make this cake ahead of time? Yes, bake the layers and prepare the frosting a day in advance. Assemble on the day of serving for the freshest taste.
What if I don't have a stand mixer? A hand mixer can be used, though it may require more time and effort. Ensure butter is softened for easier mixing.
How do I prevent the cake from sticking to the pan? Grease the pans well and use parchment paper liners. This ensures easy release and minimal breakage.
What adjustments are needed for high-altitude baking? Increase oven temperature by 15-25°F and reduce baking time slightly. Consider adding an extra tablespoon of flour to stabilize the batter.
Serving and Presentation Guide
• Traditional Presentation: Serve the cake on a decorative platter, garnished with chocolate curls and a drizzle of peanut butter sauce.
• Party Style: Cut into small squares and serve in cupcake liners for easy handling at gatherings.
• Layered Elegance: Stack multiple tiers and use dowels for support if creating a celebration cake.
• Minimalist Approach: Dust with cocoa powder or powdered sugar for a simple yet elegant finish.
Conclusion
This Chocolate Peanut Butter Cake is a testament to the timeless appeal of this flavor combination.
Whether you follow the recipe to the letter or add your own twist, it's sure to become a favorite.
Get ready to impress your friends and family with a cake that's as delicious as it is beautiful.
Don't hesitate to dive in and enjoy the irresistible layers of chocolate and peanut butter bliss.