
Guilt-free healthy desserts are the perfect indulgence for those who want to satisfy their sweet tooth without the guilt.
These recipes blend natural sweetness and nutritious ingredients, creating treats that feel decadent yet are good for you.
I stumbled upon these delightful creations while exploring healthier living options, and they quickly became a staple in my kitchen.
Whether you’re craving something to enjoy after dinner or a sweet snack during the day, these guilt-free desserts will leave you feeling both satisfied and nourished.
The History and Cultural Significance
• Guilt-free healthy desserts trace their origins to the modern health movement that gained momentum in the late 20th century, focusing on nutrition and wellness.
• These desserts evolved as chefs and home cooks began experimenting with alternative sweeteners, whole grains, and natural fats, leading to the delicious options we enjoy today.
• In health-conscious cultures, these desserts often serve as a symbol of balance, proving that indulgence can coexist with healthy living.
• While many variations exist, authentic guilt-free desserts prioritize wholesome ingredients that nourish the body while satisfying cravings.
Recommended Products


One box of six (6) 1.76 oz two-bar packs of Dark Chocolate KIND Breakfast Protein Bars

COOKIES & CREAM DELIGHT: Indulge in the rich, creamy taste of cookies & cream with Upouria’s Flavored Topping. Perfect for enhancing coffee, hot cocoa, ice cream, and desserts, it adds a luxurious, sweet flavor in every shake.
Recipe Overview
Recommended Products

4 GRAMS of PROTEIN and ONLY 130 CALORIES: Indulge in our Skinny Cow No Sugar Added Vanilla Gone Wild! light ice cream sandwiches without blowing your calorie budget for the day

Twelve count family packs of Snack Pack Zero Sugar Chocolate Pudding and Vanilla Pudding Cups, with six chocolate pudding cups and six vanilla pudding cups

One 12 count family pack of Snack Pack Zero Sugar Strawberry and Cherry Flavored Juicy Gels, with six strawberry and six cherry flavored snack cups
Nutritional Information (per serving)
Recommended Products


Essential Equipment Guide
Food Processor: A food processor is crucial for blending ingredients smoothly, especially when making creamy desserts like avocado chocolate mousse.
It allows for quick and even mixing, ensuring a velvety texture.
Look for one with multiple speed settings and a strong motor for optimal results.
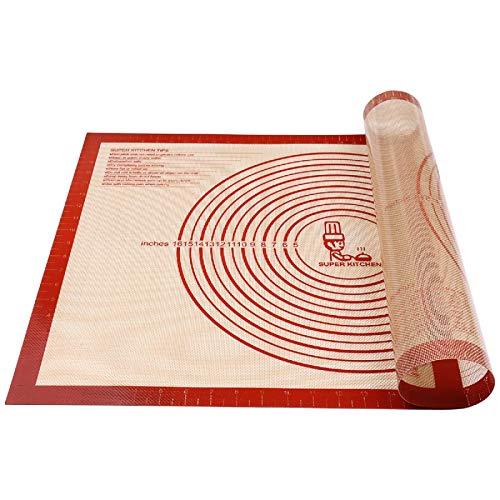
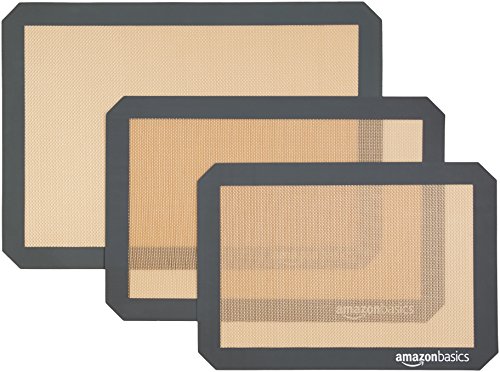
Silicone Baking Mat: Utilizing a silicone baking mat is essential for easy release of baked goods without sticking.
It provides even heat distribution, which helps in achieving the perfect baked texture.
Choose one that is non-toxic and easy to clean for convenient use.
Measuring Cups and Spoons: Accurate measurement is crucial in baking, and using proper measuring cups and spoons can make a significant difference.
They ensure precise ingredient ratios, affecting the final taste and texture.
Opt for a set that includes both dry and liquid measuring cups for versatility.
Recommended Products

Baking mat (2-pack) for easy and convenient baking, roasting, or food prep

Best German Silicone: We attach great importance to the health of our customers. Therefore, we use the best German WACKER silicone as the raw material in the industry. Food Grade, BPA Free, PFOA Free, Non-toxic. NOT made in Germany.
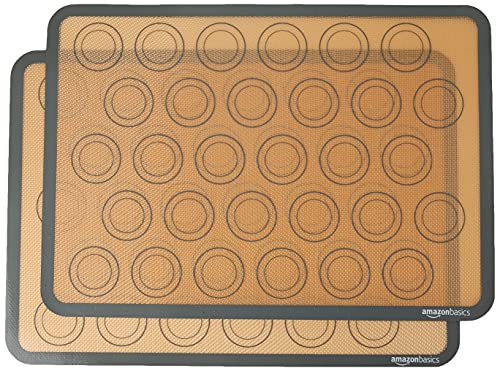
Baking mat (2-pack) with macaron cookie template (includes guidelines for 30 macaron halves per sheet)
Key Ingredients Explained
For Chocolate Avocado Mousse:
• 2 ripe avocados, peeled and pitted – Choose avocados that yield slightly to pressure, indicating ripeness. They should be dark green but not overly soft, as this ensures a creamy texture in the mousse.
• 1/2 cup unsweetened cocoa powder – Look for high-quality cocoa powder with a rich chocolate flavor. Dutch-processed cocoa will result in a smoother taste, while natural cocoa brings more acidity.
For Sweetener:
• 1/4 cup maple syrup – Opt for pure maple syrup for the best flavor and quality. It should be a dark amber color, indicating richness, and can be substituted with agave nectar for a vegan option.
• 1 teaspoon vanilla extract – Use pure vanilla extract rather than imitation for an authentic flavor. It enhances the overall sweetness and aroma of the dessert.
Recommended Products

[Multiple Sizes]: Including 5 Measuring cups (1/8, 1/4, 1/3 , 1/2 , 1 cup), 5 Measuring spoons (1/4, 1/2 , 1 tsp, 1/2, 1 tbsp). Meet All Your Needs On Cooking And Baking.
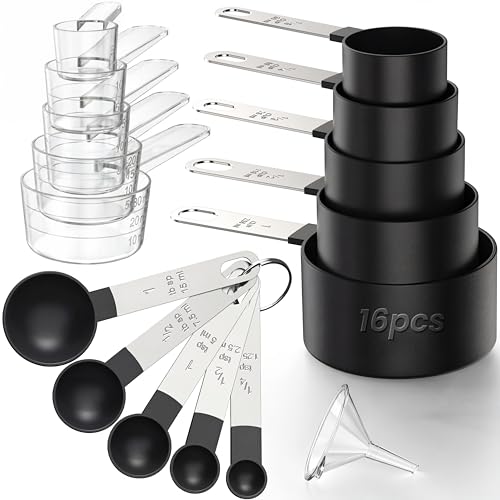
16PCS SET: Including multiple sizes, including 1cup, 1/2cup, 1/3cup, 1/4cup, 1/8cup, 30ml, 20ml, 15ml, 10ml, 5ml, 1tbsp, 1/2tbsp, 1tsp, 1/2tsp, 1/4tsp, and 1 funnel

[Multiple Sizes]: Including 4 Measuring cups ( 1/4, 1/3, 1/2, 1 cup), 6 Measuring spoons (1/8, 1/4, 1/2 , 1 tsp, 1/2, 1 tbsp). Meet All Your Needs On Cooking And Baking
Preparation Methods
Blending: This technique is vital for achieving a smooth and creamy consistency in desserts like mousse.
Blend the ingredients until fully combined, scraping down the sides of the bowl to ensure even mixing.
For best results, use a high-speed blender or food processor to avoid any lumps.
Chilling: Chilling the dessert after preparation helps it set and enhances the flavors.
Allow it to cool in the refrigerator for at least 30 minutes before serving.
This step is key for achieving the right texture, as it thickens the mousse and allows the flavors to meld.
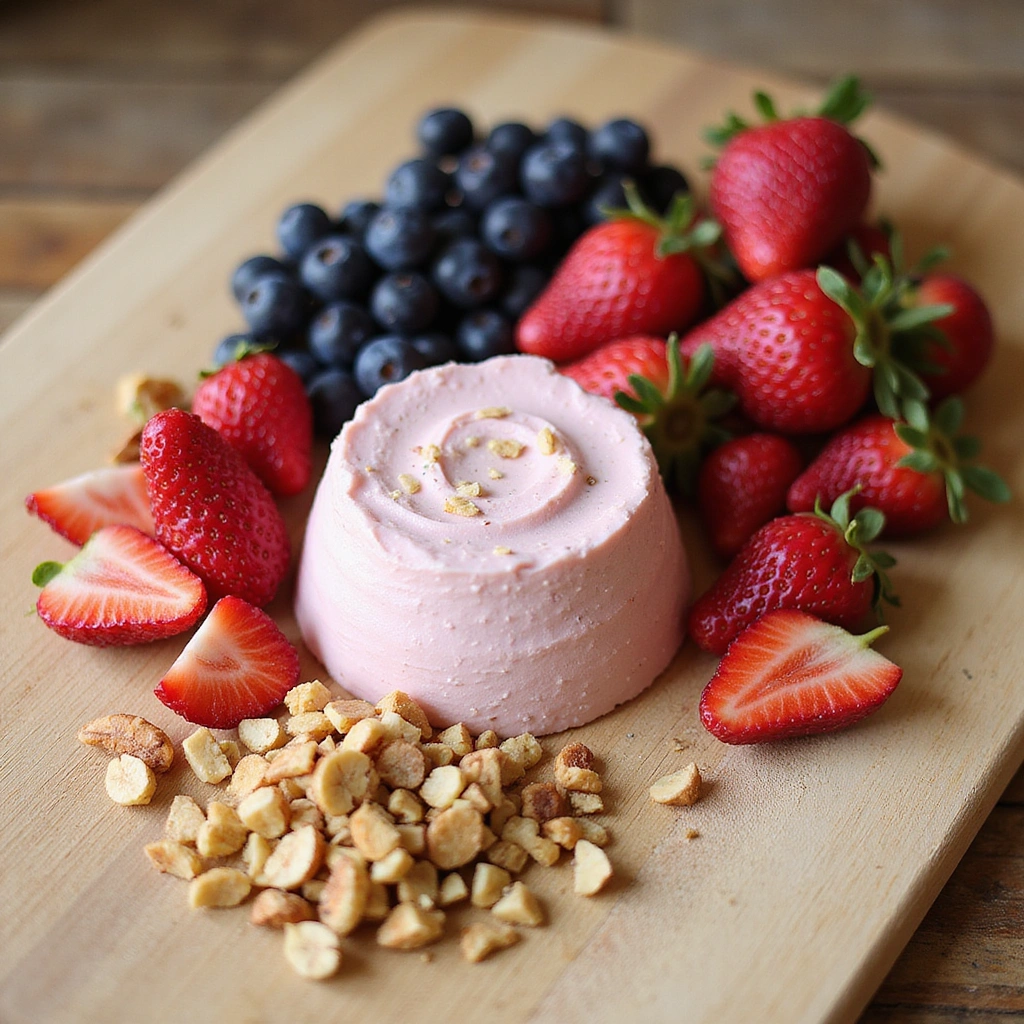
Garnishing: A simple garnish can elevate your dessert presentation significantly.
Use fresh fruits, nuts, or a drizzle of healthy syrup to enhance both the visual appeal and taste.
Be creative with your garnishing to add a personal touch to your dessert before serving.
Recommended Products


Experience decadent, rich, dark chocolatey goodness with our pure, organic cacao powder. The aroma of rich dark chocolate not only tantalizes your senses but also delivers a guilt-free indulgence, crafted with no added sugar.

Warm, creamy, chocolaty goodness any time.
Step 1: Gather Ingredients
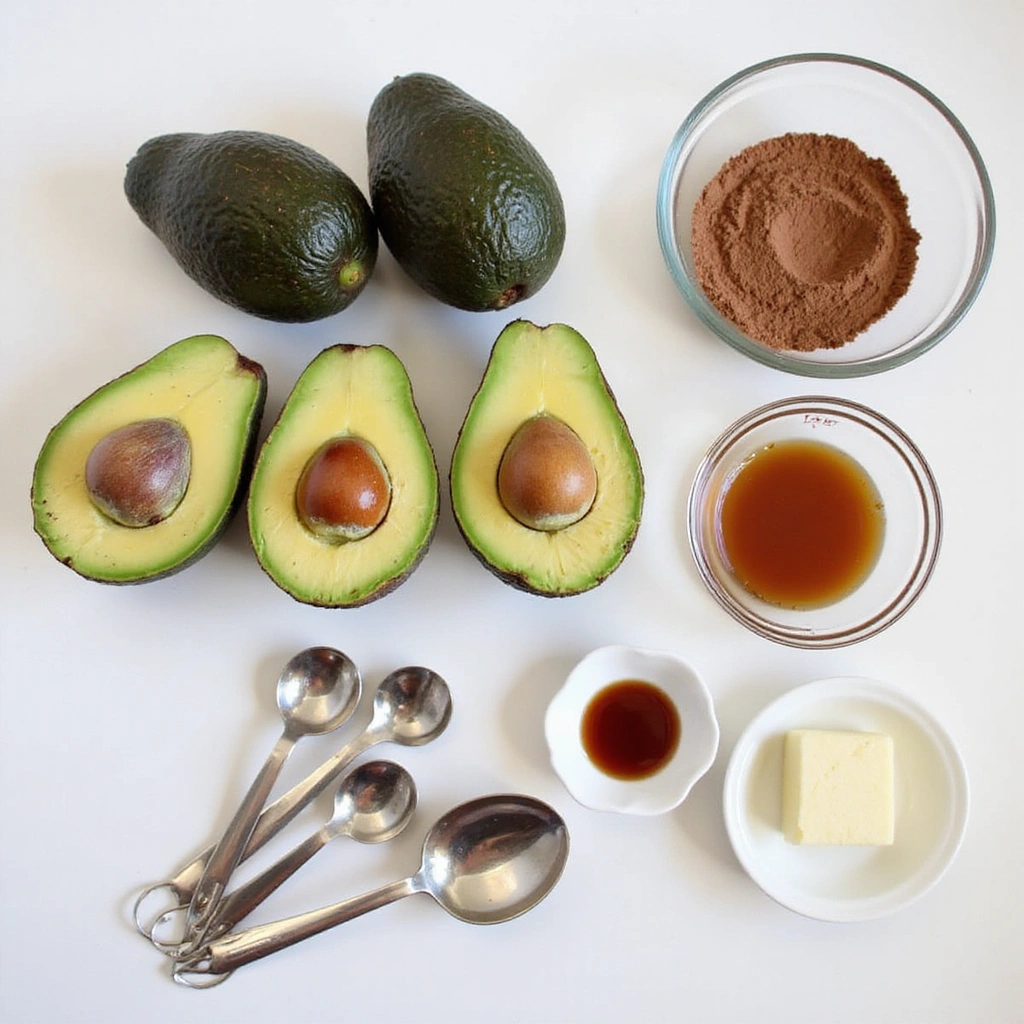
Start by assembling all the ingredients needed for the chocolate avocado mousse.
Ensure you have ripe avocados, cocoa powder, maple syrup, and vanilla extract at hand.
Check for any additional garnishes you might want to use, such as berries or nuts.
Having everything ready will streamline the preparation process.
Recommended Products

Contains five (5) individually wrapped nut bars; Dark Chocolate Nuts and Sea Salt

This product contains Natural Ingredients

HEALTHY GIFTING: Delight your loved ones with the Le Cadeau Parfait Collection by Laumière Gourmet Fruits. These delicious snacks make prime gifts for any wedding, anniversary, birthday, housewarming, holiday party, or other special occasion. It's the perfect present for everyone from the youngest child to older adults.
Step 2: Prepare Avocados
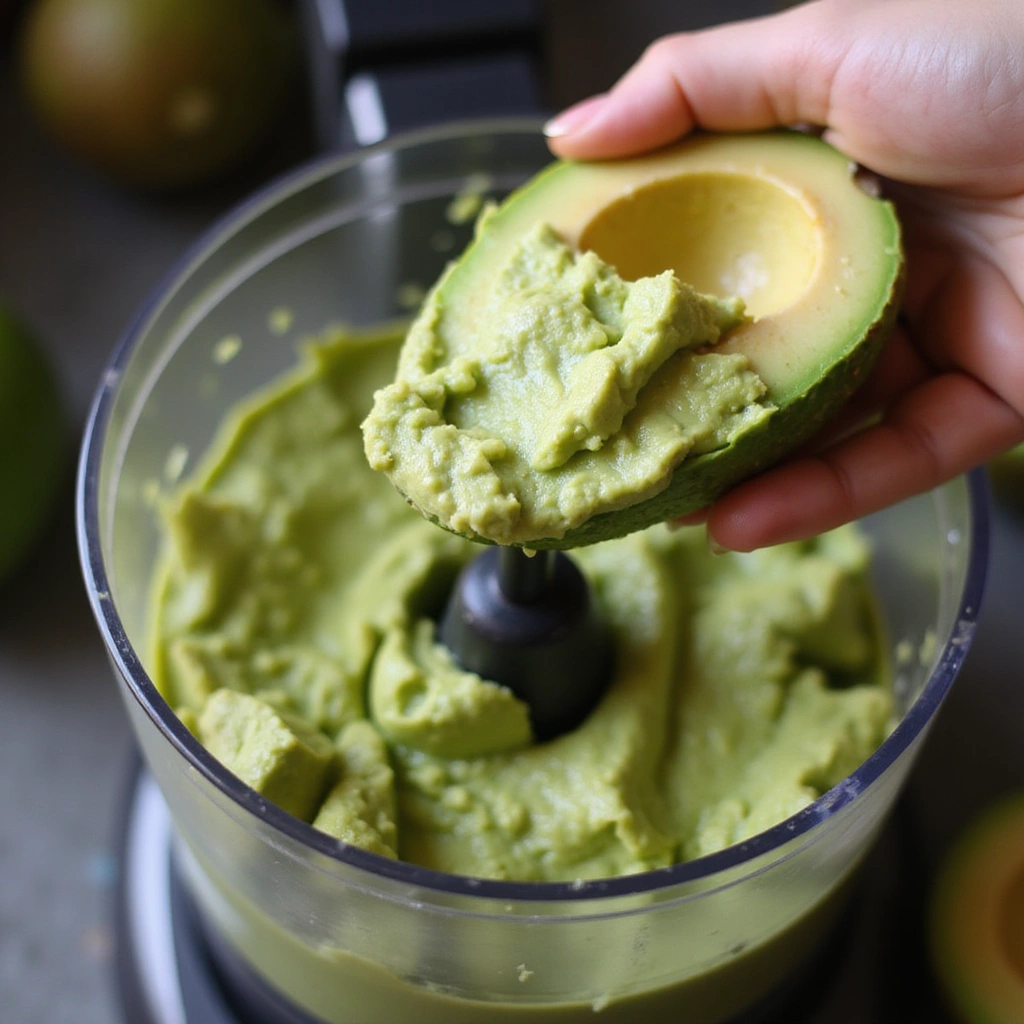
Cut the ripe avocados in half and remove the pits carefully.
Scoop the flesh into a food processor or blender, ensuring you get all the creamy goodness.
Check for any brown spots and remove them, as they can affect the texture.
This step is crucial for a smooth mousse.
Recommended Products

Pack of twelve, 4.2-Ounce boxes Enriched with double chocolate No artificial preservatives or added colors Zero trans fat and cholesterol
Step 3: Add Cocoa Powder
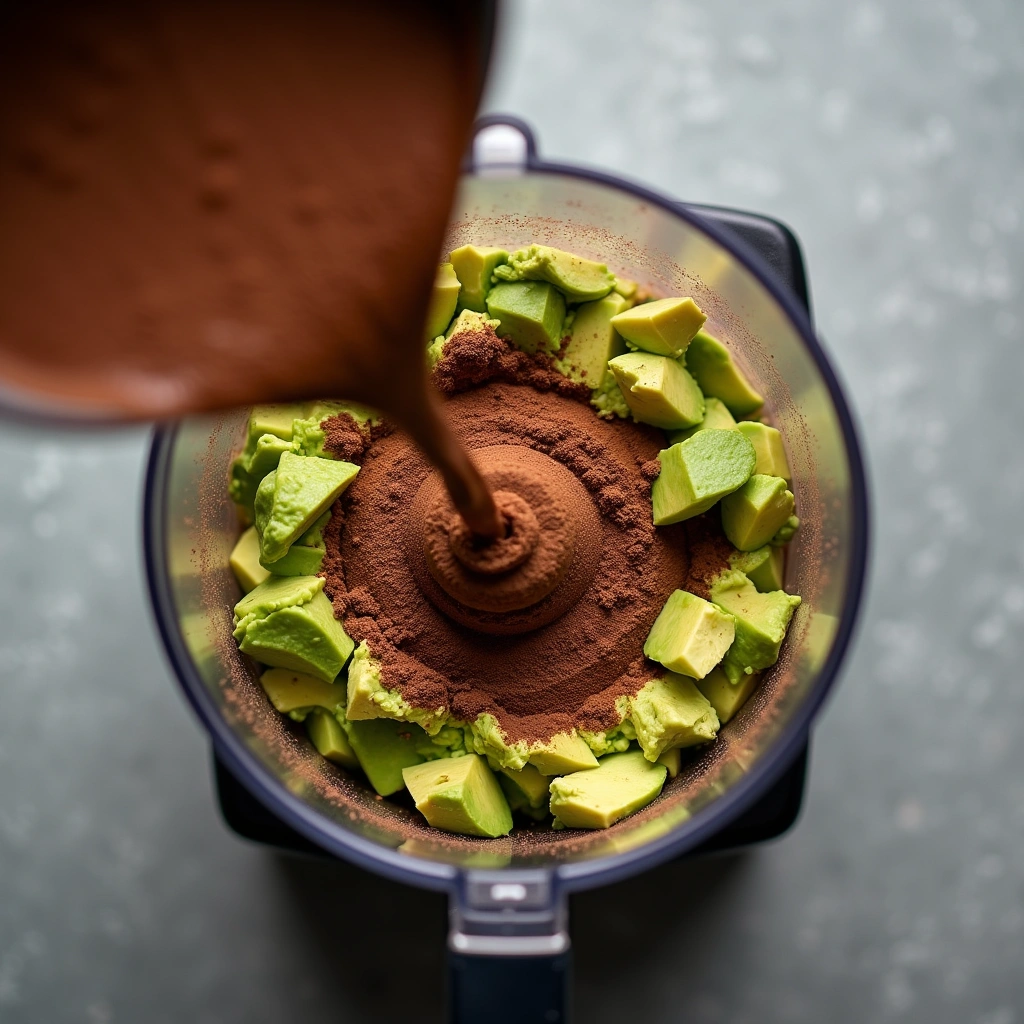
Pour the unsweetened cocoa powder into the food processor with the avocados.
Ensure the cocoa powder is evenly distributed for a rich chocolate flavor throughout.
Use high-quality cocoa powder for the best results, as it greatly influences the flavor.
This step lays the foundation for the mousse’s chocolatey richness.
Recommended Products
Premium Safe Silicone:We attach great importance to the health of our customers.So we offer the premium food grade silicone to pretect your safe.
Baking mat (3-pack) for easy and convenient baking, roasting, or food prep

Premium Silicone Bakig Mat: Our kitchen baking mat is crafted with 100% food grade silicone. With 0.7mm thickness reinforced design (2x thicker than standard 0.3mm mats) can withstand daily kneading sourdough, rolling pizza dough, and shaping sticky fondant without warping or degradation
Step 4: Add Sweeteners
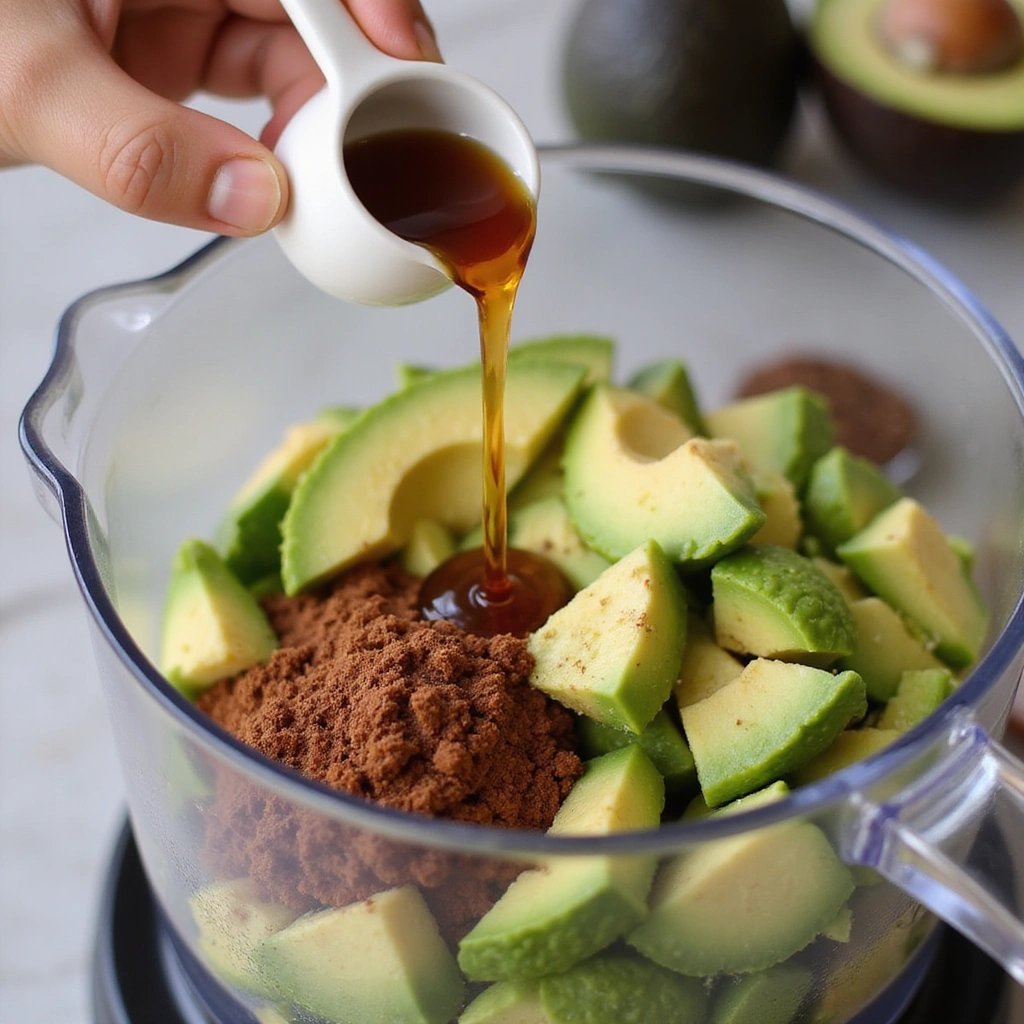
Next, pour in the maple syrup and vanilla extract over the avocado and cocoa mixture.
These ingredients will sweeten the mousse and add depth to the flavor.
Make sure to measure accurately for the perfect balance of sweetness.
This combination enhances the overall taste profile of the dessert.
Recommended Products

[Multiple Sizes]: Including 5 Measuring cups (1/8, 1/4, 1/3 , 1/2 , 1 cup), 5 Measuring spoons (1/4, 1/2 , 1 tsp, 1/2, 1 tbsp). Meet All Your Needs On Cooking And Baking

6 Convenient Spoon Sizes: 1/8 tsp, 1/4 tsp, 1/2 tsp, 3/4 tsp, 1 tsp, 1 Tbsp plus Leveler and ring. The wide, long handle is comfortable to hold and its ergonomic design is easy to fill and level.
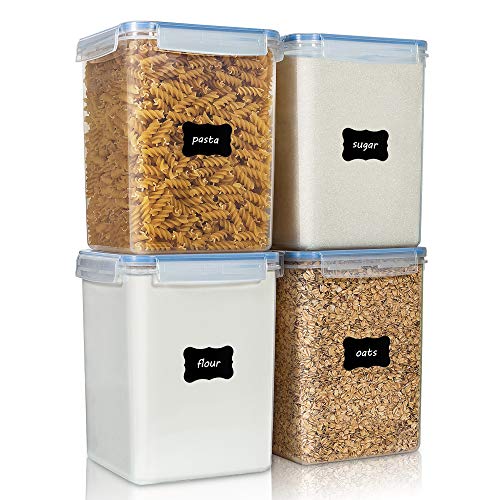
Make a Huge Difference in Pantry Organization ---- If you already got tired of messy flour and sugar bags, then don't hesitate to choose our large food storage containers. These flour containers will make everything looks neat and in order. Come with 4 premium food storage canisters, 4 measuring cups, 24 chalkboard Labels, this container set will also be an ideal gift for any family.
Step 5: Blend Ingredients
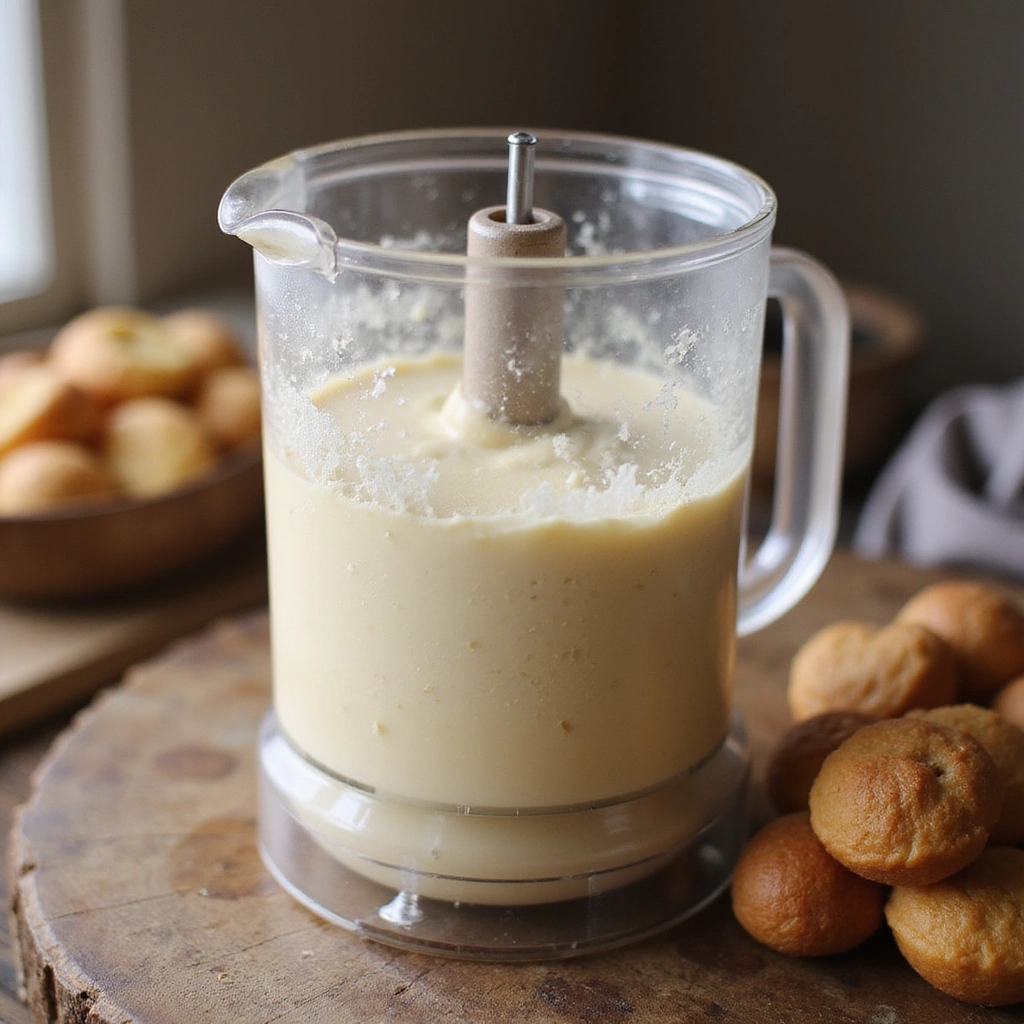
Secure the lid on the food processor and blend the mixture until smooth and creamy.
Pause occasionally to scrape down the sides, ensuring all ingredients are well combined.
Look for a velvety texture without lumps, which is key to a great mousse.
This step is essential for achieving the desired consistency.
Step 6: Taste and Adjust
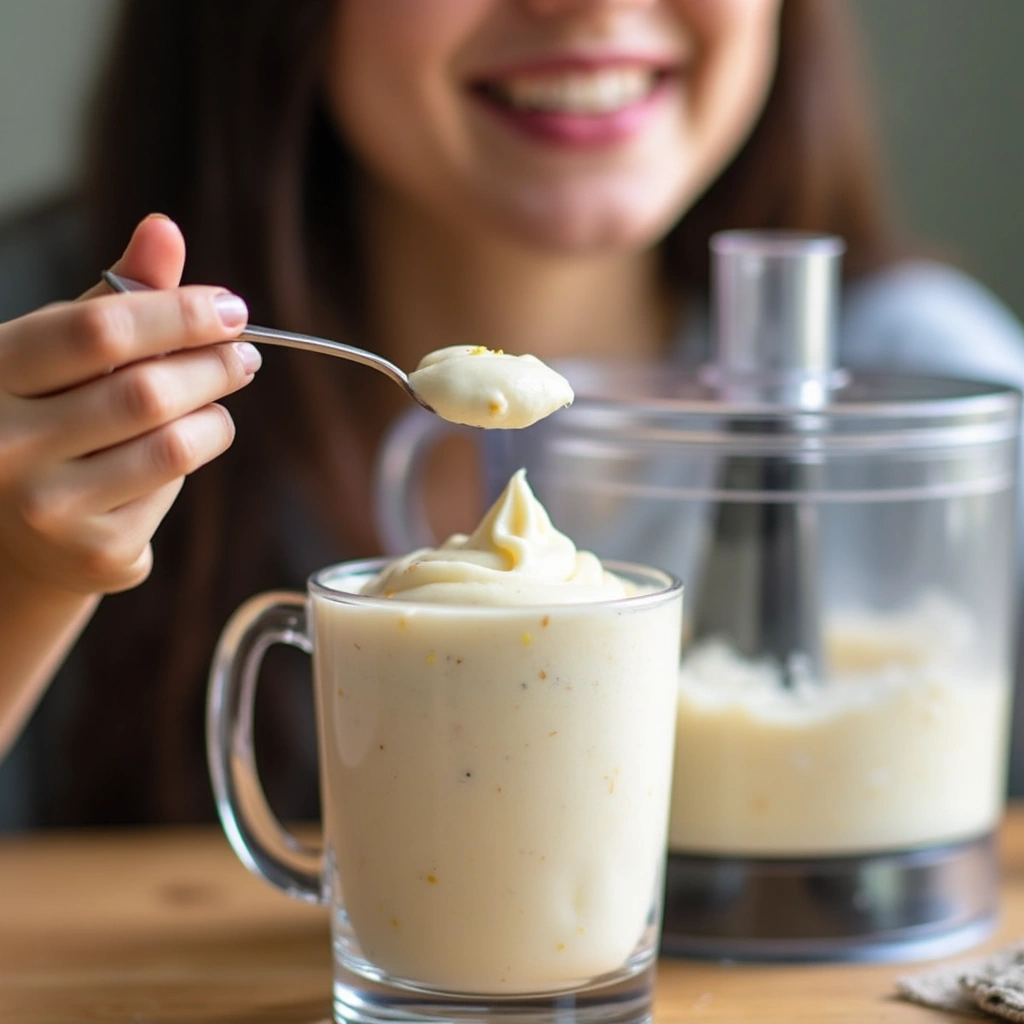
After blending, taste the mousse to check for sweetness and chocolate flavor.
If needed, add a little more maple syrup or cocoa powder to suit your preference.
Blend again briefly to incorporate any adjustments made.
Tasting at this stage ensures the final product meets your expectations.
Step 7: Chill the Mousse
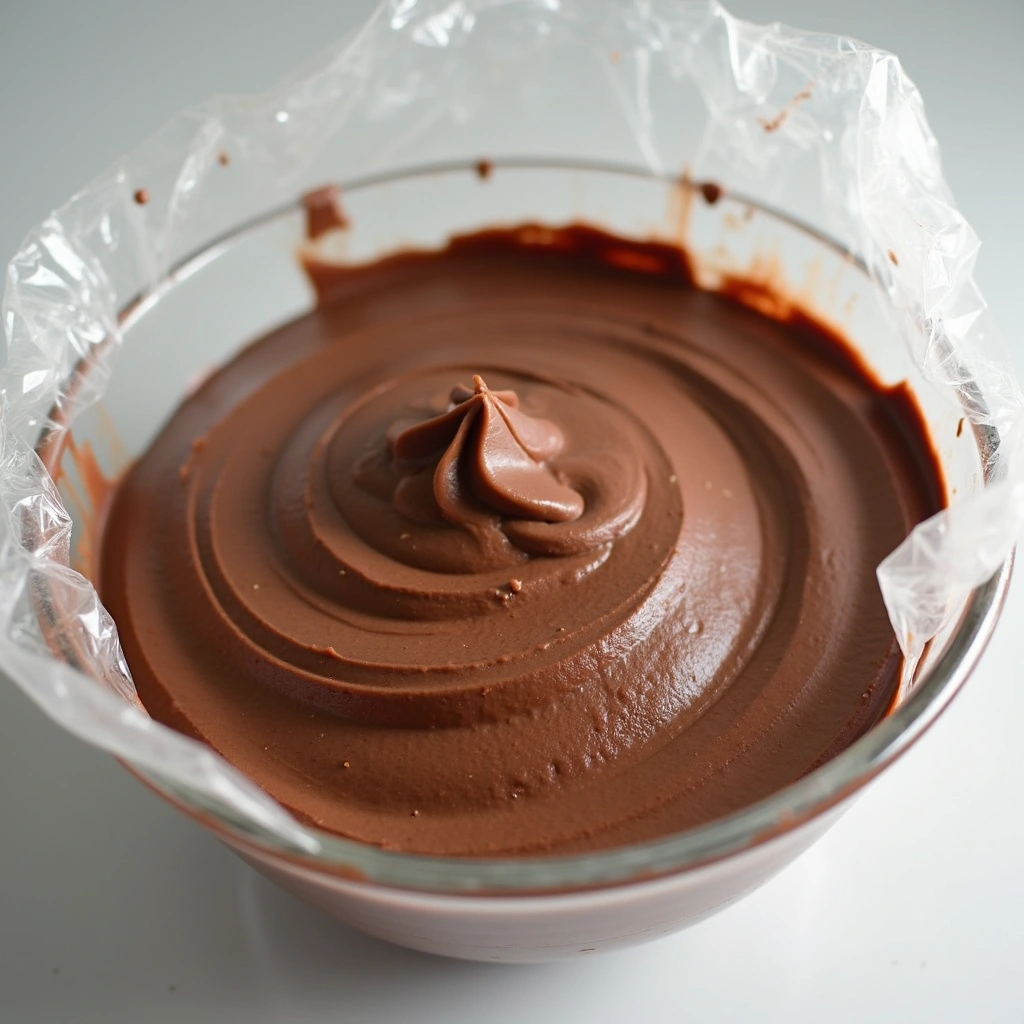
Transfer the mousse into serving cups or a large bowl for chilling.
Cover with plastic wrap or a lid to prevent it from absorbing odors from the fridge.
Chill for at least 30 minutes to allow the flavors to meld and the texture to firm up.
This step is crucial for the mousse’s final consistency.
Step 8: Prepare Garnishes
While the mousse chills, prepare any garnishes you want to use, such as fresh berries or nuts.
Wash the berries and pat them dry; chop nuts if necessary for a crunchy topping.
This step allows you to get creative with presentation and enhance flavors.
Choose garnishes that will complement the chocolate flavor beautifully.
Step 9: Serve and Enjoy
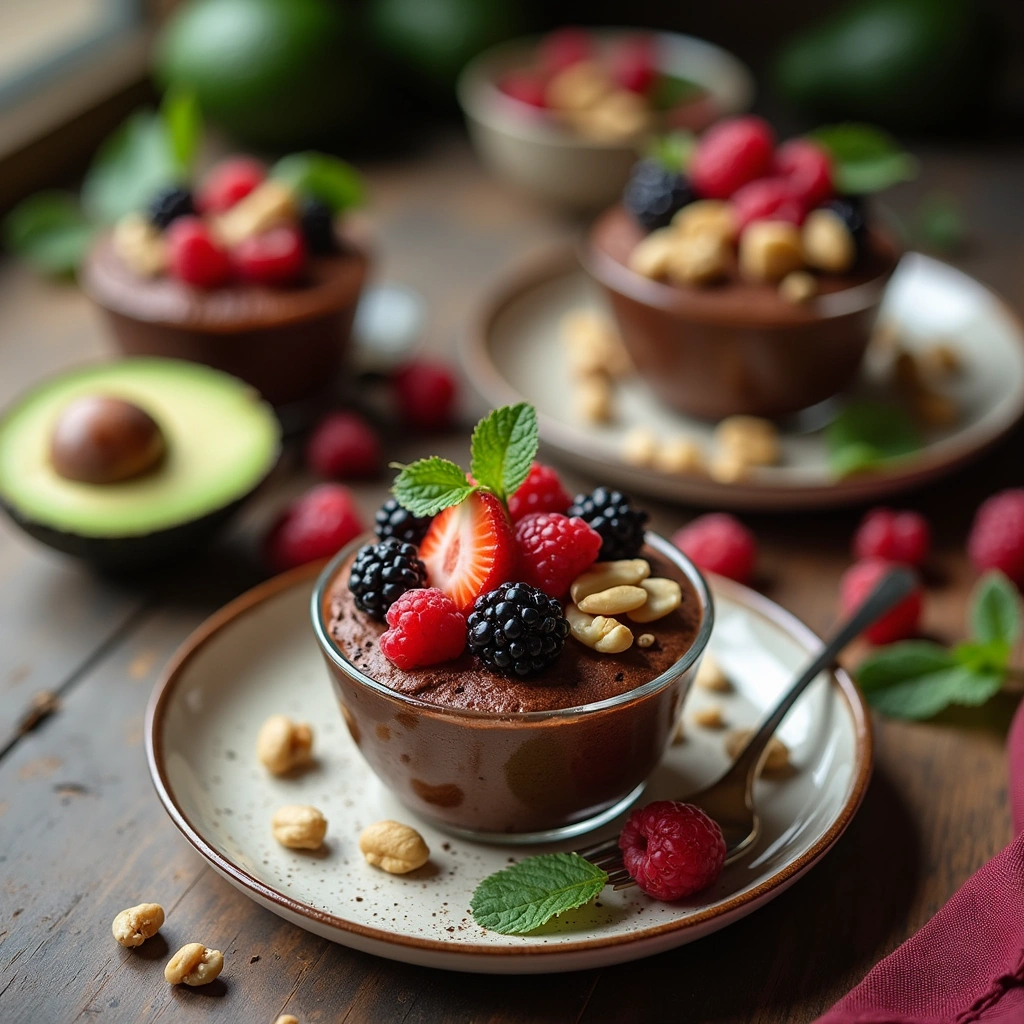
After chilling, remove the mousse from the refrigerator and garnish as desired.
Add the prepared berries or nuts on top for a stunning presentation.
Serve immediately for the best texture and flavor experience.
Enjoy your guilt-free dessert with family and friends!
Critical Timing and Temperature Guide
Blending Time: Blend for approximately 1-2 minutes until the mixture is completely smooth.
Watch for any lumps, as these indicate that blending should continue.
Avoid over-blending, which can lead to a gummy texture.
Chilling Time: Chill the mousse for at least 30 minutes, but it can be left for up to 2 hours.
The longer it chills, the better the flavors meld together, but avoid exceeding 2 hours to maintain freshness.
Look for a firm texture as a sign that it’s ready to serve.
Serving Temperature: Serve the mousse chilled, ideally around 40°F (4°C).
Using a thermometer can help ensure it’s at the perfect temperature.
Serving at the right temperature enhances the flavor experience.
Pro Tips for Guilt-free Healthy Dessert Recipes
• Ingredient Selection: Choose ripe avocados for creaminess; their quality is essential for a smooth texture.
• Preparation Secret: Blending the ingredients thoroughly will ensure a lump-free mousse, elevating the final product.
• Temperature Management: Chilling the mousse properly allows flavors to meld, resulting in a more delicious dessert.
• Texture Enhancement: For extra creaminess, consider adding a splash of coconut milk to the mousse mixture.
• Flavor Layering: Use high-quality cocoa powder and pure vanilla extract for the best depth of flavor.
• Make-Ahead Strategies: Prepare the mousse a day in advance; it keeps well in the fridge for up to 48 hours.
• Restaurant-Quality Finishing Touches: Garnish with mint leaves or a dusting of cocoa powder for an elegant presentation.
• Equipment Optimization: A high-speed blender will give the best results for achieving a creamy texture.
Troubleshooting Common Issues
• Texture Too Dense: This can occur if the avocados are overripe or if not enough liquid is added.
To fix it, blend in a little coconut milk or almond milk to loosen the mixture.
• Flavor Too Bitter: If the mousse tastes bitter, it may be due to the cocoa powder.
Add a little more maple syrup or sweetener gradually until the desired sweetness is achieved.
• Not Sweet Enough: If the mousse is lacking sweetness, it’s easy to adjust.
Blend in a bit more maple syrup, tasting as you go to find the right balance.
• Separation After Chilling: If the mousse separates, it might be due to improper blending.
Blend again briefly to re-emulsify before serving.
• Not Enough Chocolate Flavor: If the chocolate flavor is weak, it can be enhanced by adding more cocoa powder.
Blend again to incorporate the additional cocoa smoothly.
Variations and Regional Differences
• Mexican Chocolate Variation: This version includes a pinch of cayenne pepper or cinnamon, adding warmth and complexity to the chocolate flavor.
• Fruit-Infused Mousse: Incorporate pureed berries into the mousse for a fruity twist, adding natural sweetness and vibrant color.
• Nutty Cocoa Variation: Add finely chopped nuts or nut butter into the mousse for added texture and flavor richness.
• Vegan Chocolate Mousse: Substitute maple syrup with agave nectar and ensure all ingredients are certified vegan to maintain dietary preferences.
Food Science Behind the Recipe
• Emulsification: The process of blending avocados with sweeteners and cocoa creates an emulsion, resulting in a smooth and creamy texture that is essential for mousse.
• Ripening of Avocados: The ripening process increases the creaminess of avocados, which impacts the final texture of the mousse.
• Flavor Development: Allowing the mousse to chill helps develop the flavors as the ingredients meld together, enhancing the overall taste experience.
Frequently Asked Questions
What’s the most common mistake people make when preparing guilt-free healthy desserts? Many underestimate the importance of ingredient quality, particularly with avocados and cocoa powder.
Using overripe or low-quality ingredients can drastically affect the final flavor and texture.
Can I prepare components of this dish in advance? Yes, you can prepare the mousse a day ahead and store it in the refrigerator, covered tightly to prevent oxidation.
How do I adapt this recipe for dietary restrictions? For a nut-free version, ensure no nut-based sweeteners or toppings are used, and substitute with sunflower seed butter if needed.
What’s the best way to store and reheat leftovers? Store any leftovers in an airtight container in the fridge for up to two days.
Refrigerate without reheating to maintain texture.
Can I freeze this dish? Yes, it can be frozen for up to one month; thaw in the refrigerator before serving for best results.
What wine or beverages pair best with this dish? A sweet dessert wine like Moscato or a rich stout beer complements the chocolate flavor beautifully.
How can I scale this recipe up for a crowd? Simply double the ingredients and use a larger food processor to blend until smooth.
What side dishes complement this recipe best? Fresh fruit salad or a light whipped coconut cream pairs well with the richness of the mousse.
How do professional chefs elevate this dish for restaurant service? They may incorporate unique garnishes, like edible flowers or flavored whipped cream, to enhance the presentation.
Serving and Presentation Guide
• Traditional Presentation: Serve the mousse in elegant glass cups, layered with fresh berries and a mint sprig on top for a classic look.
• Modern Plating Ideas: Use a shallow bowl, place a dollop of mousse in the center, and drizzle with a berry coulis around it for a sophisticated touch.
• Accompaniment Suggestions: Pair with a side of coconut whipped cream or a sprinkle of cacao nibs for added texture.
• Special Occasion Presentation: For celebrations, serve in individual jars with a decorative ribbon tied around the lid, enhancing the rustic charm.
Conclusion
Trying guilt-free healthy dessert recipes is a rewarding way to indulge without compromising your health goals.
These delightful treats not only satisfy your sweet cravings but also nourish your body.
I encourage you to try making this chocolate avocado mousse and experience the joy of guilt-free indulgence.
Recipe Tags:
gluten-free
dairy-free
vegan
easy
dessert
healthy
quick
budget-friendly
kid-friendly
make-ahead
protein-rich
sweet