Boosting protein powder recipes have become a staple for health enthusiasts looking to enhance their nutritional intake without sacrificing flavor.
These versatile shakes, bars, and bakes are not only delicious but also incredibly easy to prepare, making them perfect for busy lifestyles.
I first discovered the joy of protein-packed treats after a workout, craving something sweet yet nutritious to refuel.
With an array of flavors and textures, these recipes cater to various dietary preferences, ensuring that everyone can enjoy a guilt-free indulgence.
The History and Cultural Significance
• Boosting protein powder recipes trace their origins to the fitness revolution of the 20th century, where nutritional supplements gained popularity among athletes.
• The dish evolved over time as more people recognized the benefits of protein in maintaining a balanced diet, leading to the creation of delicious and portable snack options.
• In many cultures, these protein-packed treats are consumed pre- or post-workout, symbolizing health, strength, and physical wellness.
• While variations exist across different regions, the authentic versions maintain a commitment to quality ingredients that elevate their nutritional value.
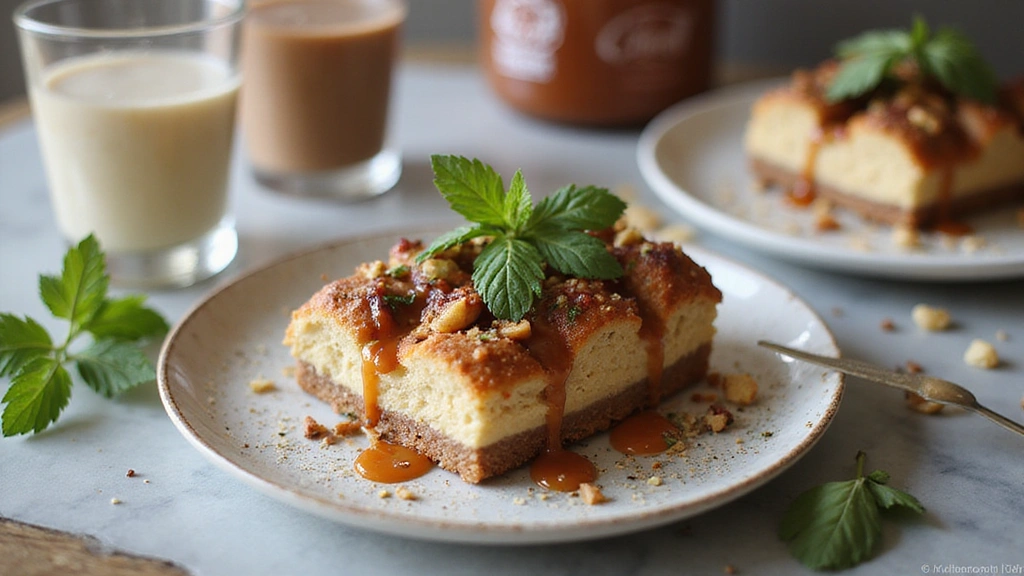
Recipe Overview
Recommended Products

Premium Silicone Bakig Mat: Our kitchen baking mat is crafted with 100% food grade silicone. With 0.7mm thickness reinforced design (2x thicker than standard 0.3mm mats) can withstand daily kneading sourdough, rolling pizza dough, and shaping sticky fondant without warping or degradation

Baking mat (2-pack) for easy and convenient baking, roasting, or food prep
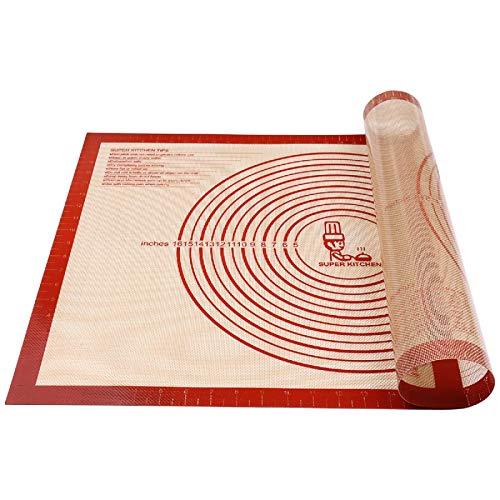
Premium Safe Silicone:We attach great importance to the health of our customers.So we offer the premium food grade silicone to pretect your safe.
Nutritional Information (per serving)
Essential Equipment Guide
High-Quality Blender: A powerful blender is essential for creating smooth and creamy shakes. Look for one with multiple speed settings and a sturdy base to handle tough ingredients like frozen fruits.
Mixing Bowl Set: A set of mixing bowls in various sizes helps in measuring and combining ingredients efficiently. Choose bowls that are easy to clean and can withstand heat if you’re baking.
Silicone Baking Mat: This non-stick surface is perfect for baking protein bars without sticking. Opt for mats that are durable and can be reused multiple times.
Key Ingredients Explained
For Protein Powder:
• 1 cup protein powder, any flavor – Choosing a high-quality protein powder is crucial as it impacts the flavor and texture of your recipes. Look for options with minimal additives and a protein content of 20 grams or more per serving. Whey protein, plant-based, or casein are all excellent choices depending on dietary preferences.
• 1 banana, ripe – A ripe banana adds natural sweetness and moisture to your recipes. Opt for bananas with brown spots, as they are sweeter and provide a smoother texture when blended.
For Sweetener:
• 2 tablespoons honey or maple syrup – Natural sweeteners enhance flavor without the refined sugars. Honey adds a rich taste, while maple syrup provides a unique depth, so choose based on your desired flavor profile.
• 1 teaspoon vanilla extract – This ingredient adds warmth and depth to your recipes. Choose pure vanilla extract over imitation for a more pronounced flavor.
Preparation Methods
Blending: This technique involves mixing ingredients at high speed to achieve a smooth and consistent texture. It’s vital for protein shakes to ensure all components are well incorporated. Start with liquids, then add dry ingredients to make blending easier.
Baking: Baking protein bars or bites requires precise temperature control to achieve the right texture. Preheat your oven to the specified temperature and rotate the pan halfway through to ensure even cooking. Use parchment paper to prevent sticking, and allow items to cool before cutting.
Cooling: Proper cooling is essential after baking to set the structure of your bars or bites. Allow them to cool in the pan for a few minutes before transferring to a wire rack. This step helps maintain their shape and prevents sogginess.
Step 1: Gather Ingredients
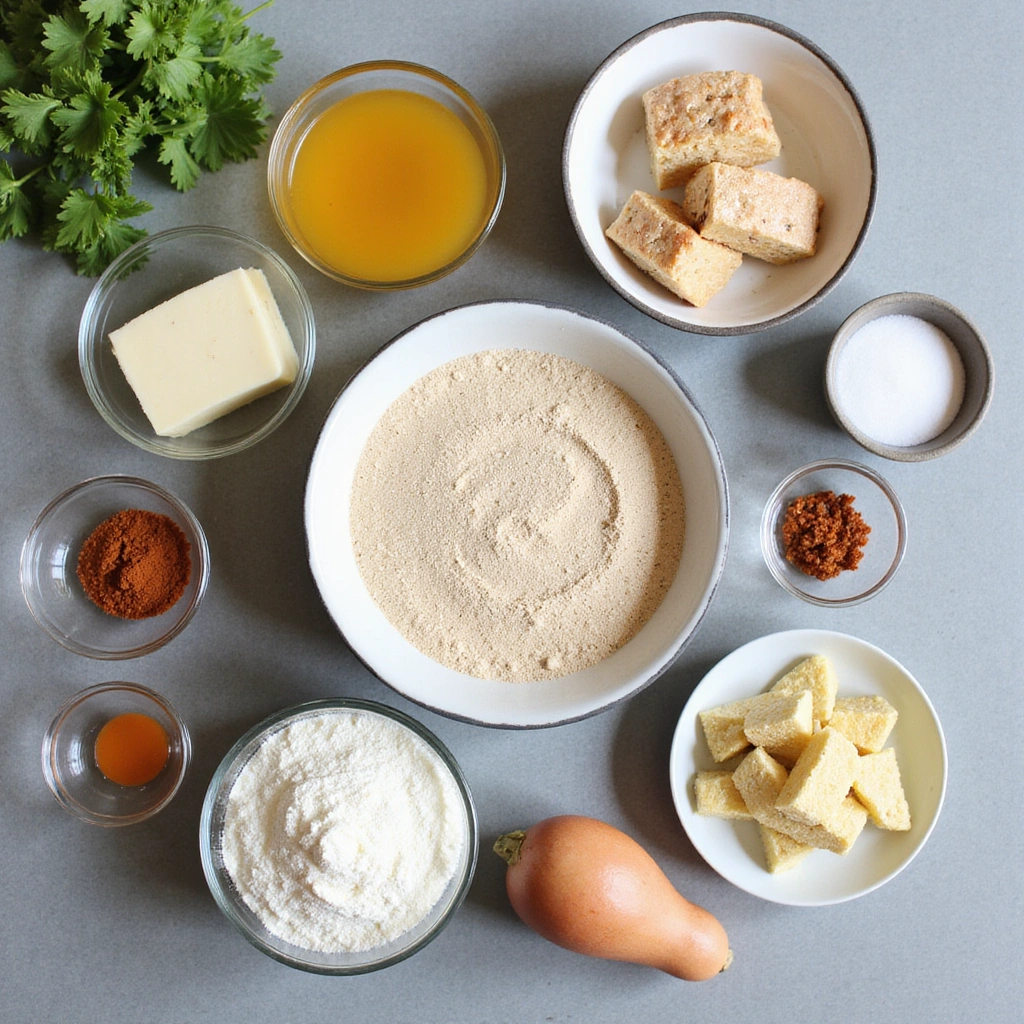
Start by collecting all the necessary ingredients for your protein powder recipes.
This will include protein powder, ripe bananas, sweeteners, and any additional flavorings.
Make sure to measure out each ingredient accurately for the best results.
Having everything ready will streamline your cooking process.
Recommended Products
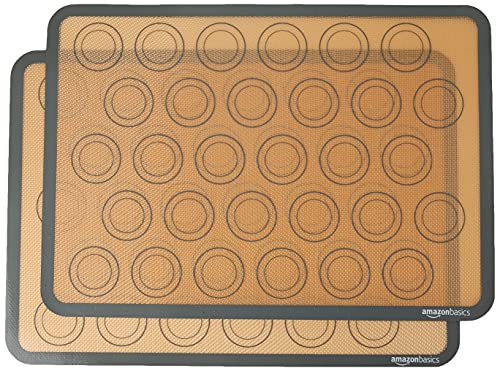
Baking mat (2-pack) with macaron cookie template (includes guidelines for 30 macaron halves per sheet)

[Nonstick Surface] Helps prevent dough and baked goods from sticking during baking and preparation. No oil or parchment paper required for most baking tasks.
Step 2: Preheat the Oven
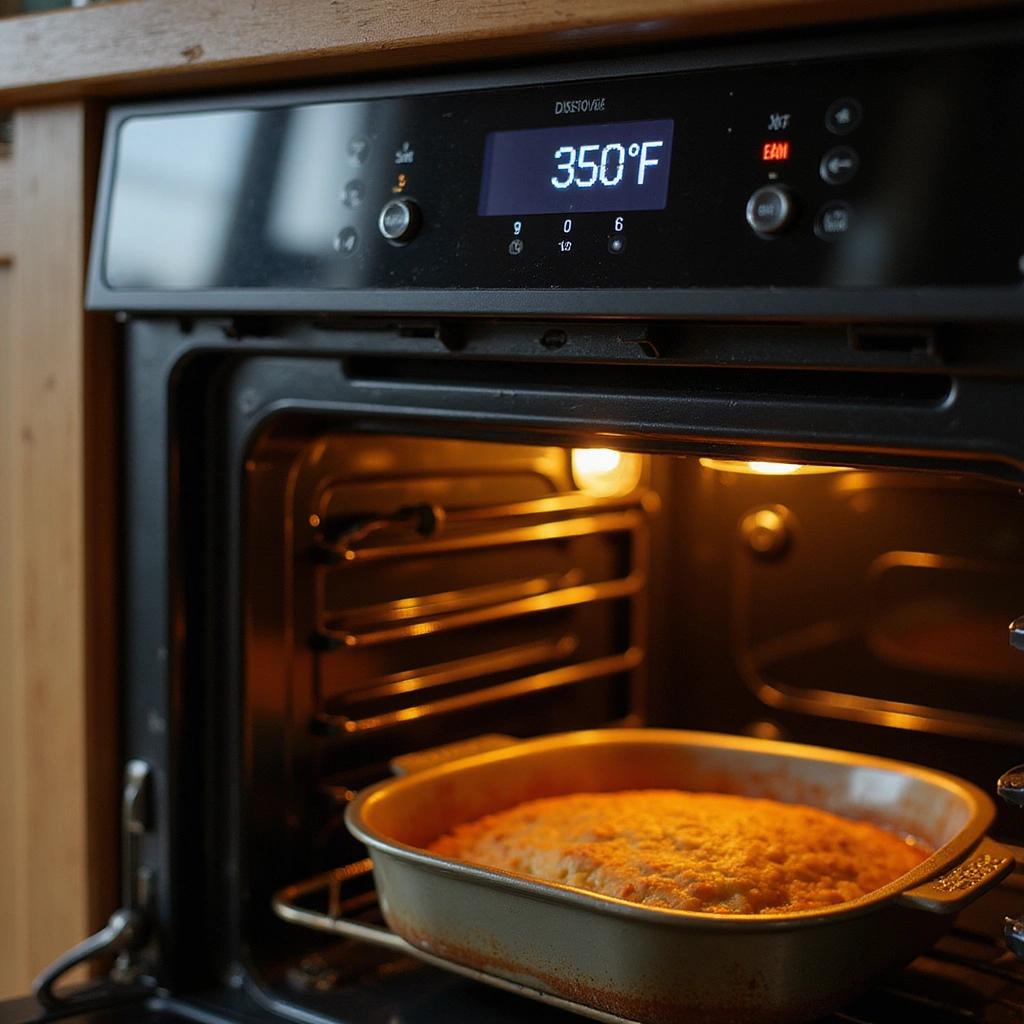
Preheat your oven to 350°F (175°C).
This step is crucial for ensuring even baking of your protein bars or bites.
While the oven heats, you can prepare your mixture, saving time in the process.
Use an oven thermometer to verify the temperature if needed.
Step 3: Blend the Ingredients
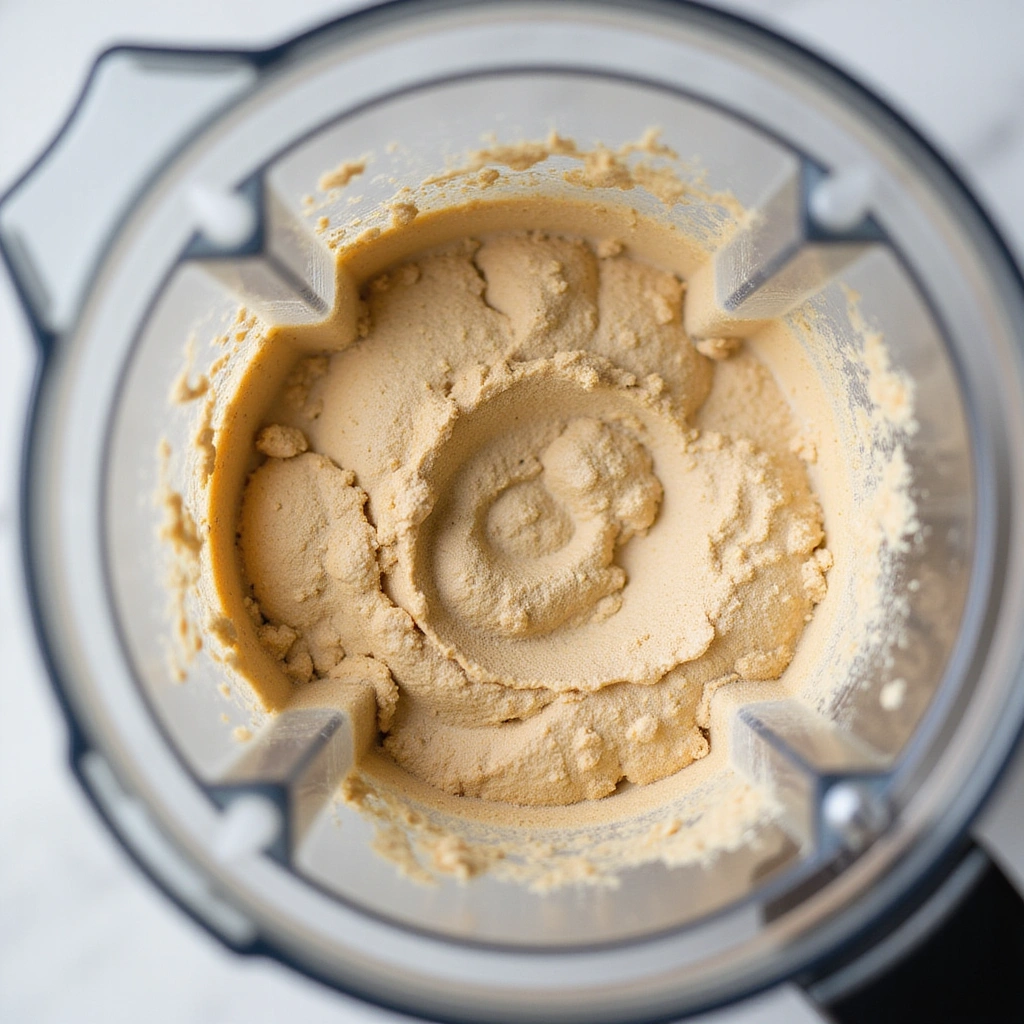
In a high-powered blender, add the ripe banana, protein powder, sweeteners, and any additional flavorings.
Blend on high until the mixture is smooth and well-combined, ensuring there are no lumps.
If the mixture is too thick, add a splash of milk or water to help it blend smoothly.
Stop and scrape down the sides as needed for even mixing.
Step 4: Prepare the Baking Dish
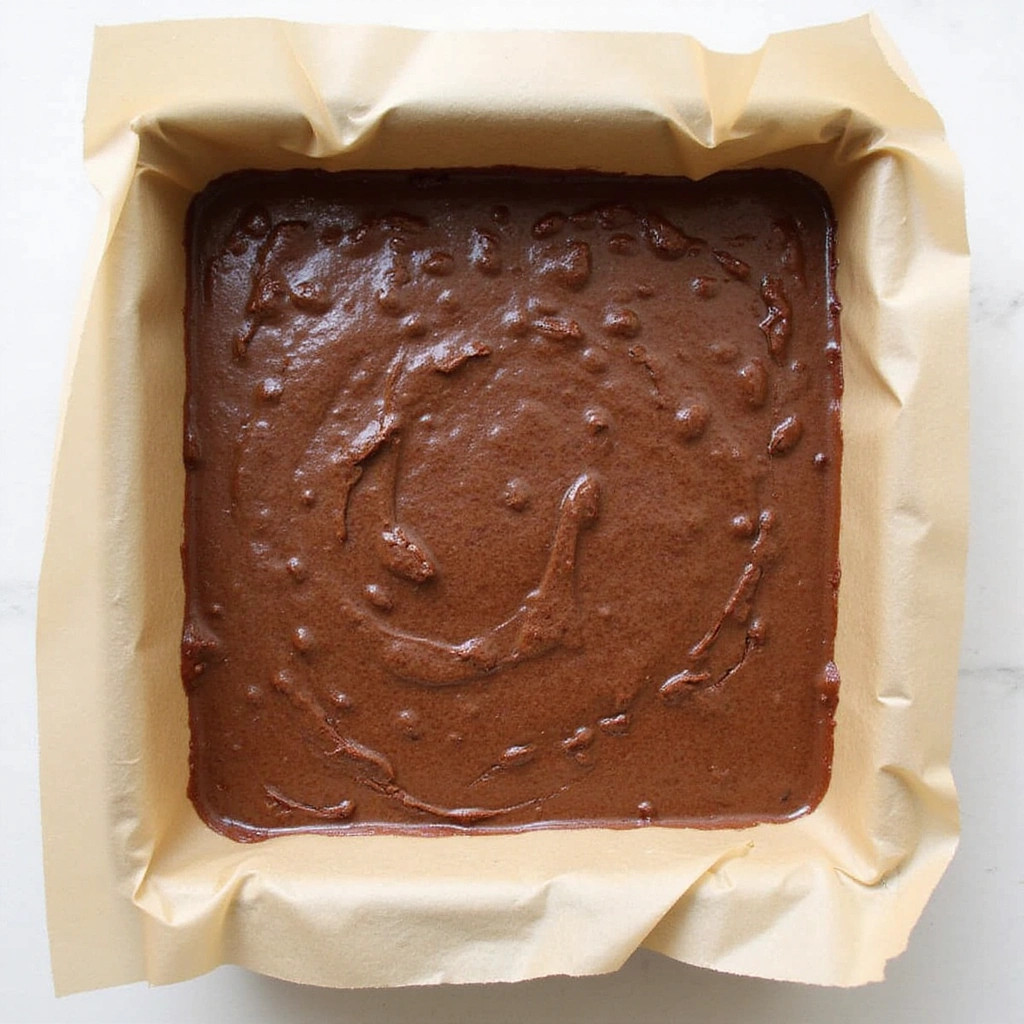
Line your baking dish with parchment paper for easy removal of the bars after baking.
Make sure to leave some overhang, which will make lifting the bars out easier.
Alternatively, you can use a non-stick spray if you prefer not to use parchment paper.
Set the prepared dish aside while you pour in the batter.
Step 5: Pour the Mixture
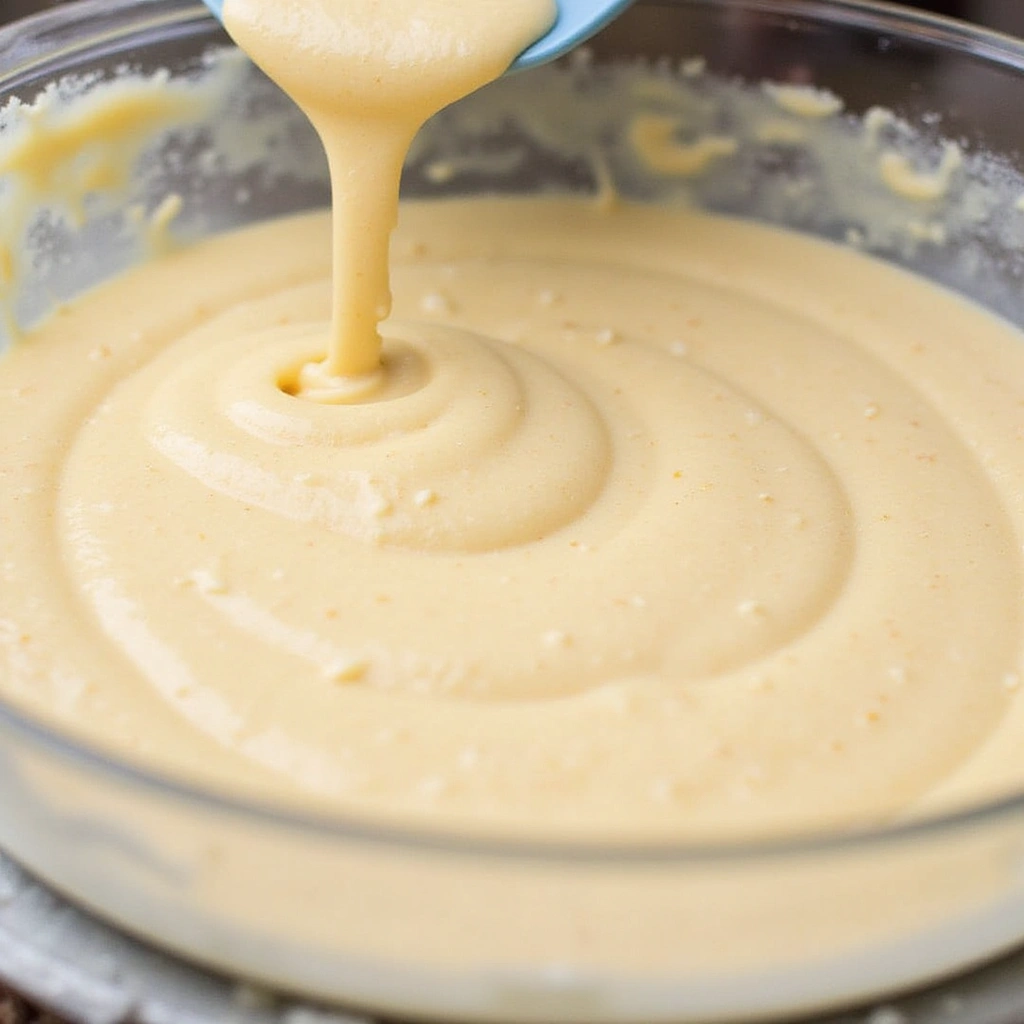
Carefully pour the blended mixture into the prepared baking dish.
Use a spatula to spread it evenly, ensuring all corners are filled.
This will help in achieving uniform thickness for the bars once baked.
Smooth the top with the spatula for an appealing finish.
Step 6: Bake the Bars
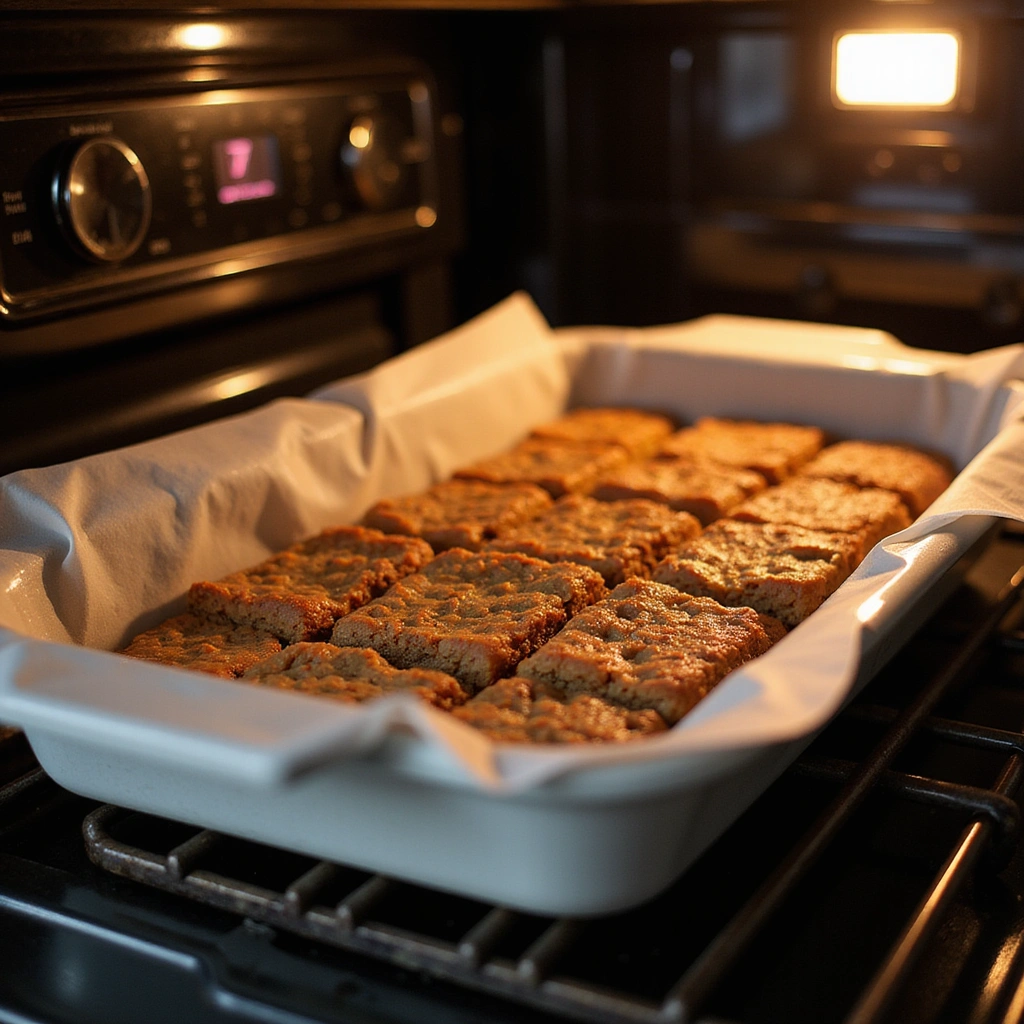
Place the baking dish in the preheated oven and bake for 20-25 minutes.
You’ll know they are done when the edges are lightly golden and a toothpick inserted in the center comes out clean.
Keep an eye on them to avoid overbaking, which can make them dry.
Set a timer to remind you to check on them halfway through.
Step 7: Cool the Bars
Once baked, remove the dish from the oven and let it cool for about 10 minutes.
Use the overhang of the parchment paper to lift the bars out of the dish.
Transfer them to a wire rack to cool completely, which will help them firm up.
Avoid cutting them until they are completely cooled for clean edges.
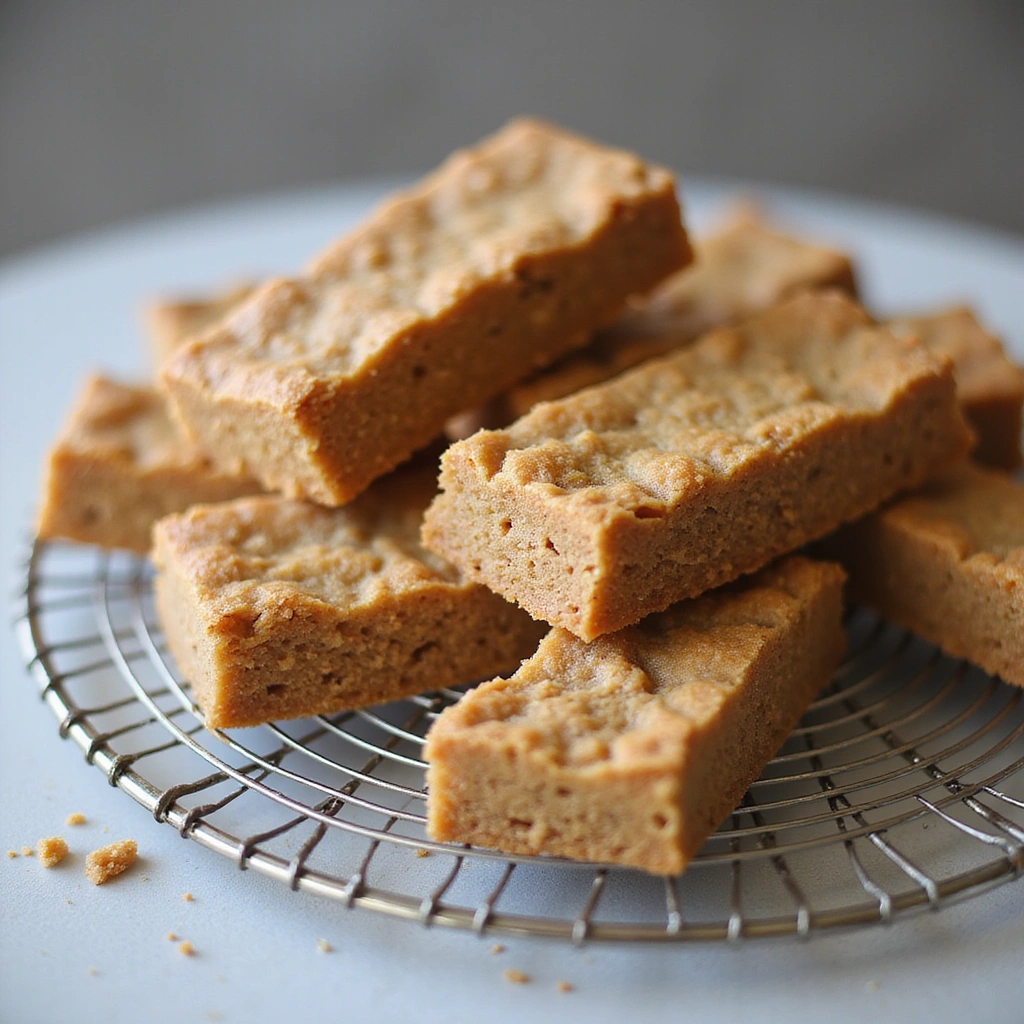
Step 8: Cut and Store
Once cooled completely, use a sharp knife to cut the bars into your desired size.
Store them in an airtight container to keep them fresh for longer.
You can also wrap them individually for convenient snacks on-the-go.
Label your container with the date to track freshness.
Critical Timing and Temperature Guide
Preheating: Preheat your oven to 350°F (175°C) and allow it to reach this temperature before placing the dish inside to ensure even cooking.
Baking Time: Bake protein bars for 20-25 minutes, checking for a golden edge and using a toothpick to confirm doneness.
Cooling Time: Allow the bars to cool in the pan for 10 minutes before transferring to a wire rack for at least 30 minutes for optimal firmness.
Pro Tips for Boosting Protein Powder Recipes
• Ingredient Selection: Use a high-quality protein powder with minimal additives to enhance flavor and texture.
• Preparation Secret: Blend ingredients in the order of liquids first, followed by dry ingredients for a smoother consistency.
• Temperature Management: Always preheat your oven to ensure even baking and prevent dense bars.
• Texture Enhancement: Experiment with adding oats or nuts for added crunch and nutrition.
• Flavor Layering: Add spices like cinnamon or cocoa powder to deepen flavor complexity.
• Make-Ahead Strategies: Store bars in the freezer for longer shelf life and quick access.
• Restaurant-Quality Finishing Touches: Drizzle with dark chocolate or sprinkle with sea salt for an elevated presentation.
• Equipment Optimization: Invest in a high-speed blender for the best results in texture and mixing.
Troubleshooting Common Issues
• Texture Too Dense: This often occurs from overmixing or too much protein powder. To fix it, try adding a bit more liquid or reducing the mixing time next time.
• Bars Falling Apart: If your bars crumble, they may be too dry. Ensure you’re measuring ingredients accurately, and consider adding a binding agent like nut butter.
• Flavor Too Bland: If your bars lack flavor, add more spices or sweeteners to enhance taste. Always taste your mixture before baking.
• Uneven Baking: To avoid this, make sure your oven is calibrated correctly and rotate the baking dish halfway through cooking.
• Overbaking: Keep a close watch on baking time. Set a timer and check for doneness 5 minutes early to prevent drying out.
• Hard to Cut: If your bars are too hard after cooling, you may have overbaked them. Next time, reduce the baking time slightly.
Variations and Regional Differences
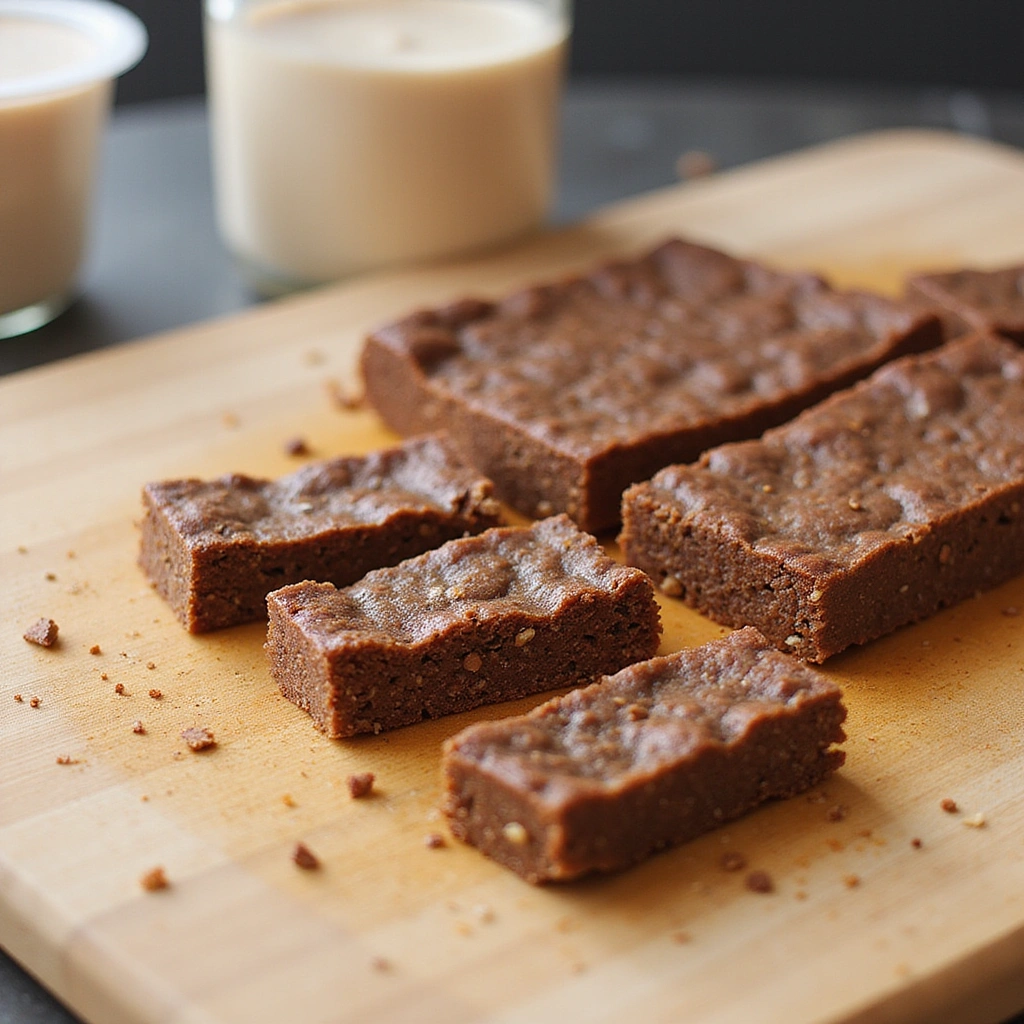
• Chocolate Peanut Butter Bars: A popular variation that incorporates cocoa powder and peanut butter for a rich flavor twist. This version is loved in many fitness circles for its indulgent taste while still being healthy.
• Vegan Protein Bars: Made with plant-based protein powder and nut butters, these bars cater to vegans and those with dairy sensitivities, proving that delicious snacks can be inclusive.
• Fruit and Nut Energy Bites: These no-bake versions combine protein powder with dried fruits and nuts, offering a chewy texture that’s perfect for quick energy boosts on the go.
• Modern Interpretations: Incorporating superfoods like chia seeds or spirulina for added health benefits, these contemporary recipes appeal to health-conscious individuals looking for the latest trends.
Food Science Behind the Recipe
• Emulsification: This occurs when mixing ingredients like oils and liquids, creating a stable mixture that enhances texture. Understanding emulsification helps in achieving smooth protein bars.
• Maillard Reaction: This chemical reaction between amino acids and reducing sugars gives baked goods their brown color and complex flavors. Recognizing this helps in perfecting the baking time for desired taste and appearance.
• Moisture Retention: Ingredients like bananas and nut butters retain moisture in baked goods. Knowing how to balance these ingredients ensures your bars won’t dry out during baking.
Frequently Asked Questions
What’s the most common mistake people make when preparing protein powder recipes? Many overlook the importance of ingredient measurements, leading to dense or dry bars. Always use a scale for accuracy when possible.
Can I prepare components of this dish in advance? Yes, you can pre-measure dry ingredients and store them in airtight containers for up to a week before mixing and baking.
How do I adapt this recipe for dietary restrictions? To make it gluten-free, use certified gluten-free oats and a gluten-free protein powder. For vegan options, substitute honey with maple syrup and opt for plant-based protein.
What’s the best way to store and reheat leftovers? Store protein bars in an airtight container at room temperature for a week or refrigerate for longer shelf life. Reheat in the microwave for 10-15 seconds for a warm treat.
Can I freeze this dish? Absolutely! Wrap bars individually and freeze for up to 3 months. Thaw in the refrigerator overnight before consuming.
What wine or beverages pair best with this dish? A light sparkling water or a protein smoothie pairs well, enhancing the health aspect without overpowering the flavors.
How can I scale this recipe up for a crowd? Simply multiply the ingredient quantities based on your desired number of servings, and adjust baking time as needed for larger batches.
What side dishes complement this recipe best? Fresh fruit, yogurt, or a simple salad can enhance your meal when serving protein bars as a snack or dessert.
How do professional chefs elevate this dish for restaurant service? They often add a gourmet touch with homemade sauces or unique toppings, like a drizzle of dark chocolate or a sprinkle of sea salt.
Serving and Presentation Guide
• Traditional Presentation: Protein bars are typically cut into neat squares and served on a wooden board, garnished with fresh fruits and nuts for an attractive display.
• Modern Plating Ideas: Stack the bars vertically and drizzle with chocolate sauce, plating them alongside a scoop of yogurt for a stylish, contemporary look.
• Accompaniment Suggestions: Pair with a smoothie bowl or fresh fruit salad to create a balanced meal, enhancing the overall dining experience.
• Special Occasion Presentation: For celebrations, wrap bars in decorative paper and present them in a beautiful basket, adding a personal touch to your celebrations.
Conclusion
I hope you feel inspired to try these protein powder recipes in your own kitchen.
With their delicious flavors and nutritious benefits, they are perfect for any time of day.
These recipes are not just about health; they’re about indulging in something that fuels your body and satisfies your cravings.
Recipe Tags:
gluten-free
dairy-free
vegan
easy
quick
no-bake
snack
protein-rich
healthy
30-minute
make-ahead
kid-friendly