
This classic Fun Easy Candy Recipes: No-Bake Sweets for Kids brings joy to children and adults alike with its simple preparation and delightful flavors.
Combining sweet chocolate, crunchy cereals, and colorful sprinkles creates a treat that’s as fun to make as it is to eat.
I remember making these candies with my kids during rainy afternoons, filling our kitchen with laughter and creativity.
Whether you’re celebrating a birthday or just looking for an afternoon activity, these no-bake sweets are sure to bring smiles all around.
The History and Cultural Significance
• Fun Easy Candy Recipes traces its origins to the United States in the mid-20th century, where they were created as quick desserts for families.
• The dish evolved over decades as home cooks began to experiment with various ingredients, eventually becoming a staple for children’s festivities.
• In American culture, these no-bake sweets traditionally appear at birthday parties, school events, and family gatherings, symbolizing joy and creativity.
• While many variations exist across different regions, the authentic version maintains a simple, playful approach that sets it apart from more elaborate desserts.
Recommended Products

Add a splash of color to cupcakes, cookies, cakes and more! Favorite of both adults and kids

Kracie Popin' Cookin' DIY Candy Donuts Kit, No Bake, 1.4 Ounces (Pack Of 1)
Recipe Overview
Recommended Products

One 12-ounce bag of Mini Semi-Sweet Chocolate Chips

Organic semi-sweet chocolate chips

Nutritional Information (per serving)
Recommended Products

Soft, chewy, and delicious homestyle crispy marshmallow squares; Write a special note on the wrapper and share a sweet snack option for every occasion

A classic, family-favorite cereal, perfect for breakfast and treat-making; Enjoy with your favorite milk or as part of The Original Treats recipe

Rice Krispies Treats marshmallow cereal bars for everyday family moments; Individually wrapped snacks made with soft, marshmallowy flavor
Essential Equipment Guide
Mixing Bowl: A large mixing bowl is essential for combining the ingredients without spilling. Look for a bowl made of glass or stainless steel for durability and ease of cleaning.
Spatula: A sturdy spatula helps to mix the ingredients thoroughly and scrape down the sides of the bowl. Silicone spatulas are great as they are heat resistant and easy to clean.
Baking Sheet: A baking sheet lined with parchment paper is crucial for setting the candies. Ensure it has a rim to prevent any melted ingredients from spilling over.
Key Ingredients Explained
For the Base:
• 2 cups of chocolate chips, semi-sweet – Choose high-quality chocolate chips as they melt smoothly and contribute rich flavor. Look for brands with minimal additives for the best results.
• 3 cups of crispy rice cereal – Opt for fresh, crunchy cereal to provide the perfect texture. Generic brands can work well, but ensure they are not stale for the best crunch.
For Decoration:
• 1 cup of colorful sprinkles – Use quality sprinkles that hold their color during mixing. Nonpareils or jimmies add a fun touch without affecting the flavor.
• 1/2 cup of mini marshmallows – Choose soft, fluffy marshmallows for easy incorporation. Stale marshmallows can affect the texture, so freshness is key.
Preparation Methods
Melting Chocolate: Melting chocolate is crucial for achieving a smooth base. Use a double boiler or microwave to melt gently, stirring frequently to avoid burning. Be patient and remove from heat just as it starts to melt for a glossy finish.
Mixing Ingredients: Proper mixing ensures that all components are evenly distributed. Use a gentle folding motion to combine without breaking the cereal. Aim for a uniform mixture to maintain texture and flavor balance.
Setting Candies: Allowing the candies to set properly is key for structure. Use a parchment-lined baking sheet to prevent sticking and cool in the fridge for at least 30 minutes. Ensure they are firm to the touch before cutting them into pieces.
Step 1: Gather Ingredients

Start by collecting all your ingredients on the counter.
Make sure you have chocolate chips, crispy rice cereal, colorful sprinkles, and mini marshmallows at hand.
This makes the preparation process smooth and efficient.
Organizing everything beforehand helps avoid any last-minute searches.
Step 2: Melt the Chocolate
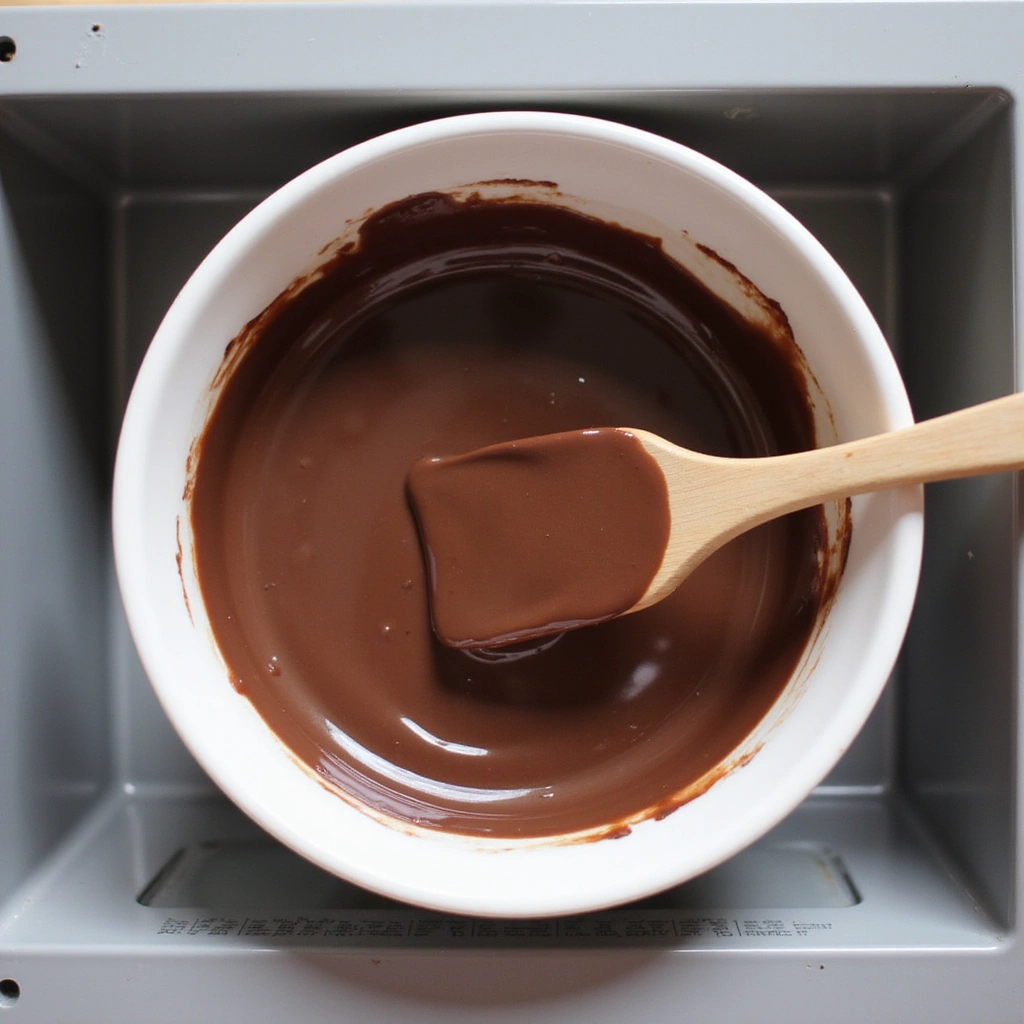
Place the chocolate chips in a microwave-safe bowl.
Heat in short intervals of 20 seconds, stirring in between until fully melted.
Look for a smooth and glossy consistency without any lumps.
Be cautious not to overheat, as this can cause the chocolate to seize.
Step 3: Combine Ingredients
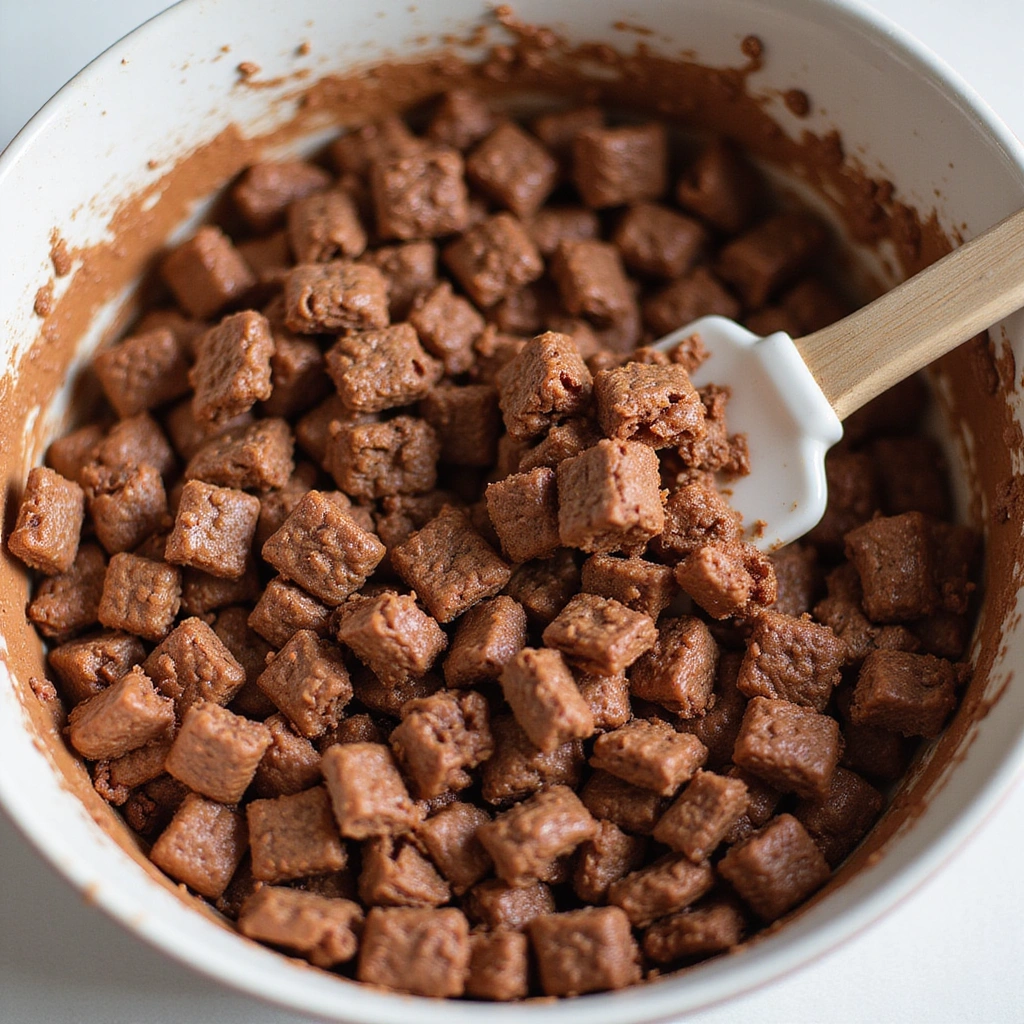
Once the chocolate is melted, add the crispy rice cereal to the bowl.
Gently fold the cereal into the chocolate until fully coated.
Make sure to incorporate all the cereal without breaking it apart.
The mixture should be thick and sticky but well-combined.
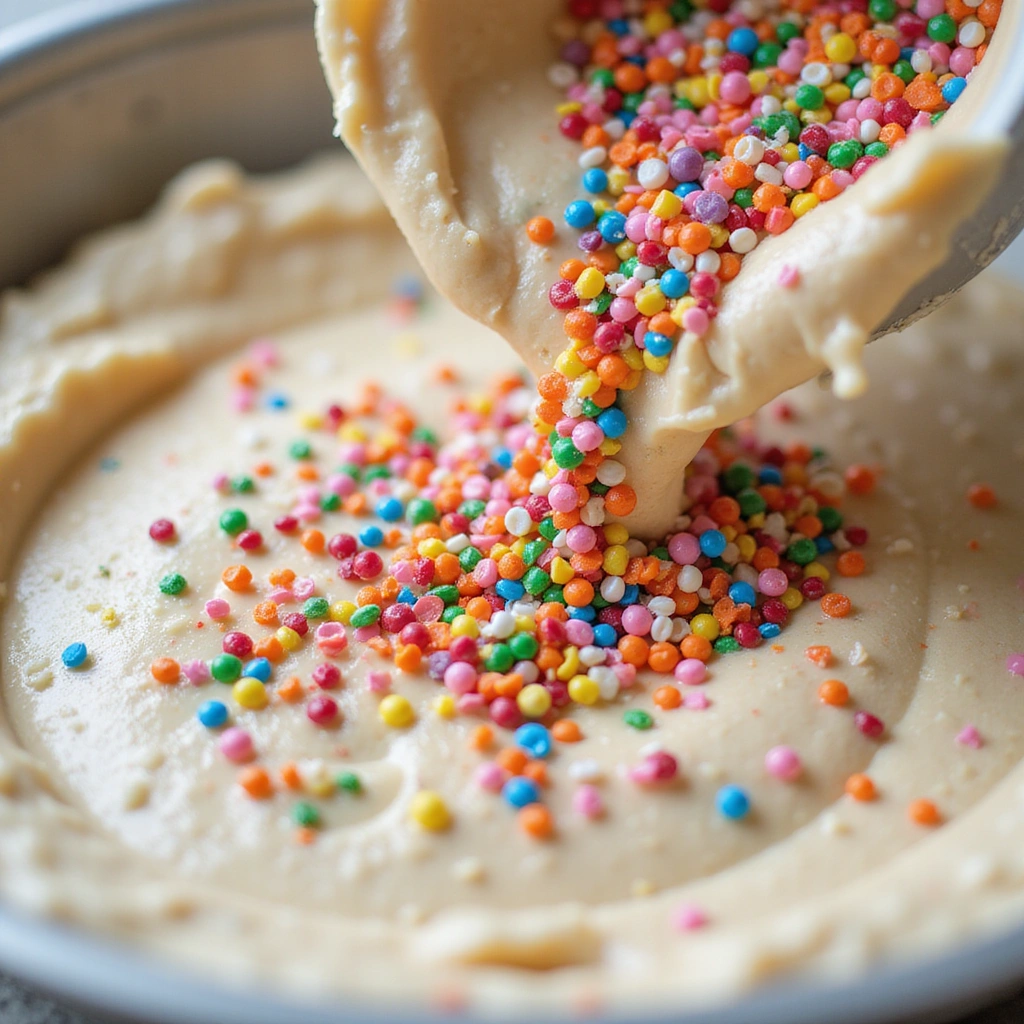
Step 4: Add Marshmallows and Sprinkles
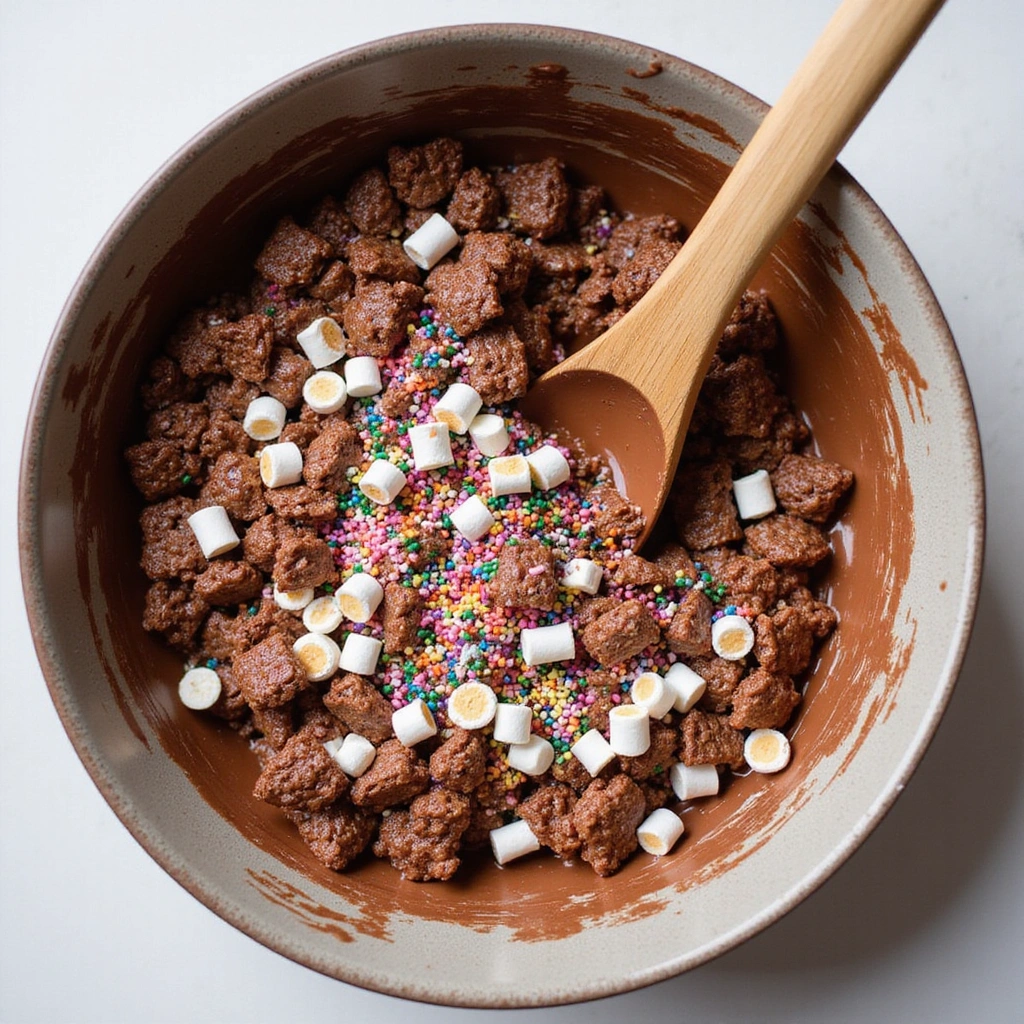
Stir in the mini marshmallows and half of the colorful sprinkles.
Ensure even distribution throughout the mixture for a fun appearance.
The marshmallows should be coated in chocolate as well.
Reserve some sprinkles for topping later.
Step 5: Transfer to Baking Sheet
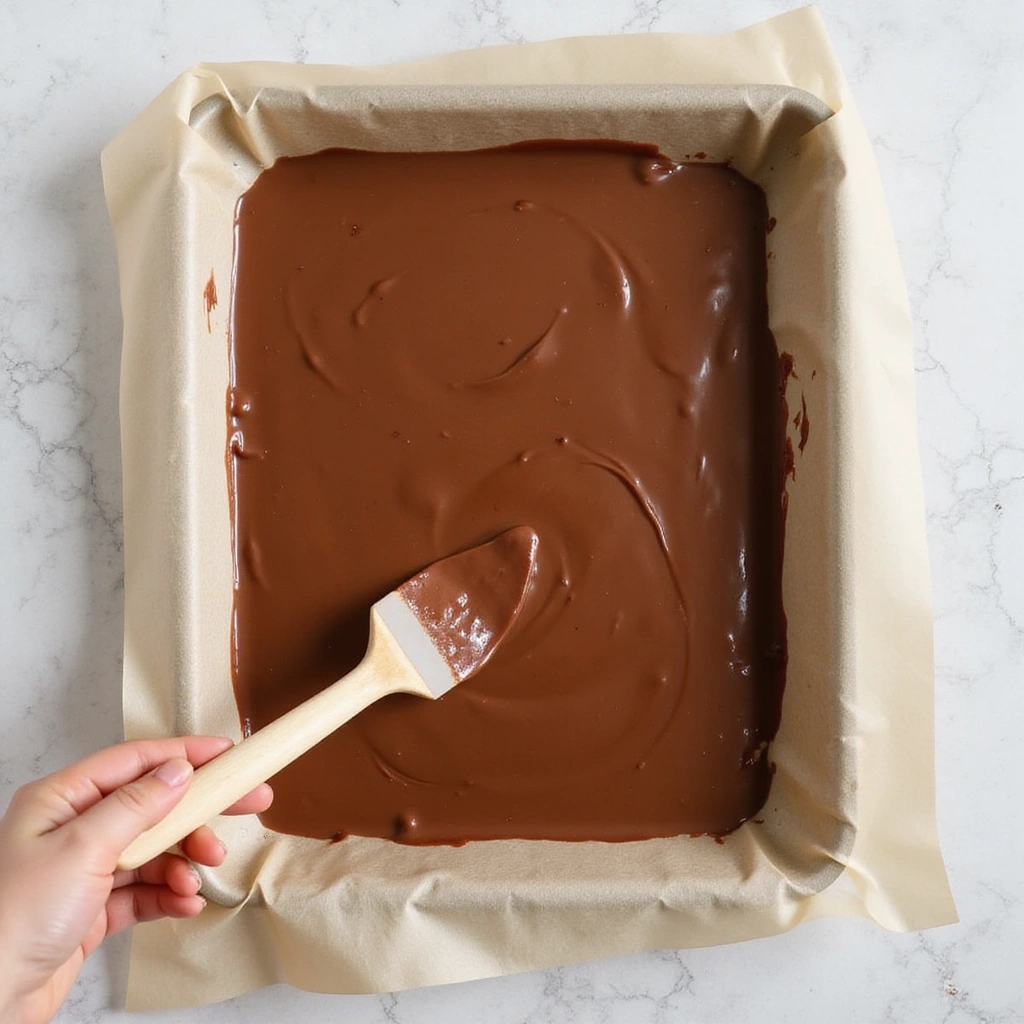
Line a baking sheet with parchment paper to prevent sticking.
Spoon the mixture onto the sheet, spreading it evenly.
Use a spatula to press it down gently for a compact shape.
Make sure the mixture is evenly distributed across the sheet.
Step 6: Top with Remaining Sprinkles
Sprinkle the reserved colorful sprinkles over the top of the mixture.
Press them gently into the surface to ensure they stick.
This adds a festive touch and makes the candy visually appealing.
Ensure an even distribution of sprinkles across the top.
Step 7: Chill to Set
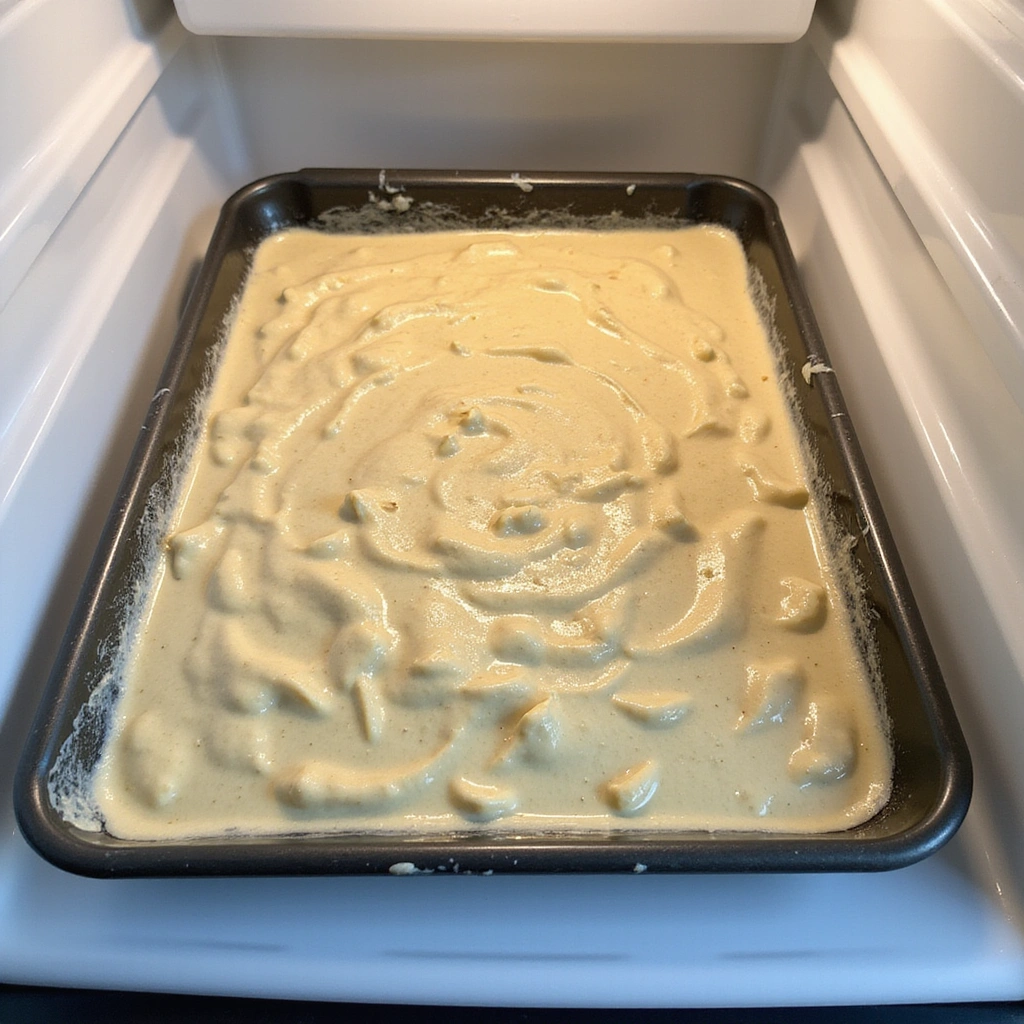
Place the baking sheet in the refrigerator for at least 30 minutes.
This allows the chocolate to harden and the candies to set.
Check for firmness before removing them from the fridge.
They should feel solid to the touch when ready.
Step 8: Cut into Pieces
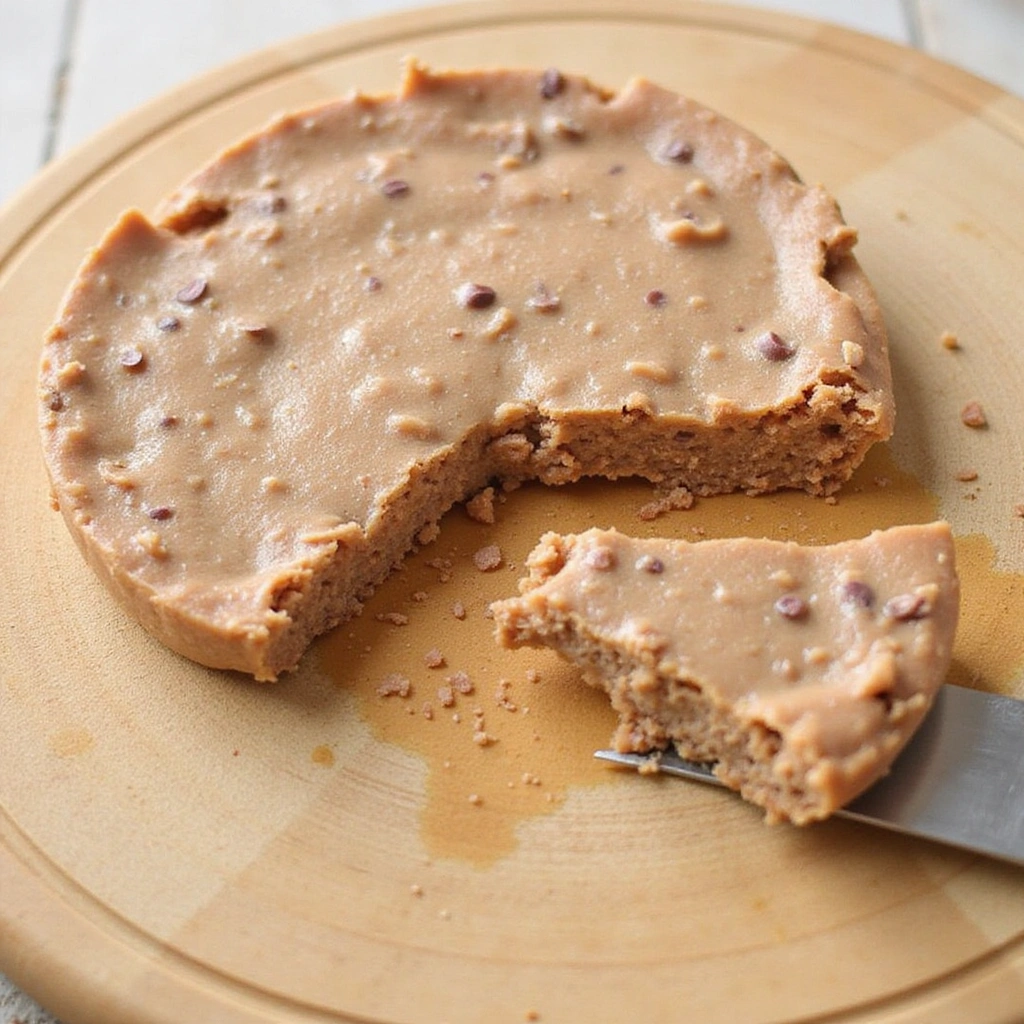
Once set, remove the mixture from the baking sheet.
Use a sharp knife to cut it into squares or rectangles.
Ensure even cuts for a uniform appearance.
Carefully lift each piece to prevent breaking.
Step 9: Serve and Enjoy
Place the cut pieces on a serving platter.
Consider adding a few extra sprinkles on top for decoration.
These candies are best enjoyed fresh, but can be stored for later.
Share with friends and family for a delightful treat.
Critical Timing and Temperature Guide
Melting Chocolate: Heat chocolate in intervals of 20 seconds, stirring after each, until smooth. Overheating can cause it to seize, so monitor carefully.
Chilling Time: Allow at least 30 minutes in the refrigerator for the candies to set. They should feel firm to the touch before cutting.
Serving Temperature: Serve at room temperature for the best flavor and texture. Cold candies may be too hard and less enjoyable.
Pro Tips for Fun Easy Candy Recipes
• Ingredient Selection: High-quality chocolate chips make a significant difference in flavor. Look for chocolate with a higher cocoa content for richness.
• Preparation Secret: Allowing the chocolate to cool slightly before mixing with the cereal improves texture and prevents melting the cereal.
• Temperature Management: Keep ingredients at room temperature for better mixing and consistency, especially the marshmallows.
• Texture Enhancement: Gently folding in the cereal ensures it stays crunchy, leading to a delightful contrast with the chocolate.
• Flavor Layering: Experiment with different types of chocolate, like dark or white, to create unique flavor profiles.
• Make-Ahead Strategies: These candies can be made a day in advance and stored in an airtight container to maintain freshness.
• Restaurant-Quality Finishing Touches: Drizzling melted chocolate on top can elevate the presentation and add an extra layer of flavor.
• Equipment Optimization: Use a silicone spatula for easy mixing and scraping, ensuring no ingredients are wasted.
Troubleshooting Common Issues
• Chocolate Seized: If your chocolate seizes, it may have overheated or come into contact with water. To rescue it, add a small amount of vegetable oil and stir until smooth.
• Sticky Mixture: If the mixture is too sticky, it might be due to excess chocolate. You can add a bit more cereal to balance the consistency.
• Too Hard After Chilling: If the candies are too hard after chilling, try reducing the chilling time next time. They should be firm but not rock hard.
• Uneven Distribution: If the ingredients are unevenly mixed, ensure to fold gently but thoroughly. Take your time to ensure everything is coated evenly.
• Sticking to the Parchment: If your candies stick to the parchment, make sure to use enough parchment paper and press the mixture down gently, but not too firmly.
• Bland Flavor: If the candies taste bland, consider adding a pinch of salt to enhance the chocolate’s flavor or using flavored chocolate chips.
Variations and Regional Differences
• Chocolate Peanut Butter Version: Incorporate 1 cup of peanut butter into the melted chocolate for a rich, nutty flavor. This variation adds creaminess and a deep flavor contrast.
• Holiday-themed Candies: Change the sprinkles to match seasonal holidays, such as red and green for Christmas or pastel colors for Easter. This adds a festive flair to your treats.
• Nutty Additions: Adding chopped nuts or seeds can provide crunch and enhance the texture. Consider using almonds, walnuts, or sunflower seeds for extra nutrition.
• Modern Interpretations: Explore using vegan chocolate or gluten-free cereal to cater to dietary preferences while maintaining the fun and flavor of traditional no-bake candies.
Food Science Behind the Recipe
• Emulsification: The process of melting chocolate allows fats to disperse evenly, creating a smooth texture that coats the cereal. Understanding this helps in achieving a better melt.
• Cooling and Setting: The cooling process allows the chocolate to solidify, forming a stable structure. This is crucial for the candies to hold their shape when served.
• Texture Contrast: The combination of crunchy cereal and soft marshmallows creates a pleasing mouthfeel. Balancing different textures makes the candies more enjoyable.
Frequently Asked Questions
What’s the most common mistake people make when preparing no-bake candies? Many forget to let the chocolate cool slightly before mixing, which can lead to mushy cereal.
Can I prepare components of this dish in advance? Yes, the chocolate and cereal mixture can be made a day ahead and stored in the fridge until ready to serve.
How do I adapt this recipe for dietary restrictions? Use dairy-free chocolate and gluten-free cereal to make it suitable for vegans and those with gluten sensitivities.
What’s the best way to store and reheat leftovers? Store in an airtight container at room temperature. They generally do not need reheating.
Can I freeze this dish? Yes, but for best results, wrap each piece individually in plastic wrap before freezing to maintain texture.
What wine or beverages pair best with this dish? Light, fruity wines or milkshakes complement the sweetness of the candies perfectly.
How can I scale this recipe up for a crowd? Simply multiply the ingredients, but be mindful of using a larger bowl for mixing to accommodate the increased volume.
What side dishes complement this recipe best? Fresh fruit or a light salad can provide a nice contrast to the sweetness of the candies.
How do professional chefs elevate this dish for restaurant service? They often add gourmet toppings like edible gold leaf or serve with a drizzle of flavored sauces for visual appeal.
Serving and Presentation Guide
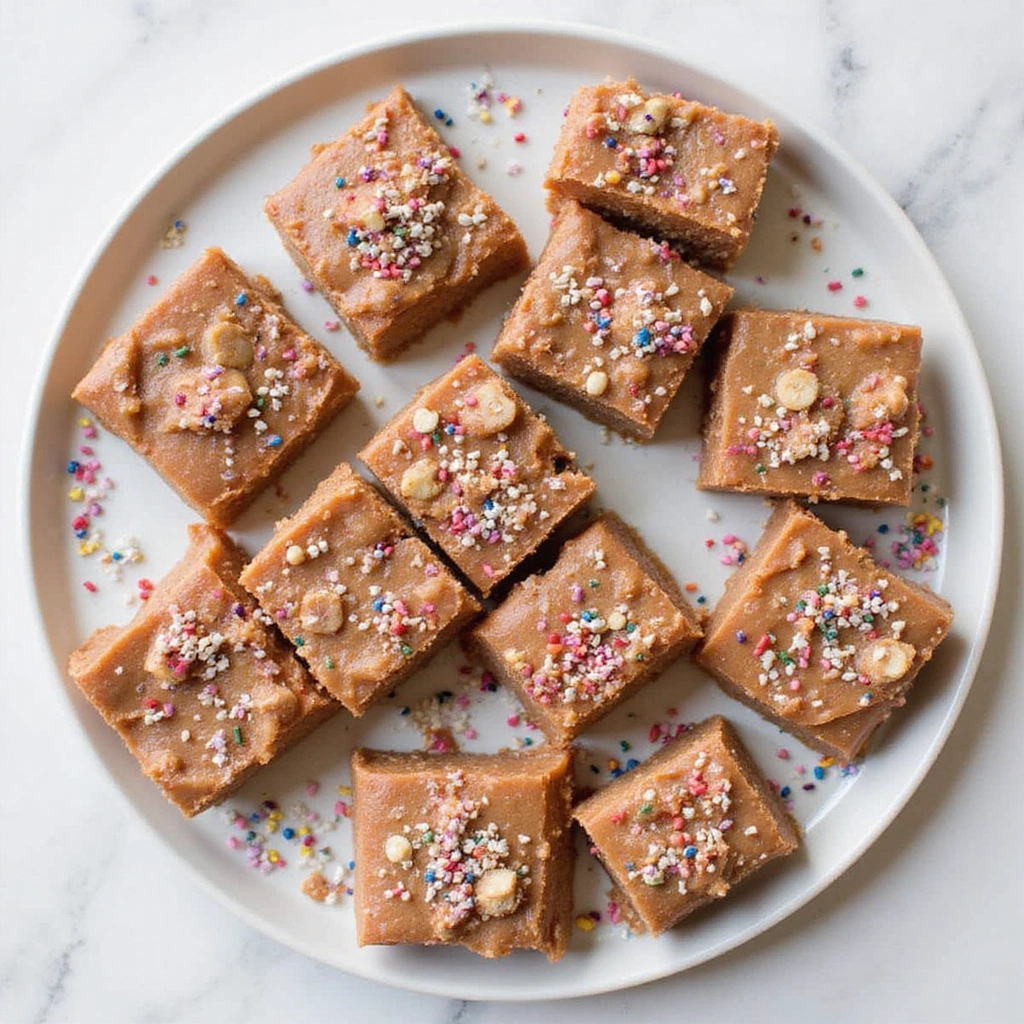
• Traditional Presentation: Serve these no-bake candies on a bright platter with a sprinkle of extra candy bits or nuts around them for added color and texture. This classic approach highlights the sweets and their vibrant ingredients.
• Modern Plating Ideas: Arrange the candies in a tiered dessert stand for an elegant touch at parties. This allows guests to admire the treats while making them easy to grab.
• Accompaniment Suggestions: Pair with milk, hot chocolate, or fruit smoothies to balance the sweetness of the candies.
• Special Occasion Presentation: For celebrations, consider wrapping the candies in decorative cellophane bags tied with colorful ribbons. This adds a personalized touch that guests will appreciate.
Conclusion
I hope you and your little ones enjoy making these tasty, no-bake candies as much as I do.
They’re not just sweets; they are a canvas for creativity and fun.
Experimenting with different ingredients can turn this simple recipe into a family favorite.
Happy candy making!
Recipe Tags:
no-bake
easy
dessert
kid-friendly
quick
budget-friendly
snack
beginner-friendly