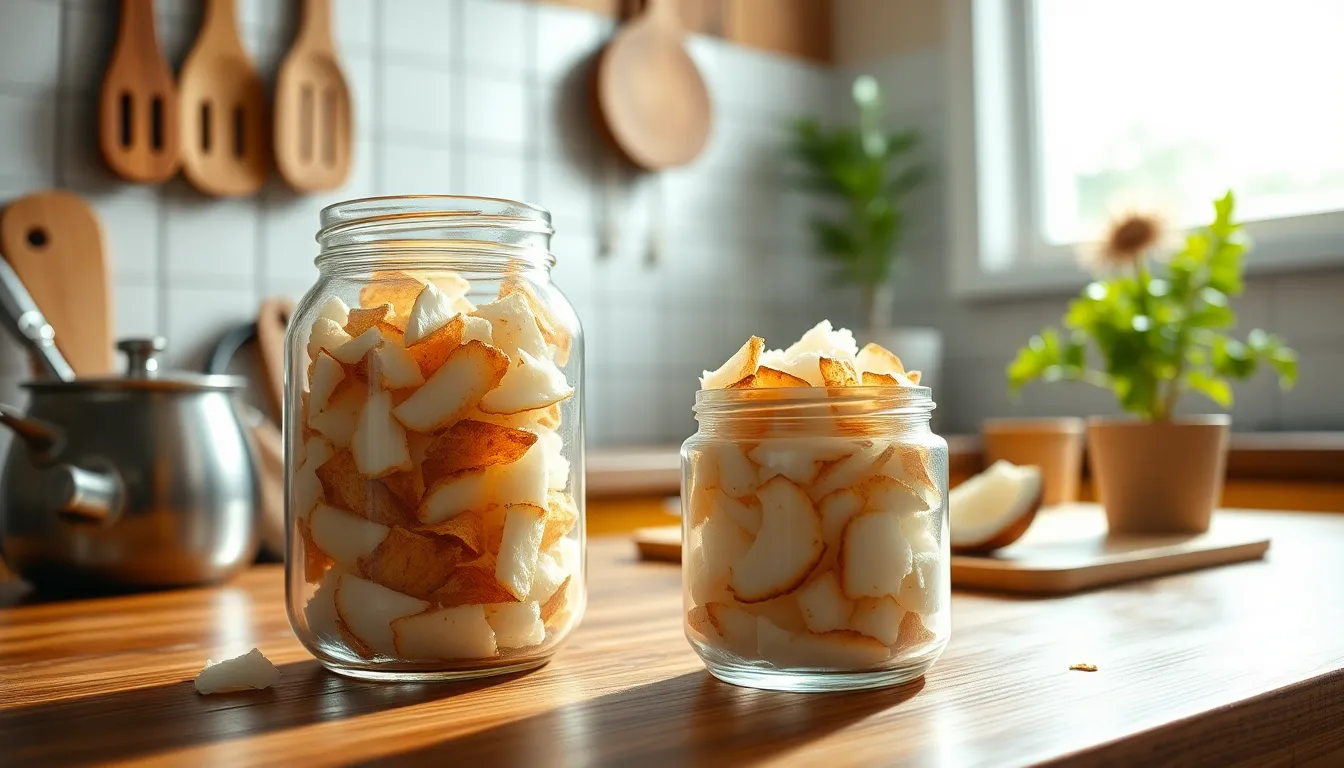
What You’ll Need
Toasting coconut requires minimal equipment and just one main ingredient. You’ll have everything ready in minutes to transform plain coconut into a golden aromatic delight.
Recommended Products

ORGANIC SHREDDED COCONUT: Unsweetened, tropical refreshing taste, perfect option for recipes and as an ingredient for low-calorie snacks.

8 oz package of organic shredded coconut

Unsweetened, unsulfured and preservative free, this coconut is ideal for cookies, cakes and muffins
Equipment
You need a large skillet or wide saucepan with a heavy bottom for even heat distribution. A wooden spoon or silicone spatula works best for stirring without scratching your cookware. Keep a plate nearby for transferring the toasted coconut once it reaches the perfect golden color.
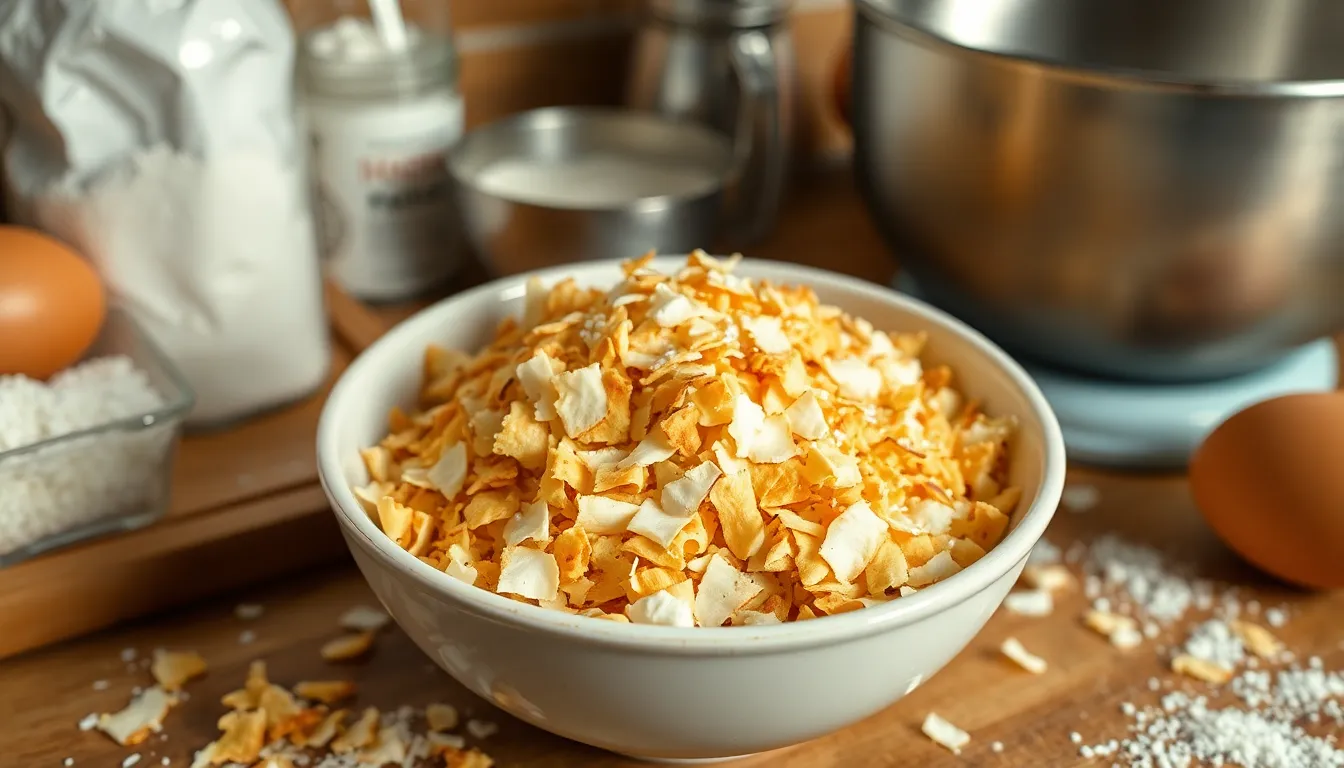
Ingredients
- 1 cup unsweetened shredded coconut or coconut flakes
- Optional: pinch of salt for enhanced flavor
Preparation
Proper preparation sets the foundation for perfectly toasted coconut. Getting your coconut ready ensures even browning and optimal flavor development.
Recommended Products

Product of United States of America

Two 7-Ounce Bags

Soft, Moist, Perfectly Sweetened - Ideal for cookies, cakes, macaroons, granola bars, and confectionery creations that need rich coconut flavor and tender texture.
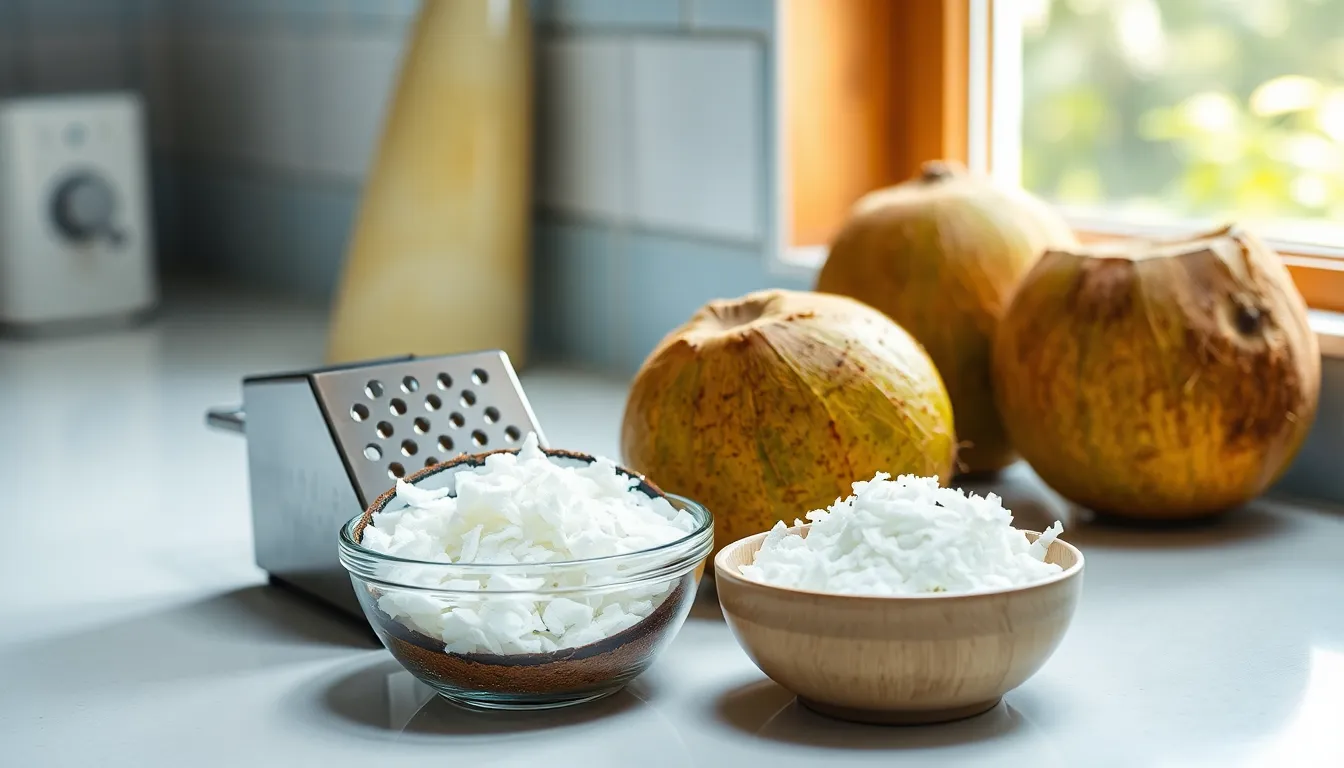
Choosing the Right Coconut
Fresh coconut offers the richest flavor when toasted but requires more preparation time. Look for coconuts that feel heavy for their size and produce a sloshing sound when shaken. The exterior should be free from cracks or dark spots that indicate spoilage.
Store-bought options provide convenience without sacrificing quality. Unsweetened shredded coconut works best for toasting as it contains no added sugars that can burn quickly. Coconut flakes create a more dramatic texture contrast but require closer monitoring during the toasting process.
Preparing Fresh Coconut
Crack open your fresh coconut using a hammer or heavy cleaver after draining the coconut water. Remove the white meat from the shell using a sturdy spoon or coconut knife. Rinse the coconut meat under cold water to remove any shell fragments.
Grate the coconut meat using a box grater or food processor fitted with a grating disc. Aim for uniform pieces roughly the size of store-bought shredded coconut. Pat the grated coconut dry with paper towels to remove excess moisture that could cause uneven browning.
Preparing Store-Bought Coconut
Measure out your desired amount of coconut into a bowl before heating your pan. Check the coconut for any hard clumps and break them apart with your fingers for even toasting. Room temperature coconut toasts more evenly than cold coconut straight from the package.
Taste your coconut before toasting to ensure freshness. Stale coconut will have a flat flavor that toasting cannot improve. Fresh coconut should smell sweet and nutty without any rancid or off odors.
Oven Method
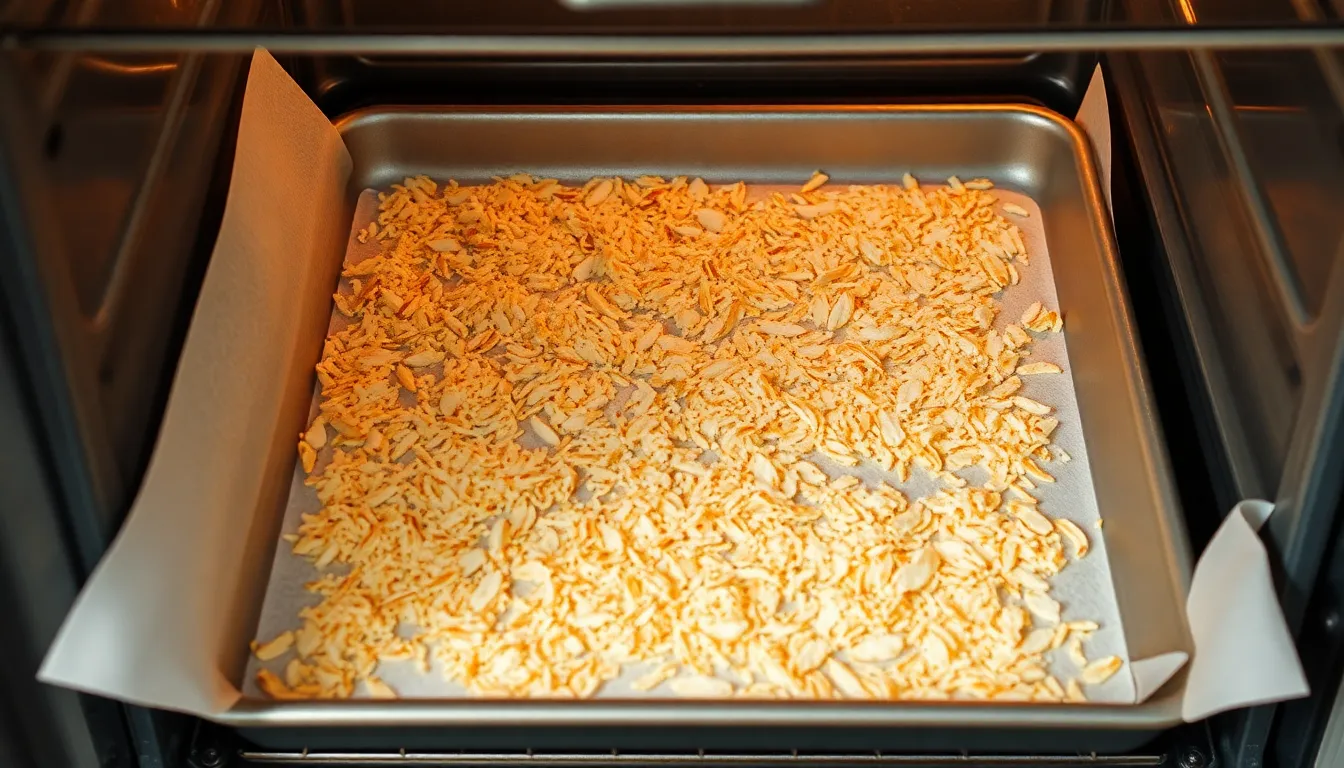
The oven method provides the most hands-off approach to toasting coconut while delivering consistently even results. This technique works particularly well when you need to toast large quantities or want to multitask in the kitchen.
Recommended Products

Package Includes: Twenty two (22) Reynolds Kitchens Cookie Baking Sheets measuring 12 inches long by 16 inches wide
Pre-cut Baking Parchment Paper Sheets: Are you tired of cutting curly parchment paper? Our pre-cut parchment sheets can let you get rid of cutting parchment anymore. The sheets lay flat on the baking tray and will not curl

Natural, Unbleached Parchment Paper: Made from natural wood pulp, our parchment paper baking sheet is completely free from fluorescent agents, chlorine, and other harmful chemicals. It's food-grade, waterproof and BPA-FREE. Also the paper sheets is biodegradable, eco-friendly.
Instructions
- Preheat your oven to 325°F and position the rack in the center position for optimal heat circulation.
- Line a large baking sheet with parchment paper to prevent sticking and ensure easy cleanup.
- Spread the coconut in a single even layer across the prepared baking sheet. Avoid overcrowding as this leads to uneven browning.
- Place the baking sheet in the preheated oven and set a timer for 3 minutes for your first check.
- Remove and stir the coconut using a spatula to redistribute and ensure even toasting on all sides.
- Return to the oven and continue baking in 2-3 minute intervals stirring between each interval.
- Watch for color changes as the coconut transforms from white to light golden and eventually to deep golden brown.
- Remove immediately once the coconut reaches your desired shade of golden brown and transfer to a cool plate.
- Allow cooling for 2-3 minutes before using as the coconut will continue cooking slightly from residual heat.
Temperature and Timing Tips
| Temperature | Initial Time | Total Time Range | Best For |
|---|---|---|---|
| 325°F | 3 minutes | 5-8 minutes | Shredded coconut |
| 300°F | 4 minutes | 8-12 minutes | Large flakes |
| 350°F | 2 minutes | 3-5 minutes | Quick toasting |
Monitor your coconut closely during the final minutes as it can burn quickly once it begins browning. The edges typically toast faster than the center so frequent stirring becomes crucial for uniform results. Different coconut types require slight timing adjustments with fine shreds toasting faster than large flakes. Fresh coconut contains more moisture and may need an additional 1-2 minutes compared to dried varieties. Your oven’s hot spots may cause uneven browning so rotate the baking sheet halfway through the process if you notice inconsistent coloring.
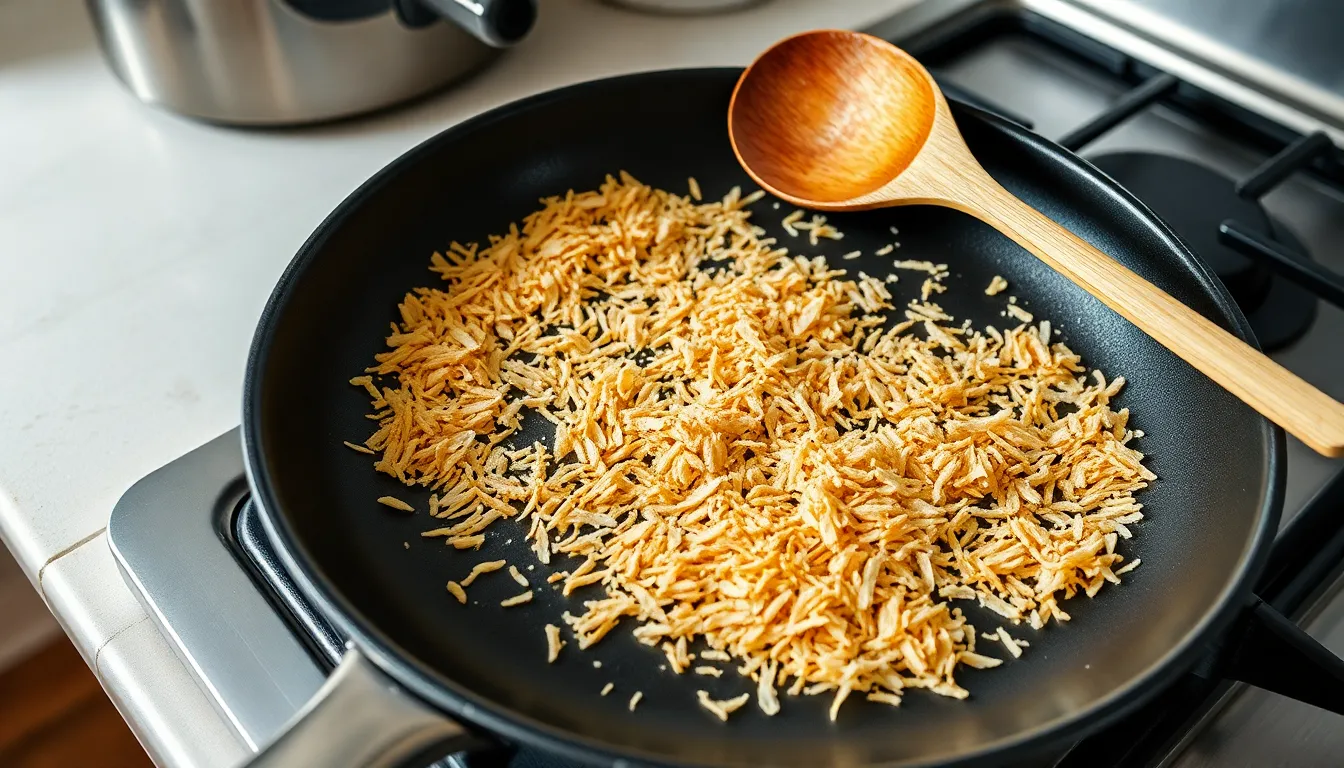
Stovetop Method

The stovetop method offers complete control over the toasting process and allows you to monitor color changes in real-time. This technique works perfectly for small to medium batches and delivers consistently golden results.
Recommended Products
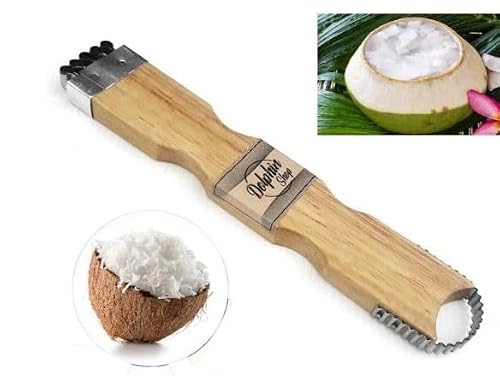
NATURAL MATERIAL: Made from high-quality wood/metal, the graters come in different finishes and have a rustic feel to them.

SIZE : approximate size width 2 inches (5 cm.), length 3.7 inches (9.5 cm.) include 1 pc and with screw 3 .

DIMENSIONS: Precision-crafted stainless steel blade measures 3.5 inches long by 2 inches wide with three mounting holes for secure attachment
Instructions
- Heat your skillet over medium-low heat for 1-2 minutes until evenly warmed.
- Add the coconut to the dry skillet in a single layer, spreading it evenly across the bottom.
- Stir immediately using your wooden spoon or silicone spatula to prevent sticking and ensure even heat distribution.
- Continue stirring constantly in gentle motions to move coconut from the center to the edges and back again.
- Watch for color changes as the coconut transforms from white to pale gold, then to golden brown over 3-5 minutes.
- Listen for the sizzling sounds that indicate the coconut is actively toasting and releasing its oils.
- Remove from heat the moment you achieve your desired golden color, as coconut continues cooking from residual heat.
- Transfer immediately to your prepared plate to stop the cooking process and prevent burning.
Heat Control Guidelines
Medium-low heat provides the optimal temperature range for even toasting without scorching. High heat causes the exterior to brown before the interior develops flavor, while low heat extends cooking time unnecessarily.
Adjust your burner to maintain consistent gentle sizzling throughout the process. Gas stoves offer more precise control than electric burners, so electric stove users should reduce heat slightly and stir more frequently.
Fresh coconut requires lower heat due to its higher moisture content, while store-bought dried coconut can handle slightly higher temperatures. Coconut flakes brown faster than shredded coconut because of their thinner profile and larger surface area.
Remove the skillet from heat for 10-15 seconds if browning accelerates too quickly, then return to reduced heat. This technique prevents burning while maintaining the toasting momentum you’ve built.
Microwave Method

The microwave offers the fastest way to toast coconut when you need quick results or small quantities. This method works best for light toasting and requires careful attention to prevent burning.
Recommended Products

ORGANIC SHREDDED COCONUT: Unsweetened, tropical refreshing taste, perfect option for recipes and as an ingredient for low-calorie snacks.

USDA Certified Organic Unsweetened Shredded Coconut

Coconuts are the fruit and seeds of the coconut palm, a tropical palm tree growing in warm coastal climates and a cultural icon of the tropics. We bring you the finest dried and unsweetened shredded coconut, conveniently packed in a resealable pouch for extra lasting freshness.
Instructions
Place your coconut in a microwave-safe dish and spread it evenly across the bottom. Use a glass pie plate or shallow ceramic dish for optimal heat distribution. Avoid deep bowls that create uneven cooking layers.
Microwave on high power for 30-second intervals. Remove the dish after each interval and stir the coconut thoroughly with a fork or small spoon. The coconut will heat unevenly in the microwave so stirring becomes critical for uniform browning.
Continue this process for 2-4 intervals depending on your desired level of toasting. Watch for color changes from white to light golden. The coconut should develop a fragrant aroma as it toasts.
Remove immediately once you achieve your preferred color. The coconut will continue cooking slightly from residual heat so err on the side of lighter toasting. Transfer to a cool plate to stop the cooking process.
Power and Timing Settings
Adjust your microwave settings based on the type and amount of coconut you’re toasting. These guidelines ensure consistent results:
| Coconut Type | Power Level | Initial Time | Additional Intervals |
|---|---|---|---|
| Shredded coconut (1/2 cup) | High (100%) | 30 seconds | 15-30 seconds |
| Coconut flakes (1/2 cup) | Medium-High (80%) | 45 seconds | 30 seconds |
| Fresh grated coconut (1/2 cup) | High (100%) | 45 seconds | 30-45 seconds |
| Large batch (1 cup) | Medium-High (80%) | 1 minute | 30-45 seconds |
Microwaves vary significantly in power output. Start with shorter intervals if your microwave runs hot. Fresh coconut requires longer cooking times due to higher moisture content. Coconut flakes need reduced power to prevent burning their delicate edges.
Air Fryer Method
The air fryer provides precise temperature control and even heat circulation for perfectly toasted coconut. This method combines the convenience of the oven method with the quick results of stovetop cooking.
Recommended Products

One 14 oz bag of Baker's Sweetened Coconut Angel Flake Coconut


🍟 COCONUT FANCY SHRED FLAKES 🍟 – We harvest mature coconuts, slice up the coconut meat, and toast it to perfection using a recipe that's true to our roots. It is a perfect combination for baking cakes and cookies because the toasted coconut fancy shred add crunch to food. Sprinkle some on top of your desserts to make a fancy presentation.
Instructions
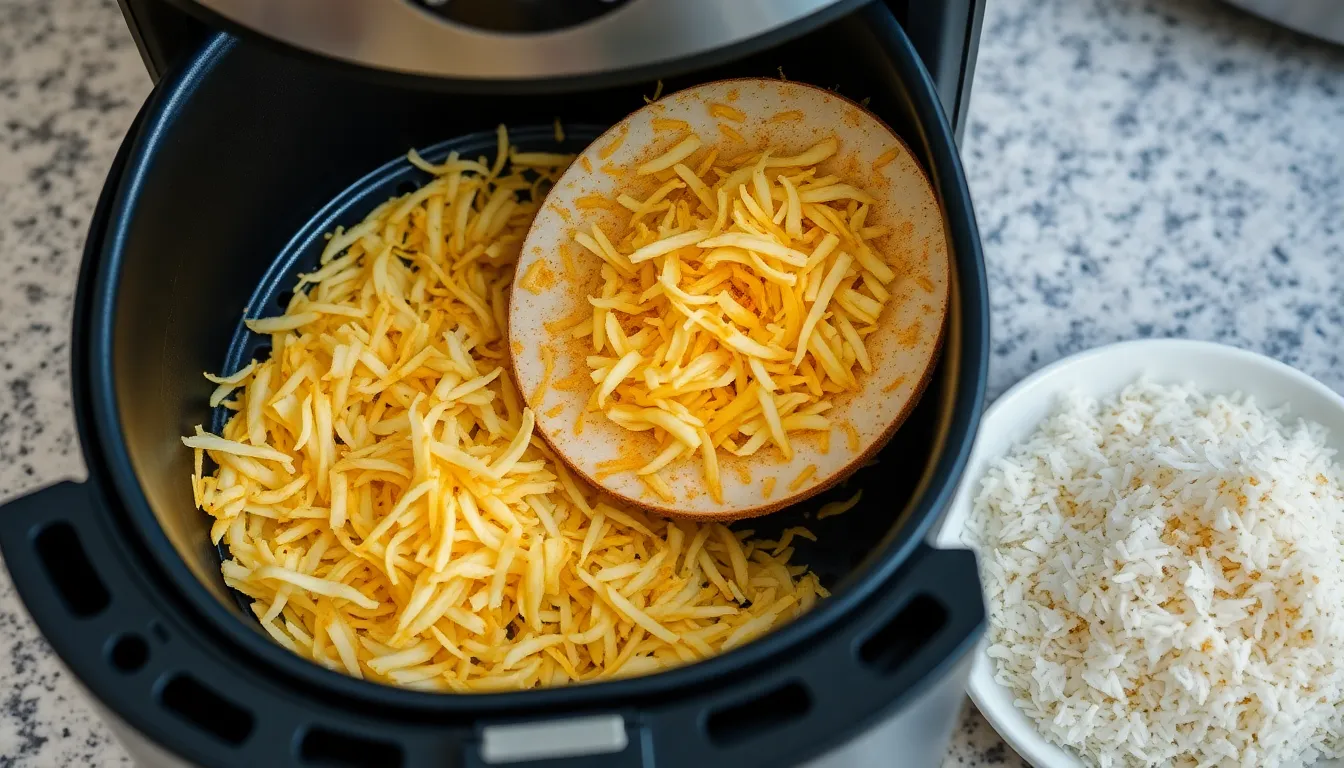
Preheat your air fryer to 300°F for 2-3 minutes to ensure even heating. Spread 1 cup of shredded coconut or coconut flakes in a single layer in the air fryer basket. Avoid overcrowding the basket as this prevents proper air circulation and leads to uneven browning.
Set the timer for 2 minutes and start the air fryer. Open the basket and shake it gently to redistribute the coconut. The coconut should begin showing light golden edges at this point.
Continue cooking in 1-minute intervals while shaking the basket after each interval. Watch the coconut closely as it transitions from white to light golden to deep golden brown. The entire process typically takes 4-6 minutes depending on your desired level of toasting.
Remove the basket immediately when the coconut reaches your preferred golden color. Transfer the toasted coconut to a plate and spread it out to cool completely. The coconut will continue cooking slightly from residual heat so remove it just before it reaches your target color.
Temperature and Time Guidelines
| Coconut Type | Temperature | Initial Time | Additional Time | Total Time Range |
|---|---|---|---|---|
| Shredded coconut (fine) | 300°F | 2 minutes | 1-minute intervals | 3-5 minutes |
| Shredded coconut (medium) | 300°F | 2 minutes | 1-minute intervals | 4-6 minutes |
| Coconut flakes (large) | 280°F | 2 minutes | 1-minute intervals | 5-7 minutes |
| Fresh grated coconut | 280°F | 3 minutes | 1-minute intervals | 6-8 minutes |
Start with lower temperatures for coconut flakes and fresh coconut as they contain more moisture and brown faster than processed varieties. Reduce the temperature to 280°F if your air fryer runs hot or if you notice the coconut browning too quickly during the first interval. Always prioritize visual cues over timing as air fryer models vary in their heating efficiency.
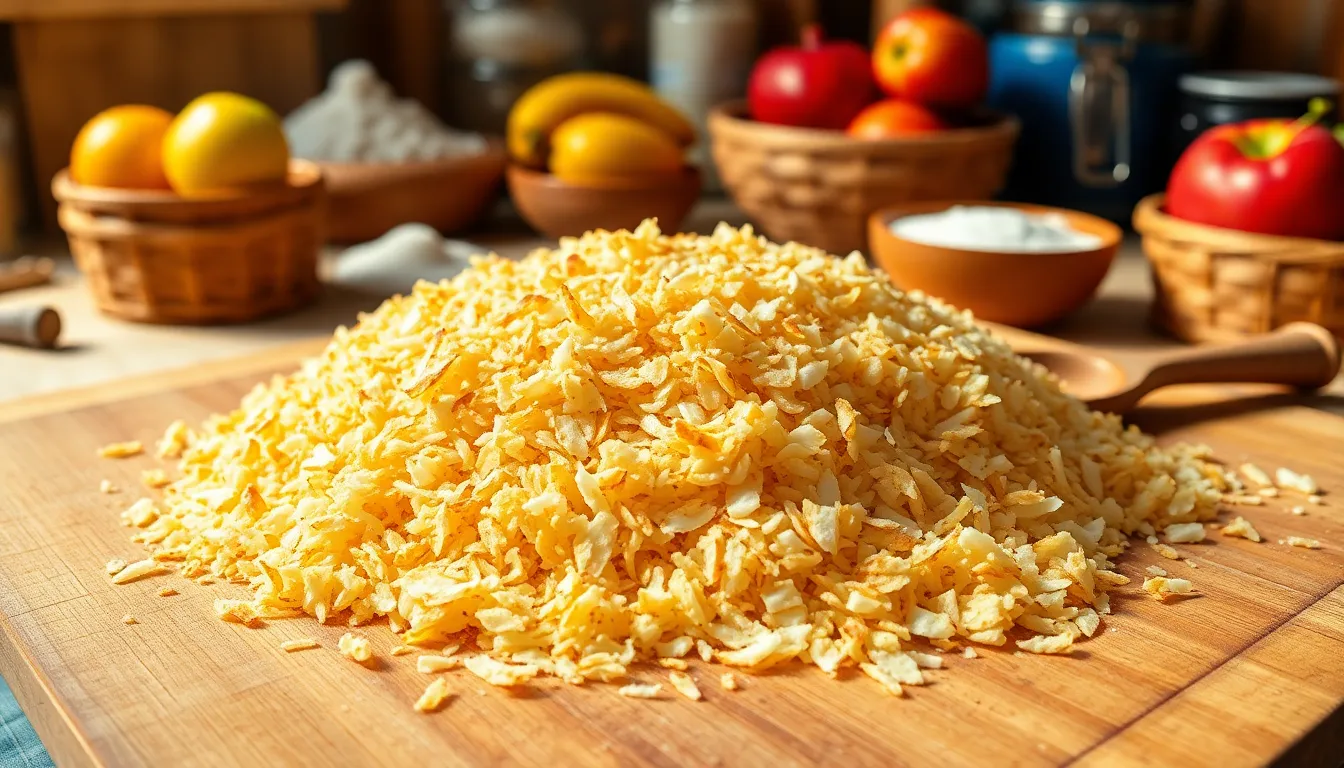
Signs of Perfectly Toasted Coconut
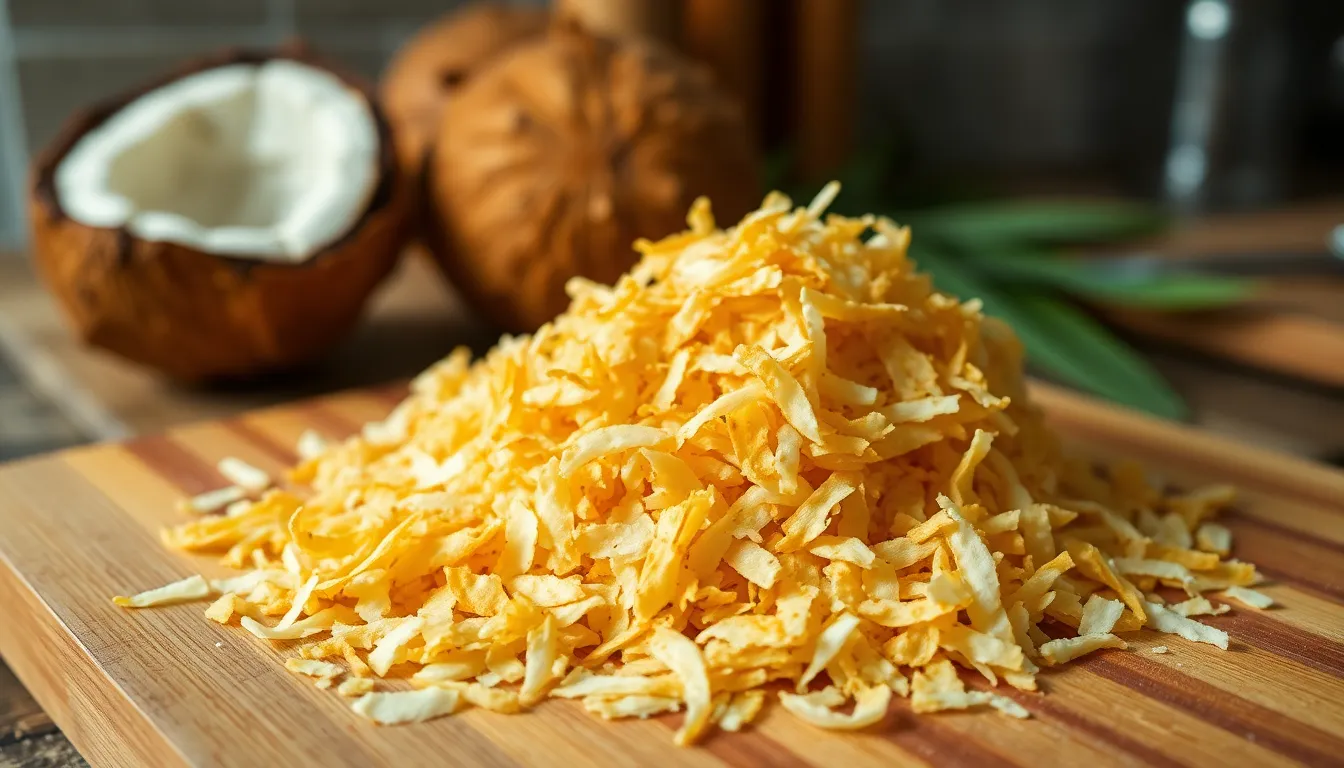
You’ll know your coconut has reached perfect toastiness through a combination of visual cues, aroma, and timing. The most reliable indicator is color transformation from bright white to a beautiful golden brown that develops gradually across the surface.
Recommended Products

🍃【140 SHEETS - HIGH VALUE PACK】 Get 140 generously sized sheets! This large pack offers exceptional value compared to smaller packs, ensuring you're always prepared for baking, roasting, and meal prep.
WIDER AND FREE LENGTH WITH ATTACHED CUTTER: The parchment is 15 in W and 200 ft L, wider than 12 in’s and longer than others, especially fit jelly roll pans. The paper can be cut into any length with a perfect straight edge by the attached metal cutter in the box to meet your different baking needs. Very easy to tear and cut, no more manual cutting or edge-trimming with scissors.

EASY BAKING – No more thin, messy parchment. Our non-stick, unbleached paper ensures clean baking trays and perfect pastries, breads, and more.
Visual Indicators
Golden brown color signals the ideal doneness for most recipes. Your coconut should display an even amber hue throughout without any white patches remaining. Dark brown spots indicate over-toasting and will create bitter flavors in your finished dish.
Uniform browning across all pieces shows proper heat distribution and constant stirring. Shredded coconut will develop a consistent golden color while coconut flakes may show slightly deeper browning at the edges. Fresh coconut pieces typically display a more mottled appearance due to varying moisture content.
Aromatic Cues
Rich nutty fragrance emerges as coconut oils release during toasting. This sweet aroma intensifies gradually and reaches peak intensity when perfectly toasted. Burnt or acrid smells warn of over-toasting and require immediate removal from heat.
The fragrance should remind you of toasted nuts with subtle tropical sweetness. Professional bakers rely on this aromatic indicator more than visual cues because it signals the moment oils have properly developed.
Textural Changes
Crispy texture replaces the original soft consistency as moisture evaporates. Your toasted coconut should feel dry and crunchy when cooled rather than chewy or soggy. Properly toasted coconut maintains its structure without crumbling excessively.
Test doneness by removing a small piece and allowing it to cool completely. The cooled sample should produce an audible crunch when bitten and feel completely dry between your fingers.
Timing Reference
| Coconut Type | Method | Perfect Timing |
|---|---|---|
| Shredded coconut | Stovetop | 3-5 minutes |
| Coconut flakes | Stovetop | 2-4 minutes |
| Fresh grated | Stovetop | 5-7 minutes |
| Shredded coconut | Oven | 8-12 minutes |
| Coconut flakes | Oven | 6-10 minutes |
| Any type | Microwave | 2-4 minutes total |
| Any type | Air fryer | 3-6 minutes |
Temperature consistency throughout the toasting process ensures even results. Your coconut reaches perfect doneness when all pieces display the same golden brown color without any remaining white areas or dark burnt spots.
Storage Instructions
Proper storage maintains your toasted coconut’s crispy texture and rich flavor for weeks. Following these guidelines ensures your coconut stays fresh and ready to enhance your favorite dishes.
Recommended Products

The size will be approximately 15” x 5” x 5.5” which is compact and suitable for people who are 5.3 feet tall or less and 176 pounds or less.

Say Goodbye to Tedious Manual Grating: Boasting a 150W robust motor, this coconut grater zips through up to 35kg of coconut per hour—perfect for home bakers, restaurant chefs, or small-batch producers. Cut down on prep time and tackle large batches effortlessly, whether you’re making coconut oil, shreds, or milk!

Free Extra Cutter Included – Comes with a bonus cutter attachment for added versatility and value.
Short-Term Storage
Store freshly toasted coconut in an airtight container at room temperature for up to one week. Glass jars with tight-fitting lids work exceptionally well for maintaining crispness and preventing moisture absorption.
Keep your container away from direct sunlight and heat sources to preserve the coconut’s golden color and nutty flavor. A pantry or kitchen cabinet provides the ideal storage environment.
Check the coconut daily for any signs of moisture or clumping. If you notice the pieces sticking together, spread them on a baking sheet for 2-3 minutes in a 300°F oven to restore crispness.
Label your container with the toasting date to track freshness. Room temperature storage works best when you plan to use the coconut within several days.
Long-Term Storage
Freeze toasted coconut in freezer-safe bags or containers for up to six months without losing quality. Remove as much air as possible from freezer bags to prevent freezer burn and maintain texture.
Divide large batches into smaller portions before freezing to avoid repeated thawing and refreezing. This approach keeps unused portions fresh while allowing easy access to smaller amounts.
Refrigerate toasted coconut in airtight containers for up to one month when you need medium-term storage. The cool temperature slows down oil rancidity while maintaining the coconut’s crispy texture.
Thaw frozen coconut at room temperature for 10-15 minutes before using. You can also use frozen coconut directly in baked goods or heated dishes without thawing first.
Uses for Toasted Coconut
Your perfectly toasted coconut transforms into a versatile ingredient that elevates both sweet and savory dishes with its rich nutty flavor and crispy texture. The golden brown flakes add depth and complexity wherever you choose to use them.
Recommended Products

The information below is per-pack only

One, 24 oz. bag (1.5 lbs.)

Unsweetened, unsulfured and preservative free, this coconut is ideal for cookies, cakes and muffins
Baking Applications
Toasted coconut brings exceptional flavor to homemade cookies, muffins, and quick breads. You can fold it directly into cookie dough for chocolate chip coconut cookies or oatmeal varieties that benefit from the extra crunch. Banana bread becomes more complex when you swirl toasted coconut throughout the batter before baking.
Layer cakes gain sophistication when you press toasted coconut into buttercream frosting or fold it into the cake batter itself. Your coconut cake recipes will achieve deeper flavor profiles compared to using raw coconut. Scones and biscuits develop a tropical twist when you incorporate these golden flakes into the dry ingredients.
Pie crusts become more interesting when you substitute a portion of flour with finely ground toasted coconut. You can also sprinkle toasted coconut over fruit pies before baking for added texture contrast. Homemade granola bars and energy bites benefit from the concentrated coconut flavor that toasting provides.
Dessert Toppings
Ice cream sundaes reach new heights when you sprinkle toasted coconut over vanilla or chocolate flavors. The contrast between cold creamy ice cream and warm crispy coconut creates an irresistible combination. Your puddings and custards gain visual appeal and textural interest with a generous toasted coconut garnish.
Yogurt parfaits become more satisfying when you layer toasted coconut between yogurt and fresh fruit. The nutty flavor complements berries particularly well while adding satisfying crunch. You can transform simple oatmeal into a gourmet breakfast by stirring in toasted coconut along with maple syrup and fresh fruit.
Chocolate desserts pair beautifully with toasted coconut’s rich flavor. You can press it into the sides of frosted cakes or sprinkle it over chocolate mousse for an elegant presentation. Fruit salads gain tropical flair when you toss in toasted coconut flakes just before serving.
Savory Dishes
Curry dishes benefit tremendously from toasted coconut’s deeper flavor profile compared to raw varieties. You can stir it into Thai curries during the final minutes of cooking or use it as a garnish for Indian dal preparations. The concentrated flavor holds up better against bold spices and aromatics.
Salads gain unexpected sophistication when you sprinkle toasted coconut over mixed greens with tropical fruits. Asian-inspired slaws become more complex with the addition of these golden flakes combined with lime dressing. You can incorporate toasted coconut into grain salads with quinoa or rice for added texture.
Roasted vegetables develop enhanced flavor when you toss them with toasted coconut before serving. Cauliflower and Brussels sprouts particularly benefit from this treatment. Your stir-fry dishes gain authenticity when you finish them with a sprinkle of freshly toasted coconut.
Soup garnishes become more interesting with toasted coconut additions. You can float them on top of butternut squash soup or Thai-inspired broths for visual appeal and flavor enhancement. Rice pilafs and grain bowls develop restaurant-quality presentation when finished with these aromatic flakes.
Troubleshooting Common Issues
Recommended Products

Pack of 6, 84 ounces total

✔️ PREMIUM QUALITY, RAW, VEGAN, KETO: These Coconut Chips by Food to Live are of Premium Quality, 100% Raw, Vegan, Keto and Paleo diets friendly.
✔️ PREMIUM QUALITY, RAW, VEGAN, KETO: These Coconut Chips by Food to Live are of Premium Quality, 100% Raw, Vegan, Keto and Paleo diets friendly.
Coconut Burns Too Quickly
Your heat setting might be too high if coconut burns before achieving golden color. Medium-low heat allows controlled browning and prevents scorching. Stir continuously every 30 seconds to ensure even heat distribution across all pieces. Remove the pan from heat immediately when you notice dark spots forming on any coconut pieces.
Uneven Browning Results
Large coconut clumps prevent uniform toasting and create inconsistent results. Break apart any compressed pieces before heating begins. Spread coconut in a single thin layer across your pan surface. Avoid overcrowding the cooking surface which blocks proper air circulation and heat contact.
| Common Browning Issues | Solution | Prevention Method |
|---|---|---|
| Light spots remain | Increase cooking time by 1-2 minutes | Stir more frequently |
| Dark patches appear | Lower heat immediately | Use medium-low temperature |
| Clumpy texture | Break apart before cooking | Measure and separate first |
Coconut Tastes Bitter or Off
Stale coconut produces bitter flavors that toasting cannot improve. Check expiration dates on packaged coconut before beginning the process. Fresh coconut should smell sweet and nutty without any sour or musty odors. Replace old coconut with fresh product for optimal taste results.
Coconut Won’t Crisp Properly
Moisture content affects final texture and crispiness levels significantly. Pat fresh grated coconut dry with paper towels before toasting begins. Store-bought coconut exposed to humidity may require longer cooking times. Allow toasted coconut to cool completely on your plate before testing texture.
Coconut Sticks to Pan
Insufficient stirring causes coconut to adhere to pan surfaces during cooking. Use a wooden spoon or silicone spatula to keep pieces moving constantly. Non-stick or well-seasoned pans work best for this toasting technique. Add no oil or butter since coconut contains natural oils for cooking.
Color Changes Too Slowly
Low heat settings extend cooking times beyond normal ranges. Increase temperature to medium heat if browning progresses too slowly. Thin coconut layers toast faster than thick piles of shredded pieces. Consider switching to a wider pan for better heat exposure across more surface area.
Conclusion
Now you’re equipped with everything you need to master the art of toasting coconut. This simple technique transforms ordinary coconut into a flavorful ingredient that elevates countless dishes from breakfast bowls to gourmet desserts.
Remember that patience and attention are your best tools. Whether you choose the stovetop for precision or the oven for convenience each method delivers delicious results when you watch for that perfect golden color and rich aroma.
Your kitchen adventures just got more exciting. Start experimenting with toasted coconut in your favorite recipes and discover how this small change creates big flavor impacts that’ll impress family and friends alike.