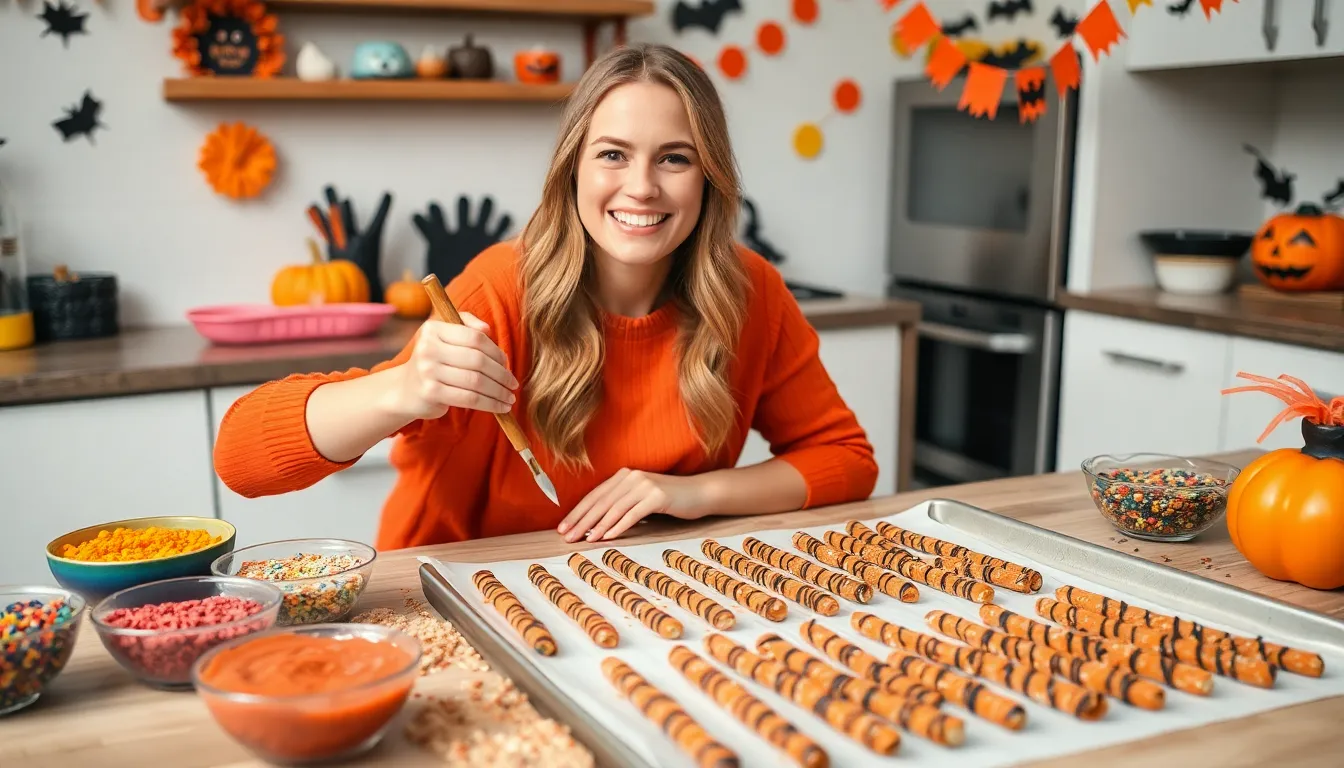
What You’ll Need for Halloween Pretzel Rods
Creating these spooky treats requires just a handful of simple ingredients and basic kitchen tools. You’ll have everything ready to create impressive Halloween snacks that look professionally made.
Recommended Products
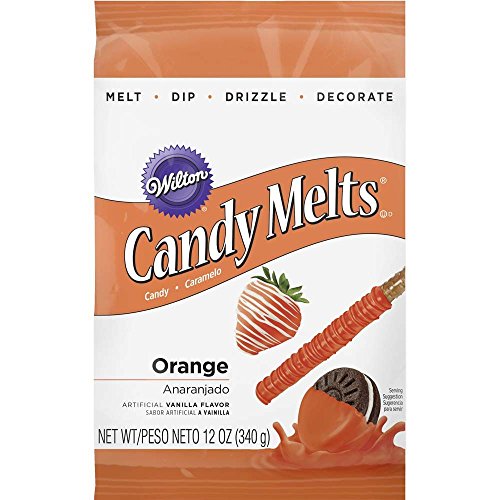
Brand confectionery coating
Use Candy Melts candy for cake pops, cookies and molded candies with Wilton molds
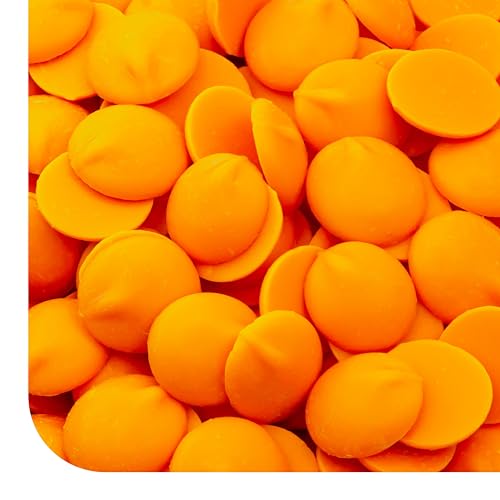
1-pound pack of Orange Chocolate Melts delivers smooth, consistent melting with a creamy vanilla flavor, making these chocolate wafers easy to use for seasonal baking, candy making, and decorative dessert projects
Essential Ingredients
You’ll need these key components to create your Halloween pretzel rods:
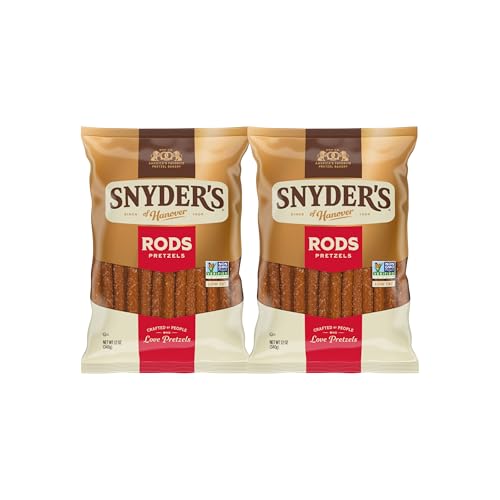
- 1 bag (8-10 oz) pretzel rods
- 12 oz orange candy melts or white chocolate chips
- 6 oz black candy melts or dark chocolate chips
- 2 tablespoons coconut oil or shortening (divided)
- Halloween sprinkles (orange and black mix)
- Mini chocolate chips
- Candy eyes
- Orange and black food coloring (if using white chocolate)
Required Equipment and Tools
Your kitchen setup needs these essential items for smooth preparation:
- 2 microwave-safe bowls for melting chocolate
- Tall drinking glasses or narrow containers for dipping
- Large baking sheet
- Parchment paper or silicone baking mat
- Small spoon for drizzling
- Fork for dipping assistance
- Small squeeze bottles or piping bags (optional)
- Wire cooling rack
The tall glasses serve as perfect dipping containers since pretzel rods need deep vessels for complete coating. Your microwave-safe bowls should hold at least 2 cups each to accommodate the melted chocolate without overflow.
Preparing Your Chocolate Coating
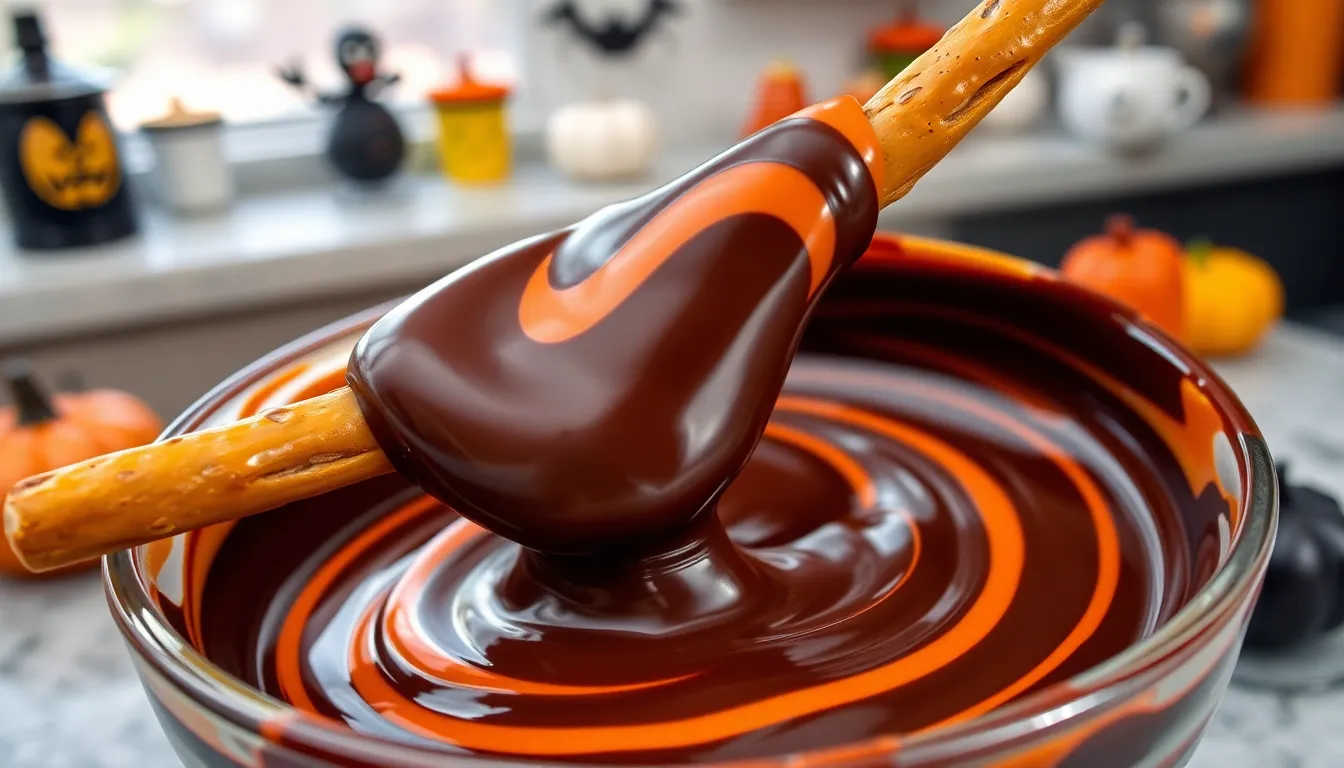
Creating the perfect chocolate coating transforms ordinary pretzel rods into irresistible Halloween treats. The key lies in achieving smooth melted chocolate that flows easily and sets with a glossy finish.
Recommended Products

10-ounce bag of black colored candy wafers; artificially flavored

Black color for eye-catching treats

Use vanilla-flavored Candy Melts candy for cake pops, cookies and molded candies with Wilton molds
Melting the Chocolate
Place your candy melts in a microwave-safe bowl and add 1 tablespoon of coconut oil for every 12 ounces of chocolate. The coconut oil creates a smoother consistency that makes dipping effortless. Microwave the mixture in 30-second intervals at 50% power to prevent overheating. Stir thoroughly between each interval using a dry spoon to ensure even melting.
Continue heating in short bursts until the chocolate reaches a silky smooth texture. You’ll know it’s ready when the mixture coats the back of your spoon evenly without any lumps. The total melting time typically ranges from 90 seconds to 2 minutes depending on your microwave’s wattage. Avoid rushing this process as overheated chocolate becomes thick and difficult to work with.
Adding Food Coloring
Gel food coloring works best for tinting your melted chocolate without affecting its consistency. Add just a few drops of orange or black gel coloring to create traditional Halloween hues. Mix the coloring thoroughly with a clean spoon until you achieve your desired shade intensity.
Start with less coloring than you think you need since gel colors are highly concentrated. You can always add more but removing excess color proves impossible. For orange coating aim for a vibrant pumpkin shade while black should be deep and rich. Keep stirring until no streaks remain and the color appears uniform throughout the chocolate mixture.
Test the consistency by dipping a pretzel rod into the coating. The chocolate should flow smoothly down the sides without being too thick or too thin. If the mixture seems too thick add another teaspoon of coconut oil and stir well.
Creating Halloween Pretzel Rod Designs
Transform your perfectly melted chocolate into stunning Halloween treats with these creative design techniques. Each design offers a unique way to showcase your festive pretzel rods.
Recommended Products

Crunchy pretzel rods: dark and flavorful pretzel rods are perfect for dipping, decorating or snacking

Versatile and Convenient: Indulge in hassle-free candy-making with these 3 tall microwavable dipping containers. Melt, dip, and drizzle your way to delightful pretzel rods, cake pops and more.
The information below is per bag only
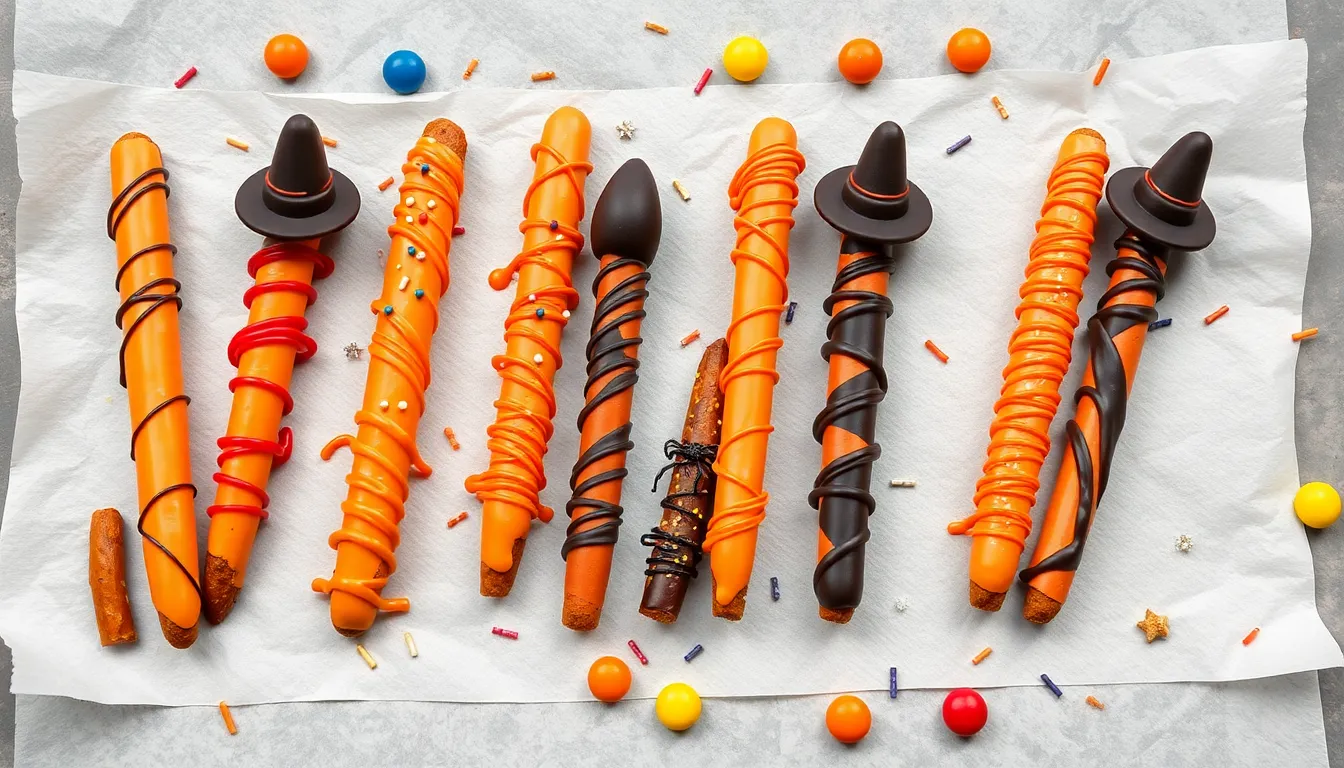
Classic Orange and Black Pretzels
Start with your prepared orange chocolate coating and dip each pretzel rod completely into the mixture. Allow excess chocolate to drip back into the bowl before placing the coated pretzel on parchment paper. While the orange coating remains wet, drizzle melted black chocolate in zigzag patterns across the surface using a fork or squeeze bottle.
Create alternating designs by reversing the color scheme with black base coatings and orange drizzles. Rotate the pretzel rod slightly as you drizzle to achieve spiral patterns that wrap around the entire surface. The contrasting colors create striking visual appeal that captures the essence of Halloween festivities.
Spooky Spider Pretzels
Dip your pretzel rods in dark chocolate and place them on parchment paper while still wet. Break mini pretzel twists in half to create eight spider leg pieces per rod. Press four broken pretzel pieces into each side of the chocolate coating to form realistic spider legs.
Add two small white chocolate chips or candy eyes near the top of each pretzel rod while the coating remains soft. Use a toothpick to create small indentations for more detailed spider features. The combination of dark chocolate bodies and pretzel twist legs creates an impressively spooky arachnid effect.
Witch Hat Pretzel Rods
Coat your pretzel rods in purple or black chocolate and allow them to set completely on parchment paper. Attach a Hershey’s Kiss or chocolate chip cookie cone to the top of each rod using a small dab of melted chocolate as adhesive. The pointed shape creates an instant witch hat silhouette.
Decorate the hat band area with orange or green sprinkles while the adhesive chocolate remains wet. Add small star shaped sprinkles around the base for magical accents. These whimsical designs transform ordinary pretzel rods into enchanting witch accessories.
Pumpkin Themed Pretzel Treats
Dip pretzel rods in bright orange chocolate coating and place them vertically on parchment paper. Use a fork to create vertical groove lines down the length of each rod while the chocolate remains soft, mimicking pumpkin ridges. The textured surface adds authentic pumpkin character to your treats.
Top each rod with a small piece of green candy or a mini pretzel piece to represent the pumpkin stem. Sprinkle orange sugar crystals over the wet chocolate for added sparkle and texture. Create faces on some rods using melted dark chocolate dots and triangular shapes for traditional jack o’lantern expressions.
Step-by-Step Instructions
Follow these detailed instructions to create your spooky Halloween pretzel rods with perfect chocolate coatings and festive decorations. These steps ensure professional looking results every time.
Prep Work
Begin by lining your baking sheet with parchment paper to prevent sticking during the cooling process. Arrange your pretzel rods on a separate plate or tray for easy access while dipping. Set up your workspace by placing tall glasses or narrow containers near your melting station for optimal dipping depth.
Melt your first color of candy melts in a microwave safe bowl using 30 second intervals until smooth. Add one teaspoon of coconut oil to achieve the perfect consistency for coating. Stir the mixture thoroughly between each heating session to prevent scorching. Pour the melted chocolate into your tall glass while it remains warm and workable.
Prepare additional colors by repeating the melting process in separate bowls. Keep extra melted chocolate warm by placing bowls over barely simmering water if working time extends beyond 15 minutes. Organize your decorative elements including sprinkles and candies within arm’s reach of your dipping station.
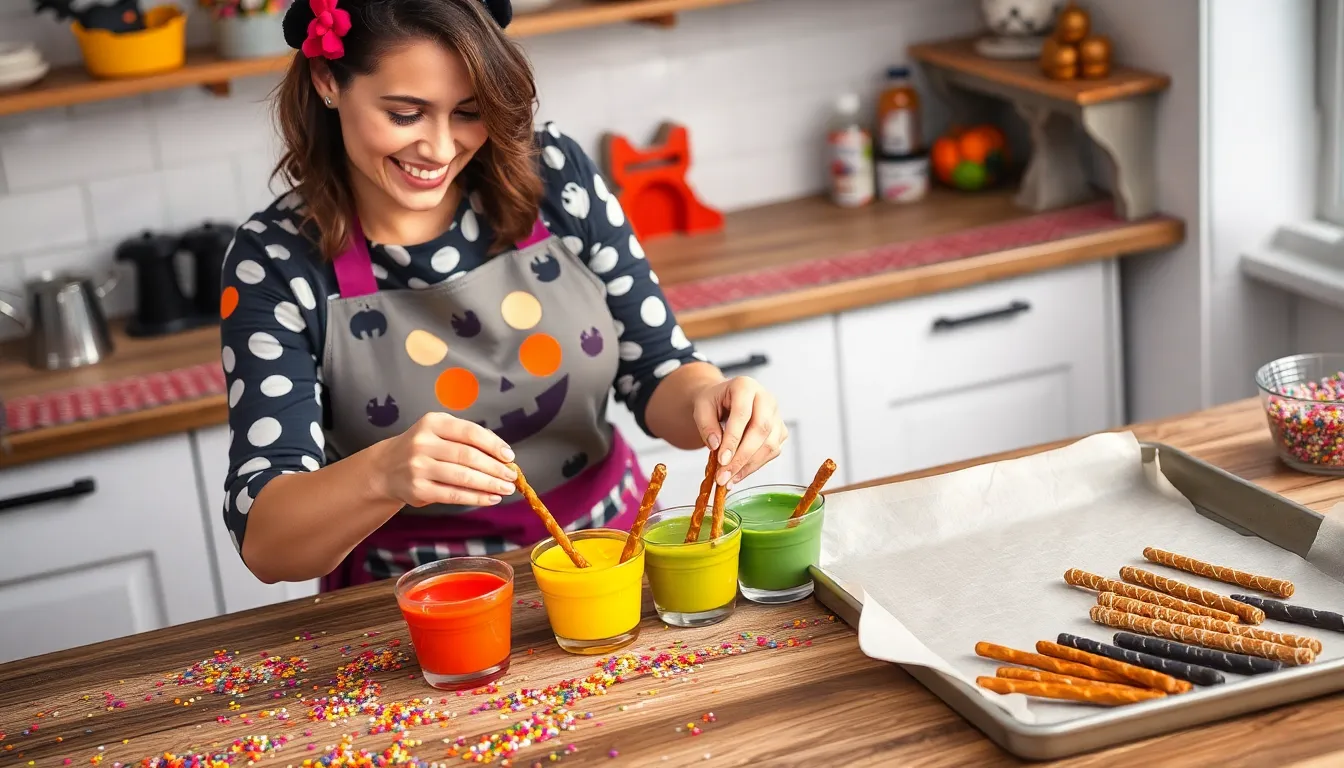
Dipping and Coating Process
Hold each pretzel rod by the uncoated end and dip it straight down into the melted chocolate. Rotate the pretzel slowly to ensure complete coverage on all sides. Lift the rod straight up and allow excess chocolate to drip back into the glass for 10 to 15 seconds.
Gently tap the pretzel against the rim of the glass to remove any remaining drips. Place the coated pretzel immediately onto your prepared parchment lined baking sheet. Work quickly while the chocolate remains fluid for the smoothest finish.
Space each pretzel rod at least one inch apart on the baking sheet to prevent them from touching during the setting process. Complete all pretzels of the same color before switching to different chocolate colors. Clean your dipping glass between colors to maintain vibrant hues.
Adding Decorative Touches
Apply sprinkles and decorative elements while the chocolate coating remains wet and tacky. Roll freshly dipped pretzels in Halloween themed sprinkles or press decorative candies directly onto the surface. Work swiftly as chocolate begins setting within 2 to 3 minutes at room temperature.
Create drizzle patterns by filling a piping bag or squeeze bottle with contrasting colored melted chocolate. Move the bag in zigzag motions across the set base coating for professional looking designs. Allow the base coating to firm up for 5 minutes before adding drizzle details.
Attach larger decorative elements like candy eyes or mini chocolate chips using a small dab of melted chocolate as edible glue. Press decorations firmly but gently to ensure proper adhesion. Refrigerate completed pretzel rods for 10 minutes to fully set all chocolate layers before serving or packaging.
Drying and Setting Your Halloween Treats

Your decorated pretzel rods need proper drying time to achieve that perfect crispy coating that won’t smudge or crack. Place your finished treats on the parchment-lined baking sheet with adequate spacing between each rod to prevent sticking. Allow at least one inch of space between pretzels to ensure proper air circulation around each treat.
Room temperature setting works well for most chocolate coatings and takes approximately 30 minutes for a firm finish. Position your baking sheet in a cool dry area away from direct sunlight or heat sources that might cause the chocolate to bloom or develop white spots. Kitchen counters work perfectly as long as they stay consistently cool during the setting process.
Refrigeration speeds up the setting time significantly and creates an extra-crisp coating texture. Transfer your baking sheet to the refrigerator for 15-20 minutes if you need faster results or live in a warm humid climate. Cold temperatures help the candy melts solidify quickly while maintaining their vibrant Halloween colors.
| Setting Method | Time Required | Best For |
|---|---|---|
| Room Temperature | 30 minutes | Standard conditions |
| Refrigeration | 15-20 minutes | Quick setting or warm weather |
| Freezer | 5-10 minutes | Emergency speed setting |
Test the coating firmness by gently touching the chocolate surface with your fingertip. Properly set treats will feel completely solid without any tacky or soft spots that indicate incomplete drying. The coating should not leave any residue on your finger when touched.
Storage becomes important once your pretzel rods reach the perfect set consistency. Layer them carefully in airtight containers with parchment paper between each level to prevent scratching or sticking. Properly dried Halloween pretzel rods maintain their quality for up to one week at room temperature or two weeks when refrigerated.
Package your finished treats in clear cellophane bags tied with orange and black ribbons for gift giving or party favors. The sturdy set coating protects the decorative elements during transport while showcasing your creative Halloween designs through the transparent wrapping.
Storage and Make-Ahead Tips
Store your finished Halloween pretzel rods in airtight containers at room temperature for up to one week. Layer the treats between sheets of parchment paper to prevent sticking and maintain their decorative appearance. Keep containers in a cool, dry place away from direct sunlight to preserve the chocolate coating’s glossy finish.
Refrigerate the pretzel rods for extended freshness lasting up to two weeks. Place them in sealed containers with parchment paper dividers to protect delicate decorations. Allow chilled treats to come to room temperature for 10-15 minutes before serving to restore optimal texture and flavor.
Prepare these festive snacks up to five days before your Halloween party. Complete all chocolate coating and decorative elements, then store properly to maintain quality. This advance preparation strategy saves valuable time during busy party planning while ensuring perfect results.
Make-Ahead Timeline:
| Timeline | Task | Storage Method |
|---|---|---|
| 1 week ahead | Prepare all pretzel rods | Airtight container, room temperature |
| 5 days ahead | Add final decorative touches | Layered with parchment paper |
| 2-3 days ahead | Package for gifts | Individual cellophane bags |
| Day of party | Remove from storage | 15 minutes at room temperature |
Avoid freezing decorated pretzel rods as this can cause chocolate to develop white bloom and decorations to crack. The texture changes significantly after thawing, compromising the satisfying crunch that makes these treats so appealing.
Package individual pretzel rods in clear cellophane bags immediately after the chocolate sets completely. Tie bags with festive orange and black ribbons to create party favors that guests can take home. This packaging method protects decorations during transport while showcasing your creative designs.
Separate different colored pretzel rods during storage to prevent color bleeding between chocolate coatings. Group similar designs together in labeled containers for easy identification when serving at parties or events.
Fabulous Calphalon Giveaway Details
Your Halloween pretzel rod making experience could get even better with professional-grade cookware. This exciting giveaway offers you the chance to win premium Calphalon kitchen essentials that will elevate your cooking and baking adventures.
Prize Description
The lucky winner will receive a complete Calphalon cookware set valued at $300. This premium collection includes a 10-piece nonstick cookware set featuring saucepans with covers, a stockpot with cover, and skillets in multiple sizes. You’ll also receive a set of Calphalon measuring cups and spoons, perfect for precise ingredient measurements in your Halloween treats and everyday cooking. The durable hard-anodized aluminum construction ensures even heat distribution, while the stay-cool stainless steel handles provide comfortable grip during cooking. Each piece features a double-layer nonstick interior that releases food effortlessly and cleans up quickly.
How to Enter
Entering this fantastic giveaway requires just a few simple steps. Leave a comment below sharing your favorite Halloween treat or describing how you plan to use these Halloween pretzel rods at your celebration. Follow our social media accounts on Instagram and Facebook for additional entry opportunities. Share this post on your social media platforms using the hashtag #CalphalonHalloweenGiveaway to earn bonus entries. Subscribe to our newsletter for recipe updates and exclusive content to receive your final entry. Each action counts as one entry, giving you multiple chances to win this amazing cookware collection.
Contest Rules and Timeline
| Contest Element | Details |
|---|---|
| Entry Period | October 15 – October 31, 11:59 PM EST |
| Winner Announcement | November 2 |
| Eligibility | US residents 18+ only |
| Maximum Entries | 5 per person |
| Prize Value | $300 USD |
The contest runs from October 15 through October 31 at 11:59 PM Eastern Standard Time. You must be a US resident aged 18 or older to participate. Each person may earn up to five entries through the various entry methods described above. The winner will be selected randomly and announced on November 2 via our blog and social media channels. You have 48 hours to respond to our winner notification email to claim your prize. Shipping is included within the continental United States, and no purchase is necessary to enter or win.
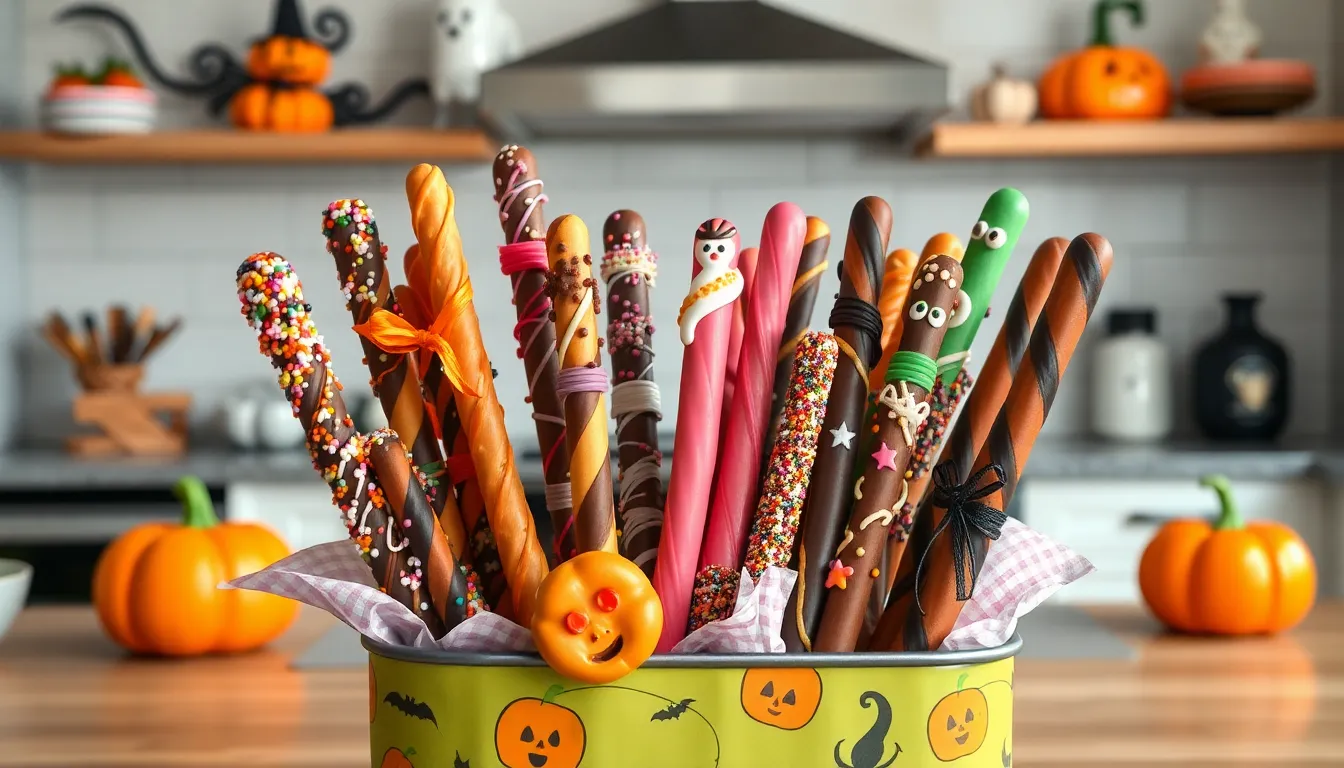
Serving Suggestions for Your Halloween Party
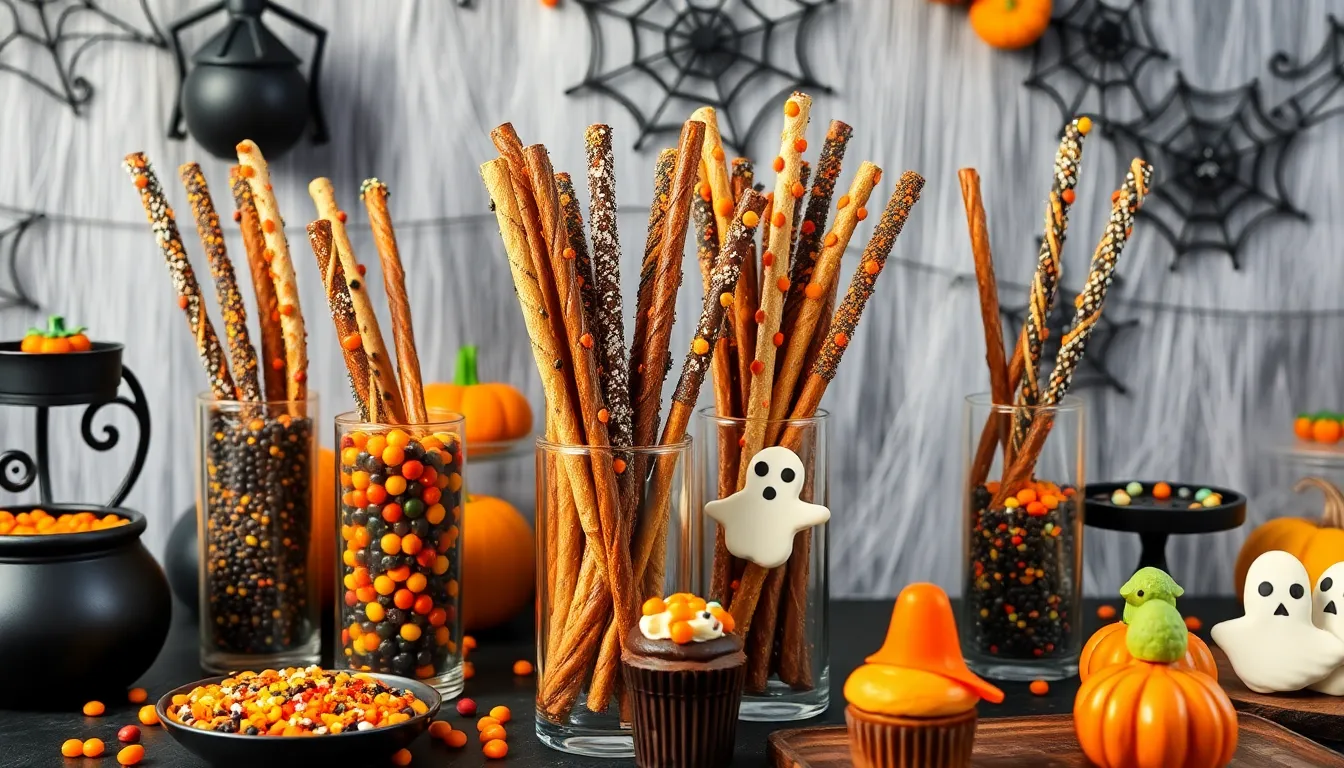
Your Halloween pretzel rods deserve a presentation that matches their spooky charm. Create dramatic displays by arranging the decorated pretzels in tall glass vases or mason jars throughout your party space. Fill the containers with black beans or orange candies at the bottom to secure the pretzel rods upright while adding visual appeal.
Transform your dessert table into a haunted wonderland by grouping pretzel rods by design theme. Position the witch hat pretzels alongside mini cauldrons filled with dry ice for theatrical fog effects. Place spider pretzels near fake cobwebs and plastic spiders for an authentic creepy crawly atmosphere.
Your party guests will love interactive pretzel rod stations where they can customize their own treats. Set up small bowls filled with various sprinkles, mini chocolate chips, and crushed cookies. Provide melted chocolate in squeeze bottles for guests to add their own drizzle patterns and personal touches.
Consider creating themed serving platters that complement your pretzel rod designs. Use black serving trays for orange pumpkin pretzels to create striking contrast. Orange plates showcase the black and white spider designs beautifully while maintaining the Halloween color scheme throughout your presentation.
Package individual pretzel rods in clear cellophane bags tied with festive orange and black ribbons for party favors. Your guests can take these home as memorable treats that extend the Halloween celebration beyond your party. Label each bag with spooky stickers or custom tags featuring your party date.
Incorporate your pretzel rods into larger dessert displays by pairing them with complementary Halloween treats. Surround them with pumpkin cupcakes, ghost brownies, and candy corn to create an impressive spread. The varying heights and textures add visual interest while offering your guests multiple sweet options.
Your beverage station becomes more festive when you use pretzel rods as stirrers for hot chocolate or apple cider. The chocolate coating slowly melts into warm drinks while adding sweetness and flavor. Guests enjoy the dual purpose of these treats as both snack and beverage enhancement.
Create memorable photo opportunities by arranging pretzel rods as part of your Halloween decorations. Stick them into foam pumpkins or use them to create edible centerpieces alongside autumn leaves and mini gourds. Your party photos will capture both the festive atmosphere and delicious treats you created.
Conclusion
These Halloween pretzel rods aren’t just treats—they’re edible art that’ll transform your spooky celebrations. You’ve got everything you need to create stunning chocolate-coated masterpieces that’ll have guests reaching for seconds (and thirds).
The best part? You can prep them days ahead and store them perfectly for your Halloween festivities. Whether you’re hosting a party or need last-minute treats your kids will love these customizable goodies never disappoint.
Don’t forget about the Calphalon giveaway opportunity! While you’re creating these delicious pretzel rods you could win premium cookware that’ll elevate all your future kitchen adventures. Your Halloween just got sweeter and your kitchen could get a serious upgrade too.