
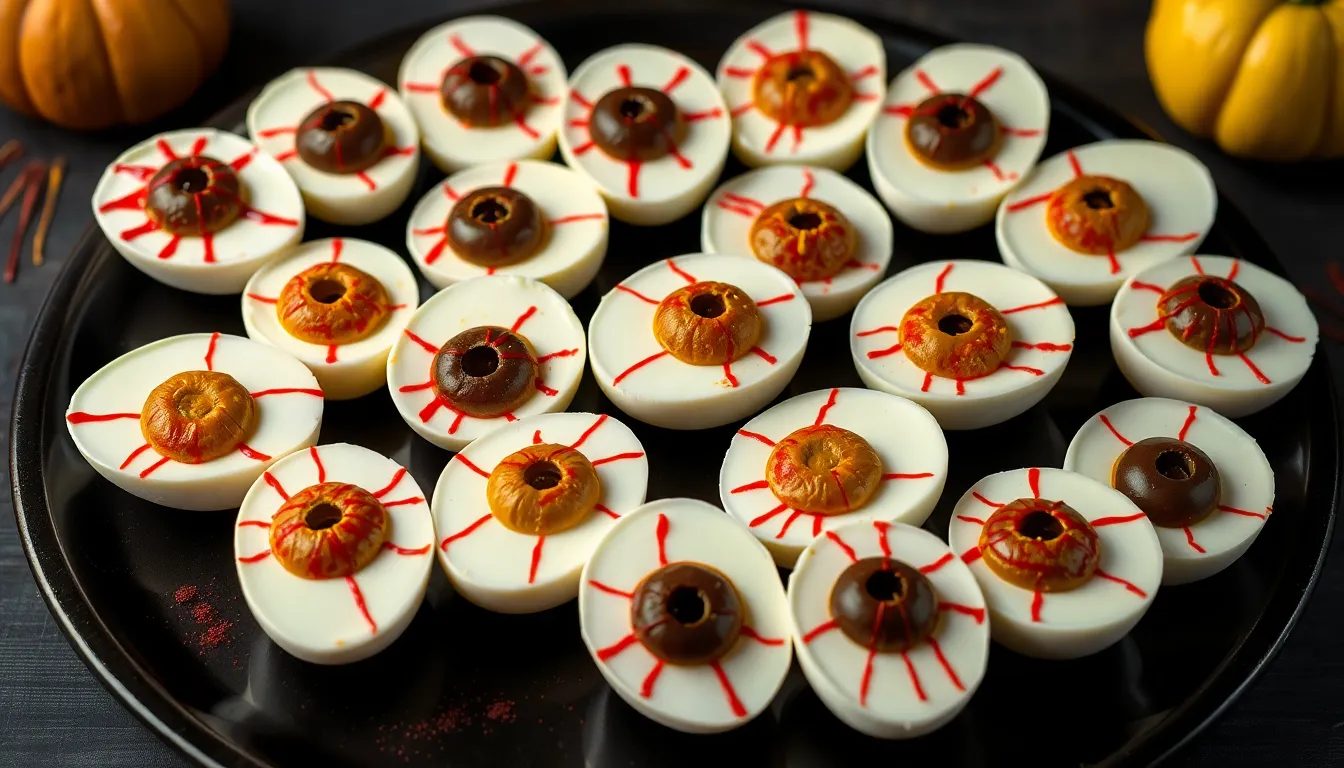
Ingredients
Transform ordinary kitchen staples into spine-chilling Halloween treats with these carefully selected ingredients. Each component plays a crucial role in creating realistic bloodshot eyes that will captivate your party guests.
Recommended Products
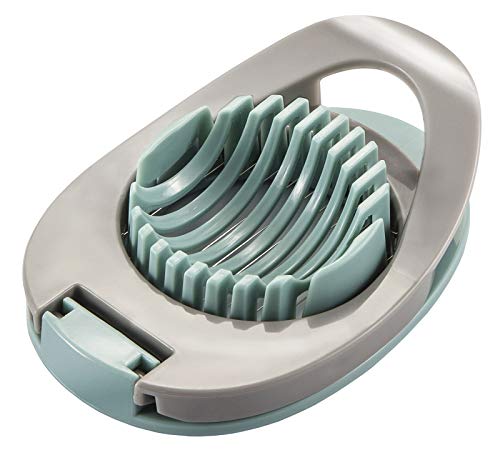
The egg slicer cuts hard boiled eggs into perfect 5 mm slices with stainless-steel wires

【FOOD SLICER】Egg Slicer is very suitable for cutting hard-boiled eggs(Strawberry, banana, mushroom, butter, cheese) into neat slices. Just put the food into the slicer and push it down. You will get neat slices every time

【Effortless Slicing】The egg slicer is made of sturdy stainless steel wires. It gives clean cuts every time. The durable design ensures precise cutting and stands up to repeated use, making it a reliable kitchen tool for your egg-slicing needs
For the Eyeballs
- 6 large hard-boiled eggs, cooled and peeled
- 1/2 cup mayonnaise
- 1 tablespoon yellow mustard
- 1/4 teaspoon salt
- 1/8 teaspoon black pepper
- 12 black olives, pitted and halved
- 6 green olives, pitted and sliced into rounds
For the Bloodshot Effect
- 1 tablespoon tomato paste
- 2 tablespoons ketchup
- 1/2 teaspoon red food coloring
- 1/4 teaspoon water
- 1 small fine-tip paintbrush or toothpick
For Assembly
- Large serving platter
- Small mixing bowl
- Sharp knife
- Spoon for filling
- Paper towels for cleanup
Equipment Needed
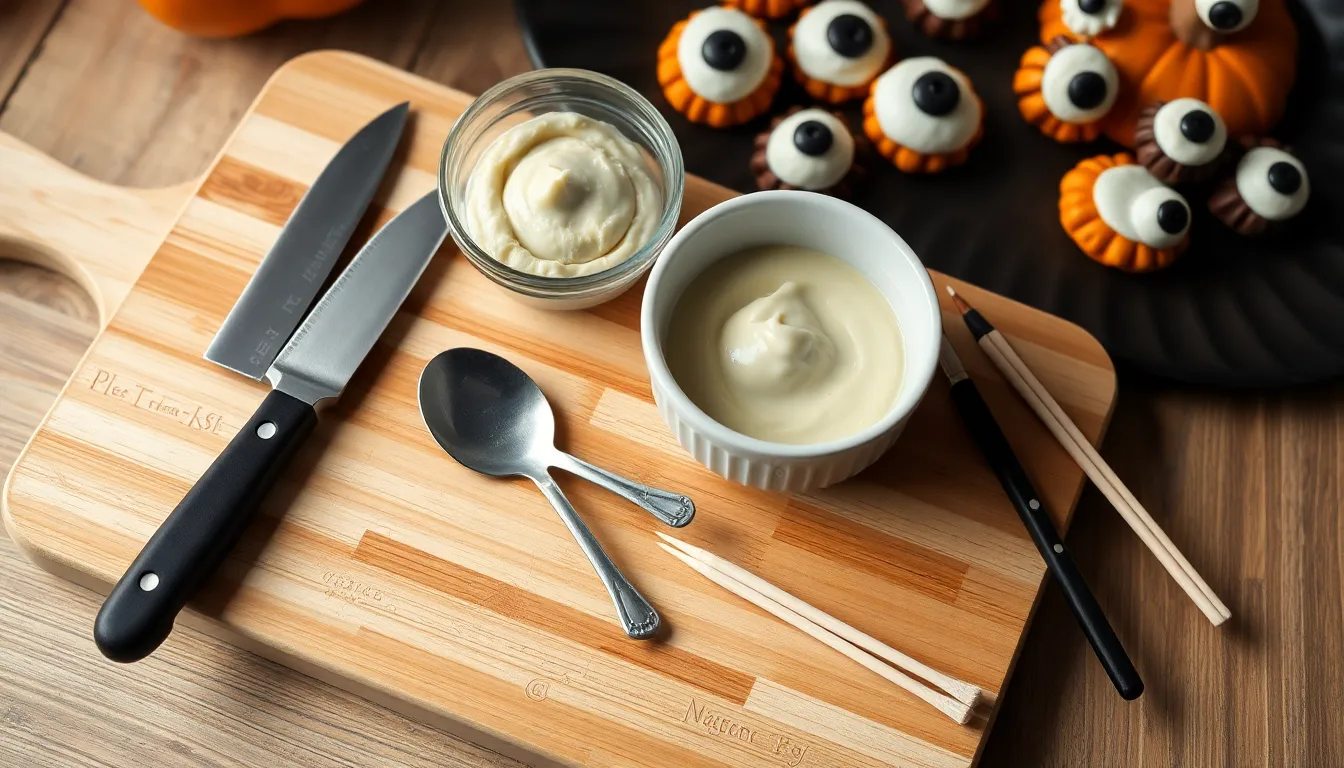
Creating these spine-chilling Halloween bloodshot eyes requires basic kitchen tools that you likely already have in your culinary arsenal. A sharp paring knife becomes essential for halving the hard-boiled eggs cleanly and removing yolks without damaging the delicate whites.
You’ll need a medium mixing bowl to combine the creamy filling ingredients and achieve the perfect texture for your eyeball centers. A small spoon or melon baller helps you scoop out egg yolks efficiently while maintaining clean cavity edges.
Fine-tipped kitchen brushes or clean paintbrushes allow you to create realistic blood vessel patterns with precision. Toothpicks serve as an alternative tool for drawing intricate red veining if brushes aren’t available.
A cutting board provides a stable surface for all your preparation work. Small bowls or ramekins keep your red coloring mixture organized and easily accessible during the decorating process.
| Equipment | Purpose | Alternative Options |
|---|---|---|
| Sharp paring knife | Halving eggs cleanly | Small serrated knife |
| Medium mixing bowl | Combining filling ingredients | Large measuring cup |
| Small spoon | Scooping egg yolks | Melon baller or teaspoon |
| Fine paintbrush | Creating blood vessels | Clean makeup brush |
| Toothpicks | Detail work on veining | Skewer tips |
| Cutting board | Work surface | Large plate |
| Small bowls | Organizing ingredients | Ramekins or shot glasses |
A serving platter completes your setup for presenting these ghoulish treats to your Halloween guests with maximum visual impact.
Recommended Products
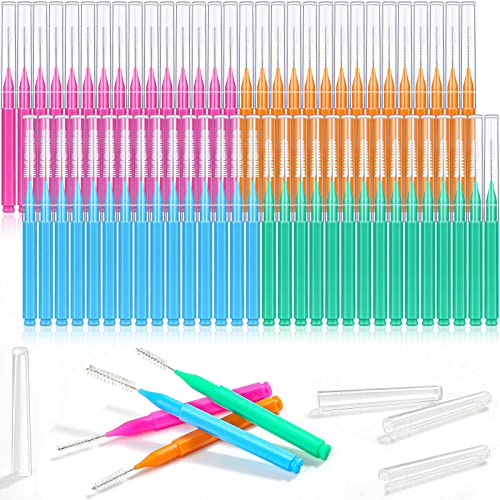
【120PCS Value Pack】You will get 120 interdental brushes in 4 colors, each color represents one size. The brushes heads of 4 sizes are suitable for different interdental space. Whether you have narrow or wide interdental space, uneven teeth, or crowded teeth, you can find the right size. There are sufficient numbers to meet your long-term daily use needs.(Please note that the handle sizes are the same, only the brush head is in 4 sizes.)

[PACKING INCLUDES]You will get 75 pieces of interdental brush toothpicks in 5 different warm colors, sufficient quantity can meet your daily using and replacements needs.You can also share with family and friends, suitable for family use.

【2-in-1 Function】In order to better fit between teeth, one end of the dental floss picks is designed in a tight fishbone shape, and the tapered tail on the other end can be used as a toothpick.
Instructions
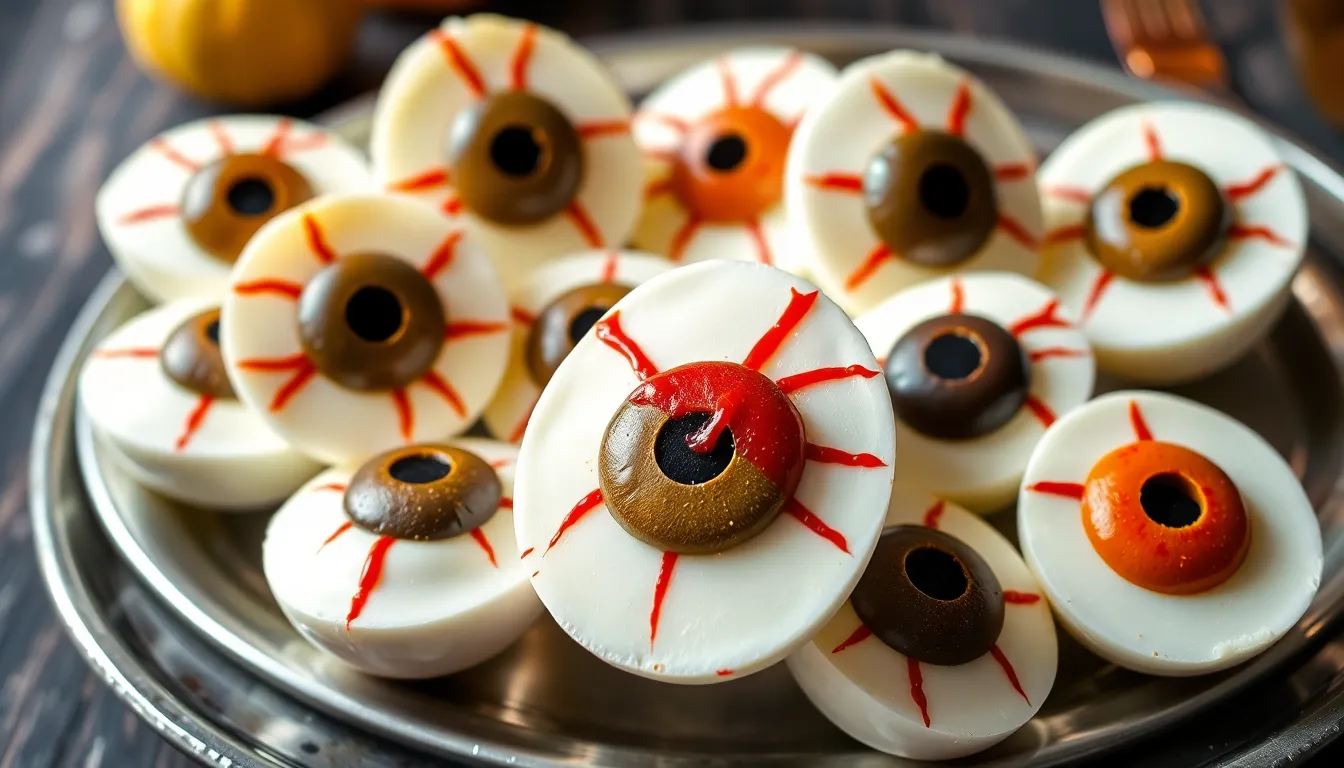
Transform your hard-boiled eggs into spine-chilling bloodshot eyes with these detailed steps. Follow each stage carefully to achieve the most realistic and frightening eyeball appearance.
Recommended Products

24 SLOTS FOR DEVILED EGGS – The design allows you to carry and present up to 24 deviled eggs at once, making it perfect for large gatherings and parties

Portable Design: Features a foldable carry handle for convenient one-handed portability and a clear acrylic lid that lets you check contents at a glance without opening. Designed with deep egg slots to securely hold eggs in place and prevent rolling, making it a practical choice for family meals, camping trips, and all on-the-go serving occasions.

EGG CARRIER: The Snapware Snap 'N Stack 2-layer carrier is perfect for transporting eggs and all manner of sweets with safety. Two holders can hold up to 24 eggs or treats, and the stackable trays keep food items separate and organized.
Prep the Base
Slice each hard-boiled egg in half lengthwise using your sharp paring knife. Remove the yolks carefully and place them in your mixing bowl. Mash the yolks thoroughly with mayonnaise and mustard until you achieve a smooth and creamy consistency. The mixture should hold together without being too wet or dry.
Spoon the yolk mixture back into the egg white halves. Level the surface gently with the back of your spoon to create an even base for the iris. Place the filled egg halves on your cutting board with the flat side down to prevent rolling.
Create the Iris and Pupil
Position one olive half in the center of each filled egg white. Press the olive gently into the yolk mixture so it sits flush with the surface. The dark olive creates a realistic pupil effect that anchors the entire eyeball design.
Trim any excess olive that extends beyond the egg white edges. Ensure each olive half faces the same direction for consistency across all your bloodshot eyes. The contrast between the white egg and dark olive immediately establishes the eyeball shape.
Add the Bloodshot Details
Mix your tomato paste and ketchup with red food coloring in a small bowl. Add drops of food coloring until you achieve a deep blood-red color that looks authentic and dramatic. The mixture should be thick enough to control but thin enough to flow naturally.
Dip your fine-tipped brush or toothpick into the red mixture. Draw thin irregular lines radiating outward from the olive pupil toward the edges of the egg white. Vary the thickness and length of these veins to create a natural bloodshot pattern. Some lines should branch and connect to others for added realism.
Final Assembly
Allow the red veining to set for 2-3 minutes before handling. The color should remain vibrant and not bleed into the white areas. Touch up any areas where the red mixture may have smudged or faded.
Arrange your finished bloodshot eyes on your serving platter. Position them at various angles to create the illusion that the eyes are looking in different directions. Serve immediately for the best visual impact and freshest taste.
Make-Ahead Tips
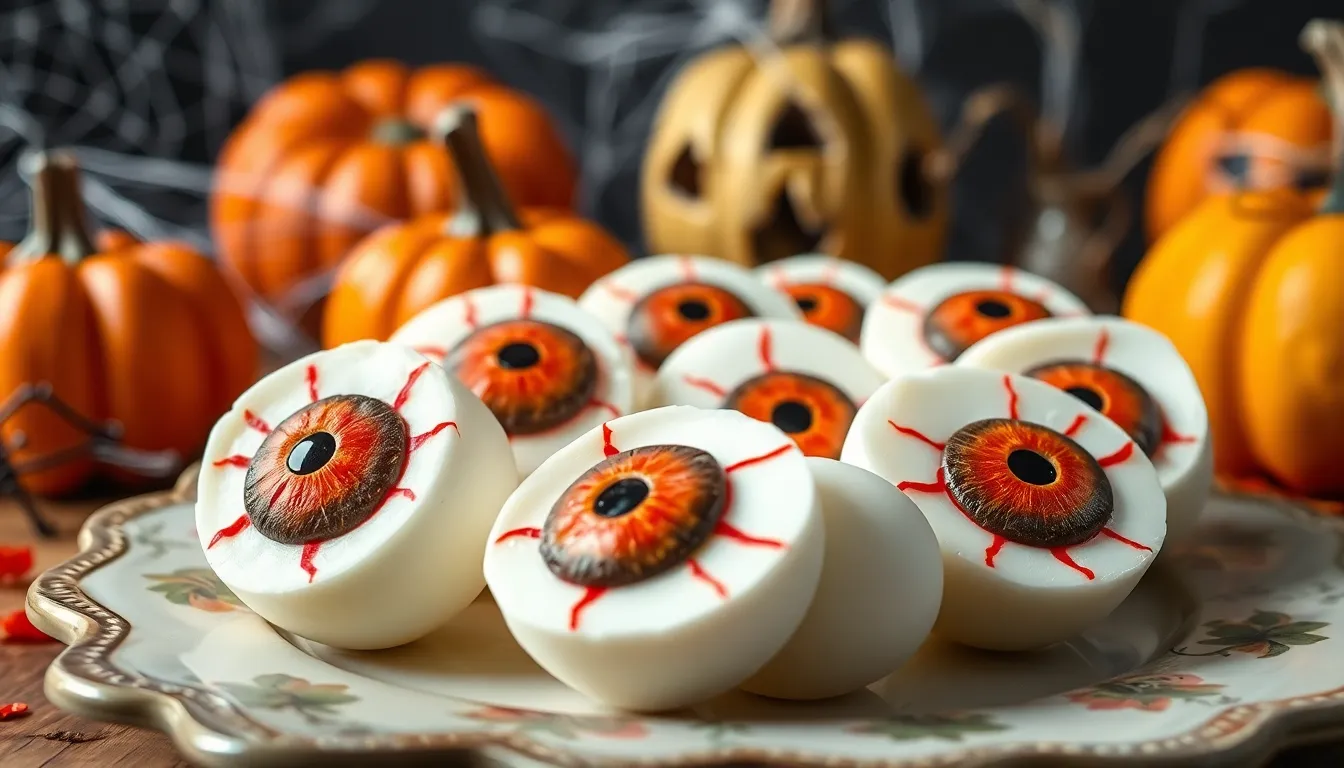
You can prepare these bloodshot eyes up to 24 hours before your Halloween party. Store the completed treats in an airtight container in the refrigerator to maintain freshness and prevent the bloodshot effect from smudging.
Hard-boiled eggs should be prepared 1-2 days ahead for best results. This extended cooling time makes them easier to peel and creates firmer whites that hold their shape during assembly. Keep the eggs in their shells until you’re ready to begin the transformation process.
The yolk mixture can be prepared up to 2 days in advance. Combine the egg yolks with mayonnaise and mustard then store this filling in a covered bowl in the refrigerator. Allow the mixture to come to room temperature for 15 minutes before spooning it into the egg whites for easier handling.
| Component | Advance Prep Time | Storage Method |
|---|---|---|
| Hard-boiled eggs | 1-2 days ahead | Refrigerate in shells |
| Yolk mixture | 2 days ahead | Covered bowl in fridge |
| Complete bloodshot eyes | 24 hours ahead | Airtight container in fridge |
| Red coloring mixture | 3 days ahead | Small covered container |
Your red coloring mixture stays fresh for up to 3 days when stored in a small covered container in the refrigerator. Mix the tomato paste ketchup and red food coloring ahead of time to save precious minutes during final assembly.
Avoid applying the bloodshot veining more than 6 hours before serving. The red mixture can bleed or fade if left too long causing the dramatic effect to lose its impact. Apply the veining pattern within 2-3 hours of your party start time for the most striking visual results.
Transport these treats in a flat container with a secure lid to prevent sliding. Line the bottom with paper towels to absorb any moisture and keep the bloodshot pattern intact during travel to your Halloween destination.
Recommended Products

Bloody Candy Eyeballs: Our Halloween sprinkles has creepy bloodshot eyes, which is very suitable for your Halloween theme celebration. Each box weighs 2.82 Ounces, 80 Grams.(The product date and expire date printer on the box and shelf life is 18 month)

Spooky Realistic Eyeballs: Crafted from thick, double-sided paper, these 1.18 inche irregular circular confetti feature hyper-realistic details: crimson veins crawling across white sclerae, framing vivid pupils in 5 classic Halloween shades (red, green, purple, orange, blue)

Package Includes: the package includes 12 pcs fun glasses, the huge quantity can meet your daily needs, and you can also share these sunglasses with your family and classmates to improve your relationship
Serving Suggestions
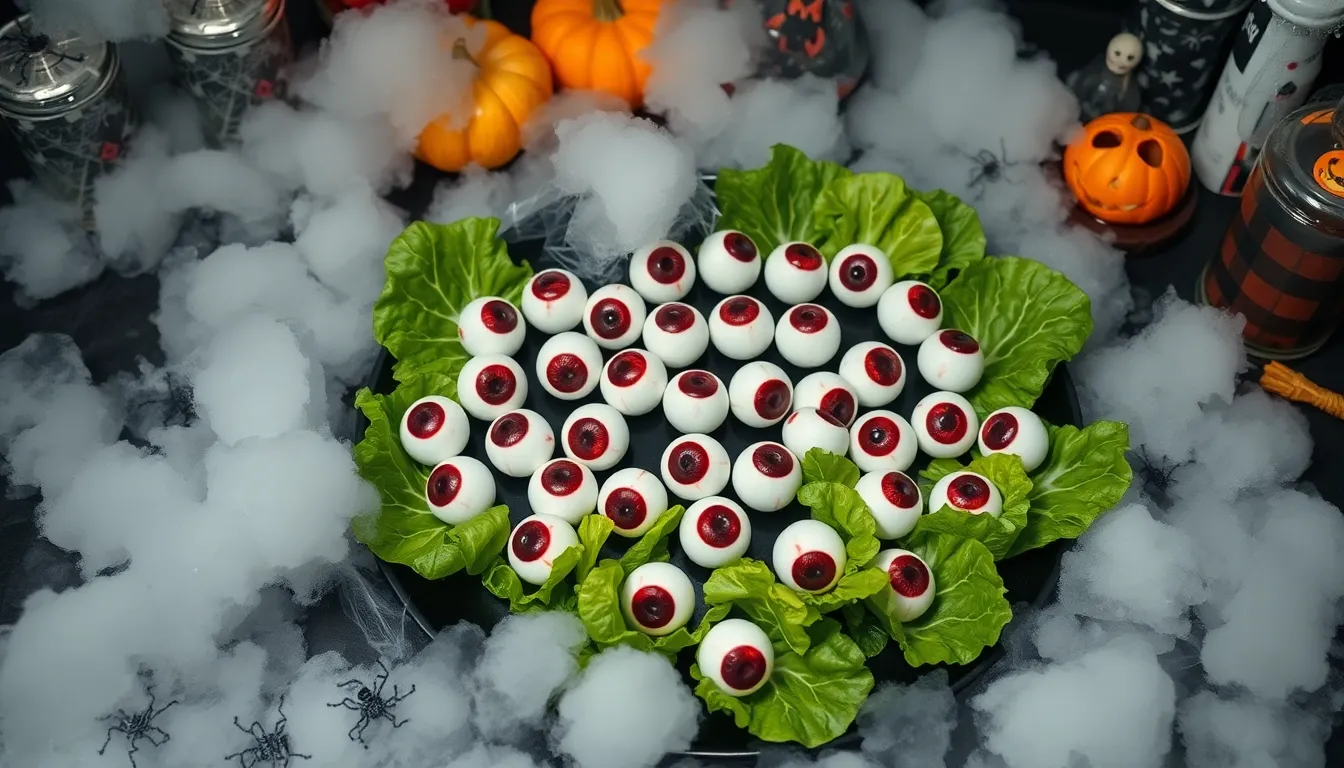
Present your bloodshot eyes on a black serving platter to enhance their ghoulish appearance and create maximum visual impact. Dark surfaces make the red veining pop dramatically against the white egg background.
Arrange the eyeballs in clusters of three or five for an unsettling display that catches guests’ attention immediately. Scatter them across lettuce leaves or artificial spider webs to create a more elaborate presentation.
Position dry ice around the serving tray to generate spooky fog effects that will elevate your Halloween display. The mysterious mist adds an extra layer of creepiness to your already disturbing appetizer.
Create themed serving stations by pairing your bloodshot eyes with other Halloween treats like “severed fingers” made from breadsticks or “witches’ hats” crafted from chocolate cones. This variety keeps your party spread interesting and captivating.
Serve these treats alongside classic Halloween beverages such as “witch’s brew” punch or “blood” red wine to maintain your spooky theme throughout the entire menu. The color coordination enhances the overall aesthetic.
Label your bloodshot eyes with creative signs reading “Fresh Eyeballs” or “Zombie Snacks” to add humor and help guests identify the treat. These playful labels encourage interaction and conversation among party attendees.
Place small appetizer plates and cocktail napkins nearby for easy serving and cleanup. Black or orange napkins complement the Halloween theme while providing practical functionality.
Consider creating a buffet-style setup where guests can admire your creepy creation before serving themselves. This approach allows everyone to appreciate the detailed work you put into crafting these realistic-looking treats.
Refrigerate the bloodshot eyes until 15 minutes before serving to maintain their shape and keep the filling at the perfect temperature. Room temperature serving ensures optimal flavor and texture for your guests.
Recommended Products

🌟【Mess-Free Egg Handling】Unlike traditional egg breaking tools, this egg shell cutter is designed for efficient, mess-free use. The device ensures no shell debris remains, making it a reliable choice for baking tools and daily kitchen routines.

Open the Egg Top with Control: Give this soft boiled egg cutter 2–3 gentle taps to score the shell. Center the egg topper cutter on medium or large eggs before tapping for a more even opening

Stainless Steel 304 Wires, ABS Bottom, Zinc Alloy egg slicer for hard boiled eggs
Storage Instructions
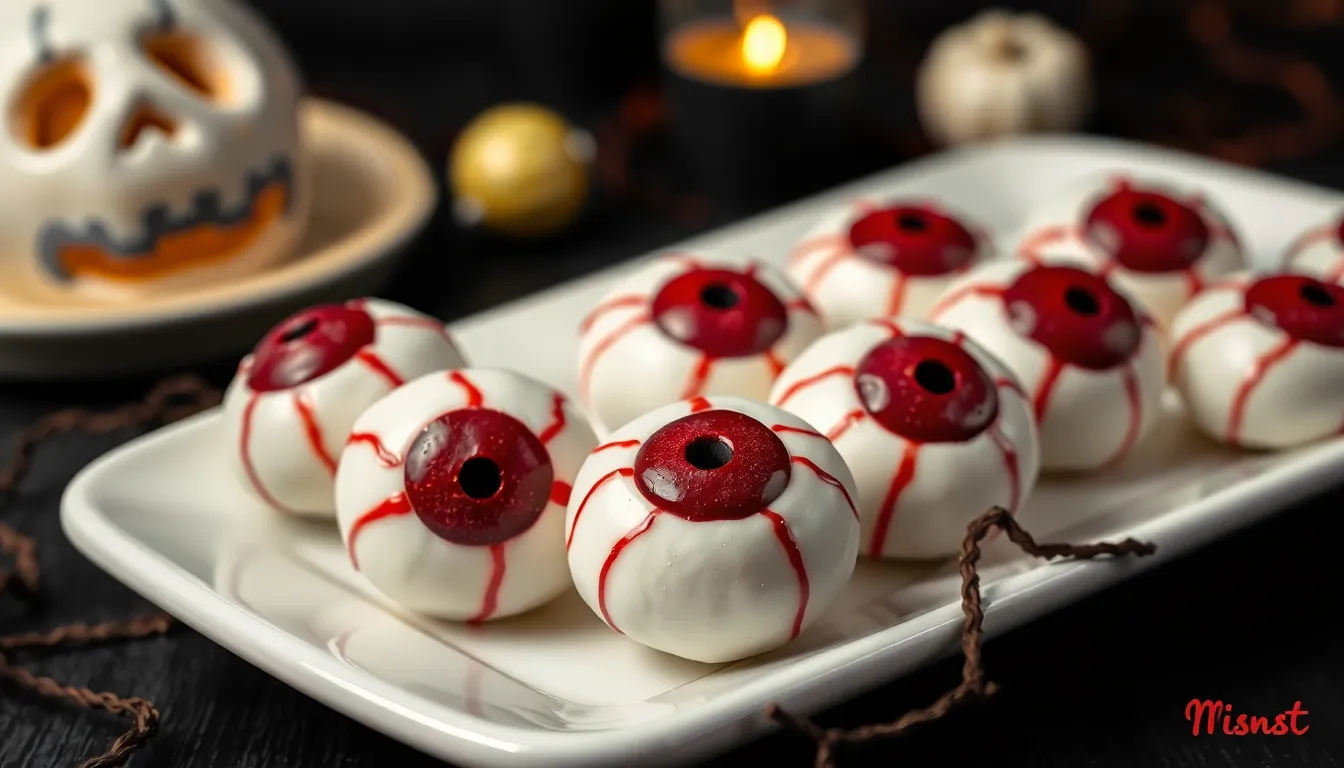
Store your completed Halloween bloodshot eyes in an airtight container in the refrigerator for up to 3 days. Place them on a flat surface with paper towels underneath to absorb any moisture that might develop during storage.
Keep the assembled eyeballs covered with plastic wrap or in a sealed container to prevent the egg whites from drying out. The red veining will maintain its vibrant appearance when properly stored away from light and air exposure.
Refrigerate your bloodshot eyes within 2 hours of assembly to ensure food safety. The mayonnaise-based filling requires consistent cold temperatures to prevent spoilage and maintain the creamy texture.
Avoid stacking multiple layers of eyeballs in your storage container. This prevents the delicate red veining from smudging and keeps each eyeball intact for serving.
Store leftover components separately if you plan to assemble the treats later. Keep the prepared yolk mixture in a covered bowl for up to 2 days and the red coloring mixture in a small sealed container for up to 3 days.
Remove your bloodshot eyes from refrigeration 10-15 minutes before serving to allow them to reach optimal serving temperature. This brief warming period enhances the flavors while maintaining the striking visual effect.
Transfer stored eyeballs to your serving platter using a small spoon or spatula to preserve their shape. Handle them gently to maintain the bloodshot veining pattern you worked to create.
Recommended Products

Sufficient quantity: the package includes 150 pieces of interdental brush picks in different colors and different sizes, each size has 75 pieces, 150 pieces in total, enough...
Conclusion
These Halloween bloodshot eyes will transform your spooky gathering into an unforgettable experience. You’ve got everything you need to create these deliciously eerie treats that perfectly balance creativity with flavor.
Your guests won’t believe their eyes when they see these realistic-looking appetizers on your Halloween table. The combination of creamy textures and dramatic presentation makes them ideal conversation starters at any party.
With proper planning and storage techniques you can prepare these ghoulish delights ahead of time without sacrificing quality. You’ll have more time to enjoy your Halloween festivities while still impressing everyone with your culinary creativity.
Start gathering your ingredients and get ready to serve up some serious Halloween magic that’s both spooky and surprisingly delicious.
About The Author
