Ingredients
Creating these spooky Halloween marshmallow pops requires just a handful of simple ingredients that you likely already have in your pantry. The beauty of this recipe lies in its flexibility allowing you to customize each pop with your favorite decorations and colors.
Recommended Products
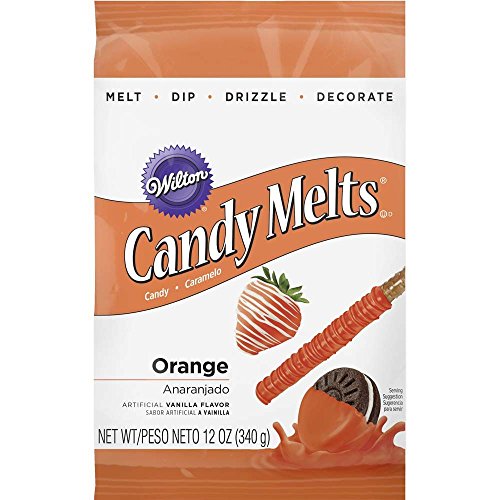
Brand confectionery coating
Use Candy Melts candy for cake pops, cookies and molded candies with Wilton molds
1-pound pack of Orange Chocolate Melts delivers smooth, consistent melting with a creamy vanilla flavor, making these chocolate wafers easy to use for seasonal baking, candy making, and decorative dessert projects
For the Marshmallow Pops
- 24 large marshmallows
- 24 lollipop sticks or wooden create sticks
- 1 tablespoon coconut oil or vegetable shortening (optional for smoothing)
For the Chocolate Coating
- 12 oz orange candy melts or white chocolate chips
- 8 oz dark chocolate chips or black candy melts
- 6 oz purple candy melts (optional)
- 4 oz green candy melts (optional)
For the Decorations
- Mini chocolate chips (for eyes and mouths)
- White chocolate chips (for ghost eyes)
- Orange sprinkles
- Black gel food coloring
- Pretzel sticks (for witch hat brims)
- Mini marshmallows (for snowman bodies)
- Candy eyes (assorted sizes)
- Black decorating gel
- Orange decorating gel
- Shredded coconut (for texture)
- Halloween themed sprinkles
Equipment Needed
Creating perfect Halloween marshmallow pops requires minimal equipment that you likely already have in your kitchen. Double boiler or microwave-safe bowls serve as your primary melting tools for candy melts and chocolate. You can easily substitute a saucepan with a heat-proof bowl placed on top if you don’t own a traditional double boiler.
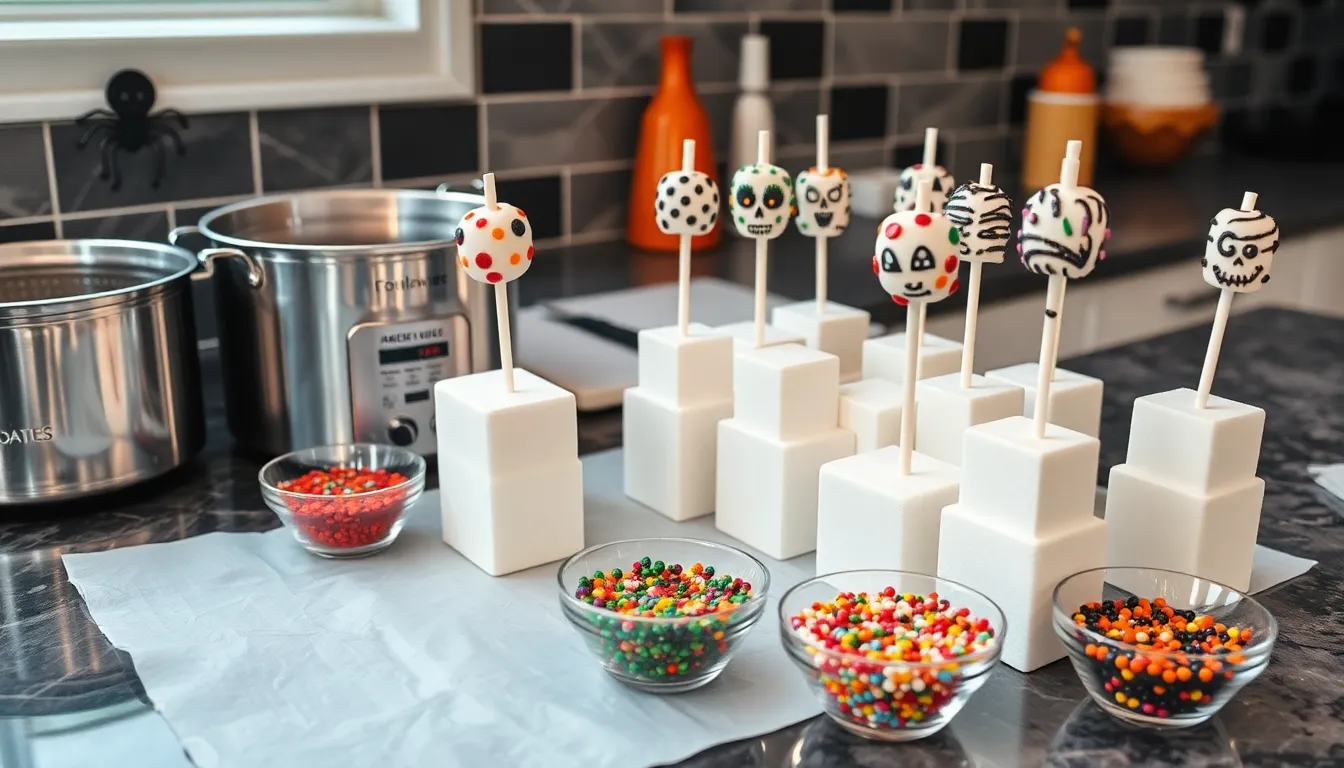
Styrofoam blocks or tall glasses provide essential support for drying your decorated pops. Position these containers strategically around your workspace to hold multiple pops upright while the coating sets. Parchment paper or wax paper protects your countertops from drips and makes cleanup effortless.
Small spoons or offset spatulas help you drizzle melted chocolate and create decorative patterns on your marshmallow pops. Tweezers or small tongs give you precise control when placing tiny decorations like candy eyes or mini chocolate chips onto wet coating.
Measuring cups and spoons ensure accurate proportions when working with candy melts and any flavor extracts. Keep small bowls nearby for organizing different colored sprinkles and decorative elements before you begin the assembly process.
Kitchen thermometer helps monitor chocolate temperature if you’re tempering real chocolate instead of using candy melts. Silicone spatulas work perfectly for stirring melted coating without scratching your bowls or creating air bubbles that could affect the smooth finish of your pops.
Recommended Products

10-ounce bag of black colored candy wafers; artificially flavored

EDIBLE SAFE INGREDIENTS - Our upgraded premium food coloring are made from approved MSDS materials, Completely meets US food standards.

Black Series Sprinkle:Each bottle weight 100g/3.53oz,Production Date and Expiration date at the back of the bottle,You can see Production Date and Expiration date at the bottom of the bottle. After open the seal of the bottle, its better to use them in 1 month and Store in cool dry place.
Instructions
Follow these simple steps to create spooky Halloween marshmallow pops that will delight trick-or-treaters and party guests. Each step builds upon the previous one to ensure perfect results every time.
Recommended Products

Package Includes:100 count Paper cake pop sticks, Food safe than plastic lollipop sticks and environment protection than plastic Sucker Stick; taste and odor free
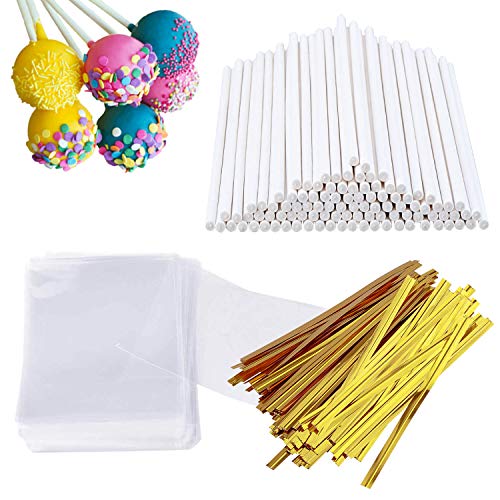
Food-Grade & Sturdy Paper: These paper cookies sticks are made of premium food-grade paper, tasteless. Sturdy sticks won't rub off, fall apart, shred or disintegrate easily, easy-melting candy melts

Perfect for all your sweet treats! This package includes 100 count of 6 inch white paper lollipop sticks.
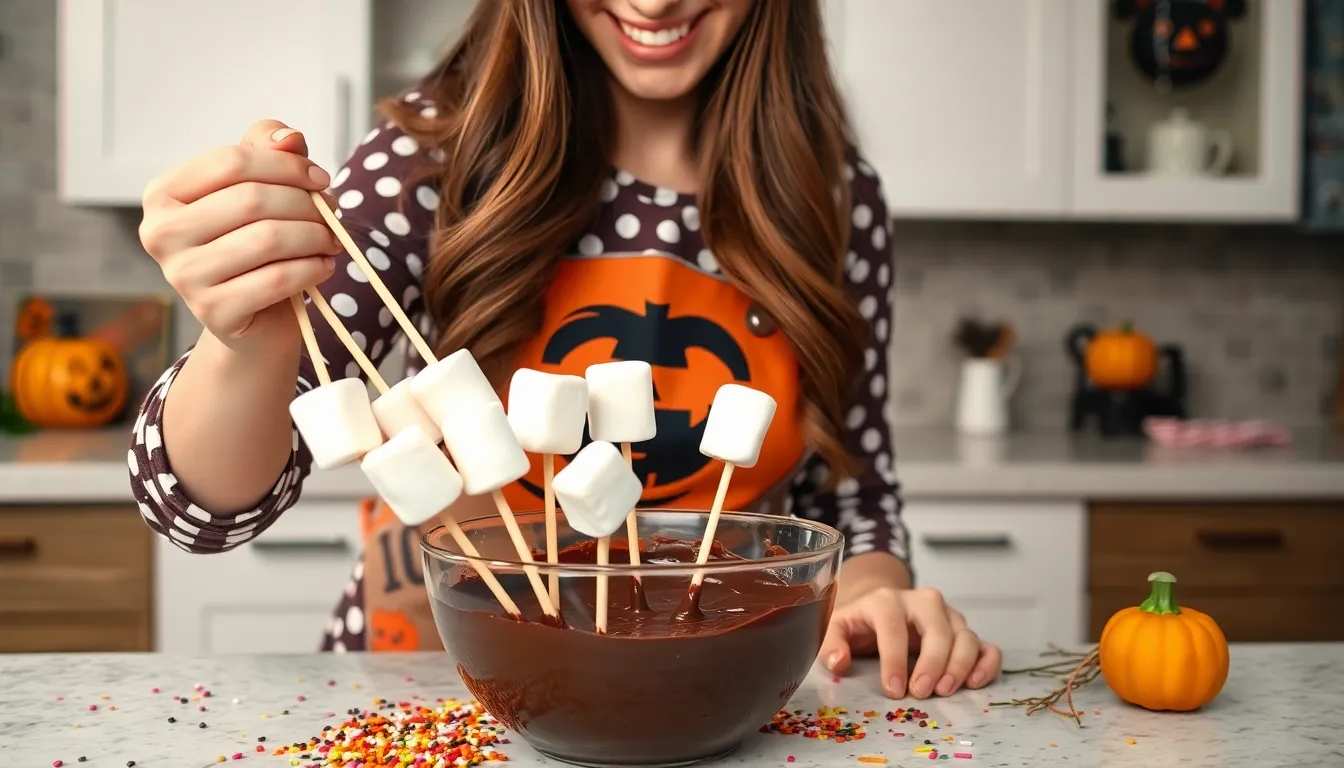
Prep the Marshmallows
Insert lollipop sticks into each marshmallow by pushing them about halfway through the center. Gently twist the sticks as you insert them to avoid splitting the marshmallows. Place the prepared marshmallows on a parchment-lined baking sheet and refrigerate for 15 minutes to firm them up. This chilling step prevents the marshmallows from sliding off the sticks during dipping.
Prepare the Chocolate Coating
Melt your chosen candy melts or chocolate in a double boiler over low heat, stirring constantly until smooth. Alternatively, microwave the coating in 30-second intervals, stirring between each interval until completely melted. Add 1 teaspoon of coconut oil or shortening per cup of melted coating to achieve a smoother consistency. The coating should flow easily off a spoon when properly thinned.
Dip the Marshmallow Pops
Remove marshmallows from the refrigerator and dip each one straight down into the melted coating. Submerge the marshmallow completely, then lift it out and allow excess coating to drip back into the bowl. Tap the stick gently against the rim of the bowl to remove any remaining drips. Immediately place the coated marshmallow into a Styrofoam block or tall glass to keep it upright while the coating sets.
Add Halloween Decorations
Work quickly while the coating remains wet to attach your decorations. Press candy eyes gently into the surface for monster faces or ghost expressions. Sprinkle Halloween-themed sprinkles over the wet coating, allowing excess to fall onto parchment paper below. Use mini chocolate chips to create spider bodies or bat wings by pressing them into the coating at strategic points. For detailed designs, use a toothpick to draw patterns or faces before the coating hardens.
Let Set and Cool
Allow the decorated marshmallow pops to set at room temperature for 20-30 minutes until the coating feels firm to the touch. Place them in the refrigerator for 10 minutes to speed up the setting process if needed. Store finished pops in an airtight container at room temperature for up to one week, or refrigerate for longer storage.
Decorating Ideas
Transform your plain marshmallow pops into frightfully fun Halloween treats with these creative decoration techniques. The beauty of these pops lies in the endless possibilities for customization to match your Halloween theme.
Recommended Products

Fine Tip Metallic Markers - These art metallic marker pens are easy to control for 1.0 mm lines, not for very small details. Smooth and shimmery! Adds sparkle embellishment to various craftwork. Easily mark light and dark surfaces with the bright, highly visible metallic finish of these bright metallic markers

Eye-Catching Color Premium blends add vivid, rich, fade-resistant, true-to-shade colors that are made specially for your baking and cake decorating. Our assortment of soft gel food coloring includes a rainbow of hues from neon, pastel, primary, and more. Mix our gels for a seemingly limitless color palette!

Country of origin is United States
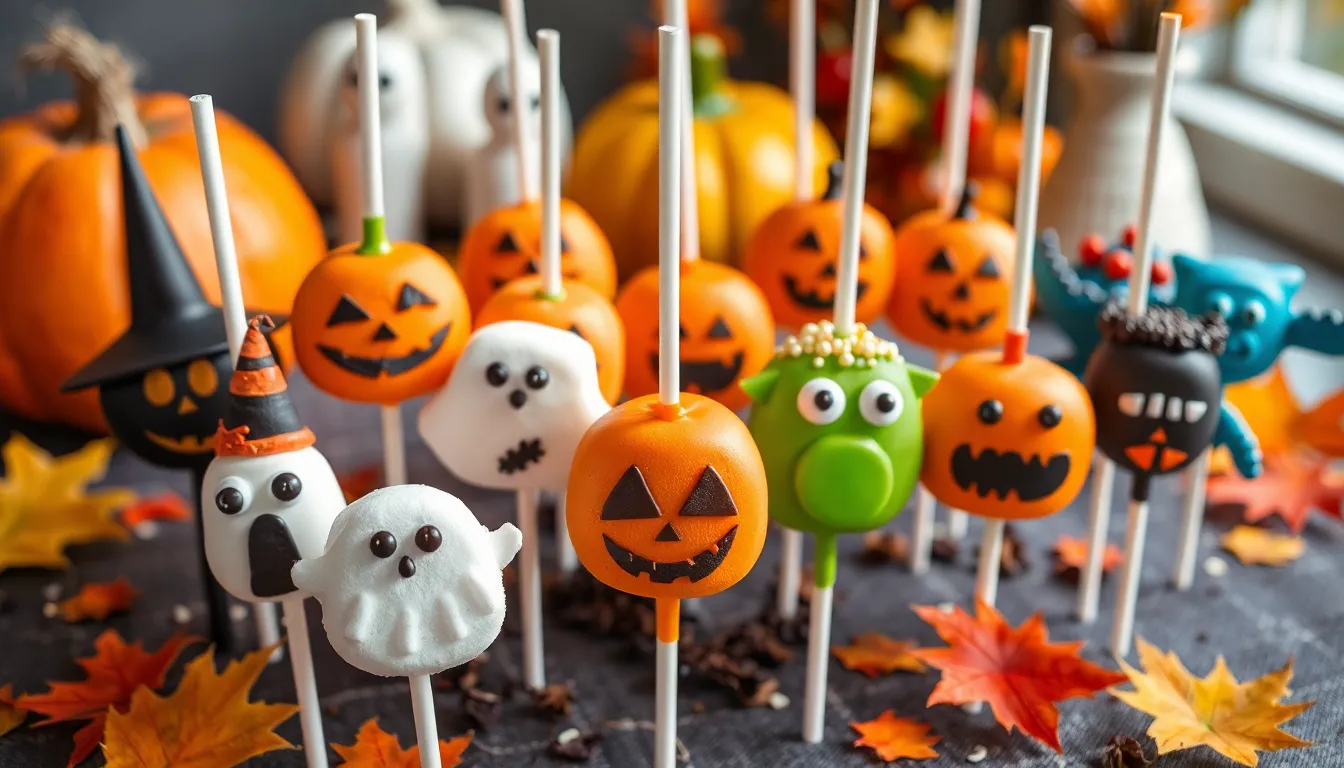
Spooky Faces
Create classic Halloween characters by using mini chocolate chips or candy pieces to form facial features. Press two mini chocolate chips into orange-coated marshmallows for jack-o’-lantern eyes and add a small piece of candy corn for the nose. Use melted dark chocolate in a piping bag to draw zigzag mouths or triangle smiles.
For ghost faces on white-coated pops, place two dark chocolate chips for eyes and pipe a small oval mouth with melted chocolate. Monster faces work perfectly with green candy coating topped with googly candy eyes and white chocolate chip teeth. Witch faces require purple or black coating with orange sprinkle hair and a tiny orange candy piece for the nose.
Zombie faces become instantly recognizable when you drizzle red candy melts over gray or green coating and add mismatched candy eyes. Vampire pops need black or dark purple coating with white chocolate chip fangs and red candy melt accents for blood.
Halloween Colors
Master the art of color layering to create stunning visual effects on your marshmallow pops. Dip pops in orange candy coating first then drizzle with melted dark chocolate for a classic Halloween combination. Purple and green create an eerie witch theme when swirled together while the coating is still wet.
Black and orange stripes form when you dip half the marshmallow in each color and blend at the center line. Create ombre effects by mixing white candy coating into your base colors gradually as you dip multiple pops. Two-toned designs work beautifully when you dip the bottom half in one color and the top half in another.
Metallic food coloring transforms basic candy coating into shimmering gold or silver for elegant Halloween treats. Color-changing sprinkles add magic when applied over contrasting base coatings.
Creative Toppings
Crushed chocolate cookies transform into realistic dirt when sprinkled over chocolate-coated pops. Roll freshly dipped pops in Halloween-colored sprinkles for instant texture and color. Chopped nuts create a rustic autumn appearance when pressed into warm candy coating.
Pretzel pieces become spider legs when inserted into dark chocolate-coated pops at strategic angles. Shredded coconut dyed with food coloring creates fur texture for monster-themed pops. Mini marshmallows cut into small pieces form bumpy toad skin when pressed into green coating.
Candy pearls and nonpareils add elegance to witch and vampire themed pops. Crushed candy canes provide minty flavor and festive red and white coloring. Edible glitter transforms any pop into a magical Halloween creation when dusted over the final coating.
Drizzle contrasting candy coating colors in zigzag patterns for lightning effects. Use a toothpick to create swirl patterns in wet coating for marbled appearances. Press Halloween-shaped candies into the coating before it sets for dimensional decorations.
Storage Instructions
Your Halloween marshmallow pops will stay fresh for up to 2 weeks when stored properly. Store completed pops in an airtight container at room temperature to maintain their texture and prevent the chocolate coating from developing condensation.
Layer the pops carefully between sheets of parchment paper to prevent them from sticking together. You can also stand them upright in a tall container or glass to avoid contact between decorations.
Refrigeration works well for short-term storage but may cause the chocolate coating to develop white spots or condensation when brought back to room temperature. Keep refrigerated pops in sealed containers and allow them to reach room temperature before serving for the best appearance.
Freezing extends storage life up to 3 months for these Halloween treats. Wrap each pop individually in plastic wrap before placing them in freezer-safe containers to prevent freezer burn and maintain quality.
Avoid storing your marshmallow pops in humid environments as moisture will cause the chocolate coating to become sticky and decorations to lose their crisp texture. Direct sunlight or heat sources will melt the coating and ruin your Halloween creations.
Check stored pops regularly for any signs of chocolate bloom or decoration deterioration. Remove any damaged pops immediately to prevent affecting the quality of remaining treats in your storage container.
Recommended Products

Perfect Chocolate Melting Set - Make chocolate preparation easier than ever with this complete chocolate melting cup and silicone spatula set. Designed for smooth melting, mixing, and pouring, these silicone cups for melting chocolate withstand high heat and are drop-resistant, giving you full control to create silky sauces, coatings, and desserts with ease.

Versatile Chocolate Melting Cups: This silicone chocolate melting pot is ideal for melting and dipping chocolate. Made of high - quality silicone, it's drop - resistant and can withstand high temperatures. Unlike glass chocolate melting cup, it's a safe and convenient choice for melting butter, cheese, caramel, etc, and lets you fully enjoy DIY fun.

Complete Chocolate Melting Set: This all-in-one chocolate melting kit includes heat-resistant 4 silicone measuring cups for melting chocolate and 4 flexible spatulas, making melting, mixing, and pouring chocolate smoother and easier than ever. Ideal for creating sauces, coatings, candies, and desserts with professional results
Make-Ahead Tips

Prepare Components Days in Advance
You can insert lollipop sticks into marshmallows up to three days before decorating. Store these prepped marshmallows in an airtight container at room temperature to maintain their texture. Melt and temper your chocolate coatings the day before use and store them in sealed containers. Reheat gently in 15-second microwave intervals when ready to decorate.
Batch Assembly Strategy
Create your marshmallow pops in stages for better results. Dip all marshmallows in base coatings first and allow them to set completely before adding decorative elements. This approach prevents decorations from sliding off and ensures each layer adheres properly. Complete one decoration style at a time to maintain consistency across your batch.
Decoration Timeline
Prepare small bowls of decorative elements like mini chocolate chips, sprinkles, and candy eyes before you begin dipping. Organize these decorations by color or character type for efficient assembly. Work with 4-6 marshmallow pops at once to ensure the chocolate coating remains workable while adding decorations.
Optimal Storage Schedule
Complete your marshmallow pops 2-3 days before your Halloween event for best flavor development. The chocolate coating needs 24 hours to fully set and develop its optimal texture. Store finished pops upright in tall containers or Styrofoam blocks covered with plastic wrap. Keep them at room temperature away from heat sources and humidity.
Transport Preparation
Wrap individual pops in cellophane bags if transporting to parties or giving as gifts. Secure the bags with festive ribbon tied below the marshmallow to prevent the stick from sliding through. Place wrapped pops in shallow boxes with parchment paper dividers to prevent movement during transport. Pack a small repair kit with extra decorations and melted chocolate for any last-minute touch-ups.
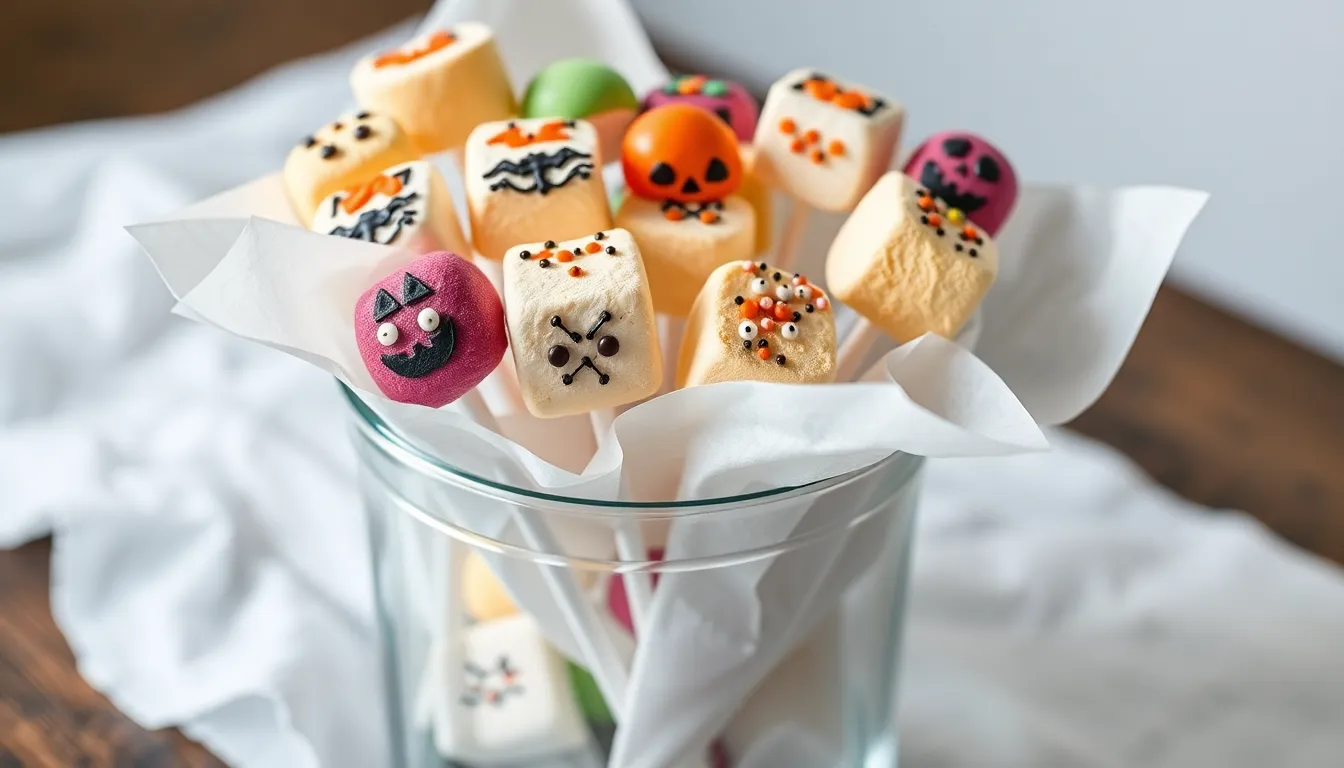
Serving Suggestions
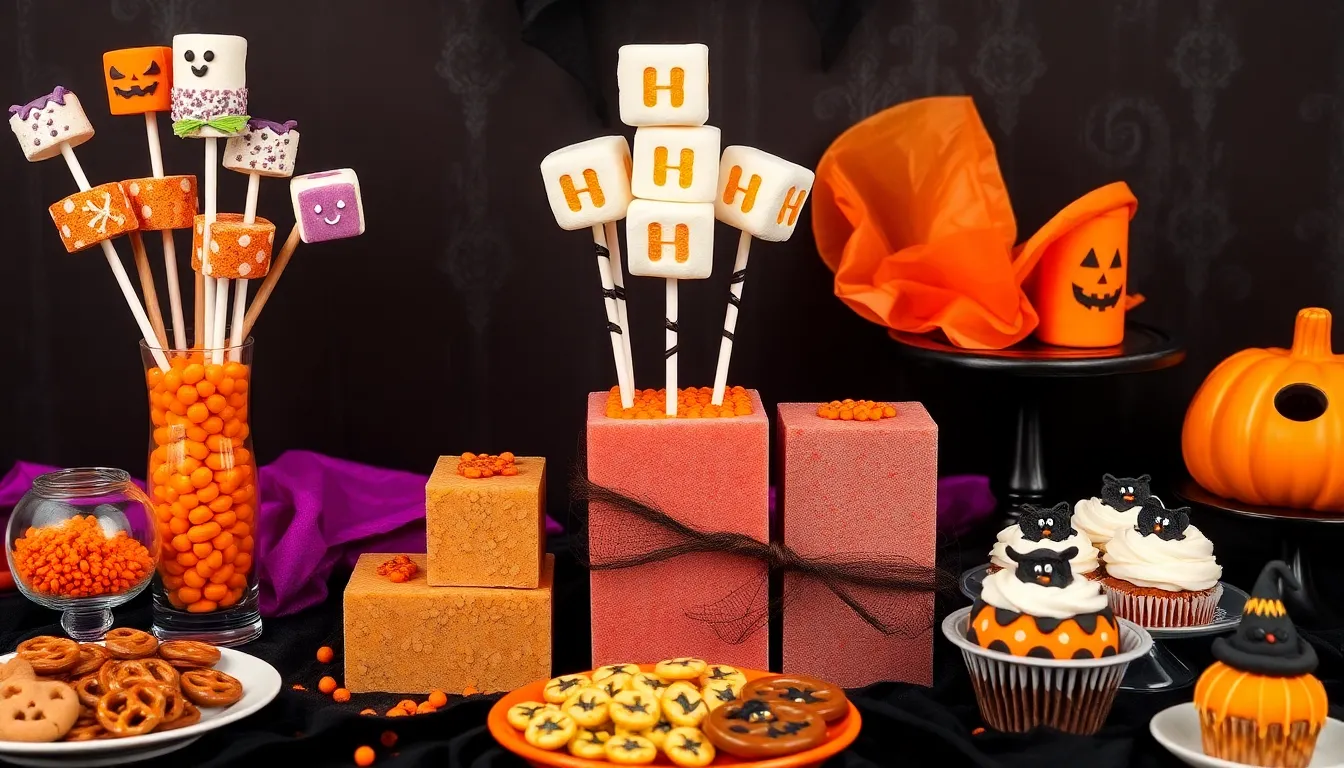
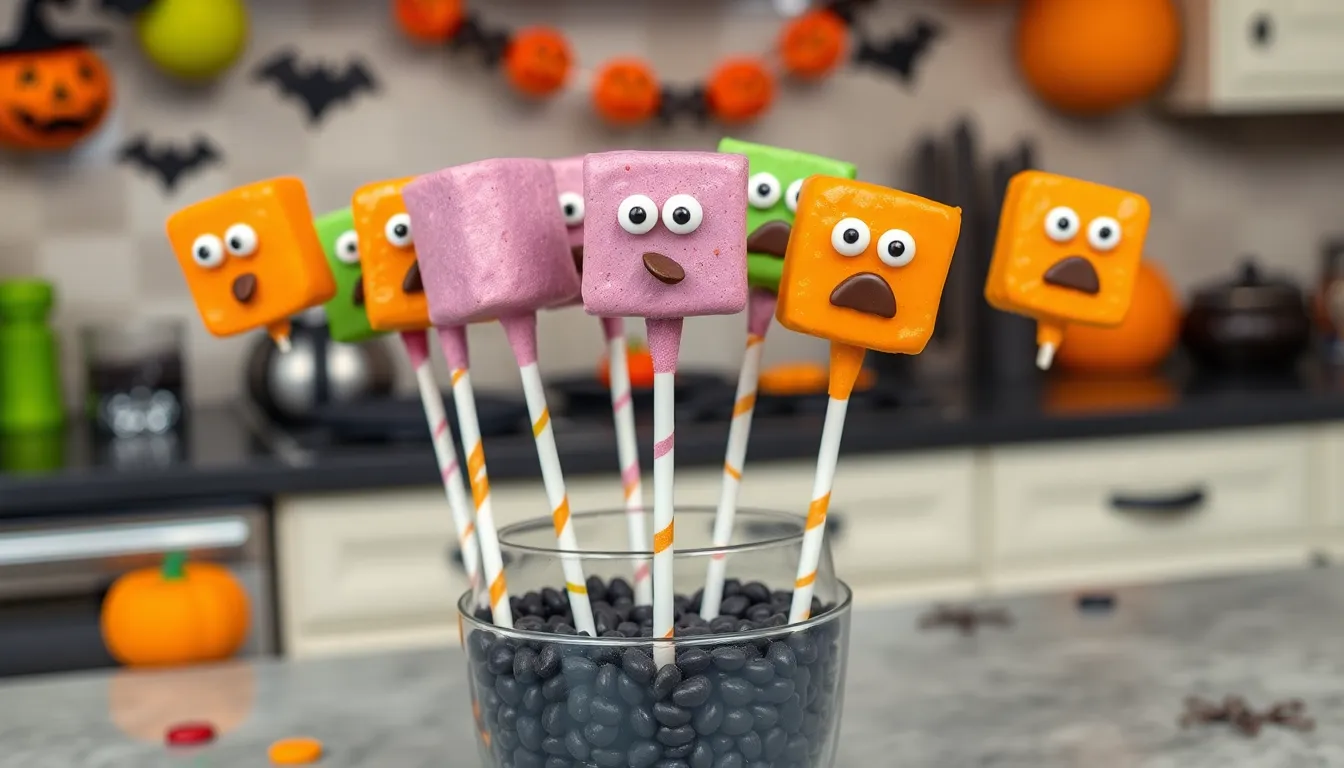
Transform your Halloween marshmallow pops into the centerpiece of spooky celebrations by displaying them creatively throughout your party space. You can arrange the pops in tall glass vases filled with black beans or orange candies to create an impressive Halloween display that doubles as decor and dessert. Stand them upright in foam blocks covered with Halloween-themed fabric for a professional presentation that keeps each pop easily accessible.
Create themed serving stations by grouping your marshmallow pops according to their decorative designs. You might organize vampire pops together on one side while placing ghost-themed treats on another section of your dessert table. This arrangement allows guests to choose their favorite Halloween character while creating visual impact through coordinated displays.
Incorporate your marshmallow pops into trick-or-treat bags as premium treats that stand out from traditional candy. Wrap each pop individually in clear cellophane bags tied with orange or black ribbons to maintain freshness while adding an elegant touch. These wrapped pops make excellent party favors that guests can take home as memorable keepsakes from your Halloween celebration.
Present the pops alongside complementary Halloween treats to create a cohesive dessert spread. You can serve them with chocolate-dipped pretzels shaped like witches’ brooms or alongside pumpkin-flavored cupcakes for variety. The combination of textures and flavors enhances the overall dessert experience while maintaining your Halloween theme.
Consider temperature when serving your marshmallow pops to ensure optimal taste and presentation. Room temperature provides the best texture for both the marshmallow center and chocolate coating. Avoid placing them near heat sources or in direct sunlight during parties to prevent melting and maintain their decorative appeal throughout your event.
Use your marshmallow pops as interactive elements during Halloween parties by setting up a decorating station where guests can add final touches. Provide small bowls of sprinkles, mini chocolate chips, and candy pieces alongside plain-coated pops for a fun activity that engages both children and adults in the creative process.
Recommended Products

Display in candy bowls, melted to cover dried fruit or nuts, or melted to create mouthwatering fondue; gluten free; these chocolates can be melted on the stove, in a fondue fountain, or in the microwave; instructions are printed on bag; these creamy milk chocolate wafers are playful and romantic; they can be displayed in candy bowls, melted to cover dried fruit or nuts, or melted to create mouthwatering fondue; these chocolates can be melted on the stove, in a fondue fountain, or in microwave

Black color for eye-catching treats
Conclusion
You’ve now got everything you need to create show-stopping Halloween marshmallow pops that’ll be the hit of your spooky celebrations. These delightful treats combine simplicity with endless creative possibilities making them perfect for both beginners and experienced treat-makers.
Your guests will be amazed at how professional these marshmallow pops look even though requiring minimal time and equipment. The best part? You can make them days ahead of your Halloween party ensuring you’re stress-free when it’s time to celebrate.
Whether you’re filling trick-or-treat bags creating party favors or setting up an interactive decorating station these marshmallow pops deliver both visual appeal and delicious taste. Get ready to watch faces light up as you serve these frighteningly fun Halloween treats!