Ingredients
These Halloween cobweb cookies require two simple sets of ingredients to create the perfect spooky treat. You’ll need basic baking staples for the cookie base and chocolate for the decorative web design.
Recommended Products

4 New Designs - Delicious FRESH Vanilla Frosted Coloring Cookies + 3 edible markers Packed in a Cute Bucket
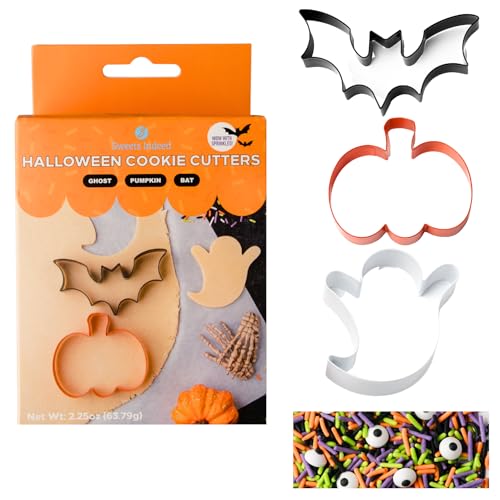
Complete Halloween Baking Kit – Includes 3 cookie cutters (Pumpkin, Ghost, Bat) plus a 2 oz jar of festive Halloween sprinkles with edible candy eyeballs for spooky treats.

Complete Halloween Cookie Decorating Kit – Includes everything you need: 1 Oreo mold, spooky sprinkle mix, 18 candy eyeballs, 12 candy triangles, 6 candy monster teeth, and piping bags for easy decorating.
For the Sugar Cookies
- 2¼ cups all-purpose flour
- 1 teaspoon baking soda
- 1 teaspoon salt
- 1 cup butter, softened to room temperature
- ¾ cup granulated sugar
- ¾ cup packed brown sugar
- 2 large eggs
- 2 teaspoons vanilla extract
For the Chocolate Web Design
- 8 ounces semi-sweet chocolate chips
- 2 tablespoons coconut oil or vegetable shortening
- 4 ounces white chocolate chips (optional for contrast webs)
- 1 tablespoon coconut oil or vegetable shortening (for white chocolate)
Equipment Needed
Creating perfect Halloween cobweb cookies requires the right tools to achieve those signature web patterns and crispy cookie textures. You’ll need standard baking equipment along with a few exact items for the decorating process.
Essential Baking Equipment:
- Large mixing bowl for combining ingredients
- Electric mixer (stand or hand mixer) for creaming butter and sugar
- Medium bowl for dry ingredients
- Measuring cups and spoons for accurate measurements
- Cookie sheets or baking pans lined with parchment paper
- Wire cooling racks for proper cookie cooling
Shaping and Baking Tools:
- Cookie scoop or tablespoon for uniform cookie portions
- Rubber spatula for scraping bowl sides
- Kitchen timer to prevent overbaking
- Oven mitts for safe handling
Cobweb Design Equipment:
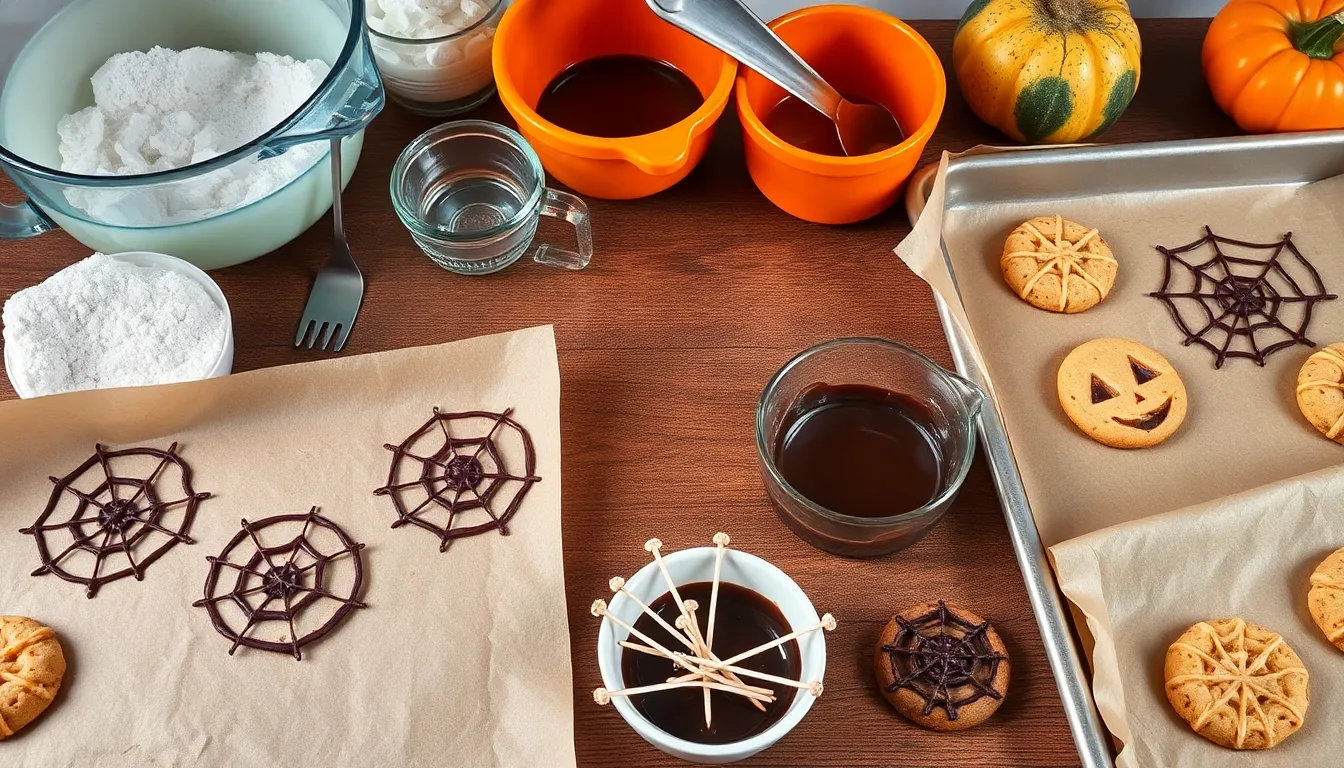
- Small microwave-safe bowls for melting chocolate
- Toothpicks for creating web patterns
- Small spoon or piping bag for applying melted chocolate
- Clean kitchen towel for wiping hands between cookies
Optional Enhancement Tools:
- Cookie cutters if you prefer shaped cookies over drop cookies
- Small offset spatula for spreading chocolate base
- Parchment paper squares for easy cookie transfer
The toothpick serves as your primary decorating tool for drawing those distinctive cobweb lines through the melted chocolate. Having multiple toothpicks ready allows you to work quickly while the chocolate remains workable. Clean your toothpick between cookies to maintain crisp web lines and prevent chocolate buildup.
Recommended Products

【Premium Stainless Steel】made of high quality stainless steel material, non toxic, anti-rust, corrosion-resistant, solid and durable to use.Designed for professional use,good tool for decorating dishes and food.

【Size Detail】Package includes 1 piece large drawing spoon and 1 piece small drawing spoon--20x3.7x2.2cm/7.87x1.46x0.87" and 18x2.6x1.3cm/7.09x1.02x0.51", to develop your imagination and create artistic patterns.
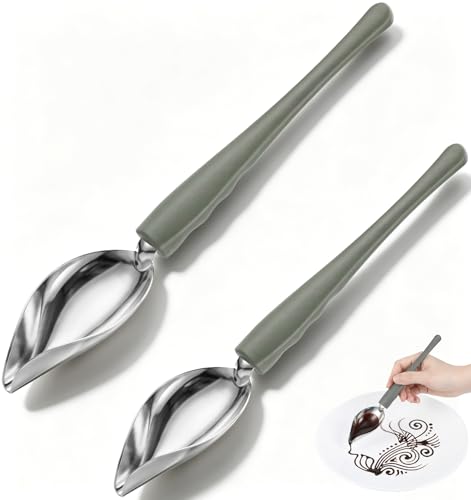
Turn Desserts into Art: This drizzle tool lets you draw swirls, zigzags, or dots on plates and cakes with melted chocolate, caramel, or fruit sauce, so your homemade desserts look like they came from a fancy bakery;
Instructions
Follow these step-by-step instructions to create your spooky Halloween cobweb cookies from mixing the dough to adding the final decorative touches.
Recommended Products
Thick Pastry Bags: Did your previous bags leaked? Are you afraid to squeeze them? Not now! Made of durable, anti-burst, non-slip and food grade plastic that is flexible, strong, reliable and thick enough to bear pressure of squeezing and frosting without any burst or leakage

Strong Grip: disposable small pastry bag for household use, In addition, the particle surface of the pipe bag is easy to handle, It prevents skidding or popping and is easy to grip, The perfect cake decorating supplies for beginners, bakers or cake decorating enthusiasts

Strong Grip: 8 inch disposable small pastry bag for household use, In addition, the particle surface of the pipe bag is easy to handle, It prevents skidding or popping and is easy to grip, The perfect cake decorating supplies for beginners, bakers or cake decorating enthusiasts
Preparing the Cookie Dough
Cream together the softened butter, granulated sugar, and brown sugar in a large mixing bowl using an electric mixer on medium speed for 2-3 minutes until light and fluffy. Beat in the eggs one at a time, mixing well after each addition. Add the vanilla extract and mix until combined.
Whisk together the flour, baking soda, and salt in a separate bowl. Gradually add the dry ingredients to the wet ingredients, mixing on low speed until just combined. Avoid overmixing to prevent tough cookies.
Wrap the dough in plastic wrap and refrigerate for at least 30 minutes. This chilling step helps prevent spreading during baking and makes the dough easier to roll.
Rolling and Cutting the Cookies
Preheat your oven to 350°F (175°C). Line your cookie sheets with parchment paper for easy removal and cleanup.
Roll the chilled dough on a lightly floured surface to 1/4-inch thickness. Use a round cookie cutter or glass to cut circles approximately 3 inches in diameter. Place the cut cookies on the prepared cookie sheets, spacing them 2 inches apart to allow for slight spreading.
Gather and re-roll the dough scraps to maximize your cookie yield. Keep unused dough refrigerated while working with each batch.
Baking the Cookies
Bake the cookies for 10-12 minutes or until the edges are lightly golden brown. The centers should appear set but not overbaked for the perfect chewy texture.
Remove the cookies from the oven and let them cool on the baking sheet for 5 minutes. Transfer the cookies to a wire cooling rack using a spatula. Allow them to cool completely before decorating, approximately 15-20 minutes.
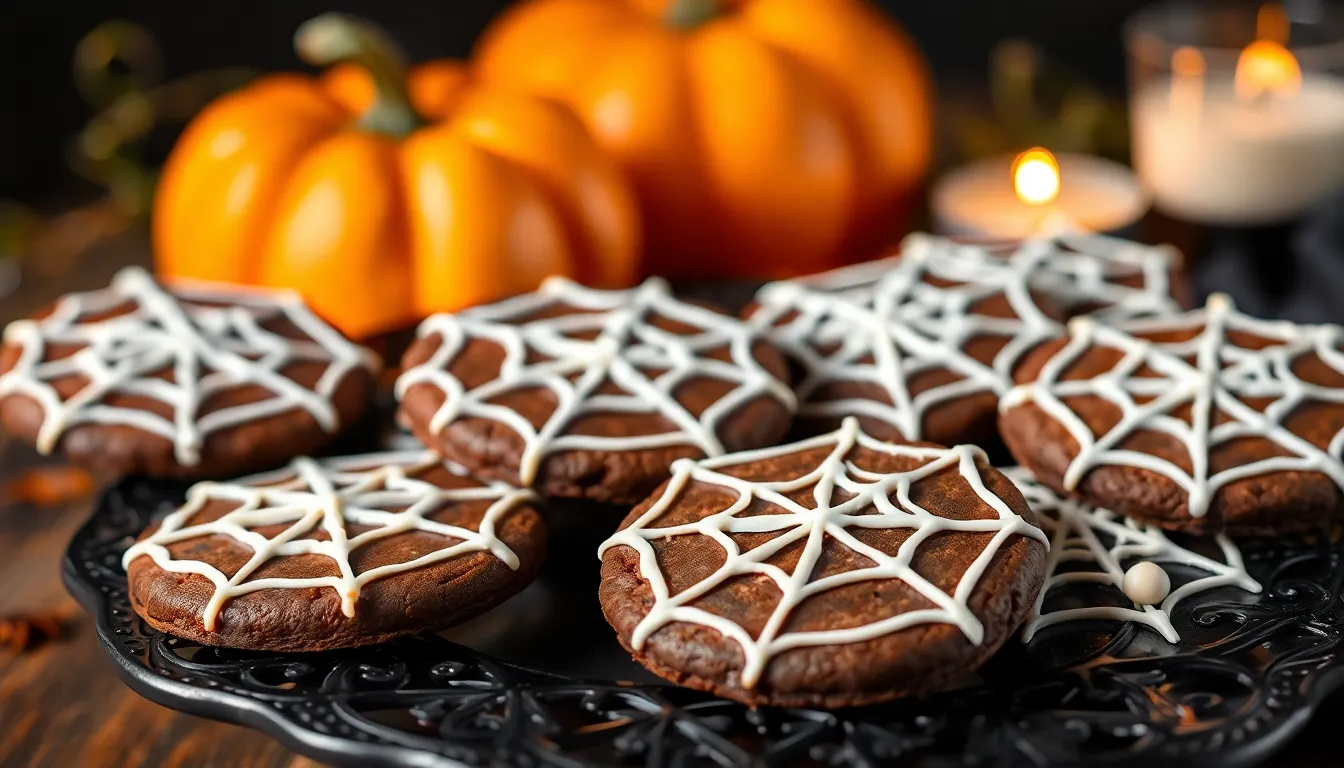
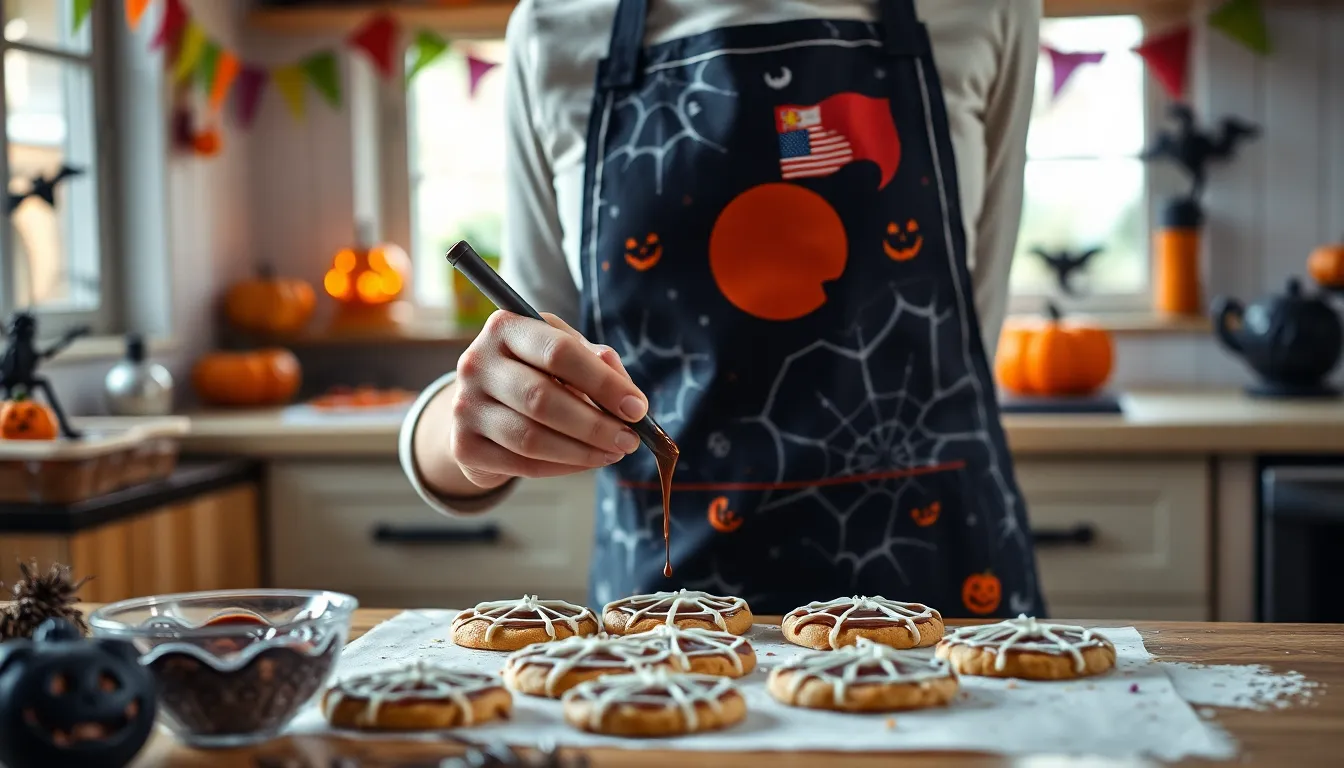
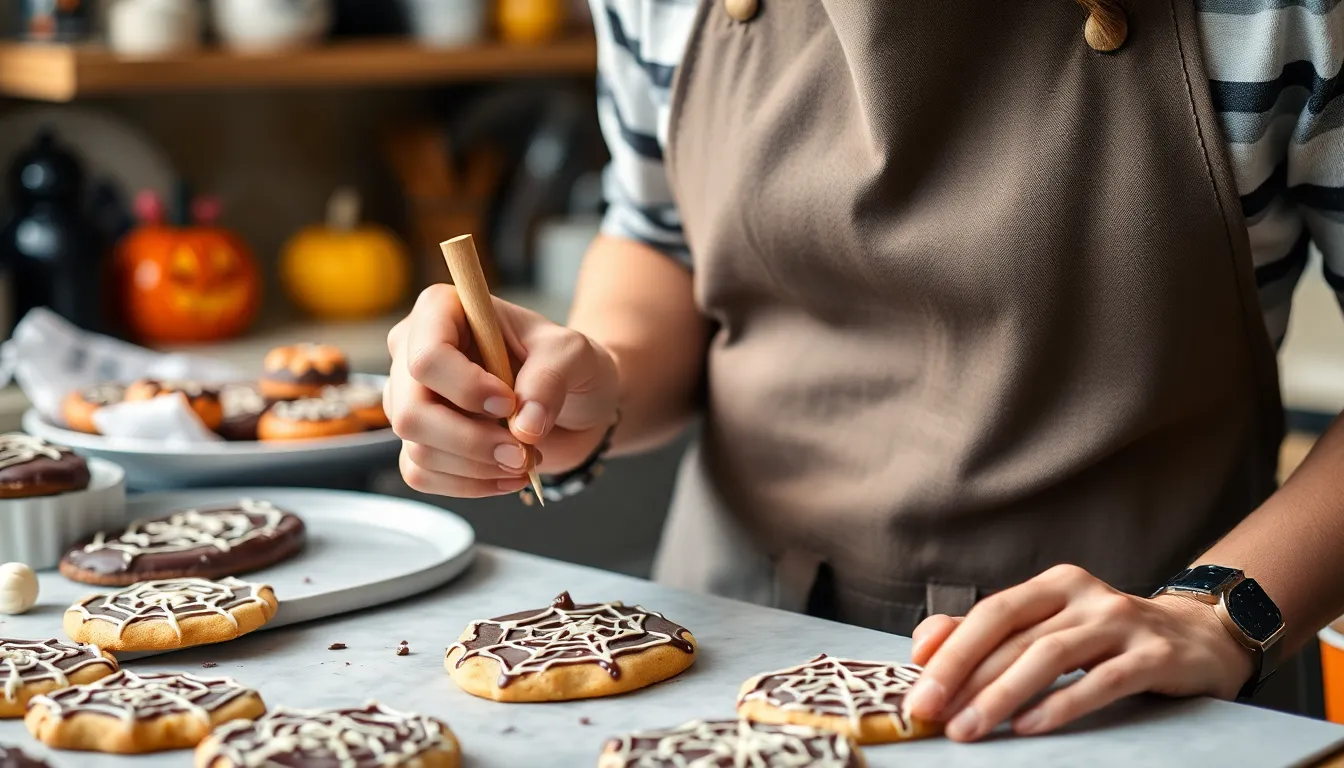
Creating the Cobweb Design
Melt the semi-sweet chocolate chips with coconut oil in a microwave-safe bowl in 30-second intervals, stirring between each interval until smooth. The mixture should have a flowing consistency for easy drizzling.
Drizzle the melted chocolate over each cookie in concentric circles, starting from the center and working outward. Create 3-4 circles of chocolate, spacing them evenly across the cookie surface.
Use a clean toothpick to draw lines from the center of the cookie to the outer edge, creating 6-8 web sections. Drag the toothpick through the chocolate circles to form the classic cobweb pattern. Work quickly before the chocolate sets.
Adding the Finishing Touches
Melt the white chocolate chips using the same microwave method as the dark chocolate. Drizzle thin lines of white chocolate over the cobweb pattern to create contrast and visual interest.
Allow the chocolate decorations to set for 10-15 minutes at room temperature. For faster setting, place the decorated cookies in the refrigerator for 5 minutes.
Store your finished cobweb cookies in an airtight container at room temperature for up to one week. Layer the cookies between parchment paper to prevent the chocolate decorations from sticking together.
Make-Ahead Tips
You can prepare these Halloween cobweb cookies up to three days before your spooky celebration. Bake the sugar cookie base completely and allow them to cool to room temperature before storing in an airtight container at room temperature.
Store unbaked cookie dough in the refrigerator for up to five days wrapped tightly in plastic wrap. The chilled dough actually becomes easier to work with and produces cookies with better shape retention when rolled and cut.
Freeze the prepared cookie dough for up to three months by wrapping individual portions in plastic wrap and placing them in freezer bags. Thaw frozen dough overnight in the refrigerator before rolling out and cutting into shapes.
Complete cookies with cobweb designs stay fresh for up to one week when stored in a single layer between sheets of parchment paper. Stack multiple layers carefully to prevent the delicate chocolate web patterns from breaking or smudging.
Prepare the chocolate for decorating up to two days ahead by melting and storing it in small covered bowls at room temperature. Reheat the chocolate gently in 15-second intervals in the microwave when ready to create your cobweb designs.
Bake cookie shapes and freeze them unfrosted for up to one month in freezer-safe containers. Add the chocolate cobweb decorations after thawing the cookies completely at room temperature for about 30 minutes.
Create an assembly line approach by baking all cookies one day and decorating them the next day. This method prevents fatigue and allows you to focus completely on creating intricate cobweb patterns without rushing through the baking process.
Storage Instructions
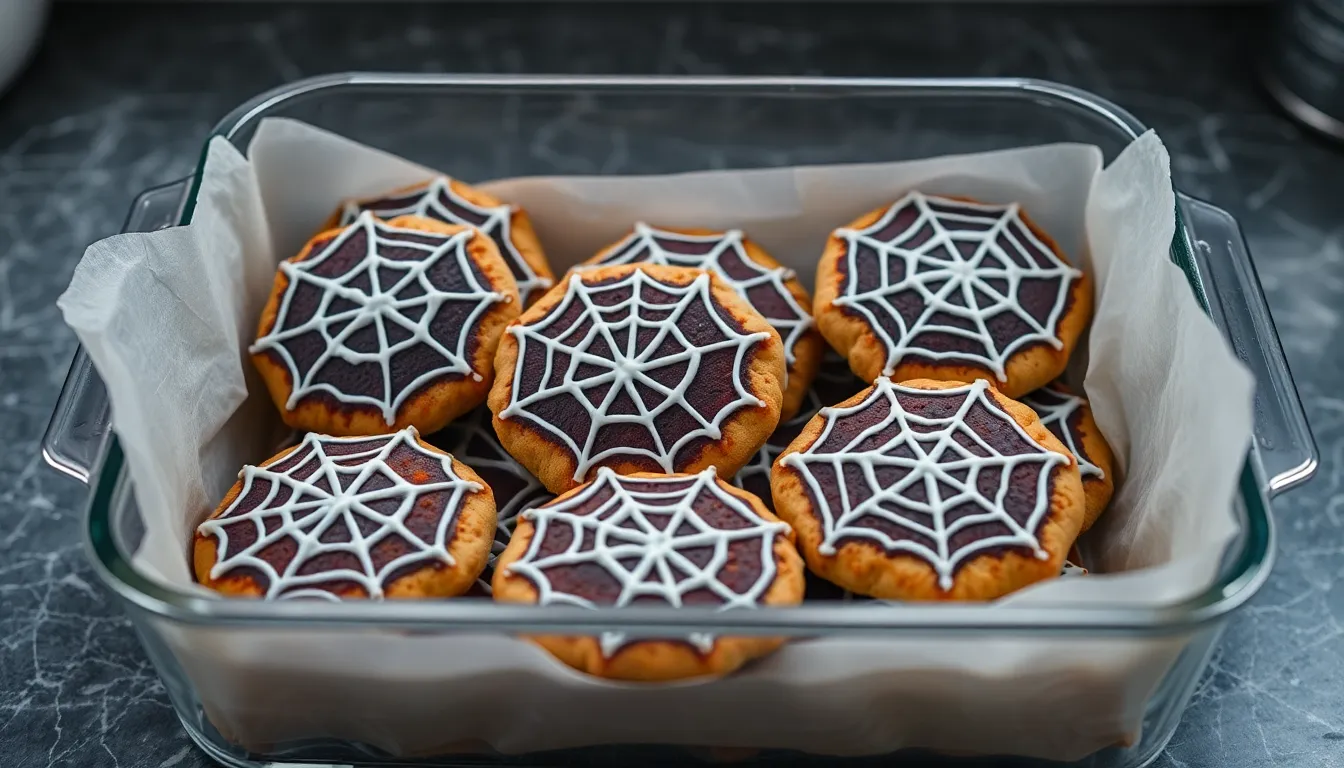
Store your finished Halloween cobweb cookies in an airtight container at room temperature for optimal freshness. Layer parchment paper between cookie rows to prevent the chocolate webs from sticking together or smudging. Your decorated cookies will maintain their quality and appearance for up to one week when stored properly.
Place the container in a cool dry location away from direct sunlight or heat sources. Avoid refrigerating completed cookies as condensation can cause the chocolate designs to become sticky or lose their crispness. Room temperature storage preserves both the cookie texture and the intricate cobweb patterns you worked to create.
Keep different cookie varieties in separate containers to prevent flavor transfer and maintain distinct tastes. Your cobweb cookies should not be stored with soft cookies or those containing fruit fillings as moisture can affect the chocolate decorations.
Check stored cookies daily and remove any that show signs of staleness or damage to prevent affecting the remaining batch. Properly stored Halloween cobweb cookies retain their buttery flavor and striking visual appeal throughout the storage period.
For short term storage during parties or events place cookies on covered platters or in serving containers with lids. This method works well for same day consumption while protecting the delicate chocolate web designs from dust or accidental contact.
| Storage Method | Duration | Container Type | Temperature |
|---|---|---|---|
| Completed cookies | 7 days | Airtight container | Room temperature |
| Party display | Same day | Covered platter | Room temperature |
| Layered storage | 7 days | Container with parchment | Cool dry place |
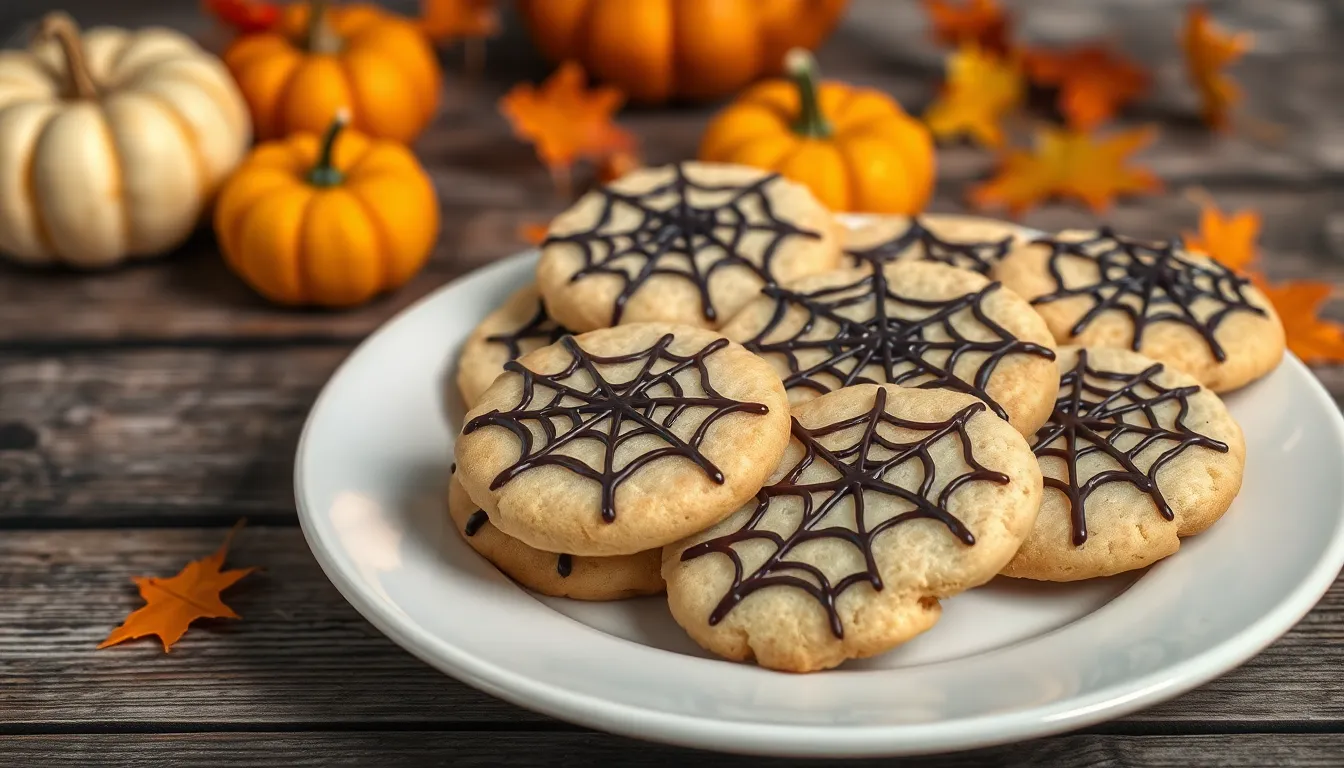
Serving Suggestions
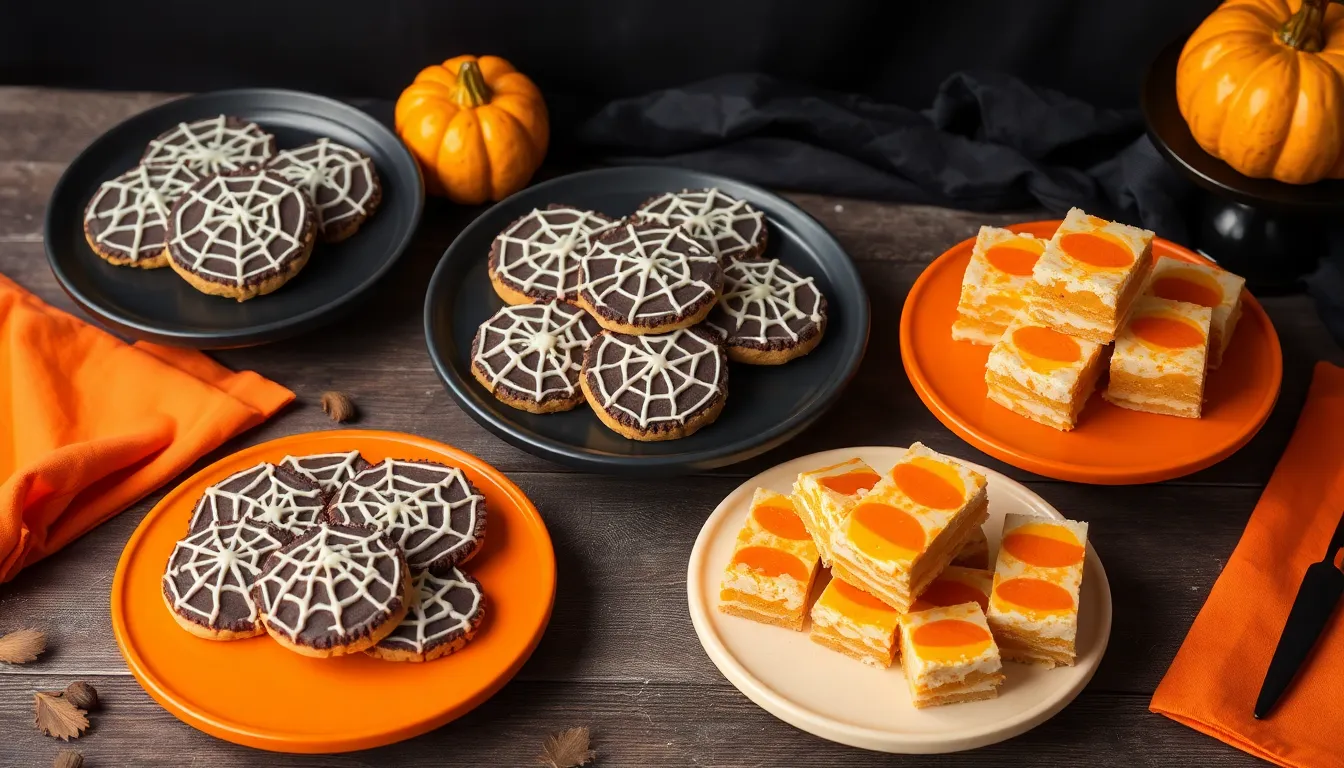
Your Halloween cobweb cookies shine brightest when paired with complementary treats and beverages. Arrange these spooky delights on dark plates or orange serving trays to enhance their dramatic chocolate web designs. The buttery vanilla base pairs perfectly with warm apple cider or hot chocolate for a cozy autumn gathering.
Create an impressive dessert table by grouping your cobweb cookies with other Halloween treats like pumpkin bars or candy corn fudge. Stack them on tiered serving stands to add visual height and make the intricate web patterns more visible to guests. Orange and black napkins complete the festive presentation while protecting the delicate chocolate designs.
For trick-or-treat distribution, wrap individual cookies in clear cellophane bags tied with orange ribbons. This packaging protects the cobweb patterns while showcasing your decorative work to excited children and parents alike. Consider creating variety packs by including both traditional chocolate web cookies and white chocolate accent versions.
Your cobweb cookies work beautifully as party favors when placed in small Halloween-themed boxes or bags. Attach personalized tags with spooky messages to make each treat special for your guests. The cookies maintain their visual appeal throughout the evening when displayed on covered platters away from heat sources.
Transform your cookies into an interactive dessert experience by setting up a decorating station with additional melted chocolate and toothpicks. Guests can add their own web patterns or create unique designs while enjoying the base cookies you’ve prepared. This activity works particularly well for children’s Halloween parties or family gatherings.
Serve your cobweb cookies alongside vanilla ice cream for an elevated dessert option. The cold ice cream contrasts beautifully with the room temperature cookies while the vanilla flavors complement each other perfectly. Drizzle additional melted chocolate over the ice cream to tie the presentation together.
Troubleshooting Common Issues
Creating perfect cobweb designs requires precision and the right technique. These answers address the most common decorating challenges you might encounter.
Preventing Cracked Webs
Your chocolate temperature plays a crucial role in preventing web cracks. Allow melted chocolate to cool for 2-3 minutes before decorating to achieve the ideal consistency. Hot chocolate creates thin lines that crack easily as they set.
Work quickly but steadily when drawing your web pattern. Extended exposure to air causes the chocolate to thicken and become difficult to manipulate smoothly. Keep your melted chocolate warm by placing the bowl over barely simmering water while decorating multiple cookies.
Use gentle pressure when dragging your toothpick through the chocolate circles. Heavy handed movements stretch the chocolate beyond its flexibility limit and create stress fractures. Draw each line from the center outward in one fluid motion rather than multiple short strokes.
Store decorated cookies at room temperature to maintain web integrity. Temperature fluctuations cause chocolate to expand and contract which leads to cracking. Avoid placing finished cookies near heat sources or in direct sunlight during parties.
Fixing Uneven Lines
Clean your toothpick between each stroke to maintain consistent line thickness. Chocolate buildup on the tip creates wobbly irregular lines that disrupt your web pattern. Wipe the toothpick clean with a paper towel after every 2-3 lines.
Draw your initial chocolate circles with steady consistent pressure. Uneven base circles make it impossible to create symmetrical web lines regardless of your technique. Practice making smooth circles on parchment paper before decorating your cookies.
Maintain the same speed throughout each stroke for uniform line width. Varying your drawing speed creates thick and thin sections within the same line. Count to three silently while drawing each line to develop consistent timing.
Position your cookie at a comfortable angle before starting each web. Awkward hand positions lead to shaky uneven lines that compromise your design. Rotate the cookie as needed to maintain natural wrist movement throughout the decorating process.
Conclusion
These Halloween cobweb cookies offer the perfect blend of simplicity and spooky elegance for your autumn celebrations. You’ll find that the buttery cookie base provides an ideal canvas for your chocolate web artistry while delivering delicious flavor in every bite.
Whether you’re hosting a Halloween party or preparing treats for trick-or-treaters you now have all the tools and techniques needed to create impressive results. The make-ahead convenience and storage flexibility mean you can prepare these stunning cookies without stress.
Your guests will be amazed by the professional-looking cobweb designs and you’ll love how achievable they are to create. These cookies prove that Halloween baking doesn’t need to be complicated to make a memorable impact.