Ingredients
You need just a handful of premium ingredients to create this restaurant-quality dessert. Each component plays a crucial role in achieving that signature silky texture and rich vanilla flavor.
Recommended Products

Grass Fed Gelatin: Made from grass-fed sources, this unflavored beef gelatin powder is a simple pantry ingredient for recipes that need reliable gelling, thickening, and a smoother texture

Premium Quality: Crafted from the finest sources, our gelatin powder guarantees a high-quality product with no compromises. Elevate your dishes with the touch of excellence.

One 8 oz box of Knox Unflavored Gelatin
For the Panna Cotta
- 2 cups heavy cream (35% fat content)
- 1/2 cup granulated sugar
- 1 packet (2 1/4 teaspoons) unflavored gelatin powder
- 3 tablespoons cold water
- 2 teaspoons pure vanilla extract
- 1/4 teaspoon kosher salt
For the Garnish (Optional)
- 1 cup fresh mixed berries (strawberries, blueberries, raspberries)
- 2 tablespoons honey or maple syrup
- Fresh mint leaves for decoration
- Caramel sauce for drizzling
- Crushed amaretti cookies for texture contrast
Equipment Needed
You’ll need basic kitchen equipment to create this elegant dessert successfully. A medium saucepan serves as your primary cooking vessel for heating the cream mixture. Choose one with a heavy bottom to prevent scorching and ensure even heat distribution.
Small bowls become essential for blooming the gelatin properly. You’ll use one to sprinkle the gelatin over cold water and allow it to absorb the liquid completely. This step creates the foundation for your panna cotta’s signature texture.
A whisk helps you blend the sugar into the cream and ensures smooth incorporation of all ingredients. Select a medium-sized whisk that fits comfortably in your saucepan without scraping the bottom excessively.
Fine-mesh strainer removes any lumps or undissolved gelatin particles from your mixture. This tool guarantees the silky smooth texture that defines perfect panna cotta. Position it over a large measuring cup or bowl for easy pouring.
Ramekins or small glasses serve as individual molds for your dessert. Six 4-ounce ramekins work ideally for standard portions. You can substitute with small glasses or dessert cups if ramekins aren’t available.
Measuring cups and spoons ensure accurate ingredient ratios. Use liquid measuring cups for cream and dry measuring cups for sugar. Precise measurements create the perfect balance between firmness and creaminess.
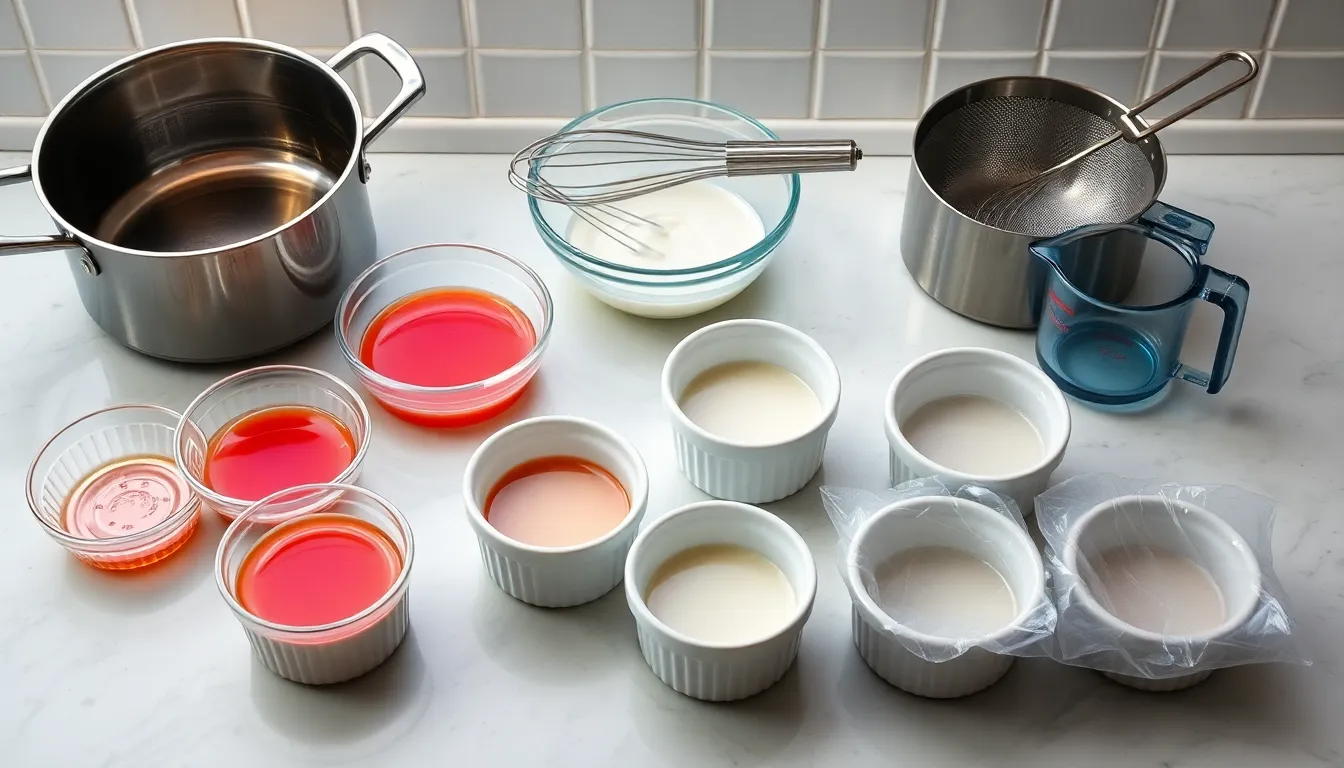
Plastic wrap covers each ramekin during the chilling process. This prevents skin formation on the surface and protects the panna cotta from absorbing refrigerator odors. Press the wrap directly onto the surface of each portion before refrigerating.
Recommended Products

One 16 oz carton of Organic Valley Ultra Pasteurized Organic Heavy Whipping Cream
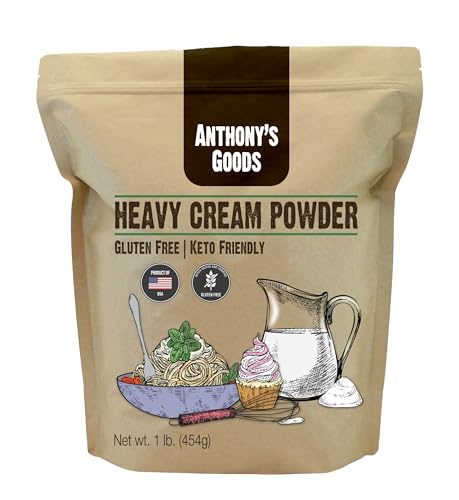
High Quality Heavy Cream Powder with 72% Butterfat
![Parmalat: Italian "Panna Chef Gourmet per cucinare", UHT Long Life Cooking Cream 6.7 Fluid Ounce (200ml) Packages (Pack of 3) [ Italian Import ]](https://m.media-amazon.com/images/I/51D7oFnOPVL._SL500_.jpg)
UHT long life cooking cream, gluten FREE
Instructions
Follow these precise steps to create silky vanilla panna cotta that sets perfectly every time. Master each technique to achieve the signature wobble that defines this elegant dessert.
Recommended Products

Made with Pure Vanilla Extract and all naturally derived ingredients

The perfect addition for any cooking, baking, or beverage journey, providing you that special flavoring enhancement with every drop
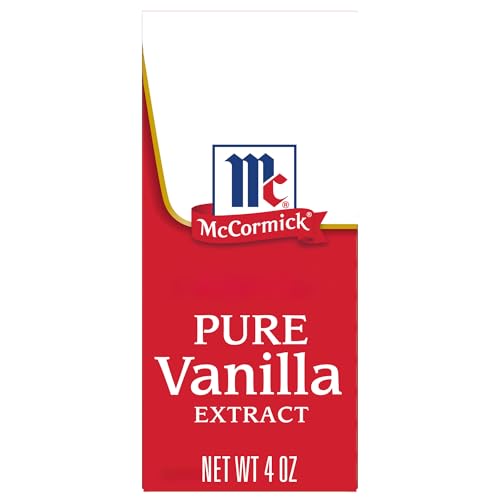
DISTINCTIVE FLAVOR: McCormick Pure Vanilla Extract is known for its richer, warmer, sweeter vanilla flavor and aroma.
Step 1: Prepare the Gelatin
Sprinkle 1 packet (2 1/4 teaspoons) of unflavored gelatin over 3 tablespoons of cold water in a small bowl. Allow the mixture to sit for 5 minutes until the gelatin absorbs the water and becomes spongy. This process called “blooming” ensures the gelatin dissolves completely without forming lumps. Avoid using hot water as it will activate the gelatin prematurely and create an uneven texture.
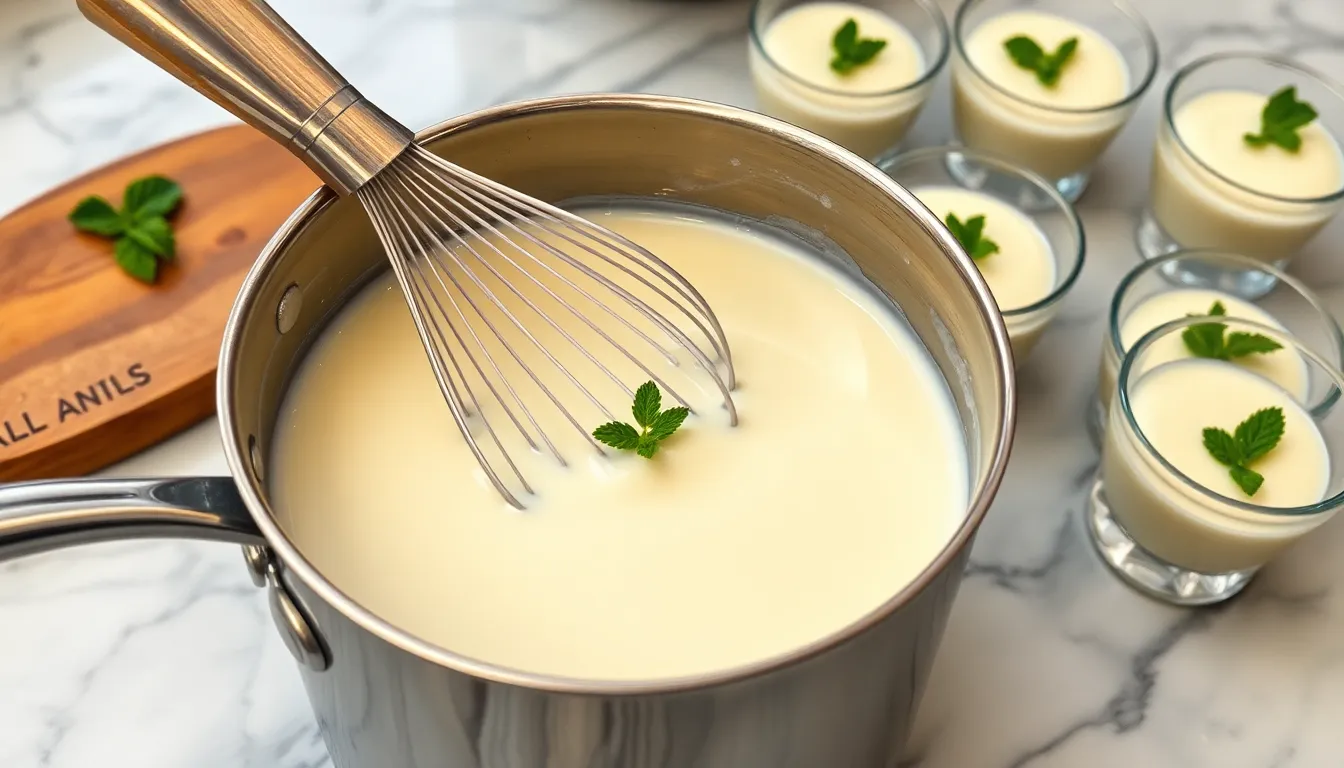
Step 2: Heat the Cream Mixture
Pour 2 cups of heavy cream into your medium saucepan and place over medium-low heat. Add 1/2 cup of granulated sugar and 1/4 teaspoon of kosher salt to the cream. Whisk continuously until the sugar dissolves completely and the mixture reaches a gentle simmer. Small bubbles will form around the edges when the cream is properly heated. Remove from heat immediately to prevent scorching.
Step 3: Combine and Strain
Add the bloomed gelatin to the hot cream mixture and whisk vigorously for 30 seconds until completely dissolved. Stir in 2 teaspoons of pure vanilla extract until evenly distributed. Pour the mixture through a fine-mesh strainer into a large measuring cup or bowl to remove any remaining lumps or skin that may have formed. This straining step guarantees your panna cotta will have a perfectly smooth texture.
Step 4: Pour into Molds
Divide the strained mixture evenly among 6 ramekins or small glasses using the measuring cup for easy pouring. Fill each mold to about 3/4 capacity leaving room for potential garnishes. Gently tap each ramekin on the counter to release any air bubbles that could create holes in your finished dessert. Cover each mold tightly with plastic wrap ensuring the wrap doesn’t touch the surface of the panna cotta.
Step 5: Chill and Set
Refrigerate the covered panna cotta for at least 4 hours or overnight until completely set. Test doneness by gently shaking one ramekin – the center should jiggle slightly while the edges remain firm. Properly set panna cotta will hold its shape when unmolded and have a creamy consistency that melts on your tongue. Serve directly in the ramekins or run a thin knife around the edges and invert onto serving plates for an elegant presentation.
Make-Ahead Instructions
Vanilla panna cotta serves as the perfect dessert for entertaining because you can prepare it entirely in advance. Your dessert will actually improve in texture and flavor when made ahead of serving time.
Prepare Up to 3 Days Early
Make your panna cotta up to three days before your planned serving date. The gelatin continues to set properly during extended chilling and the vanilla flavor develops more depth over time. Store your covered ramekins in the refrigerator throughout this period.
Day Before Serving
Creating your panna cotta the day before serves as the ideal timeline for most occasions. This timing allows the dessert to set completely while maintaining optimal texture. Your guests will experience the perfect wobble and silky mouthfeel when you follow this schedule.
Storage Best Practices
Cover each ramekin tightly with plastic wrap to prevent the formation of a skin on the surface. Press the plastic wrap directly onto the panna cotta surface or ensure your wrap creates an airtight seal around the rim. This method prevents your dessert from absorbing refrigerator odors and maintains its pristine appearance.
Unmolding Timeline
Remove your panna cotta from molds just before serving for the best presentation. The dessert becomes firmer the longer it chills, making unmolding easier after 24 hours. Run a thin knife around the edges and dip the bottom of each ramekin in warm water for 10 seconds to release cleanly.
Garnish Strategy
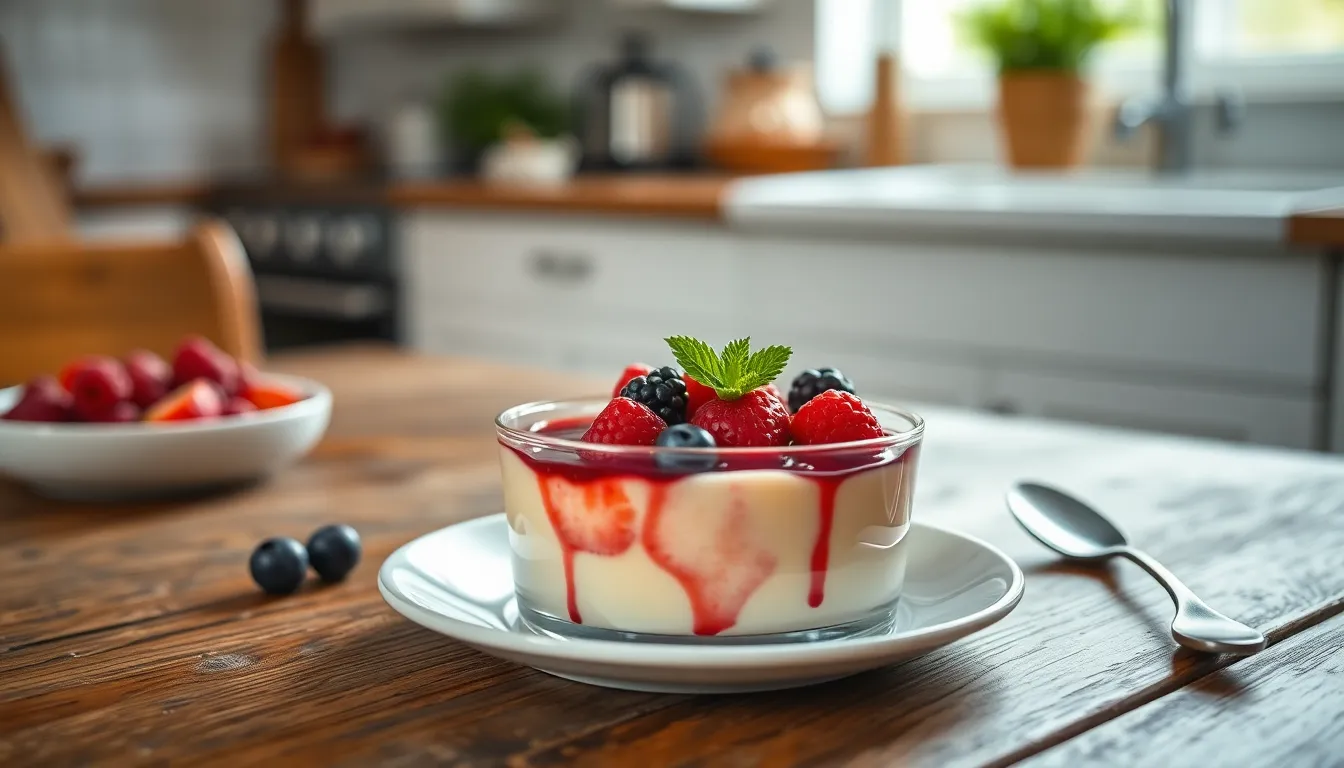
Add fresh berries, caramel sauce, or other toppings immediately before serving to maintain their texture and visual appeal. Your prepared panna cotta base will complement any garnish you choose without compromising the dessert’s stability.
Recommended Products
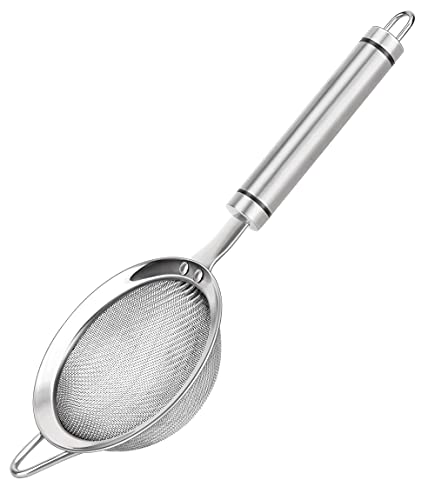
Made from high-quality, food-grade 304 stainless steel. This strainer features a sturdy outer framework and handle. Easy cleaning. Dishwasher safe. Mirrored, burr-free wire mesh screen won't scratch your hand while you clean it.

A MUST-HAVE KITCHEN ACCESSORY: Keep the pulp and herbs out of your cocktails with this stainless steel strainer. You can also use it to filter coffee grounds, strain tea leaves or juice, sift flour, or for dusting baked goods. The rim is polished with a classic mirror finish to make this wire mesh strainer a perfect way to add that professional, edgy look to your home bar.
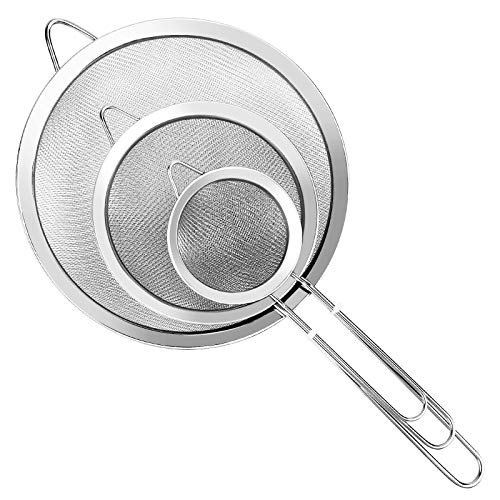
3 Pcs Fine Mesh Strainer With Handle: Three diameters 3.15″ , 5.5″ & 7.87″, ensures that you always have the right strainer for the job. Super wire extra fine mesh strainer with handle are perfect for sifting and straining wet or dry ingredients, repeated use.
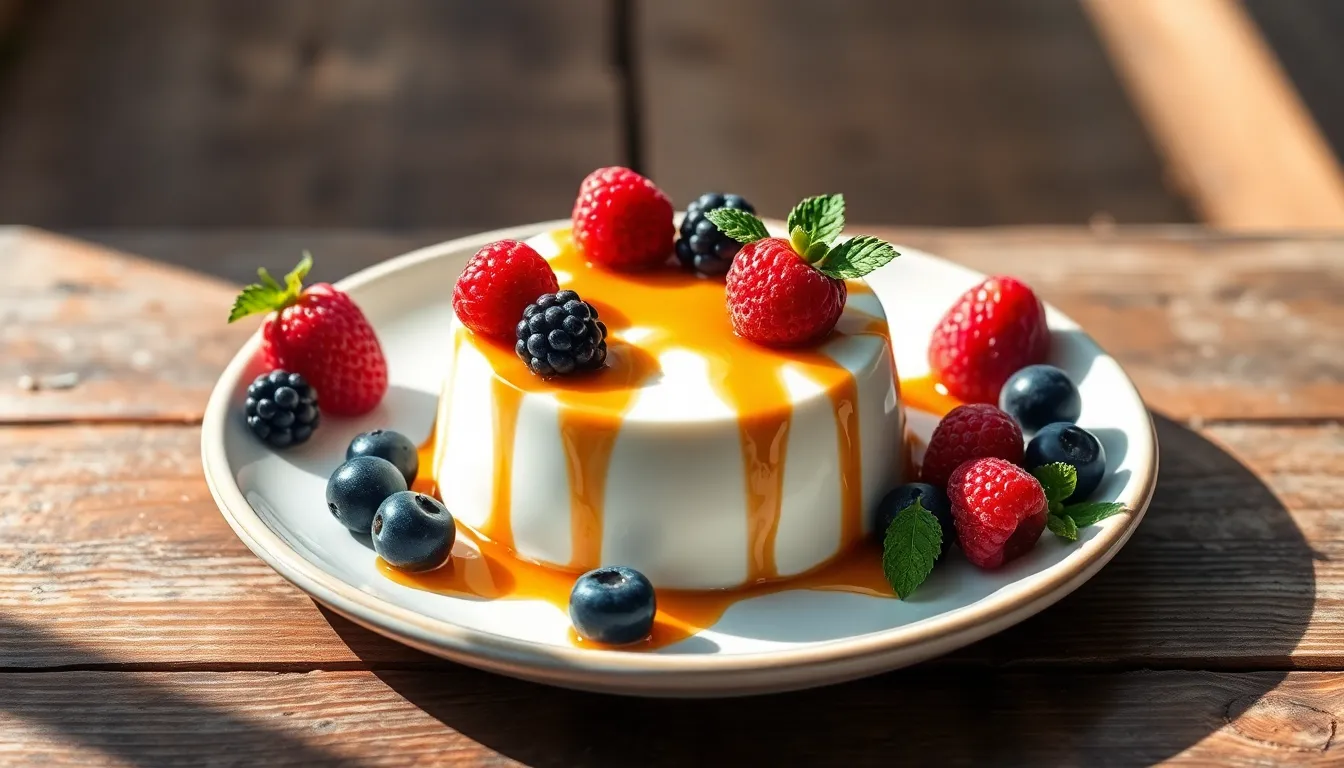
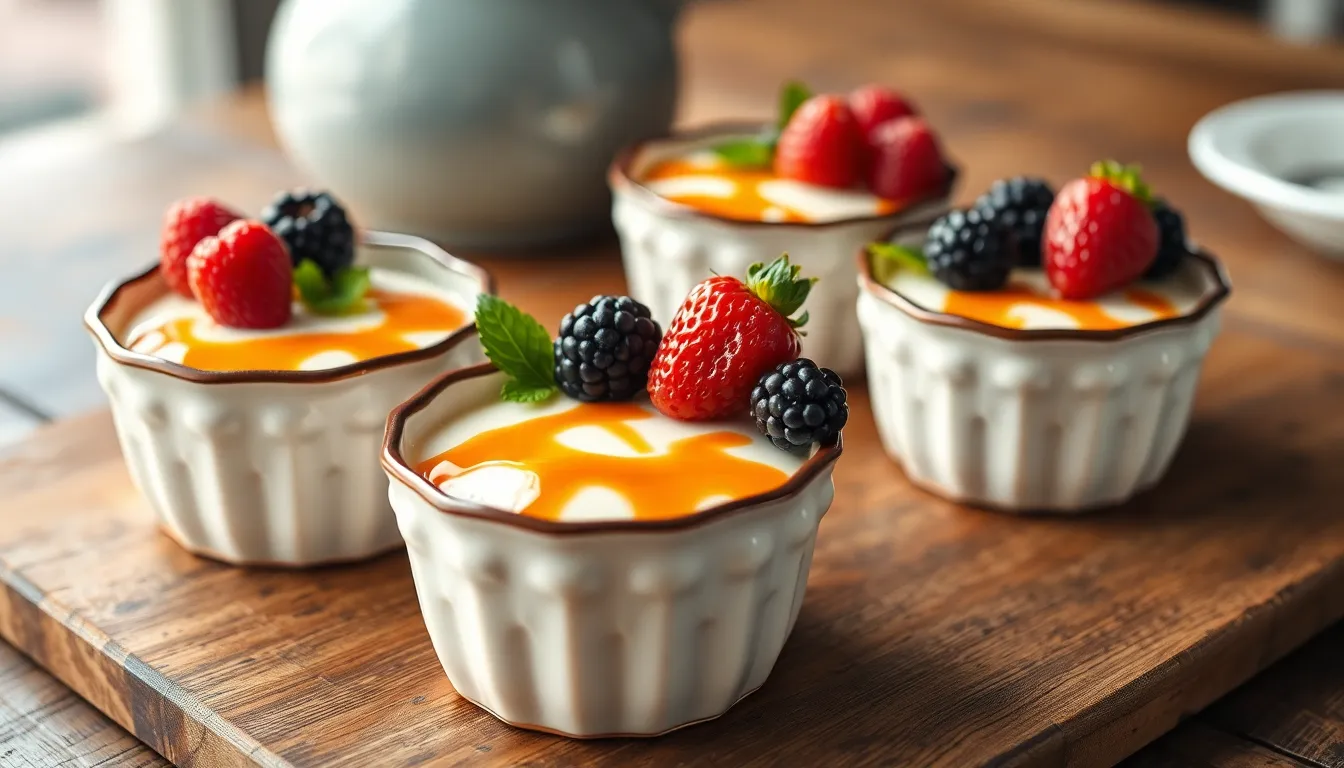
Serving Suggestions
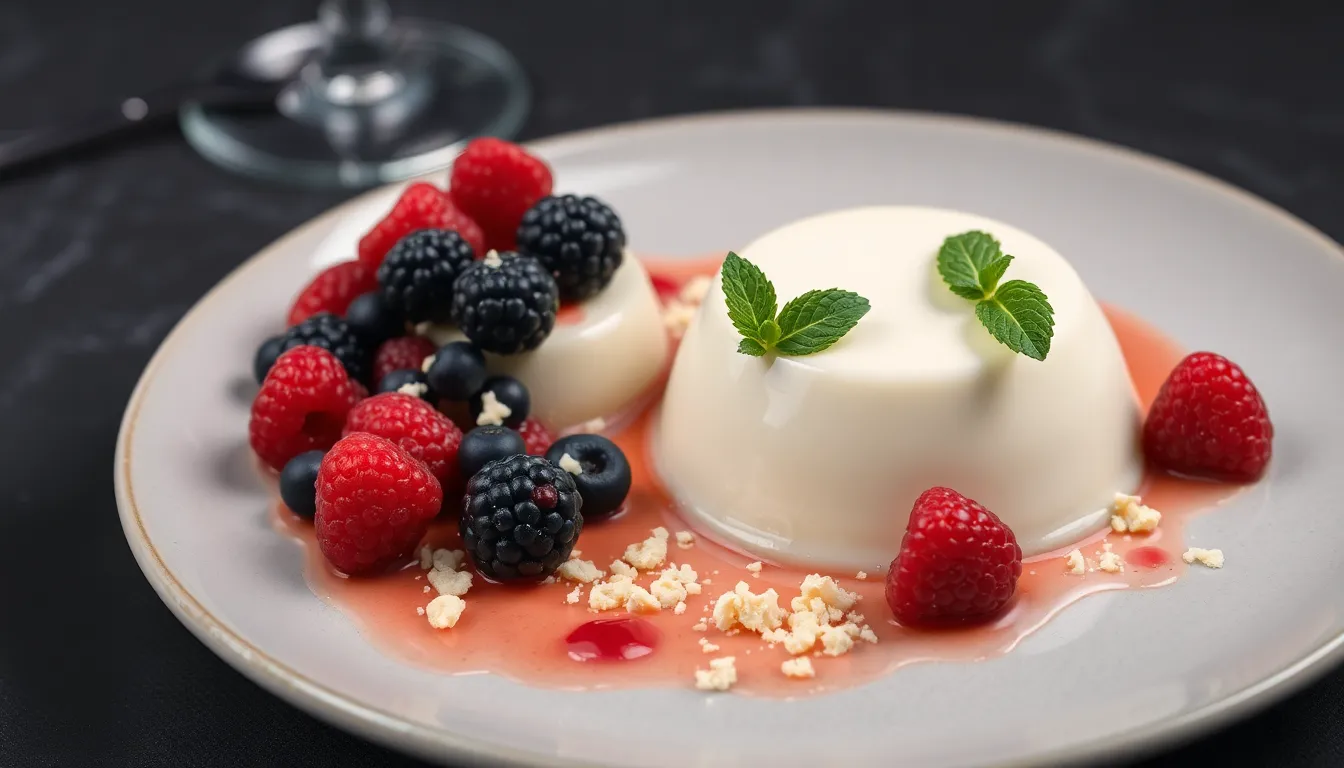
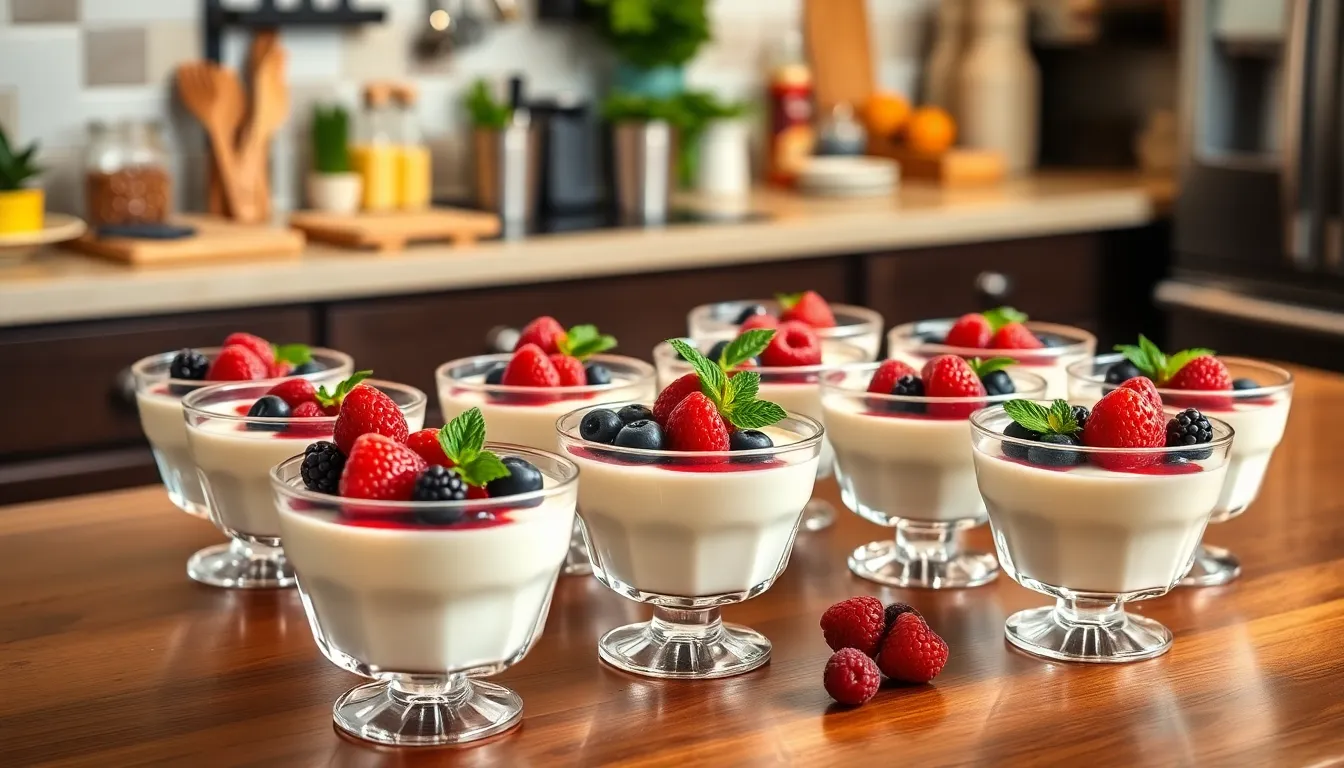
Transform your vanilla panna cotta from simple dessert to elegant masterpiece with proper presentation techniques and creative garnish combinations. These finishing touches elevate the silky dessert into a restaurant-quality experience.
Recommended Products
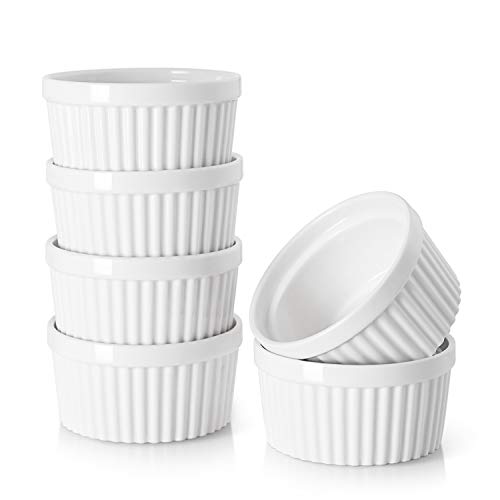
SUPERIOR CERAMIC HEAT DISTRIBUTION & CRUST PERFECTION: Crafted from premium-grade, heavy-duty ceramic, these ramekins offer superior heat retention and even distribution compared to flimsy silicone or thin metal. This ensures your baked goods rise perfectly with a beautiful golden crust, fluffy interiors, and no burnt bottoms. Oven safe up to 500°F and engineered to withstand thermal shock, they transition smoothly from prep to high-heat appliances.

Ramekins with lids: Sized at 3.5" in diameter and 1.8" in height, these 4 oz ramekins are ideal for portion-controlled servings. With the lids on the ramekins, baked items can stay warm after being pulled out of the oven. The lids are a wonderful addition for leftovers. They seal well so they're great for storing food in the fridge and convenient to reheat the food. Also, they are perfect to pack in lunches or a breakfast on the go.

Versatile 4 oz Ramekins for Baking & Serving – These small ramekins are ideal for crème brûlée, mini soufflé, pudding, or other single-serve desserts. They’re also great for portioning a generous scoop of ice cream or small servings of fruit, and work wonderfully as dipping bowls, condiment cups, sauce dishes, or snack bowls for meal prep, charcuterie boards, and side dishes.
Unmolding the Panna Cotta
Dip each ramekin in warm water for 10-15 seconds to loosen the edges without melting the dessert. Run a thin knife around the perimeter to release any stubborn spots that might stick to the sides. Place your serving plate upside down over the ramekin and flip both together in one swift motion.
Gently shake the ramekin while holding the plate steady underneath. The panna cotta should release with a soft wobble that indicates perfect texture. Leave the ramekin in place for 30 seconds before lifting to ensure complete release.
Choose plates that complement the dessert’s elegant nature. White or clear glass plates showcase the panna cotta’s creamy color while dark plates create dramatic contrast for photography.
Garnish Ideas
Fresh berries provide the perfect acidic counterpoint to rich vanilla cream. Arrange mixed berries around the base or create a colorful crown on top using strawberries blueberries and raspberries. Macerate the berries with honey for 15 minutes to release their natural juices.
Caramel sauce transforms vanilla panna cotta into an indulgent treat. Drizzle warm caramel around the plate’s edge or create artistic swirls across the dessert’s surface. The contrast between cool cream and warm sauce creates an exceptional temperature experience.
Crushed amaretti cookies add textural interest with their almond flavor and satisfying crunch. Sprinkle them around the plate or press gently into the panna cotta’s surface for visual appeal. Toasted nuts like pistachios or hazelnuts provide similar texture with different flavor profiles.
Fresh mint leaves bring aromatic freshness that cuts through the dessert’s richness. Place whole leaves as garnish or chiffonade them for delicate green confetti. Edible flowers like violets or pansies create stunning visual impact for special occasions.
Fruit coulis made from pureed strawberries raspberries or passion fruit adds vibrant color and complementary flavors. Create dots of coulis around the plate and drag a toothpick through them for professional plating techniques that impress dinner guests.
Storage Tips
Your vanilla panna cotta requires proper storage techniques to maintain its silky texture and delicate flavor profile. Store covered panna cotta in the refrigerator immediately after the initial chilling period to preserve freshness and prevent contamination.
Recommended Products

Pack of one pound

Unflavored gelatin powder Includes 1.25 Lbs. of gelatin powder unflavored in Reusable container for easy storage. Made in USA.
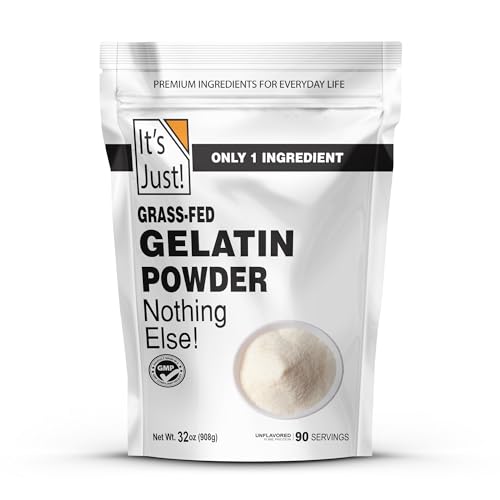
VERSATILE THICKENER // Ideal for making gummy candies, thickening soups, sauces, broths, and desserts; adds a smooth texture without altering flavors. Each 10g serving contains 9g of pure protein, 0g carbs, 0g fat, helpful for those on a GLP-1 diet
Refrigerator Storage Duration
| Storage Period | Quality | Notes |
|---|---|---|
| 1-2 days | Excellent | Peak texture and flavor |
| 3-4 days | Very good | Slight texture changes may occur |
| 5+ days | Not recommended | Quality deteriorates significantly |
Keep your panna cotta covered with plastic wrap or airtight lids to prevent skin formation on the surface. The dessert absorbs surrounding odors easily so tight coverage protects against unwanted flavors from other refrigerator items.
Temperature Control
Maintain consistent refrigerator temperatures between 35°F and 40°F for optimal storage results. Temperature fluctuations cause the gelatin structure to break down and create an uneven texture throughout your dessert.
Store individual ramekins on a flat shelf rather than the refrigerator door to avoid temperature variations from frequent opening and closing. Your panna cotta develops a firmer set when kept in the coldest part of your refrigerator away from the door.
Freezing Guidelines
Avoid freezing vanilla panna cotta as the gelatin structure breaks down during the thawing process. Frozen panna cotta separates and loses its characteristic smooth consistency when returned to serving temperature.
Fresh garnishes like berries or mint should be added just before serving rather than stored with the panna cotta. Pre-added toppings release moisture and compromise the dessert’s texture during extended storage periods.
Troubleshooting Common Issues
Even with careful preparation your panna cotta might encounter some challenges along the way. These common problems have simple answers that will help you achieve the perfect silky dessert every time.
Recommended Products

Panna Cotta Won’t Set
Your panna cotta needs proper gelatin activation to achieve the characteristic wobble. Check that you bloomed the gelatin in cold water for the full 5 minutes before heating. The mixture should look spongy and expanded when ready to use.
Temperature plays a crucial role in gelatin activation. You must heat the cream mixture to 160°F to properly dissolve the bloomed gelatin. Insufficient heating prevents complete dissolution while overheating can break down the gelatin proteins.
Measure your gelatin accurately using the exact amount specified in the recipe. Too little gelatin creates a runny texture while expired gelatin loses its setting power over time. Replace old packets with fresh unflavored gelatin for reliable results.
Allow adequate chilling time in your refrigerator. Panna cotta requires at least 4 hours to set properly though overnight chilling produces the best texture. Avoid moving or jostling the ramekins during the setting process.
Lumpy Texture
Proper straining prevents lumps from ruining your smooth panna cotta. Pour the warm cream mixture through a fine-mesh strainer immediately after combining with gelatin. This step removes any undissolved gelatin particles or skin that formed during heating.
Blooming gelatin correctly eliminates most texture issues before they start. Sprinkle the gelatin evenly over cold water rather than dumping it in one spot. Stir gently to ensure all particles absorb water uniformly.
Temperature control during mixing prevents lumps from forming. Add the bloomed gelatin to the warm cream mixture gradually while whisking constantly. Sudden temperature changes can cause the gelatin to seize and create unwanted chunks.
Work quickly once you combine the gelatin with the heated cream. The mixture begins setting as it cools so prolonged stirring or delays can create an uneven texture throughout your panna cotta.
Too Sweet or Bland
Taste your cream mixture before adding the gelatin to adjust sweetness levels. You can increase sugar by 1-2 tablespoons for sweeter preferences or reduce it by the same amount for less sweetness. Remember that chilling slightly mutes flavors.
Vanilla quality significantly impacts the final taste of your panna cotta. Pure vanilla extract provides deeper flavor than imitation vanilla while vanilla bean paste adds visual specks and intense aroma. Use high-quality vanilla for the best results.
Salt enhances all the flavors in your panna cotta including the vanilla and cream. Add a pinch of kosher salt to balance sweetness and bring out the dessert’s natural richness. This small addition makes a noticeable difference in taste.
Consider the sweetness of your planned garnishes when adjusting the base recipe. Fresh berries add natural tartness while caramel sauce contributes additional sweetness. Balance your panna cotta flavor with complementary toppings for the perfect bite.
Recipe Variations
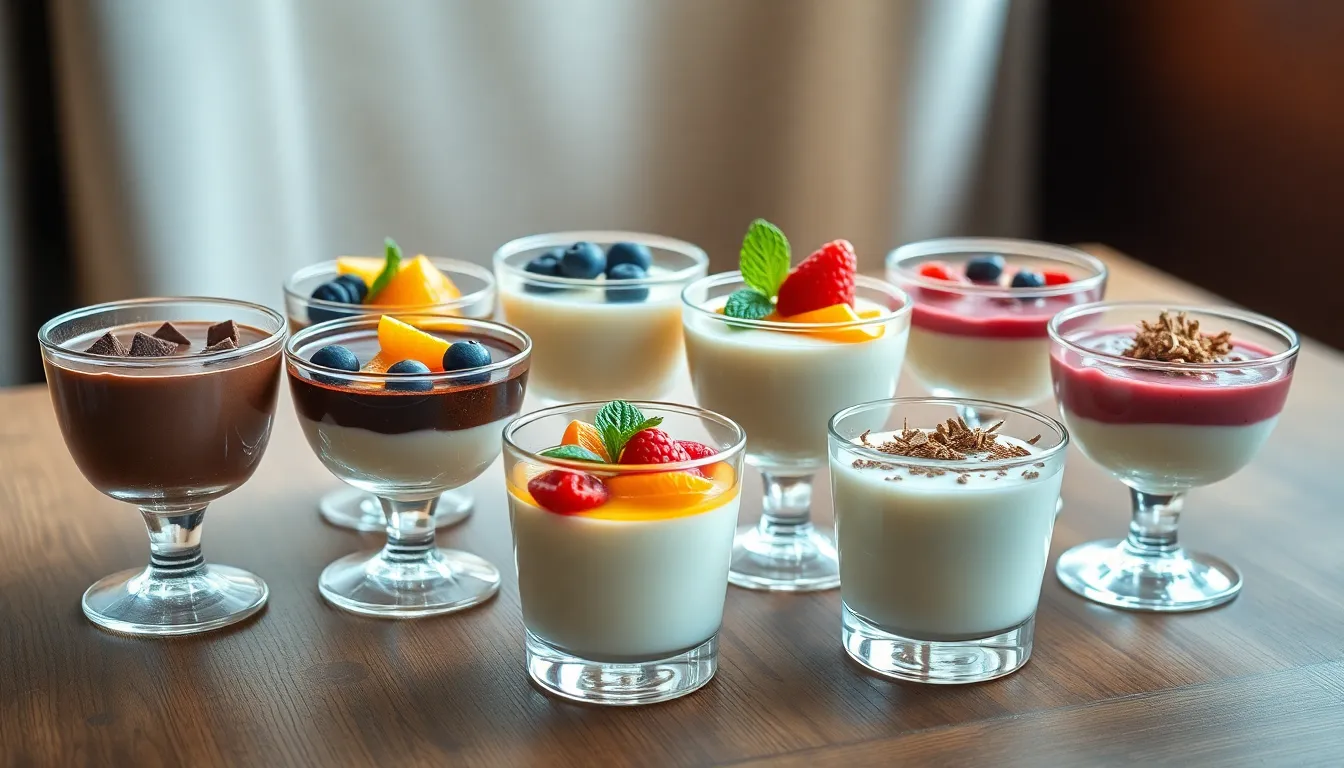
Transform your classic vanilla panna cotta into exciting new flavors by exploring these delicious variations. Each option maintains the silky texture you love while introducing unique taste profiles that will impress your guests.
Recommended Products

One 16 fluid ounce bottle of Pure Vanilla Extract


METAL TRELLIS FOR CLIMBING PLANTS - The decorative lattice design of this metal trellis will add style and dimension to your landscaping while providing plenty of support for your climbing plants. Use this garden arch as a grape trellis or berry trellis.
Flavored Panna Cotta Options
Chocolate Panna Cotta elevates the classic recipe by adding 4 ounces of melted dark chocolate to the warm cream mixture. Whisk the chocolate into the heated cream until completely smooth before adding the bloomed gelatin. This creates a rich dessert that pairs beautifully with fresh raspberries or whipped cream.
Coffee Panna Cotta brings sophistication to your dessert table with 2 tablespoons of instant espresso powder dissolved in the warm cream. The coffee flavor intensifies as it chills, creating a perfect ending to dinner parties. Garnish with a light dusting of cocoa powder or crushed espresso beans for added texture.
Berry Panna Cotta incorporates 1/2 cup of berry puree into the cream mixture after straining. Strawberry, raspberry, or blueberry purees work exceptionally well. Heat the puree with the cream to ensure proper integration, then proceed with the standard gelatin process. Fresh berries make an ideal garnish for this fruity variation.
Citrus Panna Cotta brightens the dessert with the zest of 2 lemons or 1 orange added to the warming cream. Remove the zest before straining to maintain the smooth texture while preserving the bright citrus oils. This variation pairs wonderfully with fresh mint and candied citrus peels.
Coconut Panna Cotta substitutes 1 cup of heavy cream with full-fat coconut milk for tropical flavor. The coconut cream adds richness while creating a slightly different texture profile. Toasted coconut flakes and fresh mango make excellent accompaniments for this island-inspired version.
Dairy-Free Alternatives
Coconut Milk Base replaces all dairy cream with 2 cups of full-fat coconut milk for a completely dairy-free option. Use the same gelatin amount and follow identical blooming procedures. The result maintains the creamy texture while offering a subtle coconut flavor that works with most garnishes.
Cashew Cream Substitute creates an ultra-smooth dairy-free version using 1 1/2 cups of soaked cashews blended with 1 1/2 cups of water. Soak raw cashews for 4-6 hours, then blend until completely smooth before heating with sugar. This option provides neutral flavor that accepts any variation you choose.
Almond Milk Version uses 2 cups of unsweetened almond milk combined with 1/2 cup of cashew cream for richness. The lighter base requires careful temperature control during gelatin incorporation to prevent separation. Add an extra 1/4 teaspoon of vanilla extract to enhance the flavor profile.
Oat Cream Alternative substitutes heavy cream with 2 cups of full-fat oat cream for those avoiding nuts and coconut. This option creates a slightly different mouthfeel but maintains the essential panna cotta characteristics. The neutral flavor works particularly well with fruit-based variations and berry garnishes.
| Variation Type | Key Ingredient | Amount | Special Notes |
|---|---|---|---|
| Chocolate | Dark chocolate | 4 oz | Melt before adding |
| Coffee | Instant espresso | 2 tbsp | Dissolve in warm cream |
| Berry | Fruit puree | 1/2 cup | Heat with cream mixture |
| Citrus | Lemon/orange zest | 2 lemons/1 orange | Remove before straining |
| Coconut milk | Full-fat coconut milk | 2 cups | Replace all dairy cream |
| Cashew cream | Soaked cashews | 1 1/2 cups | Blend with 1 1/2 cups water |
Conclusion
You’ve now mastered the art of creating this timeless Italian dessert that’s guaranteed to impress your guests. This vanilla panna cotta recipe proves that elegant doesn’t have to mean complicated – with just a few quality ingredients and proper technique you’ll achieve restaurant-quality results every time.
The beauty of panna cotta lies in its versatility and make-ahead convenience. Whether you stick with the classic vanilla or experiment with the flavor variations we’ve explored you’re creating a dessert that’s both sophisticated and satisfying.
Your perfectly wobbling panna cotta with its silky texture and delicate sweetness will become a go-to dessert in your repertoire. Each spoonful delivers that melt-in-your-mouth experience that makes this Italian classic so beloved worldwide.