Ingredients
Creating authentic baklava requires three essential components that work together to produce those coveted flaky layers and rich flavors. Each element plays a crucial role in achieving the perfect balance of textures and tastes.
Recommended Products

Each puff pastry sheet is made up of many delicate layers, essential to creating its supremely light, airy texture

The Fillo Factory, Fillo Dough, 16 oz (Frozen)

FLAKY AND FLUFFY: Refrigerated pastry dough bakes up flaky and fluffy with original Pillsbury crescent roll taste; Ideal for making sweet desserts or savory dishes
For the Phyllo Layers
- 1 pound frozen phyllo dough, thawed overnight in refrigerator
- 1 cup unsalted butter, melted
- 2 tablespoons olive oil
- Pinch of salt
For the Nut Filling
- 2 cups walnuts, finely chopped
- 1 cup pistachios, finely chopped
- 1/2 cup almonds, finely chopped
- 1/4 cup granulated sugar
- 1 teaspoon ground cinnamon
- 1/4 teaspoon ground cardamom
- 1/4 teaspoon ground cloves
For the Honey Syrup
- 1 cup granulated sugar
- 1 cup water
- 3/4 cup honey
- 1 tablespoon fresh lemon juice
- 1 cinnamon stick
- 3 whole cloves
- 1 strip lemon zest
Equipment Needed
Creating authentic baklava requires exact kitchen tools that ensure proper layering and even baking. Your success depends on having the right equipment to handle delicate phyllo dough and achieve those signature crispy layers.
Essential Baking Equipment:
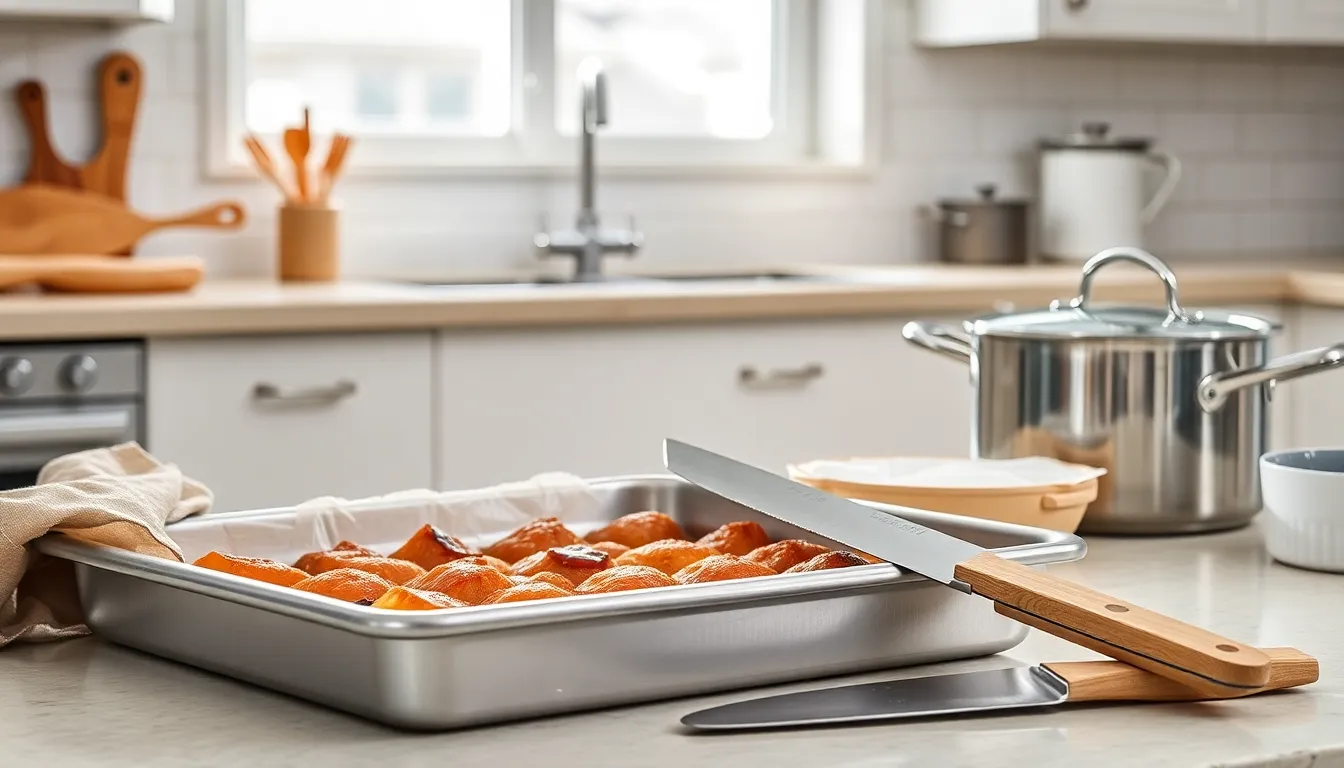
- 9×13 inch metal baking pan (glass works but metal conducts heat better)
- Large pastry brush for butter application
- Sharp knife for precise cutting
- Medium saucepan for syrup preparation
- Clean kitchen towels for phyllo protection
Preparation Tools:
- Large mixing bowl for nut mixture
- Fine-mesh strainer for syrup clarity
- Measuring cups and spoons for accuracy
- Food processor for nut chopping (optional but recommended)
Your baking pan choice significantly impacts the final result. Metal pans distribute heat evenly and create better bottom browning compared to glass alternatives. The pastry brush should have natural bristles to prevent phyllo tearing during butter application.
Temperature Control Equipment:
- Instant-read thermometer for syrup consistency
- Oven thermometer for accurate baking temperature
Keep damp kitchen towels nearby throughout the assembly process. Phyllo dough dries quickly when exposed to air and becomes impossible to work with once brittle. Your knife must be extremely sharp to cut through all layers without crushing the delicate structure.
Food processors make quick work of chopping nuts to uniform size. Hand chopping works perfectly well but requires more time and attention to achieve consistent pieces. Uniform nut size ensures even distribution and prevents some pieces from burning while others remain undercooked.
Recommended Products

Kunafa Mixed Nuts: Fine, kunafa dough base with loads of pistachio, cashew and almonds on top with just the right amount of sweetness and nut-forward, crunchy bites

A Box Full of Delicious Treats - Savor the mouthwatering taste of true Turkish baklava. Our tin can contains dozens of pieces of assorted pistachio, walnut, and hazelnut baklavas for you to enjoy!

Fresh baked to ship
Instructions
Transform your kitchen into a Mediterranean bakery by following these detailed steps. Each component requires careful attention to create authentic baklava with perfectly crisp layers and aromatic sweetness.
Recommended Products

Naturals bakeware is made of pure aluminum which will never rust for a lifetime of durability. Foods bake and brown evenly due to aluminum’s superior heat conductivity.

9 x 13 inch rectangular cake pan; made from aluminized steel; a mix of steel for strength and durability and aluminum for superior heat conductivity; oven safe to 450°F

FARBERWARE STRONG: This baking pan's heavy-duty construction resists warping and heats evenly to brown beautifully and help reduce hot spots
Prep the Phyllo Dough
Remove frozen phyllo dough from the freezer and thaw completely in the refrigerator for 8-12 hours. Never rush this process by thawing at room temperature as this causes moisture buildup.
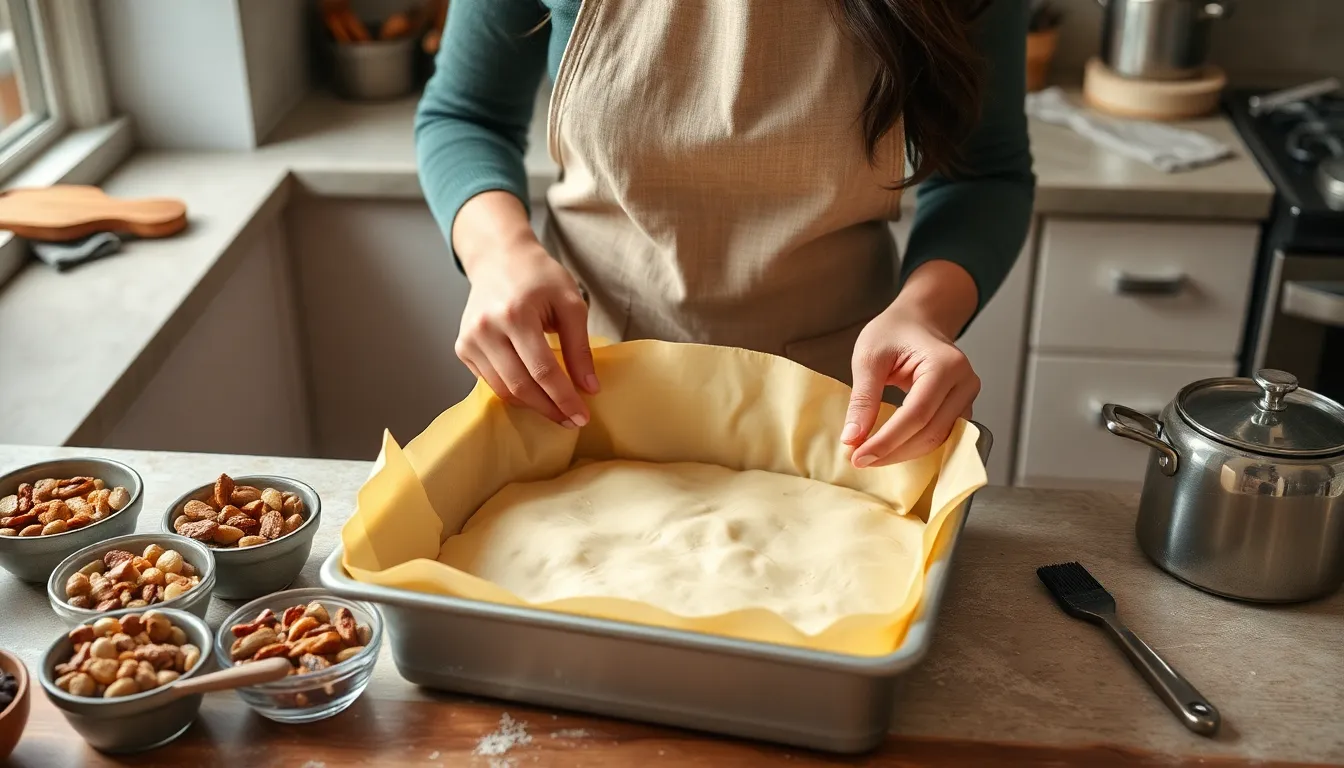
Carefully unroll the phyllo sheets onto a clean workspace once thawed. Cover immediately with a slightly damp kitchen towel to prevent drying and cracking. Keep unused sheets covered throughout the entire assembly process.
Combine melted unsalted butter with olive oil and a pinch of salt in a small bowl. Mix thoroughly to create your phyllo brushing mixture. The olive oil prevents the butter from solidifying too quickly while adding subtle Mediterranean flavor.
Make the Nut Filling
Pulse walnuts in a food processor until they reach a coarse consistency with pieces roughly the size of small peas. Avoid over-processing into powder as texture is crucial for authentic baklava.
Transfer chopped walnuts to a large mixing bowl and add finely chopped pistachios and almonds. The combination creates complex flavor layers and visual appeal.
Stir in granulated sugar, ground cinnamon, cardamom, and cloves until evenly distributed. Taste and adjust spices according to your preference. The mixture should smell aromatic and slightly sweet without being overpowering.
Prepare the Honey Syrup
Combine granulated sugar and water in a medium saucepan over medium heat. Stir constantly until sugar dissolves completely and mixture begins to simmer.
Add honey, fresh lemon juice, and your chosen spices to the saucepan. Reduce heat to low and simmer for 10-15 minutes until the syrup reaches a light consistency that coats the back of a spoon.
Remove from heat and set aside to cool completely. The syrup must be at room temperature when poured over hot baklava to achieve proper absorption without making the phyllo soggy.
Assemble the Baklava
Brush your 9×13 inch metal baking pan with the butter and olive oil mixture. This prevents sticking and adds flavor to the bottom layer.
Place one phyllo sheet in the prepared pan and brush lightly with the butter mixture. Layer a second sheet and brush again. Continue this process until you have 8-10 sheets layered on the bottom.
Sprinkle half of your nut filling evenly over the phyllo base. Press gently to ensure even distribution without compacting the mixture too firmly.
Add 4-5 more phyllo sheets with butter between each layer. Spread the remaining nut filling over these sheets and top with the final 8-10 phyllo sheets. Brush each layer with butter including the top sheet.
Bake the Baklava
Preheat your oven to 350°F and verify temperature accuracy with an oven thermometer. Score the top phyllo layers in a diamond pattern using a sharp knife. Cut through only the top layers without reaching the nut filling.
Place the pan on the center oven rack and bake for 45-55 minutes until the top turns golden brown and crispy. Rotate the pan halfway through baking for even browning.
Listen for gentle bubbling sounds which indicate proper moisture evaporation. The phyllo should sound crisp when tapped lightly with a knife handle.
Add the Syrup
Remove baklava from the oven and immediately pour the cooled honey syrup evenly over the hot pastry. The temperature contrast creates the signature texture as the syrup penetrates the layers.
Allow the baklava to absorb the syrup completely for at least 4 hours before serving. This resting period is essential for proper flavor development and texture formation.
Cut along your pre-scored lines using a sharp knife and serve at room temperature. Store covered for up to one week at room temperature for best texture retention.
Directions for Serving
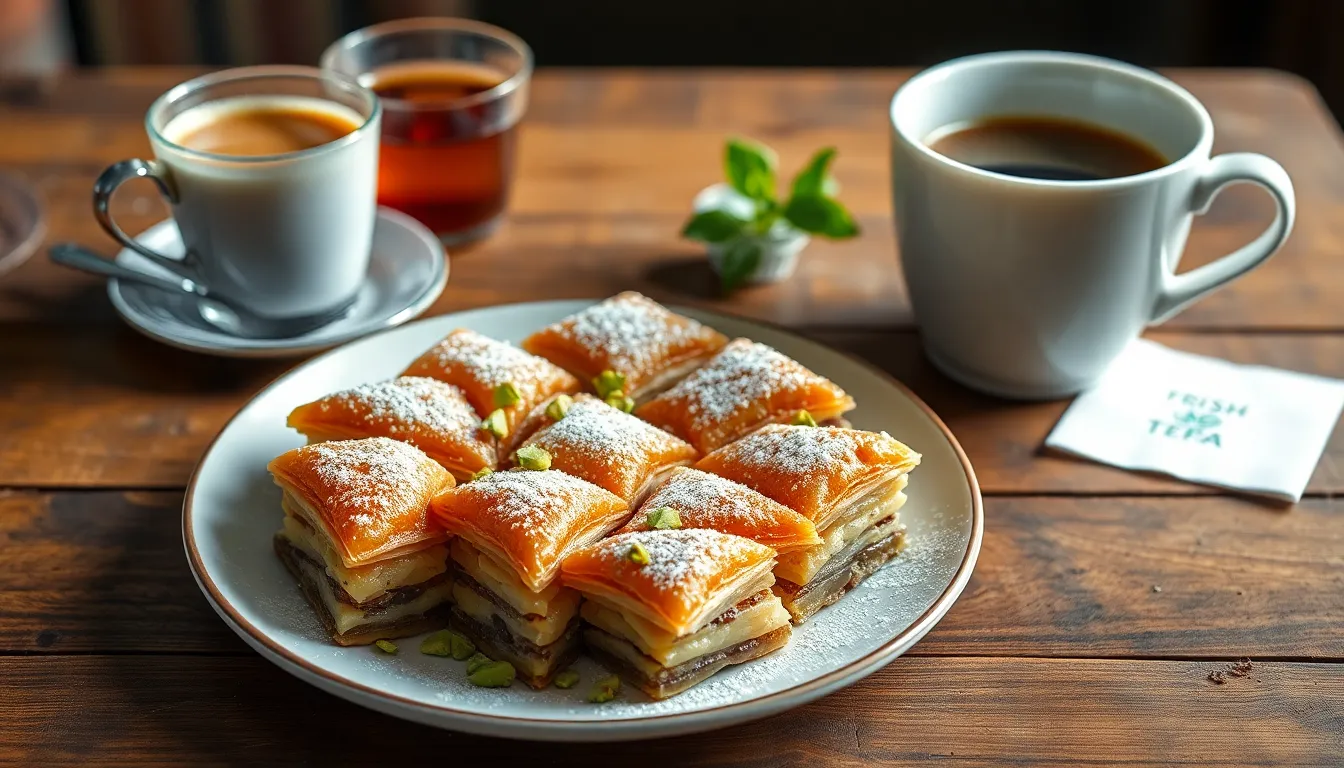
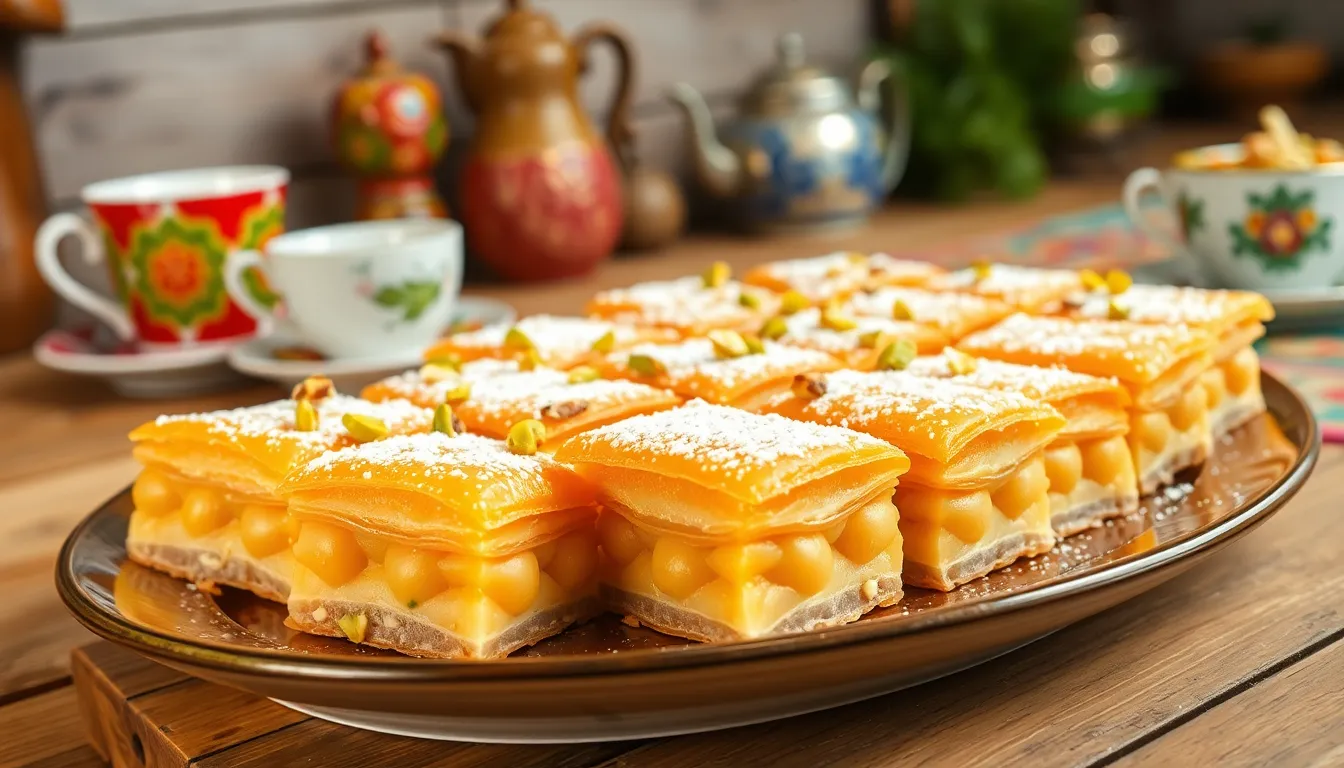
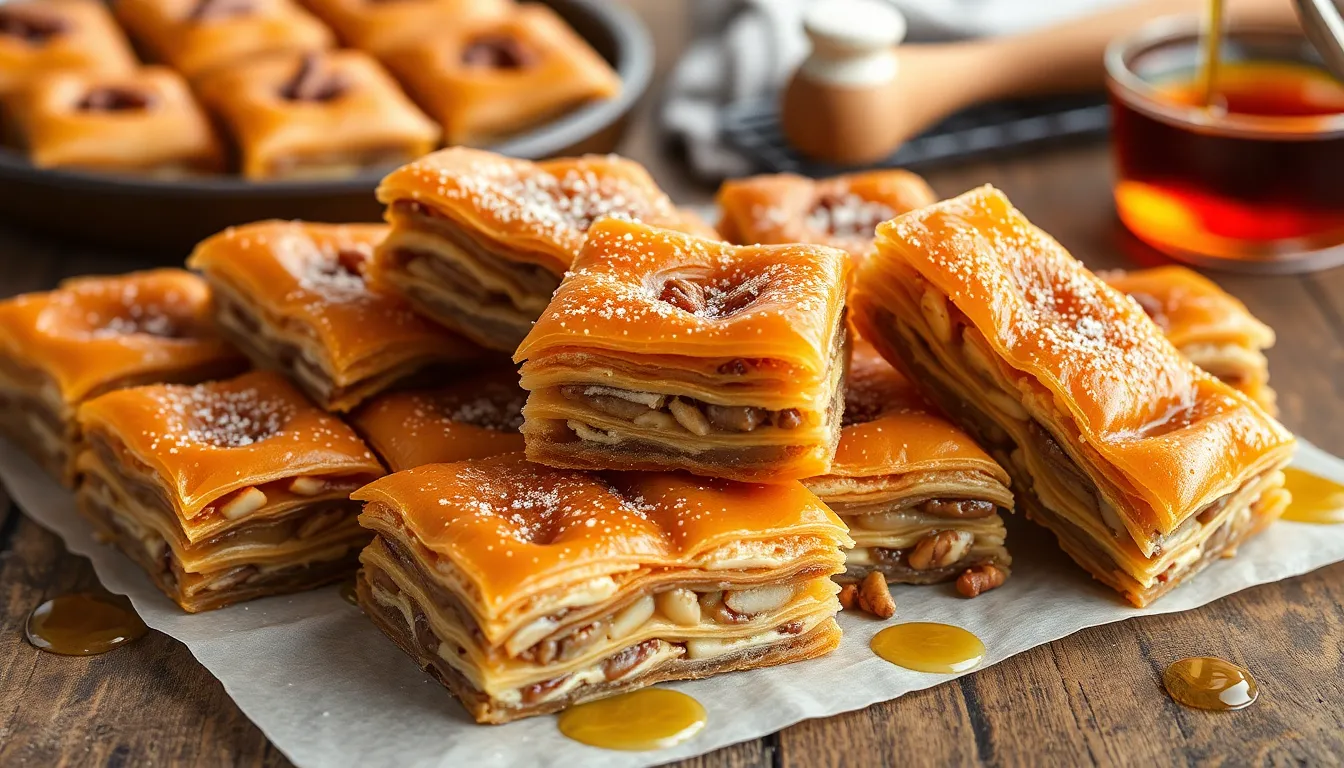
Proper presentation transforms your homemade baklava from a simple dessert into an elegant centerpiece worthy of any celebration. Cut your cooled baklava into traditional diamond shapes using a sharp knife in smooth downward motions to prevent the delicate layers from cracking. Each piece should measure approximately 2 inches at the widest point for optimal serving size.
Room temperature offers the ideal serving condition for baklava as the flavors reach their peak intensity and the textures achieve perfect balance. Remove individual pieces from the pan using a thin spatula to maintain the structural integrity of each portion. Place each diamond carefully on dessert plates to showcase the beautiful layered construction.
Traditional accompaniments enhance the baklava experience significantly. Serve alongside Turkish coffee or strong espresso to complement the sweet honey notes with bitter coffee undertones. Greek coffee provides an authentic Mediterranean pairing that balances the rich nutty flavors. Fresh mint tea offers a refreshing contrast that cleanses the palate between bites.
Garnish options elevate the visual appeal while adding complementary flavors. Sprinkle finely chopped pistachios over each piece to reinforce the nut filling and create color contrast. A light dusting of powdered sugar adds elegant presentation for special occasions. Fresh berries provide acidic brightness that cuts through the sweetness naturally.
| Serving Element | Recommendation | Purpose |
|---|---|---|
| Portion Size | 2-inch diamonds | Optimal sweetness balance |
| Temperature | Room temperature | Peak flavor intensity |
| Coffee Pairing | Turkish or Greek | Traditional complement |
| Garnish | Chopped pistachios | Visual and flavor enhancement |
Present baklava on individual dessert plates rather than serving directly from the baking pan for a more refined dining experience. Small dessert forks work best for eating as they allow diners to break through the layers without crushing the delicate phyllo structure. Provide small napkins since the honey syrup can make fingers slightly sticky even though careful eating.
Timing your service creates the most memorable impression. Serve baklava as the final course after a Mediterranean feast or present it during afternoon tea service. The dessert pairs exceptionally well with celebrations and special occasions when guests expect something extraordinary. Your homemade creation will demonstrate the care and skill that went into crafting this ancient delicacy.
Recommended Products

Instant Read Food Thermometer | Our instant read thermometer features a temperature probe and advanced, highly accurate technology with 1-2 seconds response time; Instructions, meat temperature chart, comes pre-calibrated for your convenience, and recalibrating feature if needed.

Included components: Thermometer, Sleeve
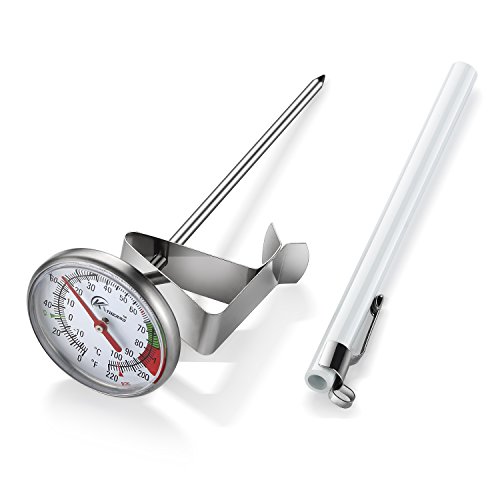
DESIGN:Multi-stage design of the fixed clip, adjust the thermometer read the location of the disk surface to facilitate observation of the temperature of the bubble.
Make-Ahead Instructions
You can prepare several components of baklava in advance to streamline your baking process and save valuable time on the day you want to serve this impressive dessert.
Prepare the Nut Filling
Mix your chopped nuts with sugar and spices up to three days before assembly. Store the mixture in an airtight container at room temperature to maintain freshness and prevent moisture absorption. This advance preparation actually improves the flavor as the spices have time to meld with the nuts.
Make the Honey Syrup
Create your honey syrup up to one week ahead and refrigerate it in a sealed container. The syrup will thicken when cold but returns to the proper consistency when you bring it to room temperature or gently warm it before use. Allow the syrup to cool completely before storing to prevent condensation.
Phyllo Preparation Strategy
Thaw frozen phyllo dough overnight in the refrigerator rather than at room temperature for better texture control. Keep unopened phyllo packages refrigerated for up to two days after thawing. Once you open the package you must use all sheets within the same day to prevent drying and cracking.
Assembly Timeline Options
Assemble your entire baklava up to 24 hours before baking and cover tightly with plastic wrap. Store the unbaked assembled baklava in the refrigerator and bring it to room temperature for 30 minutes before baking. This method allows the phyllo layers to settle slightly and creates even more distinct layers in the final product.
Complete Make-Ahead Approach
Bake your baklava completely and add the syrup as directed. Cover the pan with aluminum foil and store at room temperature for up to four days. The flavors actually develop and improve during this resting period making advance preparation beneficial for taste as well as convenience.
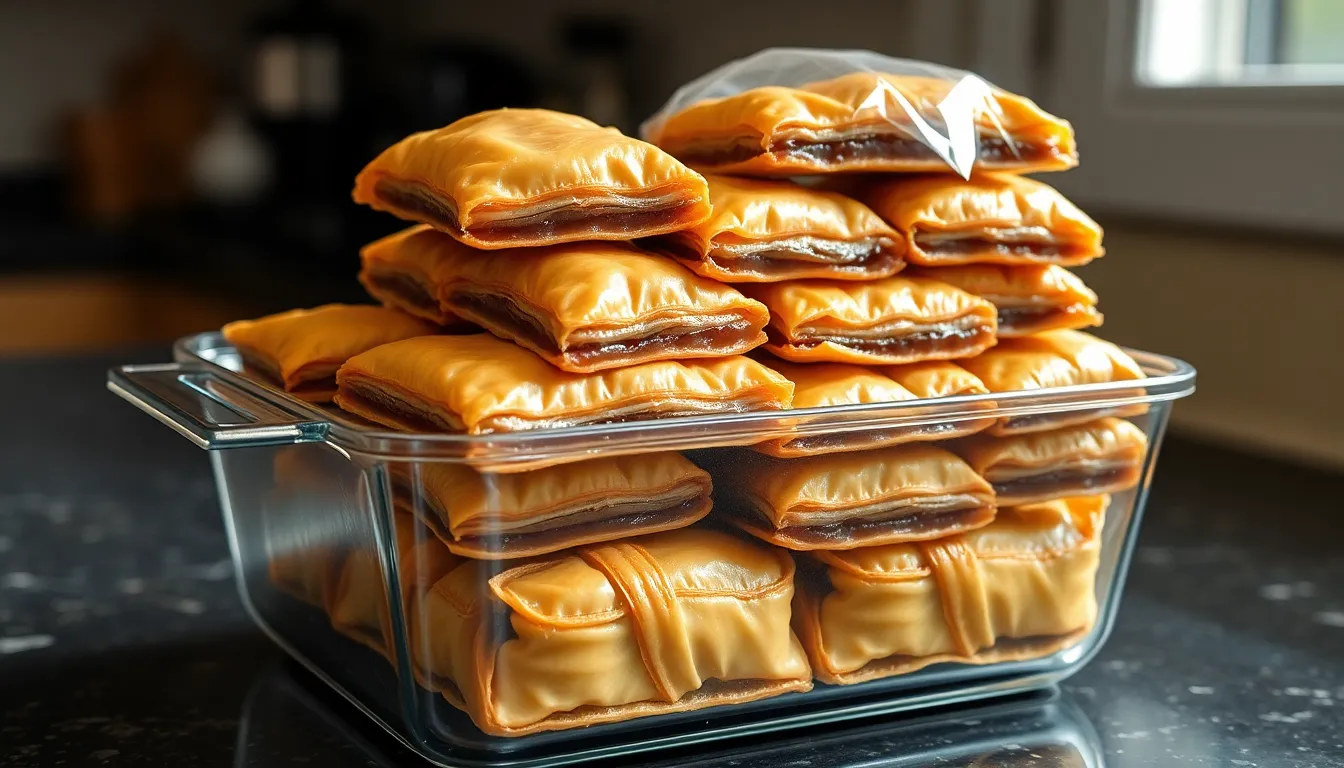
Freezing Instructions
Freeze unbaked assembled baklava for up to three months by wrapping the entire pan in plastic wrap followed by aluminum foil. Bake directly from frozen adding an additional 15 to 20 minutes to the baking time. You can also freeze baked and syruped baklava for up to two months though the texture may become slightly softer upon thawing.
Recommended Products
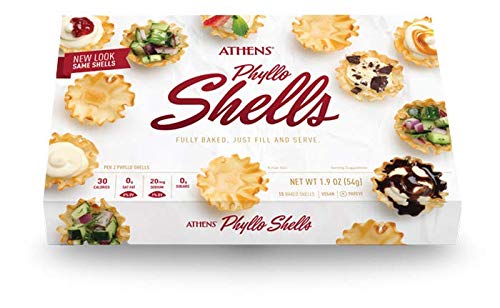
3-Packs of Athens Mini Fillo Shells. They are light, crispy layers of filo (Phyllo) dough. Shell measurements: Top diameter 1.75 inches, heigh 0.75 inch, bottom diameter 1 inch, volume hold 0.25 fluid ounce.

Nu Bake Phyllo crisps Phyllo Crackers bundle includes 2 boxes of Phyllo Crisps Apricot Honey Phyllo in 2.8 ounces .

Bundle includes 2 boxes of Phyllo Crisps Apple Cinnamon a complimentary Kokobunch Kit
Storage Tips
Your freshly made baklava requires proper storage techniques to maintain its signature crispy texture and rich flavors. Room temperature storage works best for baklava that you plan to consume within the first week after baking.
Place your cooled baklava pieces in an airtight container with parchment paper between layers to prevent sticking. Metal or glass containers provide better moisture control than plastic alternatives. Keep the container in a cool dry place away from direct sunlight and heat sources.
Refrigerated storage extends your baklava’s lifespan but changes its texture significantly. Cold temperatures cause the phyllo layers to lose their crispness and become slightly chewy. If refrigeration becomes necessary store the baklava for no more than two weeks in airtight containers.
| Storage Method | Duration | Texture Quality | Best For |
|---|---|---|---|
| Room Temperature | 5-7 days | Maintains crispness | Daily consumption |
| Refrigerated | 10-14 days | Slightly softened | Extended storage |
| Frozen (whole) | 2-3 months | Good after thawing | Long-term storage |
| Frozen (pieces) | 1-2 months | Acceptable after thawing | Portion control |
Freezing baklava requires careful wrapping to prevent freezer burn and moisture damage. Wrap individual pieces in plastic wrap then place them in freezer-safe containers or heavy-duty freezer bags. Double wrapping protects the delicate phyllo from ice crystals that compromise texture.
Thawing frozen baklava demands patience for optimal results. Remove the wrapped pieces from the freezer and let them thaw completely at room temperature for 2-3 hours. Never microwave frozen baklava as rapid heating creates soggy phyllo and uneven warming.
Reviving day-old baklava restores much of its original crispness through gentle reheating. Preheat your oven to 300°F and warm the pieces for 5-8 minutes until the phyllo regains its crunch. Watch carefully to prevent over-browning or syrup caramelization.
Moisture represents the biggest enemy of stored baklava. Avoid storing baklava in humid environments or near steam-producing appliances. Silica gel packets placed in storage containers help absorb excess moisture and maintain optimal texture longer.
Recommended Products

GOURMET BAKLAVA PASTRY COLLECTION - Delve into an exquisite flavor experience of Baklava goodness with Cerez Pazari. Ready for your indulgence in an assortment of 6 types of Baklava, send your taste buds on a delectable journey of Turkish confectionery perfection—Kadaifi With Pistachio Nuts, Kol with Shkor Walnut, Sultaniye with Pistachio Cashew Hazelnut and Almond, Pistachio Flower, Cashew Fingers, and Pistachio Balloria Brown.

A Box Full of Delicious Treats - Savor the mouth-watering taste of true Turkish delights. Our tin can contains dozens of pieces of assorted pistachio, walnut, and hazelnut delights for you to enjoy!

A Box Full of Delicious Treats - Savor the mouthwatering taste of true Turkish baklava. Our tin can contains dozens of pieces of assorted pistachio, walnut, and hazelnut baklavas for you to enjoy!
Conclusion
You’ve now mastered the art of creating this legendary dessert that’s captivated taste buds for centuries. Your homemade baklava will rival any bakery version with its perfect balance of crispy phyllo buttery richness and aromatic sweetness.
The techniques you’ve learned ensure consistent results every time you bake. From proper phyllo handling to achieving the ideal syrup consistency your skills will only improve with practice.
Whether you’re preparing for a special celebration or simply treating yourself this timeless recipe connects you to a rich culinary tradition. Your kitchen will be filled with the same enchanting aromas that have made baklava a beloved dessert across cultures and generations.