
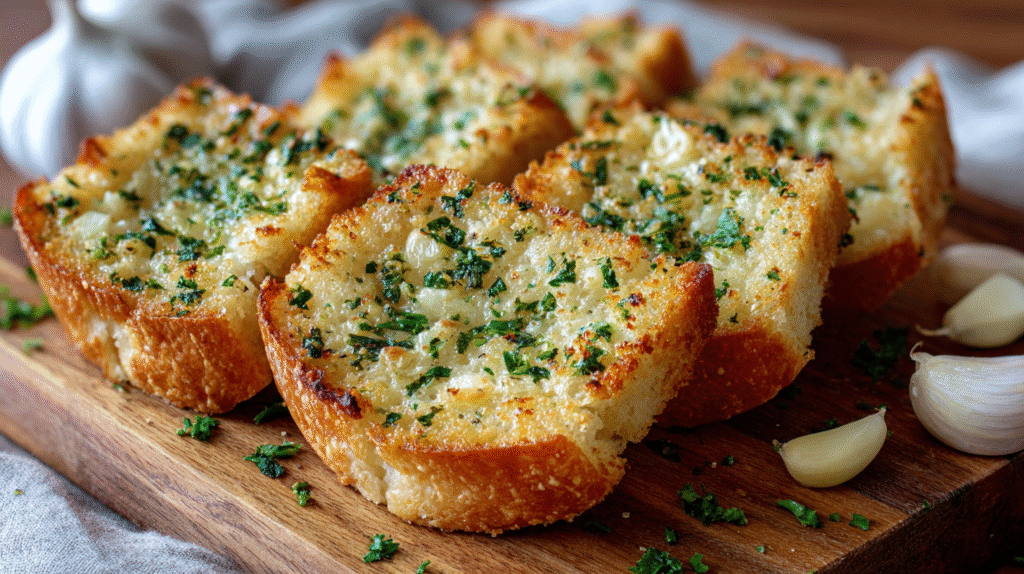
The Best Homemade Garlic Bread Recipe
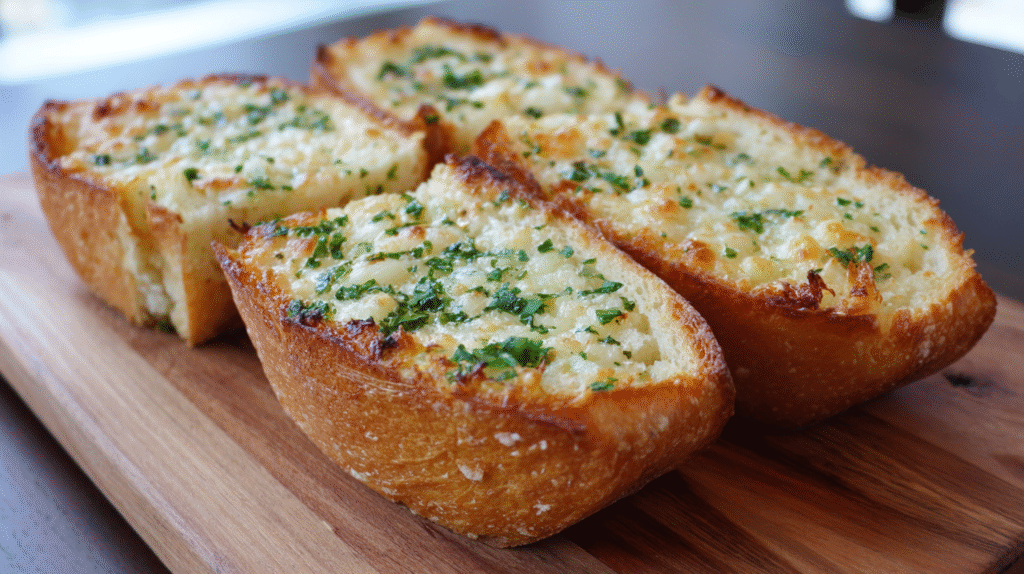
Creating the perfect homemade garlic bread requires just a few simple steps that transform an ordinary loaf into a mouthwatering treat. This recipe balances bold garlic flavor with rich buttery goodness for restaurant-quality results right in your kitchen.
Recommended Products

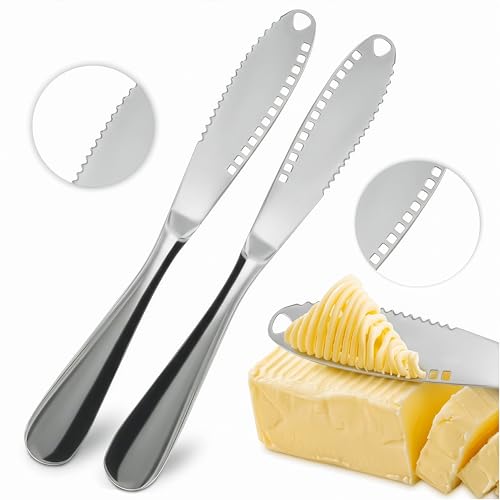
SANDWICH SPREADER KNIFE 4.72 INCH BLADE: Effortlessly slice and spread your favorite fillings with precision using this versatile sandwich knife spreader. From sandwiches to bagels and toast, it's the perfect tool for evenly distributing condiments, butter, cream cheese, and more.

Reusable plastic knives ideal for soft spreads: The Joie Spreaders Set is perfect for spreading butter, jelly, cream cheese, nut butter, dips, and more. Each spreader is 7 inches long; the blade portion is approximately 3 inches, with a 4-inch handle.

HOLDS TWICE AS MUCH BUTTER TO SAVE YOU TIME. Our unique dispenser holds a full stick of short/stubby West Coast butter or 2/3 stick of long/skinny East Coast butter with our pre-installed adapter so you can refill less often. Doubles as a premium butter keeper for shorter sticks for safe and easy storage.
Ingredients
- 1 loaf French bread or Italian bread (16-18 inches long)
- ½ cup (1 stick) unsalted butter softened
- 4-6 cloves garlic minced
- 2 tablespoons fresh parsley finely chopped
- 2 tablespoons grated Parmesan cheese (optional)
- ¼ teaspoon salt
- Pinch of black pepper
Instructions
- Preheat your oven to 375°F (190°C).
- Slice the bread lengthwise into two equal halves. Place them cut-side up on a large baking sheet.
- Mix the softened butter with minced garlic in a small bowl until well combined. Stir in the chopped parsley salt and pepper. Add Parmesan cheese if using.
- Spread the garlic butter mixture evenly over both halves of bread making sure to reach all the way to the edges.
- For softer garlic bread bake for 10-12 minutes until the butter is melted and the edges begin to turn golden brown.
- For crispier garlic bread bake for 15 minutes then switch to broil for the final 1-2 minutes. Watch carefully to prevent burning.
- Remove from oven and let cool for 2 minutes before slicing into portions.
- Serve immediately while still warm for the best experience.
Tips for Perfect Garlic Bread
Fresh garlic provides the most robust flavor but in a pinch garlic powder works too (use 1 teaspoon instead of fresh cloves). Room temperature butter spreads more easily than cold butter so remember to take it out of the refrigerator 30 minutes before preparation.
Add your personal touch by incorporating different herbs like basil or oregano alongside the parsley. For a cheesier version sprinkle additional mozzarella over the top during the last few minutes of baking.
The bread choice matters significantly. French bread offers a crunchier exterior while Italian bread provides a softer bite throughout. Both work wonderfully but yield slightly different textures in the finished product.
Why You’ll Love This Garlic Bread
This homemade garlic bread recipe will quickly become your go-to side dish for countless reasons. The perfect combination of crispy exterior and soft buttery interior creates an irresistible texture contrast that elevates any meal.
Fresh garlic provides an aromatic punch that store-bought versions simply can’t match. Your kitchen will fill with mouthwatering scents as this bread bakes to golden perfection.
Making garlic bread from scratch gives you complete control over the flavor intensity. Adjust the garlic amount to suit your preference without worrying about the overwhelming artificial taste found in many commercial options.
The versatility of this recipe allows endless customization with herbs cheeses and spices. Add red pepper flakes for heat Parmesan for richness or experiment with different herb combinations to complement your main dish.
Budget-friendly ingredients make this an economical choice that delivers restaurant-quality results. Most components are likely already in your pantry making this perfect for last-minute meal additions.
Ready in just 15 minutes this garlic bread fits seamlessly into busy weeknight dinners. The quick preparation and cooking time won’t delay getting dinner on the table.
Recommended Products

The information below is per-pack only


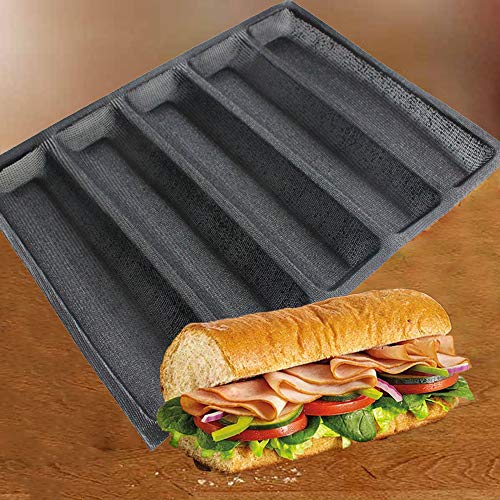
【🍪 𝗖𝗵𝗲𝗳-𝗔𝗽𝗽𝗿𝗼𝘃𝗲𝗱 𝗡𝗼𝗻-𝗦𝗹𝗶𝗽 𝗕𝗮𝗸𝗶𝗻𝗴 𝗠𝗮𝘁 𝐰𝐢𝐭𝐡 𝟏𝟎 𝐮𝐬𝐞𝐟𝐮𝐥 𝐑𝐞𝐜𝐢𝐩𝐞𝐬】:Upgraded food-grade silicone with deep grid texture prevents shifting during rolling, more grip than standard mats (tested at 480°F). Perfect for macarons, cookies, Pizza and pastry dough—no more messy flour dusting!
Ingredients You’ll Need
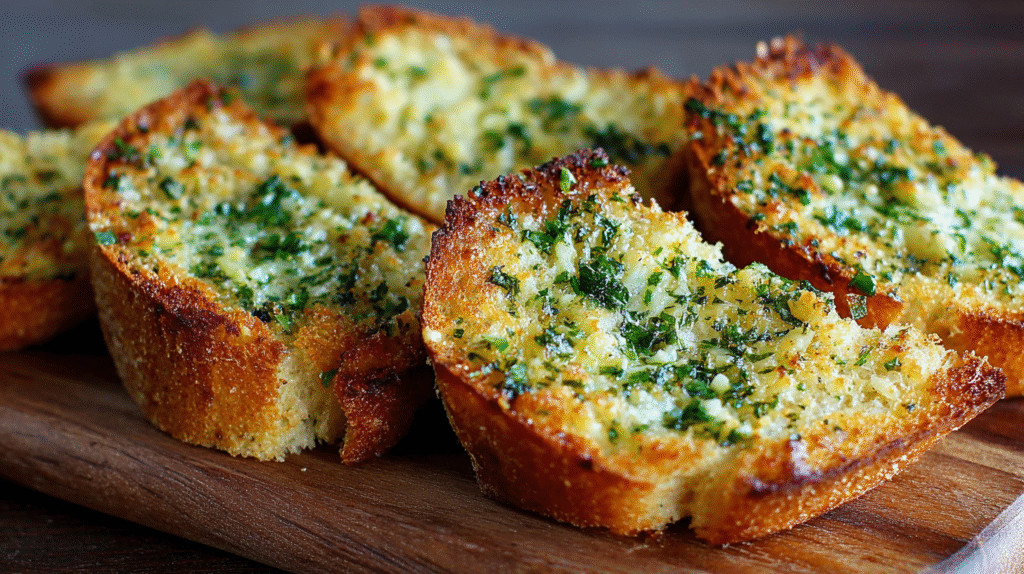
Creating the perfect garlic bread requires just a handful of quality ingredients that work together to deliver that irresistible flavor and texture. The following items are all you need to transform a simple loaf into a crowd-pleasing side dish.
Recommended Products
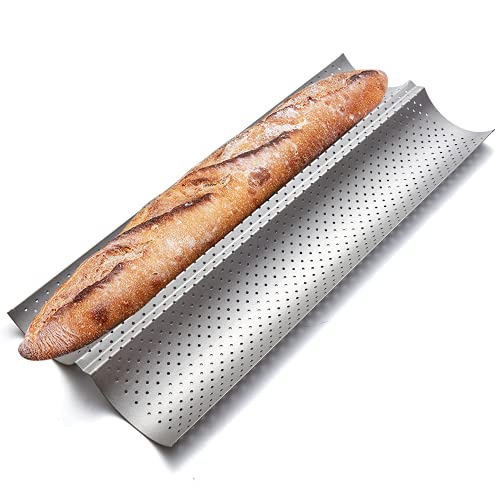
Bread Pan for Homemade Bread: No matter if you are a master or a new hand and have a big or small oven, you can make Delicate & Delicious French bread. Use the baguette pan to make DIY breads

BREAD SICING GUIDE:(Patents are being issued)You can adjust different widths according to the size of your bread and use the bread knife to slice to a standard uniform thickness of 0.47 inches (1.2 cm) that cuts completely to the bottom of the loaf, this adjustable bread slicer is great for making homemade bread, bagels, cakes, sourdough breads and more

Adjustable Thickness: This manual bread slicer supports multi-level thickness adjustment (0.1" - 0.9"), making it easy to get either thick toast or thin bread slices as you like.The bread slicer comes with 10 bread bags.
For the Garlic Butter Spread
- 1/2 cup (1 stick) unsalted butter, softened at room temperature
- 4-6 garlic cloves, finely minced (adjust according to your garlic preference)
- 2 tablespoons fresh parsley, finely chopped
- 1/4 teaspoon salt (preferably kosher or sea salt)
- 1/8 teaspoon freshly ground black pepper
- 1/4 cup freshly grated Parmesan cheese (optional but recommended)
- 1/4 teaspoon Italian seasoning (optional)
- Pinch of red pepper flakes (optional, for a slight heat)
For the Bread
You’ll need one loaf of quality bread as your base. Several options work beautifully for garlic bread with slightly different results. French baguette offers a crispy exterior with a chewy interior that stands up well to the garlic butter. Italian bread provides a softer texture throughout with a less crusty finish. Ciabatta delivers rustic appeal with its irregular air pockets that catch pools of garlic butter. Sourdough brings a tangy flavor dimension that complements the richness of the butter spread. Your bread should ideally be about 16-18 inches long to serve 6-8 people as a side dish. Day-old bread actually works better than extremely fresh bread as it absorbs the butter mixture without becoming soggy.
Tools and Equipment
Making perfect garlic bread requires just a few basic kitchen tools that most home cooks already have on hand. Gather these items before you start to ensure a smooth preparation process:
- Mixing bowl – For combining butter, garlic, herbs, and seasonings
- Measuring spoons – To accurately portion ingredients for consistent results
- Sharp knife – For slicing bread and mincing garlic
- Cutting board – Provides a clean surface for preparation work
- Baking sheet – To hold the bread while baking
- Aluminum foil – For wrapping the bread during the initial baking phase
- Pastry brush – Helps evenly distribute the garlic butter mixture
- Garlic press (optional) – Makes quick work of mincing garlic if you prefer not to chop by hand
- Microwave-safe container – For softening butter if needed
A serrated bread knife works best for cutting your loaf without crushing it. Your baking sheet should be large enough to accommodate the entire loaf when split lengthwise. Using parchment paper on your baking sheet simplifies cleanup. Standard measuring spoons ensure you add the right amount of seasonings to achieve that perfect flavor balance every time.
Recommended Products

★【Enhance Flavor and Texture】Pinra Cast Iron Dutch Oven is the perfect tool for achieving even heat distribution and retention. Made of durable pre-seasoned cast iron material, it enhances the flavor and texture of your dishes, giving them a rich and savory taste.

Cast-Iron garlic roaster is the perfect tool for achieving even heat distribution and retention. Made of durable Pre-seasoned cast iron material, it enhances the flavor and texture of your dishes, giving them a rich and savory taste.

Enameled cast iron delivers superior heat distribution and retention; Ready to use, requires no seasoning
How to Make Garlic Bread
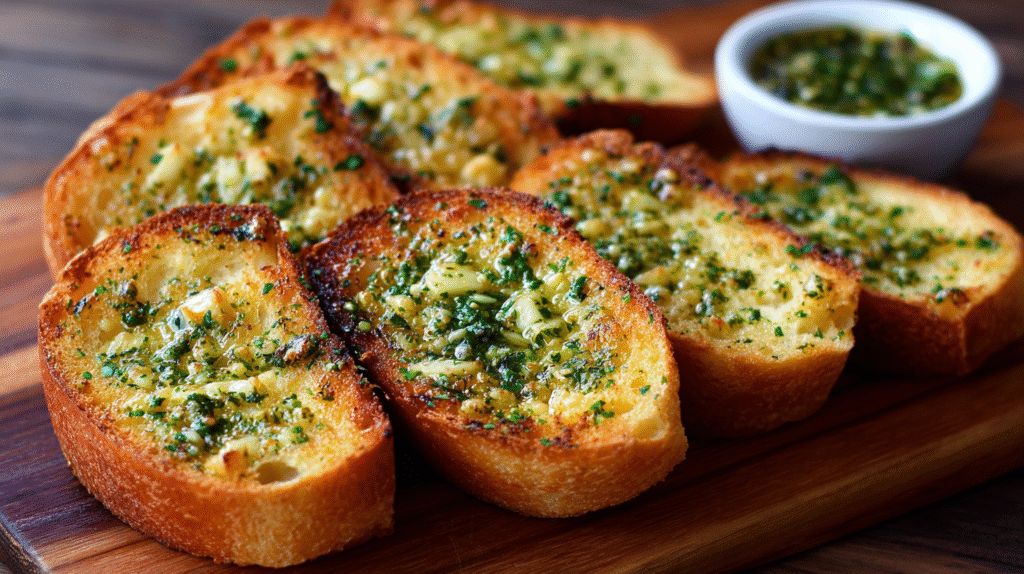
Creating homemade garlic bread is a straightforward process that yields impressive results with minimal effort. Follow these simple steps to transform a basic loaf into an irresistible side dish that will elevate any meal.
Recommended Products

A Garlic Parmesan seasoning blend that will take your fresh vegetables and grilled favorites to a new level of flavor

A Garlic Parmesan seasoning blend that will take your fresh vegetables and grilled favorites to a new level of flavor

The information below is per-pack only
Preparing the Garlic Butter
Start by creating your flavorful garlic butter mixture in a medium bowl. Combine 1/2 cup of softened unsalted butter with 4-6 cloves of finely minced garlic depending on your preference for garlic intensity. Add 2 tablespoons of freshly chopped parsley along with 1/4 teaspoon each of salt and black pepper. Mix these ingredients thoroughly until well combined and smooth. For extra flavor dimension stir in 2 tablespoons of grated Parmesan cheese or 1/2 teaspoon of Italian seasoning. Allow this mixture to sit for 5-10 minutes before using to let the flavors meld together. The butter should be soft enough to spread easily but not completely melted for best results.
Slicing and Buttering the Bread
Select your bread loaf and place it on a cutting board. Using a sharp serrated knife cut the loaf horizontally lengthwise without slicing completely through to create a hinged loaf. Open the bread like a book exposing the soft interior. Generously spread the garlic butter mixture over both cut sides ensuring complete coverage from edge to edge. Pay special attention to covering the corners and edges which tend to dry out first during baking. For extra indulgence you can add an additional sprinkle of Parmesan cheese directly on top of the buttered surfaces. Once fully buttered close the bread back together and wrap it loosely in aluminum foil if you prefer a softer result or leave it partially open for crispier edges.
Baking Methods
Position your oven rack in the middle position and preheat to 375°F (190°C). Place your prepared garlic bread on a baking sheet lined with parchment paper or aluminum foil. For soft garlic bread with a light crunch wrap the entire loaf in aluminum foil and bake for 10-12 minutes until heated through. For crispy garlic bread with golden edges bake unwrapped for 12-15 minutes watching carefully to prevent burning. Alternatively use the broiler method by placing unwrapped bread under a preheated broiler set 6 inches from the heat source for 2-3 minutes until golden brown and bubbly. Remove from the oven and let rest for 2 minutes before slicing into portions. Serve immediately while still warm for the best flavor and texture experience.
Variations to Try
Once you’ve mastered the classic garlic bread recipe, it’s time to explore these delicious variations that will elevate your garlic bread game to new heights. Each version offers a unique flavor profile while maintaining that irresistible garlic-butter foundation.
Recommended Products
Easy Grip Handle of Spreading Knife: The long, comfortable handle of this butter shaver provides a secure, non-slip grip. ❗Works best with softened / room-temperature butter (15–20 min out of fridge)❗

EFFORTLESS ONE-HAND BUTTERING! Designed with a patent-pending, single-handed operation, the Clever Spreader makes buttering your pans, toast, and baking dishes quick and easy—perfect for busy kitchens.

【Safe & Practical Blade Design】The polished, passivated edges of this stainless steel butter knife prevent accidental cuts. The unique hole-patterned blade ensures smooth, even spreading and easy slicing of cold butter, hard cheese, and other spreads without sticking.
Cheesy Garlic Bread
Transform your standard garlic bread into an indulgent treat by adding cheese to the equation. Start with your prepared garlic butter spread, then layer on 1-2 cups of shredded cheese before baking. Mozzarella offers that classic stretchy pull when melted, while sharp cheddar provides a more robust flavor profile. For an Italian restaurant experience, try a mixture of mozzarella, provolone, and Parmesan. Apply the cheese after initial baking if you prefer it browned and bubbly – simply open the foil for the last 5 minutes and broil until the cheese reaches golden perfection. This variation pairs exceptionally well with lasagna, spaghetti, or as an appetizer with marinara dipping sauce.
Herb Garlic Bread
Enhance your garlic bread with fresh herbs for a bright, aromatic twist on the classic recipe. Mix 2-3 tablespoons of finely chopped fresh herbs into your garlic butter mixture. Rosemary adds a piney, aromatic quality that works wonderfully with the garlic. Thyme contributes earthy notes that complement almost any meal. Basil brings a sweet, peppery flavor that’s perfect for summer dishes. You can also create an herb medley by combining different herbs – Italian parsley, oregano, and basil make a Mediterranean-inspired combination. Dried herbs work in a pinch, but reduce the quantity to 1-2 teaspoons since their flavors are more concentrated. This herb-infused version elevates simple soups and salads into complete meals.
Spicy Garlic Bread
Add some heat to your garlic bread for a kickstart to your taste buds. Incorporate 1/4 to 1/2 teaspoon of red pepper flakes directly into your garlic butter mixture, adjusting the amount based on your heat preference. Sriracha lovers can blend 1-2 teaspoons of the sauce into the butter for a garlicky-spicy fusion. Cayenne pepper provides consistent heat throughout – start with 1/8 teaspoon and adjust to taste. For a more complex flavor profile, add 1/2 teaspoon of smoked paprika along with your heat source of choice. The smokiness complements the spice wonderfully. Serve spicy garlic bread alongside cooling dishes like creamy pasta or with barbecue for a perfect heat balance. This variation particularly shines when paired with chili or spicy soups.
Make-Ahead and Storage Tips
Preparing garlic bread ahead of time is a fantastic way to streamline your meal preparation process. You can assemble the entire loaf with garlic butter up to 24 hours before baking by wrapping the prepared uncooked bread tightly in plastic wrap and storing it in the refrigerator. This method allows the flavors to meld together creating an even more aromatic and flavorful result when baked.
For longer storage options consider freezing your garlic bread. Prepare the bread completely but don’t bake it then wrap it thoroughly in aluminum foil and place in a freezer-safe bag. Your garlic bread will maintain its quality for up to 3 months when properly stored in the freezer. When ready to enjoy simply bake the frozen garlic bread at 350°F for about 15-20 minutes until heated through and crispy.
Leftover baked garlic bread stays fresh at room temperature for about 1-2 days when stored in an airtight container or wrapped in foil. Refrigeration extends its shelf life to 3-4 days though the texture may become slightly less ideal. To reheat refrigerated garlic bread place it in a 350°F oven for 5-7 minutes until warmed through and crispy again.
Avoid microwaving leftover garlic bread as this method will make it soggy and chewy rather than maintaining that desirable contrast between crisp exterior and soft interior. Instead use your oven or toaster oven to restore the original texture and warmth.
For meal prep convenience you can also prepare just the garlic butter mixture ahead of time. Store it in an airtight container in the refrigerator for up to one week or freeze it in small portions for up to 3 months. This approach allows you to quickly spread the mixture on bread whenever the craving strikes without starting from scratch.
Recommended Products
Durable Silicone Material: Made from food-grade silicone and fiberglass for durability and easy cleaning.
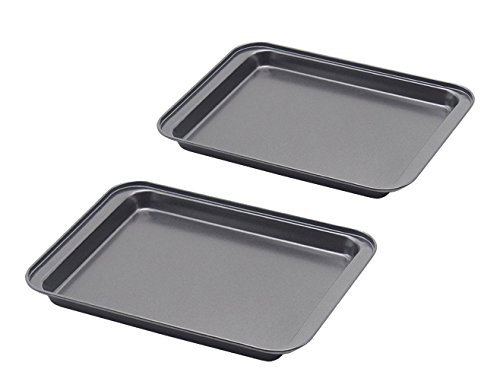
✔LITTLE PANS - Perfect size for a two-person household--frozen rolls, few cookies, etc. Outside SIZE: 9.5inch X 7.1inch X 0.8inch, Actual use inside SIZE:7.5inch X 6inch X 0.5inch. These little pans are great for one person or small items for two.

Safe & Durable Silicone Material: This bread loaf pan is made of food-grade and heat-resistant premium silicone, without any odor, and free of BPA and other harmful substances. It can be used in the oven or refrigerator and can withstand temperatures ranging from -40℉ to 446℉(-40℃ to 230℃). The soft silicone material can be folded and stored at will and will not easily deform. Please note that the silicone mold must not be in direct contact with open flames.
Serving Suggestions
Garlic bread pairs beautifully with countless dishes making it one of the most versatile side dishes for your meal planning. Serve it alongside a bowl of classic spaghetti and meatballs where the bread can soak up the rich tomato sauce. Your Italian feast becomes complete when garlic bread accompanies lasagna or fettuccine Alfredo creating a restaurant-worthy dining experience at home.
Beyond pasta dishes garlic bread makes an excellent companion to hearty soups like minestrone or tomato bisque. The crispy buttery edges offer textural contrast to creamy soups while providing a vehicle for capturing every last drop. Try serving garlic bread with chili or stew during colder months for a comforting meal that satisfies the soul.
For casual gatherings cut your garlic bread into smaller pieces and serve it as an appetizer with marinara or alfredo dipping sauce. This crowd-pleaser disappears quickly at parties and potlucks. Consider presenting garlic bread alongside a charcuterie board where its garlicky flavor complements various cheeses and cured meats.
Salad nights also benefit from garlic bread on the side. A simple Caesar salad transforms into a more substantial meal when paired with warm slices of garlic-infused bread. The combination of cool crisp greens and warm buttery bread creates a pleasing temperature and texture contrast that elevates your dining experience.
Grilled meals featuring steaks chicken or seafood gain an extra dimension when garlic bread joins the spread. The aromatic garlic flavor enhances the savory notes of grilled proteins while adding a welcome carbohydrate component to balance your plate. Barbecue gatherings feel more complete with a basket of fragrant garlic bread available for guests.
Remember garlic bread works equally well for casual weeknight dinners and special occasions. Its universal appeal makes it appropriate for everything from family pizza night to more upscale dinner parties featuring roasted meats or seafood entrees. The versatility of this simple side dish ensures it will never feel out of place regardless of your menu.
Recommended Products

Adjustable Thickness: This manual bread slicer offers 0–0.9" adjustable thickness for thick toast or thin slices. Clear scale markings help you get your desired thickness easily. Ideal for sandwich bread, sourdough, bagels, artisan loaves and more. Works great for both hard and soft breads.

ADJUSTABLE SLICING FOR EVEN RESULTS — Create uniform slices for toast, sandwiches, and everyday serving. The adjustable bread slicing guide helps you control slice thickness more easily when cutting homemade bread, sourdough loaves, sandwich bread, bagels, and more.

[ADJUSTABLE THICKNESS FOR EVEN SLICES]: With this bread slicer for homemade bread, you can easily select slice thickness (up to 0.9 inches) with a simple knob turn to ensure even slices. Whether you need thin pieces for a sandwich cutter or thicker cuts for breakfast toasting, the precision adjustment offers convenience and flexibility for a customized slicing experience.
Expert Tips for Perfect Garlic Bread
Creating truly exceptional garlic bread requires attention to detail and a few professional techniques. These expert tips will elevate your homemade garlic bread from good to outstanding:
Recommended Products

Roast Garlic the Easy Way – Oven & Microwave Safe Enjoy soft, sweet, and mellow roasted garlic at home with this natural terra cotta garlic roaster. Safe for use in both standard ovens and microwaves, it's the perfect garlic baking dish for effortless roasting

ELEGANT DESIGN: Artistic design in the shape of a pumpkin – inspired by nature.

ELEGANT DESIGN: Artistic design in the shape of a pumpkin – inspired by nature.
Use Room Temperature Butter
Always start with butter that has completely softened at room temperature for about 30-45 minutes. Properly softened butter creates a smoother mixture that spreads evenly without tearing the bread. Cold butter will result in uneven distribution and clumpy garlic spread.
Roast Your Garlic for Depth of Flavor
For a more complex flavor profile try roasting garlic before adding it to your butter mixture. Cut the top off a whole garlic head exposing the cloves then drizzle with olive oil and wrap in foil. Bake at 400°F for 30-35 minutes until cloves are soft and golden. This process caramelizes the natural sugars in garlic creating a sweeter mellower flavor that avoids the harsh bite of raw garlic.
Perfect Your Bread Selection
Different breads yield vastly different results:
- French baguette: Produces crispier exterior with tender interior
- Italian loaf: Creates a softer more pillowy texture
- Sourdough: Offers tanginess that complements garlic butter
- Ciabatta: Provides excellent butter absorption with airy pockets
Day-old bread works best as it absorbs the garlic butter without becoming soggy.
Control Your Broiler Carefully
When using the broiler for that golden finish keep the oven door slightly ajar and watch continuously. Broilers can transform bread from perfectly golden to burnt in seconds. Position the rack 6-8 inches from the heating element for optimal browning.
Balance Your Flavors
Professional chefs recommend balancing the garlic with a hint of acidity. Add a tiny squeeze of lemon juice or a sprinkle of zest to your butter mixture to brighten the flavors without overwhelming the garlic. This subtle addition cuts through the richness and enhances overall taste.
Consider Compound Butter Method
Make your garlic butter 1-2 days ahead and refrigerate it as a compound butter log. This allows flavors to fully infuse creating a more aromatic spread. Simply roll your prepared garlic butter mixture in parchment paper form into a log and refrigerate. Slice coins of the flavored butter when ready to use.
Apply Butter Strategically
Professional chefs apply garlic butter in two stages for maximum flavor. First spread a thin layer on the cut sides of bread and toast until golden. Then apply a second layer of room temperature garlic butter immediately after removing from the oven. The residual heat melts this second layer creating a fresh aromatic garlic punch.
Conclusion
Your homemade garlic bread journey doesn’t end with just one batch. This versatile recipe invites endless experimentation while delivering that perfect combination of crispy exterior and soft buttery interior every time.
With just a few pantry staples you can create a side dish that elevates any meal from ordinary to extraordinary. The beauty lies in its simplicity and adaptability to your personal taste preferences.
Whether paired with pasta slathered in marinara sauce hosting a dinner party or simply enjoying a cozy night in this garlic bread recipe will become your trusted kitchen companion. The aroma of fresh garlic and herbs wafting through your home is just the beginning of the sensory experience that awaits.