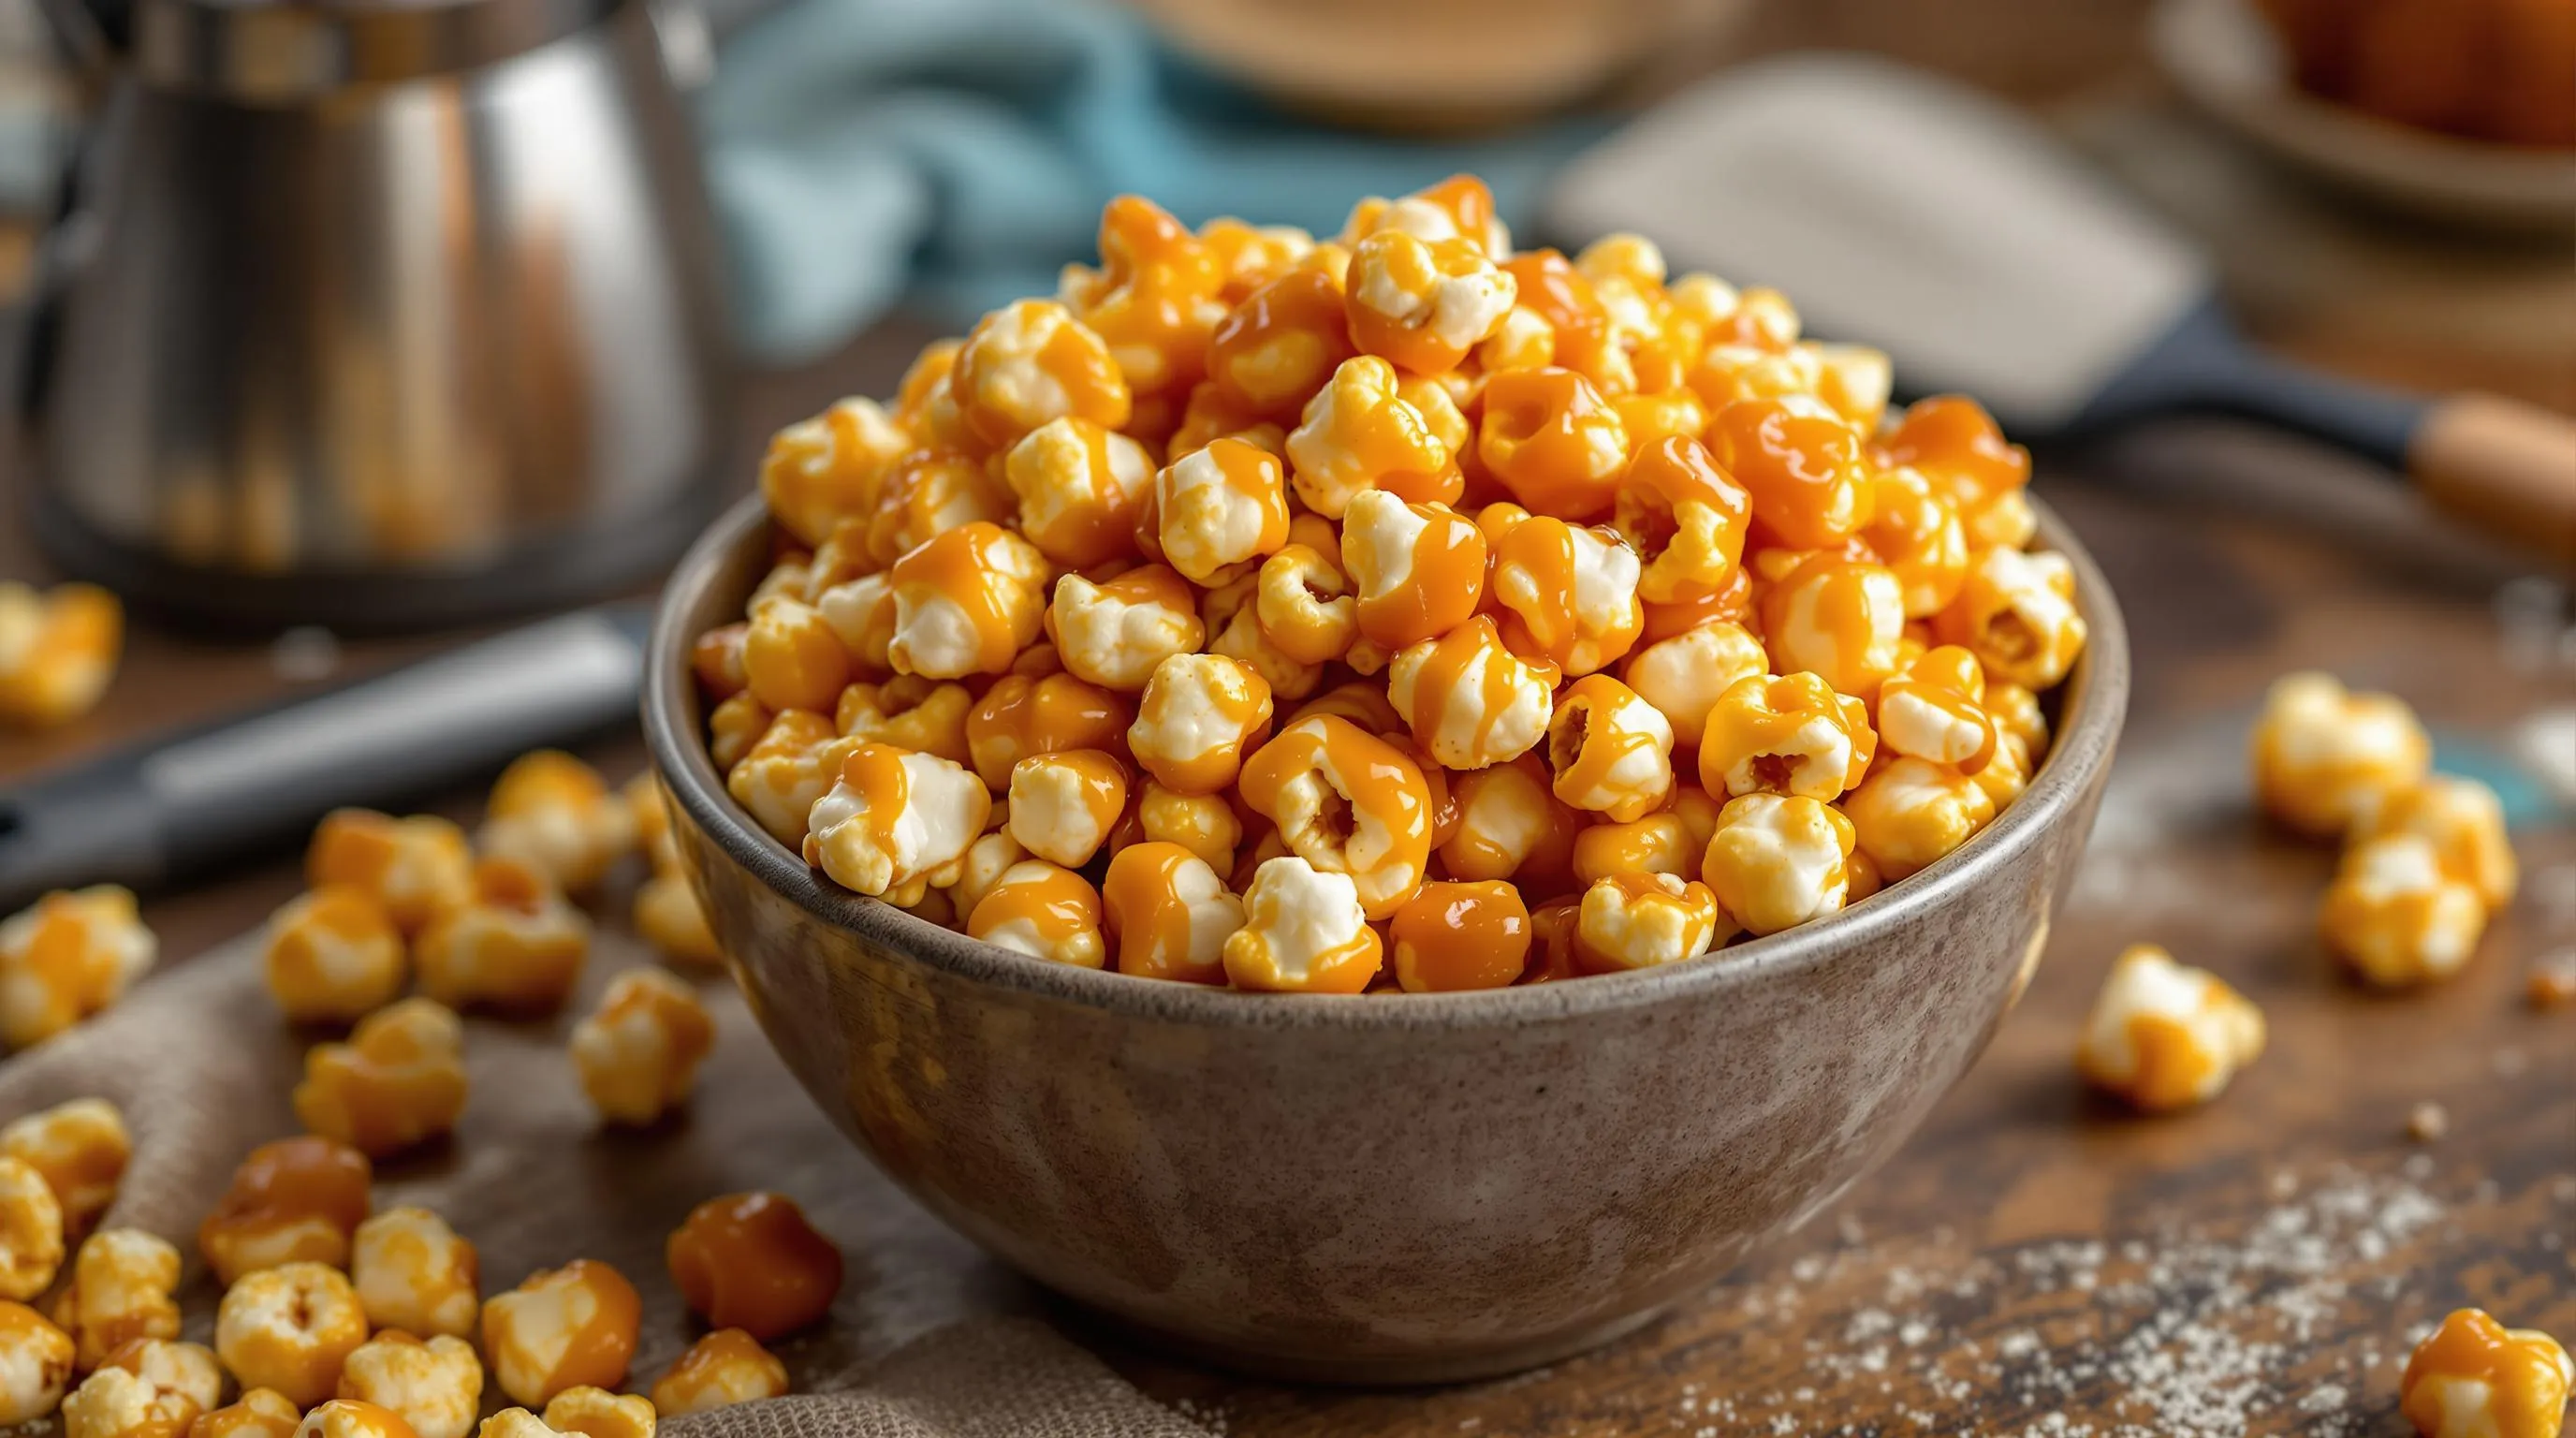
The Best Homemade Caramel Corn Recipe
This homemade caramel corn recipe transforms ordinary popcorn into an irresistible sweet treat with the perfect balance of crunch and chew. Making caramel corn from scratch allows you to control the quality of ingredients while creating a snack that surpasses store-bought versions in both flavor and freshness.
Ingredients
For the popcorn base:
- ½ cup popcorn kernels (makes about 12-14 cups popped)
- 3 tablespoons vegetable oil (if popping on stovetop)
- ½ teaspoon salt
For the caramel coating:
- 1 cup unsalted butter
- 2 cups light brown sugar, packed
- ½ cup light corn syrup
- 1 teaspoon salt
- ½ teaspoon baking soda
- 1 teaspoon vanilla extract
- Optional: 1 cup nuts (peanuts, pecans, or almonds)
Equipment Needed
- Large pot with lid (for stovetop popping) or air popper
- Large roasting pan or two baking sheets
- Heavy-bottomed saucepan
- Candy thermometer (recommended but optional)
- Wooden spoon or heat-resistant spatula
- Parchment paper
Preparation Instructions
- Preheat your oven to 250°F and line two large baking sheets with parchment paper.
- Pop the popcorn using your preferred method. If using a stovetop, heat oil in a large pot over medium-high heat, add kernels, cover, and shake occasionally until popping slows to 2-3 seconds between pops.
- Transfer popped corn to a very large bowl, removing any unpopped kernels. Add nuts if using.
- In a medium saucepan, melt butter over medium heat. Stir in brown sugar, corn syrup, and salt until combined.
- Bring the caramel mixture to a boil without stirring. Let it boil for 4-5 minutes until it reaches 250°F on a candy thermometer (or until a small amount dropped in cold water forms a firm ball).
- Remove from heat and quickly stir in baking soda and vanilla extract. The mixture will bubble and foam up dramatically.
- Pour the hot caramel evenly over the popcorn and gently toss with wooden spoons until all pieces are coated. Work quickly as the caramel begins to set fast.
- Spread the coated popcorn evenly onto prepared baking sheets.
- Bake for 1 hour, stirring every 15 minutes to ensure even coating and crispness.
- Remove from oven and let cool completely on the baking sheets. The caramel corn will become crunchier as it cools.
- Break into clusters once cooled and store in an airtight container for up to 2 weeks.
Tips for Perfect Caramel Corn
Achieving the perfect texture requires attention to detail during the baking process. Stirring the caramel corn regularly while baking ensures the caramel distributes evenly and prevents burning. The baking step might seem time-consuming but proves essential for creating that distinctive crunch that makes homemade caramel corn superior to microwave versions.
For gift-giving, package cooled caramel corn in cellophane bags tied with festive ribbon or in decorative tins. This homemade treat makes an impressive and welcomed gift during the holiday season.
Customize your caramel corn by adding different mix-ins before baking. Consider chocolate chips (added after baking), different nuts, or even a sprinkle of sea salt for a sweet-salty combination that elevates this classic treat.
Why You’ll Love This Caramel Corn
This homemade caramel corn offers the perfect balance of sweet and salty flavors that commercially produced versions simply can’t match. Your friends and family will beg for the recipe after just one handful of this irresistible treat.
Making caramel corn from scratch allows you to control the quality of ingredients while avoiding preservatives and artificial flavors found in store-bought varieties. The homemade version delivers a fresher taste with that signature buttery caramel coating clinging to each kernel.
This recipe creates the ideal texture with a satisfying crunch that doesn’t stick to your teeth like some commercial brands. The baking process ensures every piece gets evenly coated and perfectly crisp.
Batch preparation takes under an hour from start to finish but the results keep beautifully for up to two weeks when stored properly. You’ll appreciate having this delicious snack on hand for unexpected guests or midnight cravings.
Versatility makes this caramel corn perfect for customization with your favorite mix-ins like nuts, chocolate, or spices. The basic recipe serves as an excellent foundation for creating your own signature variation.
The nostalgic aroma filling your kitchen as it bakes brings back memories of county fairs and holiday traditions. Your home will smell amazing throughout the cooking process and long afterward.
Equipment Needed
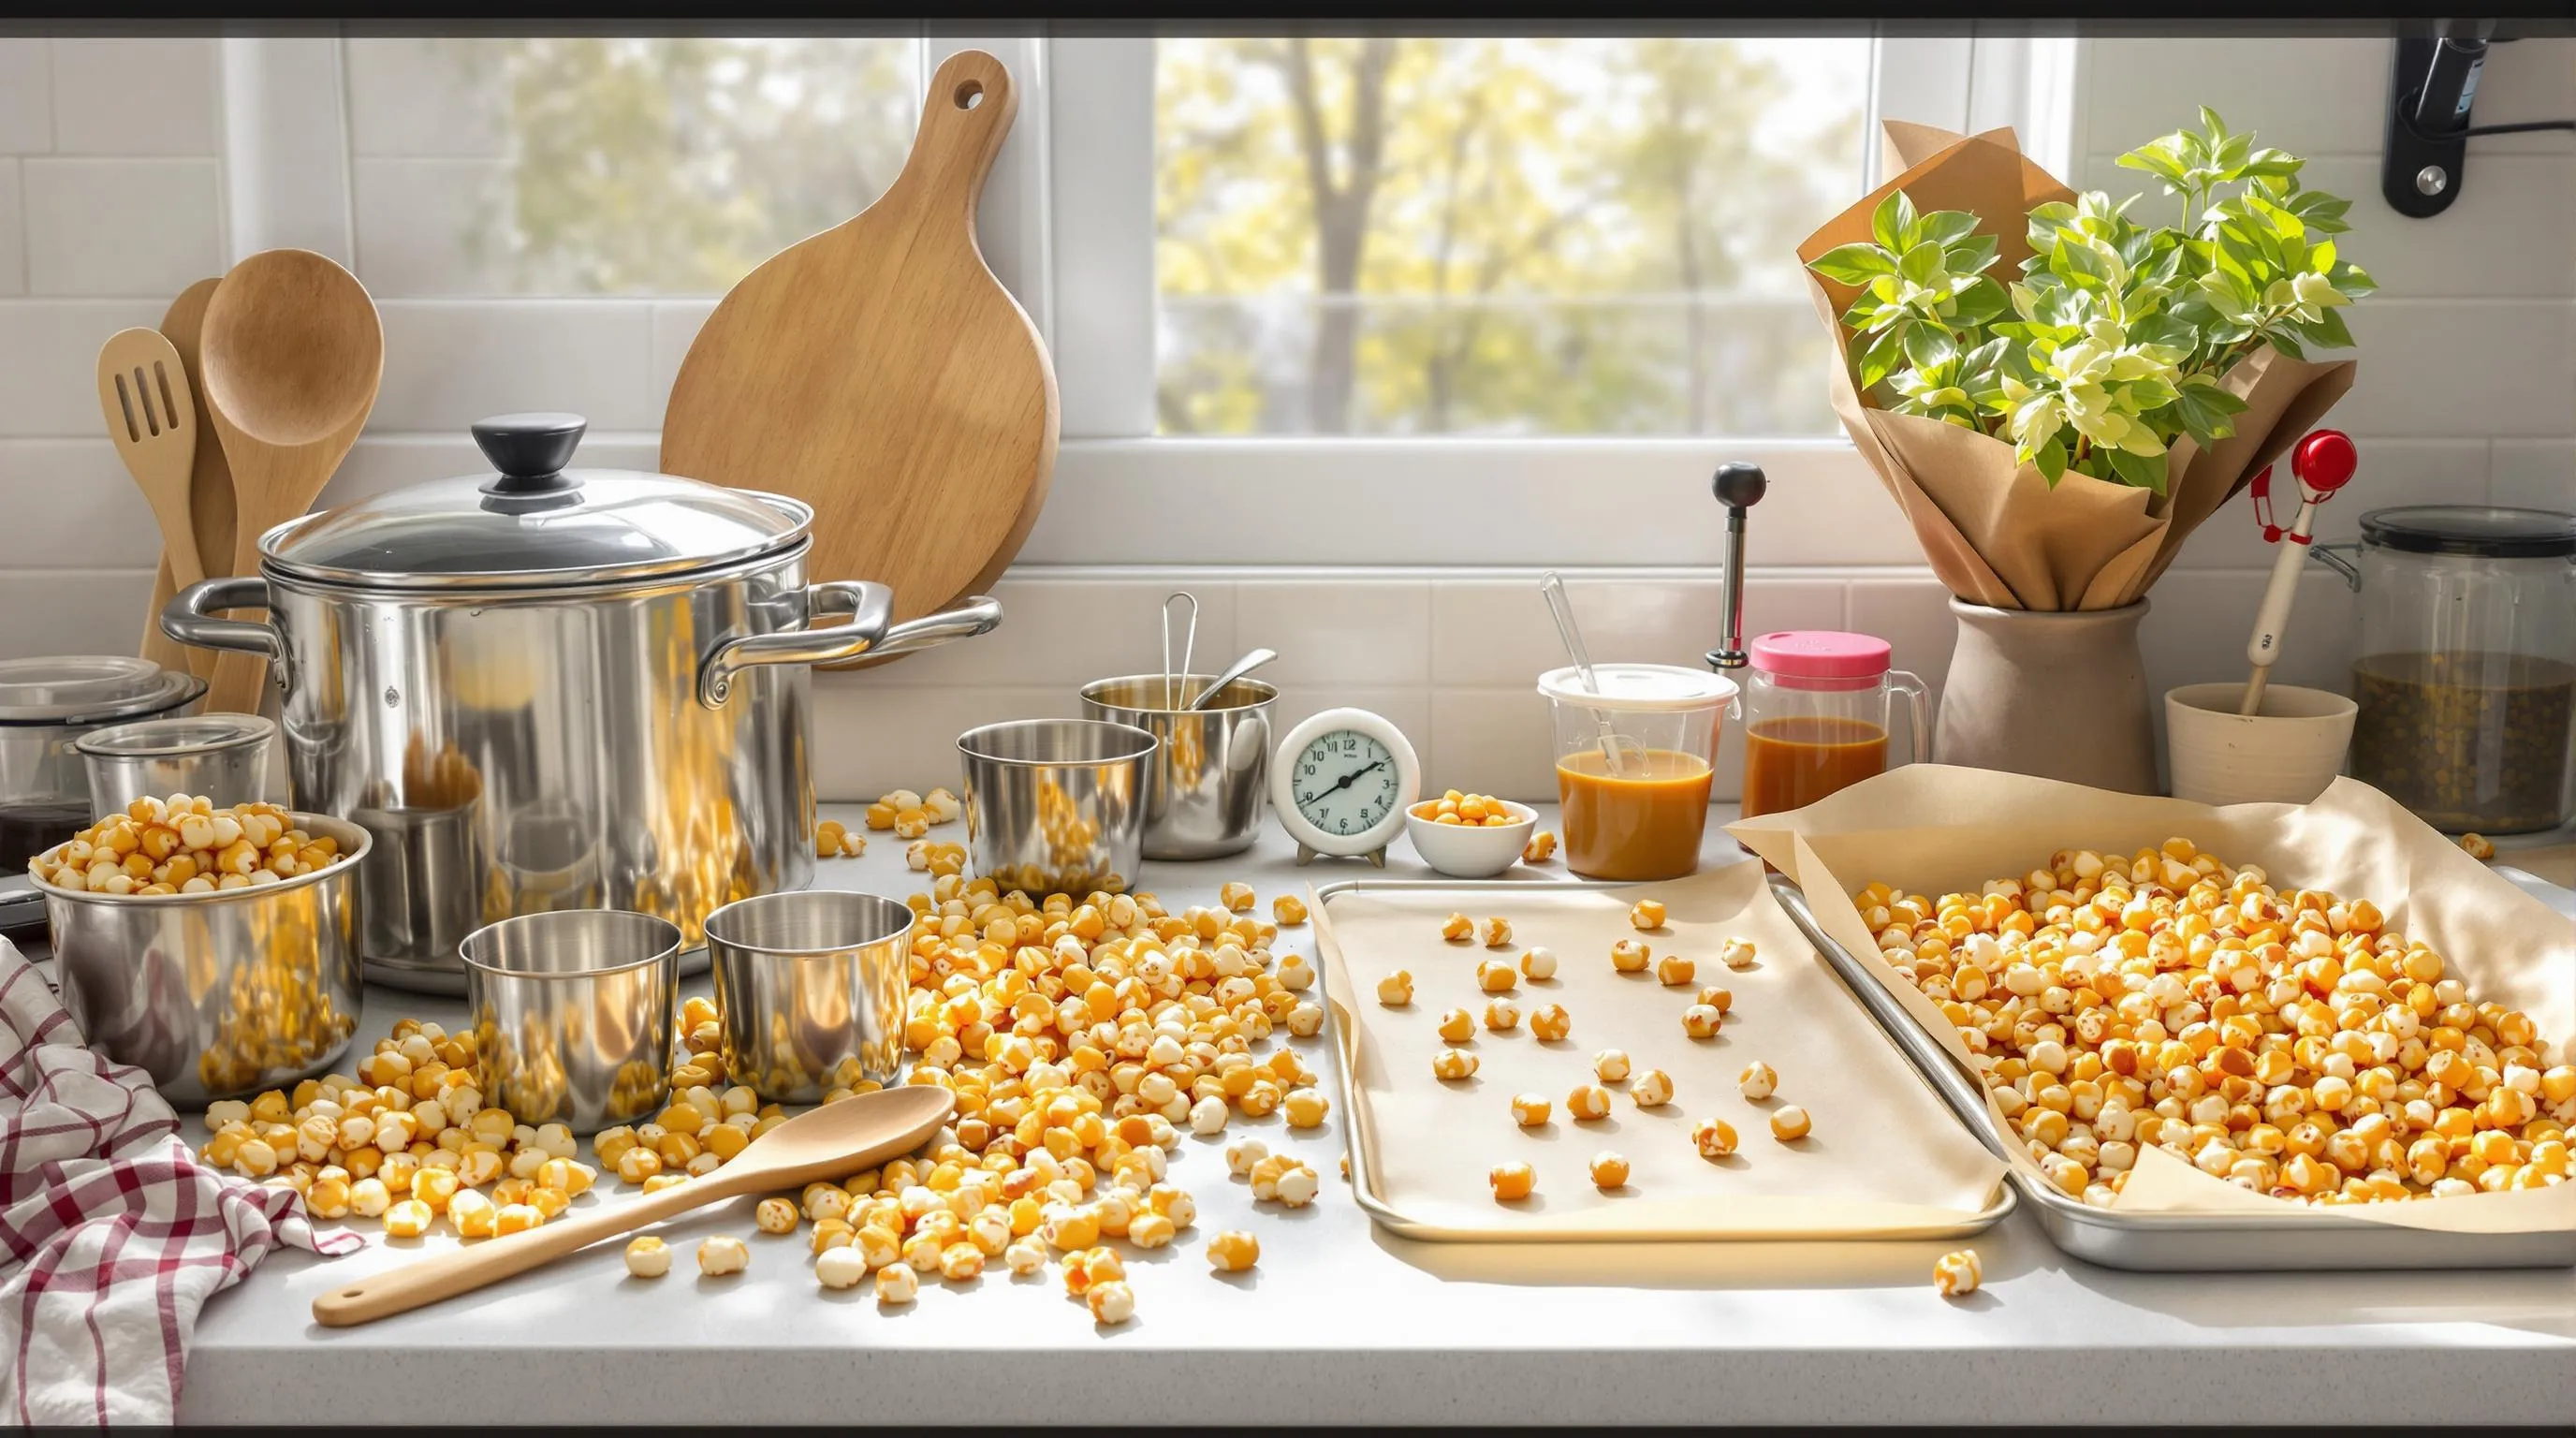
Making homemade caramel corn requires just a few basic kitchen tools that you likely already have on hand. Here’s everything you’ll need to create this sweet and crunchy treat:
- Large pot with lid – For popping the corn (if using stovetop method)
- Large saucepan – For making the caramel sauce
- Large mixing bowl – For tossing the popcorn with caramel
- Wooden spoon – For stirring the caramel mixture
- Measuring cups and spoons – For precise ingredient measurements
- Candy thermometer – Optional but helpful for achieving perfect caramel consistency
- 2 large baking sheets – For baking and cooling the caramel corn
- Parchment paper or silicone baking mats – To prevent sticking
- Spatula or large spoon – For stirring the caramel corn while baking
- Airtight containers – For storing the finished caramel corn
The right equipment ensures your caramel corn turns out perfectly crunchy and evenly coated. Your baking sheets should have rims to prevent any kernels from escaping during the baking process. While a candy thermometer isn’t absolutely necessary, it helps guarantee your caramel reaches the ideal temperature for that perfect sticky-yet-crunchy coating.
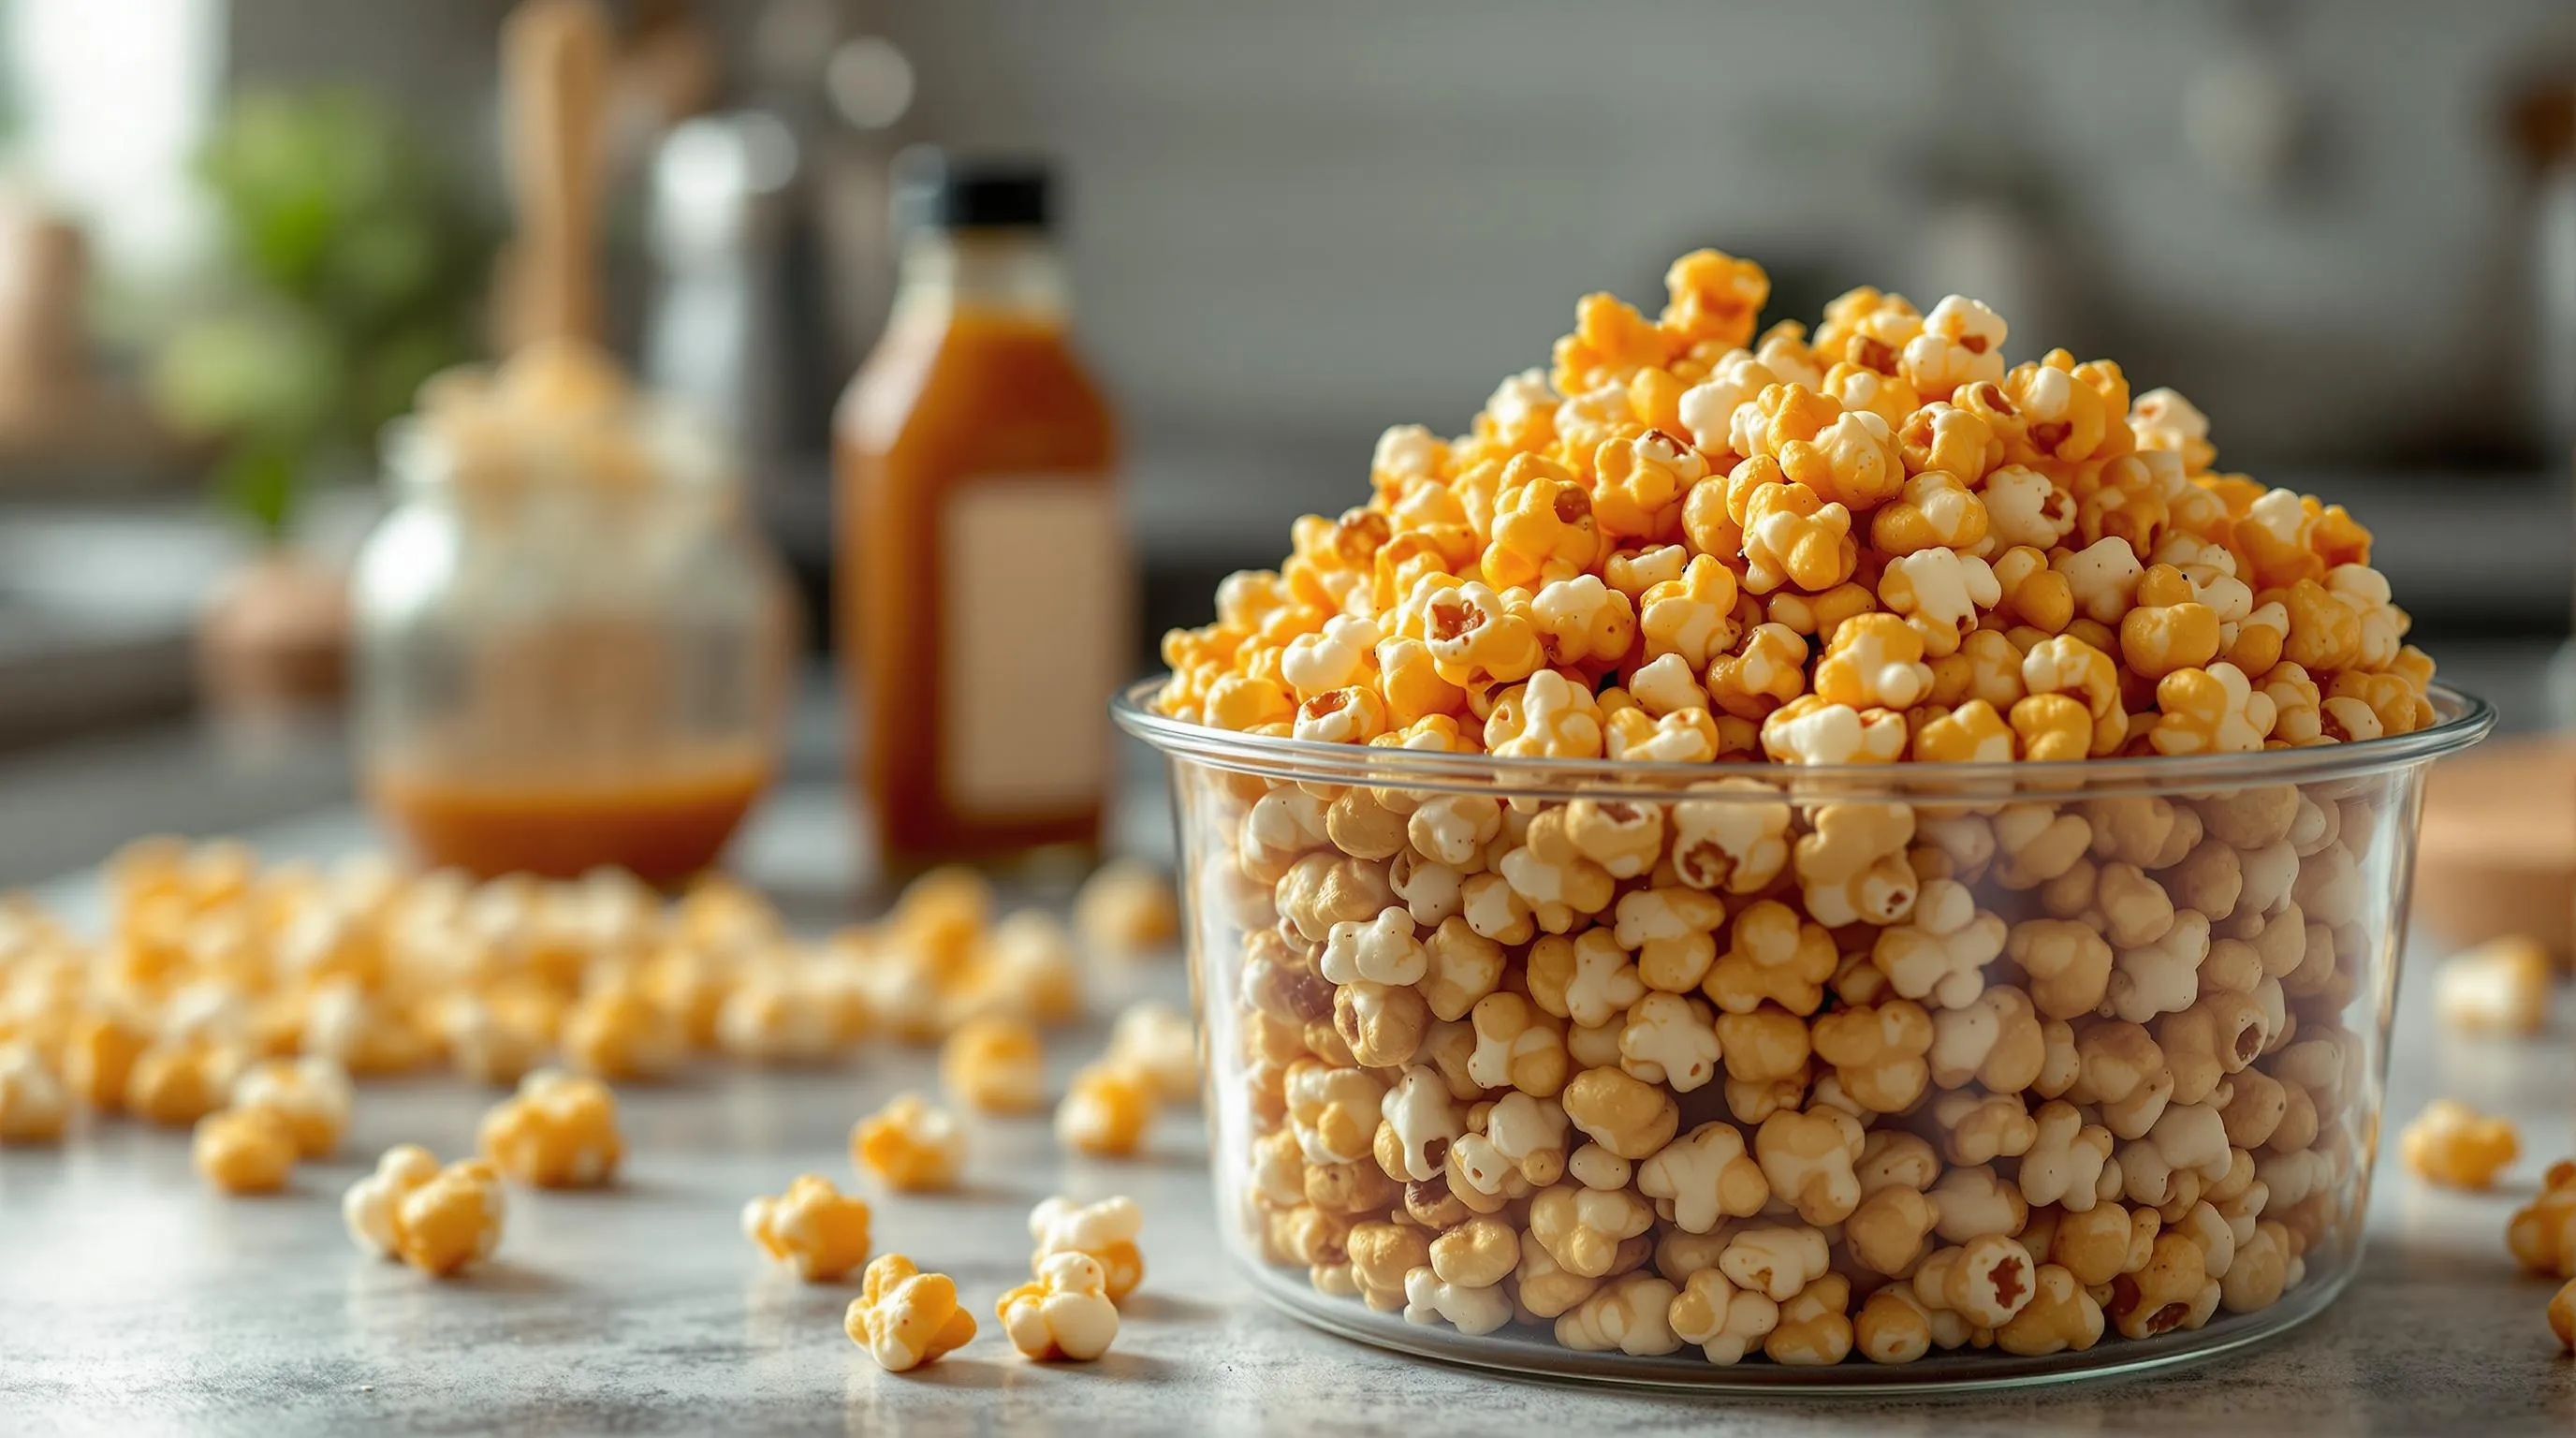
Ingredients for Perfect Caramel Corn
Creating perfect caramel corn requires quality ingredients that balance sweetness and crunch. Here’s everything you’ll need to make this irresistible treat at home.
For the Popcorn Base
- 10-12 cups popped popcorn (about ½ cup unpopped kernels)
- 1 cup nuts (optional: peanuts, pecans, or almonds)
- ¼ teaspoon salt (if using unsalted popcorn)
For the Caramel Sauce
- 1 cup brown sugar (packed)
- ½ cup unsalted butter
- ¼ cup light corn syrup
- ½ teaspoon vanilla extract
- ¼ teaspoon baking soda
- ½ teaspoon salt (omit if using salted butter)
The brown sugar provides rich flavor while corn syrup prevents crystallization in your caramel. Baking soda might seem unusual but it creates tiny air bubbles that give your caramel sauce a lighter texture. Vanilla extract adds depth of flavor that complements the buttery caramel perfectly. You can adjust salt levels based on your preference for sweet-salty balance.
How to Make Caramel Corn

Creating homemade caramel corn involves just a few key steps that transform ordinary popcorn into an irresistible sweet treat. Follow this foolproof method for perfectly crunchy caramel corn every time.
Preparing the Popcorn
Start by popping fresh popcorn until you have 10-12 cups. Air-popped corn works best as it provides a neutral base for the caramel coating. If using microwave popcorn choose an unflavored or lightly salted variety to avoid competing flavors. Transfer your popped corn to a large mixing bowl ensuring you remove any unpopped kernels that could damage teeth. For added dimension add 1-2 cups of nuts like peanuts almonds or pecans at this stage. Lightly spray a large baking sheet with cooking spray or line it with parchment paper to prevent sticking and set aside while you prepare the caramel sauce.
Making the Caramel Sauce
Combine 1 cup brown sugar 1/2 cup unsalted butter and 1/4 cup light corn syrup in a medium saucepan over medium heat. Stir these ingredients together until the butter melts completely. Allow the mixture to come to a boil without stirring then let it bubble for 4-5 minutes until it reaches 250°F (hard-ball stage) on a candy thermometer. Remove the saucepan from heat immediately after reaching the target temperature. Add 1 teaspoon vanilla extract 1/2 teaspoon salt and 1/2 teaspoon baking soda to the hot caramel mixture. Watch as the caramel foams up and turns lighter in color – this reaction creates the perfect texture by incorporating tiny air bubbles throughout the sauce.
Coating the Popcorn
Pour the hot caramel sauce over your prepared popcorn in a steady stream. Use two large wooden spoons or silicone spatulas to gently fold and toss the mixture ensuring even coverage without crushing the popcorn. Work quickly as the caramel begins to set within minutes of being removed from heat. Make sure to reach the popcorn at the bottom of the bowl to prevent uncoated pieces. The goal is to distribute the caramel sauce evenly so each piece has that perfect sweet coating without clumping together in large masses.
Baking for the Perfect Crunch
Spread the caramel-coated popcorn in an even layer across your prepared baking sheet. Place the baking sheet in a preheated 250°F oven for 45-60 minutes. Stir the mixture every 15 minutes to ensure even baking and prevent burning around the edges. This slow baking process transforms the texture from sticky to perfectly crunchy by allowing moisture to evaporate while caramelizing the sugars further. Test a piece by removing it from the oven and letting it cool for 30 seconds – it should be crisp and not stick to your teeth. Allow the finished caramel corn to cool completely on the baking sheet before breaking apart any large clusters. Properly baked caramel corn will stay crunchy for up to two weeks when stored in an airtight container.
Variations to Try
Once you’ve mastered the basic caramel corn recipe, it’s time to explore exciting flavor combinations that elevate this classic treat. These variations offer something for everyone from sweet and chocolatey to savory and spicy.
Nutty Caramel Corn
Transform your basic caramel corn into a protein-packed gourmet treat by incorporating various nuts. Mix in 1-2 cups of almonds, pecans, cashews, or walnuts before adding the caramel coating. Toast your nuts in a 350°F oven for 8-10 minutes before adding them to intensify their flavor profile. You can also create a signature blend using multiple nut varieties for complex texture and taste. Macadamia nuts add buttery richness while pistachios bring a unique color and subtle sweetness that balances the caramel perfectly. For an extra dimension of flavor, try coating your nuts in a light dusting of sea salt or cinnamon before mixing them with the popcorn.
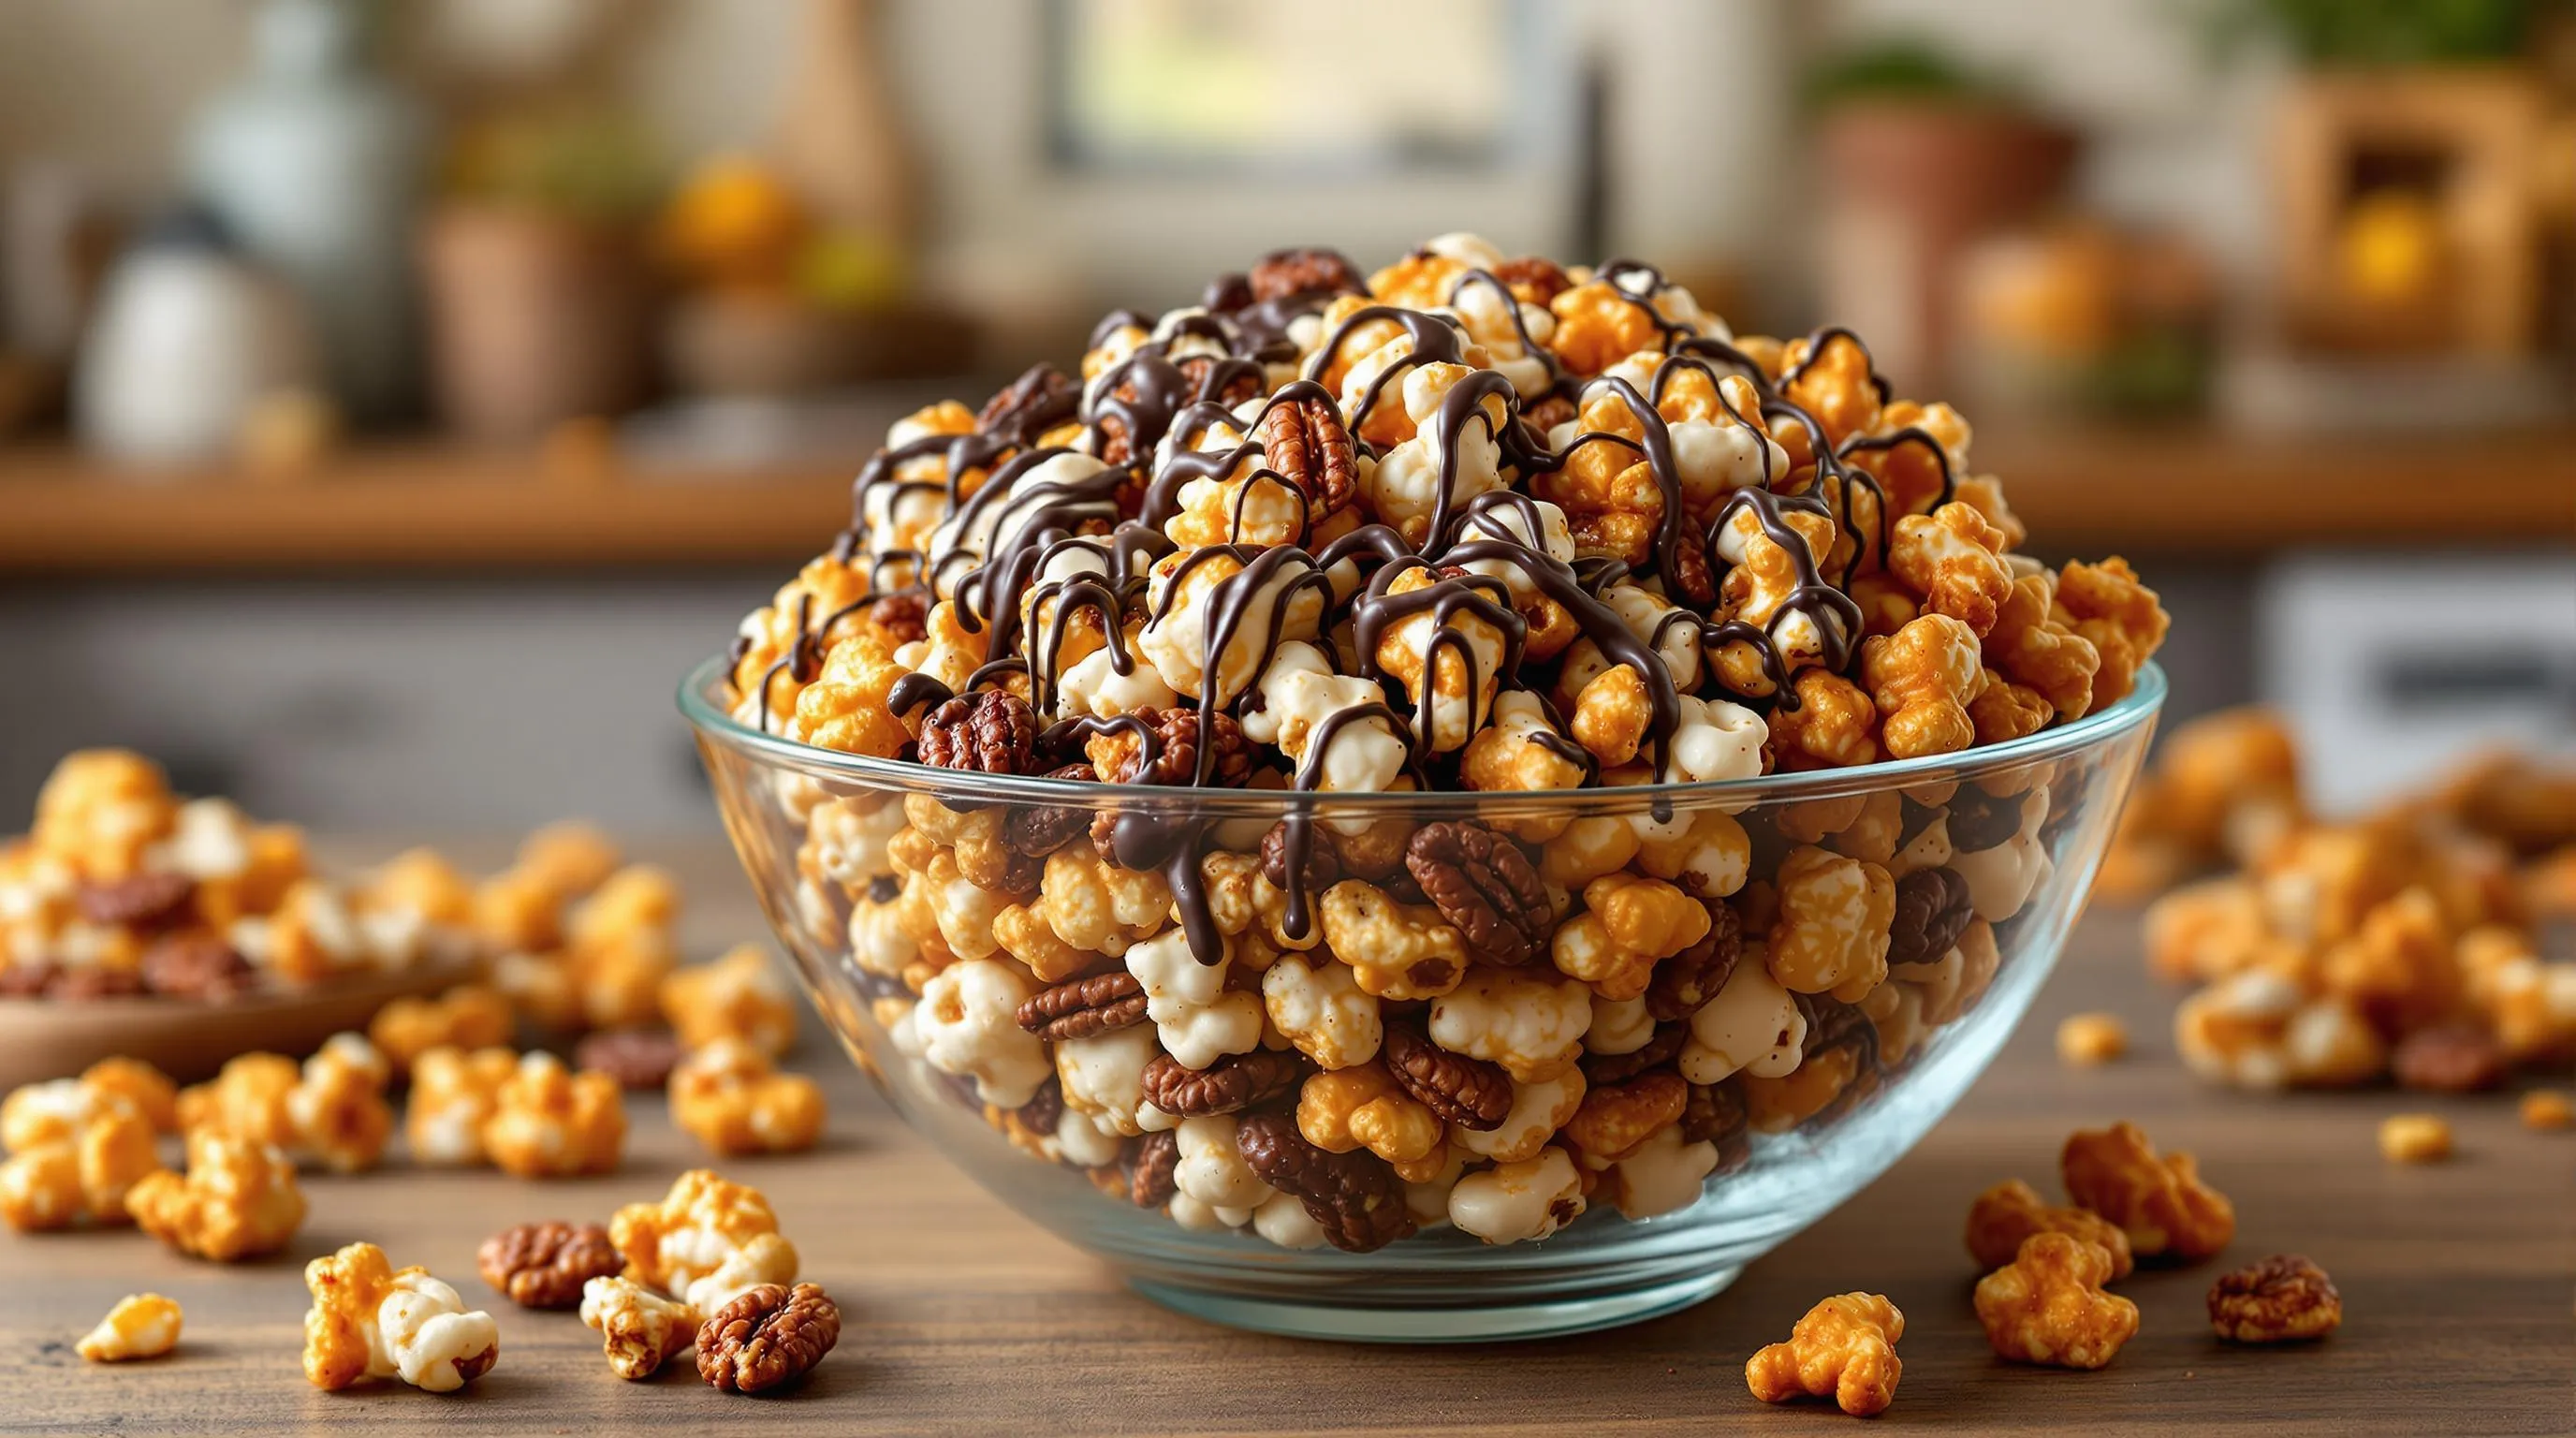
Chocolate Drizzled Caramel Corn
Add an indulgent touch to your caramel corn by incorporating chocolate. After your caramel corn has cooled completely, melt 1 cup of chocolate chips (dark, milk, or white) in the microwave at 30-second intervals, stirring between each interval until smooth. Drizzle the melted chocolate over your caramel corn using a fork or spoon, then allow it to set completely. For added visual appeal and flavor complexity, try using multiple chocolate varieties – dark chocolate provides rich contrast while white chocolate offers sweet creaminess. You can enhance the chocolate further by adding 1/4 teaspoon of espresso powder to dark chocolate or orange zest to white chocolate before melting. Create a marble effect by drizzling different chocolates in layers, waiting for each layer to set slightly before adding the next.
Spicy Caramel Corn
Balance the sweetness of caramel corn with heat for an addictive sweet-spicy combination. Add 1/2 to 1 teaspoon of cayenne pepper to your caramel mixture before pouring it over the popcorn. You can also incorporate 1 teaspoon of chili powder or 1/2 teaspoon of chipotle powder for a smoky heat profile. Mexican-inspired versions benefit from adding 1 teaspoon of cinnamon and a pinch of ground cloves to create a complex flavor reminiscent of Mexican hot chocolate. Adjust the heat level according to your preference – start with less spice if you’re uncertain about your heat tolerance. For a more sophisticated flavor profile, try adding 1/4 teaspoon of ground black pepper and a pinch of smoked paprika to create depth without overwhelming heat. The contrast between sweet caramel and spicy seasonings creates an irresistible flavor combination that keeps you reaching for more.
Storage Tips
Proper storage is essential for maintaining the perfect crunch and flavor of your homemade caramel corn. Once your caramel corn has completely cooled after baking allow it to come to room temperature before packaging. Transfer it to airtight containers or resealable plastic bags to preserve freshness and prevent moisture from making it soggy.
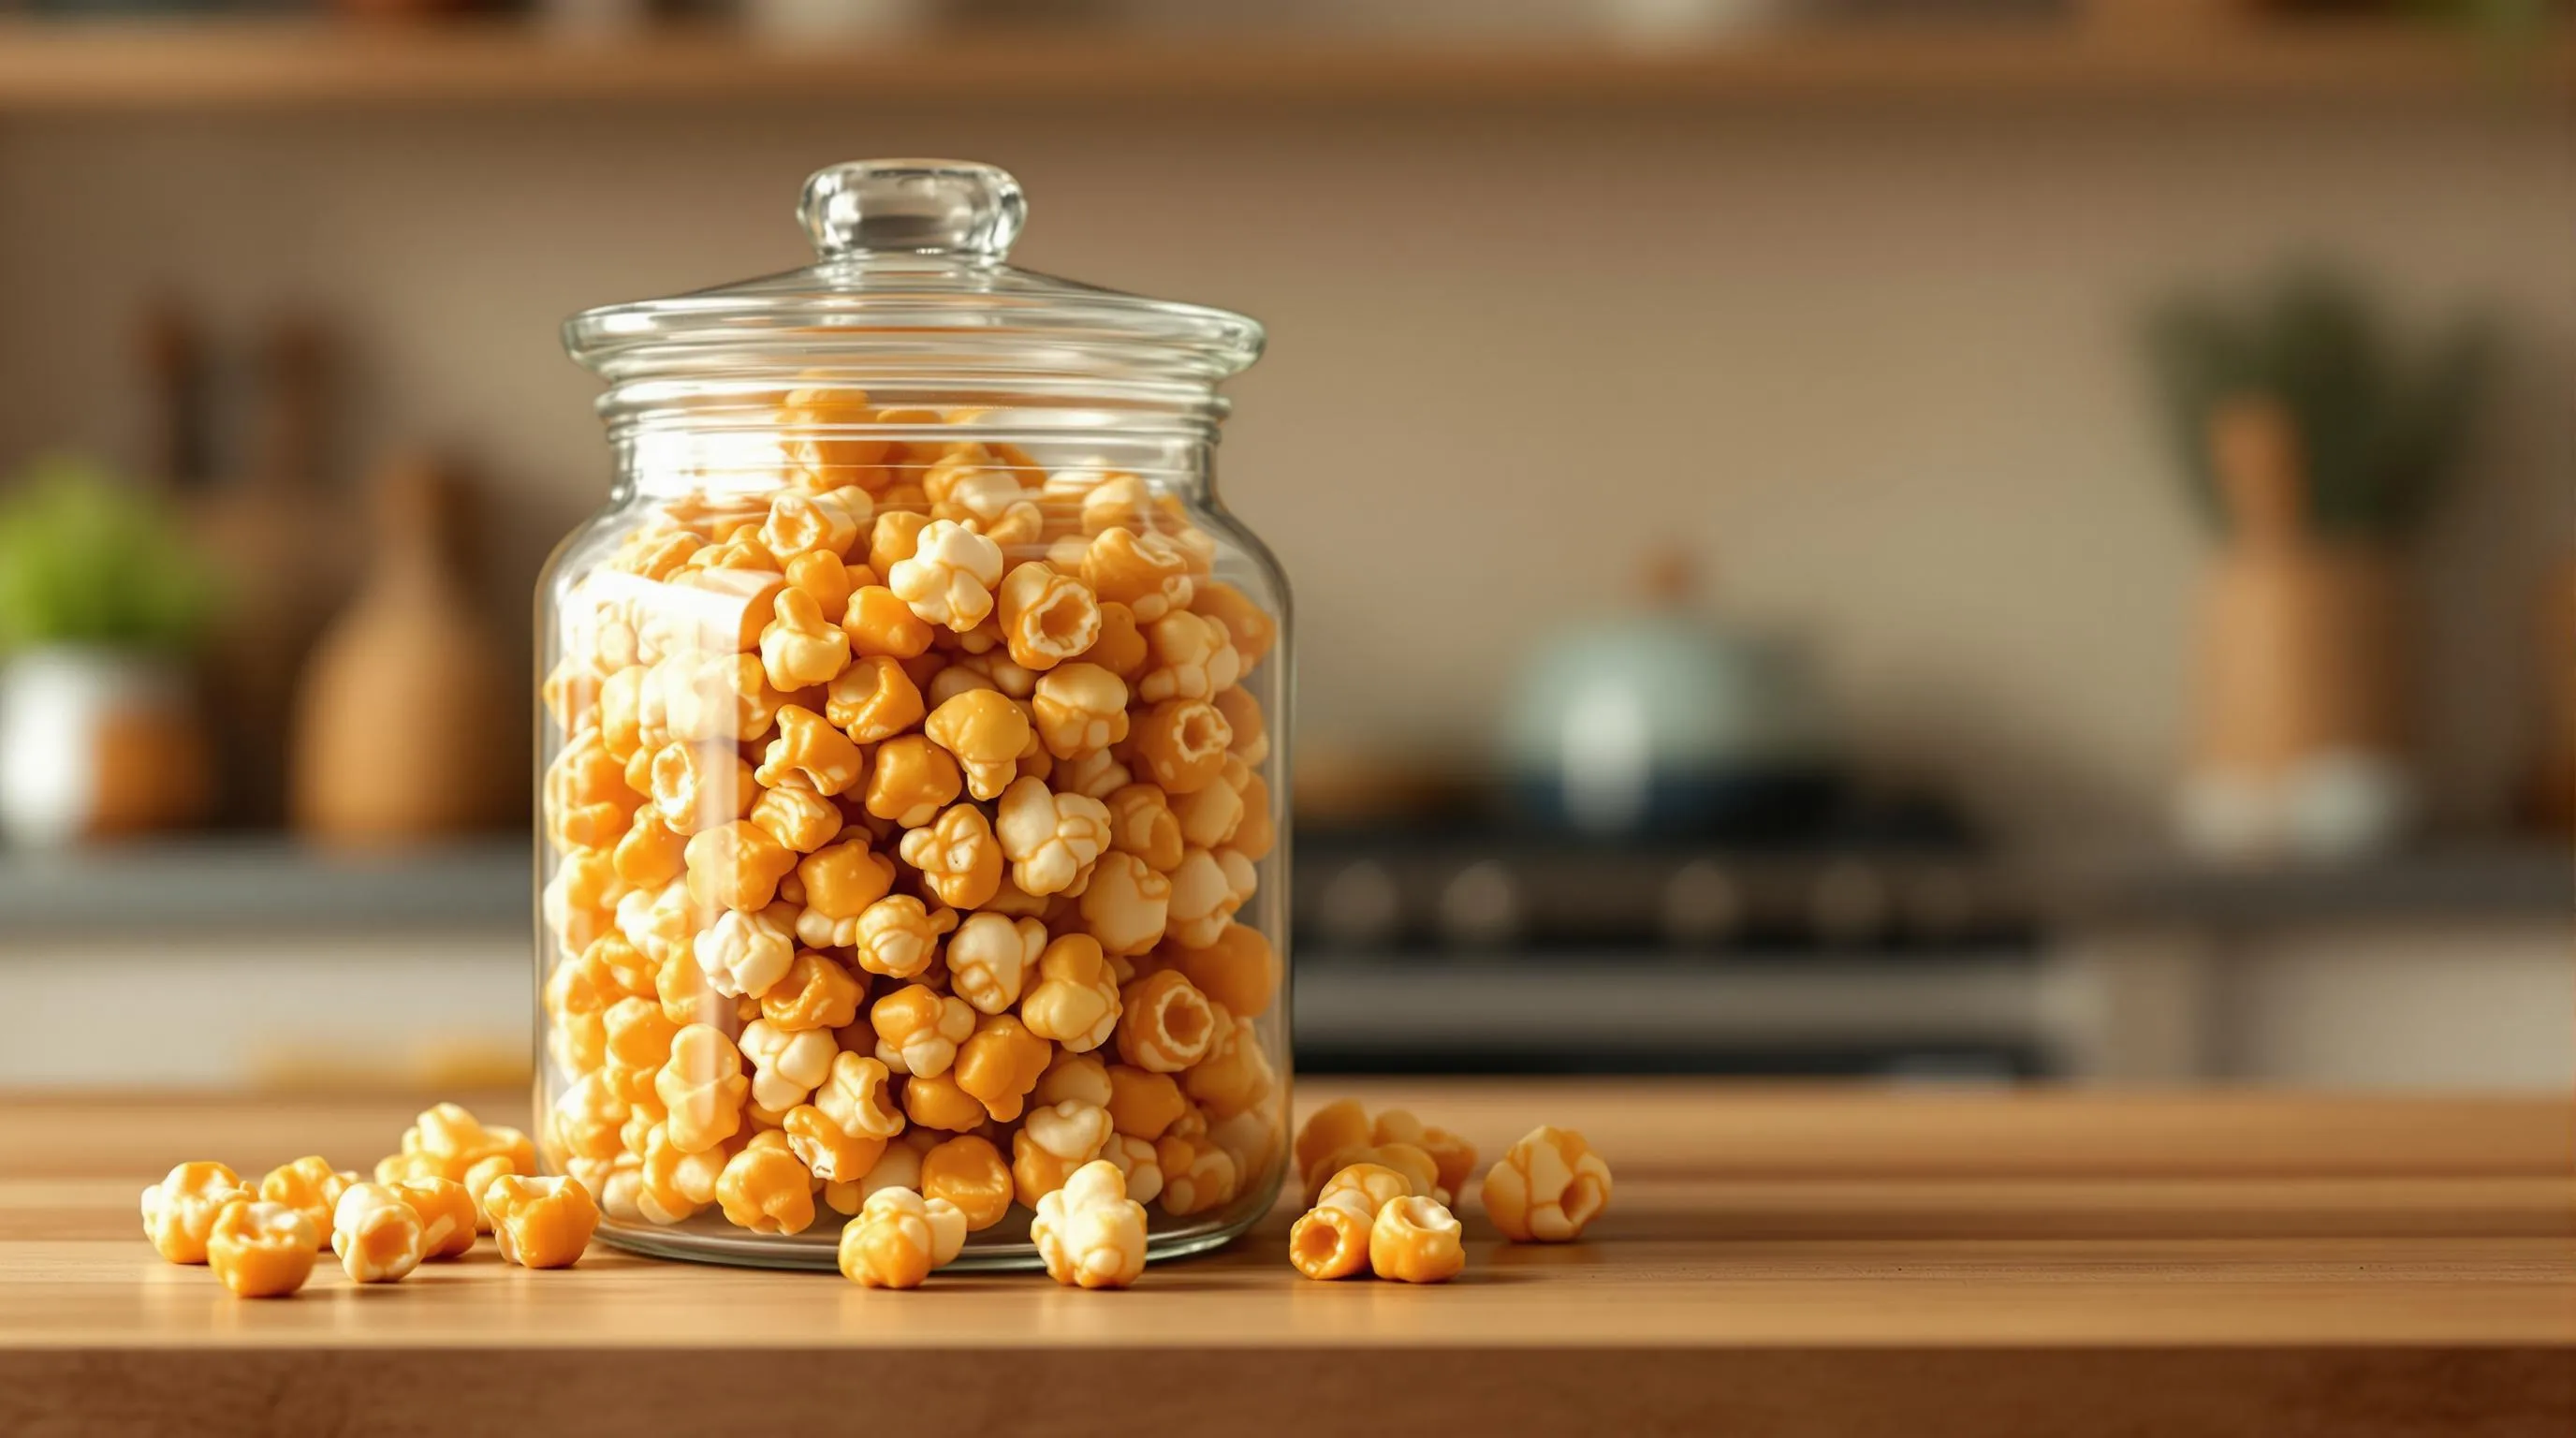
Glass jars with tight-fitting lids work exceptionally well for storing caramel corn as they create a perfect seal while also showcasing your delicious creation. Plastic food storage containers with snap-on lids provide another excellent option especially if you plan to transport your caramel corn.
Your homemade caramel corn will stay fresh at room temperature for up to two weeks when stored properly. Keep the containers in a cool dry place away from direct sunlight which can cause the caramel to soften. Avoid storing in the refrigerator as the moisture can make your perfectly crisp caramel corn become chewy and lose its signature crunch.
For longer storage needs consider freezing your caramel corn. Place it in freezer-safe containers or heavy-duty freezer bags removing as much air as possible before sealing. Frozen caramel corn maintains quality for up to three months. When ready to enjoy simply remove from the freezer and allow it to come to room temperature without opening the container which prevents condensation from forming on the caramel corn.
If you notice your caramel corn beginning to lose its crunch after several days you can refresh it by spreading it on a baking sheet and warming it in a 300°F oven for about 5 minutes. This quick reheat will restore its crispy texture and revive the delicious caramel aroma.
Make-Ahead Instructions
Caramel corn is an ideal make-ahead treat that actually benefits from being prepared in advance. You can easily make this delicious snack up to two weeks before your event or gift-giving occasion. For best results prepare the recipe completely including the baking step which ensures that perfect crunch.
Allow your caramel corn to cool completely after baking before transferring it to airtight storage containers. The cooling process typically takes about 30-45 minutes and helps the caramel set properly for that signature crisp texture.
Store your prepared caramel corn at room temperature in an airtight container away from humidity and direct sunlight. This storage method preserves freshness and prevents the caramel corn from becoming sticky or stale.
Planning to make caramel corn even further ahead? Freeze it for extended storage of up to three months. Simply place cooled caramel corn in freezer-safe bags or containers removing as much air as possible before sealing.
Thaw frozen caramel corn by letting it sit at room temperature for several hours. If your caramel corn loses some crispness after thawing refresh it by spreading it on a baking sheet and warming in a 300°F oven for about 5 minutes.
Label your stored caramel corn with the date it was made to keep track of freshness. This simple step helps ensure you serve or gift your caramel corn while it’s still at peak quality.
For holiday gifting prepare your caramel corn batches up to a week in advance allowing you plenty of time to package and distribute your homemade treats without last-minute stress.
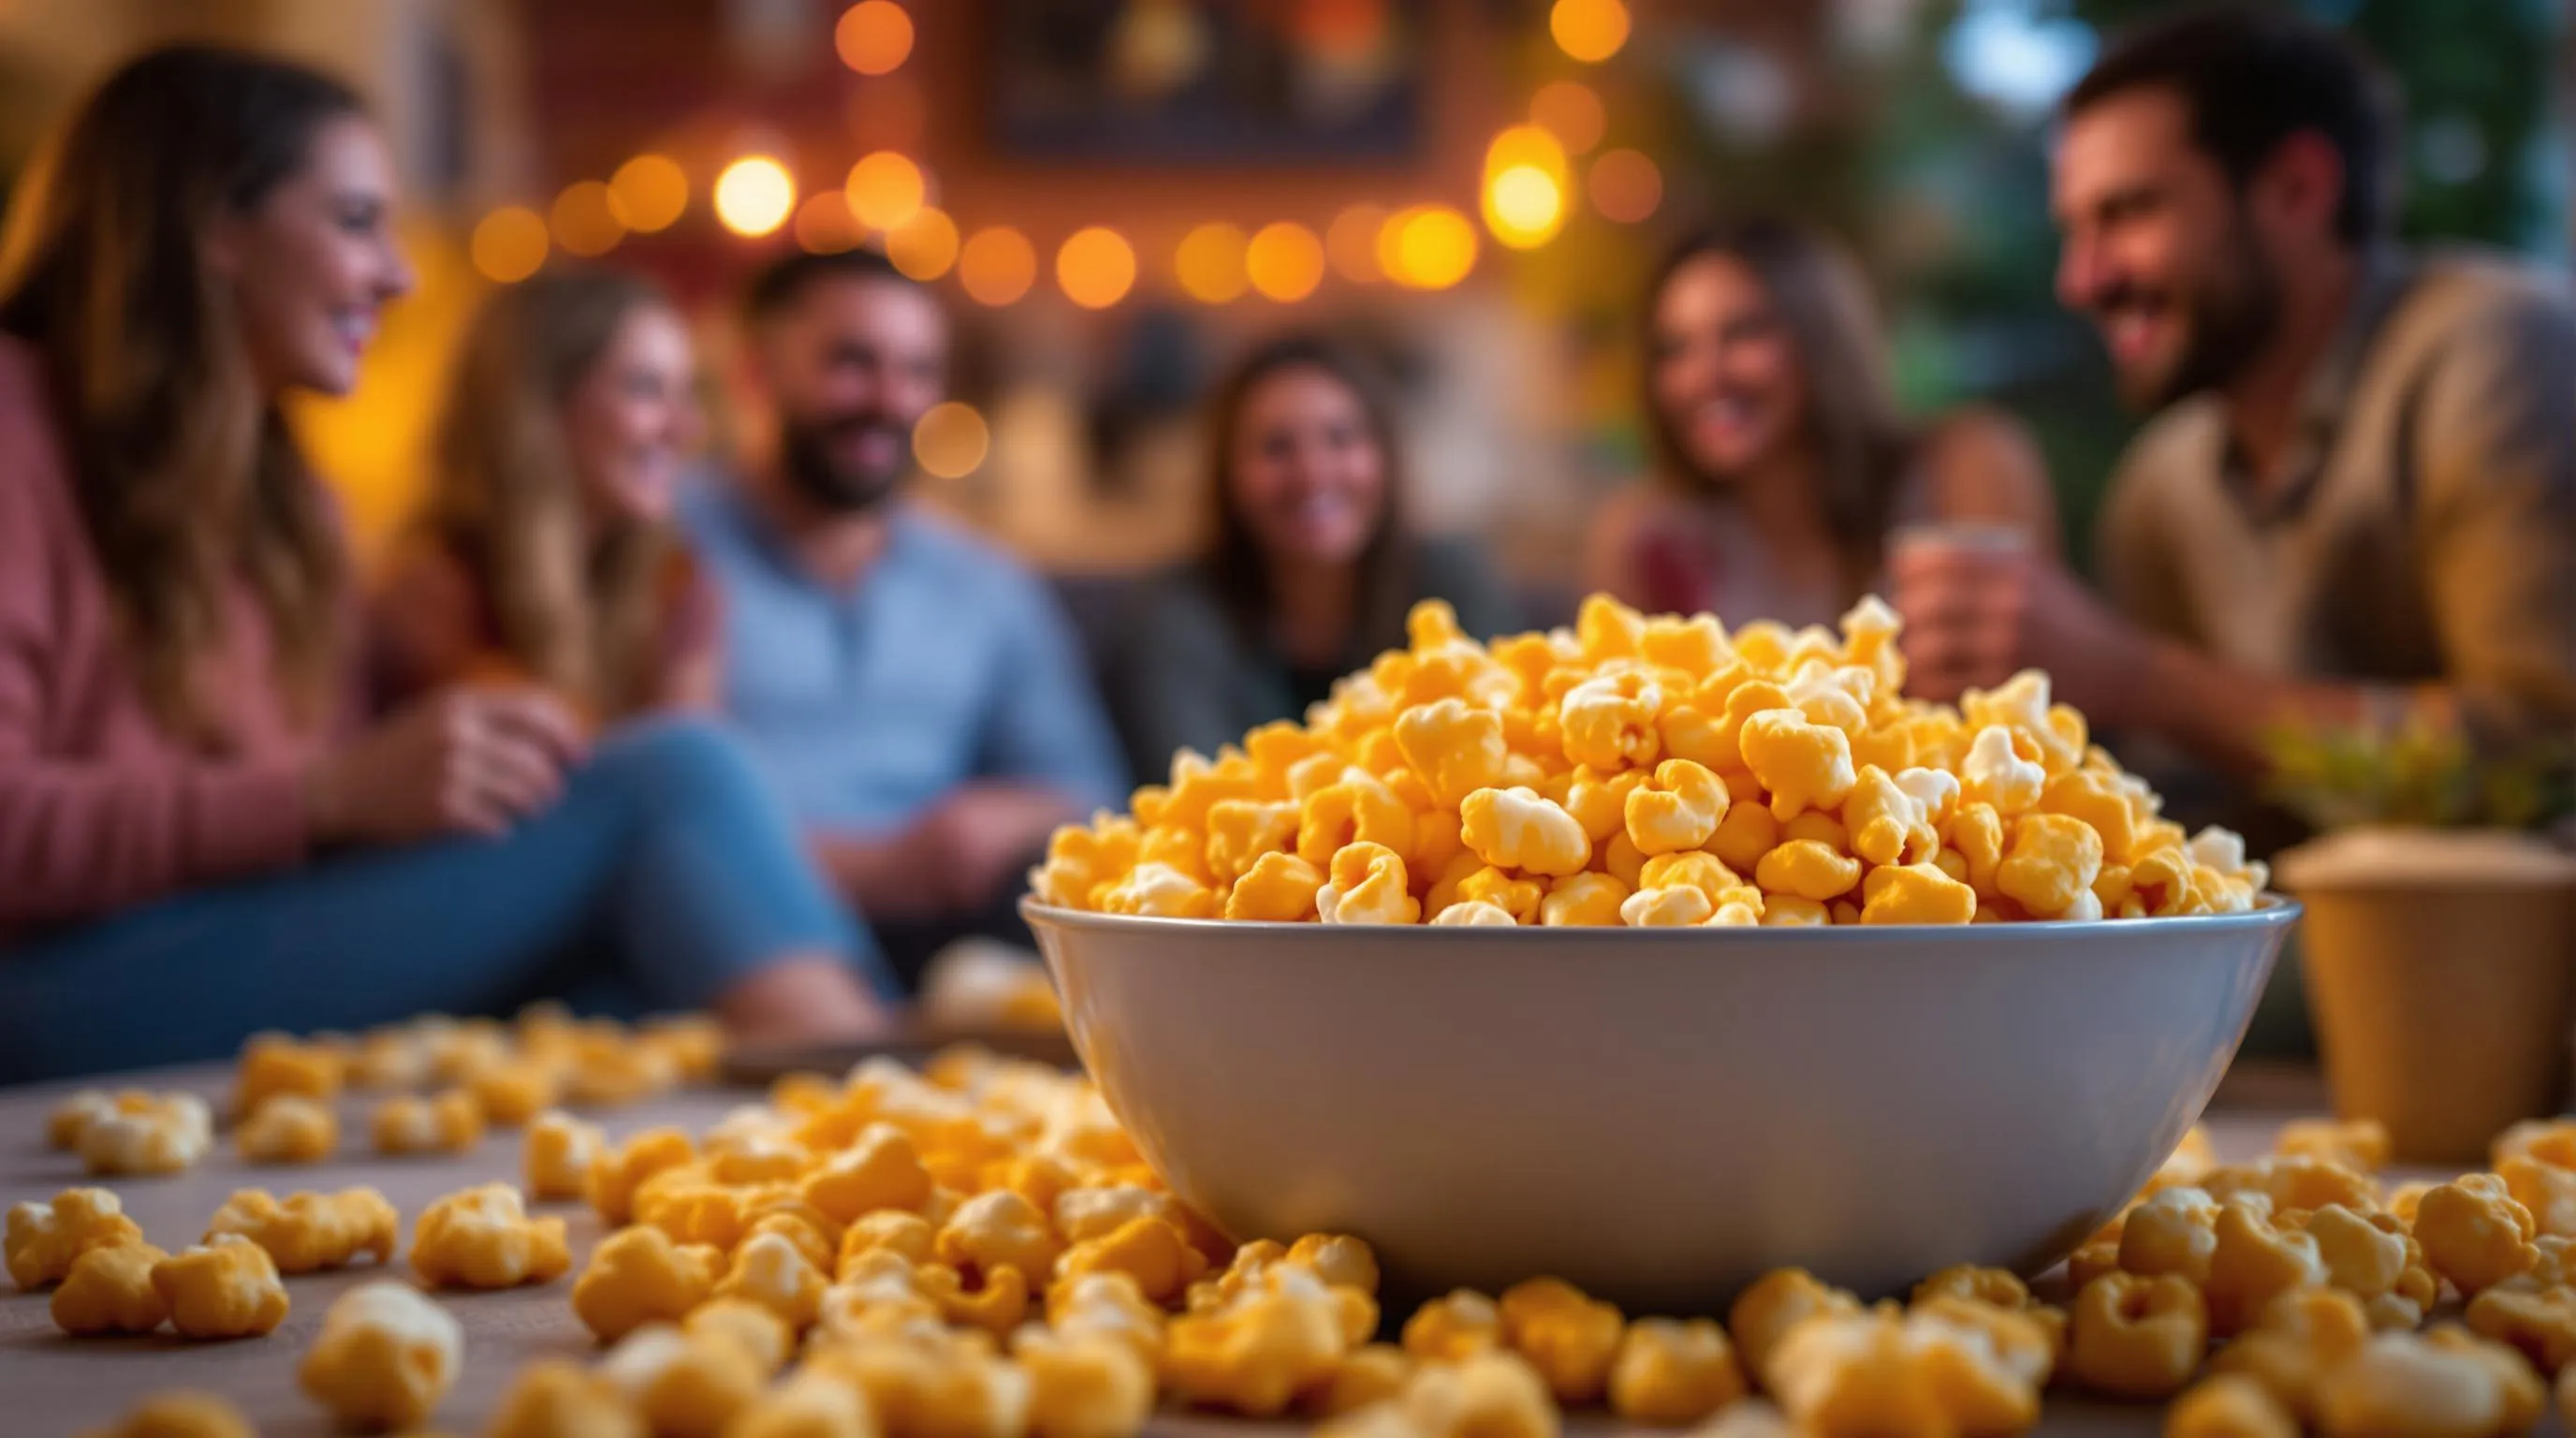
Serving Suggestions
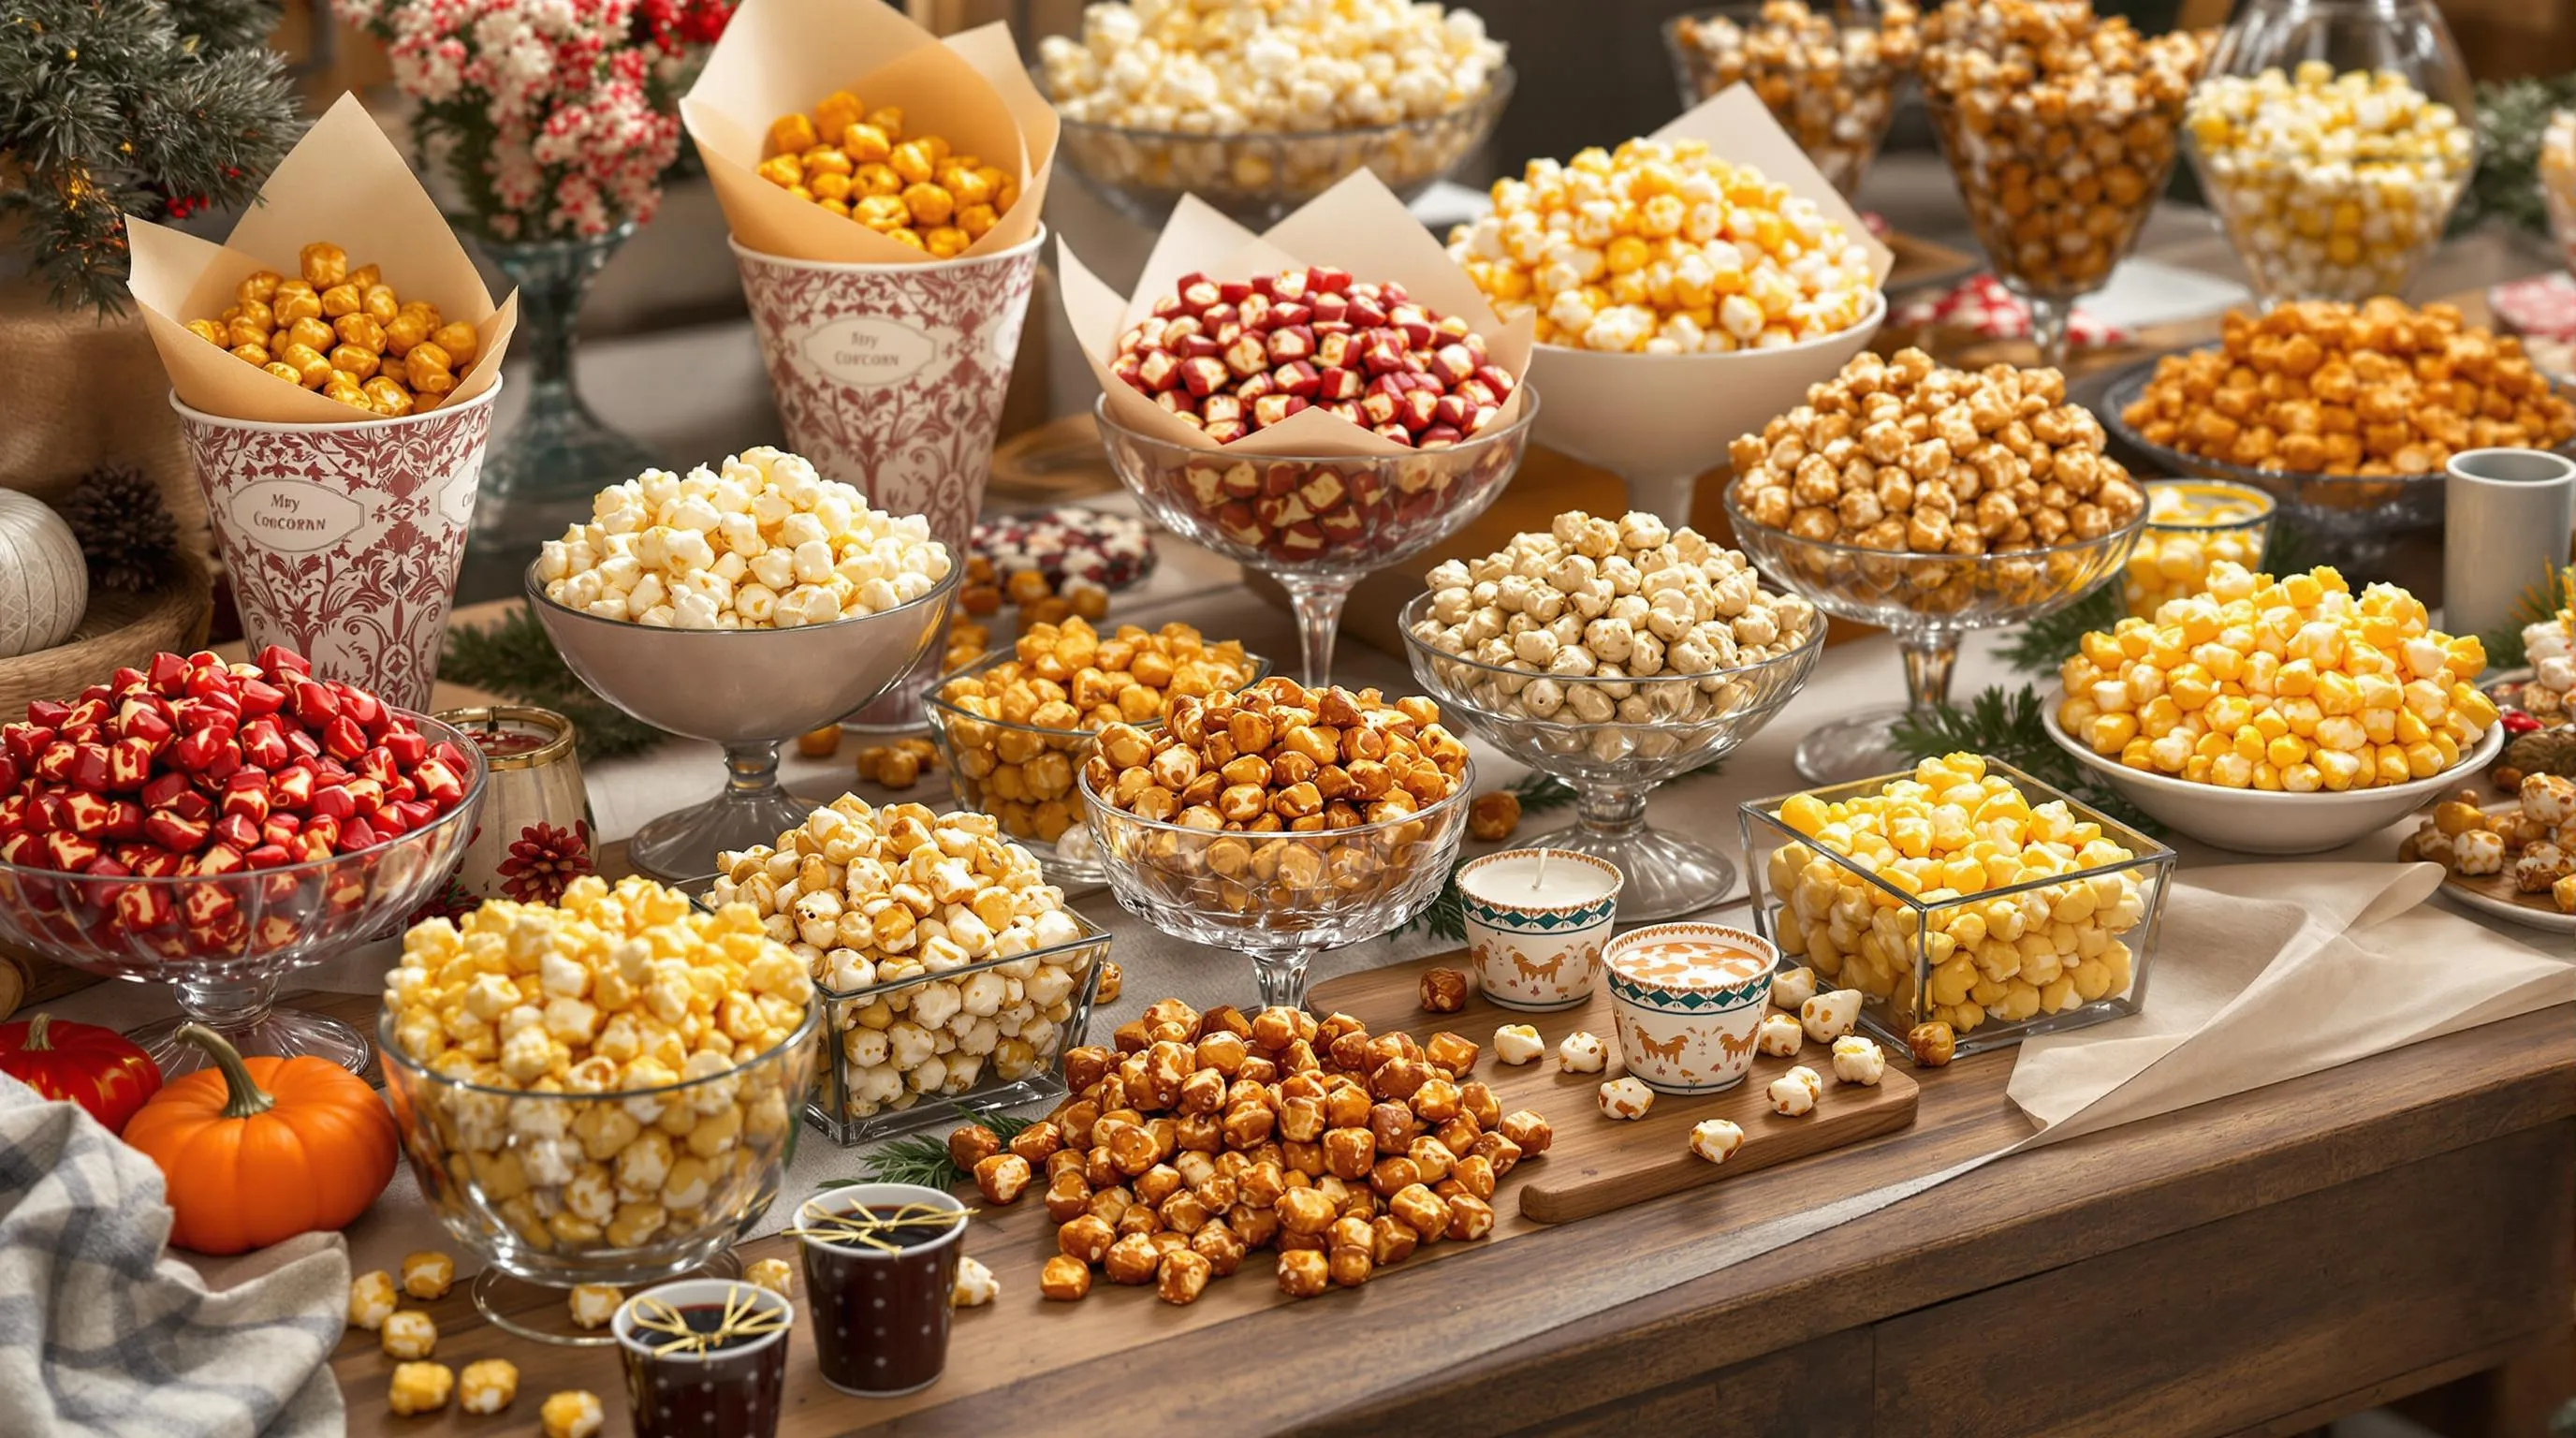
Elevate your caramel corn experience with these creative serving ideas that transform this classic treat from simple snack to memorable indulgence. Set up a dedicated popcorn bar at your next gathering featuring your homemade caramel corn alongside other flavored varieties for an interactive treat station guests will love. Present your caramel corn in decorative bowls or paper cones for casual snacking during movie nights or game day celebrations.
Create individual serving bags using parchment paper liners in small cups for a portable option at birthday parties or outdoor events. Arrange caramel corn in elegant glass dishes for more formal occasions such as holiday gatherings or wedding receptions where it can serve as both décor and dessert. Pair your caramel corn with complementary flavors like vanilla ice cream where the warm-cold contrast and textural difference create a delightful dessert experience.
Serve caramel corn alongside a selection of artisanal cheeses for an unexpected sweet-savory combination that works surprisingly well at wine tastings or cocktail parties. Add your caramel corn to a charcuterie board as the sweet element among meats cheeses and fruits for a balanced grazing experience. Use it as a topping for cupcakes ice cream sundaes or milkshakes to add texture and flavor complexity to familiar desserts.
Consider serving caramel corn with hot apple cider during fall gatherings or cold milk for a nostalgic after-school snack experience. Package it in mason jars tied with ribbons and personalized tags when giving as gifts ensuring recipients know they’re receiving a specially made treat. Display your caramel corn in clear containers at potlucks or bake sales where its golden color and appetizing appearance will attract attention.
Tips for Caramel Corn Success
Making perfect caramel corn is achievable when you follow these expert tips that ensure consistent results every time:
Watch Your Heat
Monitor your caramel sauce carefully as it cooks. Heat that’s too high can quickly burn your sugar mixture resulting in a bitter taste that can’t be salvaged. Keep the temperature at medium heat and stir constantly once the mixture begins to bubble. The ideal caramel should reach 250°F to 255°F (firm ball stage) if you’re using a candy thermometer for precision.
Prep Everything in Advance
Success with caramel corn requires having all elements ready before you begin. Measure ingredients precisely and arrange them within easy reach of your cooking area. Pop your popcorn ahead of time and keep it warm in a low oven. This preparation ensures you can work quickly when the hot caramel is ready which prevents premature hardening during the coating process.
Perfect Your Popcorn Base
Start with quality popcorn kernels for the best foundation. Remove any unpopped kernels before adding the caramel as these can lead to unexpected dental emergencies. Air-popped corn works best for this recipe because it doesn’t introduce competing flavors that might clash with your caramel coating.
Achieve Even Coating
Distribute caramel sauce thoroughly by pouring it slowly over your popcorn while simultaneously tossing with a heatproof spatula or wooden spoon. Consider dividing the popcorn into batches if needed to ensure every piece gets adequately coated. Working quickly but methodically prevents the caramel from setting before it’s evenly distributed.
Don’t Skip the Baking Step
The baking process isn’t optional—it transforms your caramel corn from sticky to perfectly crunchy. Stir the mixture every 15 minutes during baking to prevent clumping and ensure even cooking. This critical step creates that signature crisp texture that sets homemade caramel corn apart from store-bought varieties.
Test for Doneness
Determine if your caramel corn is perfectly baked by removing a piece and allowing it to cool for 30 seconds. The properly finished caramel corn should be completely crisp with no stickiness. Extending baking time by 5-10 minutes can remedy any remaining softness if necessary.
Cool Completely Before Storage
Allow your caramel corn to cool entirely before transferring to storage containers. Breaking the cooling process into two phases yields best results: first spread the hot caramel corn in a single layer on parchment paper then once room temperature transfer to airtight containers. Proper cooling prevents condensation that could soften your perfectly crisp creation.
Troubleshooting Common Issues
Address grainy caramel by ensuring sugar crystals completely dissolve before the mixture comes to a boil. Fix caramel that’s too hard by slightly reducing cooking temperature or time in future batches. Remedy sogginess by extending the baking time and ensuring thorough cooling before storage. These adjustments help perfect your technique with each batch you make.
Perfect Occasions for Homemade Caramel Corn
Homemade caramel corn shines as the perfect treat for countless occasions thanks to its irresistible sweet crunch and impressive presentation. Movie nights transform into special events when you serve this golden snack in large bowls for everyone to share while enjoying the latest blockbuster. Holiday gatherings benefit from the nostalgic aroma and festive appeal of freshly made caramel corn displayed in decorative dishes or packaged as take-home treats.
Game day celebrations call for easy finger foods that keep guests satisfied through all four quarters without requiring constant attention from the host. Birthday parties for both children and adults welcome the addition of caramel corn stations where guests can customize their portions with various mix-ins like chocolate chips or nuts. Fall festivals and Halloween events particularly complement this sweet treat as the buttery caramel flavor pairs perfectly with seasonal activities like pumpkin carving or hayrides.
School fundraisers see remarkable success with homemade caramel corn packaged in clear bags with colorful ribbons as an alternative to traditional bake sale items. Office potlucks benefit from this crowd-pleaser that travels well and remains fresh throughout the day. Winter movie marathons feel cozier with a batch of warm caramel corn shared under blankets during those cold evenings at home.
Gift-giving occasions become more personal when you present friends and neighbors with jars of homemade caramel corn tied with beautiful ribbons and personalized tags. Camping trips welcome this durable snack that satisfies sweet cravings around the campfire without requiring refrigeration. Afternoon tea gatherings gain an unexpected twist when you serve small portions of caramel corn alongside traditional finger sandwiches and scones.
Road trips become more enjoyable with portioned containers of caramel corn that provide a satisfying snack without creating a mess in the car. Book club meetings pair intellectual discussion with this shareable treat that doesn’t distract from the conversation. Children’s sleepovers delight young guests with caramel corn served in individual paper cones for a special touch that minimizes sharing disputes.
Family reunions benefit from large batches that feed many guests while creating a shared experience of enjoying a beloved classic recipe. Bridal or baby showers appreciate the elegance of caramel corn served in small decorative containers as edible favors. Neighborhood block parties welcome this make-ahead crowd-pleaser that stays fresh throughout lengthy outdoor gatherings.
Troubleshooting Common Issues
Even with careful preparation, caramel corn can sometimes present challenges. Understanding how to address these common problems will help ensure your caramel corn turns out perfectly every time.
Grainy Caramel Sauce
If your caramel sauce develops a grainy texture, crystallization has likely occurred. This happens when sugar molecules reconnect after dissolving. Prevent this issue by avoiding stirring once the mixture begins to boil and by adding corn syrup, which inhibits crystallization. Should your caramel become grainy, start over with fresh ingredients and wipe down the sides of your pan with a wet pastry brush to remove any sugar crystals.
Burnt Caramel
Caramel can quickly go from perfect to burnt if the heat is too high. Always cook your caramel sauce over medium heat and watch it carefully. Use a heavy-bottomed pan that distributes heat evenly. If your caramel develops a burnt smell or dark color, you’ll need to discard it and start again—burnt caramel will impart a bitter taste that cannot be fixed.
Soggy Caramel Corn
Soggy caramel corn typically results from inadequate baking time or improper storage. Ensure you bake the coated popcorn for the full recommended time (about 45-60 minutes), stirring every 15 minutes to allow moisture to escape. Cool the caramel corn completely before storing it in airtight containers. If humidity is high in your kitchen, consider extending the baking time slightly.
Caramel Too Hard or Too Soft
The consistency of your caramel depends on the temperature it reaches. For perfect caramel corn, the mixture should reach 250°F (hard ball stage). Using a candy thermometer eliminates guesswork. If your caramel is too hard, you likely cooked it to too high a temperature; if too soft, it didn’t reach the proper temperature. Adjust accordingly in your next batch.
Uneven Coating
When popcorn isn’t evenly coated with caramel, it creates an inconsistent eating experience. Work quickly when pouring the hot caramel over popcorn and use two spatulas to toss and coat thoroughly. Breaking up any large popcorn clusters before adding the caramel also promotes even distribution. If portions remain uncoated, you might need more caramel sauce for your amount of popcorn.
Sticking to Pans During Baking
Caramel corn sticking to baking sheets creates a frustrating cleanup situation. Always line your baking sheets with parchment paper or silicone mats before spreading the caramel-coated popcorn. Spray these liners lightly with cooking spray for extra insurance against sticking. Remember to stir the mixture every 15 minutes during baking to prevent the bottom layer from adhering to the pan.
Clumping Issues
Excessive clumping occurs when the caramel begins cooling before you’ve finished coating the popcorn. Keep your caramel sauce hot while working and coat the popcorn as quickly as possible. Breaking apart large clumps during the baking process helps create individual pieces. Some small clusters are desirable, but if you prefer completely separated pieces, break them apart gently while still warm from the oven.
The Perfect Homemade Gift
Homemade caramel corn makes an exceptional gift that recipients treasure far more than store-bought alternatives. Your friends and family will appreciate the time and care you’ve invested in creating this sweet and crunchy treat specifically for them. The beautiful amber-colored clusters packaged thoughtfully demonstrate both generosity and culinary skill.
Mason jars offer an ideal presentation vessel for gifting caramel corn. Fill a quart-sized jar with your homemade creation and tie a ribbon around the neck with a personalized tag for an instantly impressive gift. Decorative tins provide another excellent option that keeps the caramel corn fresh while adding a festive touch appropriate for holidays or special occasions.
Gift bags work wonderfully for larger quantities or casual giving. Choose cellophane bags that showcase the golden caramel corn inside and secure them with colorful ribbons or twist ties. Consider adding a custom label that includes the date made and ingredients for a professional touch that addresses any potential allergy concerns.
Elevate your caramel corn gift by creating themed packages. Holiday gift sets might combine your caramel corn with hot chocolate mix and a festive mug. Movie night packages could pair your sweet treat with specialty sodas and a rented movie code. These thoughtful combinations transform a simple snack into a memorable experience.
Timing matters when gifting homemade caramel corn. Make your batches no more than a week before giving to ensure maximum freshness. Include storage instructions with your gift so recipients know how to maintain that perfect crunch. Many grateful friends may request your recipe after sampling this irresistible treat – consider including recipe cards with larger gifts.
Seasonal events provide perfect opportunities for caramel corn gifting. Teachers appreciate these thoughtful treats during appreciation weeks. Neighbors welcome them as holiday gifts or housewarming presents. New parents enjoy having ready snacks during those sleepless early weeks. The versatility of caramel corn makes it appropriate for nearly any occasion throughout the year.
Final Thoughts on Homemade Caramel Corn
Now you’re ready to create this irresistible sweet and crunchy treat that outshines any store-bought version. With just a handful of ingredients and some patience during the baking process you’ll achieve that perfect balance of flavors and that satisfying crunch.
Don’t hesitate to experiment with different mix-ins and flavor variations to make this recipe truly your own. Whether you’re making it for movie night or packaging it as thoughtful gifts your homemade caramel corn will quickly become a requested favorite.
Remember that proper storage is key to maintaining that perfect texture. With these tips and techniques you’re all set to create batch after perfect batch of this nostalgic treat that brings joy to any occasion.