
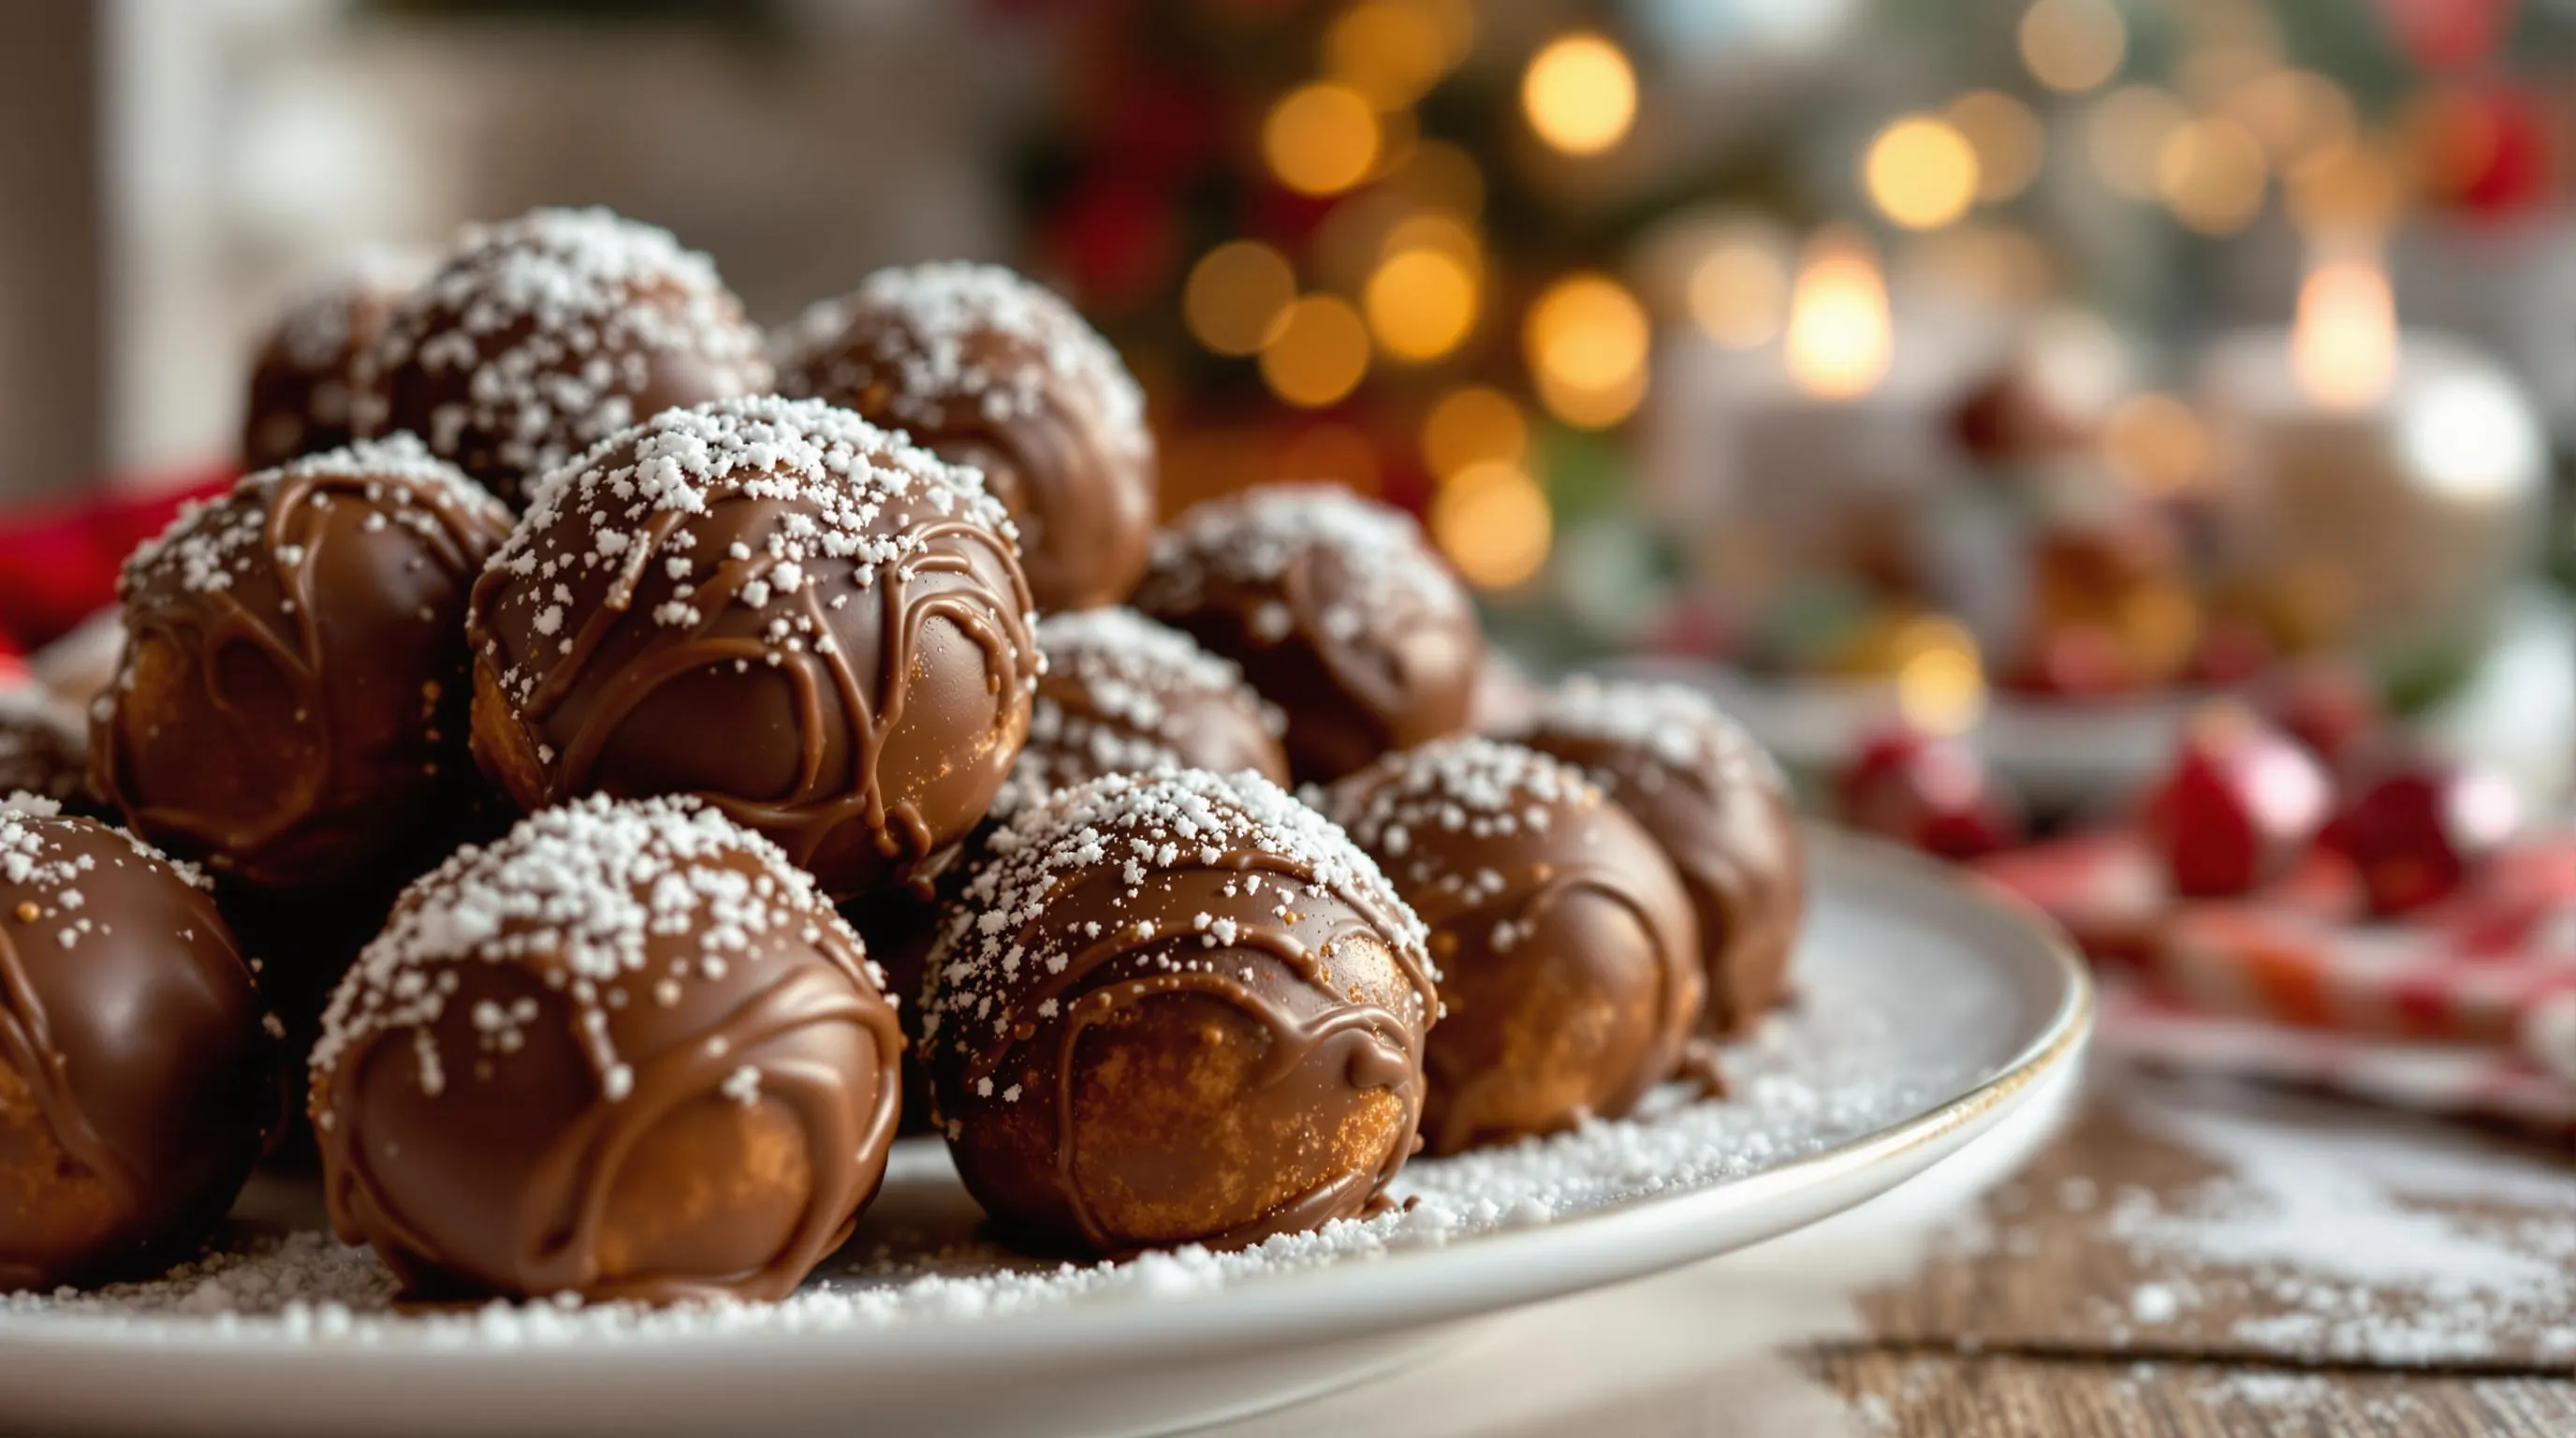
What Are Rum Balls?
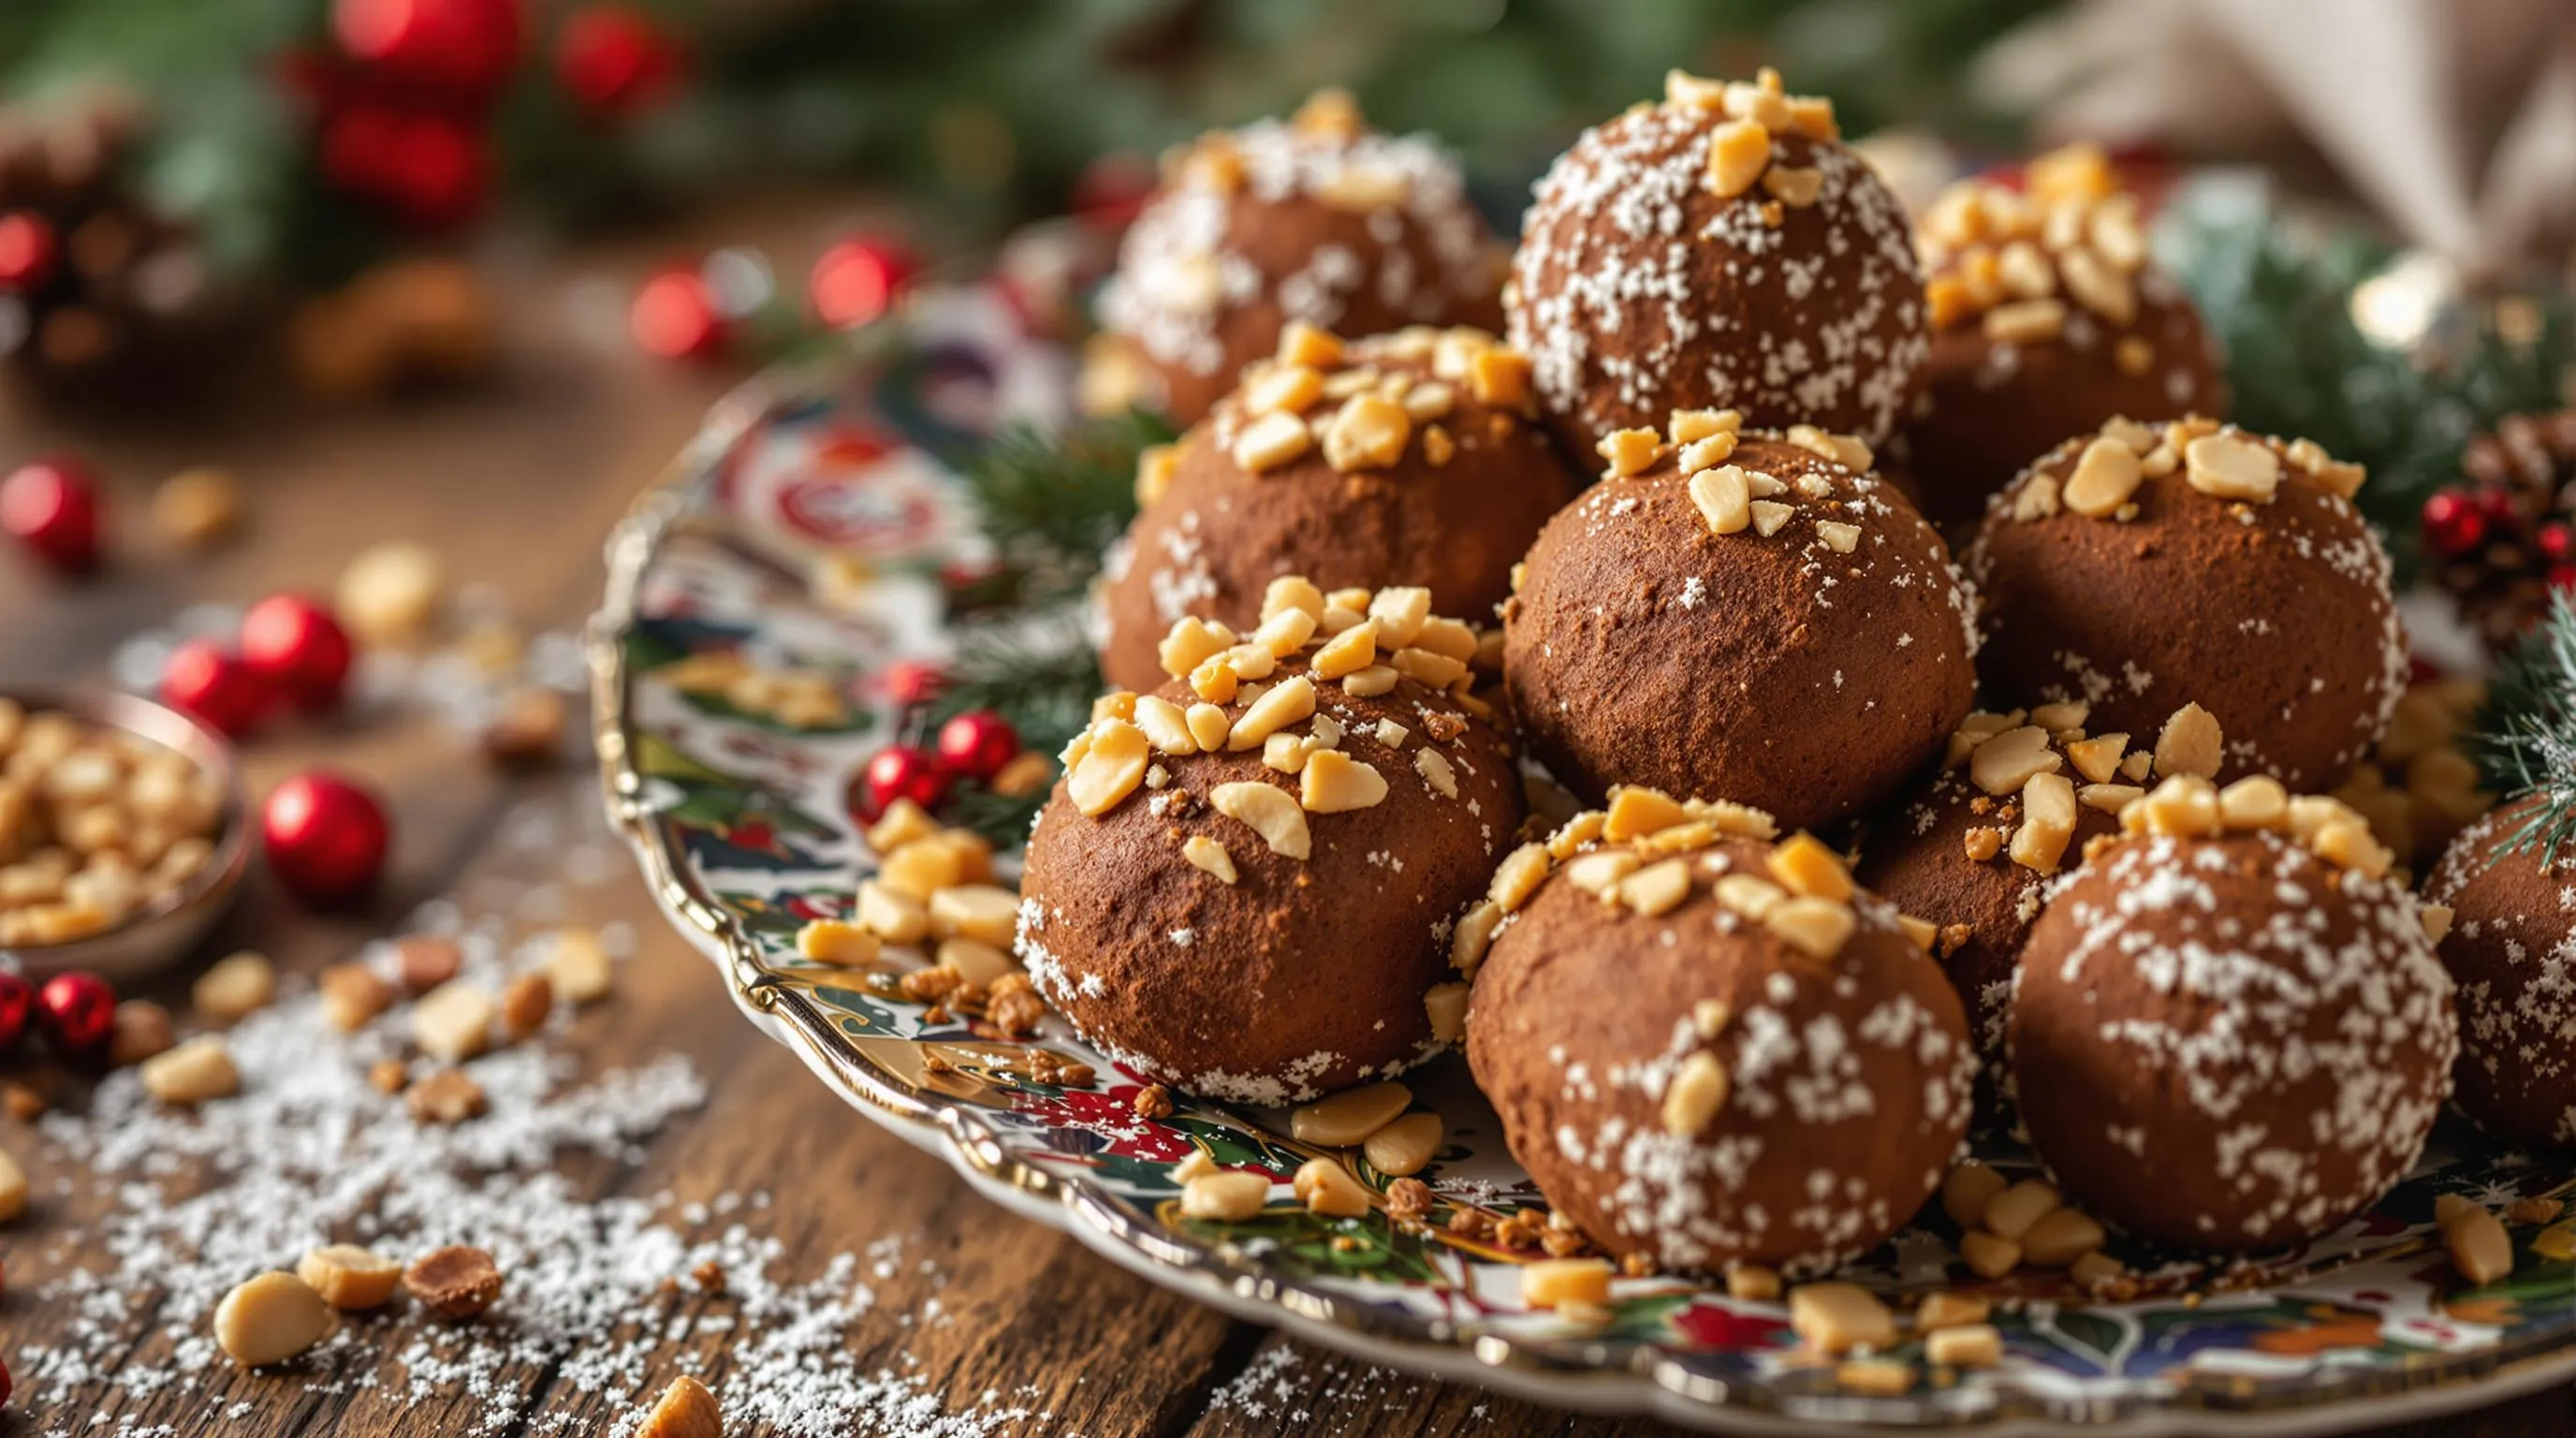
Rum balls are delectable no-bake confections featuring a rich combination of crushed cookies vanilla wafers or graham crackers mixed with cocoa powder nuts and a generous splash of rum. These bite-sized treats showcase a dense fudgy texture that melts in your mouth with each indulgent bite. Their spherical shape makes them instantly recognizable on holiday dessert platters where they’ve become a traditional favorite.
The beauty of rum balls lies in their versatility as they can be prepared with various types of rum including dark spiced or coconut varieties to create different flavor profiles. Many recipes include additional ingredients like honey corn syrup or condensed milk to bind the mixture while adding sweetness that balances the rum’s potency. Traditional rum balls often feature a coating of confectioners’ sugar cocoa powder sprinkles or finely chopped nuts which adds visual appeal and an extra textural element.
Originally popularized in European countries particularly Germany and Denmark rum balls have evolved into a global holiday tradition that requires no baking expertise. These treats improve with time as the flavors meld together making them perfect for advance preparation during the busy holiday season. The alcohol content typically remains present in rum balls giving them their signature warming kick that adults especially appreciate during winter celebrations.
Why You’ll Love This Rum Balls Recipe
These decadent rum balls will become your new favorite holiday tradition for plenty of good reasons. Your friends and family will beg for the recipe after just one bite of these rich chocolatey treats.
No baking required means you can whip these up even when your oven is occupied with other holiday goodies. The simple preparation takes just 20 minutes of active time before these treats start developing their amazing flavor.
Store-bought vanilla wafers save precious time during the busy holiday season while still delivering perfect texture and taste. The recipe’s flexibility allows you to customize the rum flavor to your preference by choosing between dark rum for a robust profile or light rum for a milder touch.
Make-ahead convenience transforms these rum balls into the perfect holiday planning solution since they actually improve with age. Your dessert trays will look instantly elevated with these elegant confections that require minimal effort.
Adults particularly appreciate the sophisticated flavor profile that balances sweetness with the warming kick of rum. The classic combination of chocolate and rum creates an irresistible taste that has stood the test of time across generations.
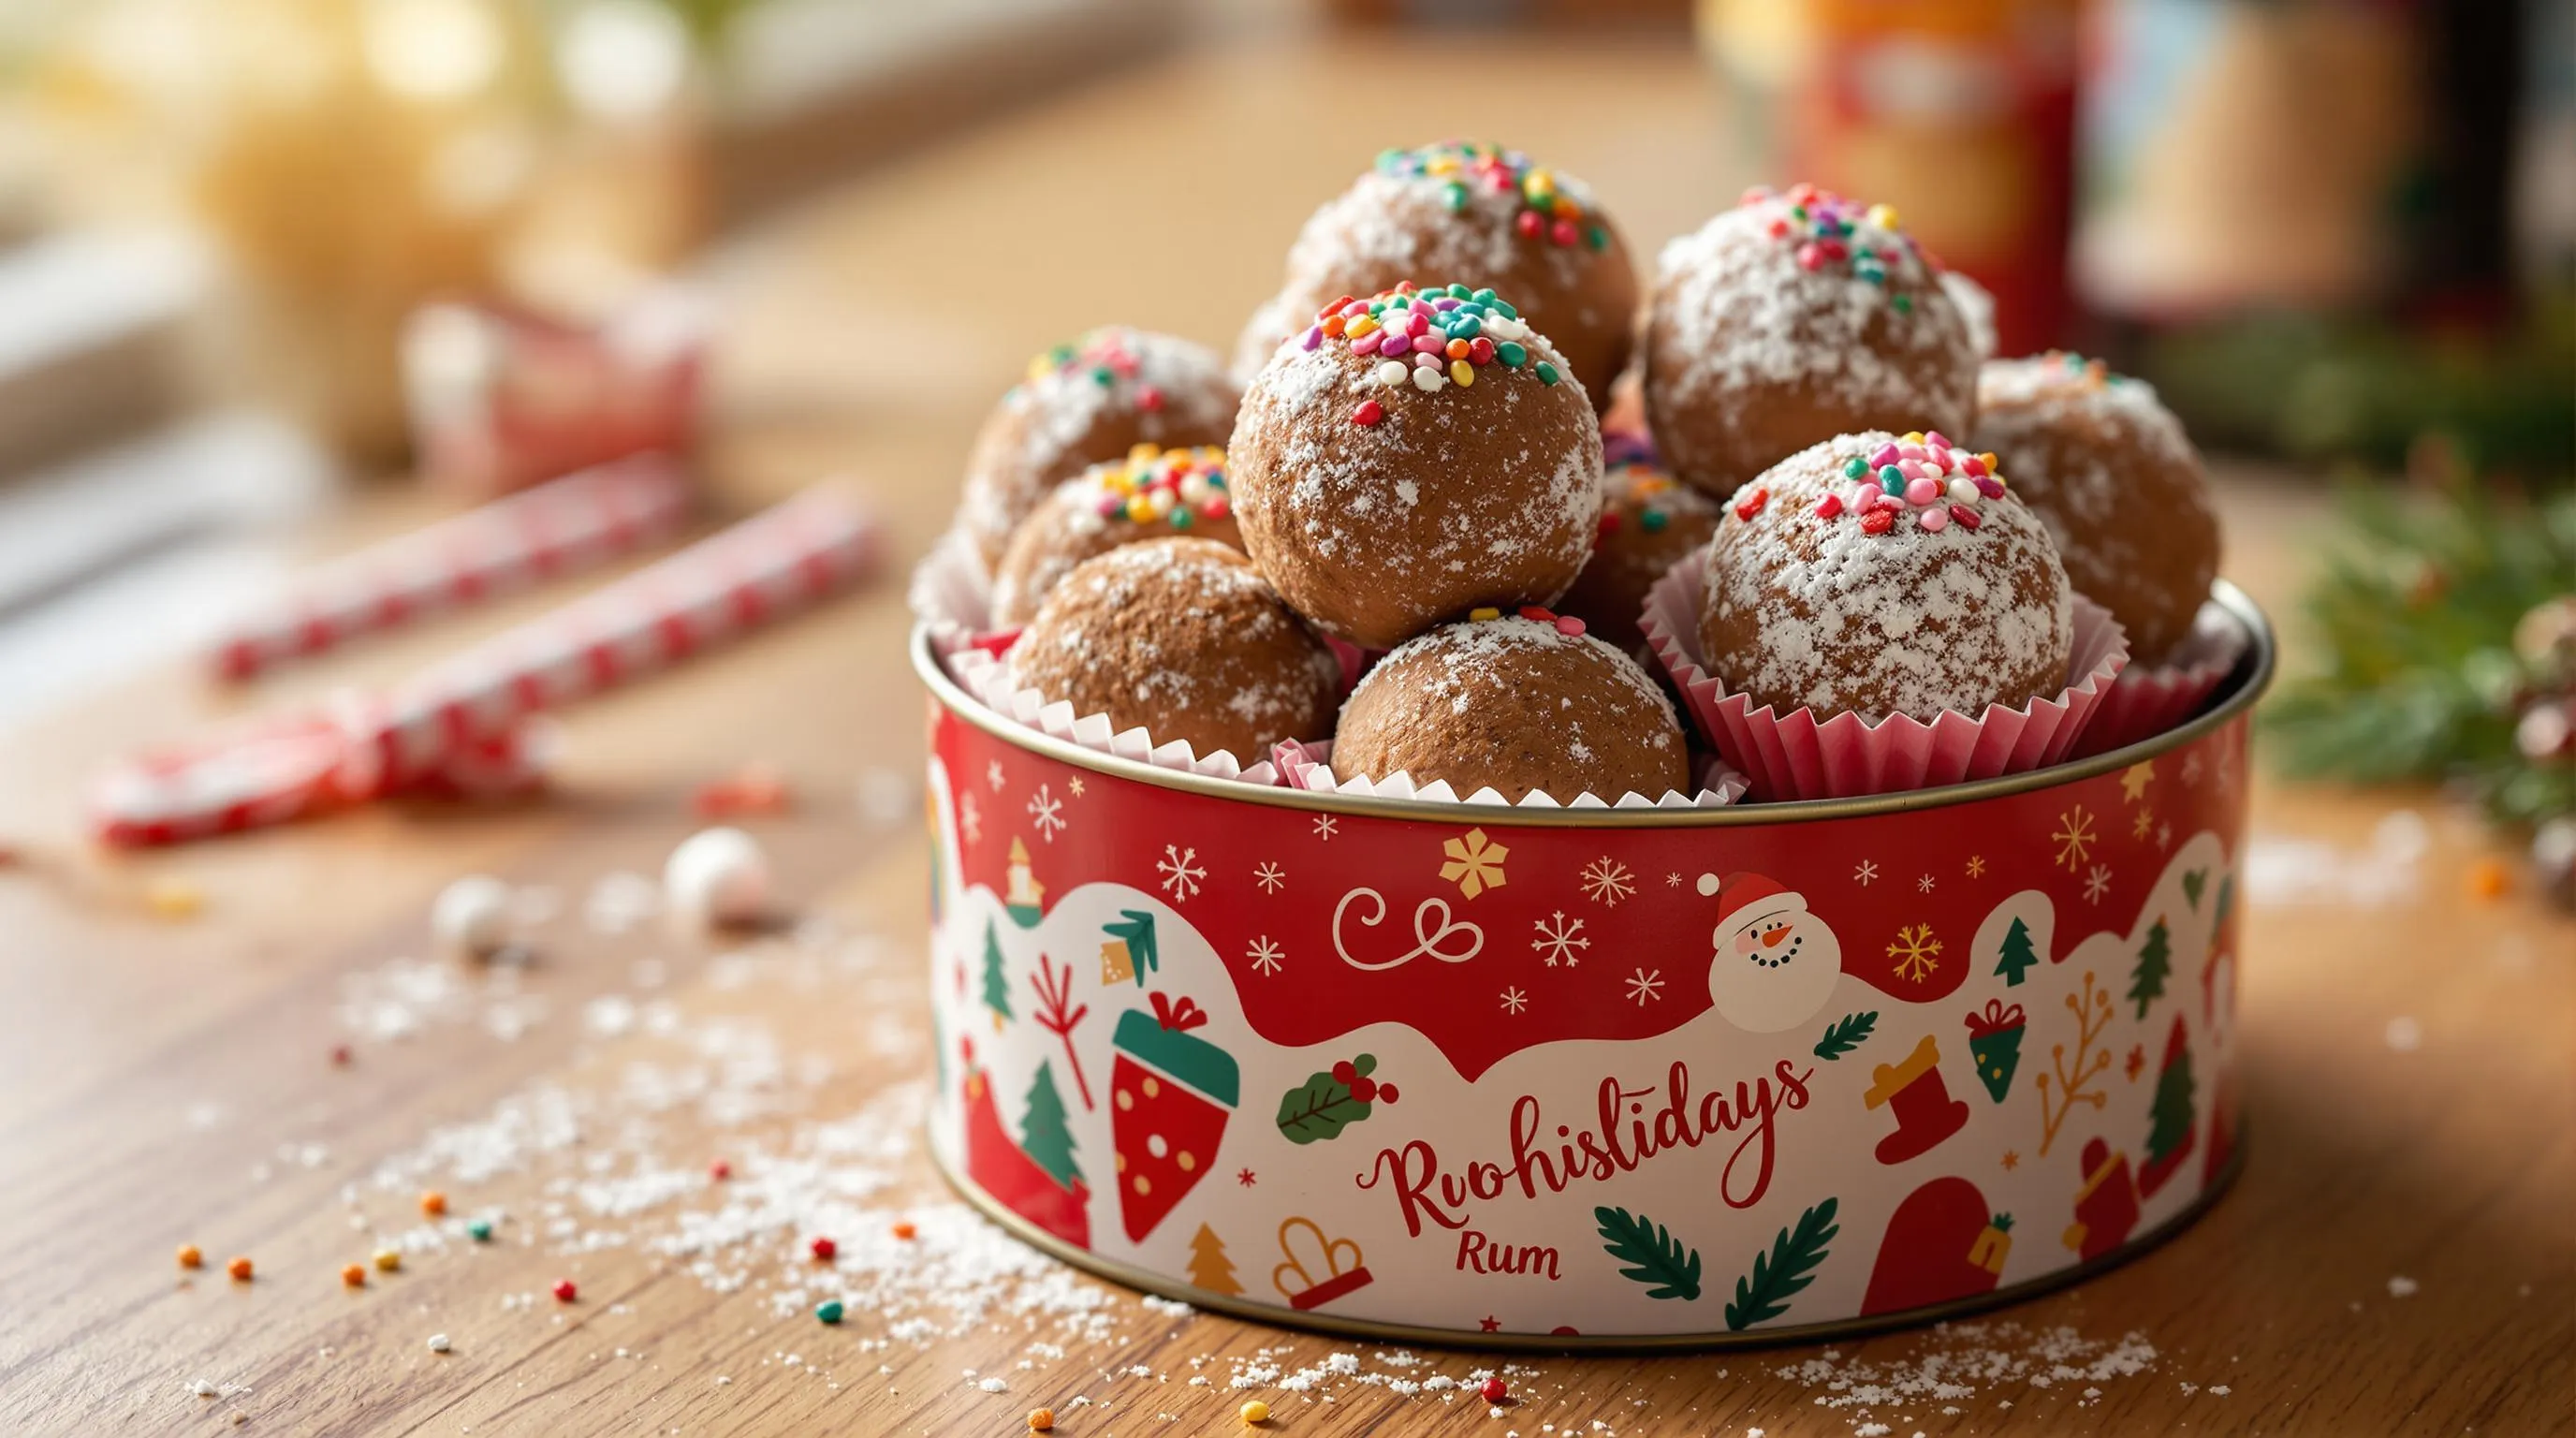
Gift-giving becomes effortless when you package these rum balls in decorative tins or boxes for teachers friends or neighbors. Your holiday entertaining will feel less stressful knowing you have these crowd-pleasing treats ready to serve at a moment’s notice.
Equipment Needed
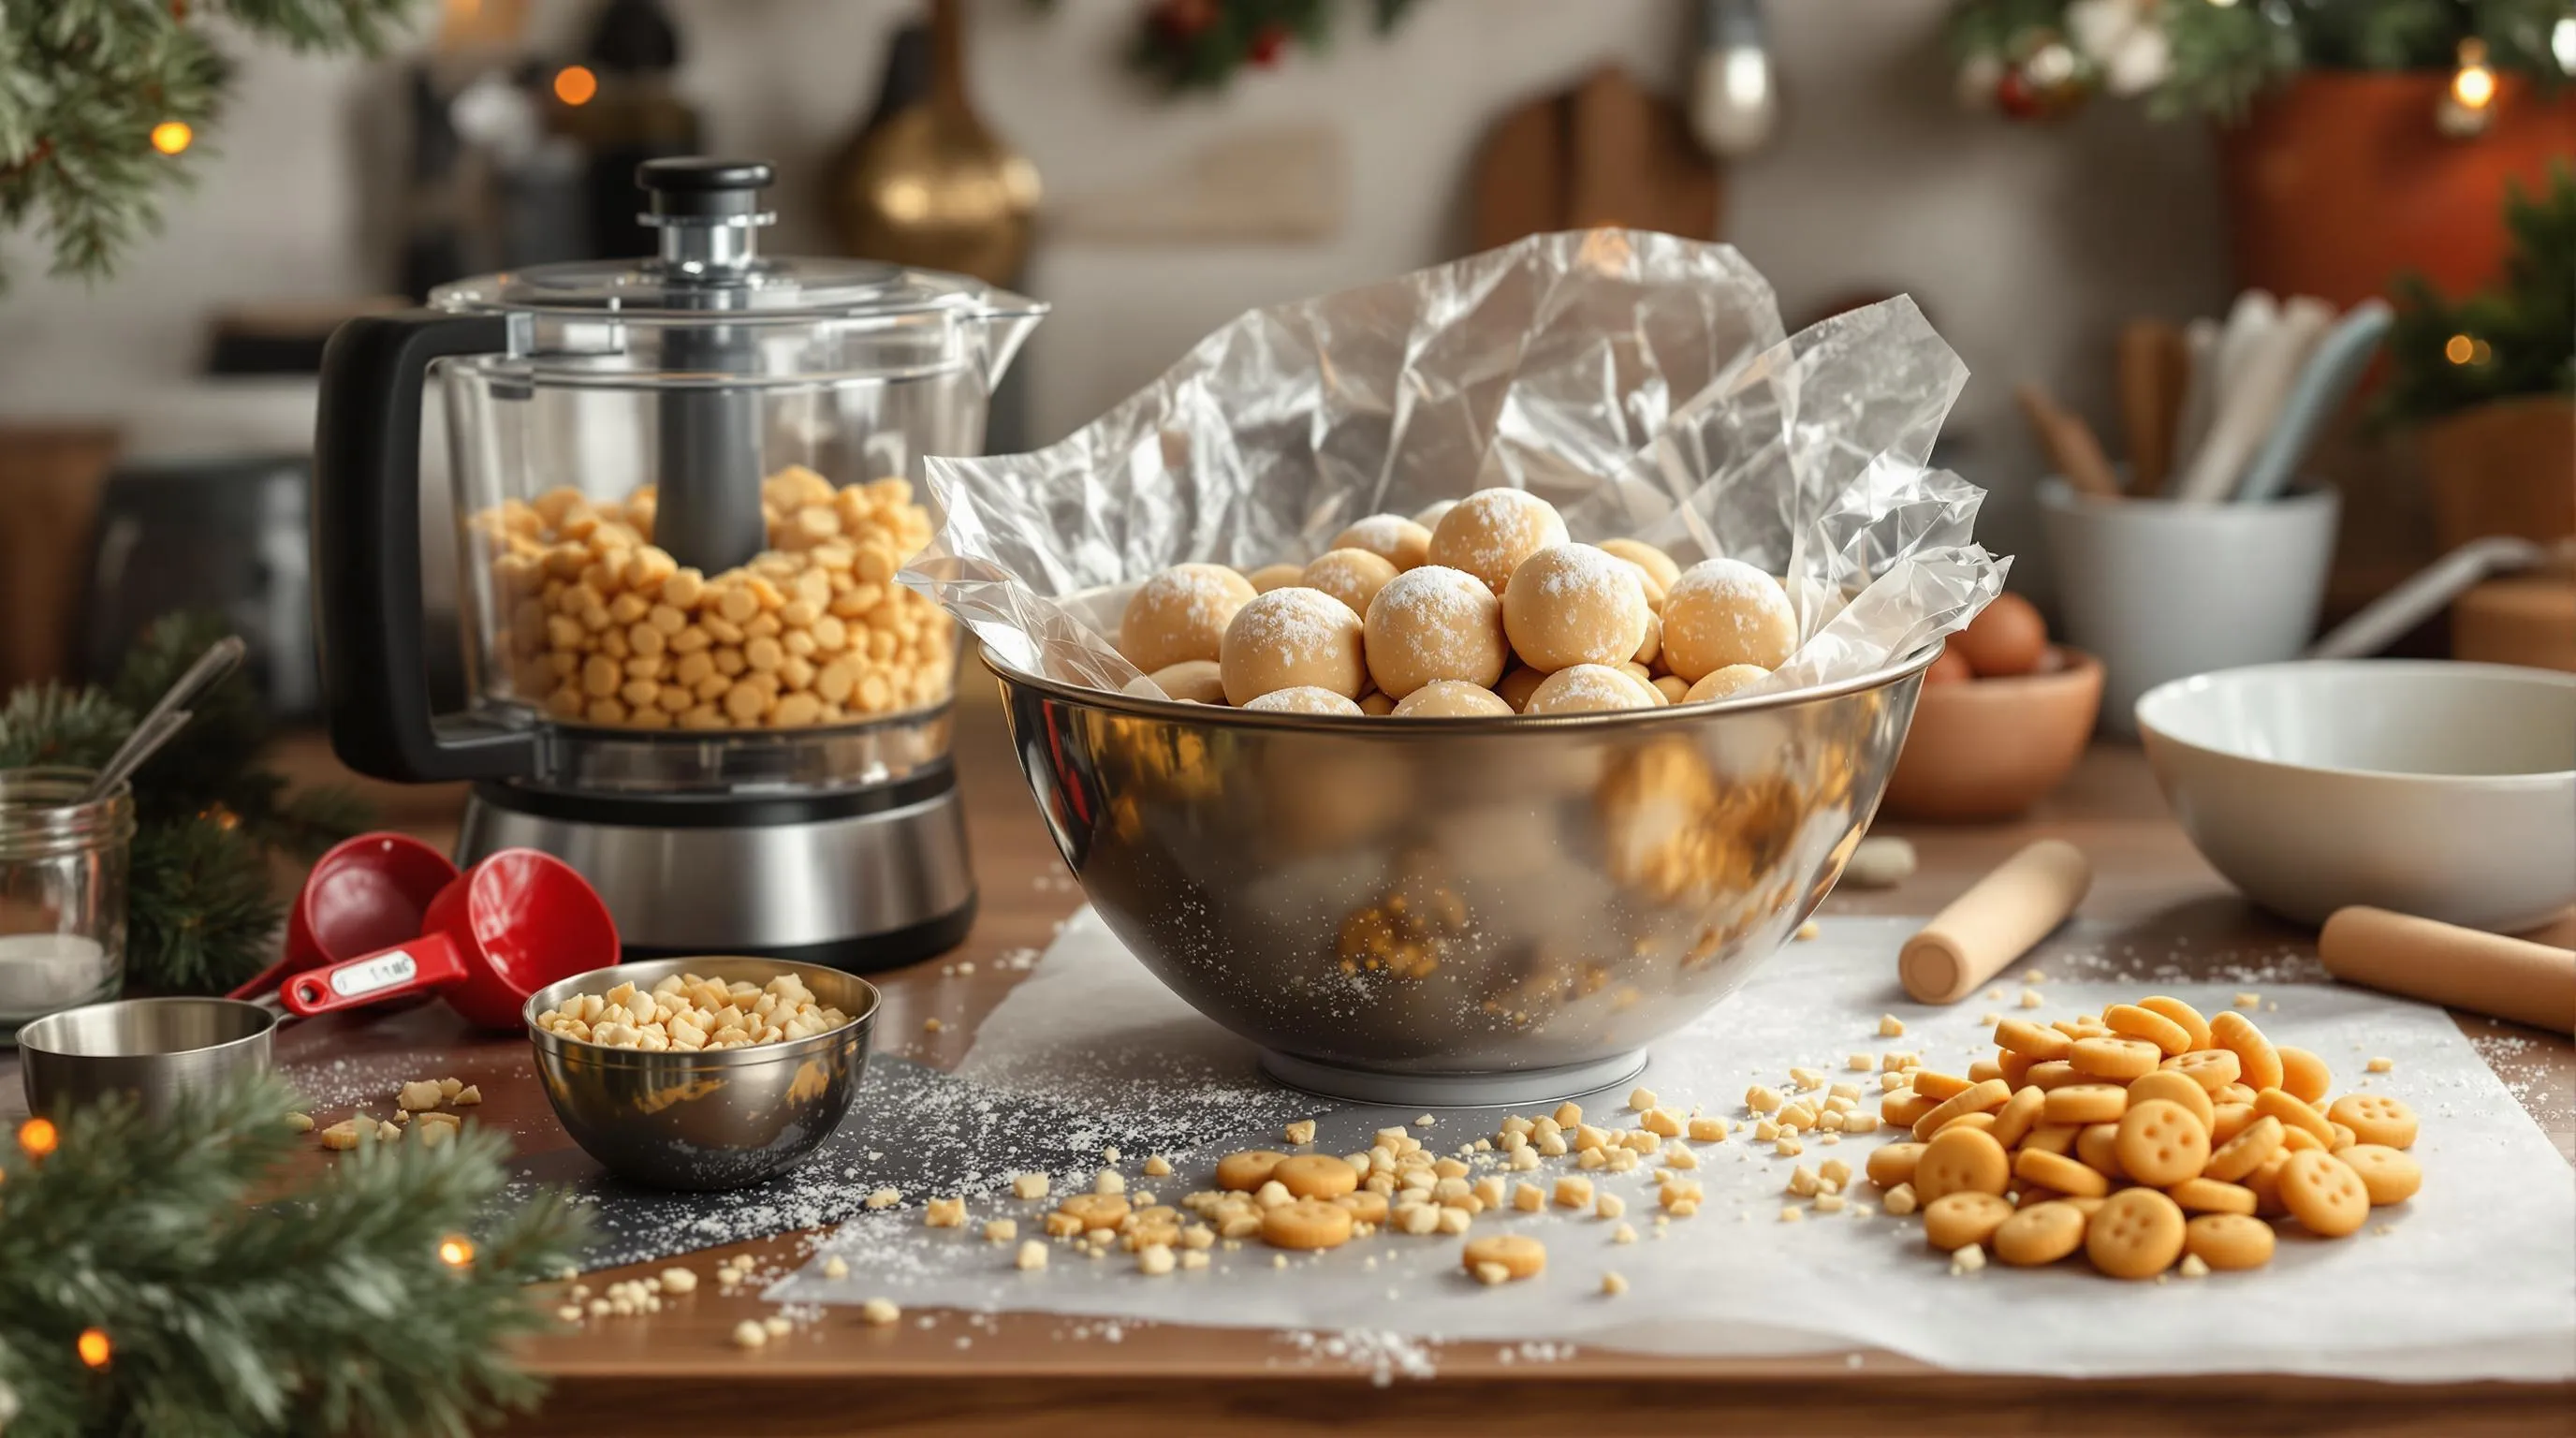
Creating these indulgent rum balls requires minimal equipment which makes this recipe even more appealing for busy holiday seasons. You’ll need these basic kitchen tools to transform simple ingredients into sophisticated treats:
- Large mixing bowl for combining all ingredients
- Food processor or blender to crush vanilla wafers into fine crumbs
- Measuring cups and spoons for accurate ingredient portions
- Small cookie scoop or tablespoon for consistent sizing
- Shallow bowl for rolling finished balls in coating
- Airtight container for storing the finished rum balls
- Wax paper or parchment paper for lining your storage container
- Plastic wrap to cover the dough while chilling (if needed)
- Microwave-safe bowl if melting chocolate for optional drizzle
Your regular kitchen setup likely already contains most of these items making this recipe accessible even for novice bakers. The food processor saves important time compared to manually crushing cookies but if you don’t have one available a zip-top bag and rolling pin work effectively as alternatives. Having everything ready before you begin streamlines the process ensuring your rum ball assembly becomes a stress-free holiday preparation experience.
Ingredients
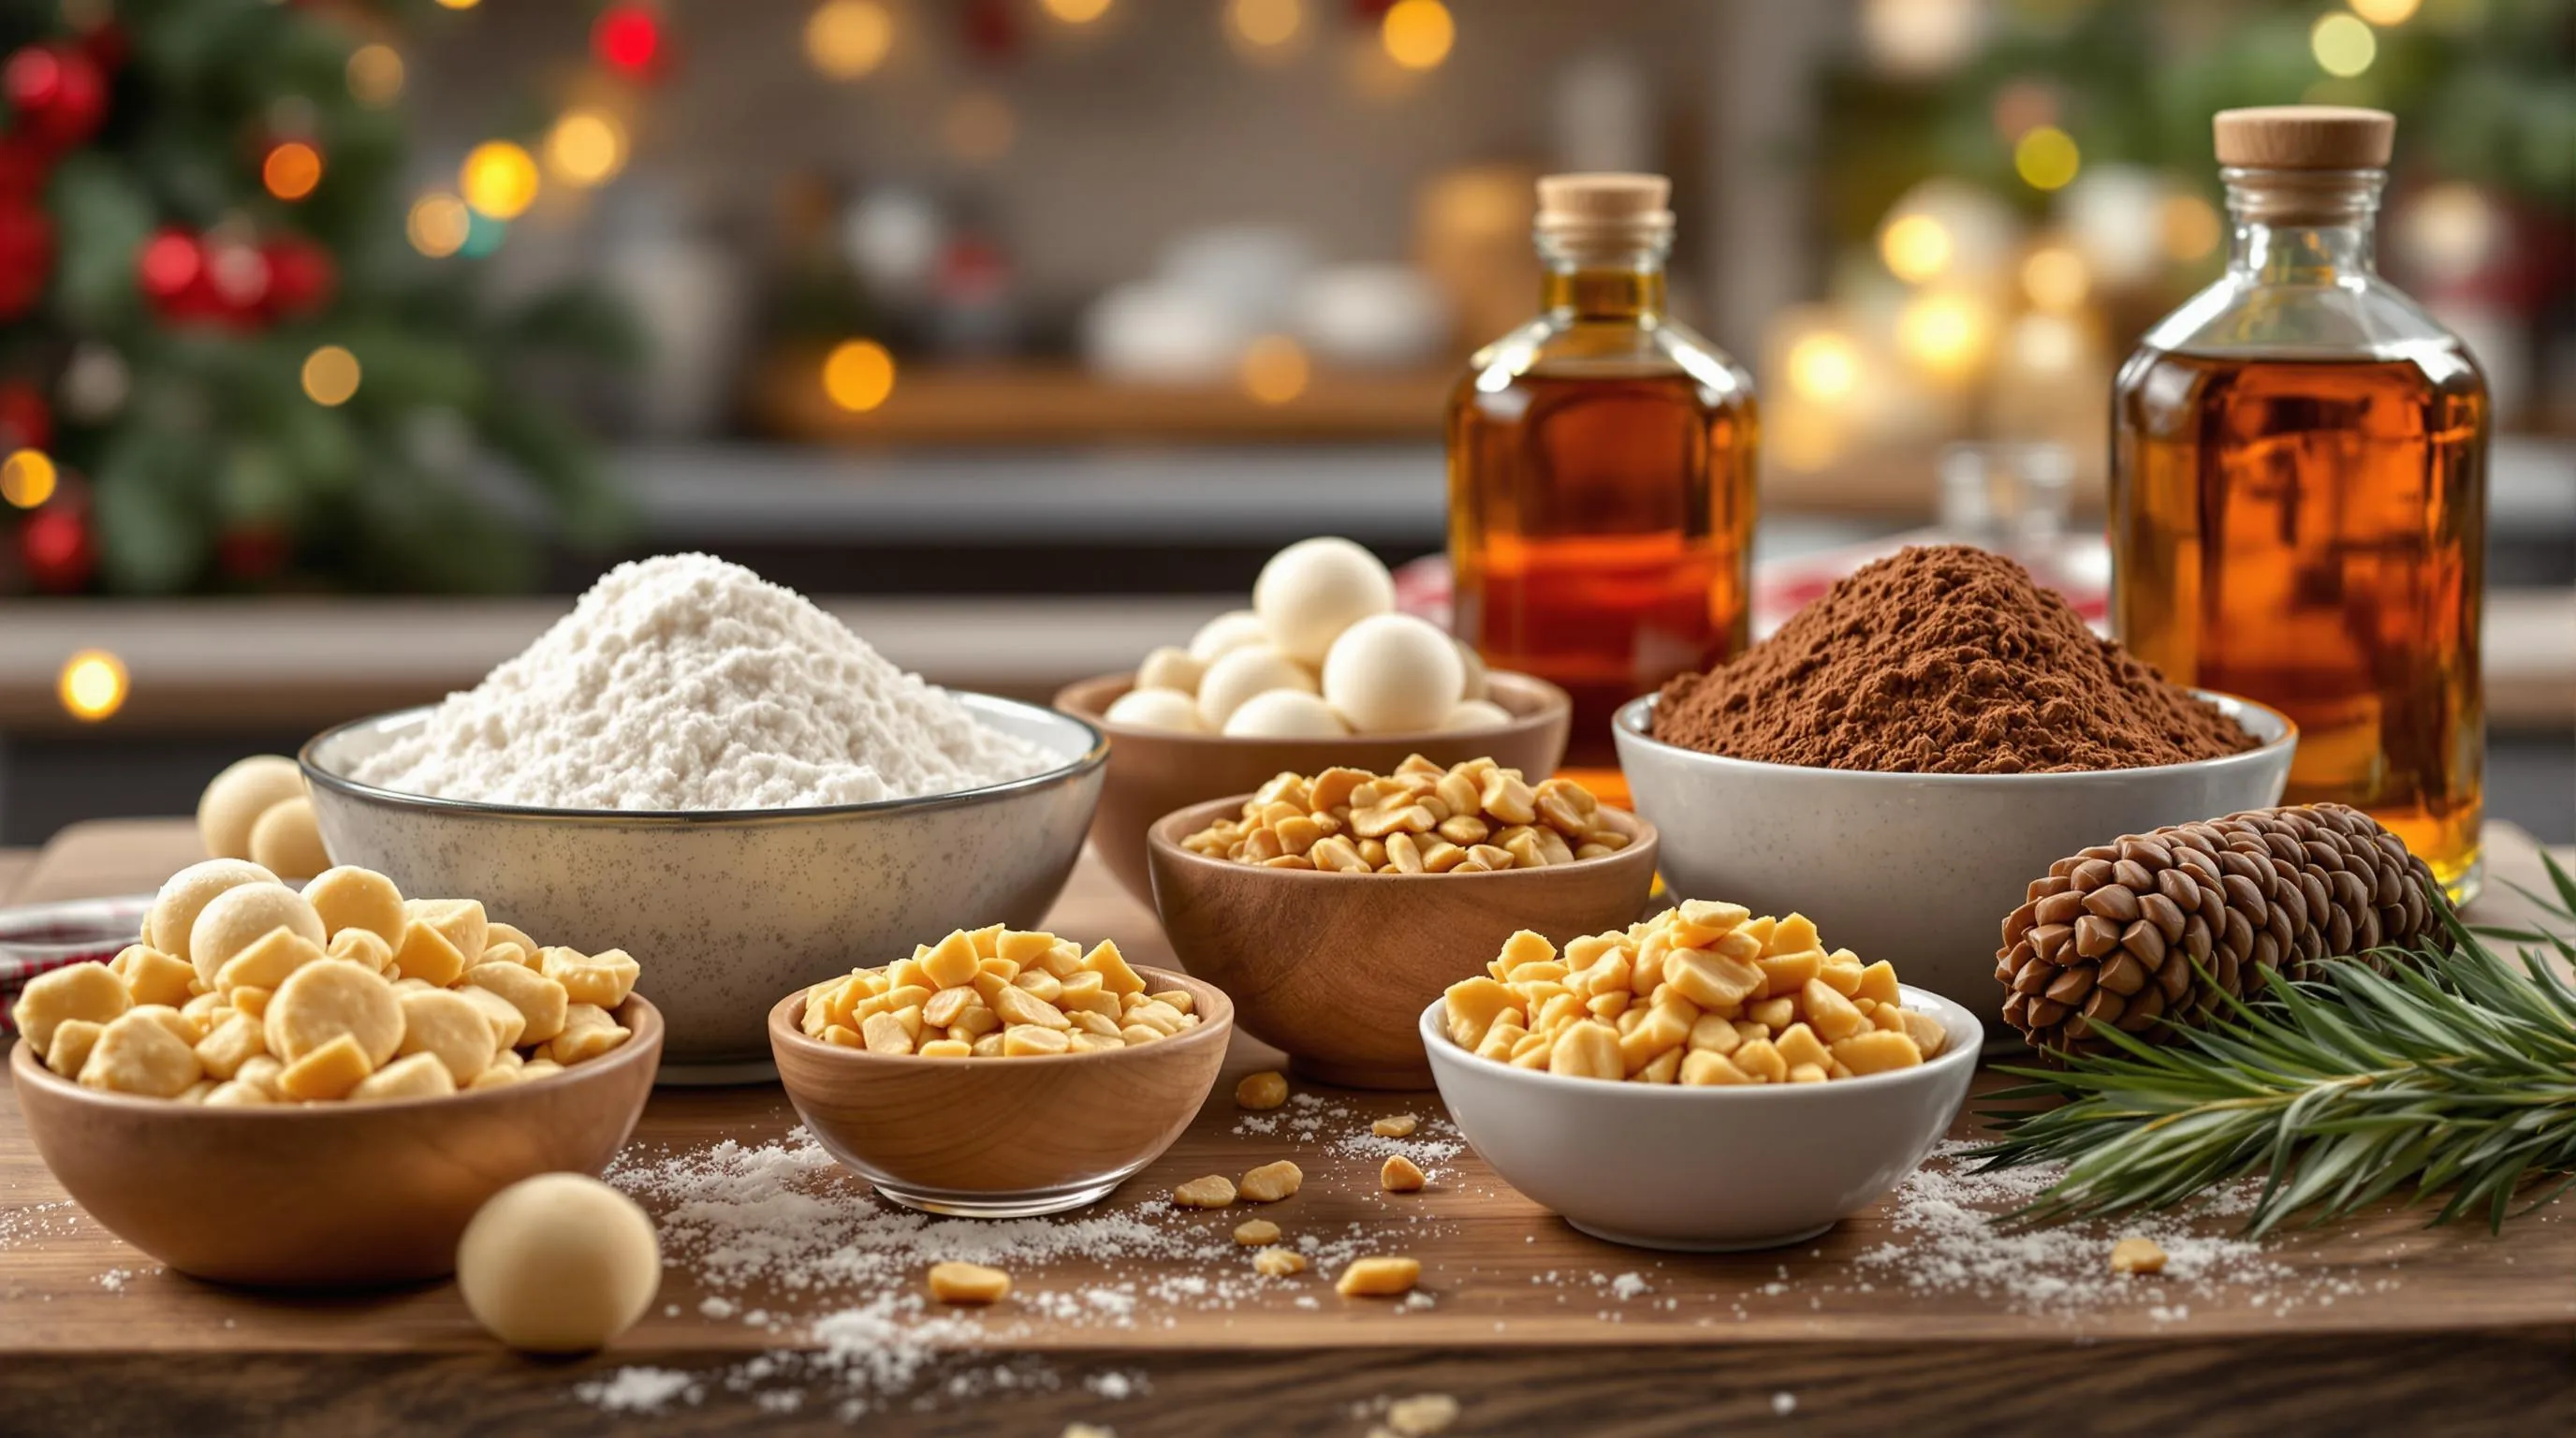
These decadent rum balls require simple pantry staples that combine to create an irresistible holiday treat. Below you’ll find everything needed to create these no-bake confections.
For the Rum Balls
- 2½ cups vanilla wafer cookies, finely crushed (about 75 cookies or 11 oz)
- 1 cup powdered sugar, plus extra for rolling
- 2 tablespoons unsweetened cocoa powder
- 1 cup finely chopped walnuts or pecans
- 2 tablespoons corn syrup or honey
- ¼ cup rum (dark or light, depending on preference)
- 1 teaspoon vanilla extract
For the Coating
- ½ cup granulated sugar or powdered sugar
- ¼ cup unsweetened cocoa powder (for chocolate coating)
- ⅓ cup finely chopped nuts (optional)
- ¼ cup festive sprinkles (optional)
- ¼ cup shredded coconut (optional)
How to Make Rum Balls
Creating these festive treats requires just a few simple steps that anyone can master. Your holiday guests will never guess how easy these sophisticated rum balls are to prepare.
Step 1: Prepare the Base
Place your vanilla wafers in a food processor and pulse until you achieve fine crumbs. The texture should resemble sand with no large chunks remaining. Transfer these crumbs to a large mixing bowl. If you don’t have a food processor, put the cookies in a zip-top bag and crush them with a rolling pin. Measure out 2½ cups of crushed cookies for accuracy. The finer your cookie crumbs, the smoother your rum balls will be.
Step 2: Mix the Ingredients
Add the powdered sugar, cocoa powder, and finely chopped nuts to your bowl with the cookie crumbs. Whisk these dry ingredients together until thoroughly combined. Pour in the corn syrup or honey, rum, and vanilla extract. Stir everything with a wooden spoon or rubber spatula until the mixture becomes thick and holds together when pressed. The consistency should resemble a stiff dough that’s slightly sticky but manageable. If your mixture seems too dry, add a teaspoon of rum at a time until it reaches the right consistency.
Step 3: Form the Balls
Scoop about one tablespoon of the mixture using a cookie scoop or measuring spoon. Roll the mixture between your palms to form a smooth ball about 1 inch in diameter. Place the formed balls on a parchment-lined baking sheet or plate. You might find it helpful to lightly dampen your hands with water or coat them with a small amount of powdered sugar to prevent sticking. Work quickly as the mixture can dry out if left exposed too long. This recipe should yield approximately 24-30 rum balls depending on their size.
Step 4: Coat the Rum Balls
Prepare your coating ingredients in shallow bowls. Roll each ball in your chosen coating until completely covered. Tap off any excess coating by gently bouncing the rum balls in your palms. For a professional finish, you can re-roll the rum balls in the coating after they’ve rested for about 30 minutes. Transfer your coated rum balls to an airtight container, placing wax paper between layers to prevent sticking. Allow the rum balls to mature in the refrigerator for at least 24 hours before serving to develop their full flavor profile.
Tips for Perfect Rum Balls
Choose the Right Cookies
Select high-quality vanilla wafers for the best flavor foundation. Nilla Wafers work exceptionally well but graham crackers or digestive biscuits make excellent substitutions. Ensure your cookies are fresh and crisp for proper crushing. Stale cookies can affect both texture and taste resulting in less-than-perfect rum balls.
Rum Selection Matters
Pick rum that you genuinely enjoy drinking as its flavor will shine through in the final product. Dark rum provides rich caramel notes while spiced rum adds complexity with hints of vanilla and cinnamon. White rum offers a lighter profile that allows chocolate flavors to dominate. For alcohol-free versions substitute rum extract mixed with apple juice or strong brewed coffee.
Perfect Consistency
Achieve ideal texture by testing the mixture before rolling. The dough should hold together when pressed but not stick excessively to your hands. Add small amounts of rum if too dry or extra crushed cookies if too wet. Let the mixture rest for 10-15 minutes before shaping to allow flavors to meld and moisture to distribute evenly.
Rolling Techniques
Dampen your hands slightly with cold water to prevent sticking when shaping the balls. Use a cookie scoop for consistent sizing ensuring all rum balls are uniform. Apply gentle pressure when rolling to create smooth compact treats that hold their shape. Work quickly to prevent the mixture from warming and becoming sticky.
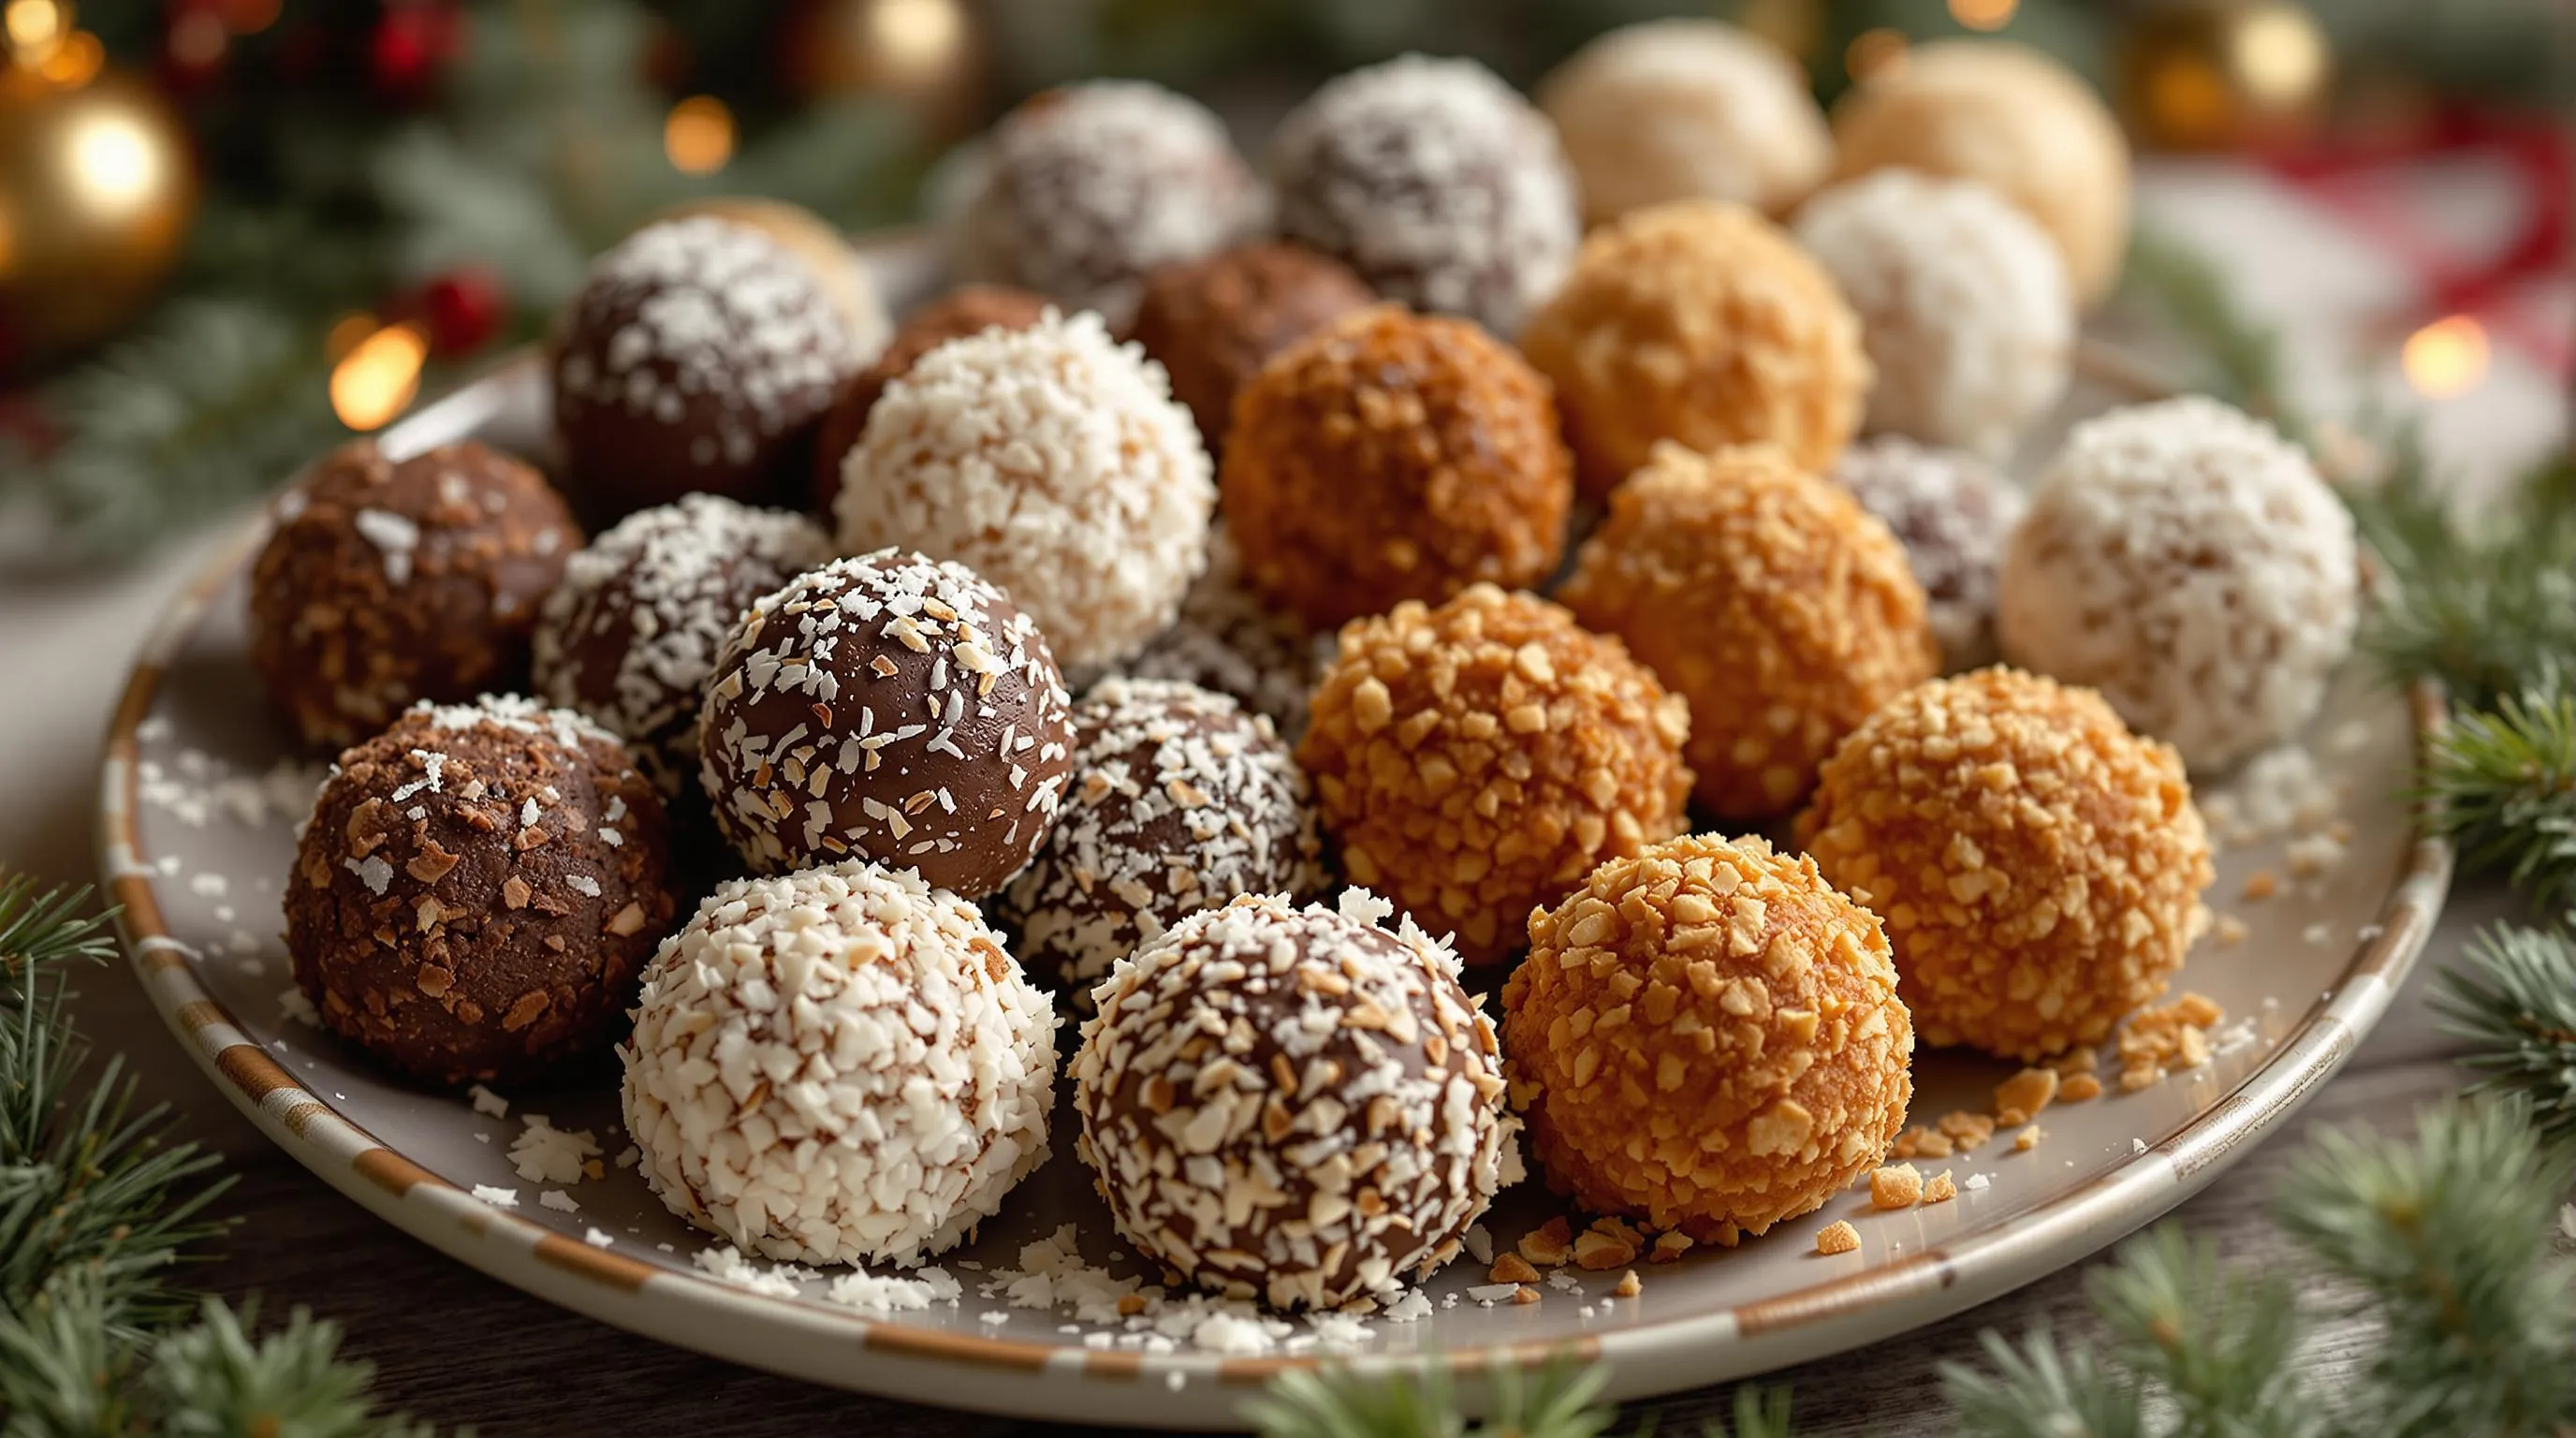
Coating Success
Allow rum balls to set slightly before coating for better adherence. Press coating ingredients gently into the surface rather than simply rolling. Create visual interest by using multiple coating options on your serving platter. Consider double-coating by chilling after the first layer then applying a second coating for extra flavor and presentation points.
Storage Secrets
Store rum balls in single layers with parchment paper between layers to prevent sticking. Keep refrigerated in airtight containers for optimal freshness and flavor development. Label containers with the date made to track aging progress. Rum balls can be frozen for up to 3 months allowing you to prepare well ahead of holiday gatherings.
Flavor Enhancements
Experiment with adding 1-2 tablespoons of instant espresso powder for mocha-flavored rum balls. Incorporate orange or lemon zest for bright citrus notes that complement the chocolate. Mix in 2-3 tablespoons of your favorite liqueur alongside the rum for complex flavor profiles. Toast nuts before adding them to intensify their flavor contribution to the mixture.
Storage Instructions
Proper storage is crucial for maintaining the quality and flavor of your rum balls. These treats actually improve with time as the flavors meld together. Store your finished rum balls in an airtight container in the refrigerator for up to 3 weeks. Place parchment paper between layers to prevent sticking and maintain their attractive appearance.
Rum balls also freeze exceptionally well making them perfect for advance holiday preparation. To freeze wrap each ball individually in plastic wrap then place them in a freezer-safe container or heavy-duty freezer bag. Your rum balls will maintain their quality in the freezer for up to 2 months.
When ready to enjoy thaw frozen rum balls overnight in the refrigerator. Allow them to sit at room temperature for about 30 minutes before serving for the best flavor and texture. Remember that rum balls taste better after they’ve had time to mature so consider making them at least 2-3 days before you plan to serve them.
Room temperature storage is not recommended for extended periods as the ingredients can spoil. But you can leave them out for a few hours during a party without issue. The alcohol content helps preserve them but refrigeration remains the best storage method for longevity.
For gifting place rum balls in decorative mini cupcake liners inside a festive tin or box. Add a note about refrigeration requirements to ensure your recipients can enjoy these treats at their peak flavor.
Make-Ahead Options
Rum balls are the ultimate holiday preparation hero thanks to their exceptional make-ahead qualities. You can prepare these treats up to three weeks before your event when stored properly in the refrigerator. Their flavor actually improves with time as the rum infuses throughout the mixture resulting in a more complex taste profile.
For best results prepare your rum balls at least 48 hours before serving. This resting period allows the flavors to meld and develop fully while the texture becomes more cohesive. Many bakers find that rum balls taste significantly better on day three or four compared to immediately after making them.
Planning for an extended holiday season? Freeze your rum balls for up to two months in a freezer-safe container with parchment paper between layers. Thaw them overnight in the refrigerator before serving or gifting to maintain their perfect texture and flavor intensity.
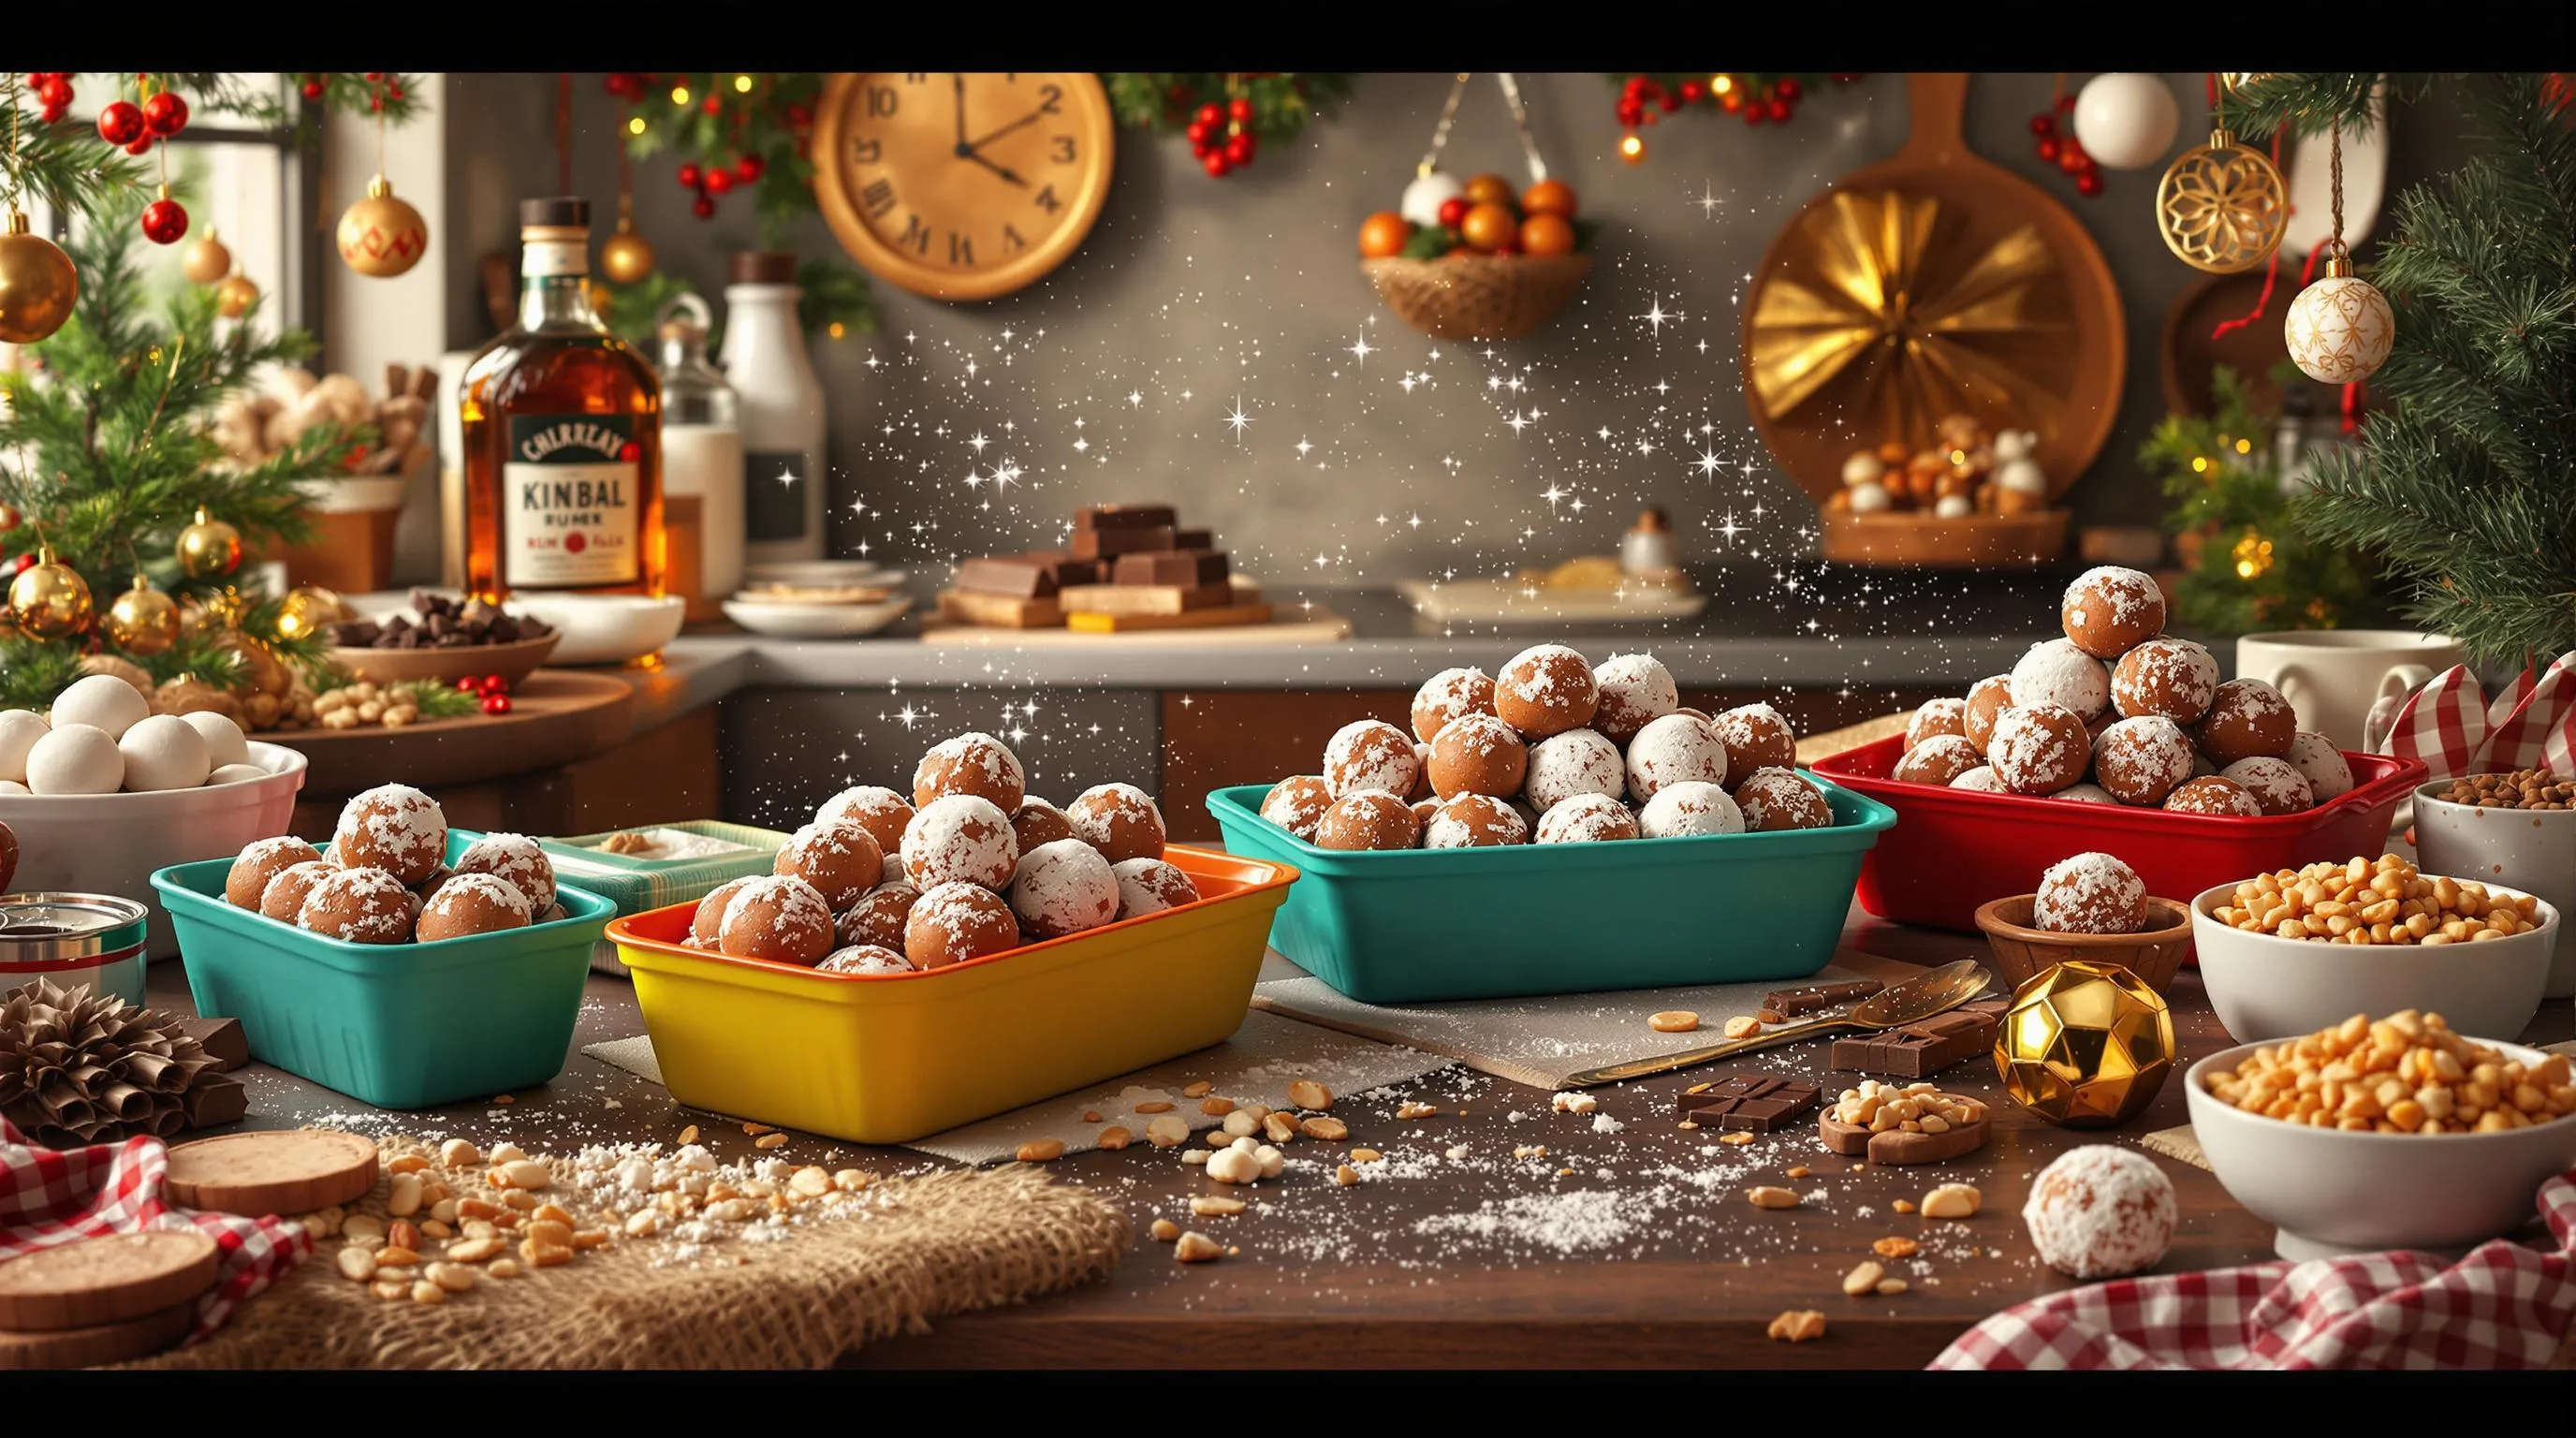
When preparing rum balls in advance for gifts organize a production schedule. Make multiple batches over a weekend then package them closer to gift-giving time. Remember to label containers with the date prepared so you can rotate your stock properly ensuring everyone receives perfectly matured rum balls.
The make-ahead convenience of this recipe makes it particularly valuable during the busy holiday season when oven space and time are limited. You can cross dessert preparation off your list early allowing you to focus on other holiday preparations when the festivities draw near.
Variations to Try
Traditional rum balls are delicious but you can easily customize them to suit different tastes or dietary needs. These creative variations maintain the spirit of the original while offering exciting new flavor profiles.
Chocolate Coconut Rum Balls
Transform your basic rum balls into tropical delights by incorporating coconut throughout the recipe. Replace half the crushed vanilla wafers with finely shredded coconut to create a chewier texture with tropical undertones. Roll the finished balls in additional shredded coconut instead of powdered sugar for an eye-catching snow-capped appearance. Adding 1 teaspoon of coconut extract alongside the vanilla enhances the coconut flavor profile without overpowering the rum. Dark chocolate lovers can substitute the cocoa powder with melted semisweet chocolate chips for a richer depth of flavor that pairs beautifully with the coconut. These tropical-inspired treats bring a vacation vibe to your holiday dessert platter.
Nut-Free Option
Creating nut-free rum balls ensures everyone can enjoy these holiday treats regardless of allergies. Substitute the nuts with an equal amount of crushed graham crackers or additional vanilla wafers to maintain the proper texture. For added crunch and visual appeal roll the finished balls in toasted breadcrumbs mixed with a touch of cinnamon. Replace traditional nuts with sunflower seeds or pumpkin seeds if you want to maintain that subtle textural contrast without allergen concerns. Adding 2 tablespoons of seedless raspberry jam introduces a fruity brightness that complements the chocolate and rum beautifully. These nut-free variations sacrifice nothing in flavor while making your holiday offerings more inclusive.
Bourbon Balls Alternative
Swap rum for bourbon to create a distinctly American twist on these classic treats. Bourbon’s caramel and vanilla notes pair exceptionally well with chocolate making these balls perfect for whiskey enthusiasts. Use chocolate graham crackers instead of vanilla wafers for a deeper flavor foundation that stands up to bourbon’s robust character. Adding 1 tablespoon of maple syrup enhances bourbon’s natural sweetness creating a sophisticated flavor profile. Sprinkle the finished balls with flaky sea salt to create a sweet-savory contrast that elevates the entire experience. Bourbon balls benefit from even longer aging than their rum counterparts so consider making them at least three days before serving to allow the flavors to fully develop and mellow.
Serving Suggestions
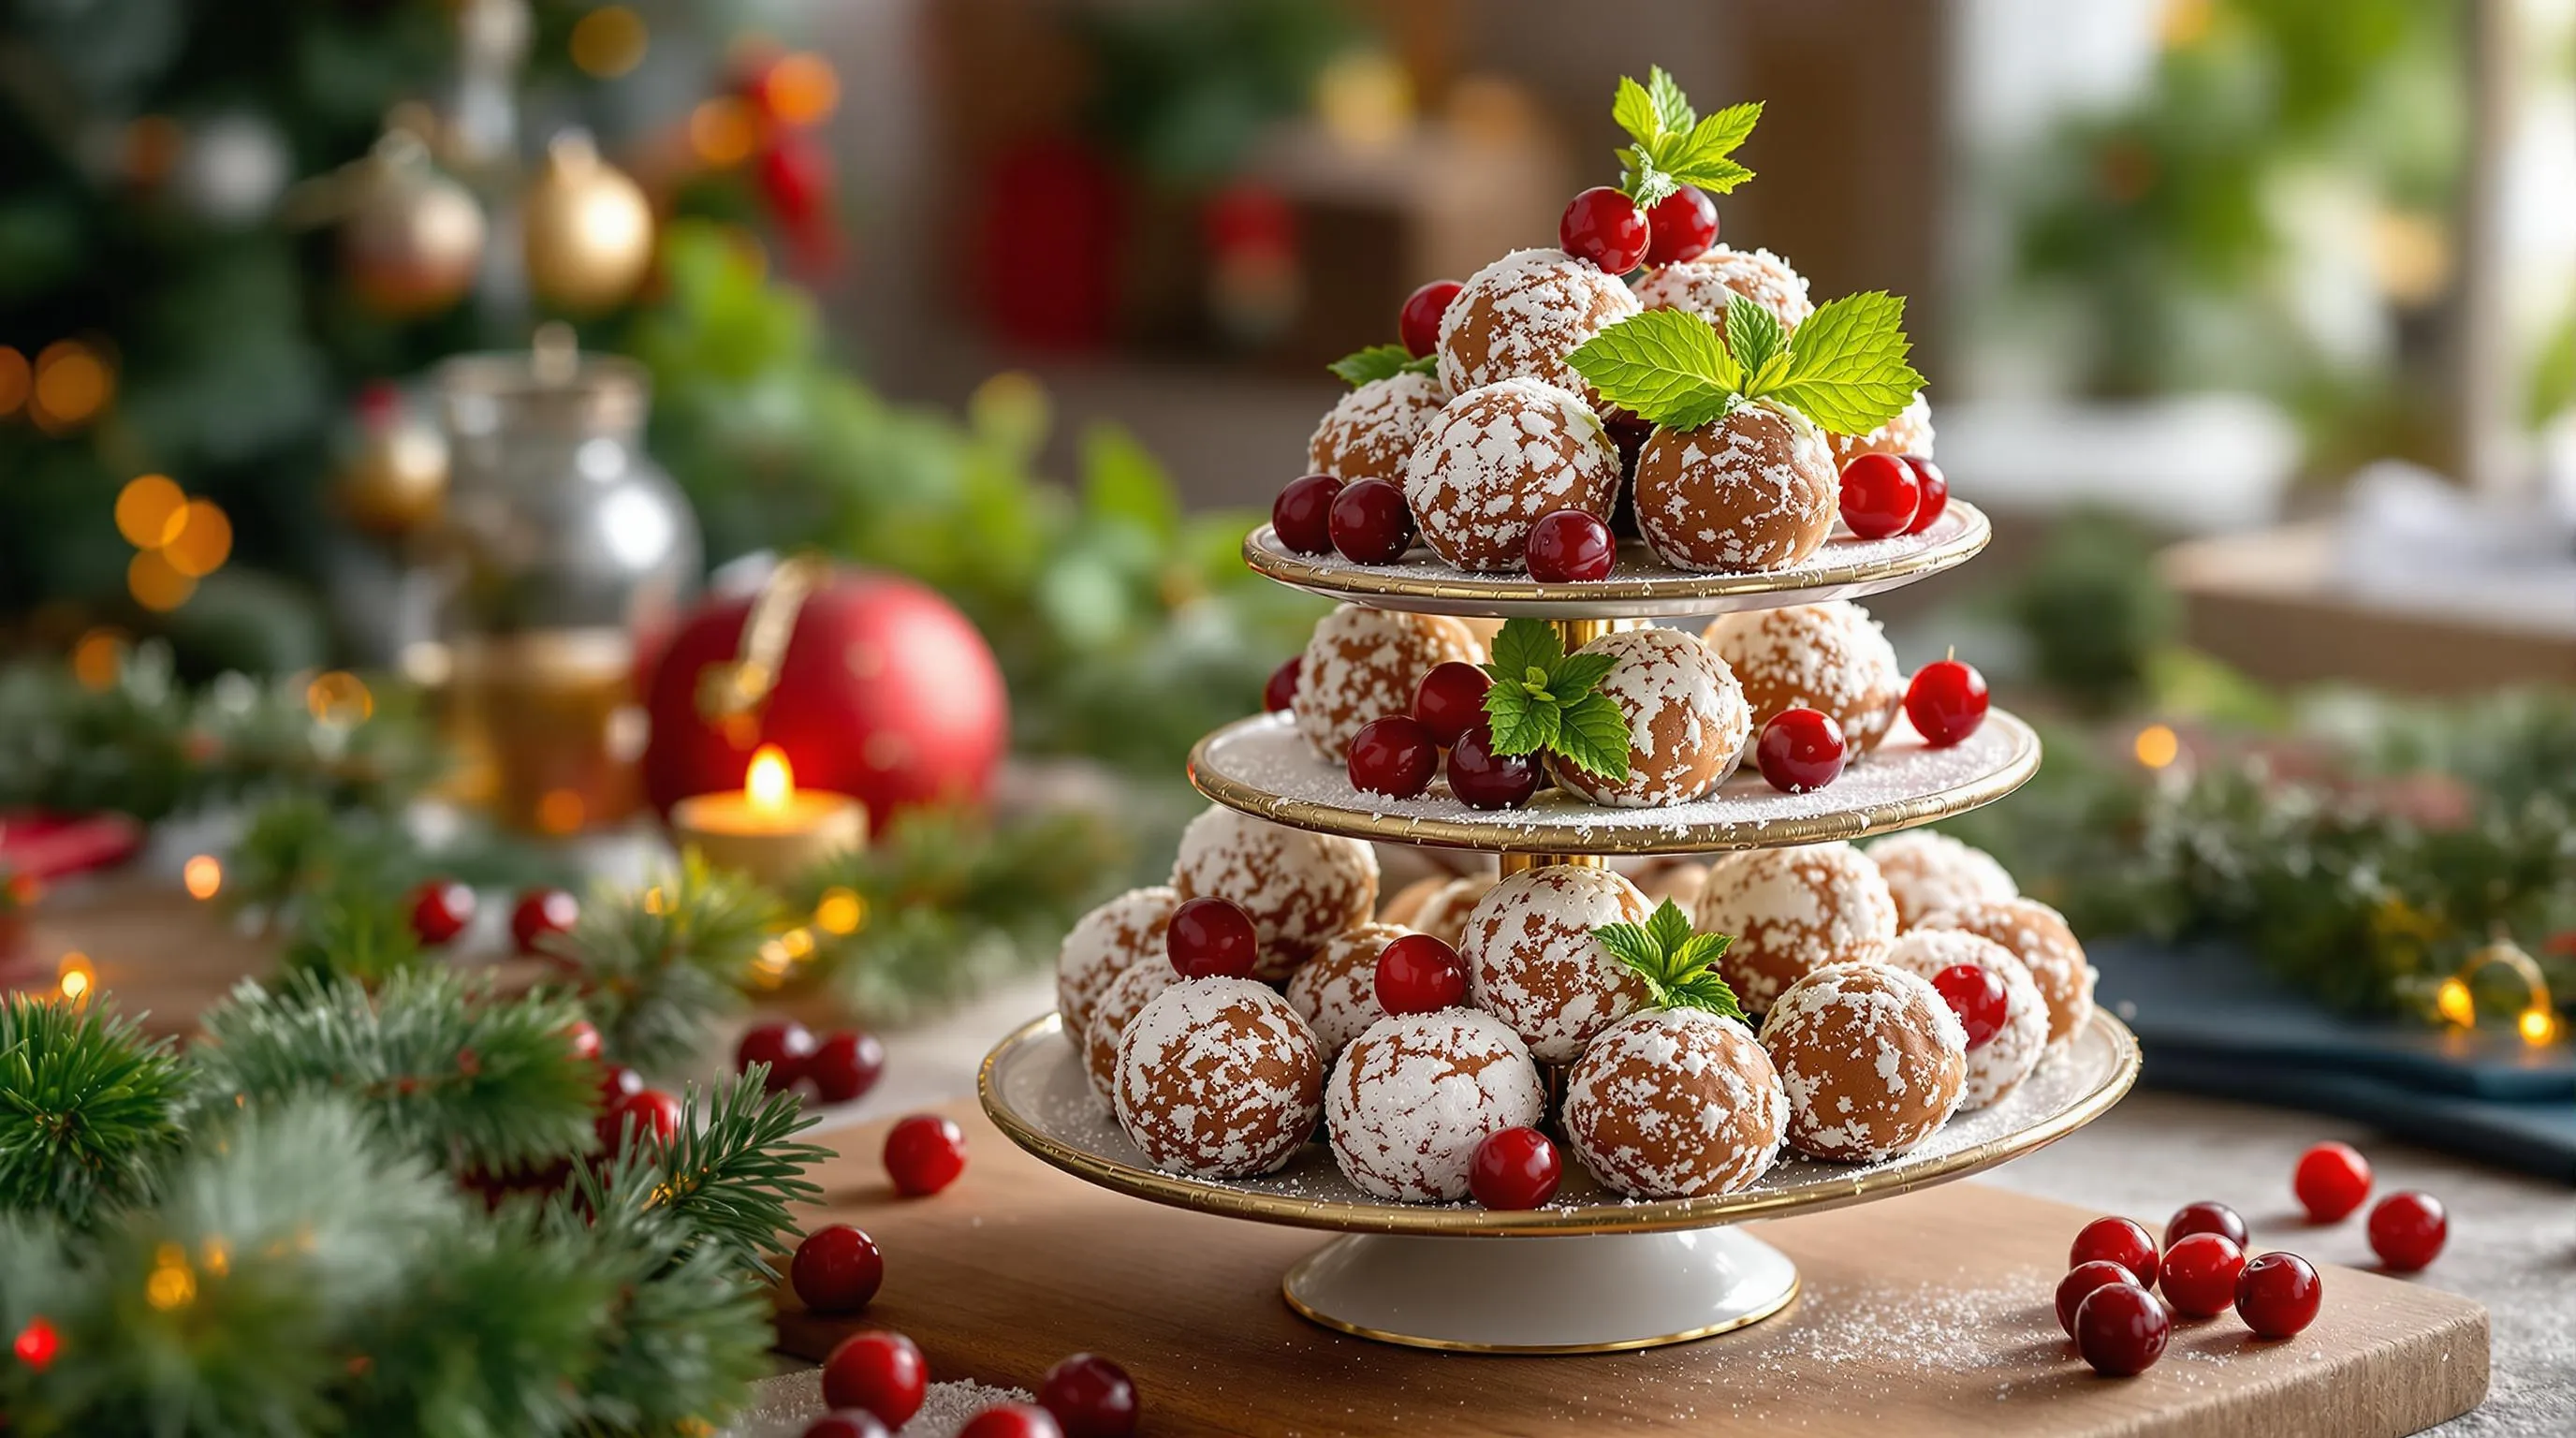
Transform your rum balls from simple treats to elegant dessert offerings with these serving ideas. Present them on a tiered dessert stand alongside other holiday cookies for a stunning visual display at parties. Arrange them on a beautiful platter with festive garnishes like mint leaves or cranberries to enhance their appeal.
For an indulgent dessert experience serve rum balls with after-dinner coffee or espresso as the rich chocolate flavors complement the bitterness of coffee perfectly. Pair them with dessert wines such as port ruby port or cream sherry which enhance the complex flavors of the rum and chocolate.
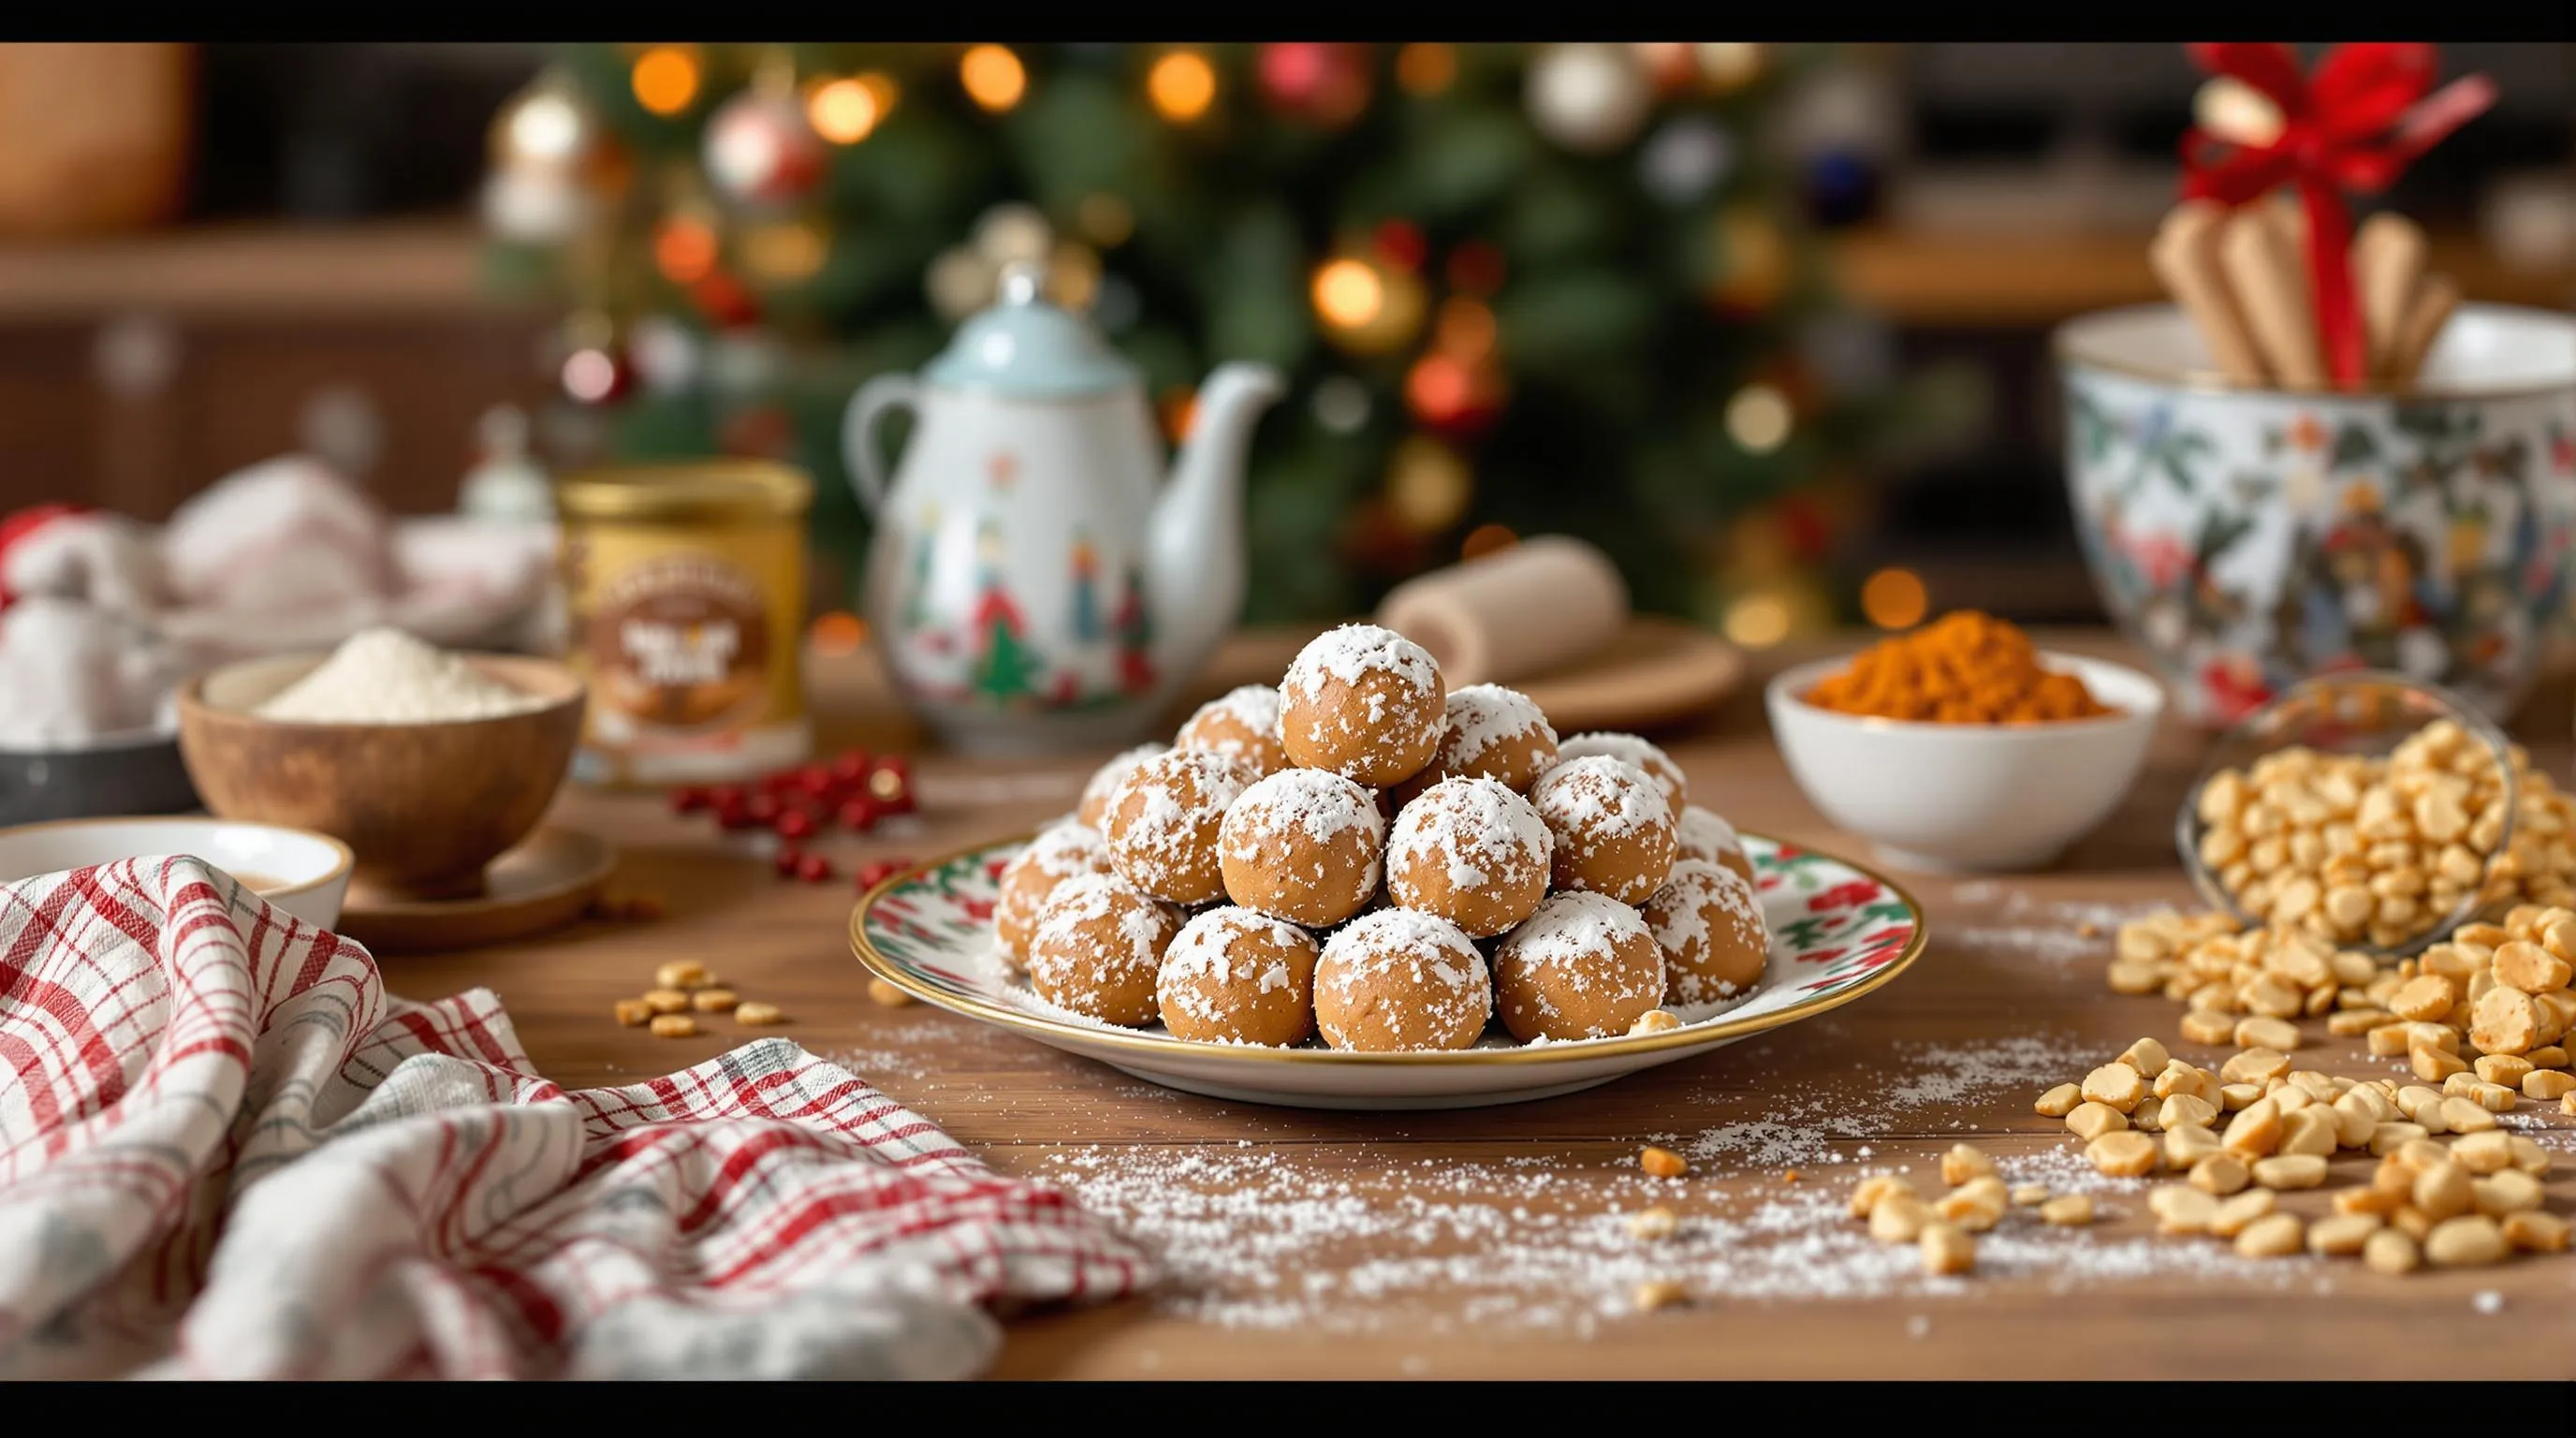
Create a sophisticated dessert board by combining rum balls with complementary treats like chocolate-dipped strawberries fresh berries or candied nuts. Stack them in a pyramid shape on a decorative plate dusted with cocoa powder or powdered sugar for an impressive centerpiece at holiday gatherings.
For casual entertaining place rum balls in paper mini-cupcake liners to make them easy for guests to pick up without getting sticky fingers. Serve them chilled but not cold—remove from refrigeration about 15-20 minutes before serving to allow the flavors to fully develop and the texture to soften slightly.
Dress up individual rum balls by inserting a decorative toothpick or small candy cane for a festive holiday touch. Consider serving smaller rum balls as part of a petit four selection with tea or coffee at the end of a meal for an elegant finish to your dinner party.
The Perfect Holiday Gift

Rum balls make exceptional holiday gifts thanks to their festive flavor profile and impressive presentation. Your friends family and neighbors will appreciate these handcrafted treats that deliver sophisticated taste without demanding professional baking skills. Unlike cookies that might crumble during transport rum balls maintain their integrity when packaged and travel beautifully.
Package your rum balls in decorative holiday tins lined with parchment paper for an elegant presentation. Small bakery boxes with festive ribbons offer another attractive option that protects these delicate treats. Consider placing each rum ball in a mini cupcake liner before arranging them in a gift box to prevent sticking and enhance their visual appeal.
Create custom gift tags with ingredients listed to alert recipients about the alcohol content. This thoughtful touch ensures everyone knows these treats contain rum. Attaching a handwritten recipe card allows recipients to recreate these delicious confections themselves extending your gift beyond a single season.
For a complete gift basket pair rum balls with other complementary items. A small bottle of quality rum coffee beans or a festive mug creates a cohesive themed present. Teachers colleagues and hosts will appreciate the extra effort behind these carefully curated gifts that stand out among the usual holiday offerings.
Rum balls remain fresh for weeks when properly stored making them ideal for advance preparation during the busy holiday season. Their flavor actually improves with time allowing you to prepare gifts well before exchanges or parties. This convenience factor combined with their sophisticated taste makes rum balls the perfect solution for anyone seeking impressive yet manageable homemade holiday gifts.
Conclusion
These rum balls aren’t just desserts – they’re little spheres of holiday magic that bring joy to every gathering. With their rich chocolate flavor and warming rum kick they’ll quickly become your signature holiday treat.
You’ll love how these no-bake beauties fit seamlessly into your busy schedule while still delivering impressive results. The best part? They actually improve with time making them the ultimate make-ahead dessert.
Whether you’re serving them at your own celebration or packaging them as thoughtful homemade gifts you’ll appreciate their versatility and universal appeal. So grab your food processor and get rolling – your new favorite holiday tradition awaits!