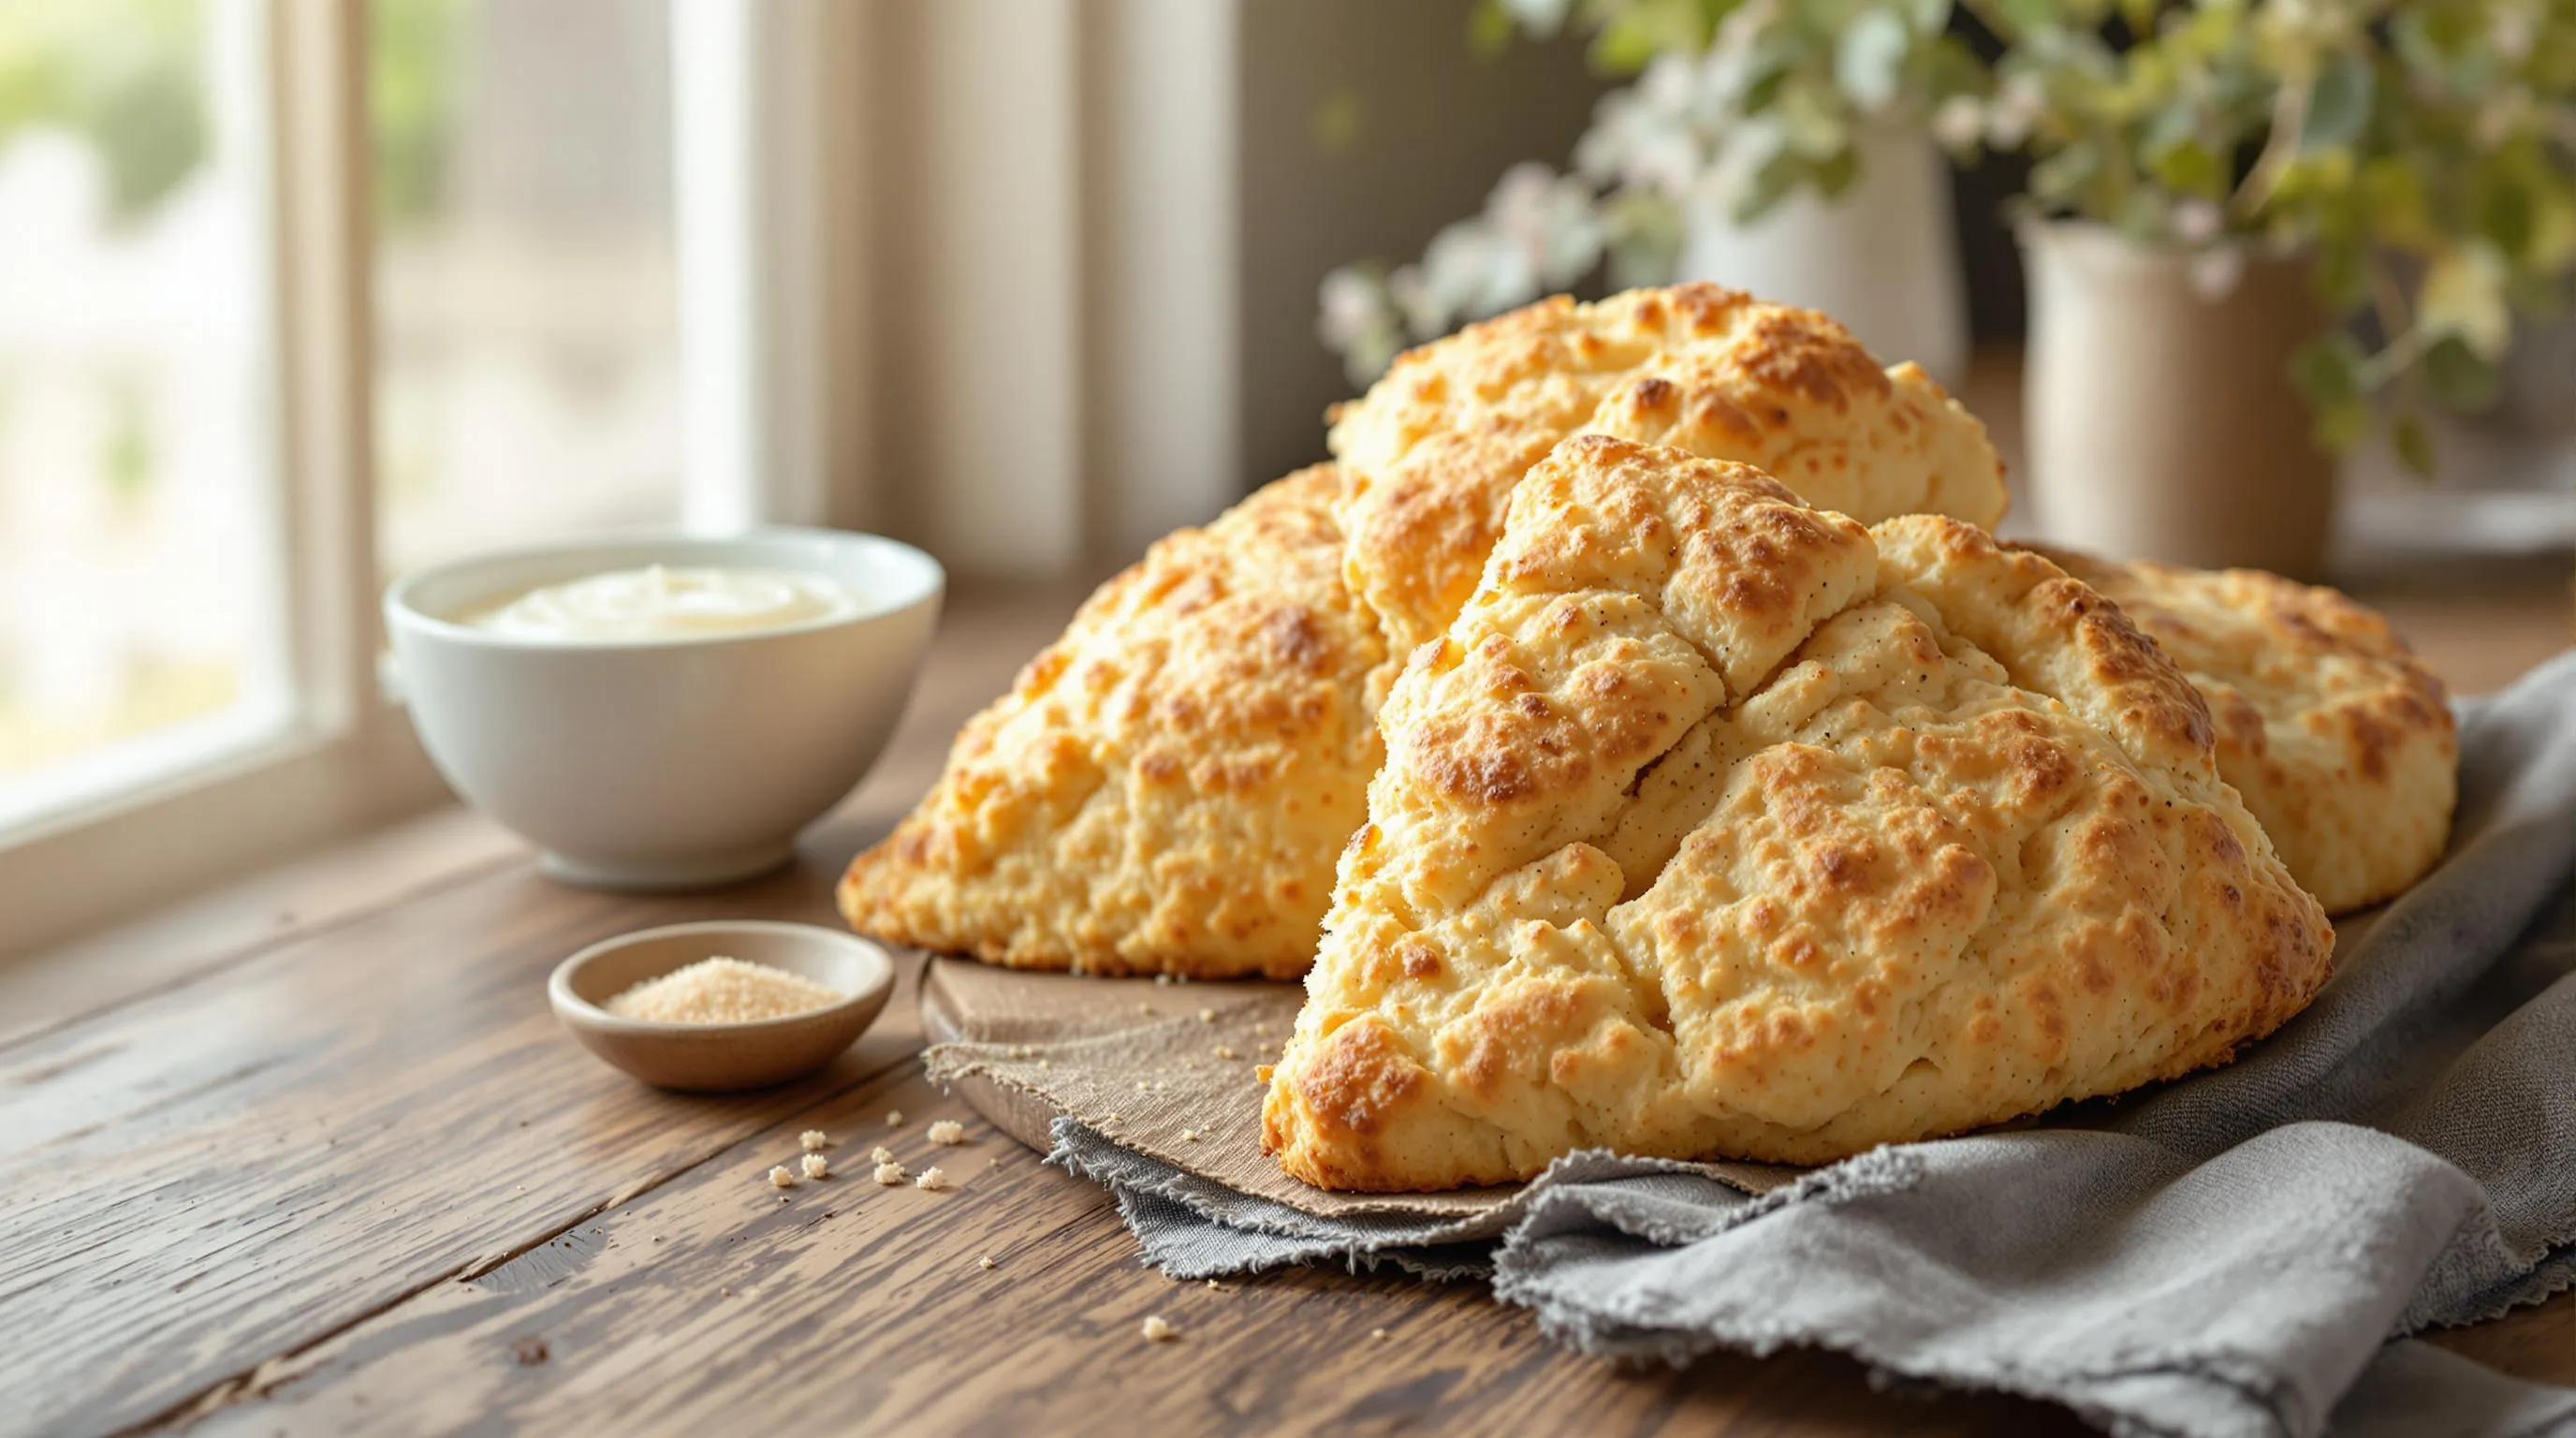
The Perfect Classic Scones Recipe
These classic scones deliver that perfect combination of crisp exterior and tender crumb that makes them a timeless favorite. With just a handful of basic ingredients you probably already have in your kitchen you can create bakery-quality scones at home. This recipe yields eight medium-sized scones with a delicate vanilla flavor that pairs beautifully with your favorite toppings.
Recommended Products

BRIDGERTON BAKING KIT: Inspired by Bridgerton, the beloved Shondaland series on Netflix, this baking kit makes it easy to bake petite strawberry scones; Just follow Lady Whistledown’s recipe on the box

Our easy scone mix makes delicious, buttery scones...fast!

Ingredients
For the scones:
- 2 cups all-purpose flour
- 1/3 cup granulated sugar
- 1 tablespoon baking powder
- 1/2 teaspoon salt
- 1/2 cup cold unsalted butter (1 stick)
- 1/2 cup heavy cream plus 2 tablespoons for brushing
- 1 large egg
- 1 1/2 teaspoons vanilla extract
Optional glaze:
- 1 cup powdered sugar
- 2-3 tablespoons milk or cream
- 1/2 teaspoon vanilla extract
Instructions
- Preheat your oven to 400°F (200°C). Line a baking sheet with parchment paper.
- In a large bowl whisk together flour sugar baking powder and salt until well combined.
- Cut the cold butter into small cubes then add to the flour mixture. Using a pastry cutter or two forks work the butter into the dry ingredients until the mixture resembles coarse crumbs with some pea-sized pieces of butter remaining. These butter pieces create those flaky layers you want in scones.
- In a separate small bowl whisk together 1/2 cup heavy cream egg and vanilla extract until combined.
- Make a well in the center of the dry ingredients and pour in the wet mixture. Gently fold everything together using a rubber spatula or wooden spoon just until the dough starts to come together. The mixture will look somewhat dry and crumbly at this point.
- Turn the dough out onto a lightly floured surface. With floured hands gently work the dough just enough to bring it together. Pat it into a circle about 3/4 inch thick.
- Using a sharp knife or bench scraper cut the circle into 8 equal wedges like a pizza. Transfer the wedges to your prepared baking sheet leaving about 2 inches between each scone.
- Brush the tops with the remaining heavy cream to promote browning.
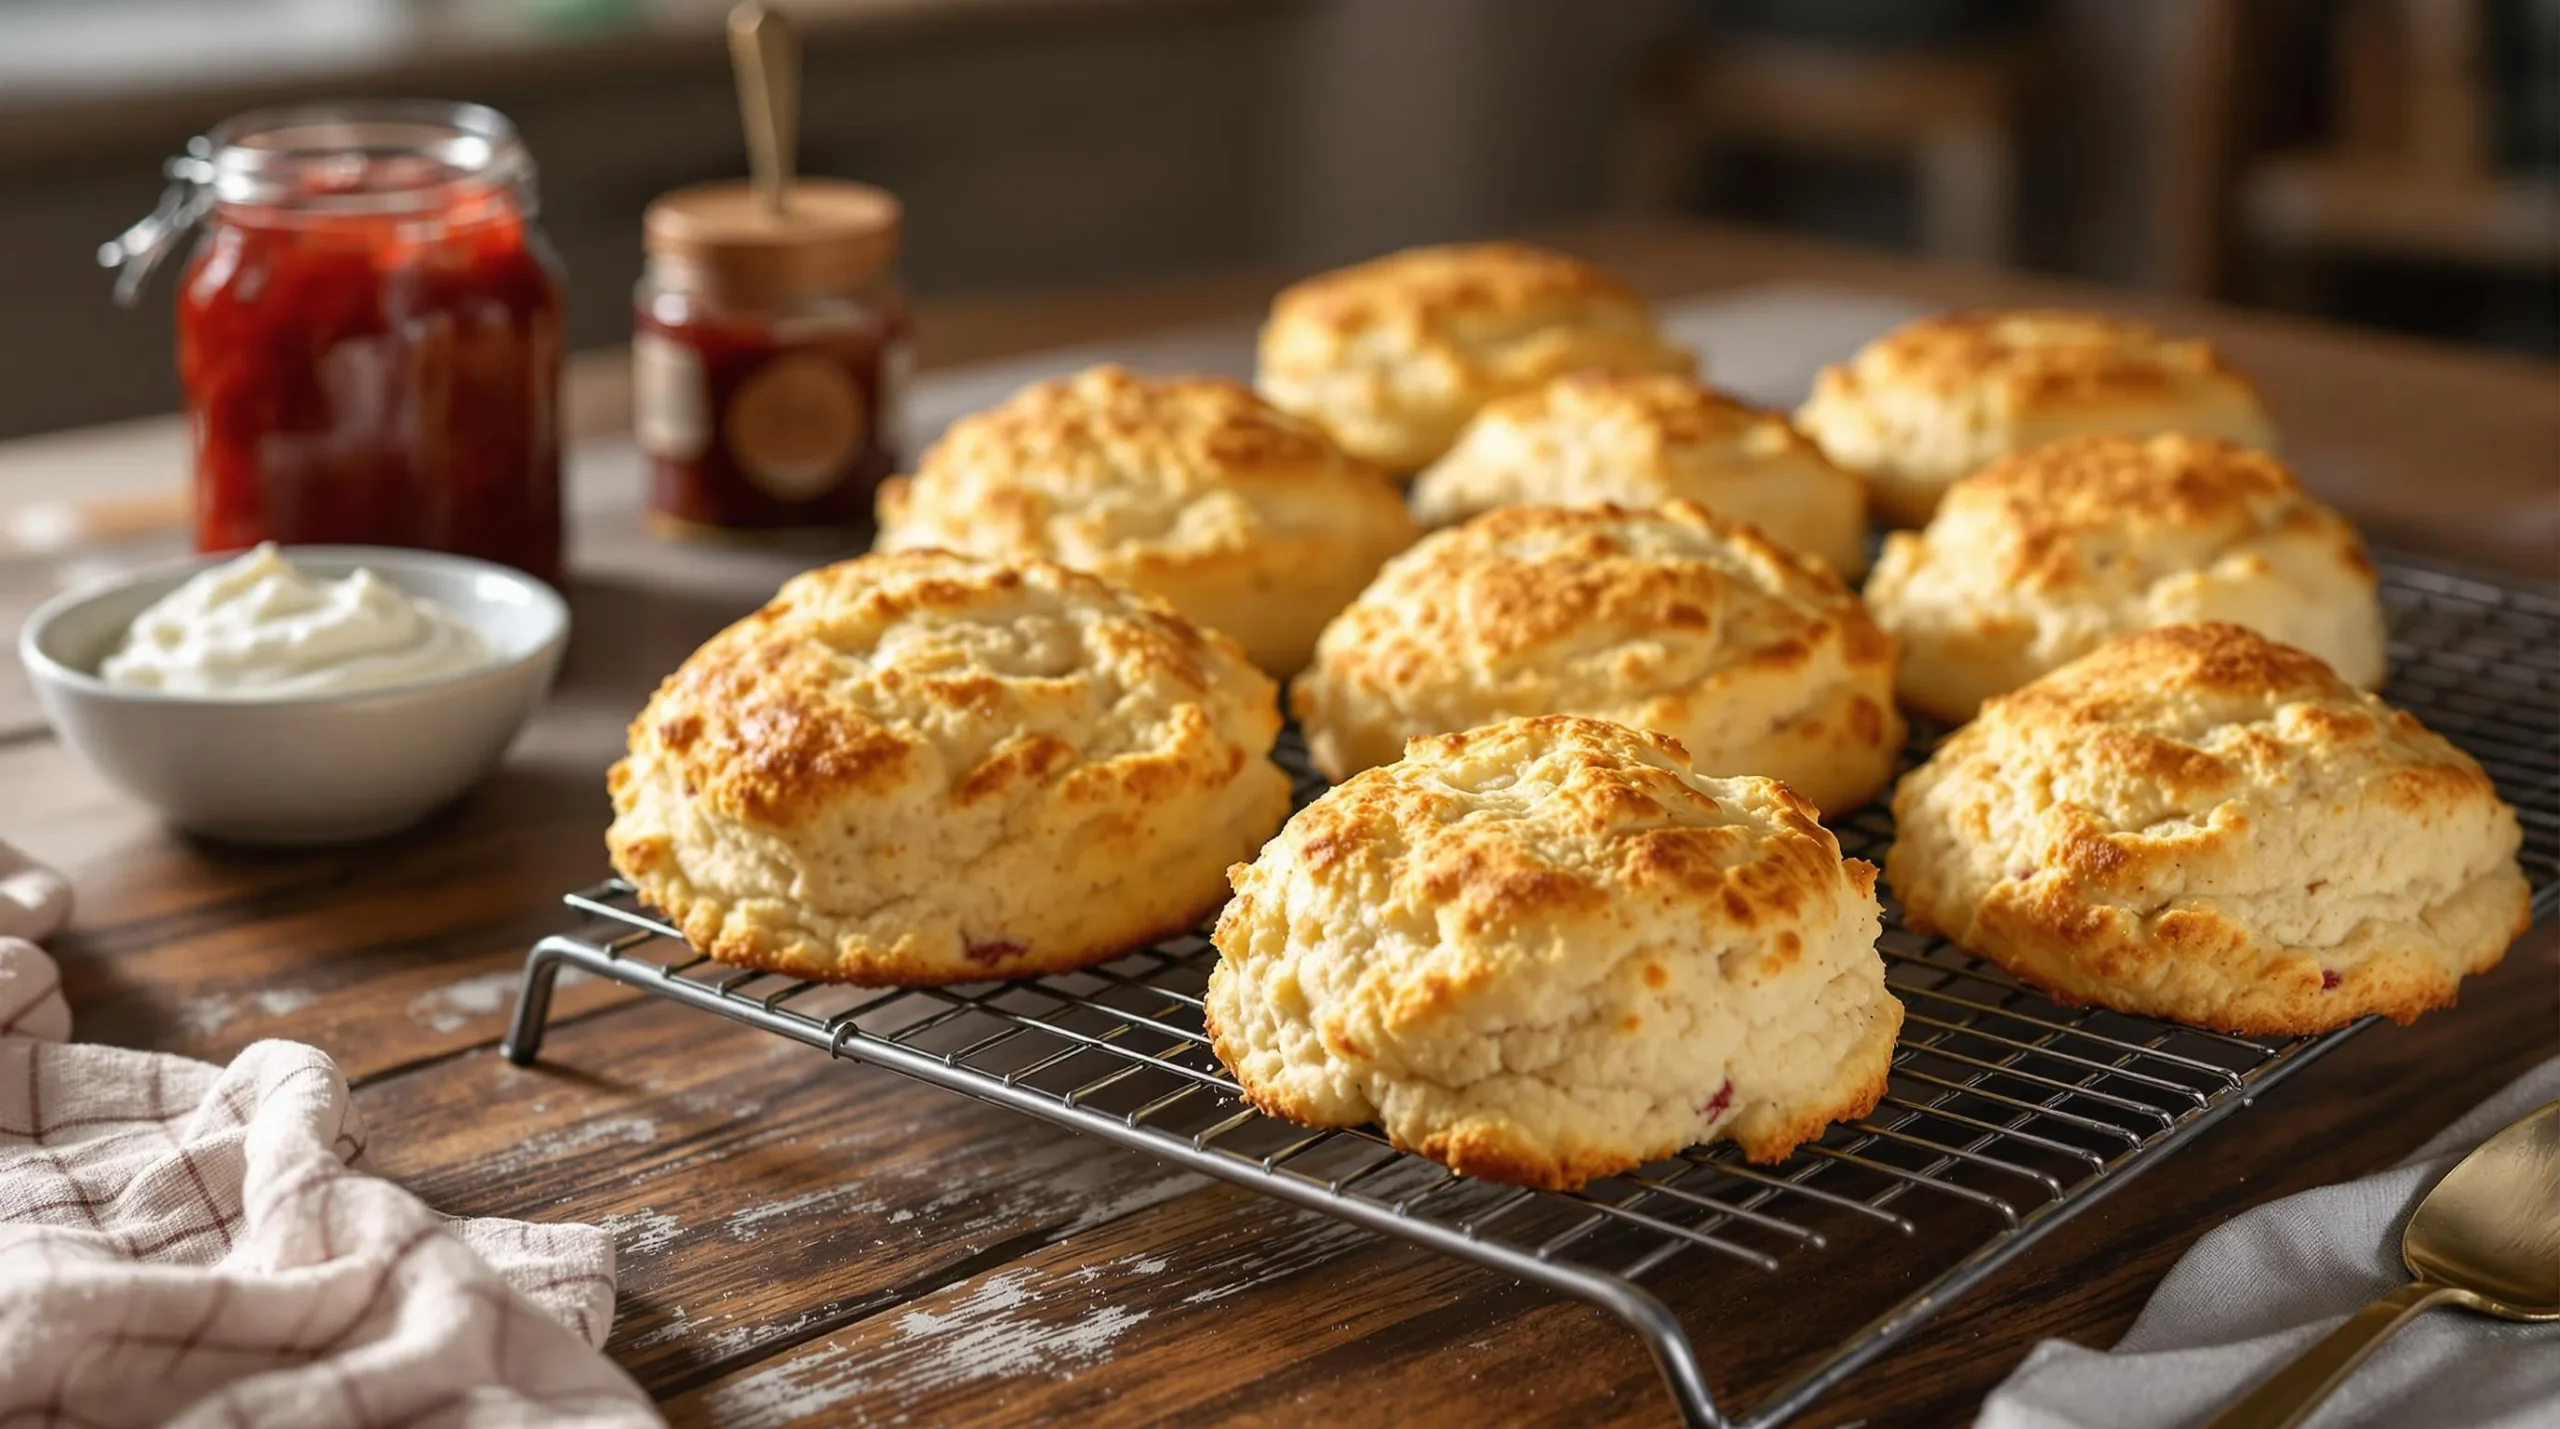
- Bake for 18-22 minutes until the scones are golden brown around the edges and firm to the touch.
- Allow the scones to cool on the baking sheet for 5 minutes before transferring to a wire rack.
- If using the optional glaze whisk together powdered sugar milk and vanilla in a small bowl until smooth. Drizzle over slightly cooled scones.
Tips for Scone Success
Keep everything cold. Cold butter creates steam pockets that result in flaky layers. Some bakers even chill their mixing bowls and flour before starting.
Handle the dough minimally. Overworking develops gluten which makes scones tough rather than tender.
Don’t skip the cream brush. This simple step creates that beautiful golden crust that makes scones irresistible.
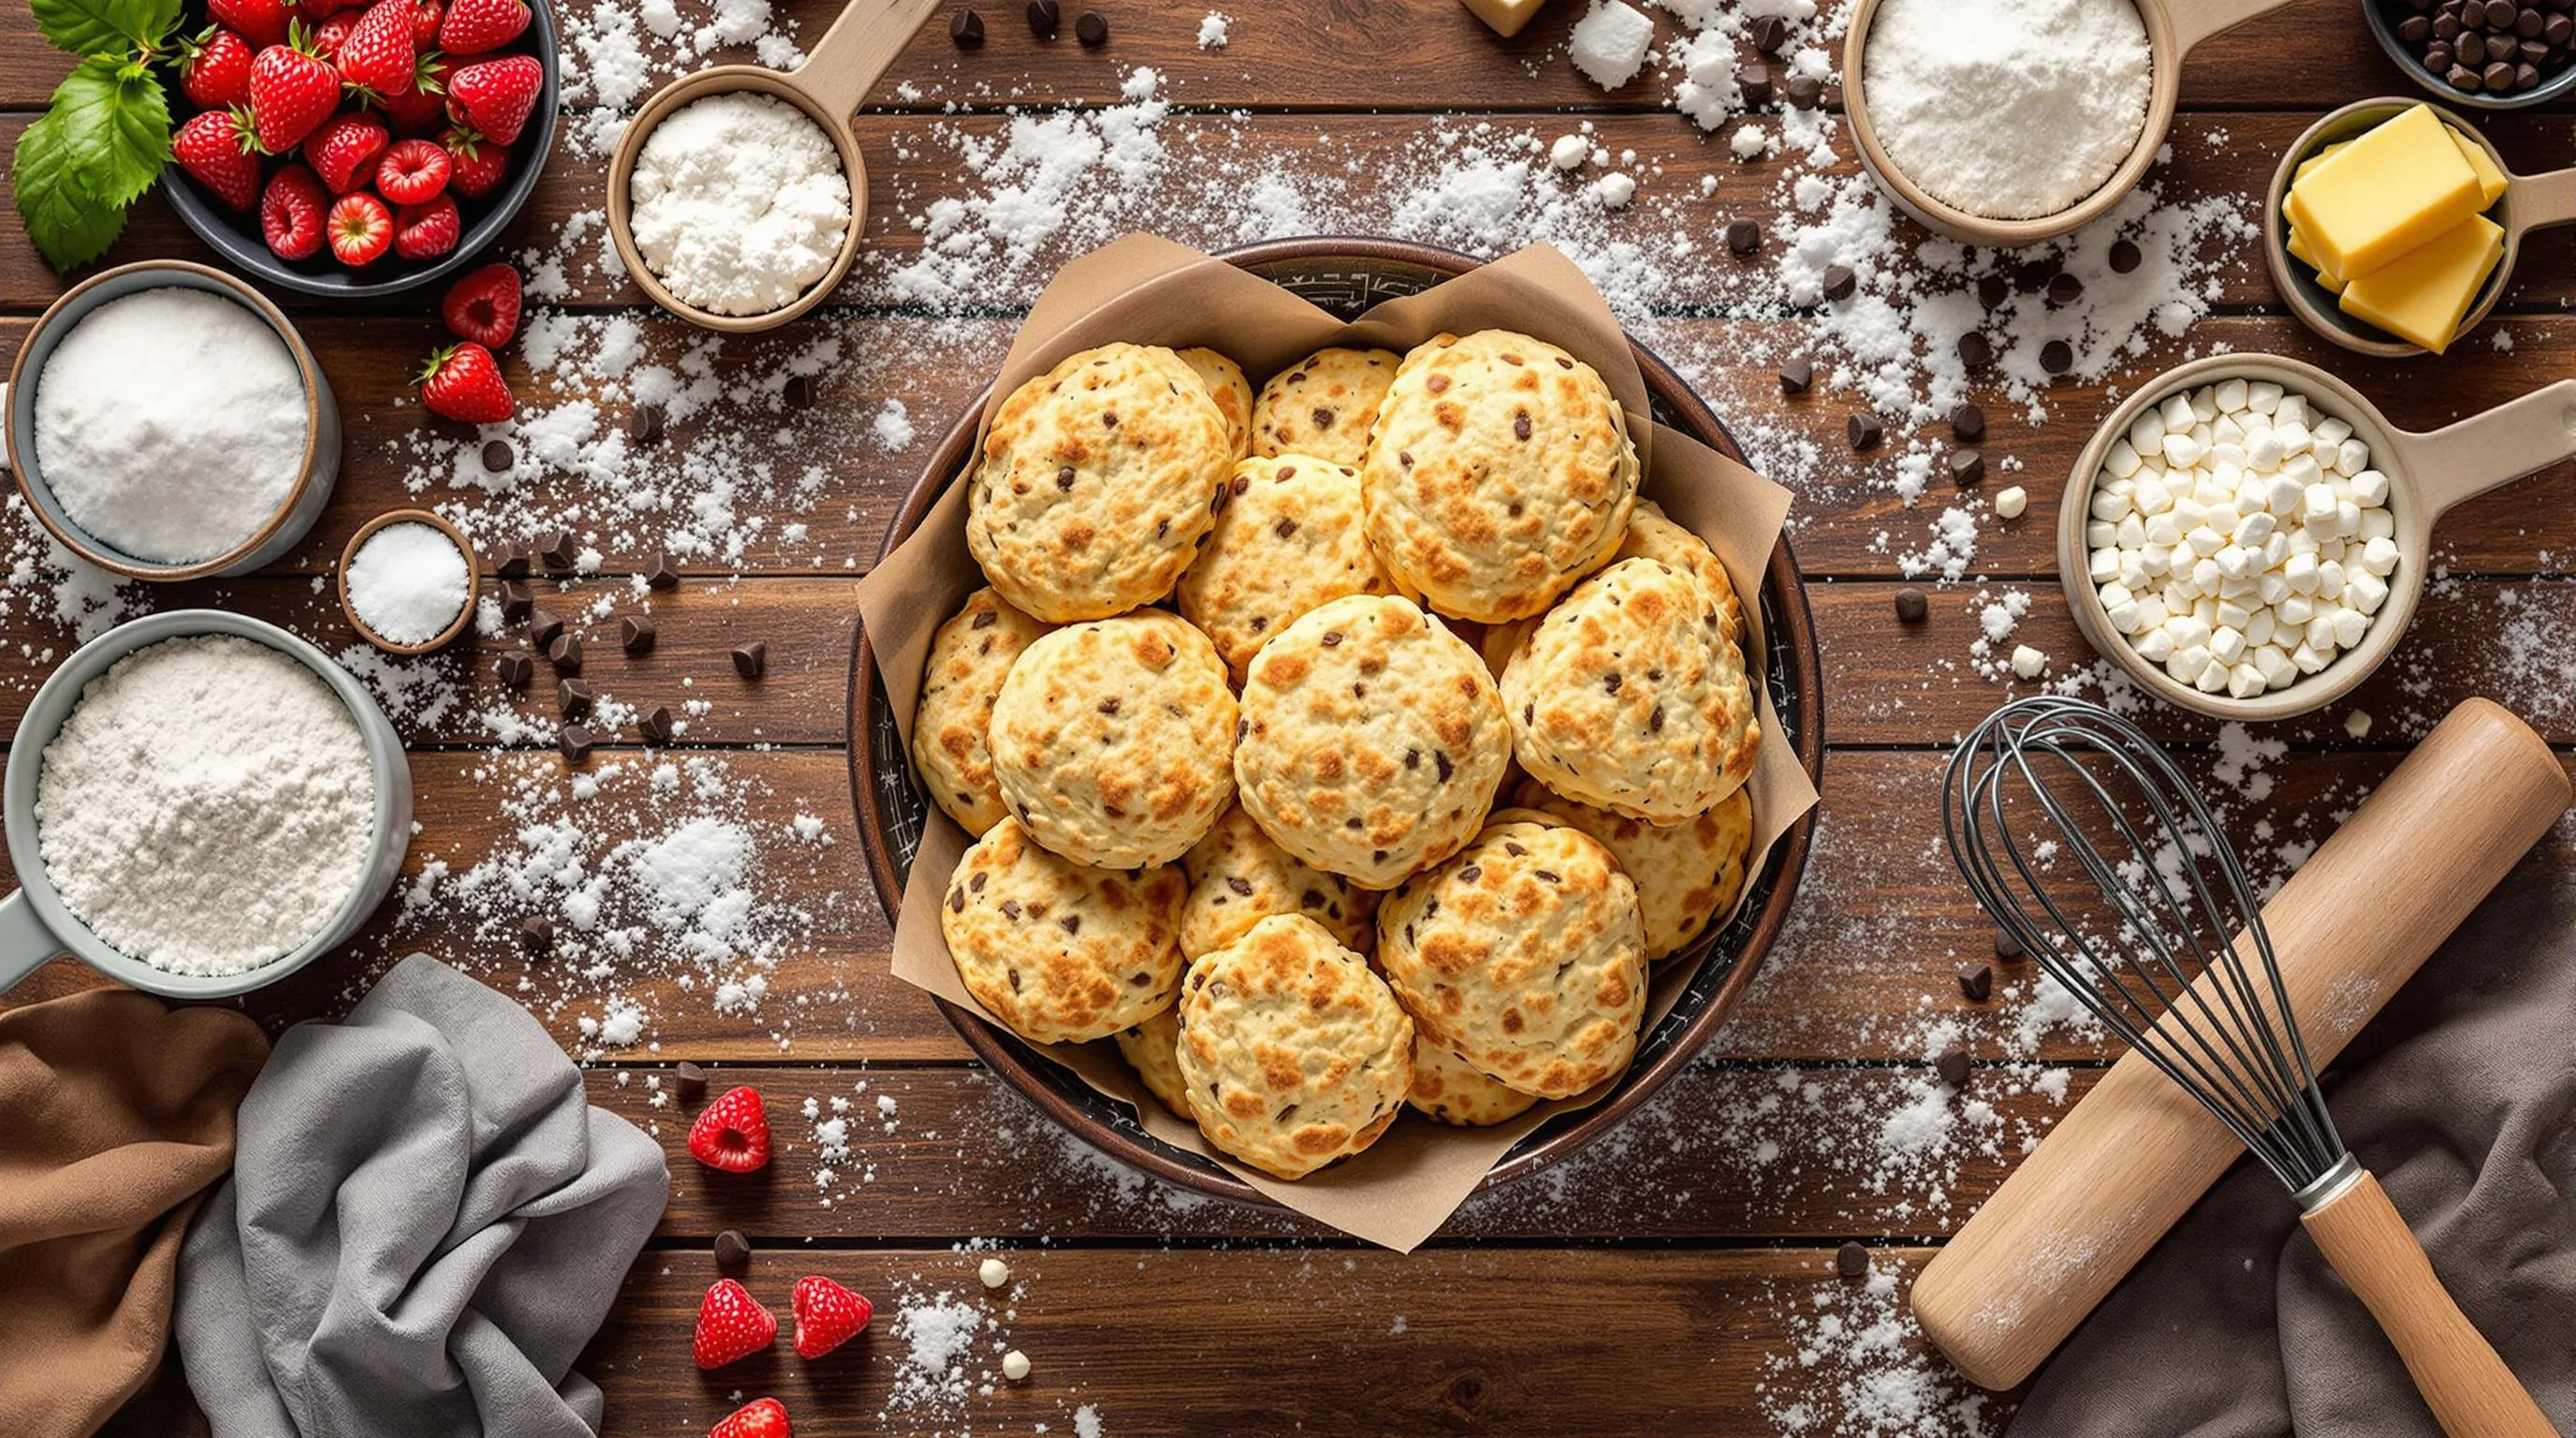
For fruit variations fold in 3/4 cup of fresh or frozen berries before shaping the dough. For chocolate chip scones add 2/3 cup mini chocolate chips.
Your scones will keep at room temperature in an airtight container for up to 2 days but they truly shine when enjoyed fresh from the oven with clotted cream and jam.
Why This Recipe Works
This classic scone recipe delivers consistently perfect results because it focuses on technique as much as ingredients. The high ratio of butter to flour creates that signature flaky texture that crumbles just right with each bite. Cold ingredients play a crucial role by preventing the butter from melting too quickly during mixing which allows those coveted pockets of steam to form during baking.
The simple mixing method prevents overworking the dough which could develop too much gluten and result in tough scones. You’ll appreciate how quickly these come together without special equipment – just your hands and a few basic tools. The addition of heavy cream provides richness while maintaining the proper moisture balance for a tender interior and crisp exterior.
The brief 15-minute rest in the refrigerator before baking allows the gluten to relax and the butter to firm up again after handling. This recipe strikes the perfect balance between sweetness and structure making it an ideal canvas for additions like berries or chocolate without becoming soggy or overly dense. The temperature and timing specifications ensure scones rise properly with those distinctive layers rather than spreading into flat cookies.
Brushing the tops with cream before baking contributes to that beautiful golden-brown finish professional bakeries achieve. Unlike many other recipes that produce dry or bland results this method creates scones with a delicate vanilla flavor that enhances rather than competes with your favorite toppings.
Recommended Products

Better Than Your Grandma's Dough Blender - Solid pastry tool for cutting cold butter into flour or sugar when making fresh, homemade baked goods. Sturdy and durable dough kneader with 5 metal blades that are twice as thick as some others.

Ideal for Baking - Stainless steel blades easily cut butter and shortening into dry ingredients

Better Than Your Grandma's Dough Blender - Solid pastry tool for cutting cold butter into flour or sugar when making fresh, homemade baked goods. Sturdy and durable dough kneader with 5 metal blades that are twice as thick as some others.
Ingredients You’ll Need
For these classic buttery scones you’ll need simple pantry staples that work together to create that perfect flaky texture. Gather these ingredients before starting your baking process:
- 2 cups all-purpose flour
- 1/3 cup granulated sugar
- 1 tablespoon baking powder
- 1/2 teaspoon salt
- 1/2 cup (1 stick) cold unsalted butter
- 1/2 cup heavy cream plus extra for brushing
- 1 large egg
- 1 teaspoon vanilla extract
The quality of your ingredients matters significantly in this recipe. Use cold butter straight from the refrigerator as this creates those desirable flaky layers when it melts in the oven. Fresh heavy cream provides richness while the egg adds structure to your scones. Pure vanilla extract enhances the flavor profile without overwhelming the delicate taste.
For mix-in variations keep these additional ingredients on hand:
- 1 cup fresh or frozen berries (blueberries raspberries or strawberries)
- 3/4 cup chocolate chips (milk dark or white)
- 1/2 cup dried fruit (cranberries raisins or chopped apricots)
- 1 tablespoon citrus zest (lemon orange or lime)
- 1/2 cup chopped nuts (walnuts pecans or almonds)
Remember to measure your flour properly by spooning it into measuring cups and leveling off with a knife rather than scooping directly from the container. This technique prevents adding too much flour which can result in dry dense scones.
Recommended Products

Parchment 90 Square feet Paper

Package Includes: Twenty two (22) Reynolds Kitchens Cookie Baking Sheets measuring 12 inches long by 16 inches wide

Package Includes—Four (4) 25ct packs of Reynolds Kitchens Cookie Baking Sheets measuring 12 inches long by 16 inches wide (100 Total Sheets)
Tools and Equipment
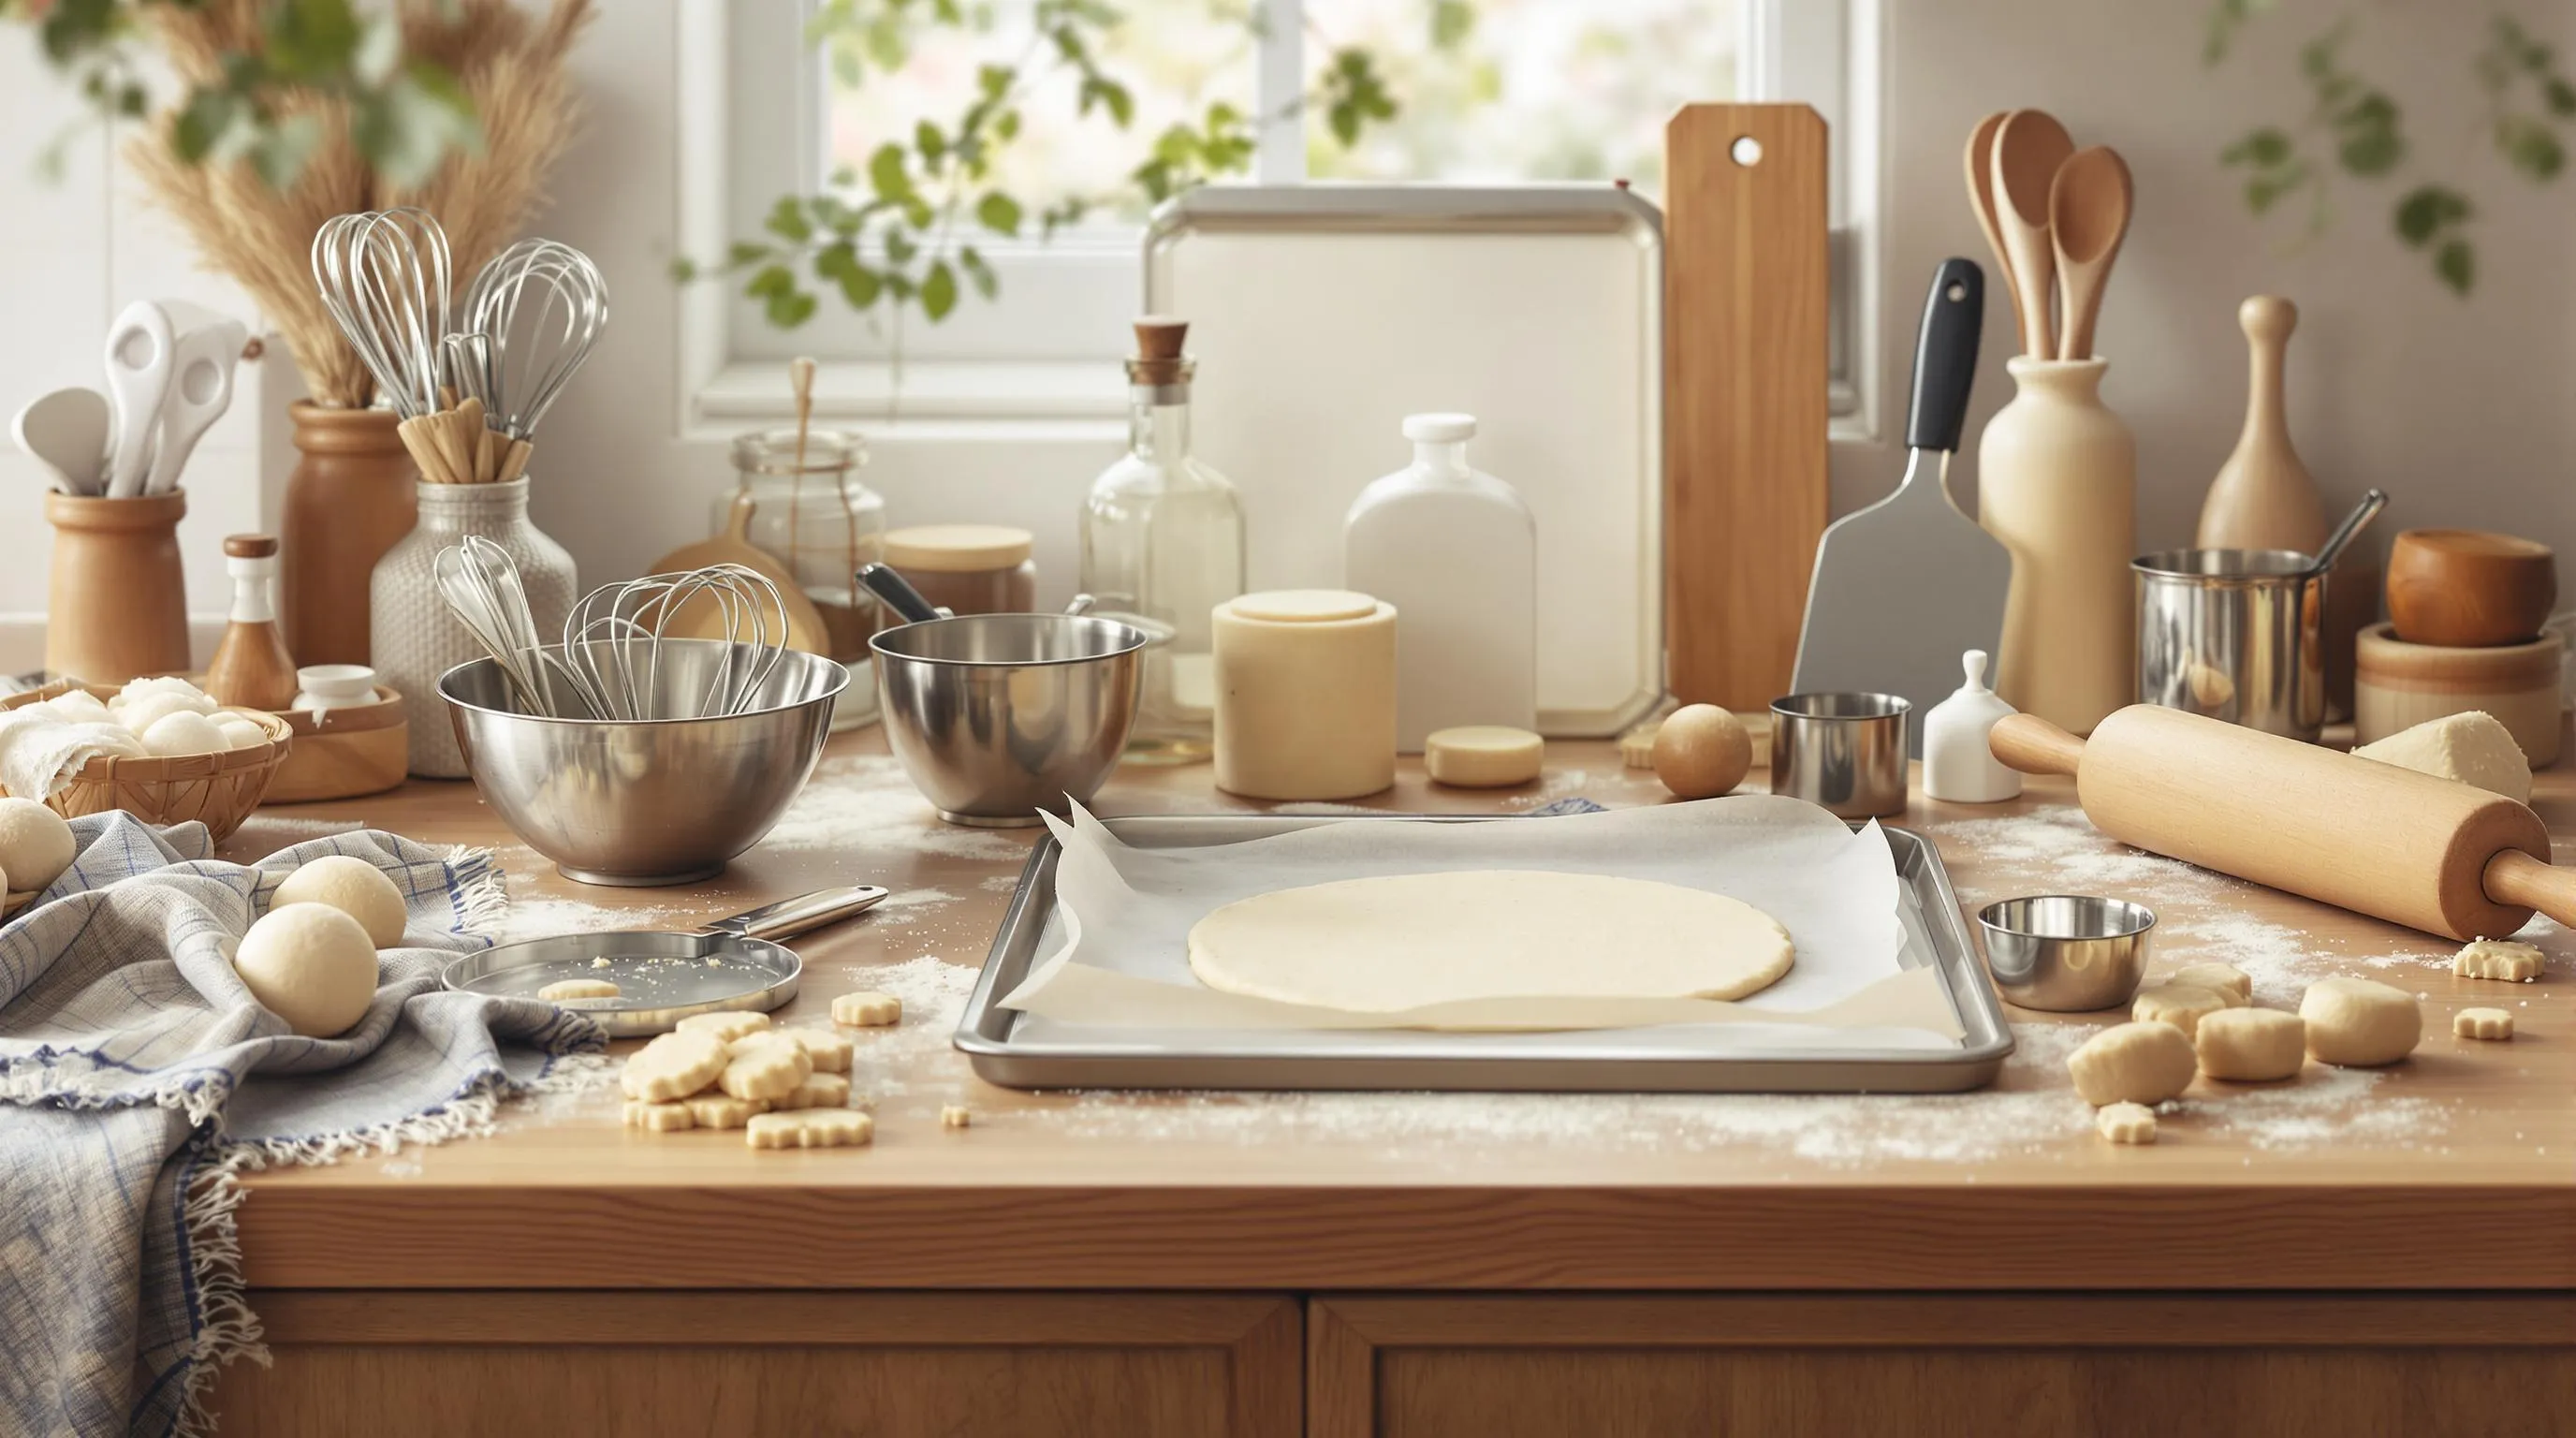
Creating perfect scones requires minimal but exact equipment. Having the right tools ready before you start makes the process smooth and efficient.
Recommended Products

Gingerbread scone mix with lemon glaze

All Natural, Vegan, Non-Melting White Donut Sugar, also known as White Snow Sugar for donuts, icing and more.

GranAroma Powdered Sugar
Essential Tools
- Large Mixing Bowl – Provides ample space to combine dry ingredients and cut in butter without making a mess
- Measuring Cups and Spoons – Ensures accurate measurements for consistent results every time
- Pastry Cutter or Food Processor – Helps incorporate cold butter into flour quickly while keeping ingredients cool
- Baking Sheet – A standard rimmed baking sheet works perfectly for baking evenly golden scones
- Parchment Paper – Prevents sticking and makes cleanup easier
- Pastry Brush – Essential for applying cream wash to achieve that beautiful golden top
- Bench Scraper – Helps gather dough and cut scones cleanly without warming the dough with your hands
- Rolling Pin – Optional but useful for gently flattening dough to an even thickness
- Cooling Rack – Allows air to circulate around freshly baked scones for proper cooling
- Biscuit Cutter or Sharp Knife – For cutting round scones or triangular wedges
Nice-to-Have Items
- Silicone Mat – Provides a non-stick surface for working with dough
- Kitchen Scale – Offers precise measurements especially for flour which can vary in weight when measured by volume
- Pastry Blender – An alternative to a food processor for cutting butter into flour
- Dough Whisk – Makes mixing wet and dry ingredients easier without overworking
- Sifter or Fine Mesh Strainer – Helps aerate flour and remove lumps from dry ingredients
Your tools should be clean and dry before starting. Metal tools work best for scone making as they conduct less heat from your hands to the dough. Remember to chill metal tools like cutters or bench scrapers in the freezer for a few minutes before using them with your scone dough to help maintain those essential cold temperatures.
How to Make Classic Scones
Creating perfect scones requires attention to detail and proper technique. Follow these step-by-step instructions to achieve buttery, flaky scones every time.
Recommended Products

[PRACTICAL SCRAPER SET]: Ecavria kitchen scraper set contains 1 pc 6.6*4.7 inches stainless steel bench scraper and 2 pcs BPA FREE & food grade PE plastic bowl scrapers, which offers novices or baking-masters an effective tool set for all kinds of kitchen use.

Dimensions: 6" x 3" blade

【Sturdy Material】These flexible dough scrapers are not traditional hard PP plastic, but are made of premium PE plastic, which is tougher and softer, and can fit perfectly with various kneading bowls very easily, scraping away without residue small dough pieces
Preparing the Dough
Start by preheating your oven to 400°F (200°C) and lining a baking sheet with parchment paper. In a large mixing bowl, whisk together the flour, sugar, baking powder, and salt until well combined. Add the cold cubed butter to the dry ingredients. Using a pastry cutter or your fingertips, work the butter into the flour mixture until it resembles coarse crumbs with some pea-sized pieces remaining. The visible butter pieces are crucial for creating those flaky layers you want in your scones.
In a separate bowl, whisk together the heavy cream, egg, and vanilla extract until smooth. Make a well in the center of your dry ingredients and pour the wet mixture into it. Gently fold the ingredients together using a rubber spatula or fork until just combined. The dough will look somewhat shaggy and slightly sticky. Be careful not to overmix as this develops gluten which can make your scones tough rather than tender.
Shaping and Cutting
Turn the dough out onto a lightly floured surface. With floured hands, gently pat the dough into a circle about 1-inch thick. Avoid using a rolling pin as it can compress the dough too much. For triangle scones, use a sharp knife or bench scraper to cut the circle into 8 equal wedges. For round scones, use a 2.5-inch biscuit cutter dipped in flour, pressing straight down without twisting (twisting seals the edges and prevents proper rising).
Transfer the cut scones to your prepared baking sheet, placing them about 2 inches apart to allow for expansion. For best results, place the entire baking sheet with the shaped scones in the refrigerator for 15 minutes before baking. This extra chilling time firms up the butter again, ensuring your scones rise properly and maintain their shape during baking.
Baking to Perfection
Just before baking, brush the tops of your scones with additional heavy cream using a pastry brush. This creates a beautiful golden-brown crust as they bake. For an extra touch of sweetness and crunch, sprinkle the tops with coarse sugar if desired.
Bake the scones in your preheated oven for 18-22 minutes, or until they’re golden brown on top and around the edges. The exact timing will depend on your oven and the size of your scones. Test for doneness by inserting a toothpick into the center of a scone—it should come out clean with no wet dough attached. Allow the scones to cool on the baking sheet for 5 minutes before transferring them to a wire rack to cool slightly. Scones taste best when served warm, within an hour of baking, though they can be stored in an airtight container for up to two days and refreshed briefly in a warm oven before serving.
Tips for Light and Flaky Scones
Creating truly exceptional scones requires attention to detail and understanding a few key techniques. Follow these expert tips to achieve light, flaky, and perfectly risen scones every time.
Recommended Products

Fresh, hot doughnuts are the ultimate treat.

King Arthur Baking Company Ceramic Scone Pan: Creates consistently textured scones with golden crusts and soft centers; ideal for home-baked treats with bakery-quality results

Sturdy & Durable: Our scone pans for baking with a metal reinforced frame around the outer edge, make its more sturdy and resistant to deformation. Maintains its shape during baking, making it no bending or warping. The handles makes easy for hanging and transfer to oven
Keep Everything Cold
Your ingredients should be thoroughly chilled before beginning. Use butter straight from the refrigerator and cut it into small cubes just before mixing. Consider placing your flour in the freezer for 30 minutes before starting. Chill your mixing bowl and metal utensils for 15 minutes before use. This cold temperature prevents the butter from melting prematurely and helps create those essential steam pockets during baking that result in flaky layers.
Minimal Handling
Handle your dough as little as possible to avoid developing gluten. Mix ingredients just until they come together—visible butter pieces throughout the dough are actually desirable. Resist the urge to knead scone dough; instead, gently press it together. Overworking leads to tough scones that won’t rise properly. The less you touch the dough with your warm hands, the better your results will be.
Perfect Your Cutting Technique
Use a sharp, floured biscuit cutter for round scones, pressing straight down without twisting. Twisting seals the edges and can prevent proper rising. For wedge-shaped scones, use a bench scraper or sharp knife in clean, decisive cuts. Make your cuts at least 1-inch thick to allow proper expansion during baking. Clean cuts enable maximum rise and that coveted layered texture.
Rest Before Baking
Allow your shaped scones to rest in the refrigerator for 15-30 minutes before baking. This step relaxes the gluten, firms up the butter, and ensures even baking. Rested dough produces scones that rise more evenly and maintain their shape better during baking. The contrast between cold dough and hot oven creates the steam necessary for achieving height and flakiness.
Create Steam for Flakiness
Brush your scones with heavy cream or an egg wash just before baking. This not only creates a beautiful golden crust but also helps generate steam during baking. Consider adding a light sprinkle of coarse sugar for extra crunch and visual appeal. The moisture from the wash reacts with the hot oven to create additional steam that lifts the layers.
Proper Oven Temperature
Preheat your oven thoroughly—at least 15 minutes beyond when it signals readiness. Use an oven thermometer to verify temperature accuracy. Bake scones at 400-425°F to achieve the quick rise needed for flaky texture. The high heat sets the exterior quickly while allowing the interior to steam and create those delicate layers. Position your rack in the middle of the oven for even heat distribution.
Spacing Matters
Place scones about 2 inches apart on your baking sheet to allow proper air circulation. Crowding scones can trap moisture and prevent proper browning. For extra-crisp exteriors, break apart shaped scones before baking rather than leaving them connected. This exposure to heat on all sides creates more surface area for delicious golden crust formation.
Variations to Try

While classic vanilla scones are delightful on their own, this versatile recipe serves as the perfect canvas for countless flavor variations. Let your creativity shine with these popular adaptations that transform the basic scone into something truly special.
Recommended Products

Better Than Your Grandma's Dough Blender - Solid pastry tool for cutting cold butter into flour or sugar when making fresh, homemade baked goods. Sturdy and durable dough kneader with 5 metal blades that are twice as thick as some others.

Better Than Your Grandma's Dough Blender - Solid pastry tool for cutting cold butter into flour or sugar when making fresh, homemade baked goods. Sturdy and durable dough kneader with 5 metal blades that are twice as thick as some others.

Product Contents: You will receive 1 piece of butter slicer with 17 pieces of evenly distributed stainless steel wires that can cut butter and cheese into equal size slices.
Fruit Scones
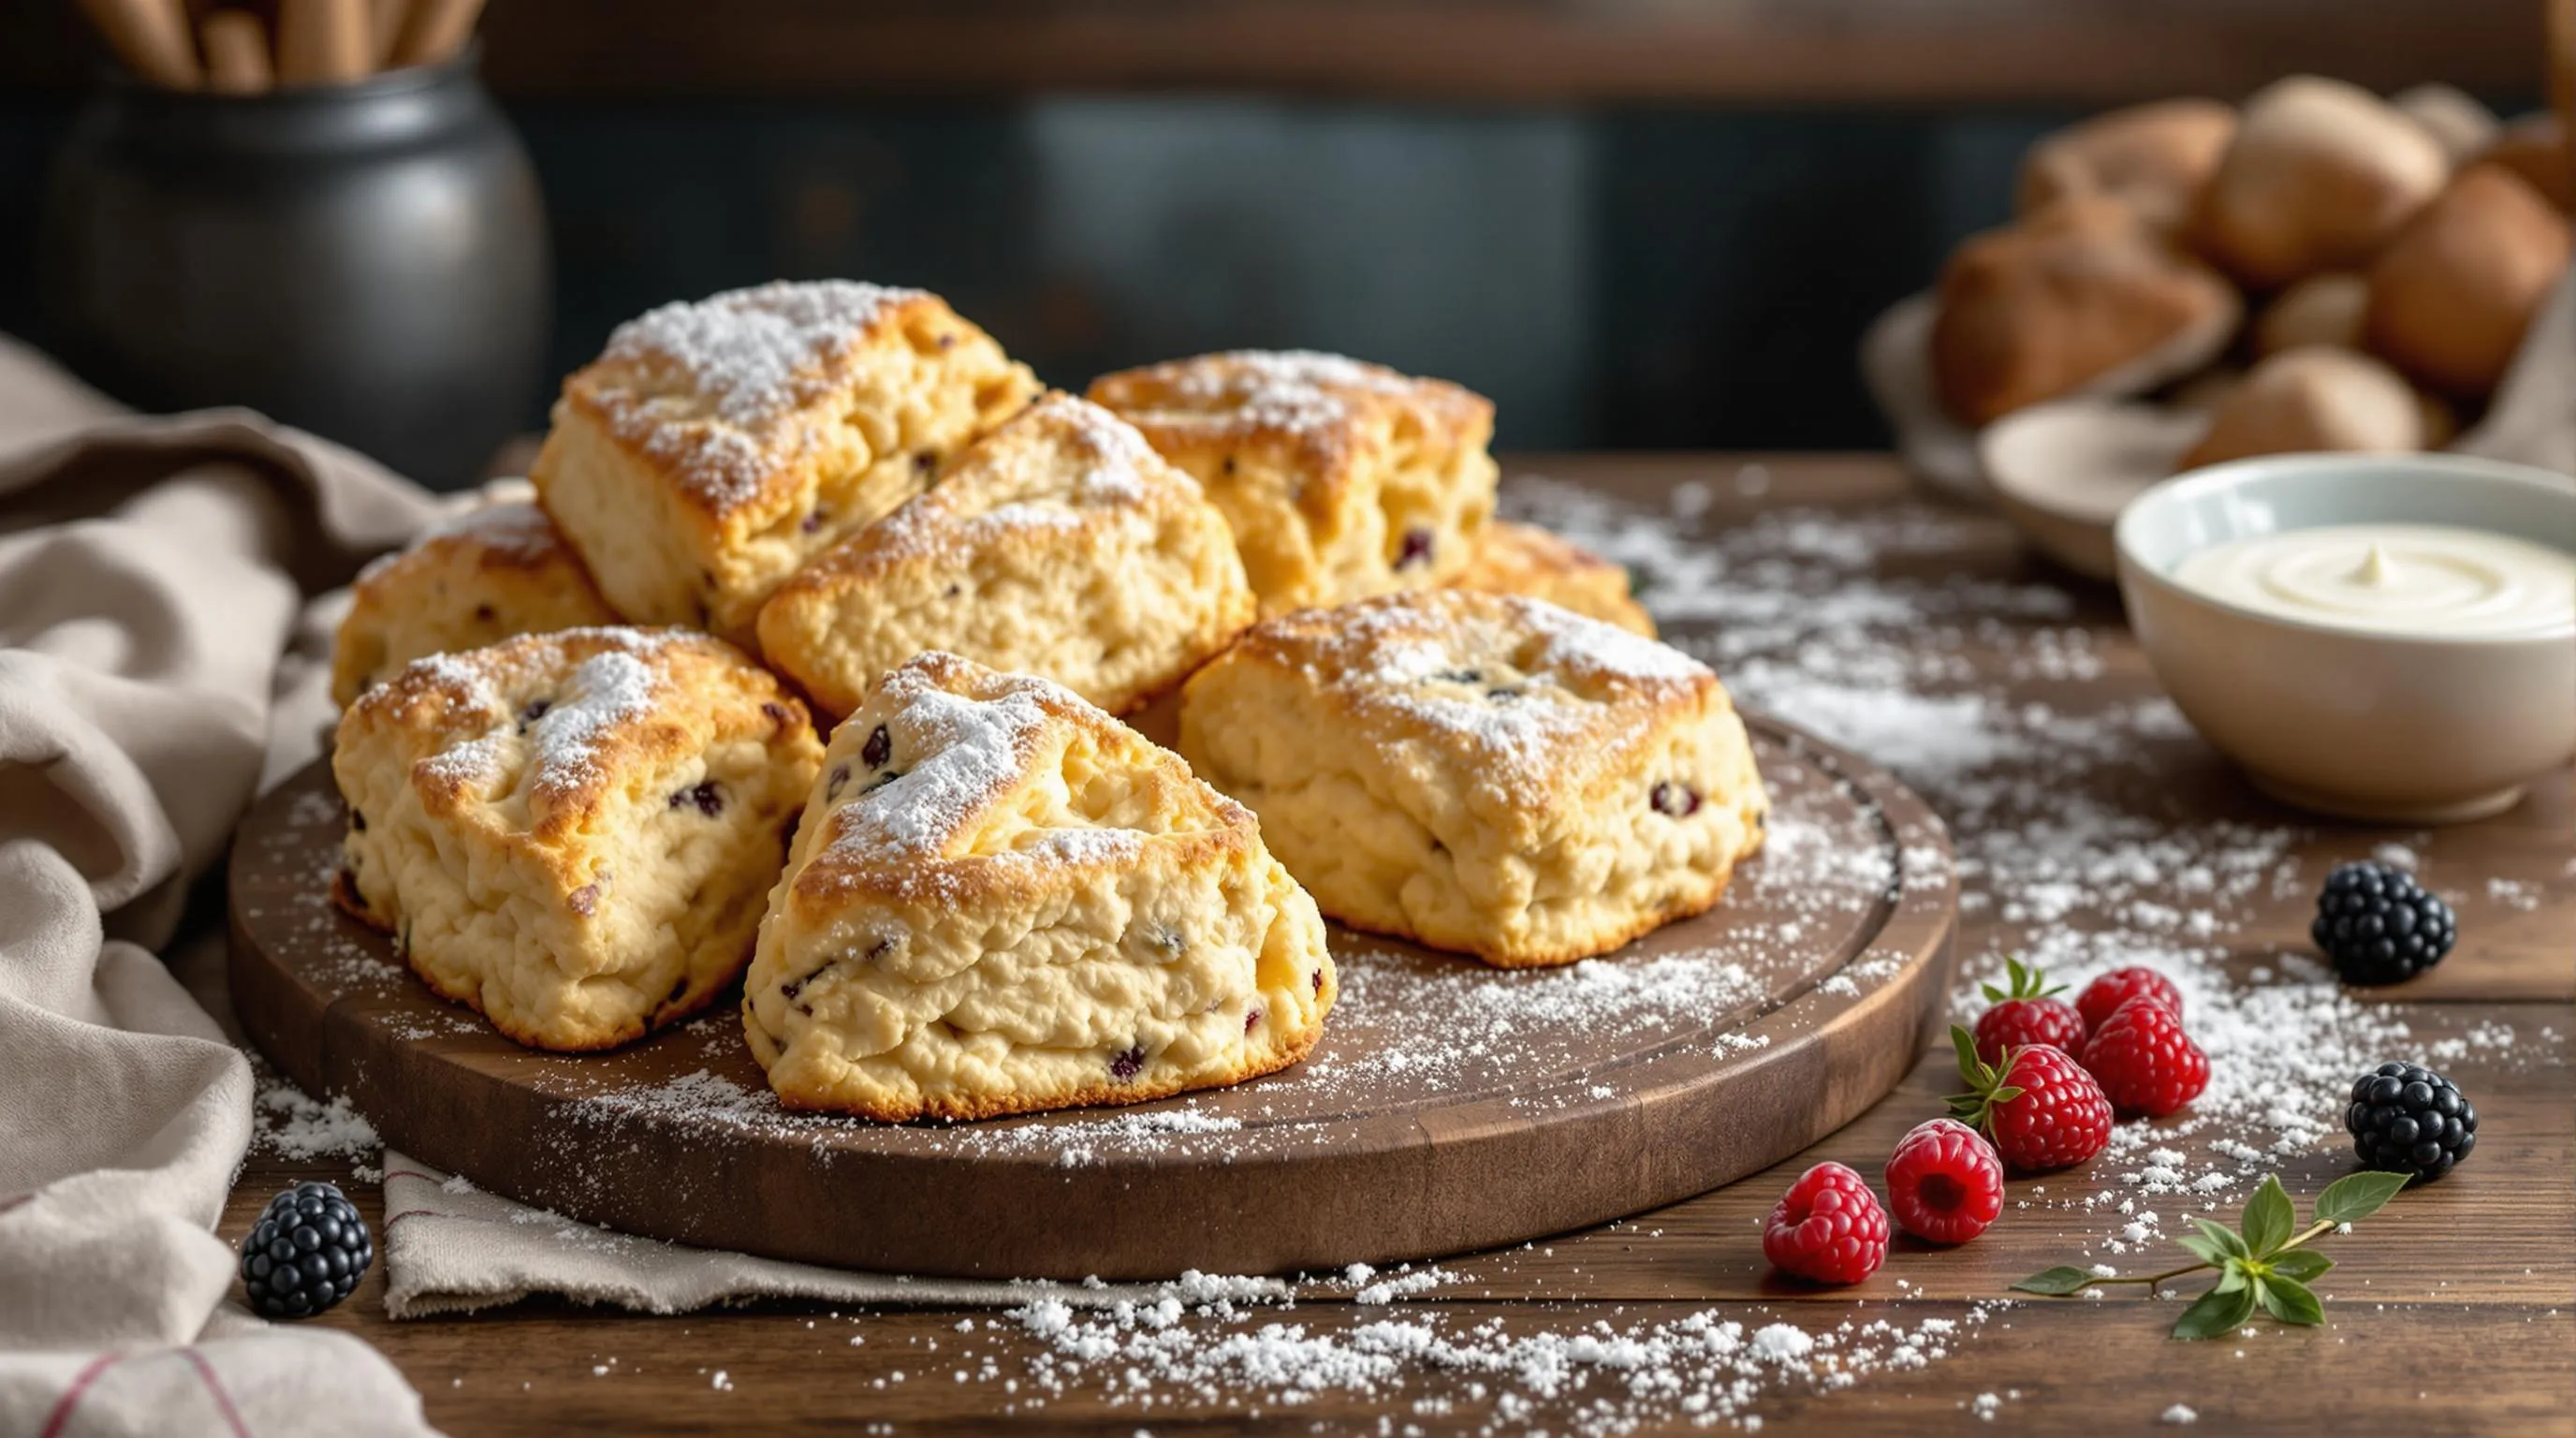
Fresh or dried fruits add natural sweetness and texture to your scones. Fold in 1 cup of blueberries, raspberries, or strawberries (fresh or frozen) just before shaping the dough for vibrant berry scones. Dried cranberries or cherries paired with white chocolate chips create a delightful contrast of tangy and sweet flavors. Orange zest and dried cranberries make a classic holiday combination that brightens winter mornings. For apple cinnamon scones, add 3/4 cup of small-diced apples with 1 teaspoon of ground cinnamon to the dough. Remember to handle the dough extra gently when incorporating fruits to prevent crushing them and creating soggy spots in your scones.
Savory Scones
Savory scones make excellent companions to soups and salads or stand alone as satisfying breakfast options. Cheddar and chive scones feature 1 cup of shredded sharp cheddar and 1/4 cup of freshly chopped chives folded into the basic dough with the sugar reduced to 1 tablespoon. Bacon and cheese scones incorporate 6-8 strips of cooked crumbled bacon along with 3/4 cup of your favorite cheese. Mediterranean-inspired scones can include 1/2 cup of crumbled feta cheese, 1/4 cup of chopped sun-dried tomatoes, and 2 tablespoons of fresh herbs like rosemary or thyme. Brush savory scones with an egg wash instead of cream before baking and consider sprinkling with flaky sea salt or additional cheese for an extra flavor boost.
Glazed Scones
A simple glaze elevates your scones from delicious to spectacular. Classic vanilla glaze combines 1 cup of powdered sugar with 2-3 tablespoons of milk or cream and 1/2 teaspoon of vanilla extract for a sweet finish that hardens slightly. Lemon glaze made with powdered sugar and fresh lemon juice adds a bright tangy element that pairs beautifully with berry scones. For maple pecan scones, drizzle with a maple glaze created by mixing 1 cup of powdered sugar with 3 tablespoons of pure maple syrup and 1 tablespoon of milk. Coffee lovers will appreciate a mocha glaze made with powdered sugar, 2 tablespoons of strong brewed coffee, and 1 tablespoon of cocoa powder. Apply glazes when scones are mostly cooled but still slightly warm to achieve the perfect consistency and appearance.
Make-Ahead and Storage Instructions

Scones are definitely best enjoyed fresh from the oven but with proper planning you can prepare them ahead of time. For make-ahead convenience prepare the dough up to 24 hours in advance then shape it into wedges and store them covered on a baking sheet in the refrigerator. You can also freeze the unbaked shaped scones on a baking sheet until solid then transfer them to a freezer-safe container where they’ll keep for up to 3 months. When ready to bake frozen scones add about 2-3 minutes to the baking time with no need to thaw.
Baked scones stay fresh at room temperature in an airtight container for 1-2 days. Refrigerating extends their shelf life to about 5 days though the texture will become slightly more dense. To reheat refrigerated scones place them in a 300°F oven for 5-7 minutes until warmed through. Freezing baked scones works surprisingly well—wrap them individually in plastic wrap then aluminum foil and freeze for up to 2 months.
The flavor of scones actually improves slightly on the second day as the ingredients have time to meld. For the freshest taste possible consider preparing the dry ingredients and cutting in the butter ahead of time then storing this mixture in the refrigerator overnight. Mix in the wet ingredients just before baking for that just-made taste without the full preparation time.
Recommended Products


Pre-cut Baking Parchment Paper Sheets: Are you tired of cutting curly parchment paper? Our pre-cut parchment sheets can let you get rid of cutting parchment anymore. The sheets lay flat on the baking tray and will not curl

Package Includes: Thirty (30) Reynolds Kitchens Pop-Up Parchment Paper Sheets measuring 10.75 inches long by 13.75 inches wide
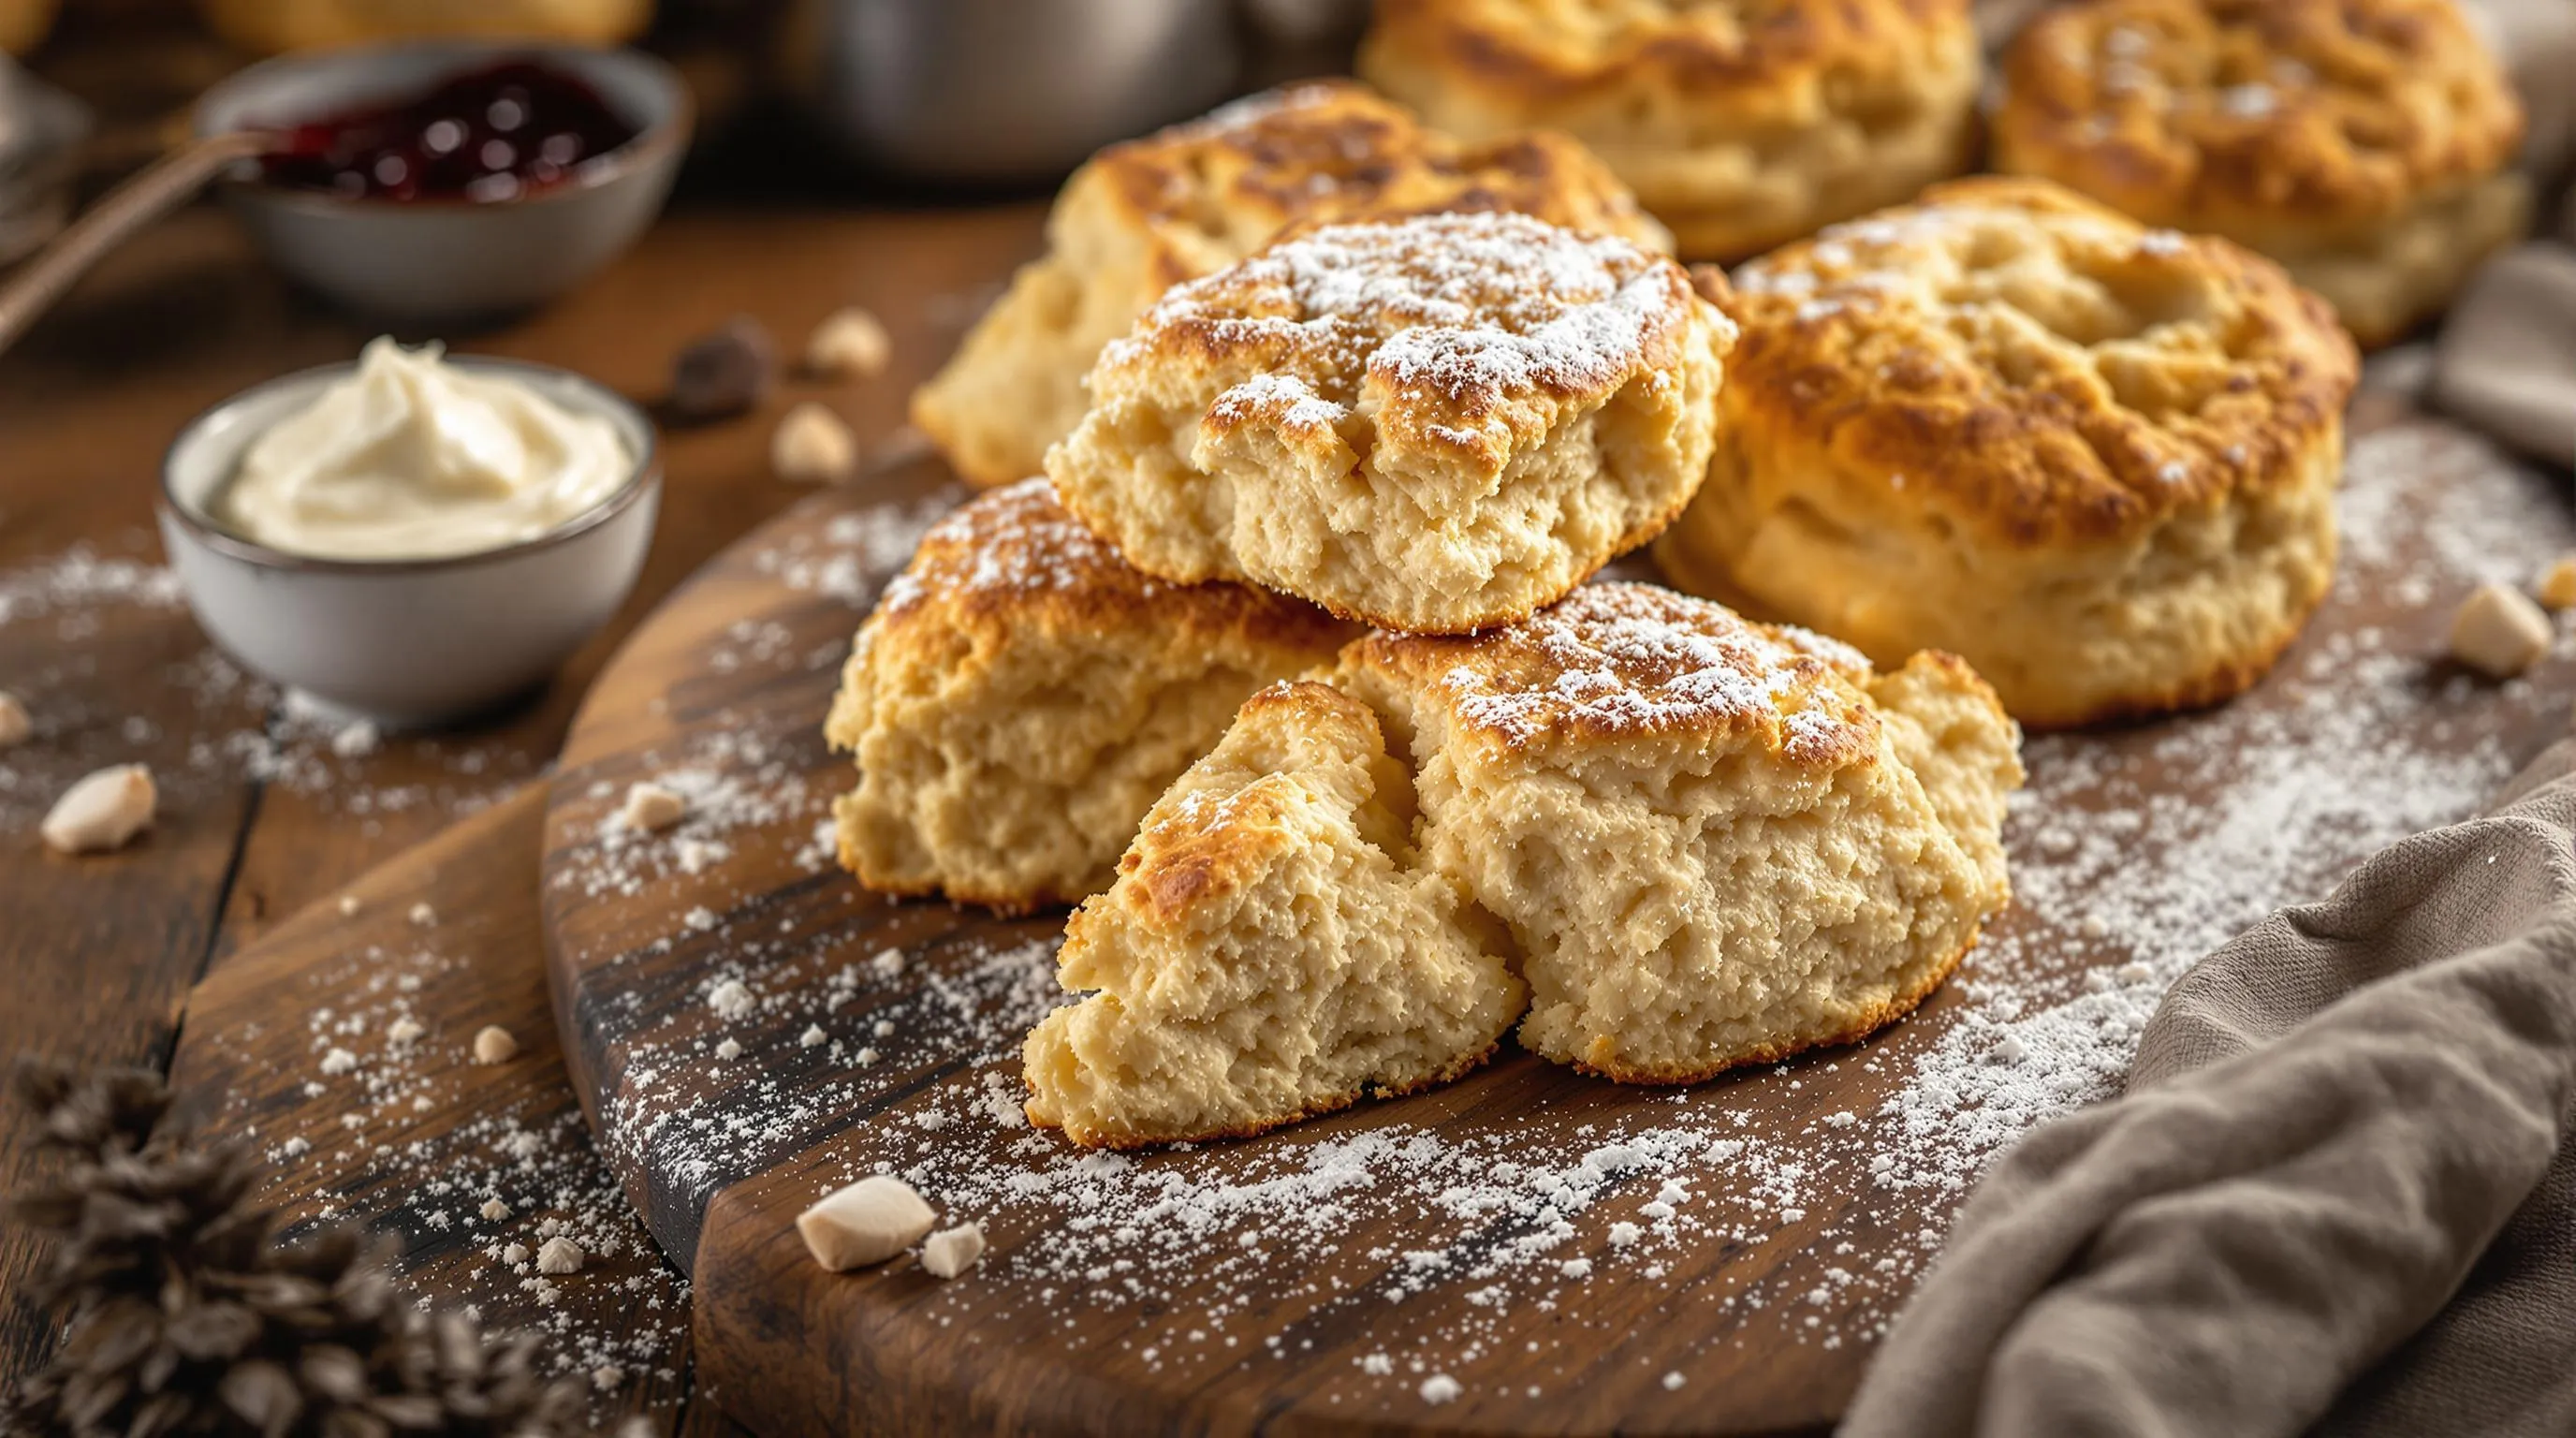
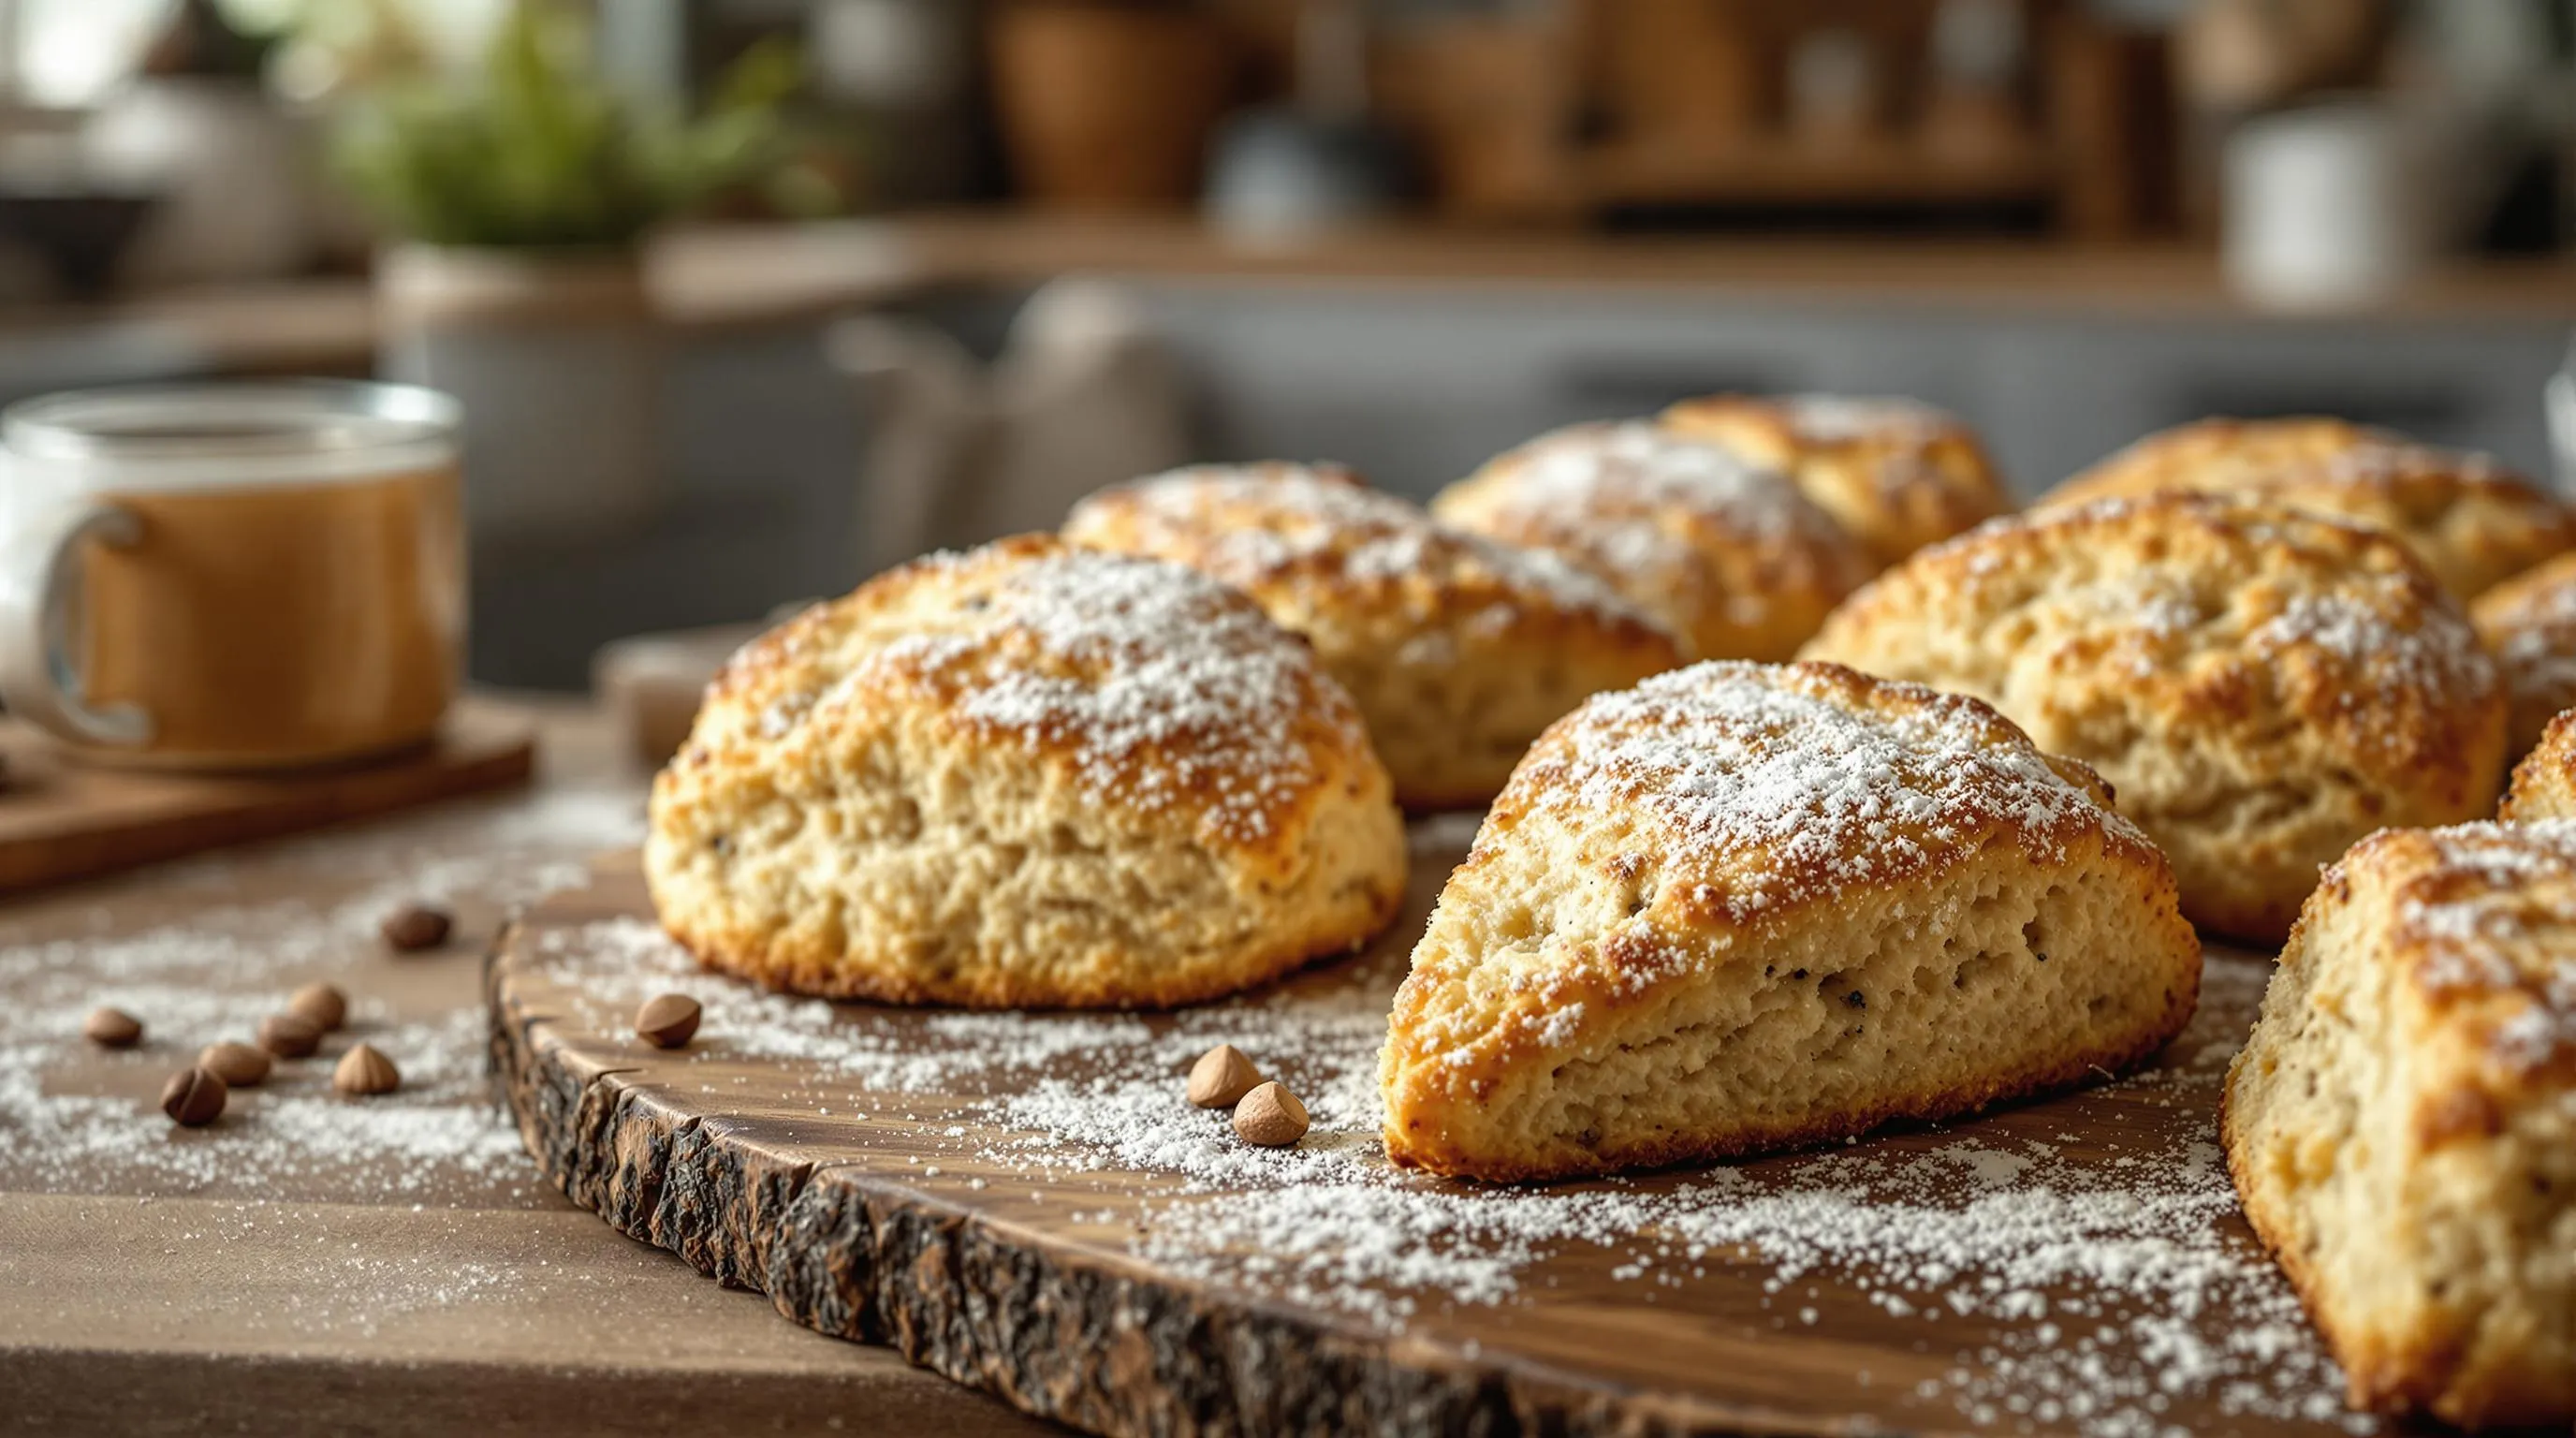
Serving Suggestions

Elevate your scone experience with these classic and creative serving ideas that complement the buttery flakiness of freshly baked scones. Traditional British tea service pairs scones with clotted cream and strawberry jam for a luxurious treat. Spread a generous layer of clotted cream first then top with jam for the Devonshire method or reverse the order following the Cornish tradition.
Fresh fruit accompaniments add brightness and acidity that balance the rich scones perfectly. Try serving with sliced strawberries seasonal berries or stone fruits during summer months. Lemon curd offers a tangy alternative to jam making it an excellent pairing for plain or fruit scones.
Savory scones deserve equally thoughtful accompaniments. Serve cheese scones alongside a bowl of hearty soup or stew for a satisfying meal. Herb-infused butter enhances savory varieties while cream cheese spreads complement both sweet and savory options.
For breakfast scones pair with high-quality butter and honey or maple syrup for a simple morning treat. Create an impressive brunch spread by arranging scones on a tiered stand with various toppings in small bowls allowing guests to customize their selections.
Temperature considerations make a important difference in your scone experience. Serve sweet scones warm from the oven while savory varieties taste delicious at room temperature. Chilled beverages like iced tea complement warm scones during summer while hot tea or coffee creates the perfect cold-weather pairing.
Transform ordinary scones into elegant desserts by adding a scoop of vanilla ice cream and drizzling with caramel sauce. Whipped cream can substitute for clotted cream when the latter proves difficult to find though the texture and flavor differ slightly.
Presentation enhances the scone-eating experience considerably. Arrange on a wooden board with small bowls of accompaniments for casual gatherings or display on fine china for traditional afternoon tea. Garnish the serving plate with mint leaves or edible flowers for an impressive finish that elevates your homemade scones from simple treats to memorable culinary experiences.
Recommended Products

Our 6X powdered sugar is less fine that 10X varieties, requiring less cornstarch to keep it from clumping. This makes it the ultimate icing sugar, resulting in a smoother, less gritty consistency

ULTRA-FINE TEXTURE: Professional-quality 12X powdered sugar is milled finer than 10X (standard grocery sugar) for the smoothest icing and frostings; dissolves fast with no gritty texture

Troubleshooting Your Scones
Even experienced bakers occasionally encounter challenges when making scones. Understanding common issues and their answers will help you achieve perfect results every time. Let’s address the most frequent problems and how to fix them.
Recommended Products

Multi-purpose Bench Scraper - Great for cutting dough, sectioning crusts, scraping baking sheets, chopping veggies, and more

Extra Wide Bench Scraper: Bigger size, 10 inch long stainless steel scraper perfect for smoothing frosting onto the sides of tall buttercream cake, make a nice and smooth edge for cake decorating
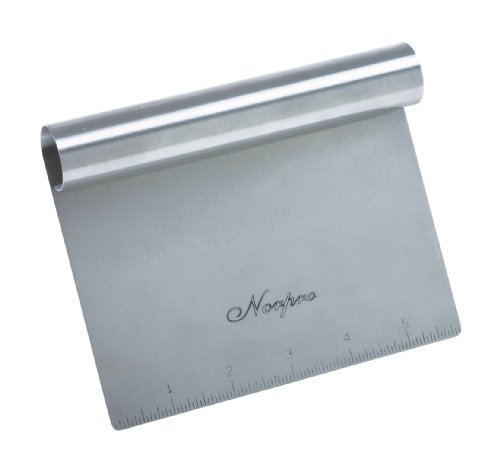
A great kitchen tool with a wide variety of uses! Designed to scrape and split bread dough, it can also be used for scraping, crushing, chopping and measuring!
Dry or Crumbly Scones
Scones that fall apart or feel like sawdust in your mouth typically result from too much flour or overbaking. Measure your flour correctly by spooning it into measuring cups rather than scooping directly from the bag which compacts the flour. Adding an extra tablespoon of cream to your dough can rescue a mixture that feels too dry during preparation. Watch your baking time carefully as even two minutes too long can dry out your scones.
Dense or Heavy Scones
When scones lack their characteristic light texture they’ve likely been overworked. Handle your dough minimally after adding the wet ingredients to the dry. Mix just until the ingredients come together with some floury bits still visible. Cold ingredients are crucial here too. Butter that’s too warm melts before baking rather than creating steam pockets that give scones their lift. Return your dough to the refrigerator for 15 minutes if it feels warm or soft before cutting and baking.
Scones That Don’t Rise Properly
Flat scones usually indicate inactive or insufficient leavening agents. Check that your baking powder is fresh by testing a small amount in hot water – it should bubble vigorously. The standard measurement is 1 tablespoon of baking powder per 2 cups of flour. Cut your scones at least 1-inch thick to give them room to rise and avoid twisting your cutter which can seal the edges and prevent proper rising.
Overly Browned Bottoms
Scones with dark bottoms but pale tops often result from baking sheet issues. Use a light-colored baking sheet lined with parchment paper to prevent over-browning. Position your oven rack in the middle rather than the lower third of your oven. If browning occurs too quickly lower your oven temperature by 25°F and continue baking until the scones are cooked through.
Butter Leaking Out During Baking
When butter melts and pools around your scones during baking your ingredients weren’t cold enough. After cutting in the butter chill the mixture for 10 minutes before adding cold cream. Once shaped place the scones in the freezer for 15 minutes before baking. This extra step ensures the butter melts slowly in the oven creating those desirable flaky layers rather than leaking out.
Dough Too Sticky to Handle
Sticky dough makes shaping almost impossible. Avoid adding too much liquid to your recipe and remember that different brands of flour absorb moisture differently. Dust your work surface and hands generously with flour when working with the dough. Alternatively chill the dough for 30 minutes to firm up the butter which makes it easier to handle.
Uneven Baking
When some scones are perfectly golden while others remain pale ensure proper spacing on your baking sheet. Leave at least 1 inch between scones and rotate your baking sheet halfway through the baking time for even heat distribution. Check that your oven temperature is accurate using an oven thermometer as many ovens run hotter or cooler than their settings indicate.
Conclusion
With these tips and techniques you’re now ready to create bakery-quality scones right in your kitchen. Remember that the magic lies in cold ingredients gentle handling and those few minutes of patience while they bake to golden perfection.
Whether you stick with the classic vanilla recipe or venture into sweet and savory variations your homemade scones will impress family and friends alike. The versatility of this humble pastry means you’ll never run out of delicious possibilities.
Don’t be discouraged if your first batch isn’t perfect—each time you bake scones you’ll develop a better feel for the dough. Soon you’ll be creating these buttery delights with confidence adding your personal touch to this timeless treat.